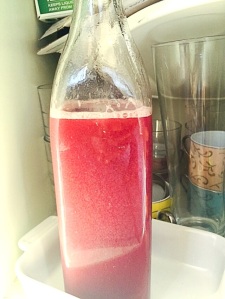
Easy Peasy Cranberry Sauce

If you’ve been following me on Instagram you know that I’ve been busy preparing for Thanksgiving and Page’s Birthday right after. We are hosting Thanksgiving , which means that I will be doing most of the cooking. I spent most of the day writing out my menu, dividing up tasks I can accomplish throughout the next few days. Today I tackled prepping my desserts which just means I weighed the dry ingredients put them in bags, labeled, and sealed them. Now all I have to do is add the wet ingredients and bake. As you can see I’ve learned over the years that cooking a large meal like this requires a lot of forethought and staggering of duties. So today one of the other things on my to do list was to make this cranberry sauce! It takes 10 minutes, you throw everything in one pot, a little bit of stirring and you’re done! So easy and super delicious and definitely an upgrade to the canned stuff. Trust me once you make this you will never go back to the canned stuff!

Here’s what you need:

Ingredients

12oz organic cranberries fresh or frozen

1 cup sugar

1/2 cup water

1 cinnamon stick

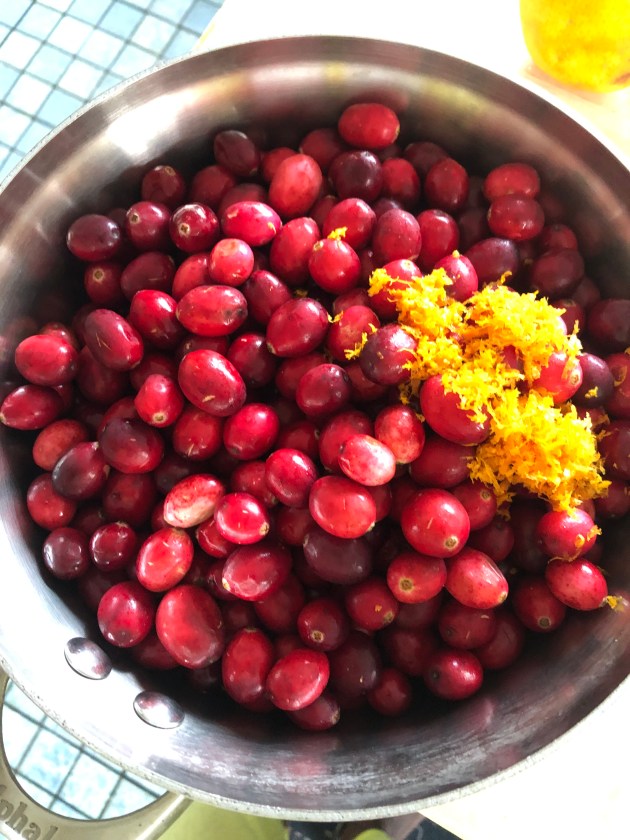
Zest of 1 organic orange

Juice of 1 organic orange

1/2 teaspoon of allspice (optional)

Directions:

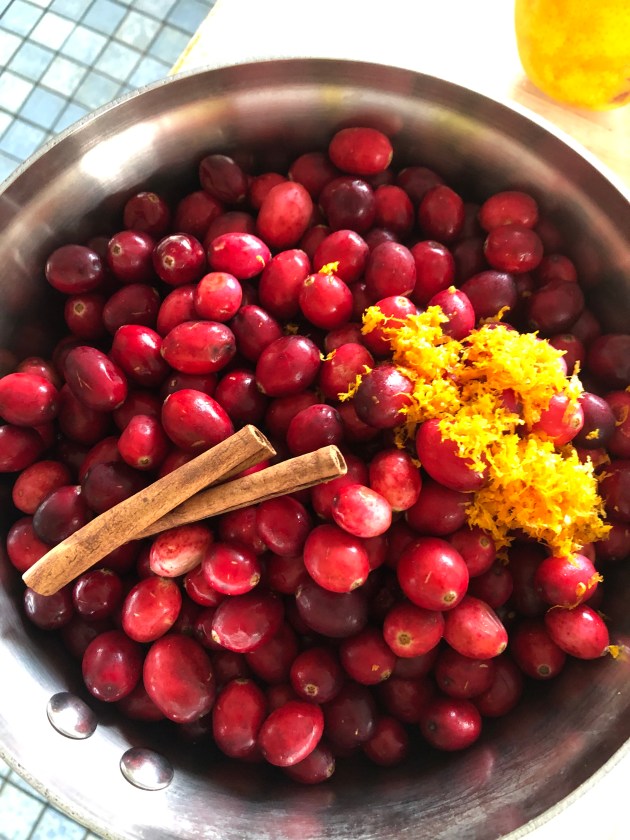
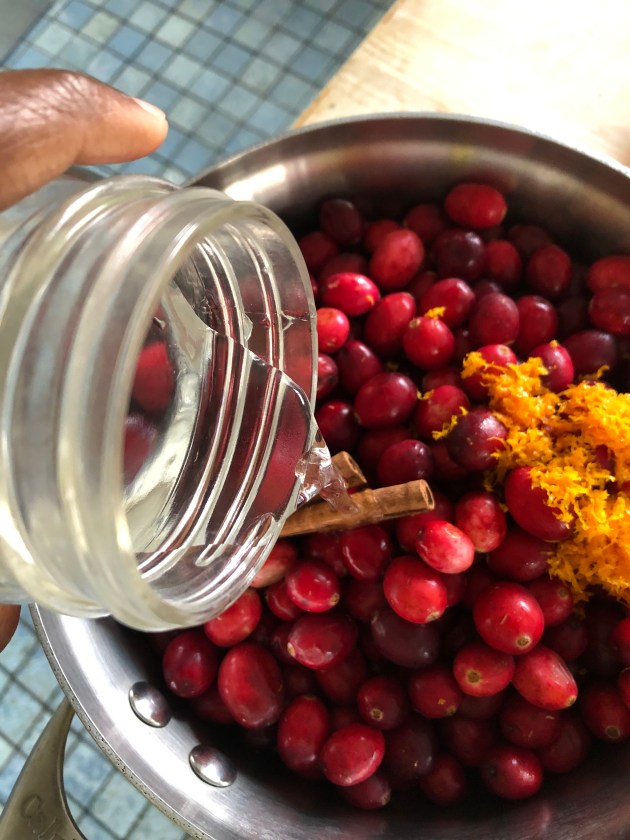
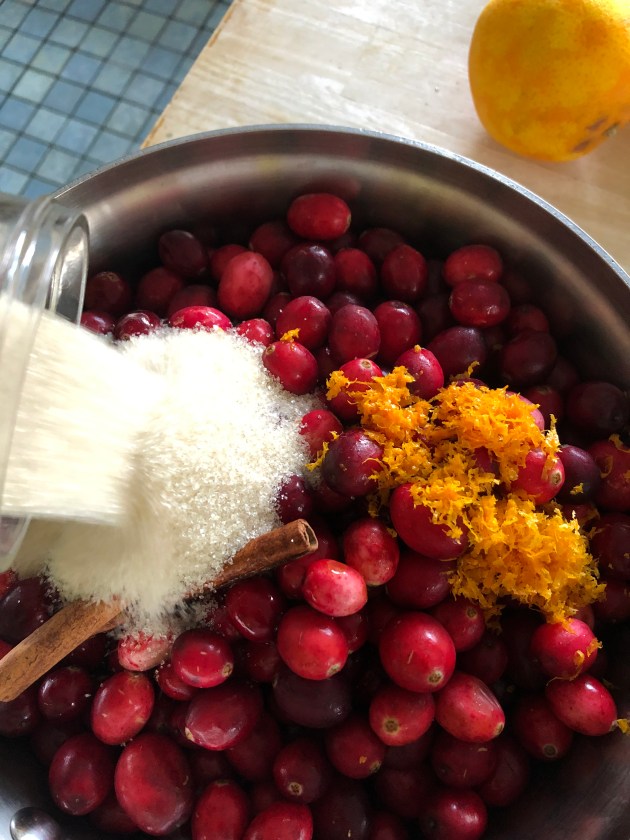
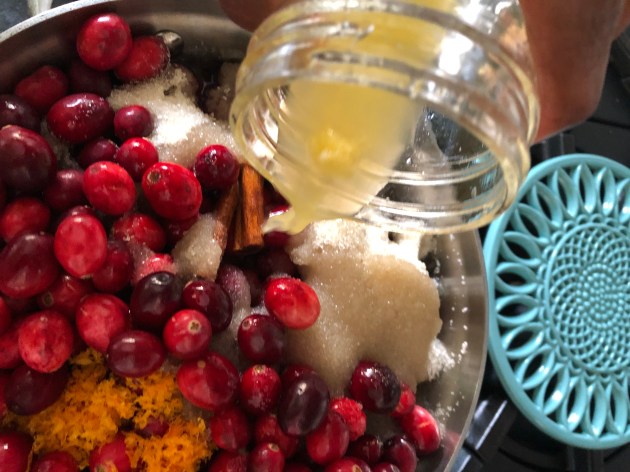
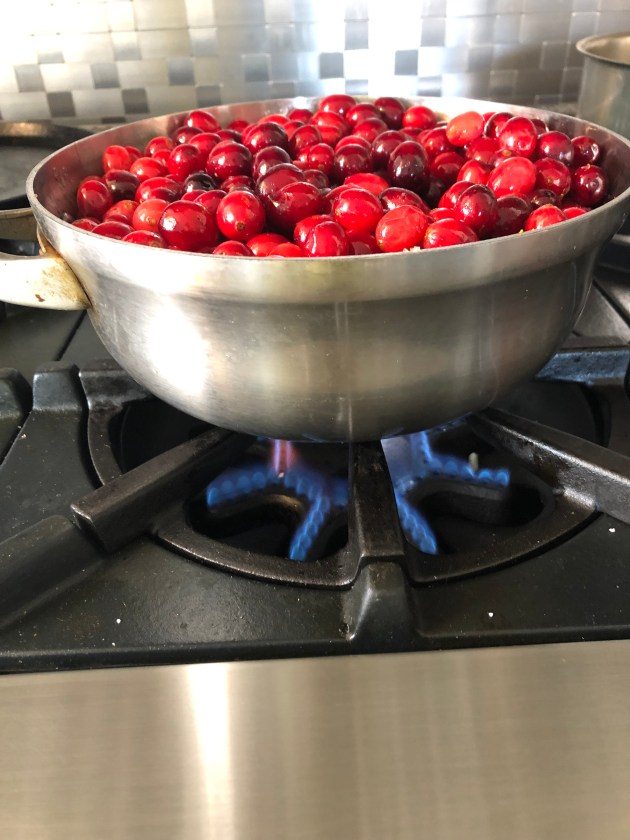
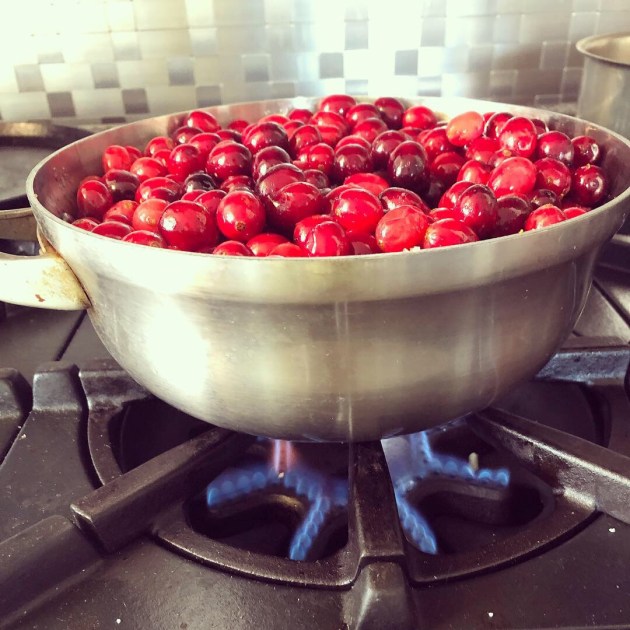
Place cranberries, cinnamon stick, orange zest, sugar, water, and juice in a medium sized saucepan. Bring to a boil, lower the heat and simmer, stirring as the cranberries begin to pop. The sauce is done once it thickens about 10 minutes. Remove from heat, let cool, serve immediately or place in an airtight container and refrigerate.
How to make Dehydrated Watermelon

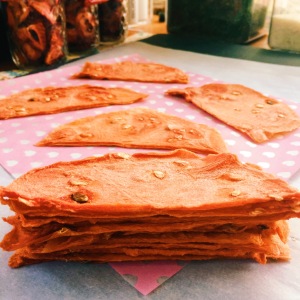
Dried Watermelon--How to make Dehydrated Watermelon

Dried Watermelon–How to make Dehydrated Watermelon

This week is Teacher Appreciation Week at Page’s school.  Every day this week she is required to bring in a small gift to show how much she appreciates all that her teacher’s do.  The note that the room mom sent home said to send a sweet treat as a gift, knowing the kinds of sweets that most moms have sent in the past I thought why not send something semi-healthy.  So I marched down to my local Whole Foods and purchased an organic seedless watermelon.  Lucky for me it was on sale.   The result- a deliciously sweet watermelon snack.  It was so good, that I raced back to Whole Foods to get another watermelon to dry.  When I dry fruit I never add sugar to it.  I see many recipes that do and I never understand why.  There really isn’t a need to. In fact, the watermelon I chose was not at all that sweet in its natural form, but in its dried form it was highly sweet, almost like I had added sugar to it. So for this “recipe” all you need is a fresh watermelon, a dehydrator, or an oven set to low and time.

Pin It!

Pin It!


Prep time: 5 minutes

Cook time: 6-8 hours

Ingredients:

Watermelon

Directions: Slice the watermelon and discard the rind. Keep in mind that the thinner you slice it the quicker it dehydrates.

Place the sliced watermelon on dehydrator sheets. Set it on 135F for 6-8 hours depending on how thick you sliced the watermelon.

The watermelon is done when it is pliable but dry to the touch.

If you don’t have a dehydrator–get one they are worth the money and the counter space–you can do this in an oven, set the oven to the lowest setting, and place the watermelon on a parchment lined cookie sheet.  My oven’s lowest setting is 250F.  If you are using your oven on a setting this high, keep in mind that the watermelon will dehydrate at a faster rate, so keep an eye on it, at the 4-5 hour mark, your watermelon will likely be done.

Lentil Soup With Cilantro and Lemon Gremolata

Lentil Soup with Cilantro Lemon Gremolata


My daughter loves lentil soup. It is one of her favorite meals. My version of lentil soup is not highly complicated, lentils, carrots, celery, onion, and a final squeeze of lemon at the end. When I ran across a recipe by Kenji over on the Serious eats blog adding a parsley and lemon Gremolata, I knew I had to try it! Let me tell you, hands down this is the best lentil soup that I’ve ever had or made! My daughter ate 3 bowls, (3 of her little mini bowls, but 3 bowls none the less), and she could not stop saying how yummy it was. I decided to use cilantro instead of parsley because I love the flavor of cilantro, lemon, and lentils—super yummy. If cilantro is not your thing, then by all means use parsley, this soup is good either way! If you know you’re putting this in your weeknight line up soak the lentils overnight, it will shave off 30 minutes of your cooking time.

Prep time: 10 minutes

Cook time: 45minutes-1hour

servings: 6

Here’s what you need:

Gremolata Ingredients:

6 cloves of garlic, minced

2 tablespoons lemon zest

4 tablespoons oil

1/2 cup cilantro chopped (sub parsley)

Ingredients for Soup

1 cup of lentils ( I used French green lentils)

1 cup carrots diced

1 cup celery diced

1 medium onion diced

4 tablespoons oil

2 tablespoons lemon juice

5 cups of good quality chicken broth( sub with veggie stock if you want to make this vegetarian)

1 lemon cut into wedges for squeezing.

Directions: Add the ingredients for the gremolata to a small bowl,

Mix well and set aside.

Heat 4 tablespoons of oil in a Dutch oven pan, add the onions, carrots and celery,

Sauté until onions are translucent about 5 minutes,


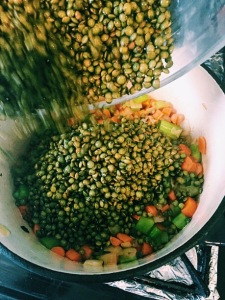
Add the lentils mix well,

Processed with VSCOcam with c1 preset

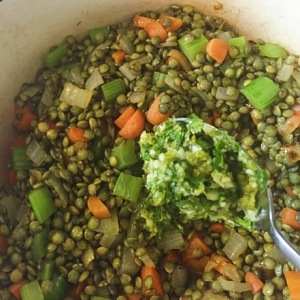
Add half of the gremolata. Mix well and cook for 2-3 minutes, your house should smell amazing at this point.

image

Add in the chicken stock and bring to a boil.

image

Lower the fire and simmer until lentils are nice and tender around 45 minutes. Add water, if necessary, it wasn’t for me. Once lentils are tender, add the lemon juice, mix well then turn off the fire. Serve by ladling into soup bowls and topping with a dollop of the remaining Gremolata, a few squeezes of lemon juice, and enjoy!


If you don’t have it already, check out Kenji’s new book, The Food Lab, it’s full of useful cooking information backed by science.

Popcorn Balls with Peanut butter and Marshmallows

Popcorn Balls with Peanut butter and Marshmallows

Popcorn Balls with Peanut butter and Marshmallows

Now that Page is in school–two schools if we’re being technical–there are always opportunities for me to cook, or prepare treats for her classes.  This week has been particularly hectic because both schools are doing fundraising drives, and if you’re a parent then you know the schools require a lot of participation from parents in the form of raising money and volunteering to bring food and elbow grease.  Luckily for me none of the kids in Page’s class have food allergies, so I decided to make these popcorn balls.  Popcorn balls have always been one of my favorite Halloween treats.  They contain popcorn and marshmallows, really what’s not to love? These popcorn balls also have a yummy touch of peanut butter, you can omit it, or sub with sun butter or almond butter if you have a little one with allergies. If not–live a little–tis the season! You can make your own marshmallows here’s how, or you can buy a store brand.  I got a gluten free version from Whole Foods.

Pin It!

Pin It!


Makes 12 medium popcorn balls

Here’s what you need:

Ingredients

6 cups of organic Non-GMO popcorn (equal to 1/4 cup of unpopped popcorn)

3 cups of marshmallows

2 tablespoons of butter

1/2 teaspoon of sea salt

1 tablespoon of organic peanut butter

Directions: Pop 1/4 cup of popcorn kernels then set aside in a large bowl.

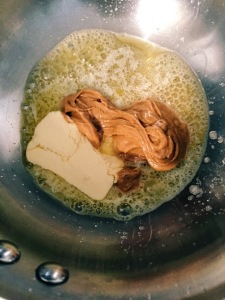
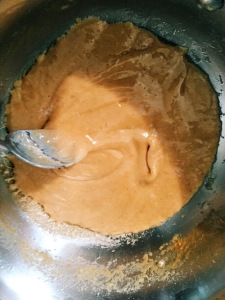
To a sauce pan add the butter,

Processed with VSCOcam with c3 preset

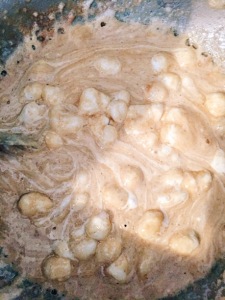
let it melt then add the peanut butter, marshmallows,

Stir until melted,

Processed with VSCOcam with c3 preset

Processed with VSCOcam with c3 preset

Working quickly pour the marshmallow mixture over the popcorn.

With a spatula work quickly to coat the popcorn in the marshmallow mixture.  Once all the popcorn has been coated, work quickly to form the popcorn into balls.

The mixture will still be quite warm so be careful and try not to burn your hands.  Once all the balls have been formed serve and enjoy!

Processed with VSCOcam with c3 preset

If you like this you’ll probably love my Caramel popcorn with Almonds and coconut recipe, it’s crunchy and oh so delicious!

Avocado and Cilantro Crema

Avocado and Cilantro Crema

Avocado and Cilantro Crema


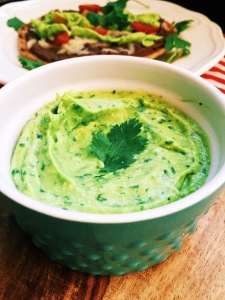
We have a black bean tostada night once every 2 weeks.  It’s simple, and definitely a lazy girl dinner, because I open a can of black refined beans heat them then add them to a piping hot and crisp tortilla. I top the tortilla with cheese, sliced tomatoes, cilantro, and either a fresh guacamole or this Avocado Crema.  The result is a delicious and lazy dinner! Simple ingredients, but oh so good. My husband raves about this dinner every time we have it. The best thing about this is that you throw everything into a blender and a minute later the sauce is done. If you want to make this vegan, paleo or Whole 30 approved just omit the yogurt and replace with 1/4 cup of water.


Pin It!

Pin It!


Here’s what you need:

Ingredients

1 large ripe avocado

3 tablespoons of yogurt–can sub sour cream

1/4 cup of cilantro

juice of 1/2 lime==more if you like

1/2 teaspoon of garlic powder

1/2 teaspoon of onion powder

Sea salt to taste

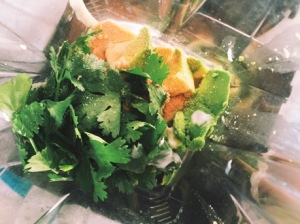
Directions:  Add all the ingredients to a blender.

Processed with VSCOcam with k2 preset

Blend on high until smooth and lump free.

Processed with VSCOcam with k1 preset

Serve and enjoy!

Processed with VSCOcam with k1 preset

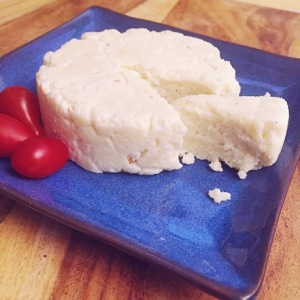
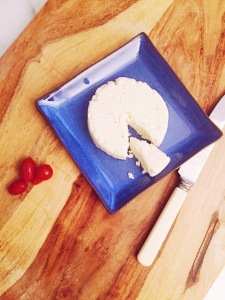
How to Make Queso Fresco Cheese

How to maker Queso Cheese

How to make Queso Fresco Cheese

This week I’ve spent a lot of time in the kitchen making things that I had on my “list of things I want to make”–yes I actually have a list. This cheese has been on that list for quite some time.  It’s so unbelievably easy to make that now I am left to wonder why it took me so long to try it.  It’s also a great way to use milk that would not get used otherwise. This cheese was a great addition to  my Peruvian Chicken taco’s that recipe will be on the blog tomorrow.

Here’s what you need:

Ingredients

1 quart of whole organic milk

2 -3 Tablespoons of fresh lemon juice–can sub with vinegar

Sea salt to taste

Equipment:

cheesecloth

Sieve

Directions: Add the milk to a saucepan,

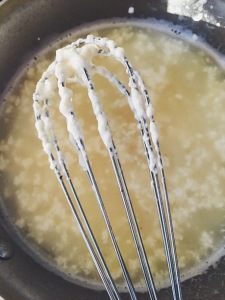
Heat the milk to 180F whisking to prevent the milk from scorching.

Once the milk reaches 180F remove from heat.

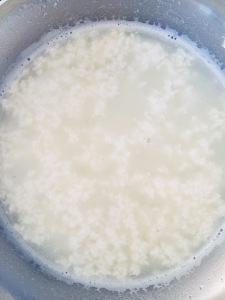
Add the lemon juice or vinegar 1 tablespoon at a time, stirring gently until the curds separate from the whey. This happens almost immediately.

Allow the curds to continue to separate, let the mixture sit in the pot uncovered for 15-20 minutes.


Processed with VSCOcam with f2 preset


Processed with VSCOcam with f2 preset

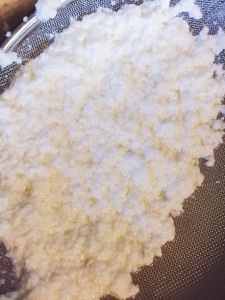
From here you can decide to just strain the mixture in a cheesecloth lined sieve, add salt to taste and be done–you’ll have a perfectly soft crumble cheese.

Processed with VSCOcam with s1 preset

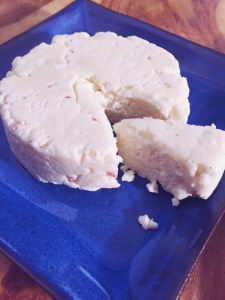
Or you can strain, then squeeze out excess whey, add salt, form into a ball, and press into a firmer queso,

I placed my queso into a circular cookie/biscuit cutter, which I wrapped in my cheesecloth, and then placed a sealed water-filled 4-ounce mason jar on top for 5-10 minutes to squeeze out excess whey.  I placed these items over a sieve with a bowl underneath to collect the whey.

For a firmer paneer type cheese extend the time that the cheese is pressed from 10 to 20 minutes. Refrigerate if you don’t plan on using the cheese right away.  It will keep in the refrigerator for 3-5 days.


Processed with VSCOcam with h3 preset


Processed with VSCOcam with h3 preset

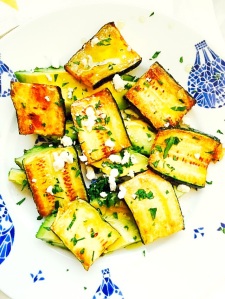
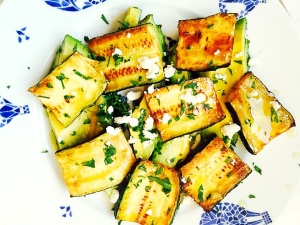
Grilled Zucchini and Avocado with White Wine Vinaigrette

Grilled Zucchini with Avocado and White Wine Viniagrette

Grilled Zucchini with Avocado and White Wine Vinaigrette

T’is the season–for zucchini that is.  It is at almost every stand in my farmers market, piled into beautiful towers at my local Whole Foods, and in glistening plastic packages in my local Trader Joe’s.  There is no escaping it–not that I’d want to. Zucchini is one of those vegetables that if you plant it–you will be rewarded with an enormous bounty–so it’s no wonder that it is everywhere right now. So what do you do with an enormous bounty of zucchini?  Cook it. Pickle it. Give it away–even in secret as some of my neighbors have, by leaving an anonymous  bag full of zucchini on my doorstep.  It’s a good thing that I happen to like zucchini.  This recipe happens to be something that came about as an accident.  I was planning on making my favorite saute of zucchini and mushrooms but my plans and Page’s needs sometimes collide and I had to make an adjustment.  In this case, I had some deliciously ripe avocado’s that Page insisted that I serve her for dinner.  I had already begun to slice the zucchini so I had to cook it. So I decided why not just combine the two and make a salad of sorts. Boy, am I glad I did. I used a white wine vinaigrette, but this is great with a lemon garlic vinaigrette too!


Pin It!

Pin It!


Ingredients:

2 medium zucchini, sliced

2 large avocados, sliced

1/4 cup of feta cheese (optional)

1 tablespoon of parsley, finely chopped

2 tablespoons of olive oil or grape seed

2 tablespoons of butter or ghee

sea salt and black pepper to taste

For Vinaigrette

3 tablespoons of white wine vinegar

1 tablespoon of olive oil

sea salt to taste

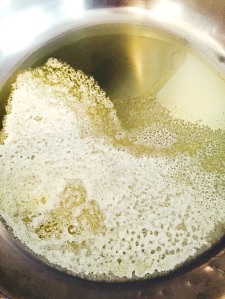
Directions: Mix the ingredients for the vinaigrette in a small bowl and set aside. Heat the oil and butter in a saute pan.

image

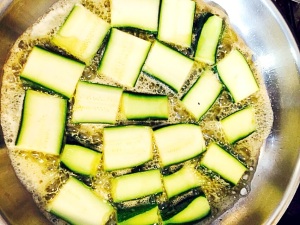
Once hot, add the zucchini slices to the pan and cook until brown–about 2-3 minutes on each side.

image

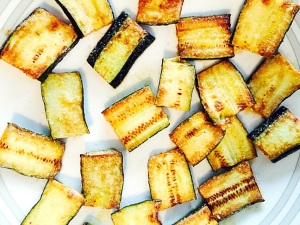
Transfer the zucchini to a plate, season with sea salt and black pepper.

image

Slice the avocado and arrange in a single layer on a plate.  Top the avocado with the grilled zucchini.  Sprinkle with feta if using, then sprinkle with parsley. Lastly top with vinaigrette, serve and enjoy!

image


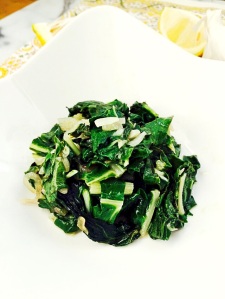
Sauteed Chard with Lemon, Garlic and Shallots

Sauteed Chard with Lemon, Garlic and Shallots

Sauteed Chard with Lemon, Garlic and Shallots

Chard is an under rated vegetable.  It’s one of those vegetables that doesn’t get it’s due.  Probably because it has to contend with other vegetables that hog the spotlight, like kale, broccoli, and cauliflower.  I think that if more people knew how easy it is to cook chard, and how delicious it is, it would be a star in their dinner line up.  This recipe for chard is one of my favorite chard recipes.  It’s super easy, quick, and oh so delicious!
Pin It!

Pin It!


Ingredients

1 bushel of chard about 4 cups chopped roughly

1 medium shallot sliced thinly

4 small cloves of garlic

1 tablespoon of fresh lemon juice, more if you’re so inclined

2 tablespoons of cooking oil

sea salt to taste

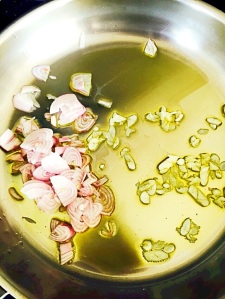
Directions:  Heat the oil along with the garlic and shallots over medium heat.

image


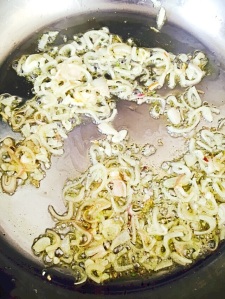
Cook the shallots and garlic until shallots turn translucent, about 1-2 minutes.

image

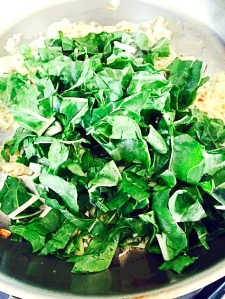
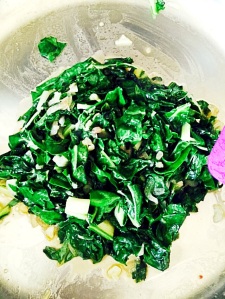
Add in the chopped chard, season with sea salt and saute until wilted.

image


image


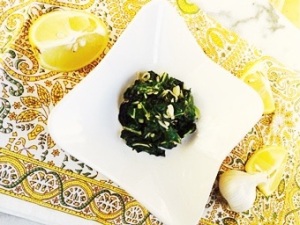
Turn the fire off and add lemon juice, toss then serve.  Yup that easy! AND So, so , so delicious!!


image


DIY Tater Tots–How to Make Homemade Tater Tots

DIY Tater Tots How to Make Homemade Tater Tots

DIY Tater Tots How to Make Homemade Tater Tots

How amazing are potatoes?  I love them in every form.  So does Page.  I have been wanting to do a tater tot for her for a long while now.  They are super easy to make, especially if you have a food processor.  You just throw the potatoes in, and the processor does all the work.  All you have to do is form the tots. If you’re not into forming a few hundred tiny balls of potatoes, this also works as a recipe for hash browns–yes a two for one! I’ve used potato starch in this recipe, but feel free to use all purpose flour if you so choose. You can also substitute almost any potato in this recipe.  Sweet potato tater tots are pretty awesome!

Pin It!

Pin It!


Ingredients:

2 pounds of potatoes peeled–I used fingerlings and purple

1 tablespoon of potato starch (can sub for any flour you’d like)

1 teaspoon of garlic powder

1/2 teaspoon of onion powder

1 teaspoon of thyme

1 tablespoon of potato starch

1 cup of high heat oil like safflower or grapeseed

sea salt to taste

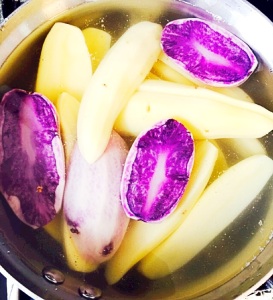
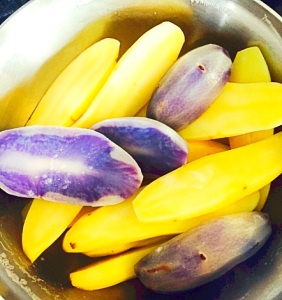
Directions: Place the potatoes in a pot in cold water–enough to cover them, and bring to a boil–allow to cook for 6-7 minutes,

image

then strain and allow to cool to room temperature.

image

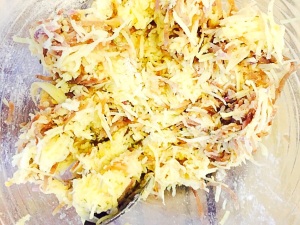
Once cool, grate with a box grater, or grate in a food processor.  Once grated, wrap the shredded potatoes in cheese cloth and wring out all the water that you can,  transfer to a large bowl, add seasoning, and potato starch, and form tater tots.


image

TIP: If your dough is sticky wet your fingers, balls will be easier to form. Heat oil in a skillet. Once hot fry tots in batches until brown.

image

Transfer to a paper towel lined plate, season with salt and  serve with my recipe for ketchup and enjoy!


image

DIY Concord Grape Soda–How to make Lacto-fermented Concord Grape Soda

Concord Grape Soda--Lacto Fermented Concord Grape Soda

Concord Grape Soda–Lacto Fermented Concord Grape Soda

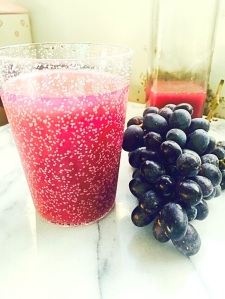
We took a short break/vacation to take Page up north.  By north I mean northern California.  We live in southern California, and don’t really travel up north often enough, as a matter of fact, my husband would love nothing more than to move up north.  It’s where his roots are, where his soul speaks, and ultimately where I think he’d like us to retire.  Up north people are much more liberal–I would venture to say that the people up north are the prototype for what people in other states consider Californians.  Socially liberal, tree hugging, animal loving, free spirited Californians.  Here in the south, we are still liberal, but much more superficial–I call it the Hollywood effect.  People in the north are street friendly, meaning they stop and talk to you, and are truly interested in getting to know you.  They know their neighbors, talk to them regularly even.  Here in the south, you’d be lucky to see your neighbor once a week, and talk to them once a month.  It’s a very different atmosphere. Everything is so green in the north–in spite of the drought–there are so many farms–yes I said farms–I know the image of our state is one of sunshine and beaches, but we grow a lot of food here in California.  We visited the Muir Woods which Page LOVED! Page really enjoyed San Francisco, she was especially fond of the steep hills. We especially loved the food.  I had so many restaurants on my list of must try restaurants but we only made it to a few.   I really wanted to visit State Bird Provisions, and Bar Tartine,  time just didn’t permit it.  On the road trip up, I brought along my Bar Tartine Techniques & Recipes book.  I came across a recipe for Grape Soda and knew it would be the first thing that I was going to make when we returned home.  Luckily for me, concord grapes just so happen to be in season.  I found them on sale at Whole Foods for $2.99/lb.  Not bad for organic grapes!  Since my ginger bug was active, this was a breeze to make.  If you can find organic grape juice then it will be even more simple, If not take the time to juice the grapes like I did–so worth it!

Pin It!

Pin It!


Ingredients:

2 cups of organic Concord grape juice

2 cups of water–filtered

1/2 cup of strained lacto soda starter–ginger bug

2-4 tablespoons of sugar–optional


Directions: Add the juice, water and lacto starter to a large mason jar.  Make sure the jar is large enough to allow for some head space, cover with cheese cloth and place in a dark area–out of direct sun light.

image


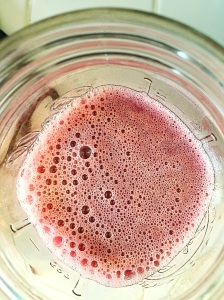
Allow to ferment for 3-4 days or until the mixture is slightly foamy and releases bubbles when stirred.  It’s hot here so my mixture was fizzy and bubbly by day 2.

image

Transfer the mixture to a flip top bottle or canning jar, making sure to leave at least 1 inch of head space–I’d say 2.5 inches just to be safe.

image

Let this stand at room temperature for no more than 24 hours, to allow for pressure/carbonation to build,–my suggestion is that you allow this to carbonate inside of a dark cabinet.

image

You do not want to run the risk of an explosion in an open environment–it’s dangerous!  Once carbonated, transfer to a refrigerator.  Once cool, serve over ice and enjoy!  Tip:  If using a glass flip top bottle, place the bottle in a tube sock, and then place that in a closed cabinet.  If the bottle explodes it will confine the damage.


image

If you like this recipe,try my recipe for Lacto-fermented Strawberry Soda.