Gourmet Popcorn — Homemade gift giving

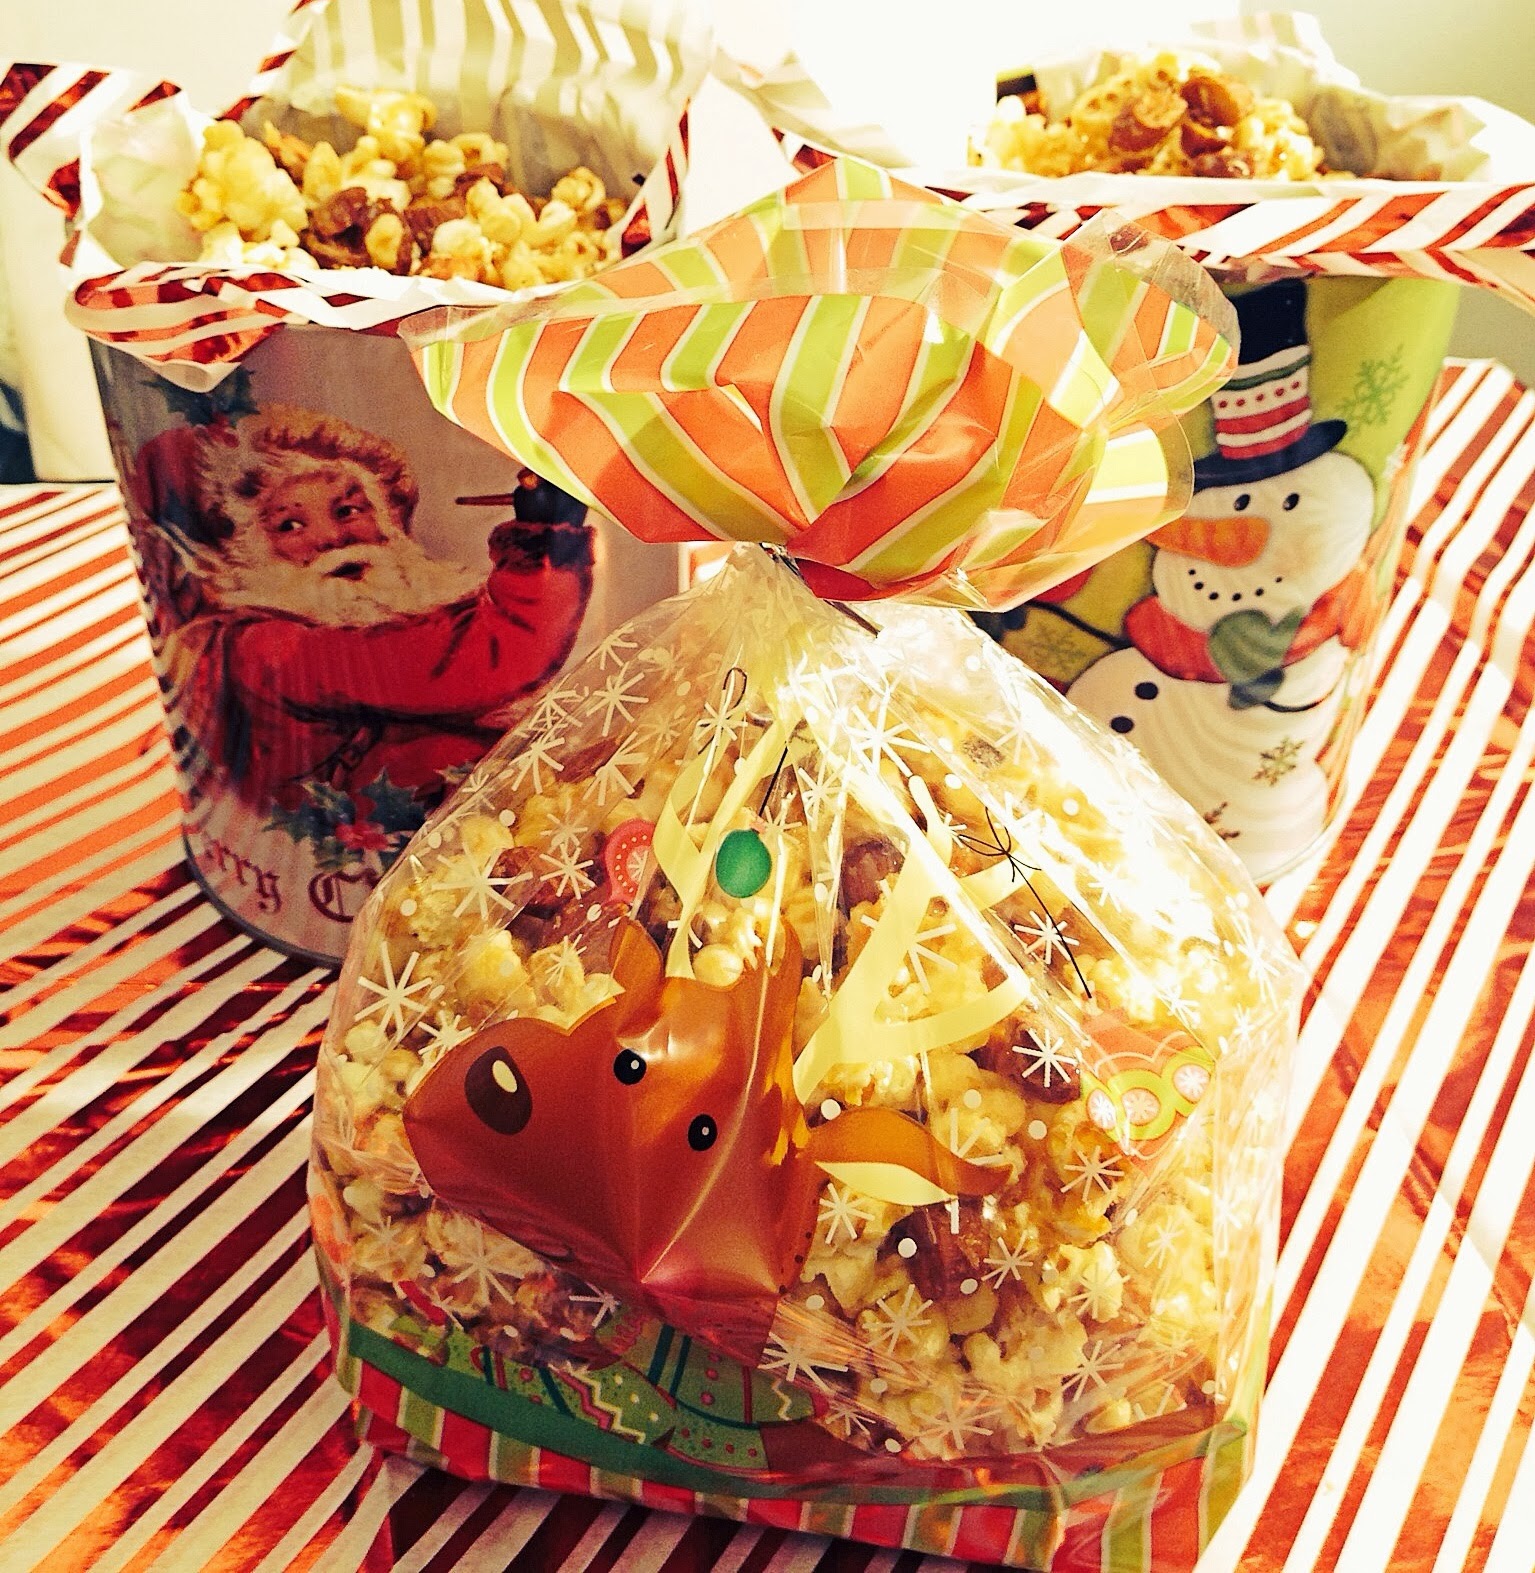
Tis the season to be jolly–and to give until it hurts no more. Giving gifts is supposed to be fun, right? Well if you’re anything like me, waiting in long lines, and inching through crowds of people at a mall, all so that you can get something a loved one may or may not appreciate, just isn’t fun! So this year, I’m giving the gift of food. Everyone young and old appreciates it, and if done right your pocket book will too. One of my favorite gifts to receive when I was a kid was one of those huge tins of popcorn. The tin always contained caramel, plain, and cheese popcorn, all delicious in their own rite. You could go out right now and buy one of those tins, or you could make my version of gourmet popcorn and make a loved one very, very happy! My recipe for Caramel Popcorn with almond and coconut flakes is to die for. It’s so good in fact that my mom told me I should remove the recipe from my blog and sell it on the free market. After tasting it recently, I think she may be right…it is soooooo good! Addicting even! My recipe for coconut kettle corn is equally as good! Trust me if you make these two gourmet pop corns and give them as gifts, your friends and family will thank you and thank you some more!

Caramel Popcorn with Almonds and Coconut Flakes

Ingredients:
1/4 cup plus 2 Tablespoons of Organic non GMO popcorn
3 Tablespoons of Coconut oil
1/4 cup plus 2 Tablespoons of Almonds
1 cup of Organic Sugar
4 Tablespoons of grassfed butter
3 Tablespoons of Organic Corn Syrup
1 teaspoon of Sea salt
1/4 cup of water
1/4 cup of coconut flakes (optional)

Spray a large baking sheet with coconut oil. Preheat the oven to 300 degrees F.
Add popcorn kernels and 3 Tbsp. coconut oil to a large, heavy-bottomed pot. Cover and cook over medium-low heat, shaking frequently. You will start hearing the corn pop after a few minutes—keep cooking until there’s a gap of about 5 seconds or more between pops. Immediately remove the pan from heat and pour the popcorn onto the prepared baking sheet. Add the almonds.
In a medium saucepan, combine the sugar, butter, corn syrup, and water. Place over medium heat and cook, without stirring, until the mixture is a light caramel color, about 10 minutes. Add the salt and stir to combine. Pour the caramel over the popcorn and almonds.

Place the baking sheet in the oven and cook until the caramel becomes thin and shiny, about 10 minutes. Remove the baking sheet from the oven and with a rubber spatula, fold the popcorn and Almond to coat with the caramel. When the caramel hardens, you’ll know it because the popcorn mixture will be harder to move, return the baking sheet to the oven. Repeat this process as many times as necessary to completely coat the popcorn and Almonds with caramel and until the caramel has darkened to a dark amber color. I did this 5 times checking on the popcorn and tossing it, in 5-7 minute intervals. On my 4th turn and check I added the coconut flakes. I just sprinkled them in and gave good toss.

Once you remove the popcorn, let it cool for 2-3 minutes, then break up the popcorn into bite-size pieces. Let cool completely. It will last two weeks stored in an air-tight container. This makes enough caramel corn to fill 3 treat bags, or 2 good sized tins. If you need more then double or triple the recipe.

Coconut Kettle Corn
Ingredients:
1/4 cup of organic corn kernels
3 tablespoons of  organic coconut oil
1.5 teaspoons of coconut sugar
1/4 teaspoon of sea salt

Directions:
Add all of the ingredients except for the sugar to a pan with a tight lid. Place on high heat until the corn starts popping. Once the popping is active, turn off the heat and allow the corn to pop on residual heat, shaking occasionally. Once the popping stops sprinkle with the coconut sugar, shake to coat and then transfer to a bowl and enjoy!


Roasted Chicken Thighs with Lemon and Oregano

Roasted Chicken Thighs with Lemon and Oregano

It is officially lemon season! I love lemons, I love the smell of them, the tastes of them, but most of all I love cooking with them. This recipe is perfect for the cold weather we are having here in California. Nothing warms up a house better than roasting chicken, and while I avoid using my stove  11 months of the year, I always love to use it in December. Maybe it’s the Christmas season, I don’t know, but there is just something about pulling something out of my actual oven  that makes me feel in tune with the season.

Prep Time: 5 minutes
Cook Time: 25 minutes
Total time: 30 minutes

Ingredients:
4 chicken thighs skin on
1 lemon divided in half with one half sliced thinly into rings and the other half cut into 2 wedges
1/4 cup of onion chopped finely
1 teaspoon of dried oregano
1/8 teaspoon of red pepper flakes
1/4 cup of white wine Sauvignon Blanc
1/2 cup of low sodium chicken stock
1 clove of garlic
3 tablespoons of olive oil
Sea salt & pepper to taste

Directions:
Pre-heat oven to 425 F. Add 1 tablespoon of the olive oil to a skillet. Season chicken with sea salt and black pepper, then add it skin side down to the skillet. Allow to brown, without turning for 10 minutes or until chicken is cooked half  through. Pour off excess oil, maintaining a thin layer of oil in the pan. Place half the lemon slices on the bottom of the pan, and the other half on top of the chicken.  Move the skillet to oven and allow chicken cook through about another 6-8 minutes. Remove chicken  from oven, and transfer to a plate. Add in the onion, oregano, garlic and red pepper flakes to the skillet and let cook for 2 minutes, remove the skillet from the fire, add in the wine and give a quick stir. Return the skillet to the fire  cook for 2 minutes and add the chicken stock cook for another 3 or the sauce has thickened a bit,  add in the remaining olive oil. Return the chicken to the skillet. At this point you can taste the sauce to see if you need more lemon, I usually add in the juice of one of the two remaining wedges. Add sea salt and black pepper if necessary,  serve and enjoy!

What is your favorite cold weather oven meal?

Follow and like me on Facebook: http://www.facebook.com/lazygirldinners

Roasted Cauliflower with Parsley Lemon Sauce

Roasted Cauliflower with Parsley Lemon Garlic Sauce

I love roasted Cauliflower, it’s one of my favorite side dishes. My daughter loves it too. Since we eat so much of it, I decided to try it with this little twist. I’m so glad I did because it is definitely something I will add to my arsenal of cauliflower recipes!

Prep time: 5 minutes
Cook time: 20 minutes
Total time: 25 minutes

Ingredients:
1 head of cauliflower roughly sliced
1 cup of flat leaf parsley
1/2 juice of a medium lemon
1 clove of garlic
6 tablespoons of olive oil
Sea salt and black pepper to taste

Directions:
Pre heat the oven to 425 F. Place cauliflower on a roasting sheet/pan toss with 4 tablespoons of olive oil, salt and black pepper, and roast for 15-20 minutes, or until cauliflower is fork tender and takes on a bit of color. While the cauliflower is roasting, place, the parsley, lemon juice, garlic, and remaining 2 tablespoons of oil in a small blender or processor and blend until it comes together. Season the sauce with sea salt to taste. Once the cauliflower is done, toss with 1 tablespoon of the sauce and reserve the rest to serve on the side.

Follow and like me on Facebook: http://www.facebook.com/lazygirldinners

How to make Salt Dough Ornaments

Salt Dough Ornaments

My daughter and I are doing a hand print ornament today, so rather than give you guys the recipe I was going to post, I’m re-blogging this.  I love how her ornament turned out last year, so we are making another one this year. The difference in her hand size from last year to this year is big. I can’t wait to look back on these, and remember once she’s older. It makes my heart leap just thinking of it.  I’ll post a picture at the bottom of her hand print ornament from last year.  She picked the color of the glitter–it’s very Michael Jackson-like. Enjoy!

I have a confession, I have a borderline ornament addiction. Okay it’s an all out addiction! I love ornaments! The holiday season and purchasing our tree and decorating it is a big deal in our house. Even before I had my daughter, I would always make a big deal of decorating our tree. I obsess over ornaments. I constantly buy new ornaments. I cannot go into a store with ornaments and leave without a new one. It’s bad I know! I have storage container, upon storage container of ornaments. Last year, I decided to try to make my own. I figured it would be a great tradition to start with my daughter. The ornaments turned out awesome, and this year, I worked out most of the kinks I encountered last year, so these are near perfect. The best part about making these is that with the exception of polyurethane, you probably have everything you need to make these. You can use any molds, paints, or glitters that you have. If you don’t care whether or not these last years to come, you can even skip the polyurethane and use Elmer’s glue.

Pin It!

Ingredients
1/2 cup of flour
1/2 cup of salt
1/4 cup of water
Glitter
Polyurethane clear coat glue
Paint ( I use Martha Stewart brand)
Parchment paper

Directions:
Preheat your oven to 200F degrees Add all ingredients to a bowl, mix until the dough comes together, then knead the though until it’s smooth and forms a ball. Place the dough on a sheet of foil or parchment paper. Using a rolling pin roll the dough out into an even layer, then use cookie cutters to cut out fun shapes. Move the parchment paper with the cut outs to a cookie sheet. Using a toothpick punch a small hole in the top of the ornament. You’ll need the hole to string through ribbon or an ornament hook, so make sure it’s big enough. Just stick the toothpick in and swirl around until you reach the thickness you need:

Place the ornaments in the oven for 1-2 hours or until they are hard and dry. Once they are hardened remove from the oven and let them cool completely about 20 minutes.

Now the fun begins. Paint the ornaments on both sides with your choice of paint.

Once the paint dries (10-15mins) use a paint brush to apply a coat of polyurethane, immediately add glitter, and let dry for 5 minutes then repeat on the other side.

Once both sides are dry, you can string through your ribbon and you’re done. You can save these for your own tree or give them away as gifts!

What are some of your favorite holiday traditions?

Hand print Salt dough ornament

Hand print Salt dough ornament

Follow and like me on Facebook: http://www.facebook.com/lazygirldinners

Tamales

Now that Thanksgiving is over, you’re probably trying to think of ways to use all of the leftovers. These tamales are a great way to rid your refrigerator of all that left over turkey. They’re simple to make, but very delicious! If you’re family ate all the turkey and you don’t have any leftover, chicken works just as well for these tamales, in fact I usually make these with chicken.

Prep time: 5 minutes
Cook time: 30minutes
Total time: 35 minutes

Ingredients:
2 cups of cooked turkey or chicken shredded
1 cup corn meal
1/2 cup flour
1.5 teaspoons baking powder
1/2 teaspoon baking soda
3/4 cups of buttermilk ( substitute with 3 /4 cup of yogurt, or add 1 teaspoon of white vinegar to 3/4 cup of milk and let sit for 10 minutes before using)
1/4 teaspoon of sea salt
1 10 ounce can of  enchilada sauce
1 teaspoon of cumin
1.5 cups of creamed corn (see my recipe Here)
1 egg
1 cup of shredded cheese cheddar

Directions:

  1. Preheat oven to 400°. Combine 1/4 cup cheese, corn meal, egg, milk, sea salt, baking powder, baking soda, cumin, creamed corn and flour in a large bowl, stirring just until moist. Pour mixture into a baking dish coated with cooking spray. Bake at 400° for 15 minutes or until set. Pierce entire surface liberally with a fork; pour enchilada sauce over top. Top with turkey/chicken, and sprinkle with remaining 3/4 cup cheese. Bake at 400° for 15 minutes or until cheese melts. Remove from oven; let stand 5 minutes. Serve with sour cream, and salsa, and enjoy!