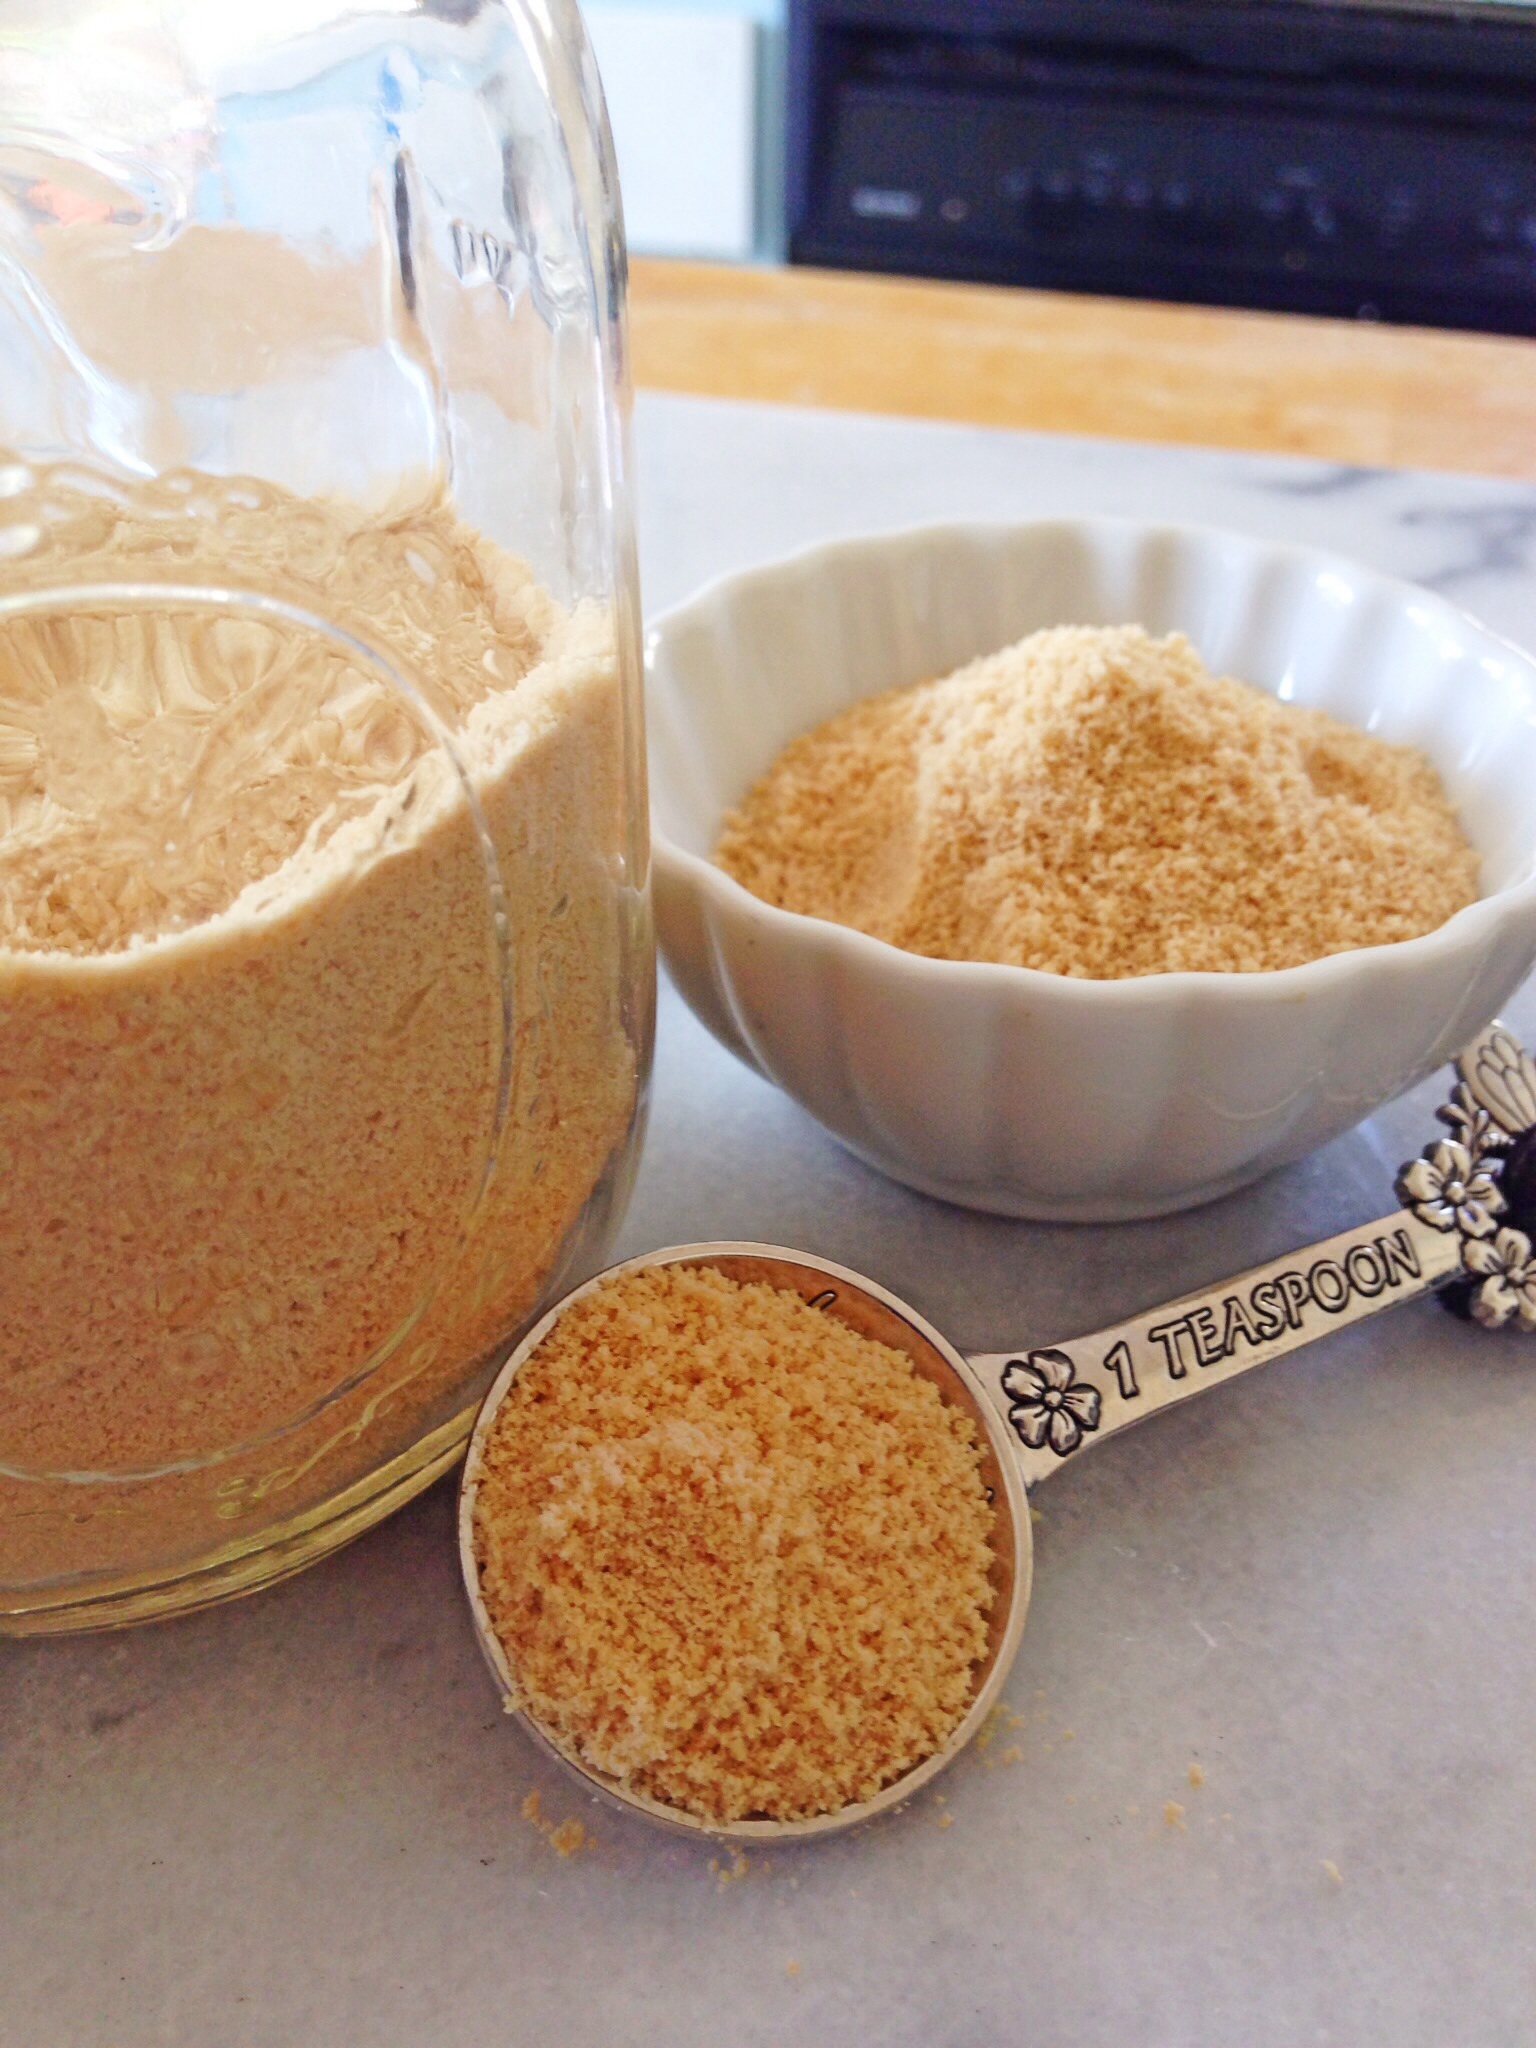
How To Make Pure Maple Sugar
It took me about a year, but I finally got around to making maple sugar. I have been planning to make it since I made maple cream for my husband, and just never got around to it. To be honest the weather just hasn’t permitted it. It has been so humid here in California lately, and making maple sugar in humid weather is a nightmare. I’ve been waiting, and waiting, and waiting for the weather to change and it’s just not happening. The other day when I was in the grocery store, I picked up a package of maple sugar, it was $19.99 for about 5 ounces, and I thought to myself, “Really? I could just make this.” So I put the package back and picked up a 32 ounce bottle of maple syrup instead, it was the same price as the 5 ounce package of maple sugar—see where I’m going with this? Even with the humidity, making maple sugar is a better option than buying it–although I don’t recommend it–making maple sugar really is a nuisance in humid weather–it’s doable, but a total headache! You need the sugar to be dry, wet air doesn’t help in that process. Without humidity the process of making maple sugar is pretty simple. After you make it, you’ll wonder why you never made this before. If you’re wondering why I even bother…sugar is sugar, right? Wrong, at the caloric base, yes, sugar is sugar, whether you consume the white stuff, the raw stuff, or the home made maple sugar, your body metabolizes it all the same. But when you factor in things like how sugars are processed, and the chemicals used to process those sugars, which remain on the sugar, then you can see that not all sugars are created equally. The great thing about maple sugar, is that it contains minerals and nutrients that you would not otherwise consume, so it’s sugar with an added mineral bonus.
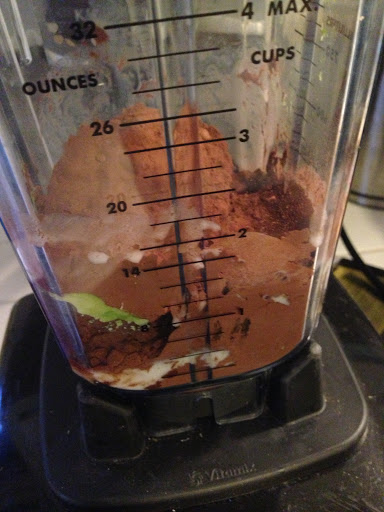
If you want to see how I do this with a silpat and a blender –no stirring or mixer involved –check out my youtube video by clicking on the photo below, and don’t forget to subscribe to my channel while you’re at it!

Click here to watch my Video how to
Pin It!
Prep time: none
Cook time: 7-10 minutes
This makes about 1.25 cups of maple sugar
Ingredients:
1 cup of pure 100% maple syrup (I used grade A but B works)
Tools:
Wooden spoon
Heavy bottom pot (medium size)
Thermometer that can read well over 250F
Stand mixer or you could stir this manually
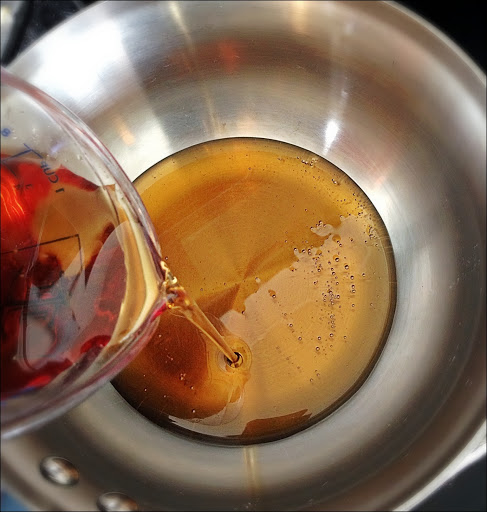
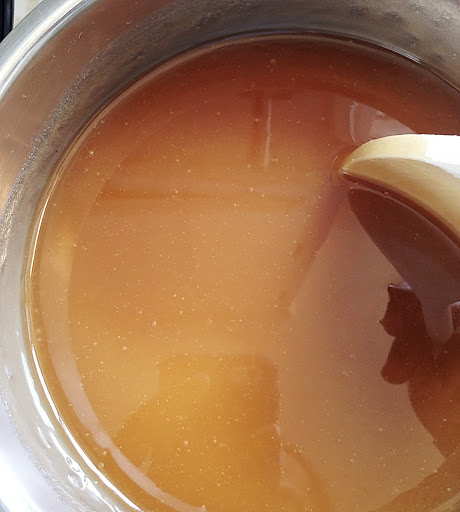
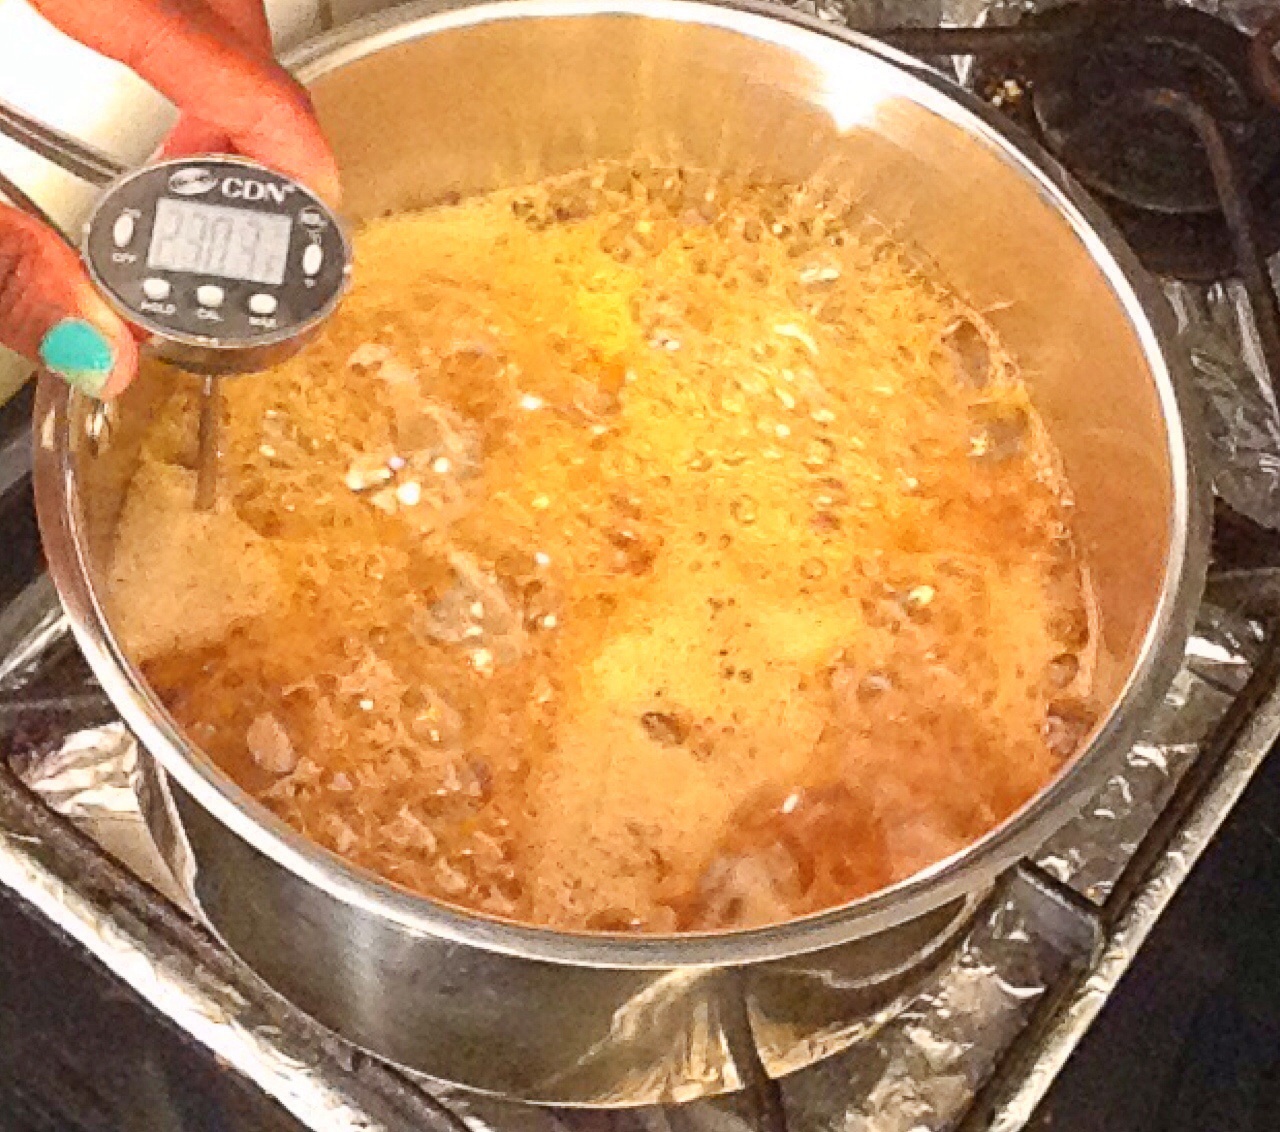
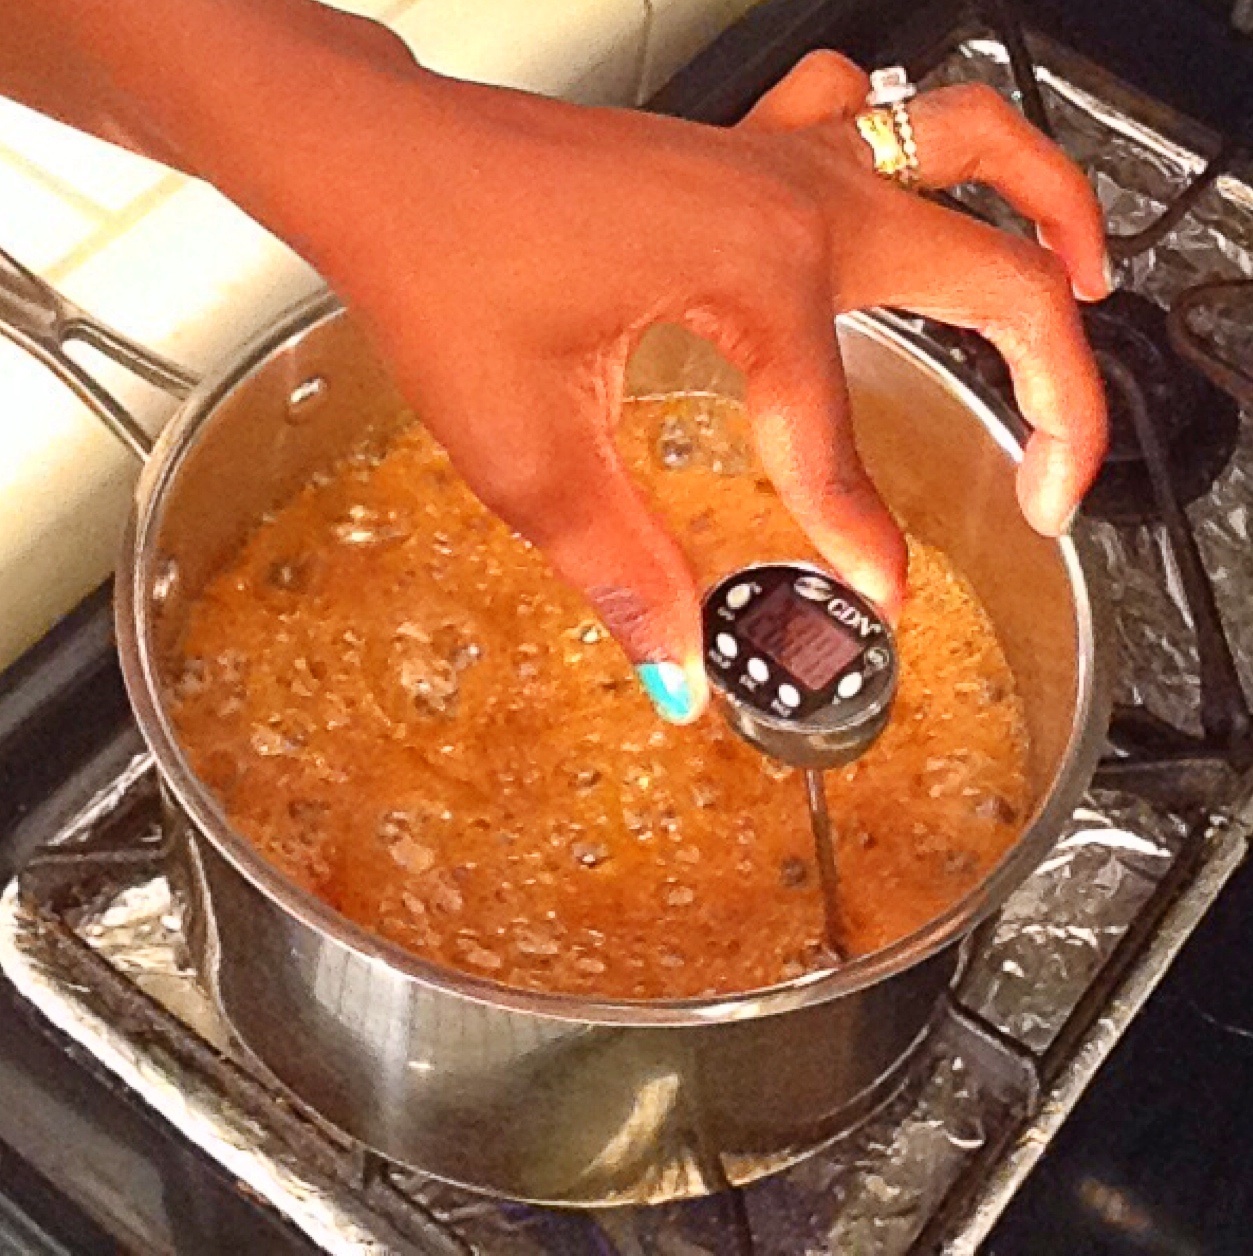
Directions: Pour the maple syrup into a pan, and heat over medium high heat

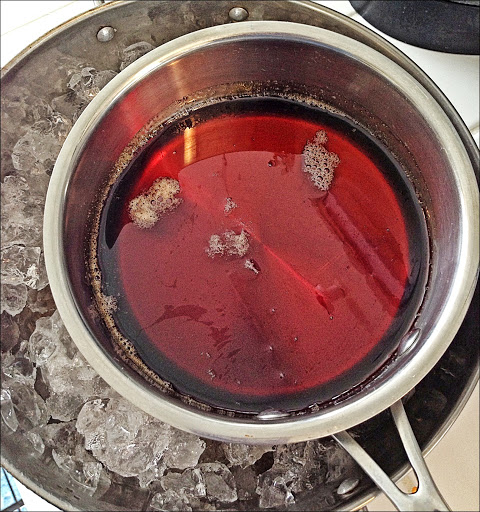
Heat until your thermometer reads 255-265F

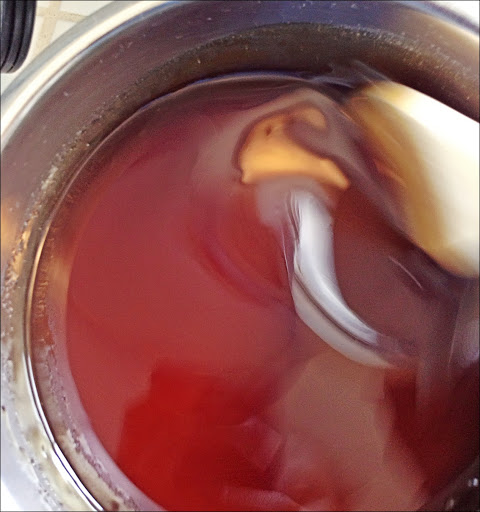
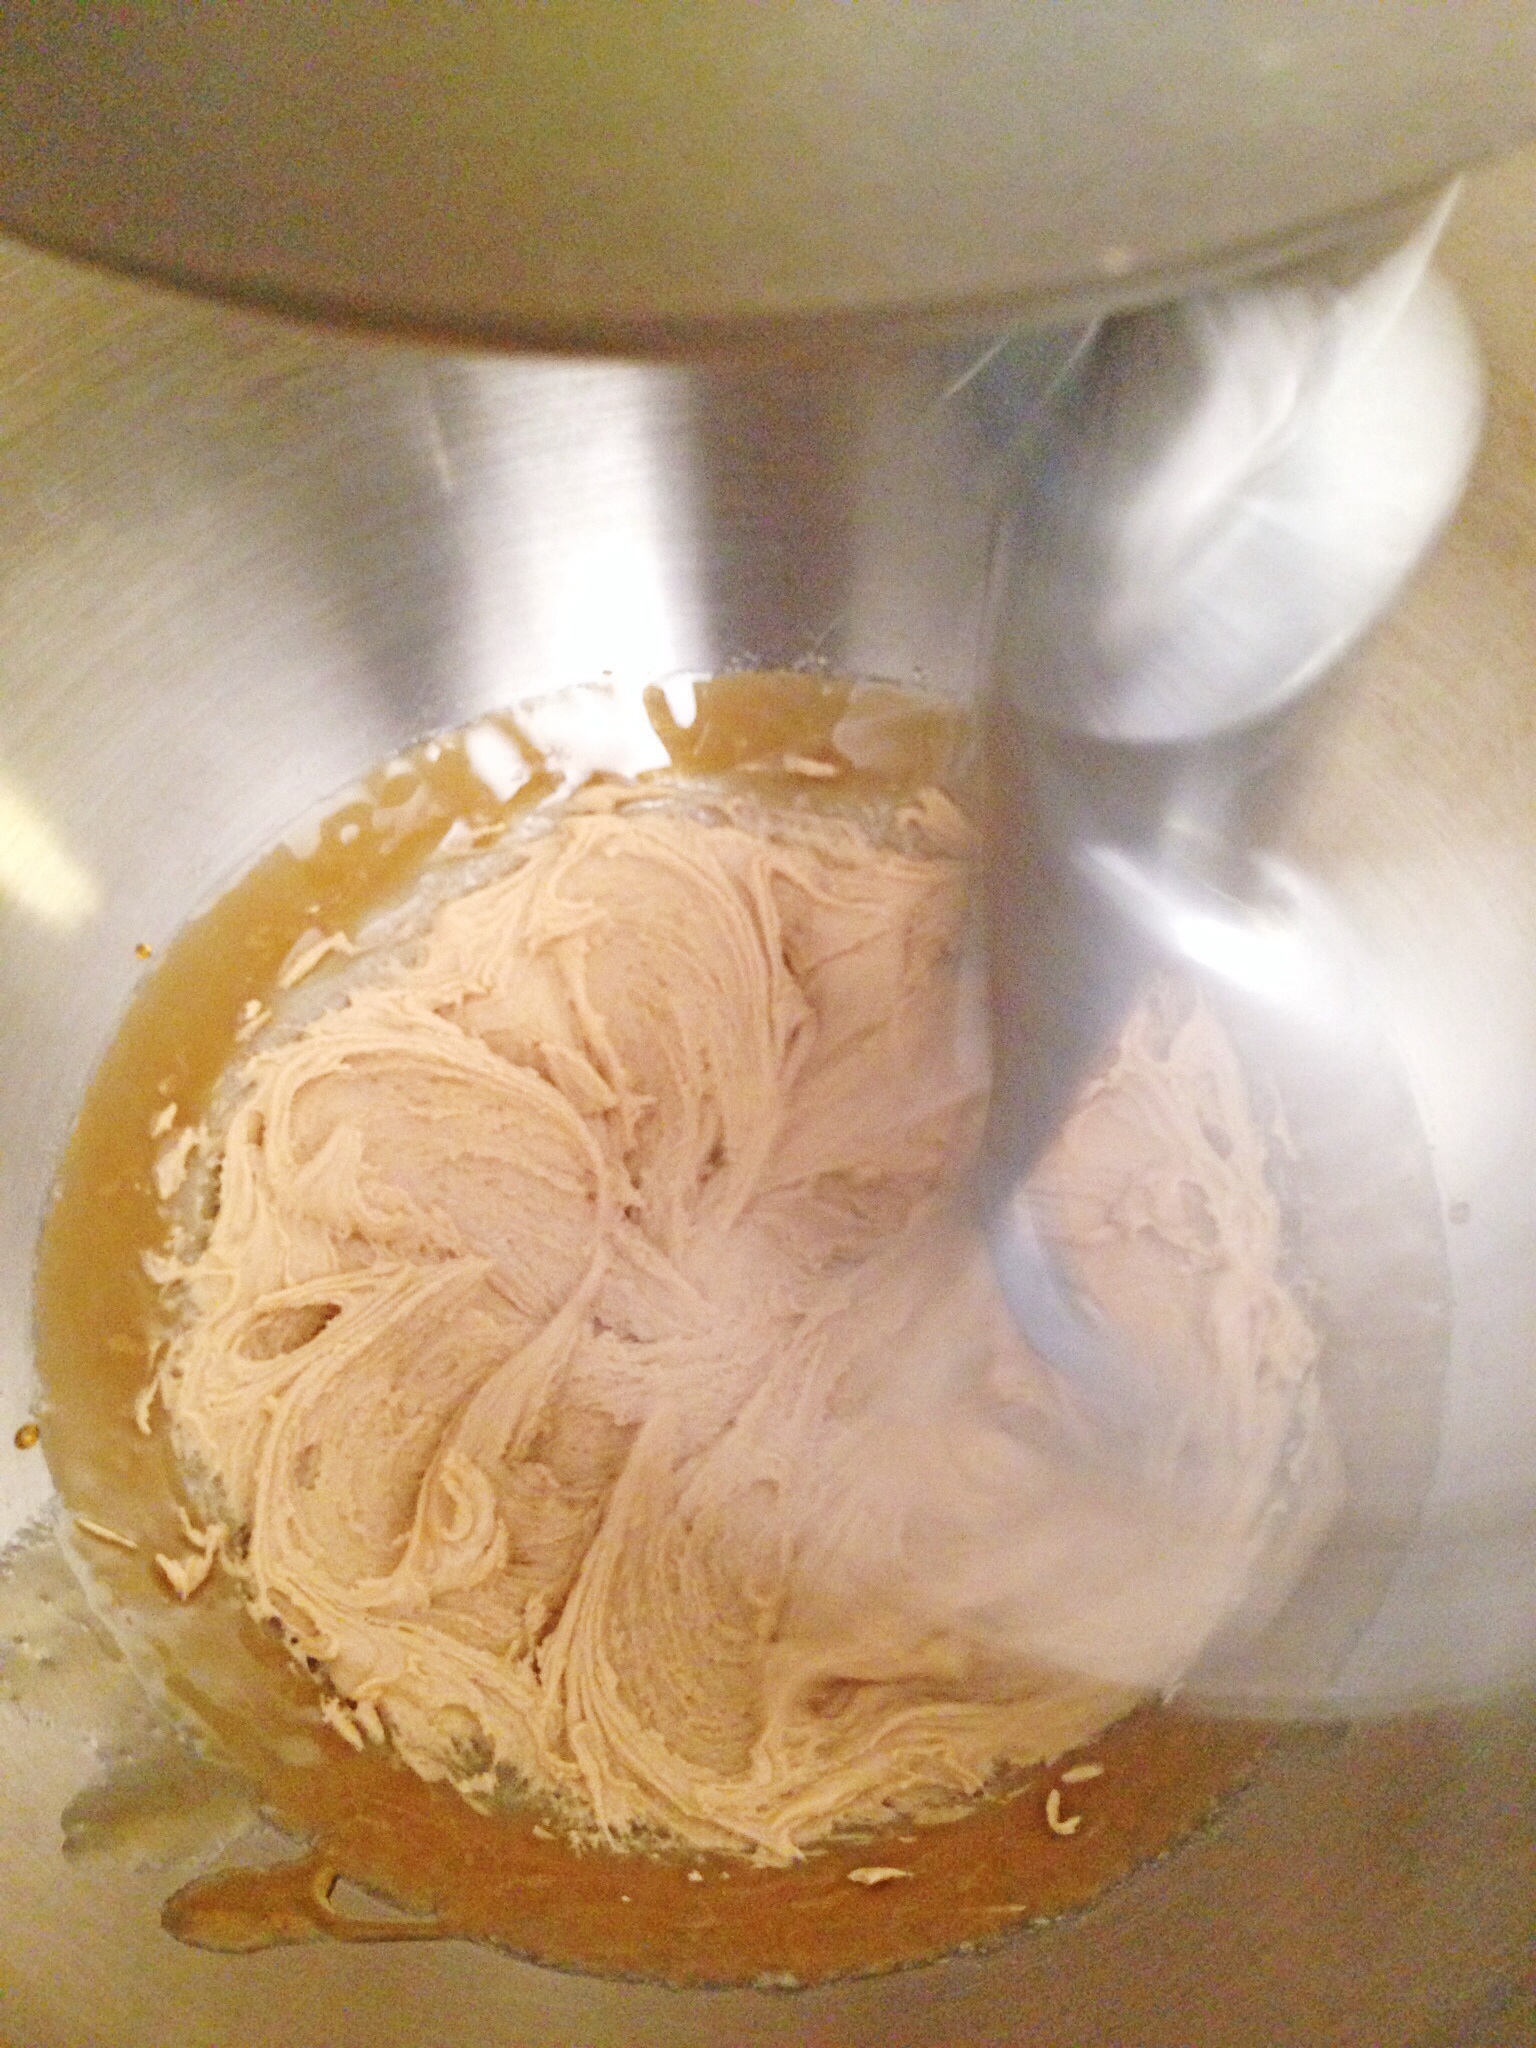
Remove from heat and pour into stand mixer fitted with the paddle attachment. Turn the mixer on medium speed (about 6) and mix.


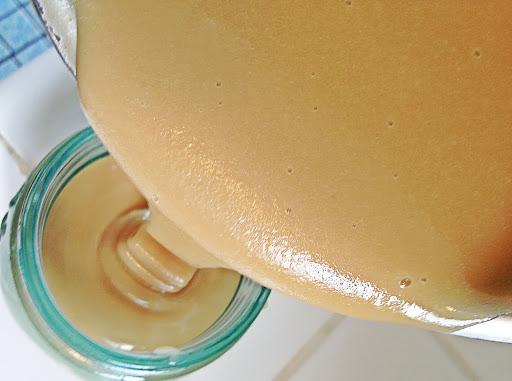
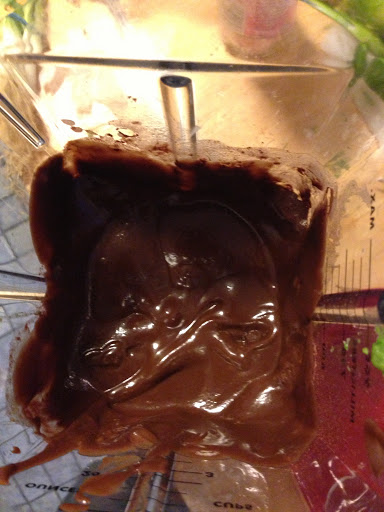
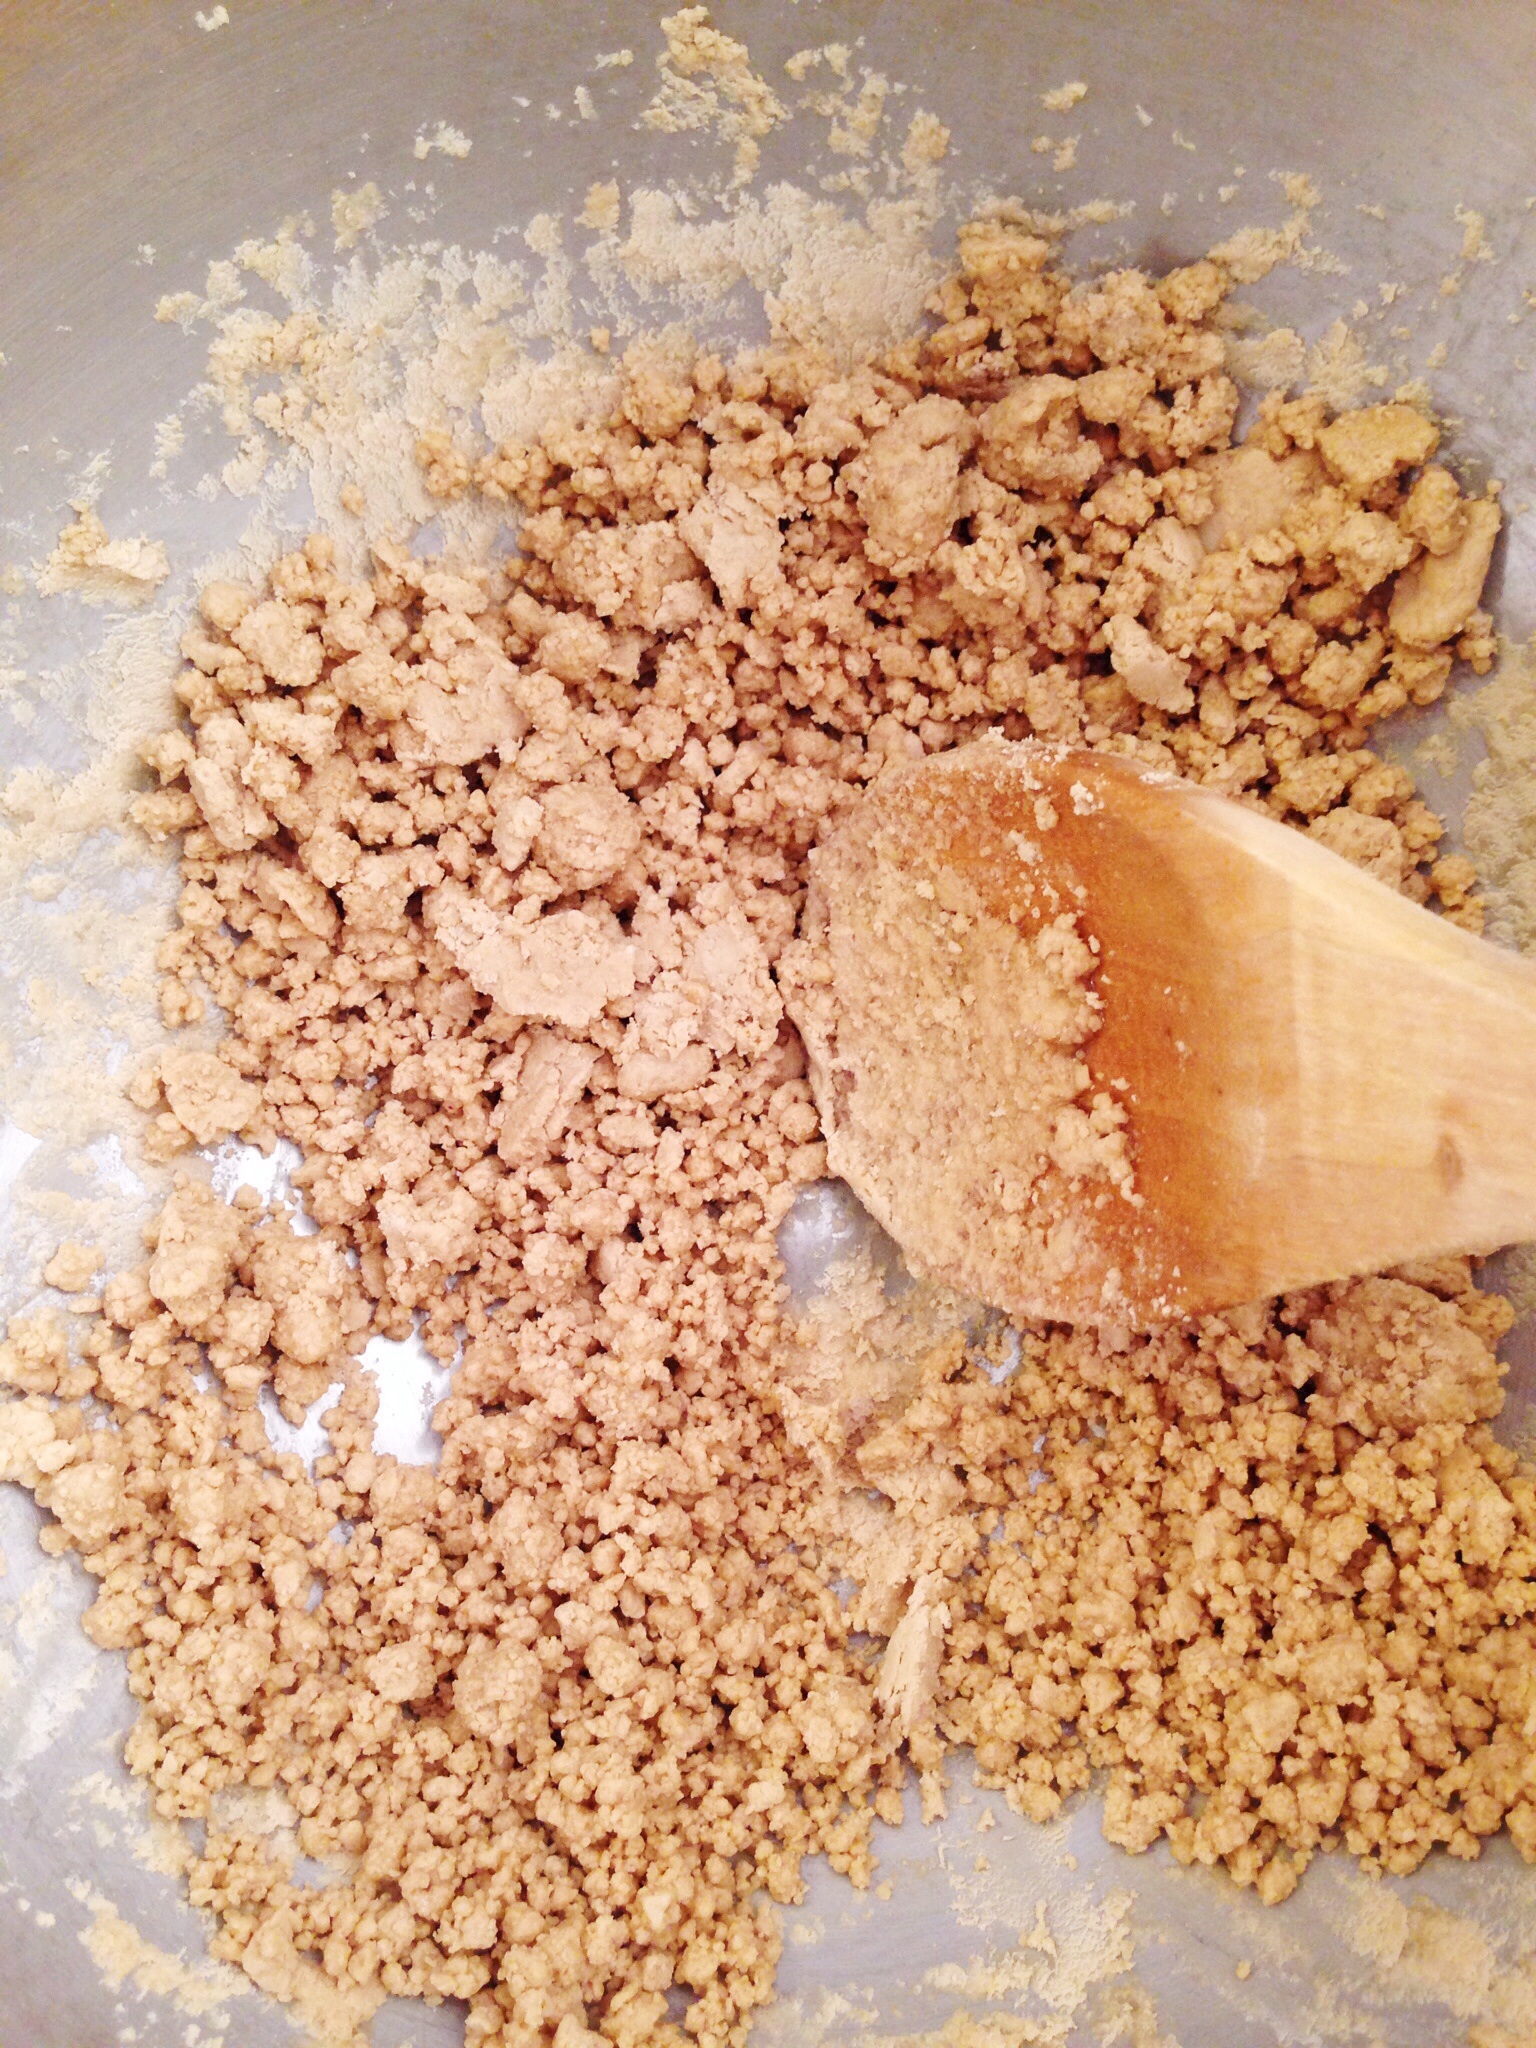
The maple syrup will start to change color and texture as it cools, it will also begin to dry out–you want this, keep going until it is completely dry.


Once it looks dry, put a small amount into a sieve, and push it through with a wooden spoon, continue doing this until you have sifted all the sugar. Or you could just put this in the blender and save yourself the time. I prefer to sift, I sift even after I blend, just to make sure that all of the crystals are uniform.


Place the sugar into an airtight container. I use maple sugar in every recipe that calls for sugar, the substitution ratio is 3/4 cup maple sugar = 1 cup granulated sugar.
Trouble Shooting: If you decide to do this on a hot and humid day, one of the issues you may encounter is that your mixture will not harden–this is especially the case for doing this without a mixer–but even with a mixer it can still occur. If you pour this out of the hot pan and onto the silpat and the humidity prevents it from hardening–you can still save it. Place it into the fridge to harden, then break it up and process in a blender/processor. It will become sticky, pliable, and clumpy as it melts–humidity is a you know what– spread it back out on the silpat and let it sit out in the open. Like stale bread it will begin to absorb the moisture in the air–which is a good thing–confusing I know–but once it has absorbed all the moisture that it can hold–it will harden and become dry–very dry, and very hard, and that’s what you want. Once it’s hard, place it in the processor/blender and like magic you have granulated maple sugar.