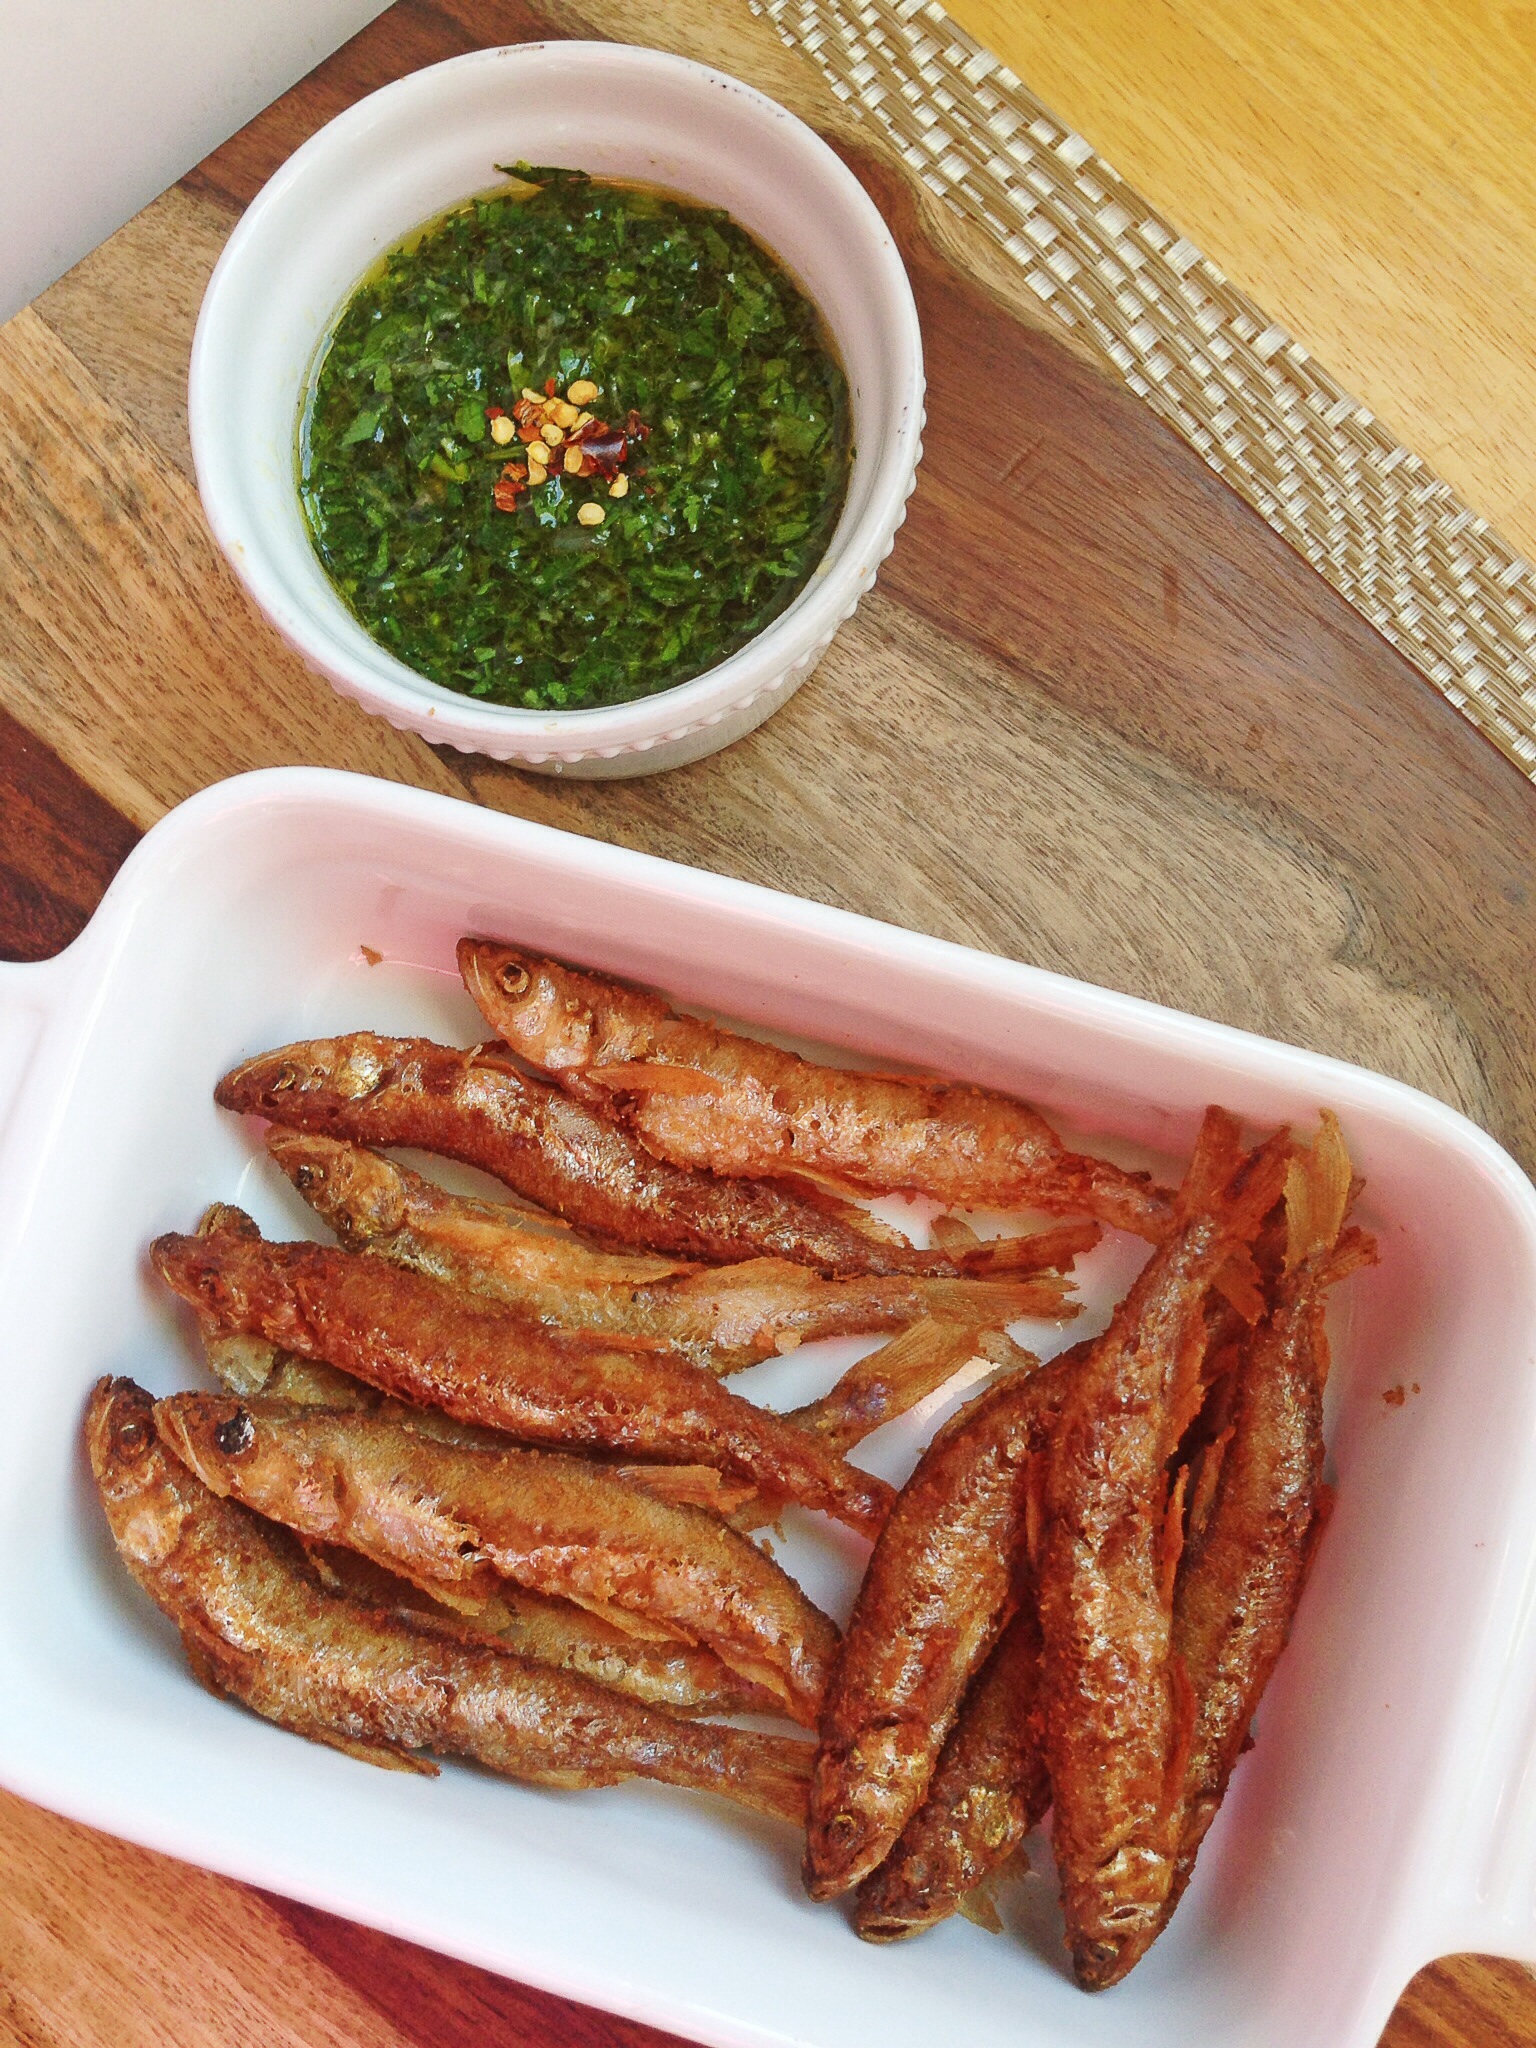
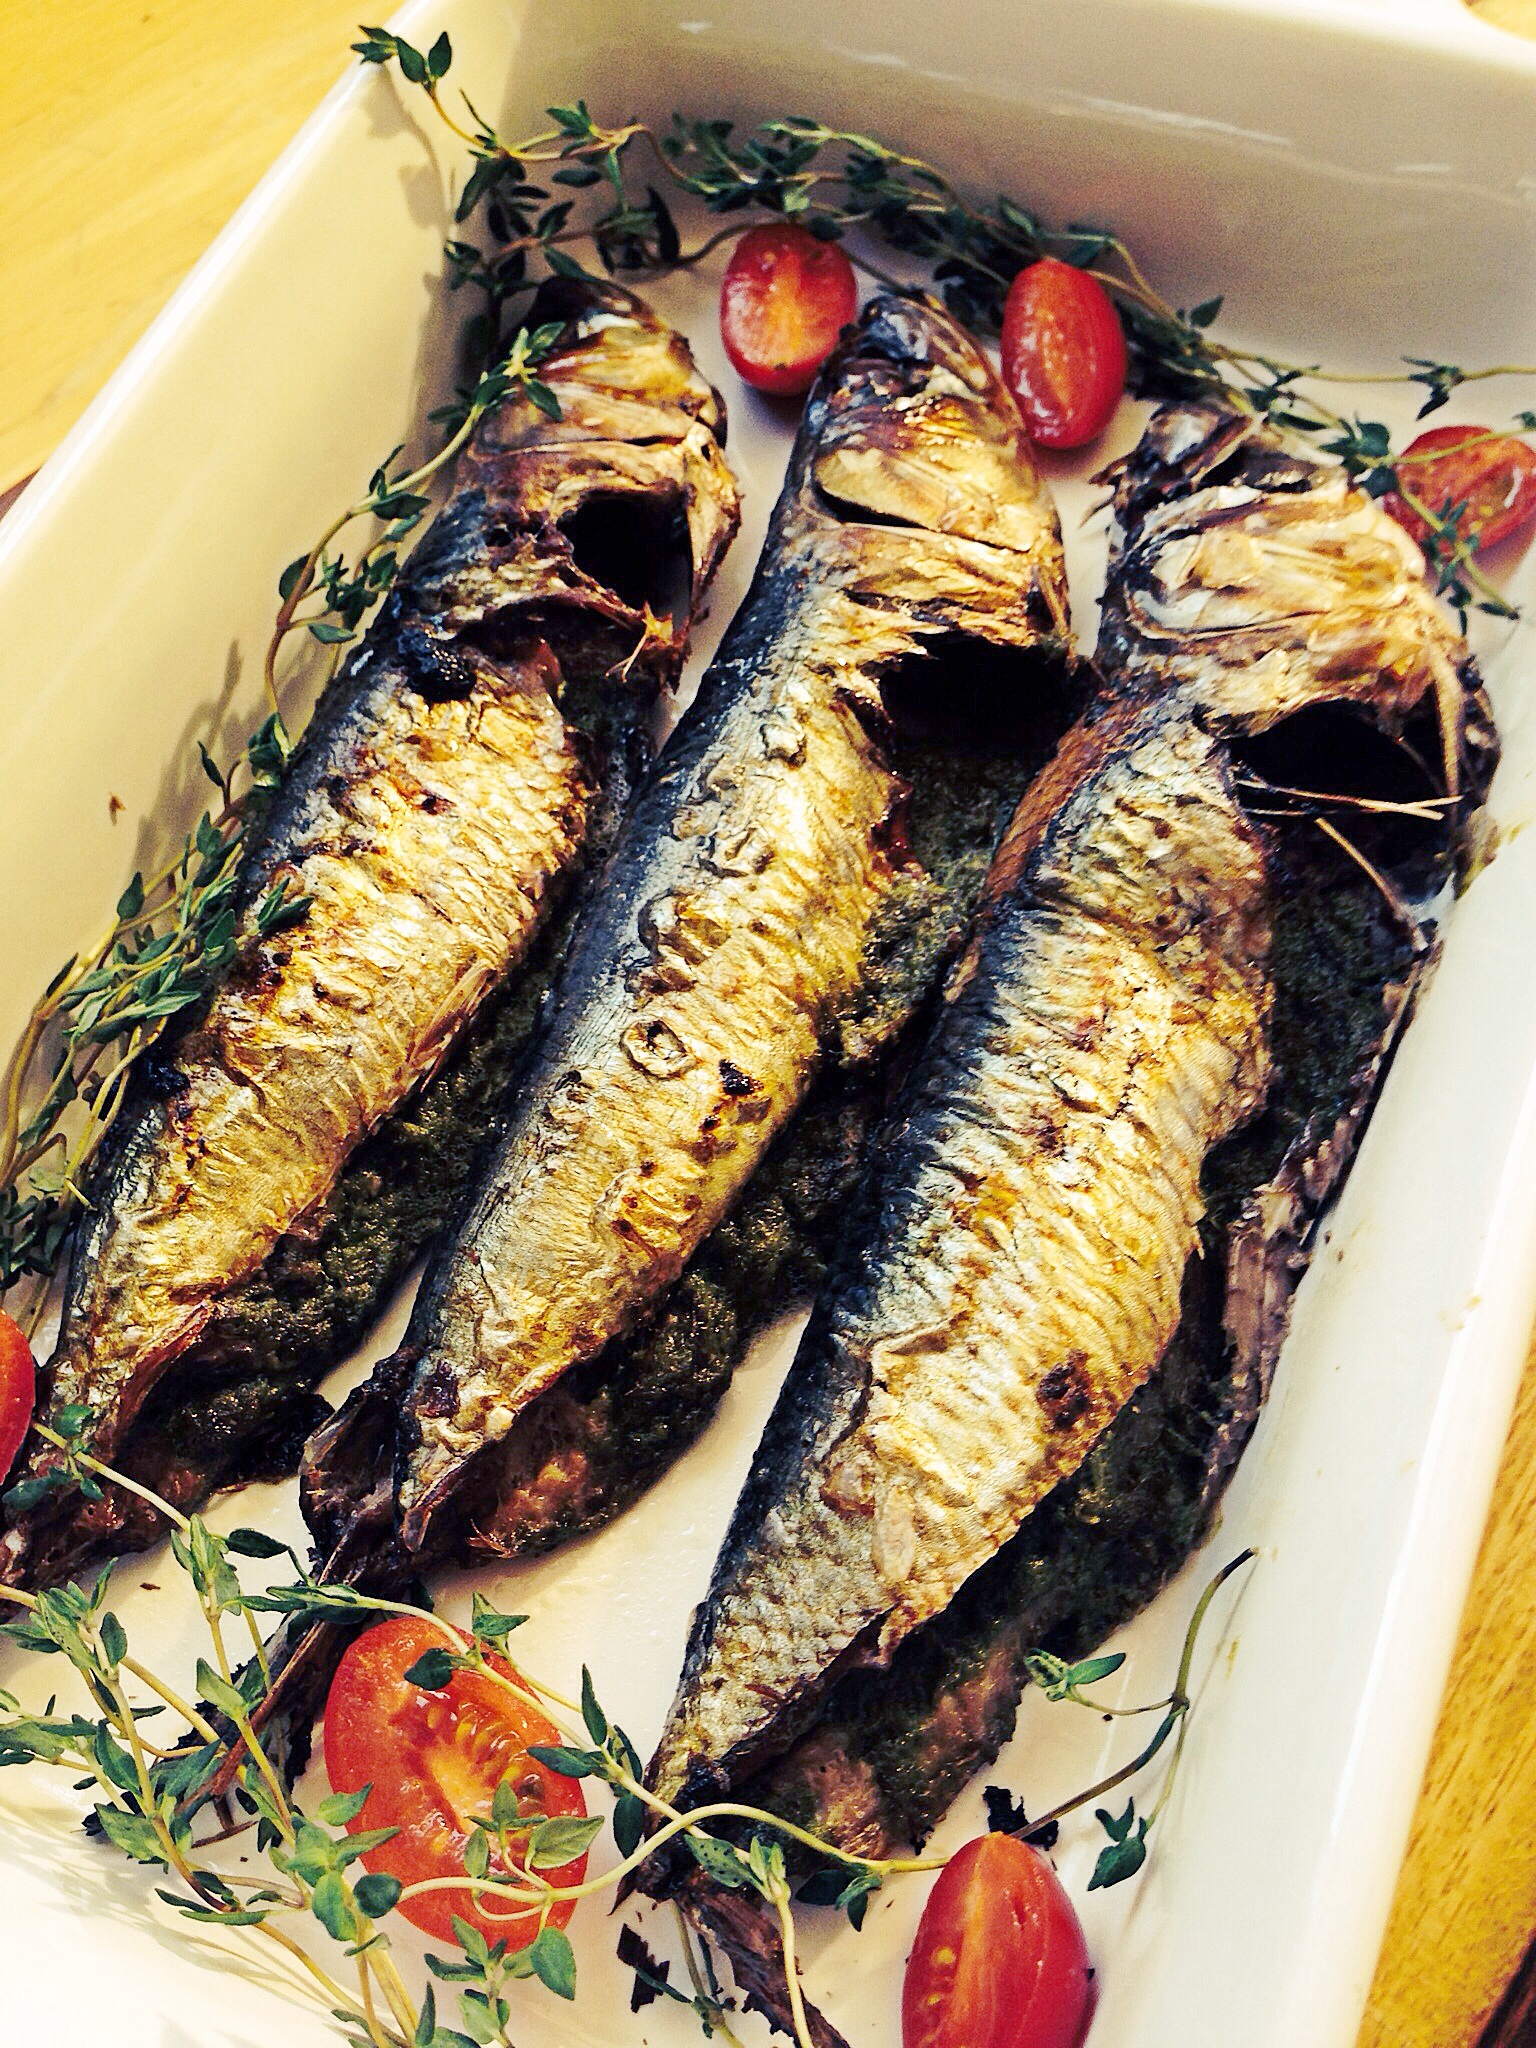
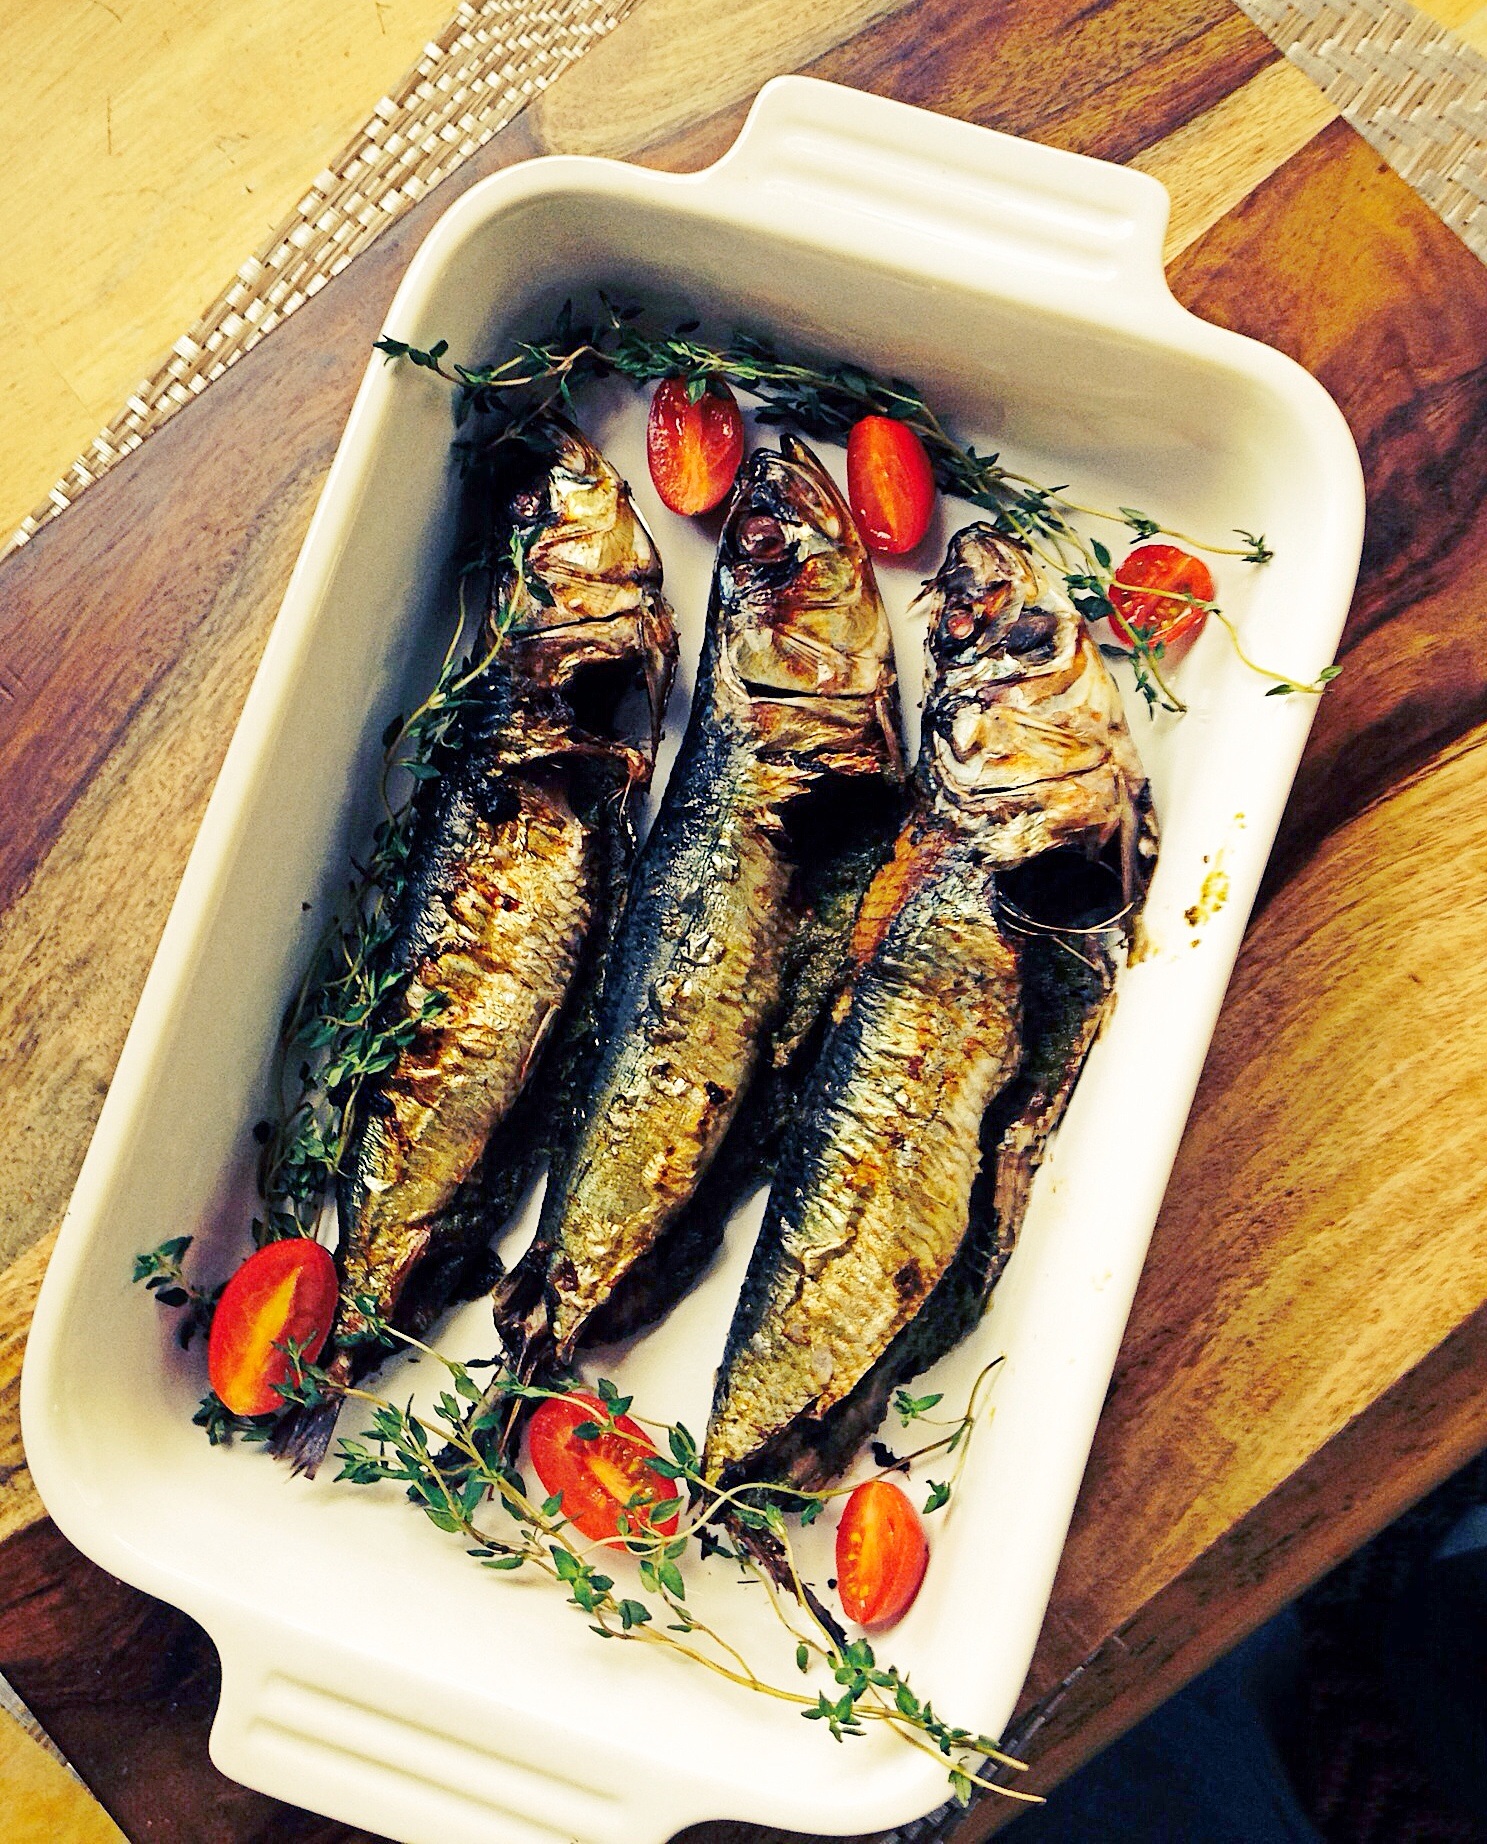
Crispy Smelt with Parsley Lemon Vinaigrette
I LOVE Smelt, LOVE them. In fact I love them so much I wish that I could eat them year round. If you’ve never tried smelt, then after you read this blog, stop by your grocery store, and get some! They are rich in omega-3 fatty acid, so not only are they delicious, but they’re great for you. Smelt are small boned fish, like anchovies, so you can eat them whole, even the head. if you’re so inclined. If you’re really lucky, like I have been thus far, you’ll find them fresh at your grocer. I’m told that most grocers sell them frozen in bags. Fresh is best, but these are so good that I would imagine they would still be good even after they’ve been frozen and defrosted. But if you have a choice, why not choose fresh?
Pin It!
Prep Time: 10 minutes
Cook time: 10 minutes
Total Time: 20 minutes
Ingredients:
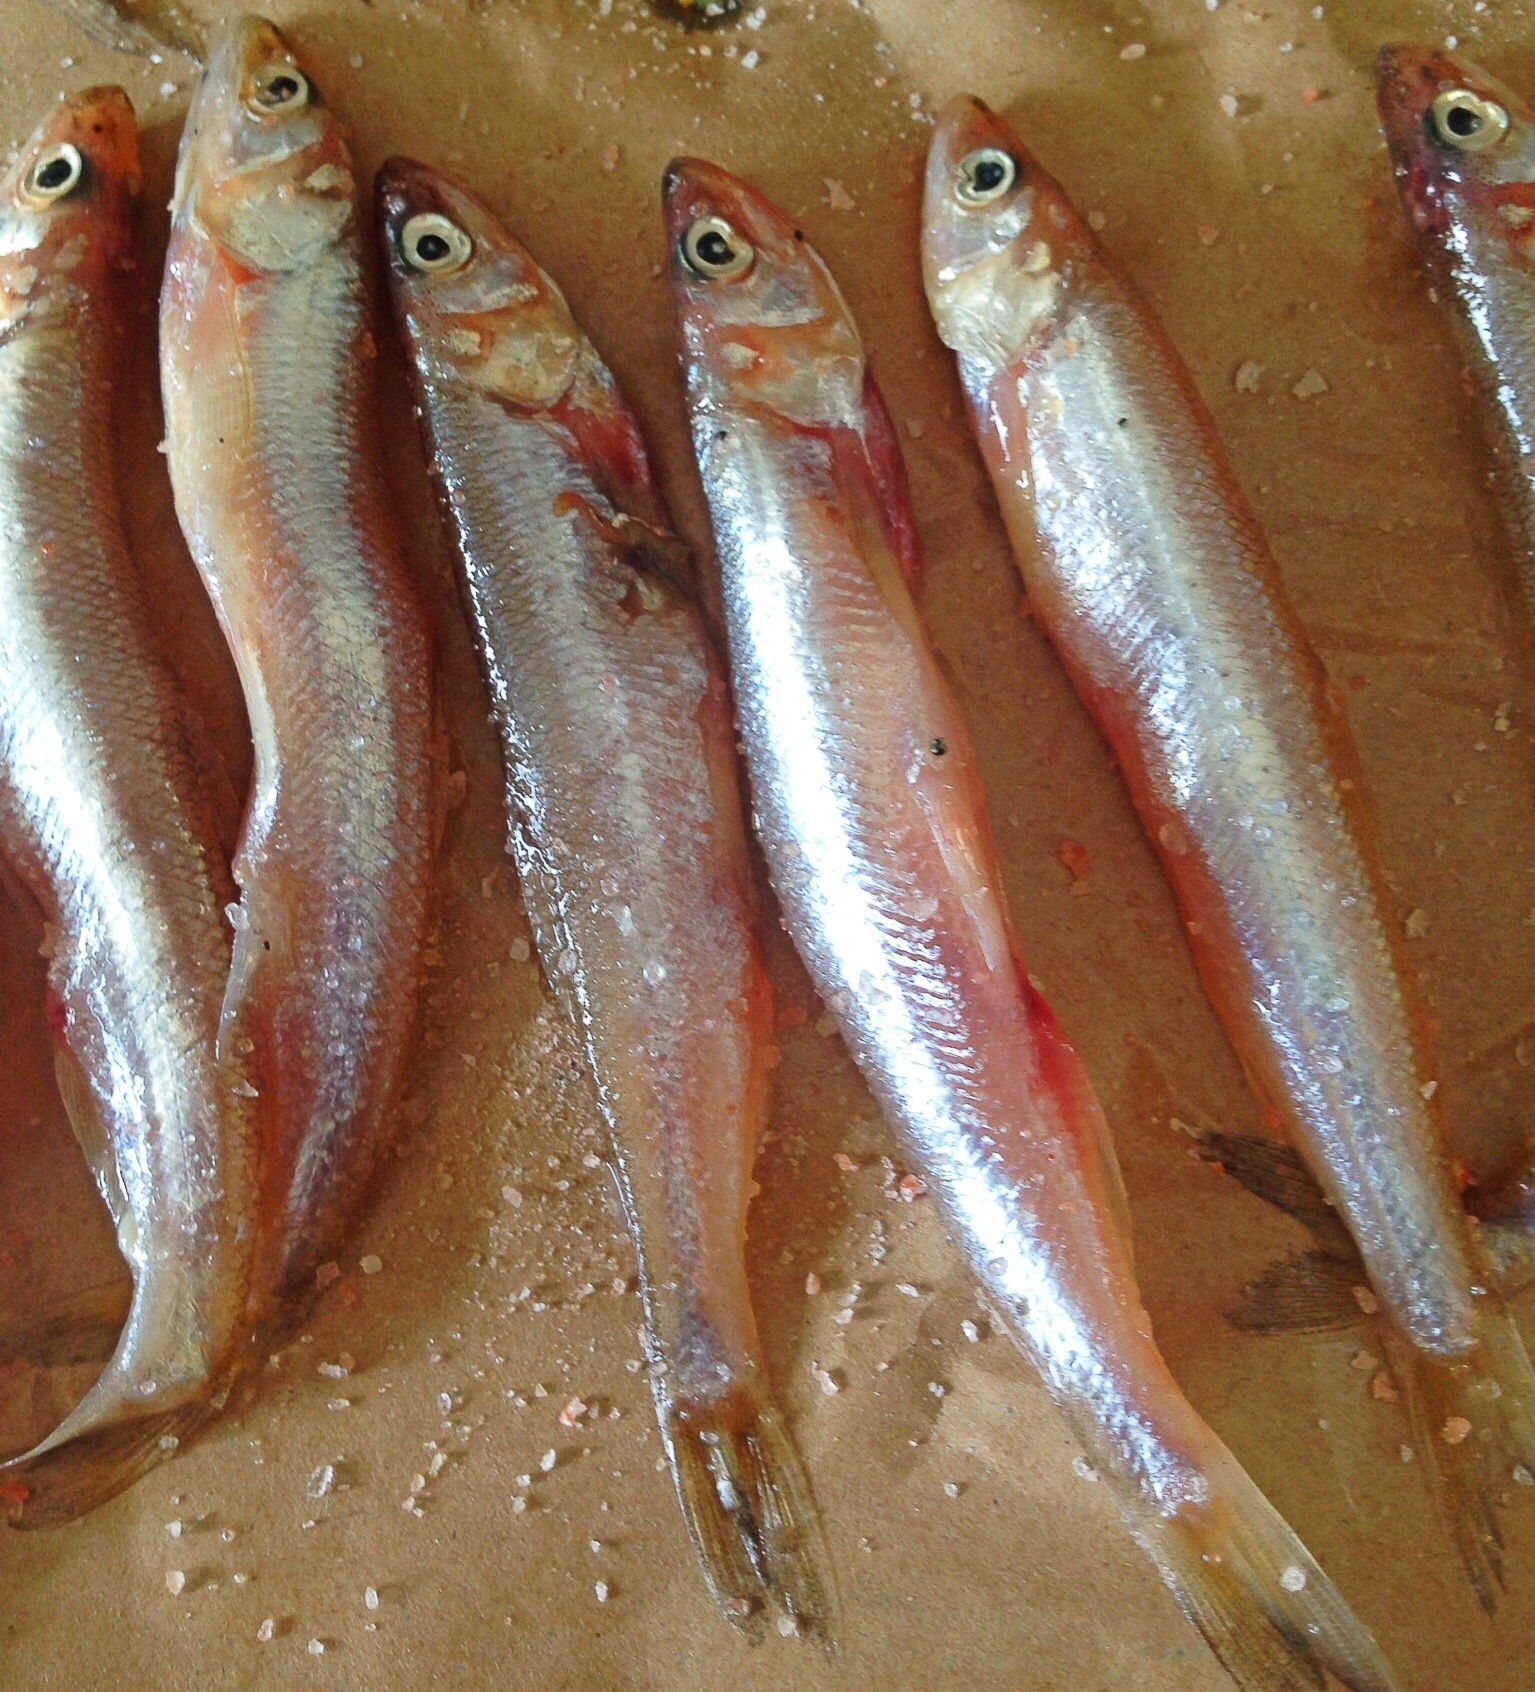
1 pound of Smelt (cleaned)
1/2 cup of coconut flour
Sea salt and black pepper to taste
1/4-1/2 cup of coconut oil
Ingredients for Parsley Lemon Vinaigrette
1/4 cup of fresh organic flat leaf parsley finely chopped
5 tablespoons of Lemon juice
3 Tablespoons of olive oil
2 cloves of garlic grated
Sea salt and black pepper to taste
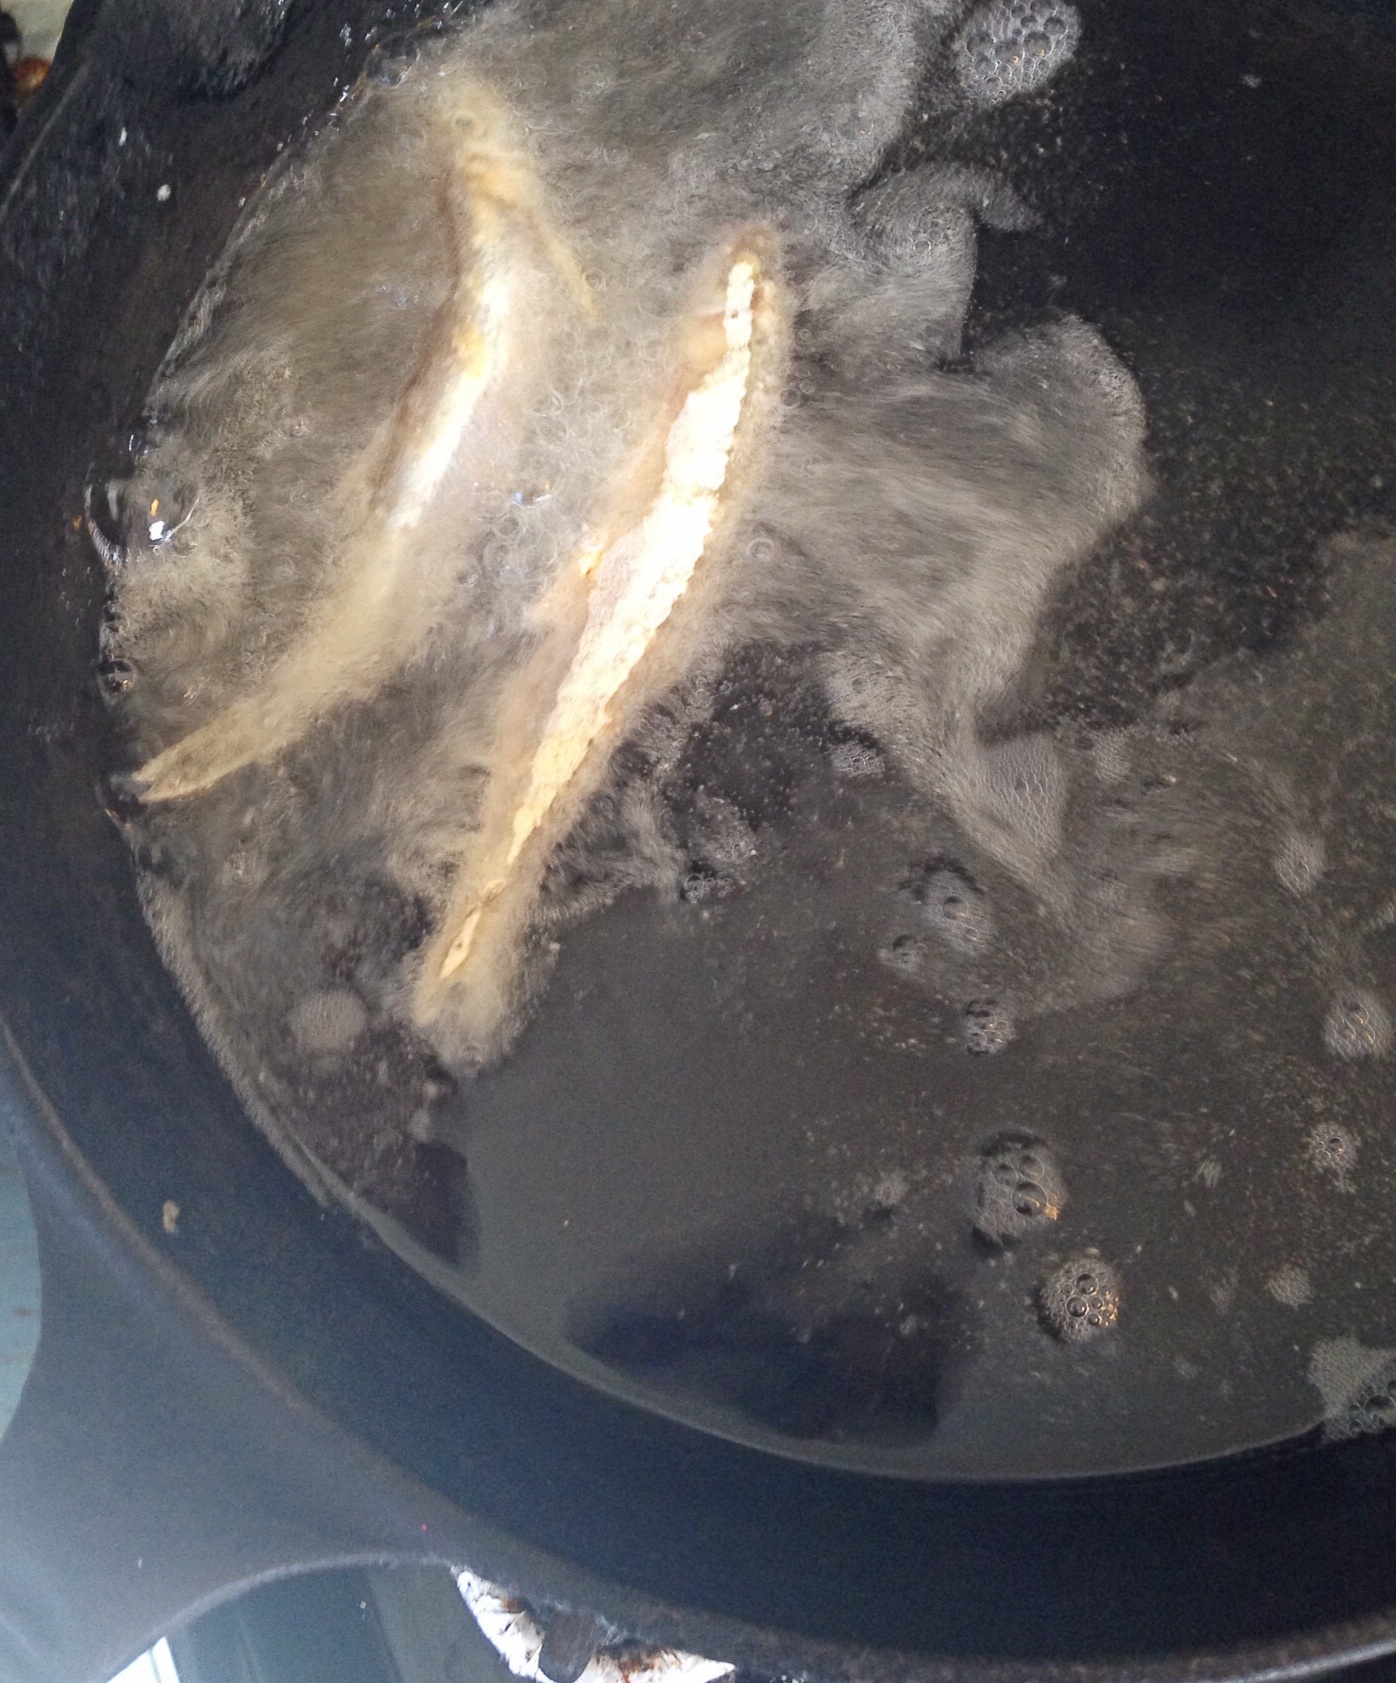
Directions: Melt the coconut oil in a cast iron skillet, and bring up to temperature. Season the smelt with sea salt and pepper:
Dredge through the coconut flour, coating all sides of the fish with the flour:

Carefully add the fish to the hot oil and fry until golden brown on all sides, about 5-7 minutes:
Add the ingredients for the parsley lemon vinaigrette to a bowl and whisk until well combined, spoon over the fish and enjoy!
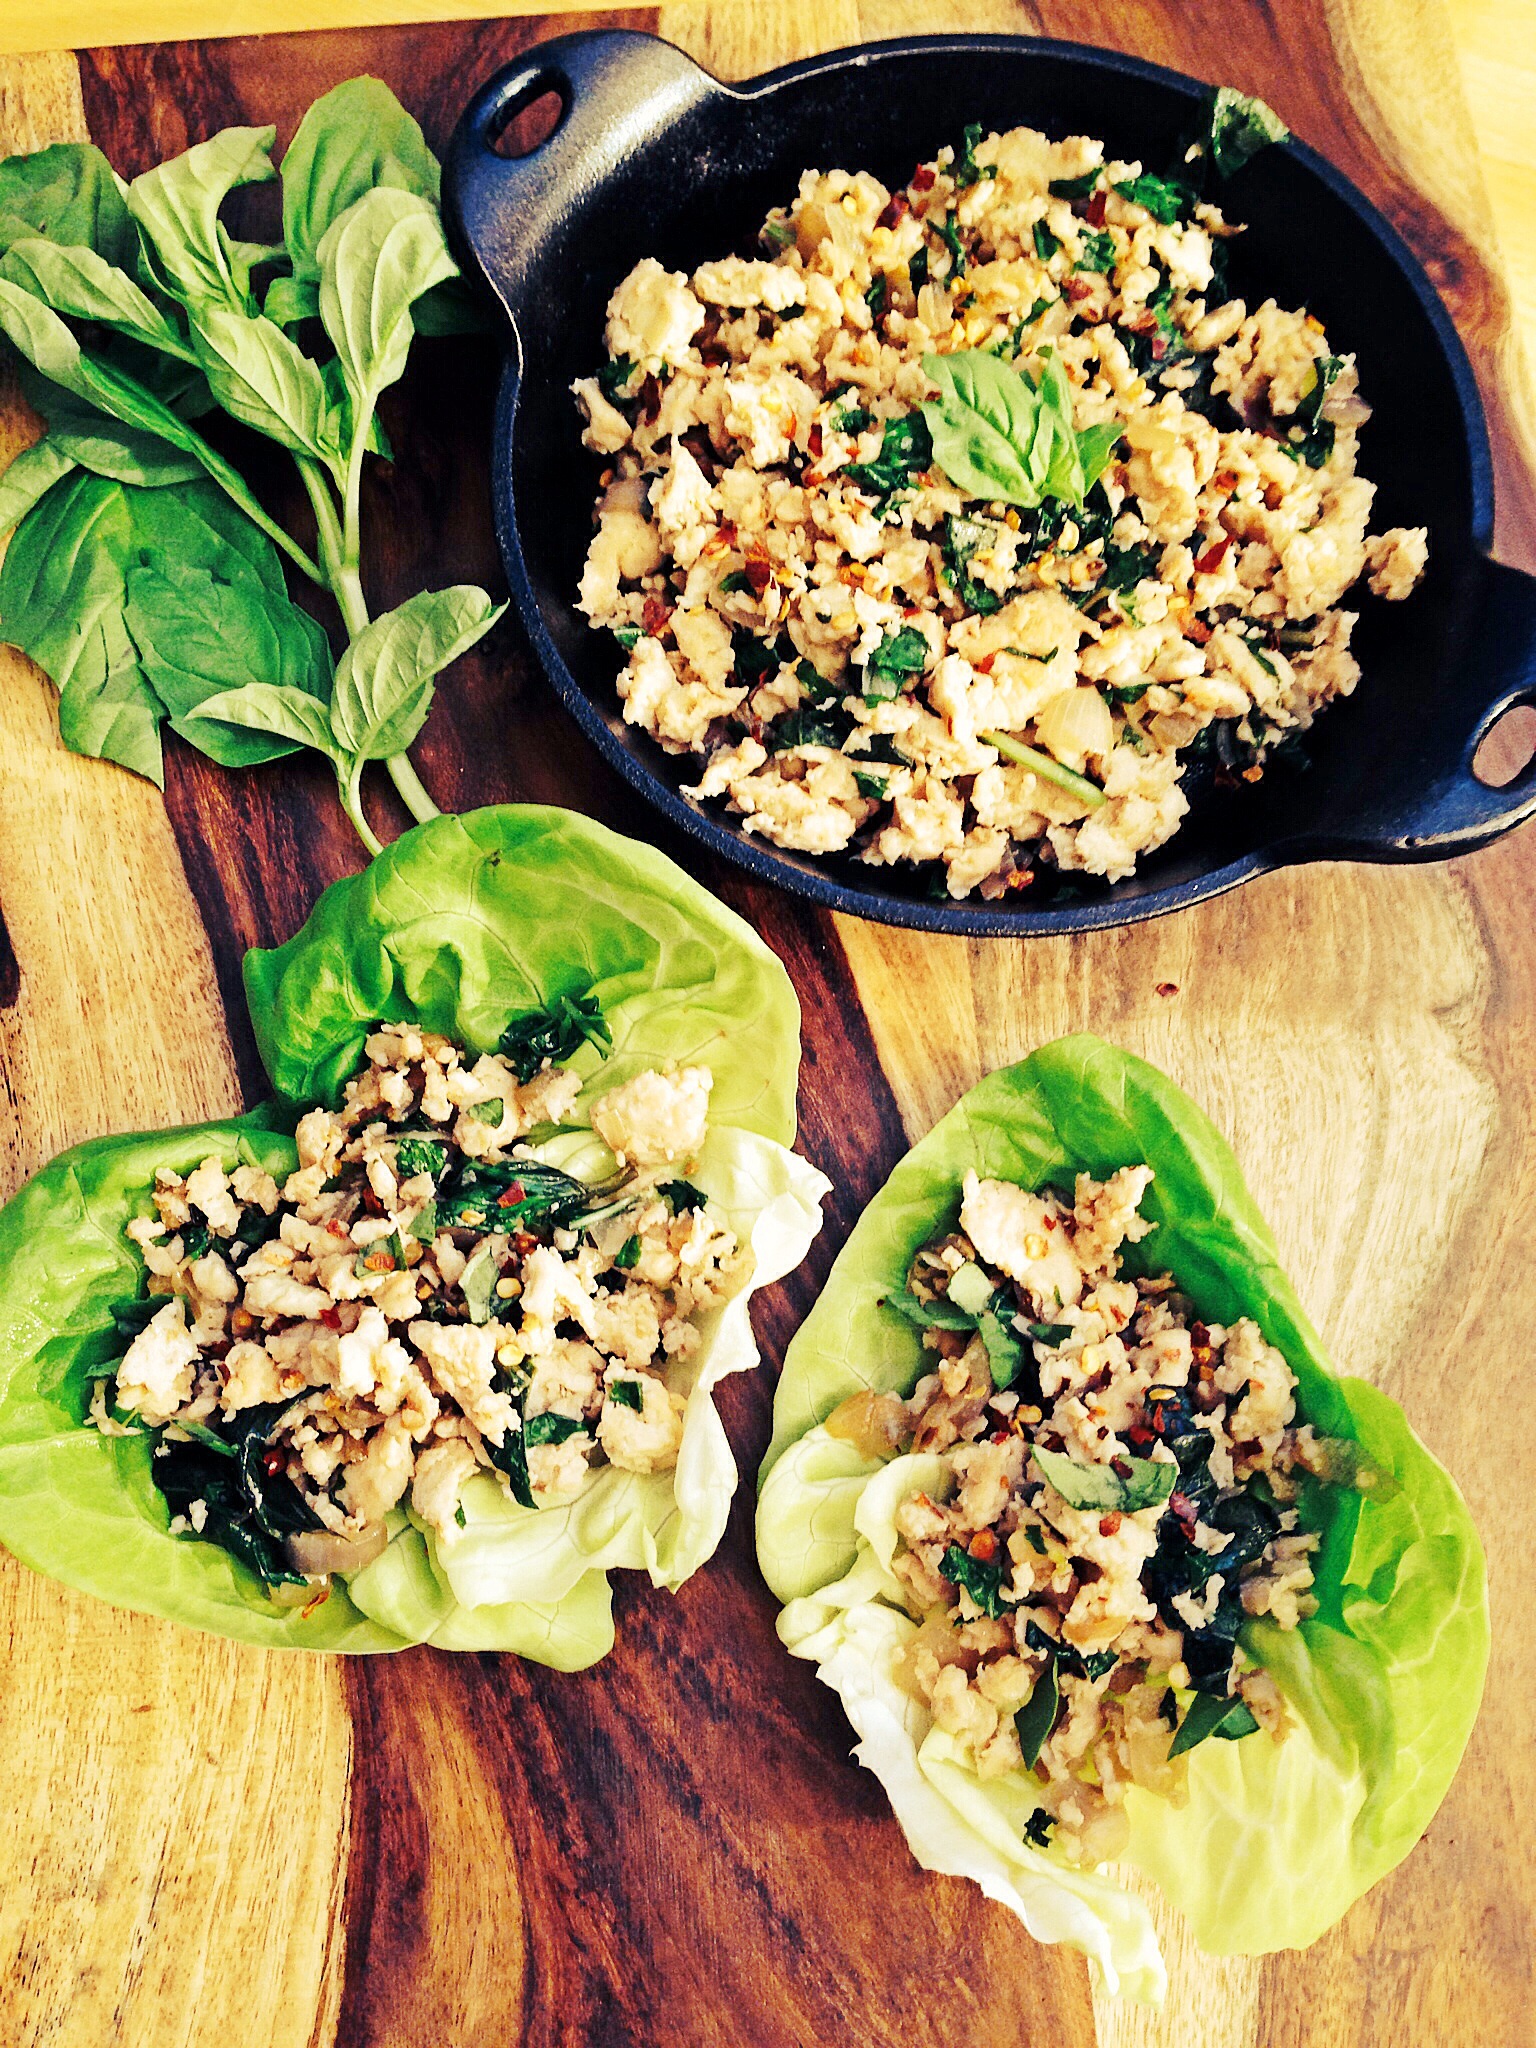
These make a great appetizer at a party, just make sure that you buy enough, because no one can eat just one of these! Like this recipe? Then you’ll love my video recipes, subscribe to my Lazy Girl Dinners Youtube channel for quick do it yourself and how to cook videos.