Easy Peasy Cranberry Sauce

If you’ve been following me on Instagram you know that I’ve been busy preparing for Thanksgiving and Page’s Birthday right after. We are hosting Thanksgiving , which means that I will be doing most of the cooking. I spent most of the day writing out my menu, dividing up tasks I can accomplish throughout the next few days. Today I tackled prepping my desserts which just means I weighed the dry ingredients put them in bags, labeled, and sealed them. Now all I have to do is add the wet ingredients and bake. As you can see I’ve learned over the years that cooking a large meal like this requires a lot of forethought and staggering of duties. So today one of the other things on my to do list was to make this cranberry sauce! It takes 10 minutes, you throw everything in one pot, a little bit of stirring and you’re done! So easy and super delicious and definitely an upgrade to the canned stuff. Trust me once you make this you will never go back to the canned stuff!

Here’s what you need:

Ingredients

12oz organic cranberries fresh or frozen

1 cup sugar

1/2 cup water

1 cinnamon stick

Zest of 1 organic orange

Juice of 1 organic orange

1/2 teaspoon of allspice (optional)

Directions:

Place cranberries, cinnamon stick, orange zest, sugar, water, and juice in a medium sized saucepan. Bring to a boil, lower the heat and simmer, stirring as the cranberries begin to pop. The sauce is done once it thickens about 10 minutes. Remove from heat, let cool, serve immediately or place in an airtight container and refrigerate.

How to make Dehydrated Watermelon

Dried Watermelon--How to make Dehydrated Watermelon

Dried Watermelon–How to make Dehydrated Watermelon

This week is Teacher Appreciation Week at Page’s school.  Every day this week she is required to bring in a small gift to show how much she appreciates all that her teacher’s do.  The note that the room mom sent home said to send a sweet treat as a gift, knowing the kinds of sweets that most moms have sent in the past I thought why not send something semi-healthy.  So I marched down to my local Whole Foods and purchased an organic seedless watermelon.  Lucky for me it was on sale.   The result- a deliciously sweet watermelon snack.  It was so good, that I raced back to Whole Foods to get another watermelon to dry.  When I dry fruit I never add sugar to it.  I see many recipes that do and I never understand why.  There really isn’t a need to. In fact, the watermelon I chose was not at all that sweet in its natural form, but in its dried form it was highly sweet, almost like I had added sugar to it. So for this “recipe” all you need is a fresh watermelon, a dehydrator, or an oven set to low and time.

Pin It!

Pin It!


Prep time: 5 minutes

Cook time: 6-8 hours

Ingredients:

Watermelon

Directions: Slice the watermelon and discard the rind. Keep in mind that the thinner you slice it the quicker it dehydrates.

Place the sliced watermelon on dehydrator sheets. Set it on 135F for 6-8 hours depending on how thick you sliced the watermelon.

The watermelon is done when it is pliable but dry to the touch.

If you don’t have a dehydrator–get one they are worth the money and the counter space–you can do this in an oven, set the oven to the lowest setting, and place the watermelon on a parchment lined cookie sheet.  My oven’s lowest setting is 250F.  If you are using your oven on a setting this high, keep in mind that the watermelon will dehydrate at a faster rate, so keep an eye on it, at the 4-5 hour mark, your watermelon will likely be done.

DIY Onion Soup Mix–Copy Cat Lipton’s Onion Soup Mix


DIY Onion soup mix

DIY Onion soup mix

There are three seasonings that I can rely on my mom to have in her cupboards at all times: Lawry’s seasoning salt, Lemon pepper, and Lipton’s Onion Soup Mix.  In fact while writing this, I was tempted to call her, and have her take a picture of what is inside her cupboards, just so that you guys could see, but she’s not that technologically savvy.  She barely knows how to get the pictures that I send her of Page through text.  When I was growing up my mom would rent  4-5  movies and make a bunch of snacks for us watch over the course of the weekend.  One of those snacks was a sour cream and onion dip.  She’d take a container of sour cream and mix in a package of the Lipton Onion Soup mix–simple but delicious.  We’d happily nosh on potato chips, celery, and carrot sticks dipped in the onion dip while we watched the latest movie release from Blockbuster video–yes I just dated myself!  Oh the memories!  I haven’t had that dip in years!  I’d say a good 10-12 years, maybe longer.  It’s not something my mom makes any more.  I wanted to make it for me and my hubby, but I didn’t want to buy the Lipton’s seasoning. I had an idea of what was in the seasoning–or at least I thought I did– dried minced onion, onion powder, dried green onion–but to be sure I called my mom and asked her what was on the ingredient list.  Sure enough she had a box in her cupboard and  the ingredient list she read to me was anything but simple. Besides the MSG, onion powder, and cornstarch, there were a list of ingredients that had  nothing to do with onions. So I set out to do what I do best and made my own–without all the added preservatives and coloring.  I used the organic onion powder that I made myself, and added minced onion and a few herbs.  A perfect match! Tastes just like I remember it! Delicious!!

Pin It!

Pin It!


Makes the equivalent of 1 package of Lipton Onion soup mix

Ingredients:

4 Tablespoons of organic dried minced onion flakes

3 teaspoons of organic onion powder

1 teaspoon of organic dried chives

1 teaspoon of sea salt

1/4 teaspoon of celery salt

Directions: Mix all ingredients together in a small bowl, if you don’t plan on using this right away, transfer it to an air tight container for later use.

image


image


image


Herbaceous Grilled Lamp Chops

Herbaceous Grilled Lamb Chops

Herbaceous Grilled Lamb Chops

Last weekend I visited a Persian market.  The market filled me with all sorts of food inspiration, but it mostly left me with a strong desire to eat lamb.  I guessing that desire came from the cooked foods section, which had fresh lamb kabobs and shawarma. The market also housed a rather large meat department, it had lamb in every form, hooves, hearts, livers, basically every part of the lamb that a better cook than I am could possibly want to cook. A far cry from the selection at my local Whole Foods! I feel like I hit the lottery if they have stewed lamb meat once every 4 months.  Wouldn’t it be fabulous to be able to walk into your local market and find, um..choices?  Like ramps in the spring time, in California–but I digress.  Let’s just say, I left the Persian market with market envy.   I shop at Whole Foods so often that when I go into a conventional grocery store, I’m always amazed at how inexpensive things are.  Haha..call it reverse sticker shock! Thank you Whole Foods!  Surprisingly, I did not leave the Persian market with lamb.  I did find some great spices, some pomegranate molasses, and a few other great items.  I left with my new finds and a mission to cook these lamb chops.

Pin It!

Pin It!


Ingredients:

1 lb lamb chops

2 tablespoons of fresh rosemary, finely chopped

4-5 cloves of garlic minced

1 teaspoon lemon powder, can sub with lemon zest

1/2 teaspoon of olive oil

Directions: To a small bowl add garlic, rosemary, lemon zest and oil, mix well.

image

Dry lamb chops, season generously with sea salt. Rub the lamb chops with the herbaceous garlic paste.

image

Place lamb chops on a hot grill, and cook for 5-7 minutes on each side, or until lamb chops are cooked to your liking.  Remove from grill, serve with a fresh squeeze of lemon and enjoy!

image

D.I.Y. Cheese Crackers–How to make Cheese It Crackers

DIY Cheese Cracker's--DIY Cheese it's

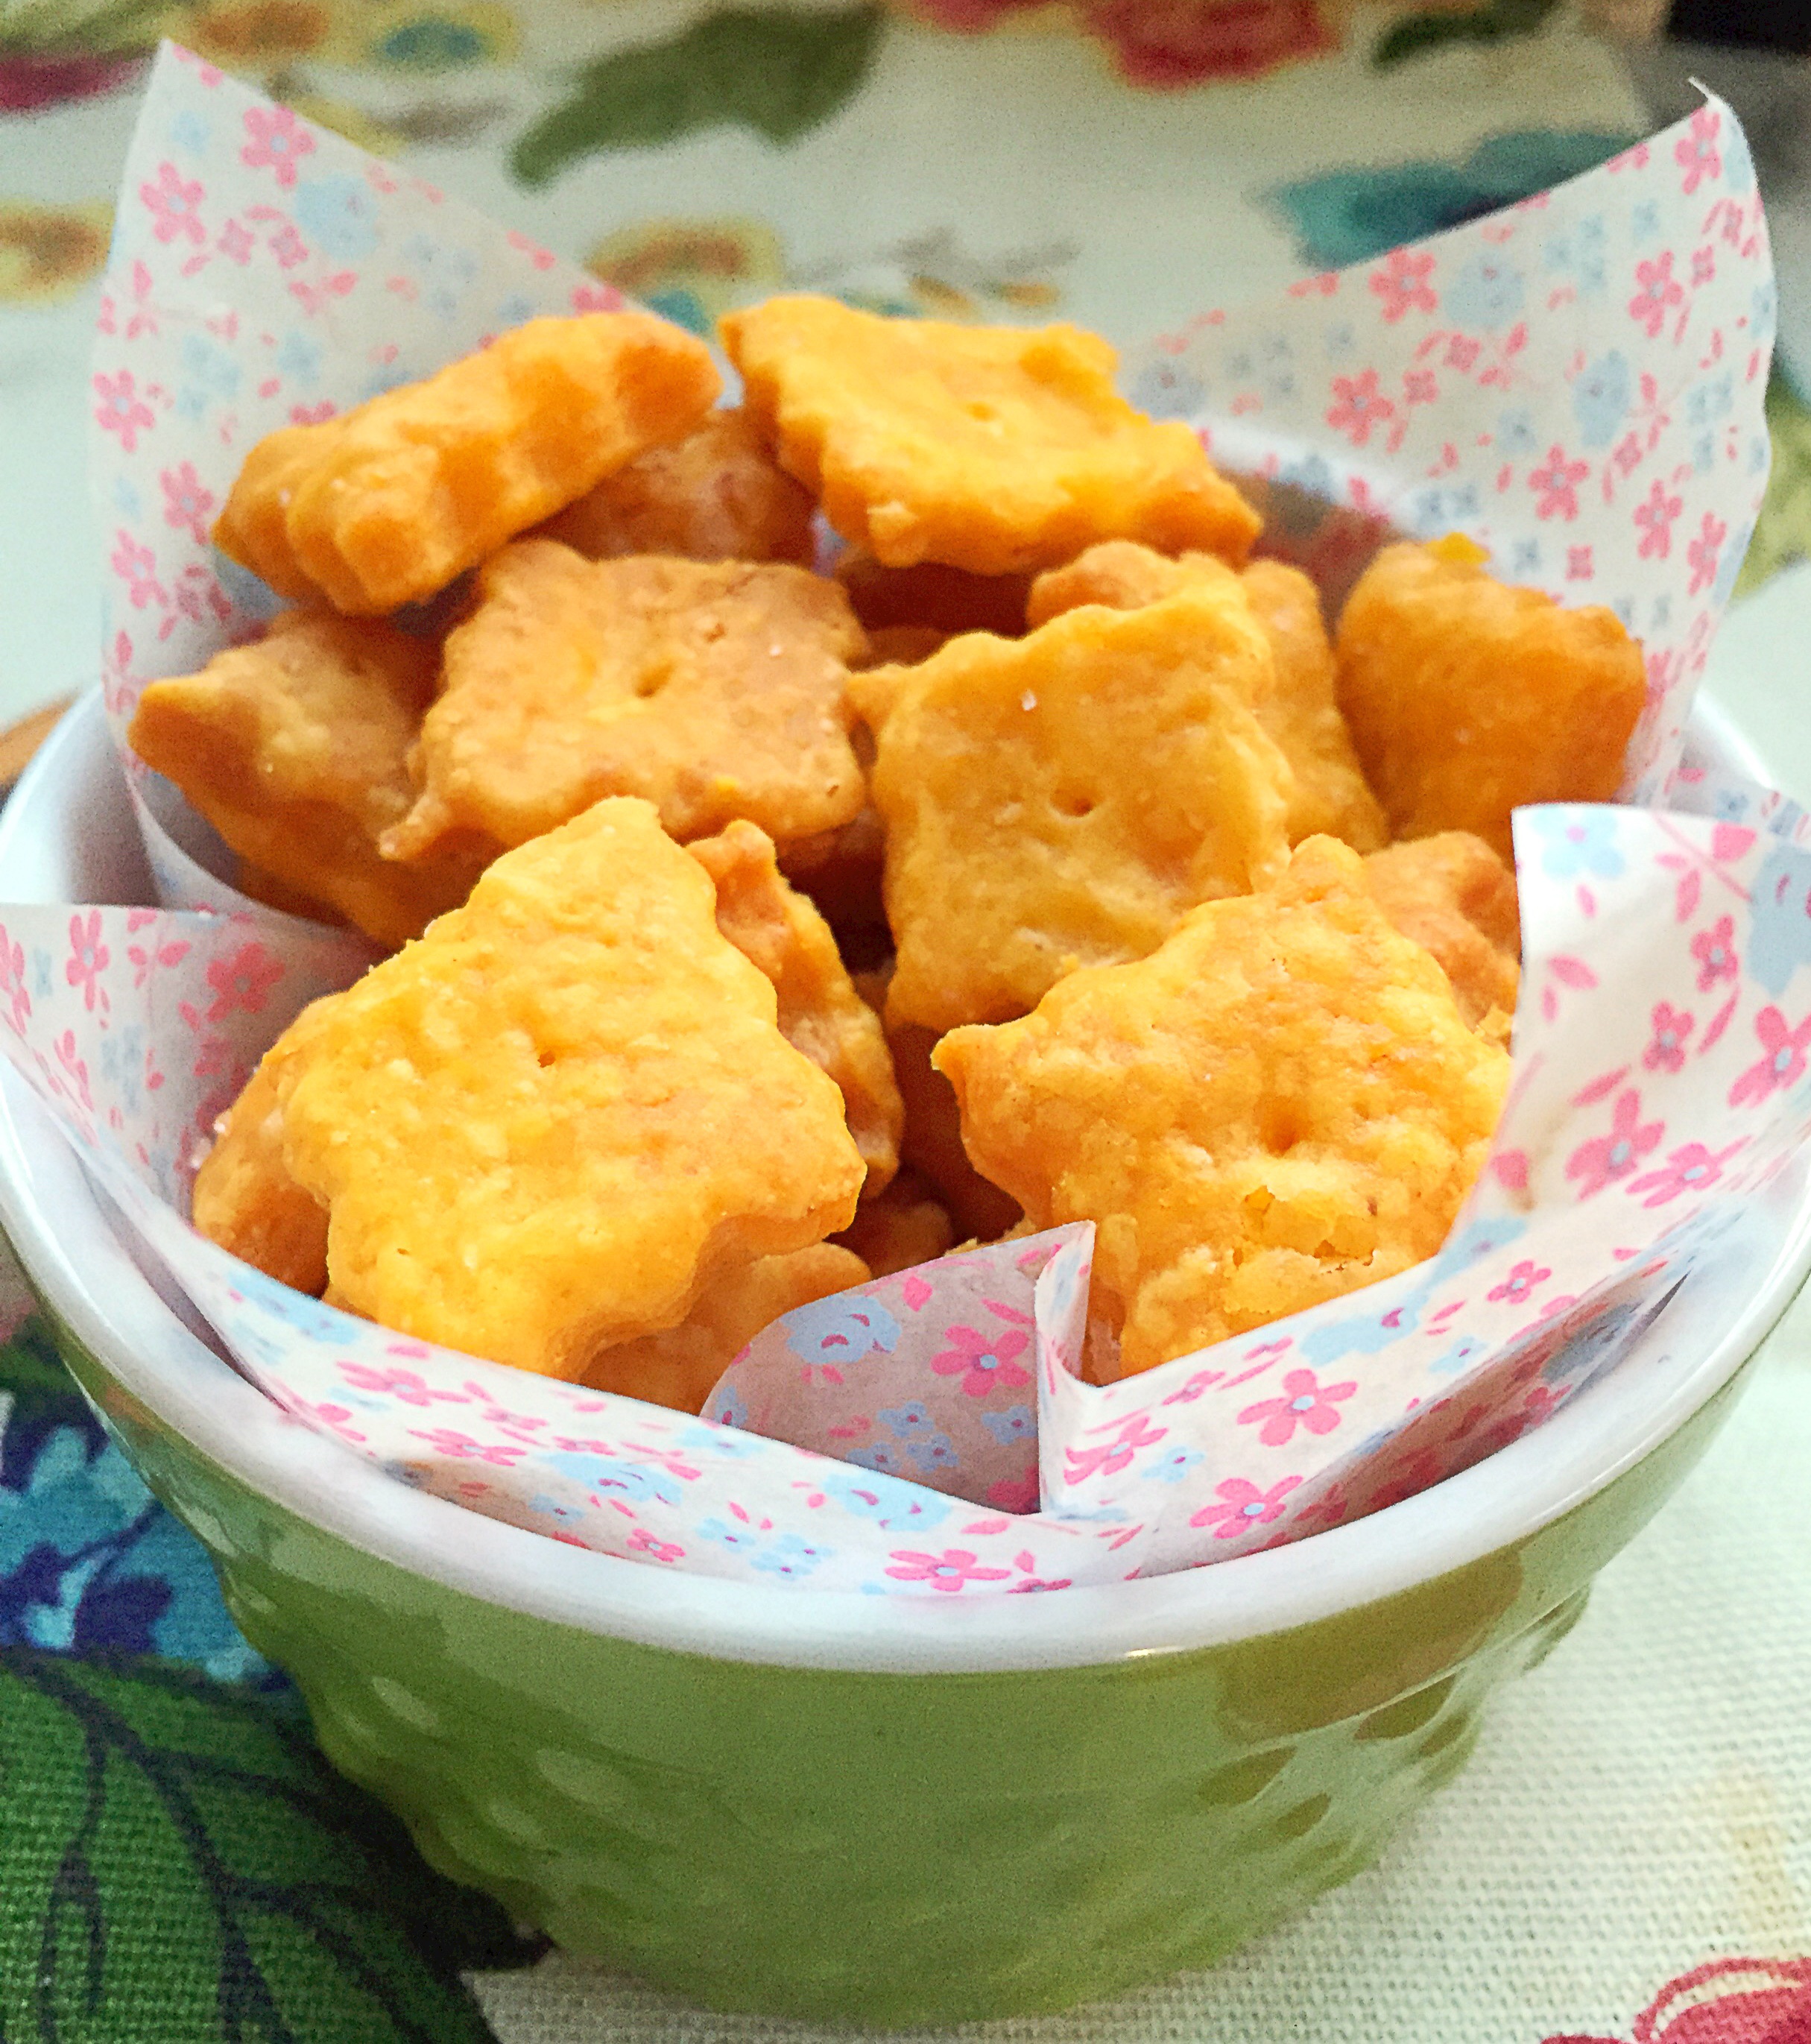
DIY Cheese Cracker’s–DIY Cheese it’s

My mom is a lover of all things snack related, so for Mother’s Day I want to give her what she enjoys most. I had been planning on making cheese cracker’s for Page, she was given gold fish crackers as a snack at school, and came home and immediately asked me to buy them.  Not really going to happen.  So since my mom and Page share a love of great snacks, I thought I’d make these cheese crackers for them. These cracker’s are what AWESOME aspires to be! They’re better than great! And they’re 1000 times tastier than store bought cheeze it’s.  The recipe I used comes from America’s Test kitchen, so if you want the recipe in it’s original form click here.  I used less salt than the original recipe calls for.  Cheese already has a lot of salt, so adding too much is overkill. Do pick a great quality cheese for these, because quality matters for this particular recipe–good cheese=great cheese crackers. The recipe calls for the use of Annatto seeds, I found them quite easily in the spice section of Whole Foods.  If you can’t find them, omit them from the recipe–your crackers will be white, instead of orange–not a big deal, they’ll still taste beyond amazing!!!


Ingredients:

6 ounces of organic sharp cheddar cheese, finely grated

4 tablespoons of butter (2 ounces)

1 teaspoon of sea salt

1/2 cup + 2 tablespoons of all purpose flour

2 tablespoons of cornstarch

1 tablespoon of Annatto seeds, coarsely ground (optional)

2 tablespoons of boiling water

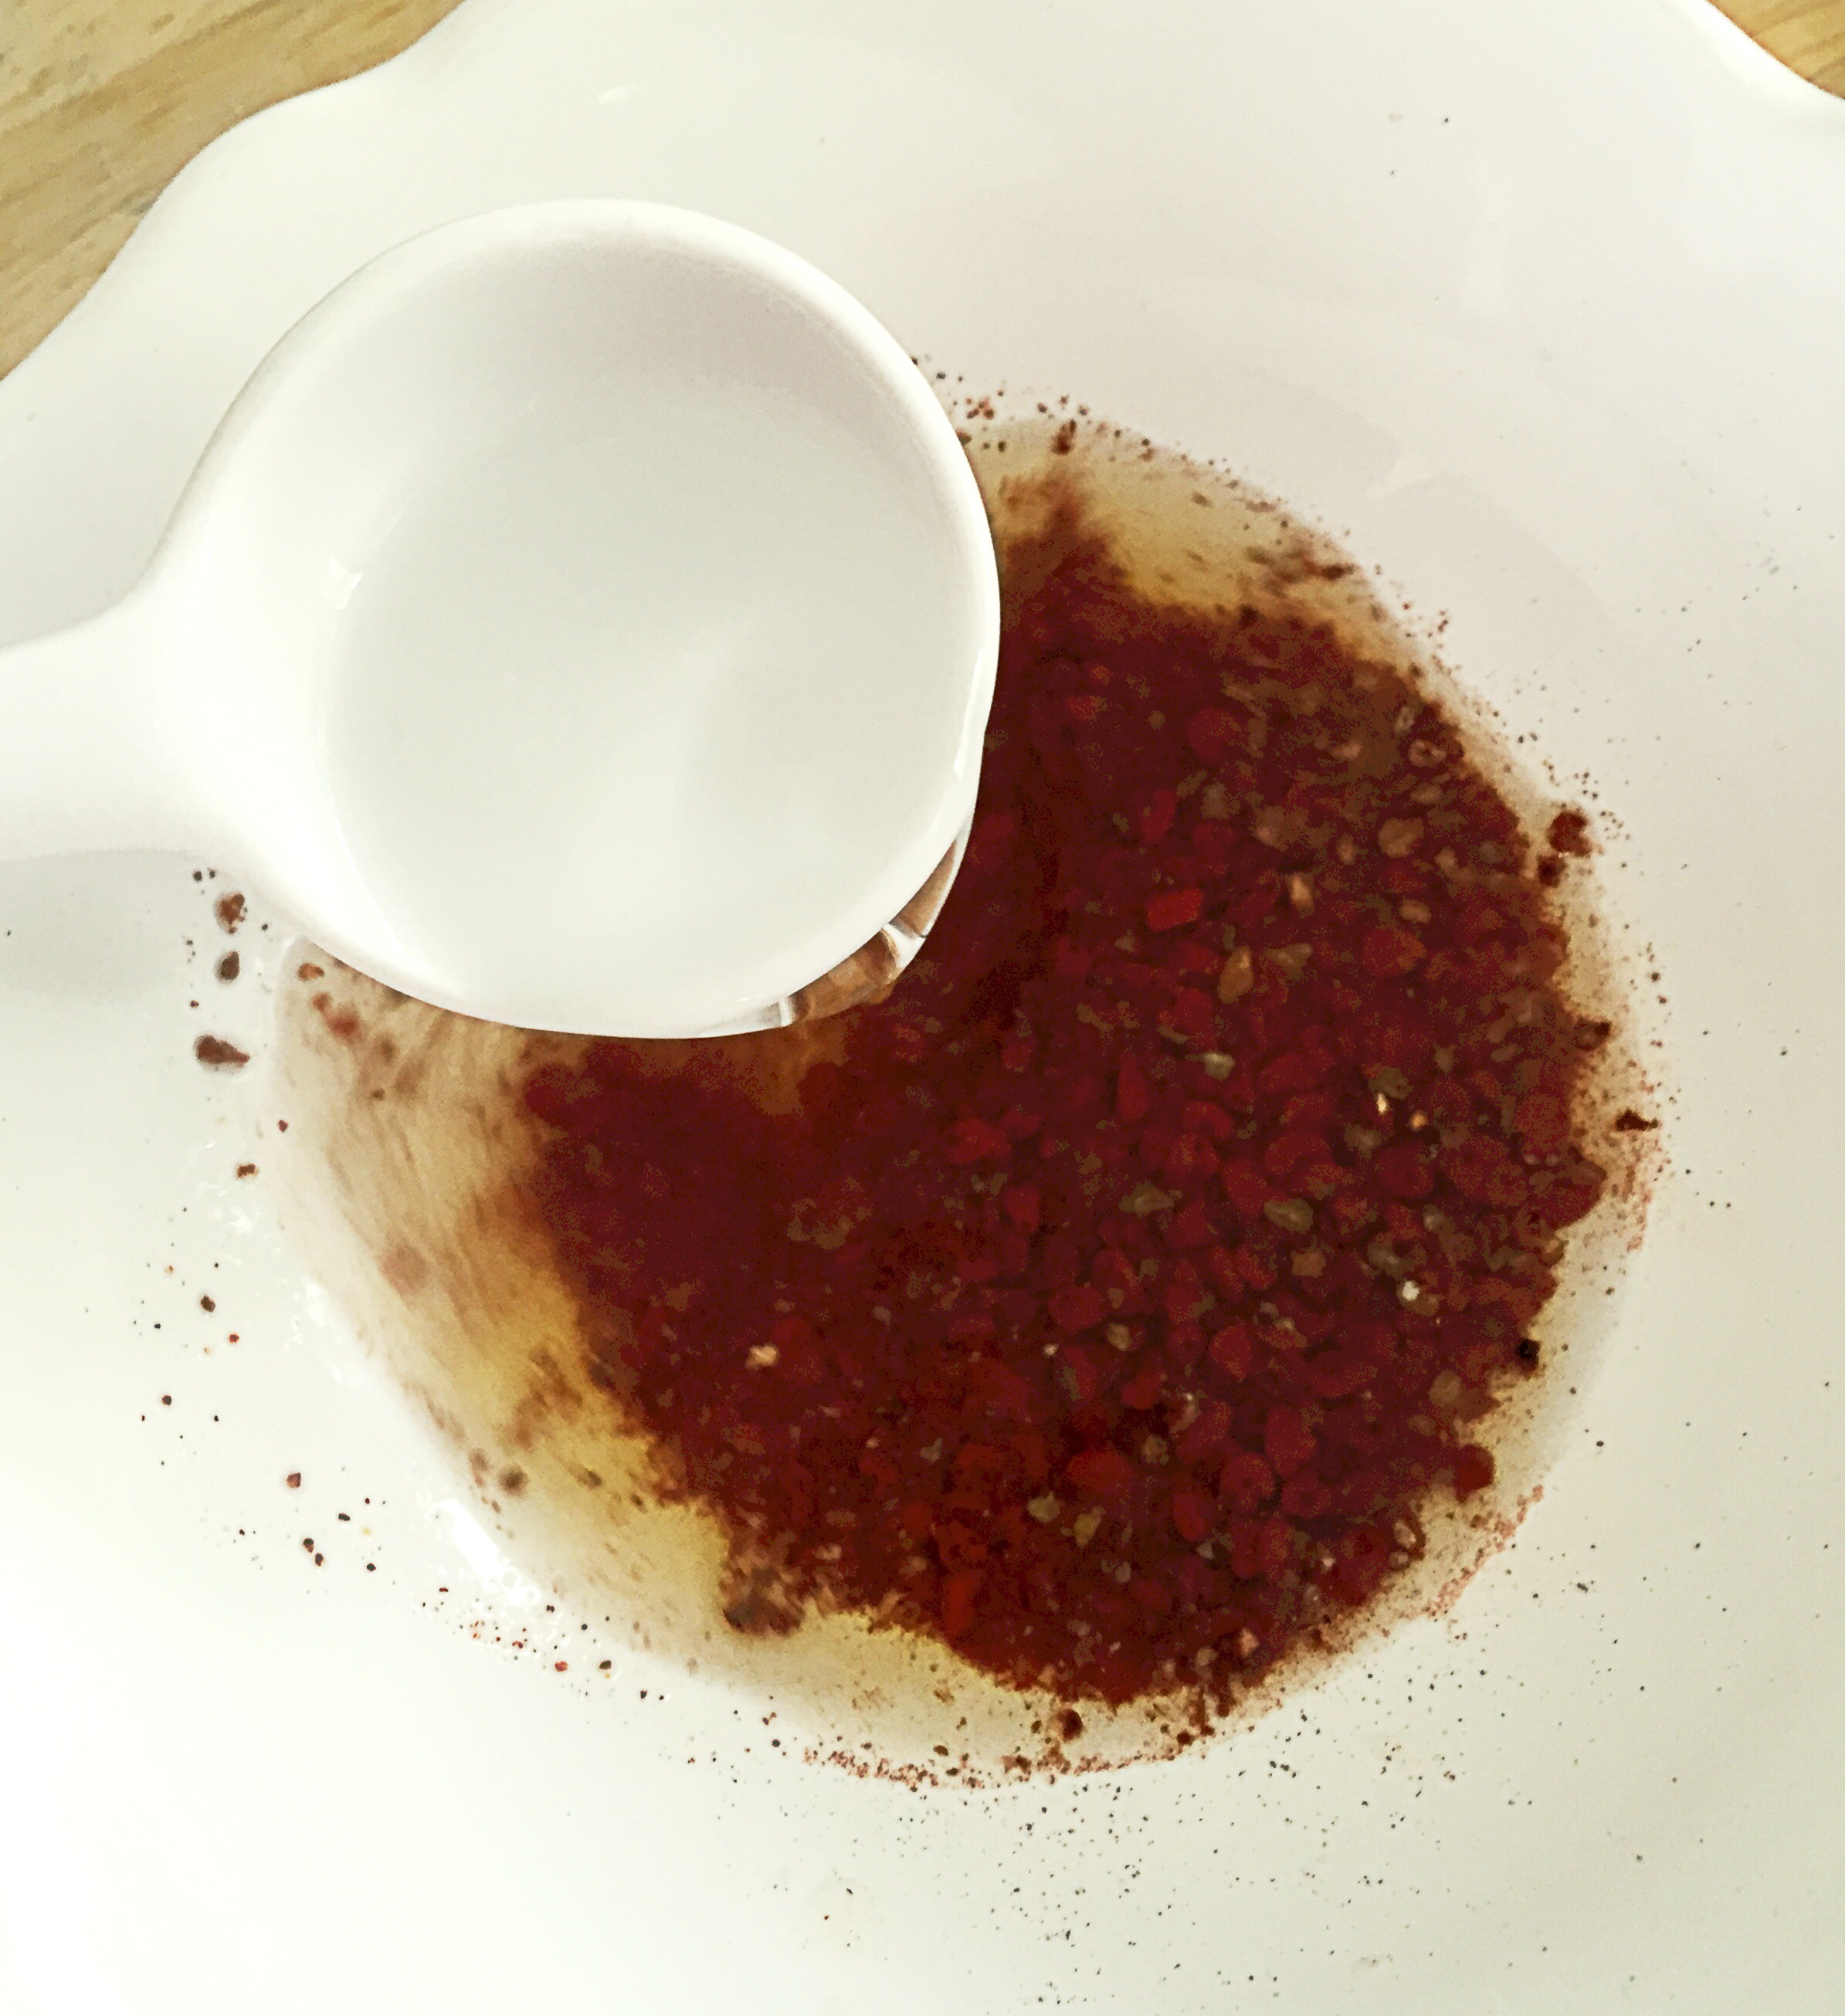
Directions: To a small bowl add add the coarsely ground annatto seeds and the boiling water.

image

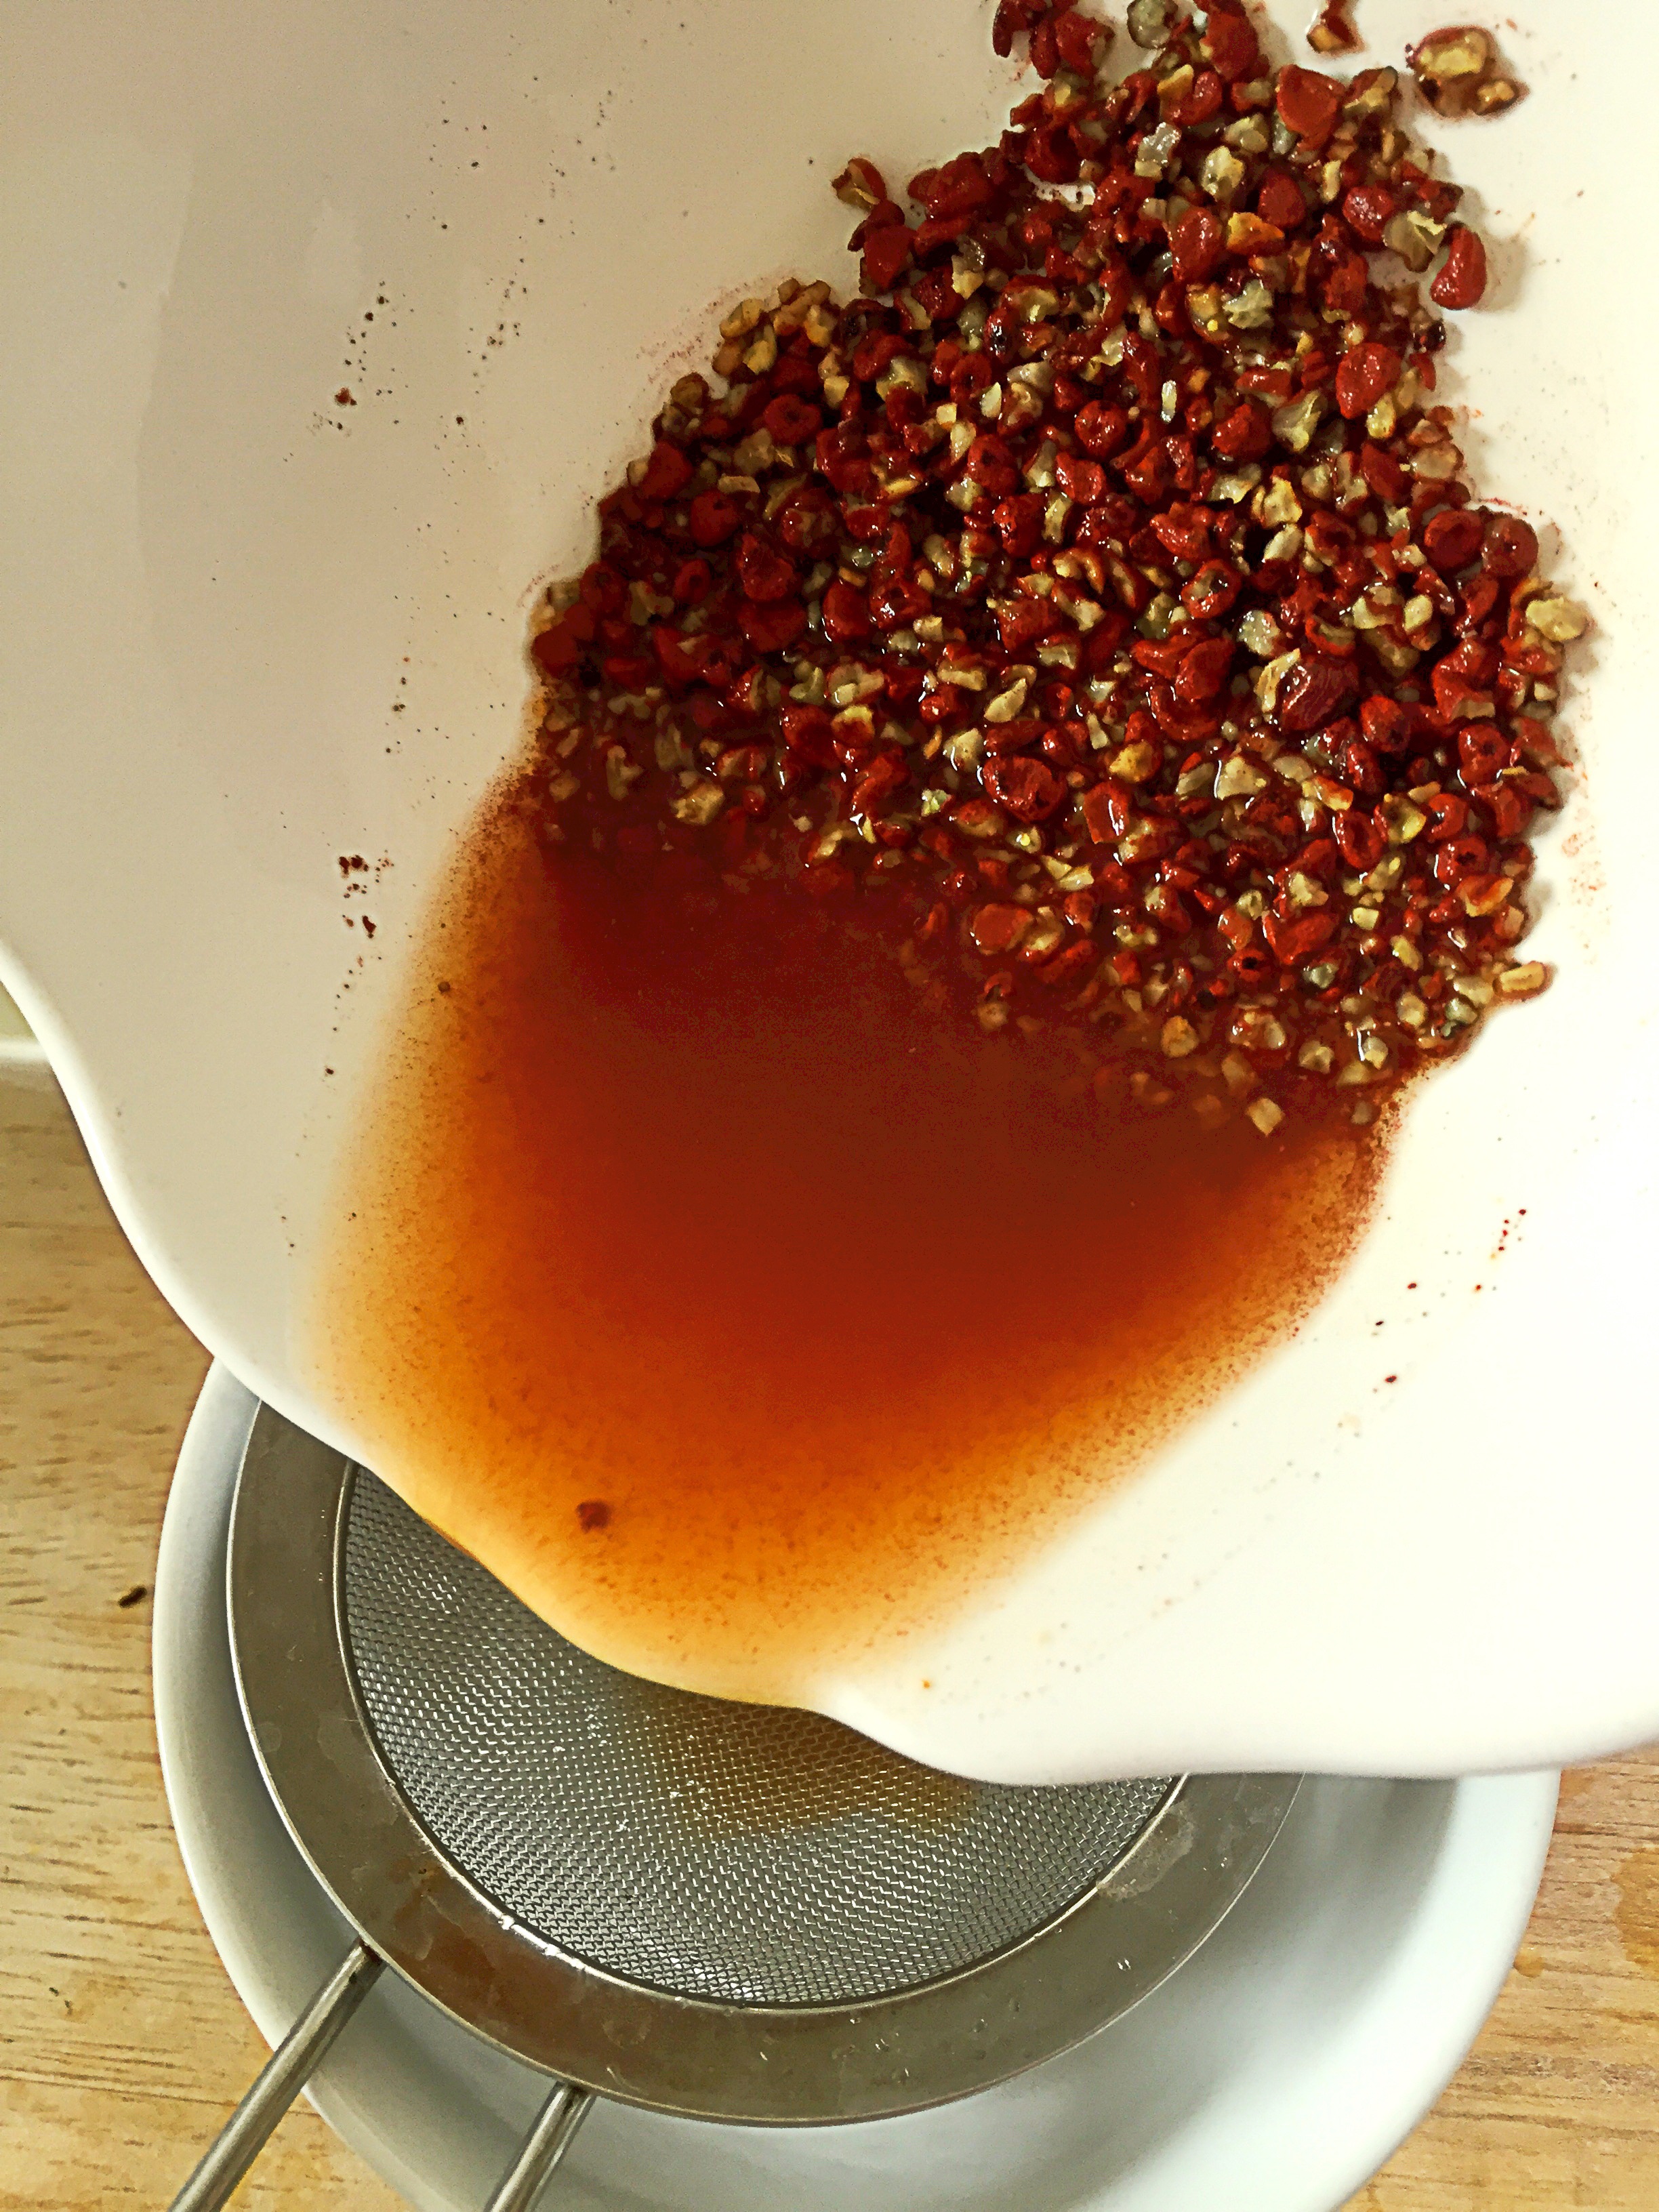
Allow the seeds to steep in the boiling water for 5 minutes, then strain and allow to cool to room temperature.

image


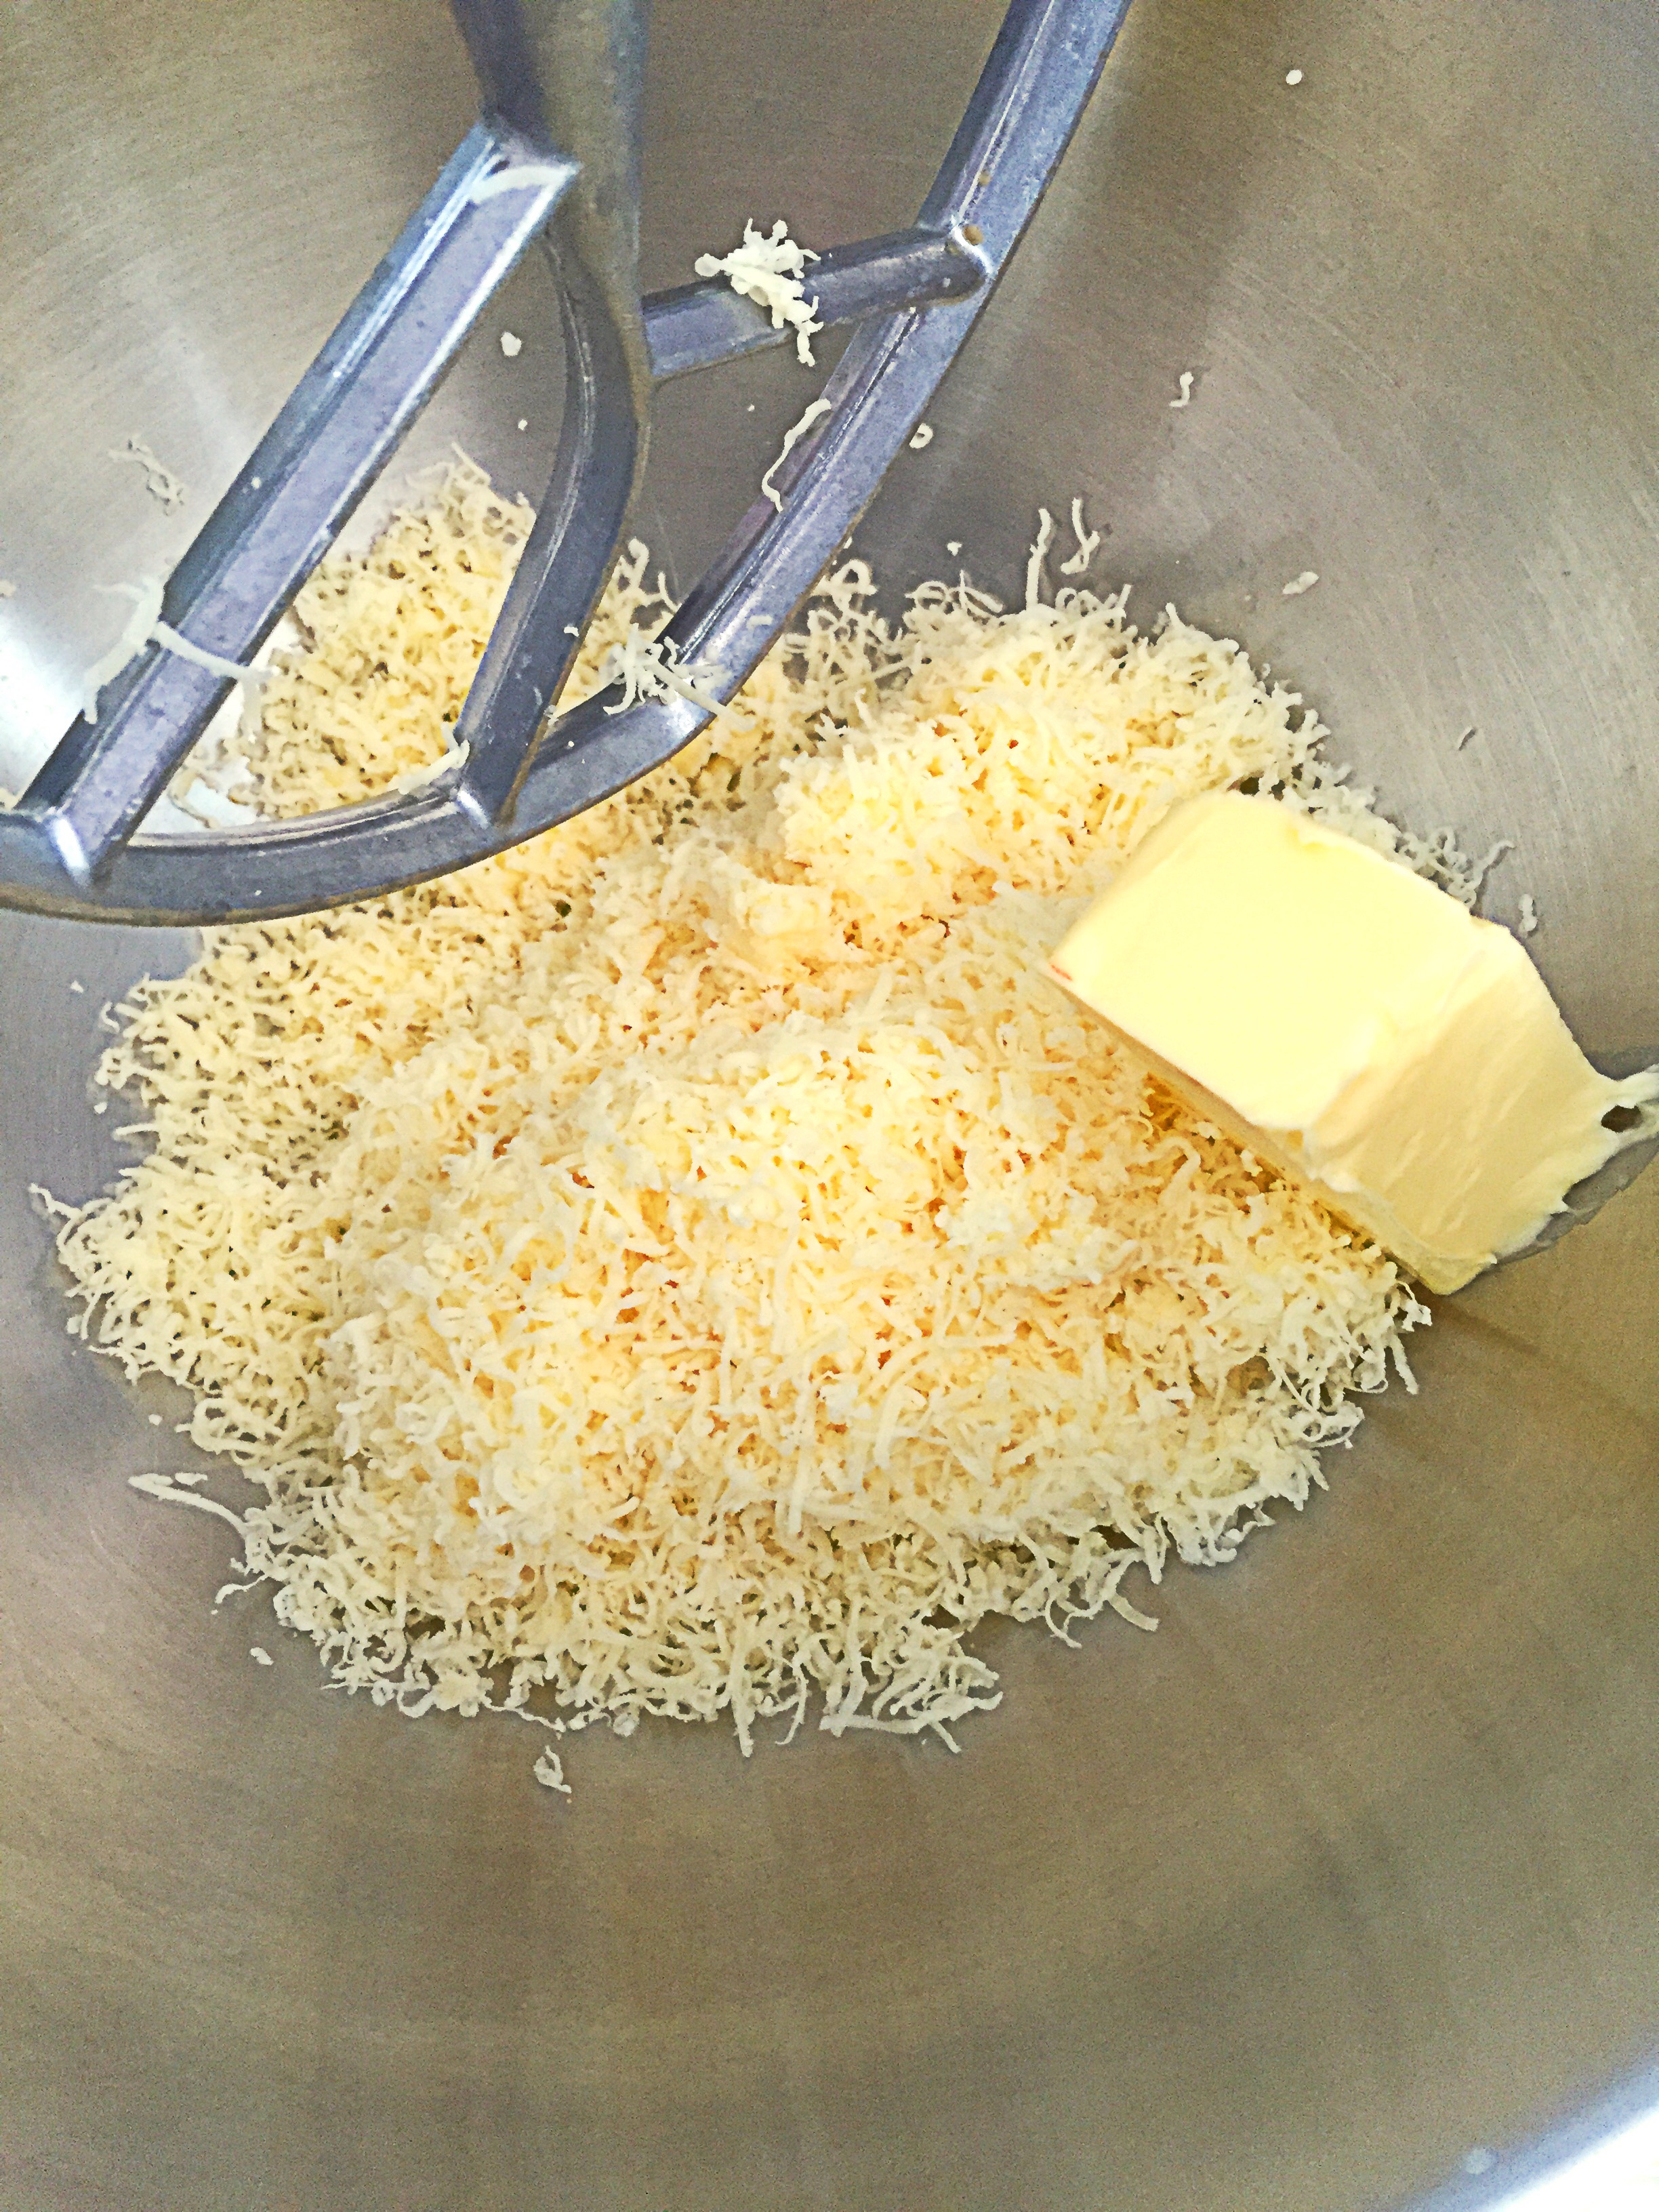
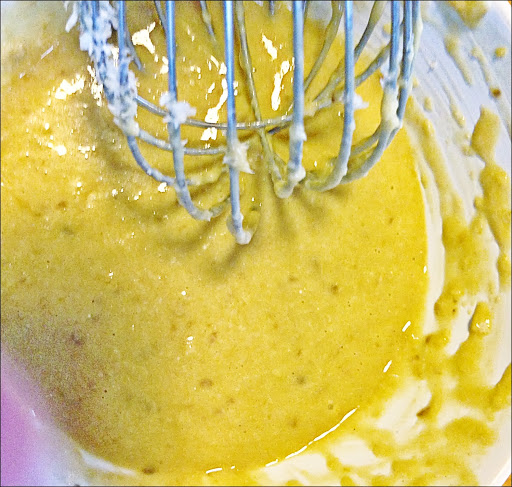
Meanwhile, add the butter, 1 teaspoon of salt, and cheese to a stand mixer with the paddle attachment,

image

mix on medium speed until cheese and butter are creamed and well combined–about 30 seconds.

image

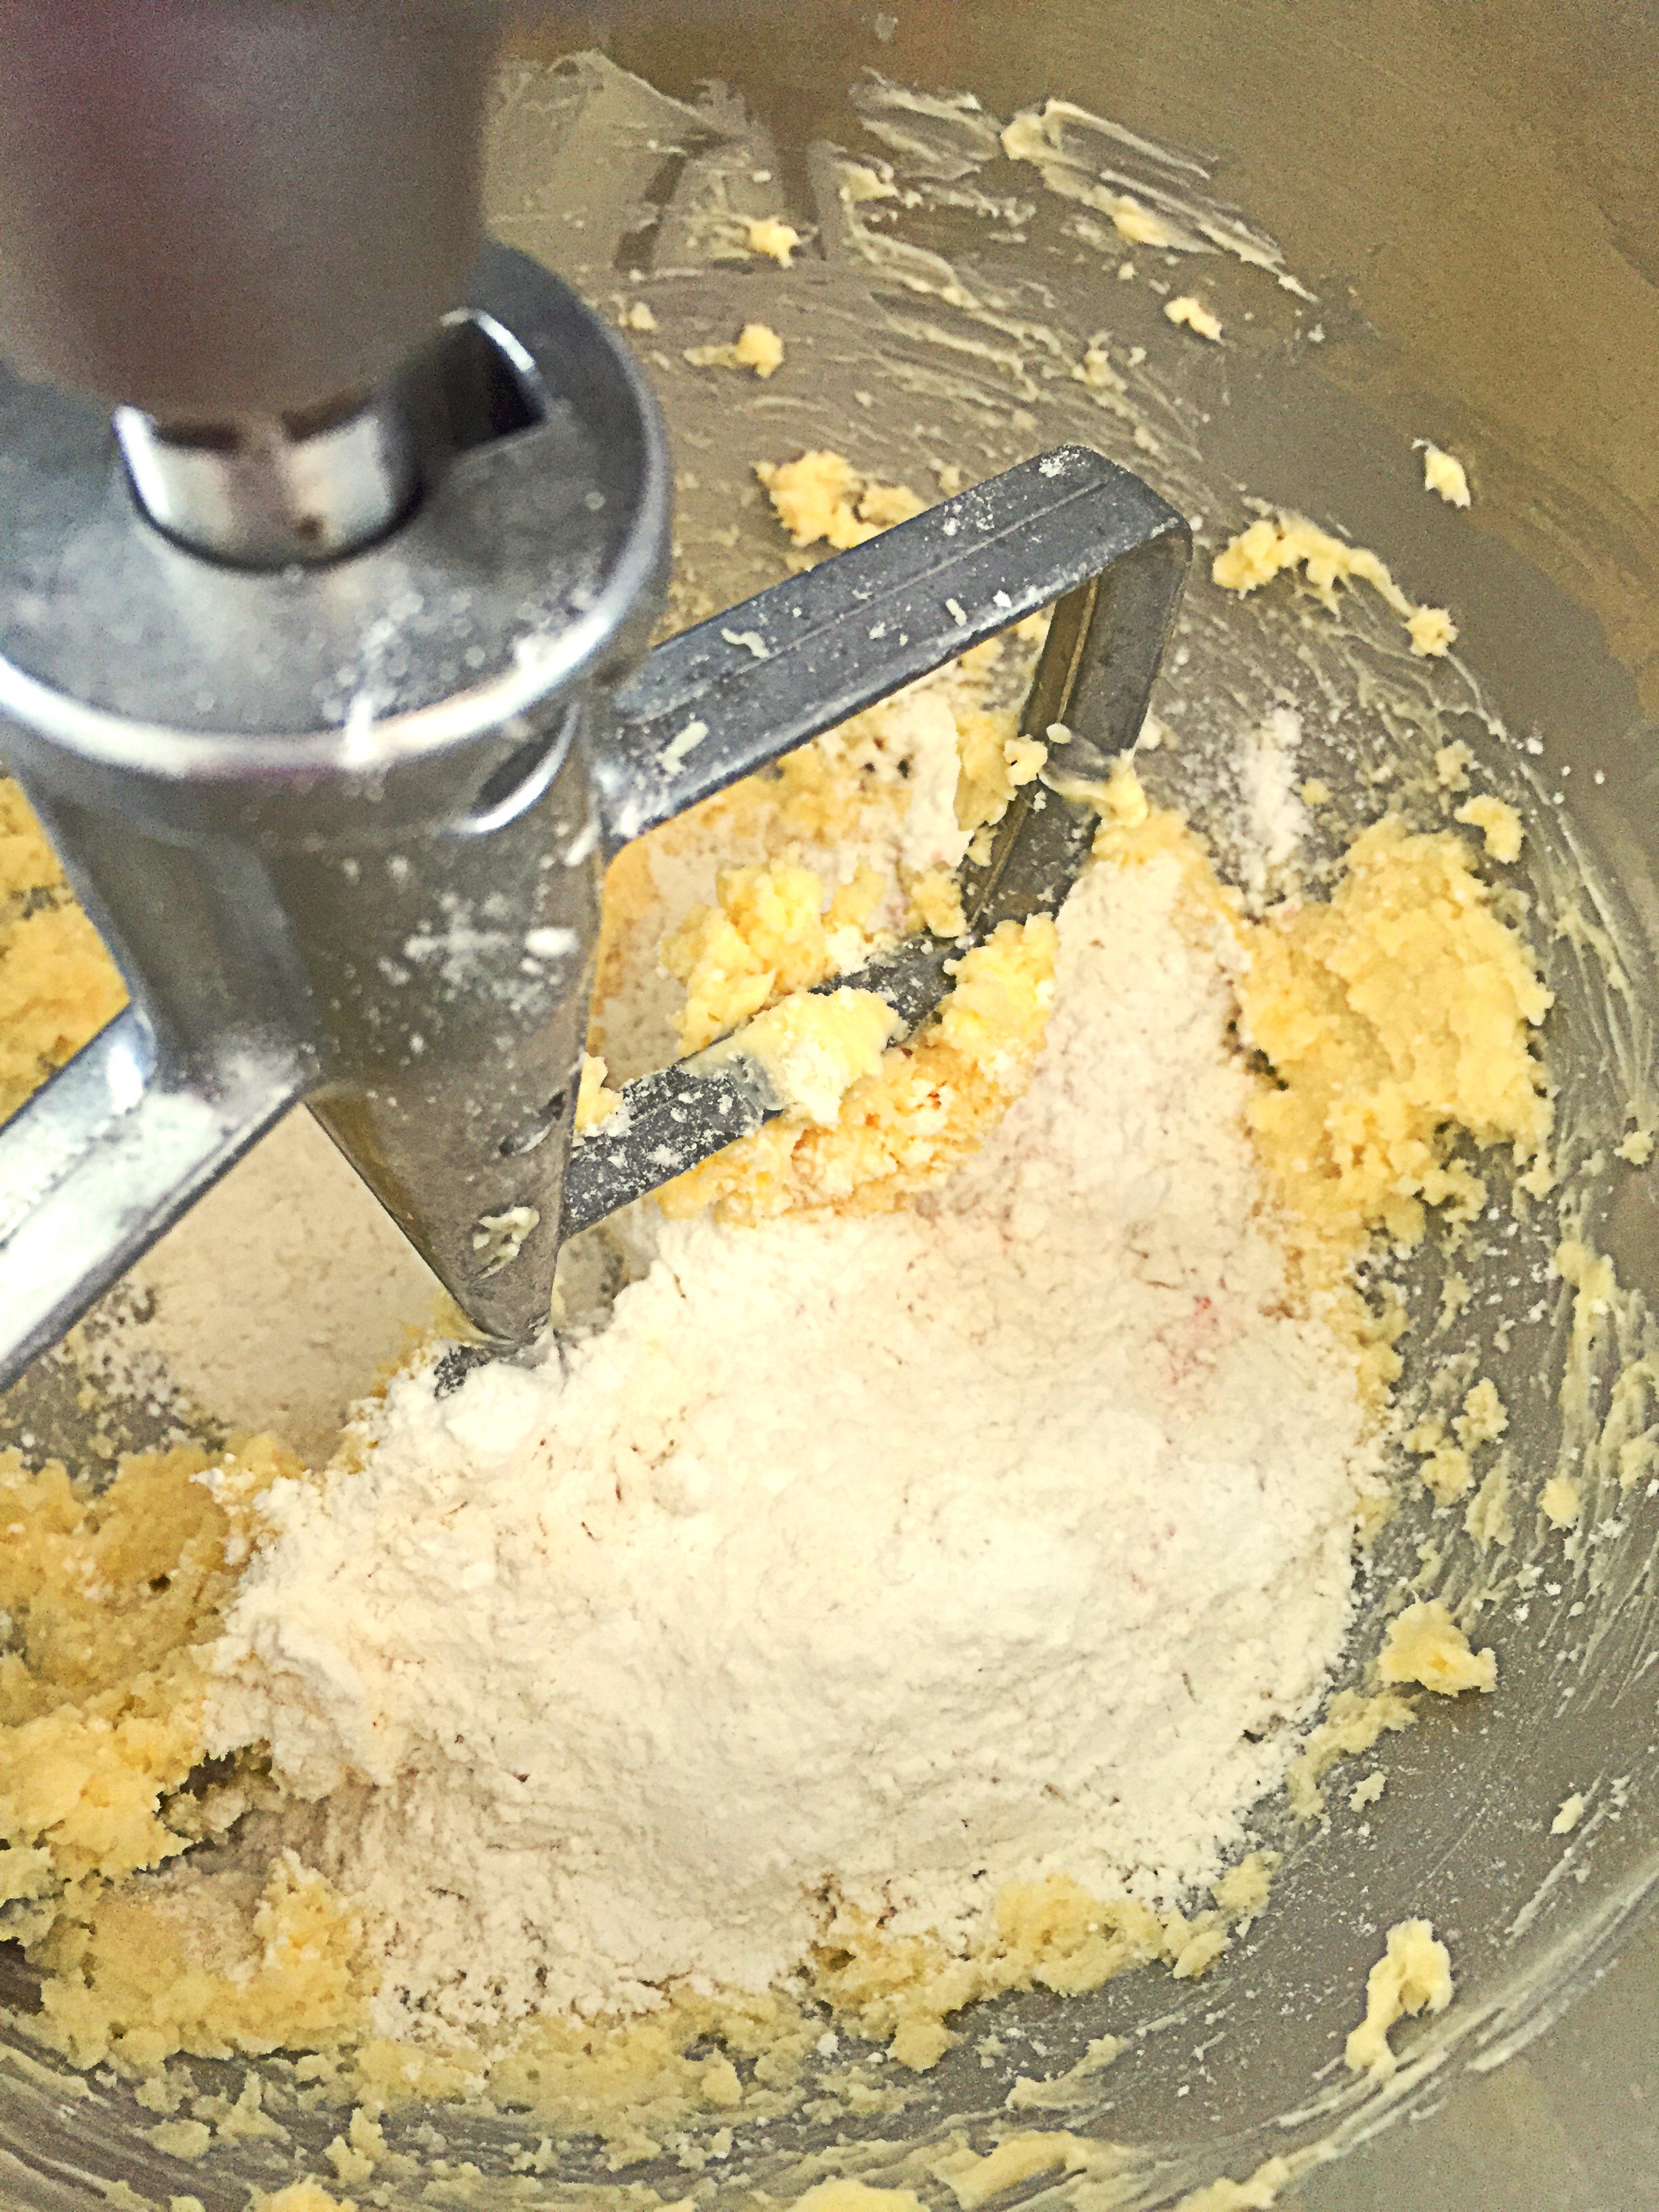
Add in the flour and cornstarch and mix until combined–about 1 minute.

image

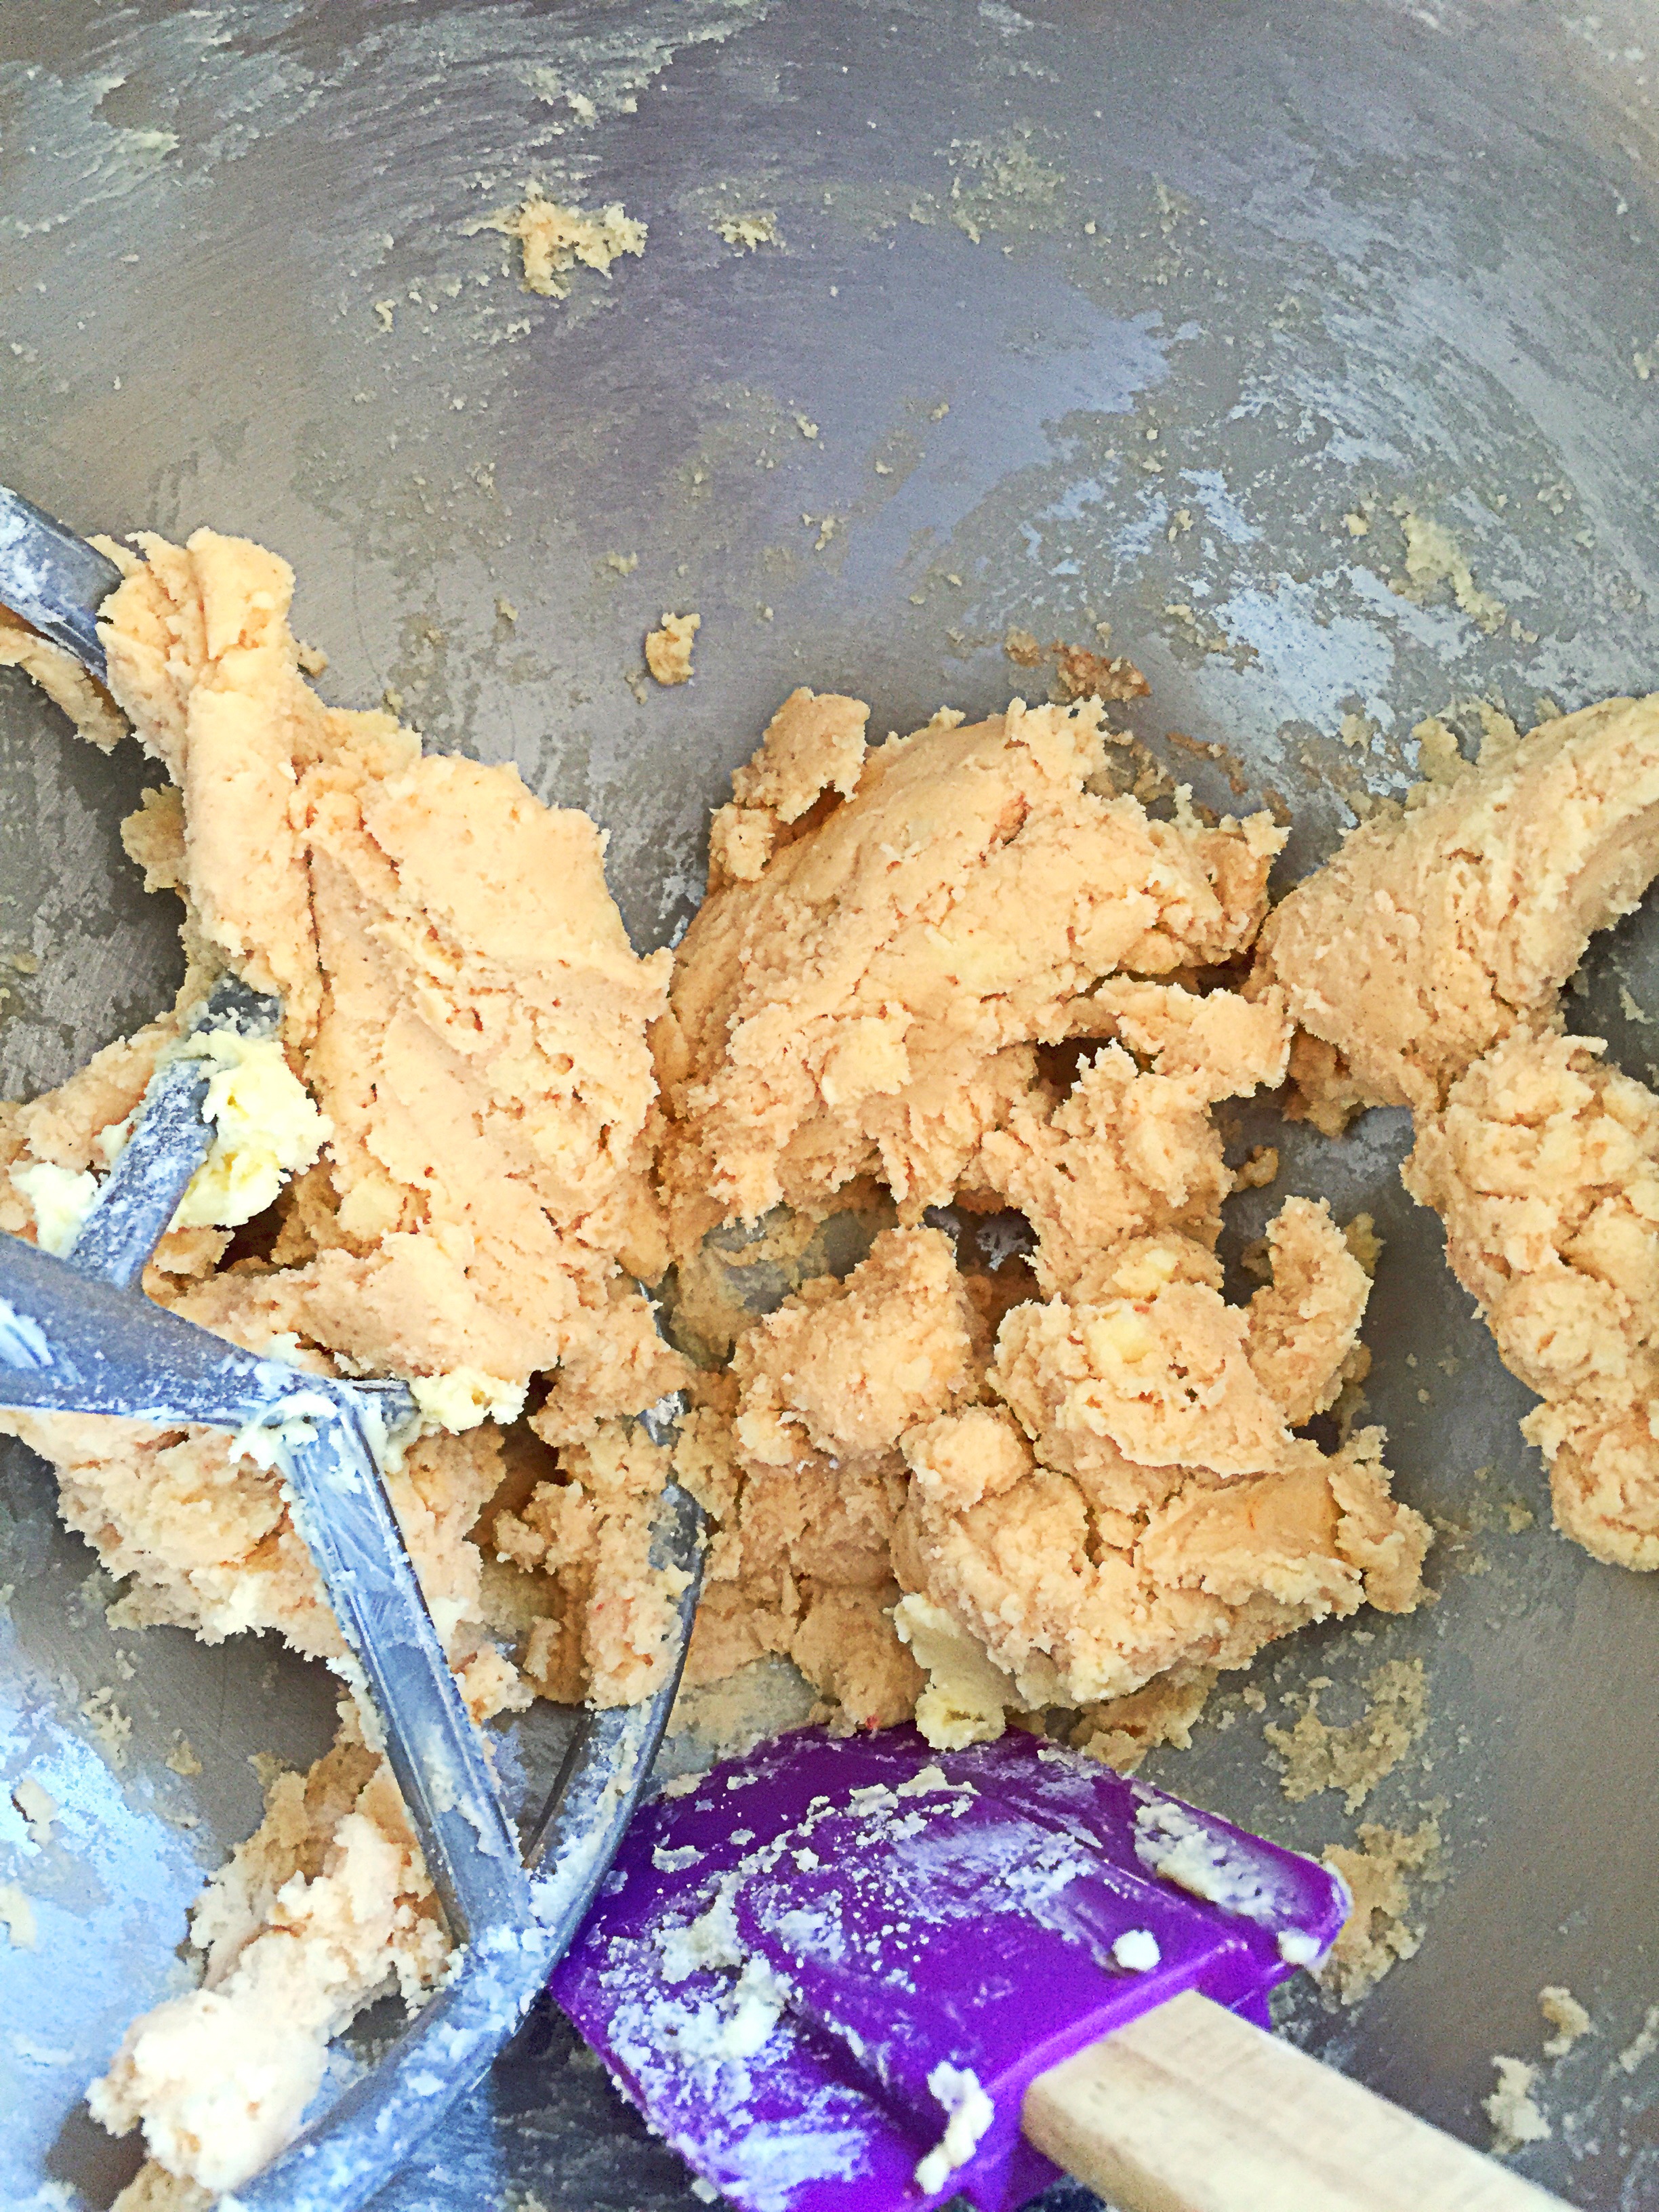
Add in the Annatto seed water,

image

then mix until dough clumps together or forms a ball–about 15 seconds.

image

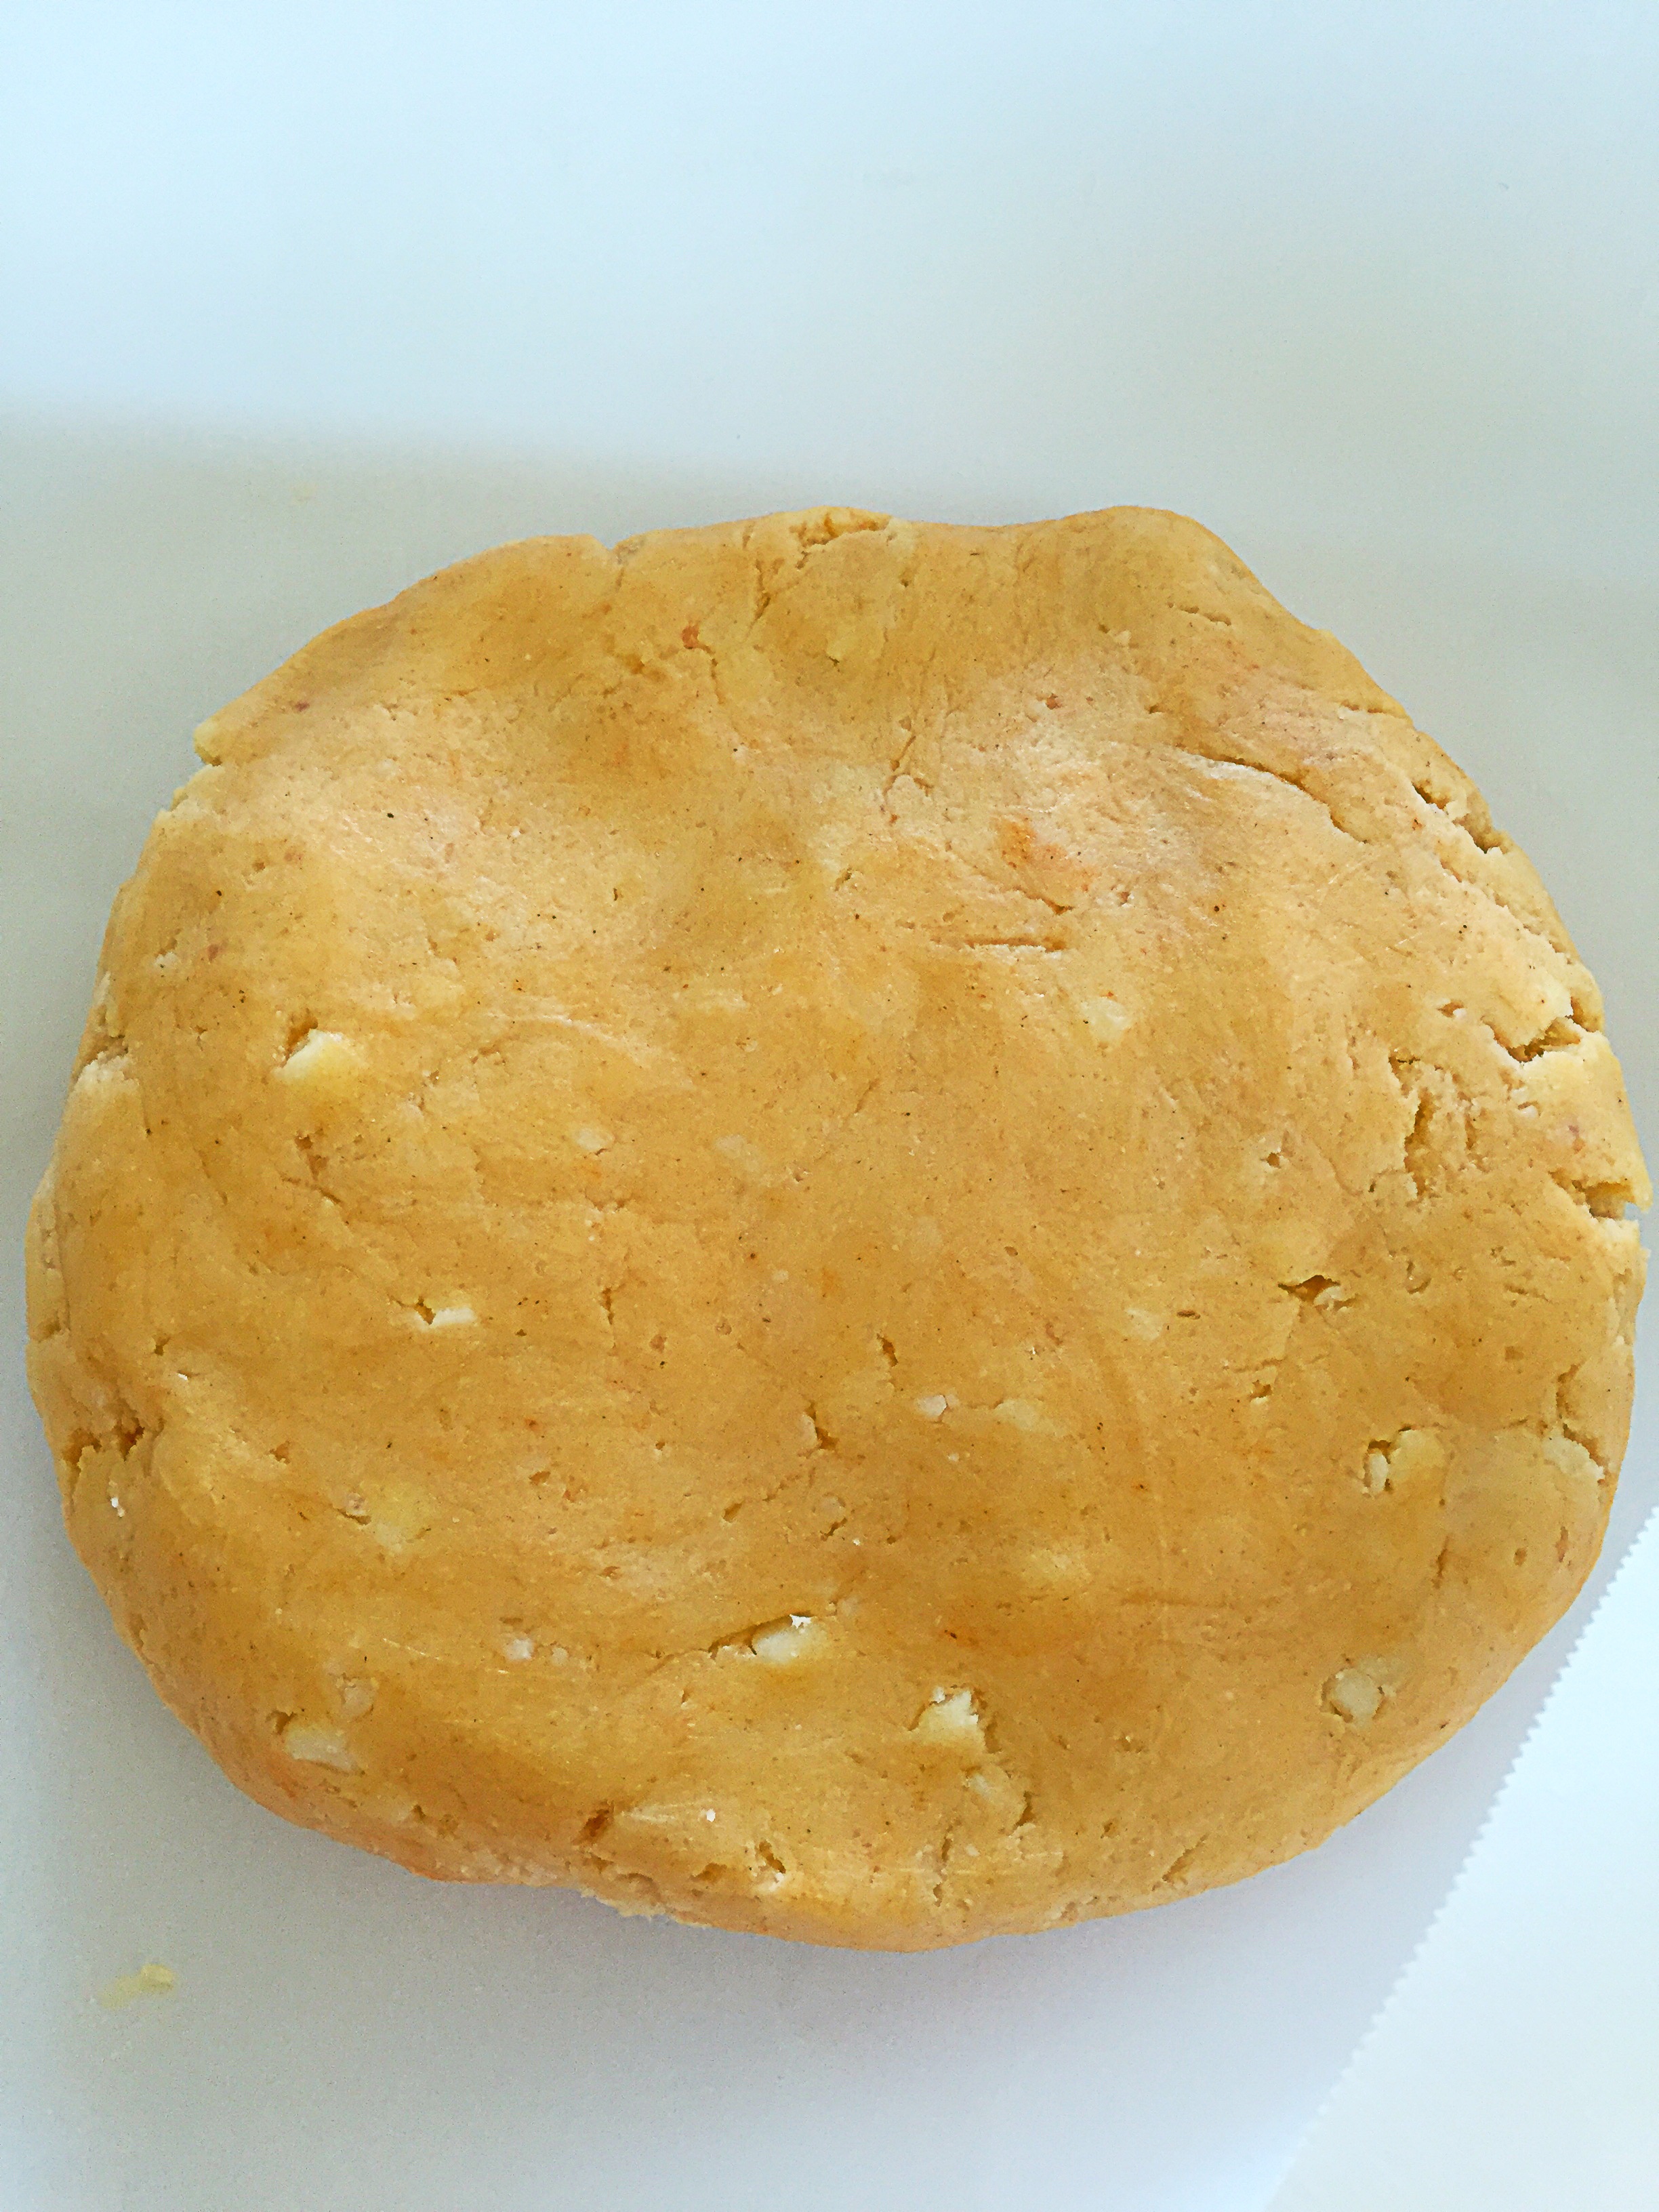
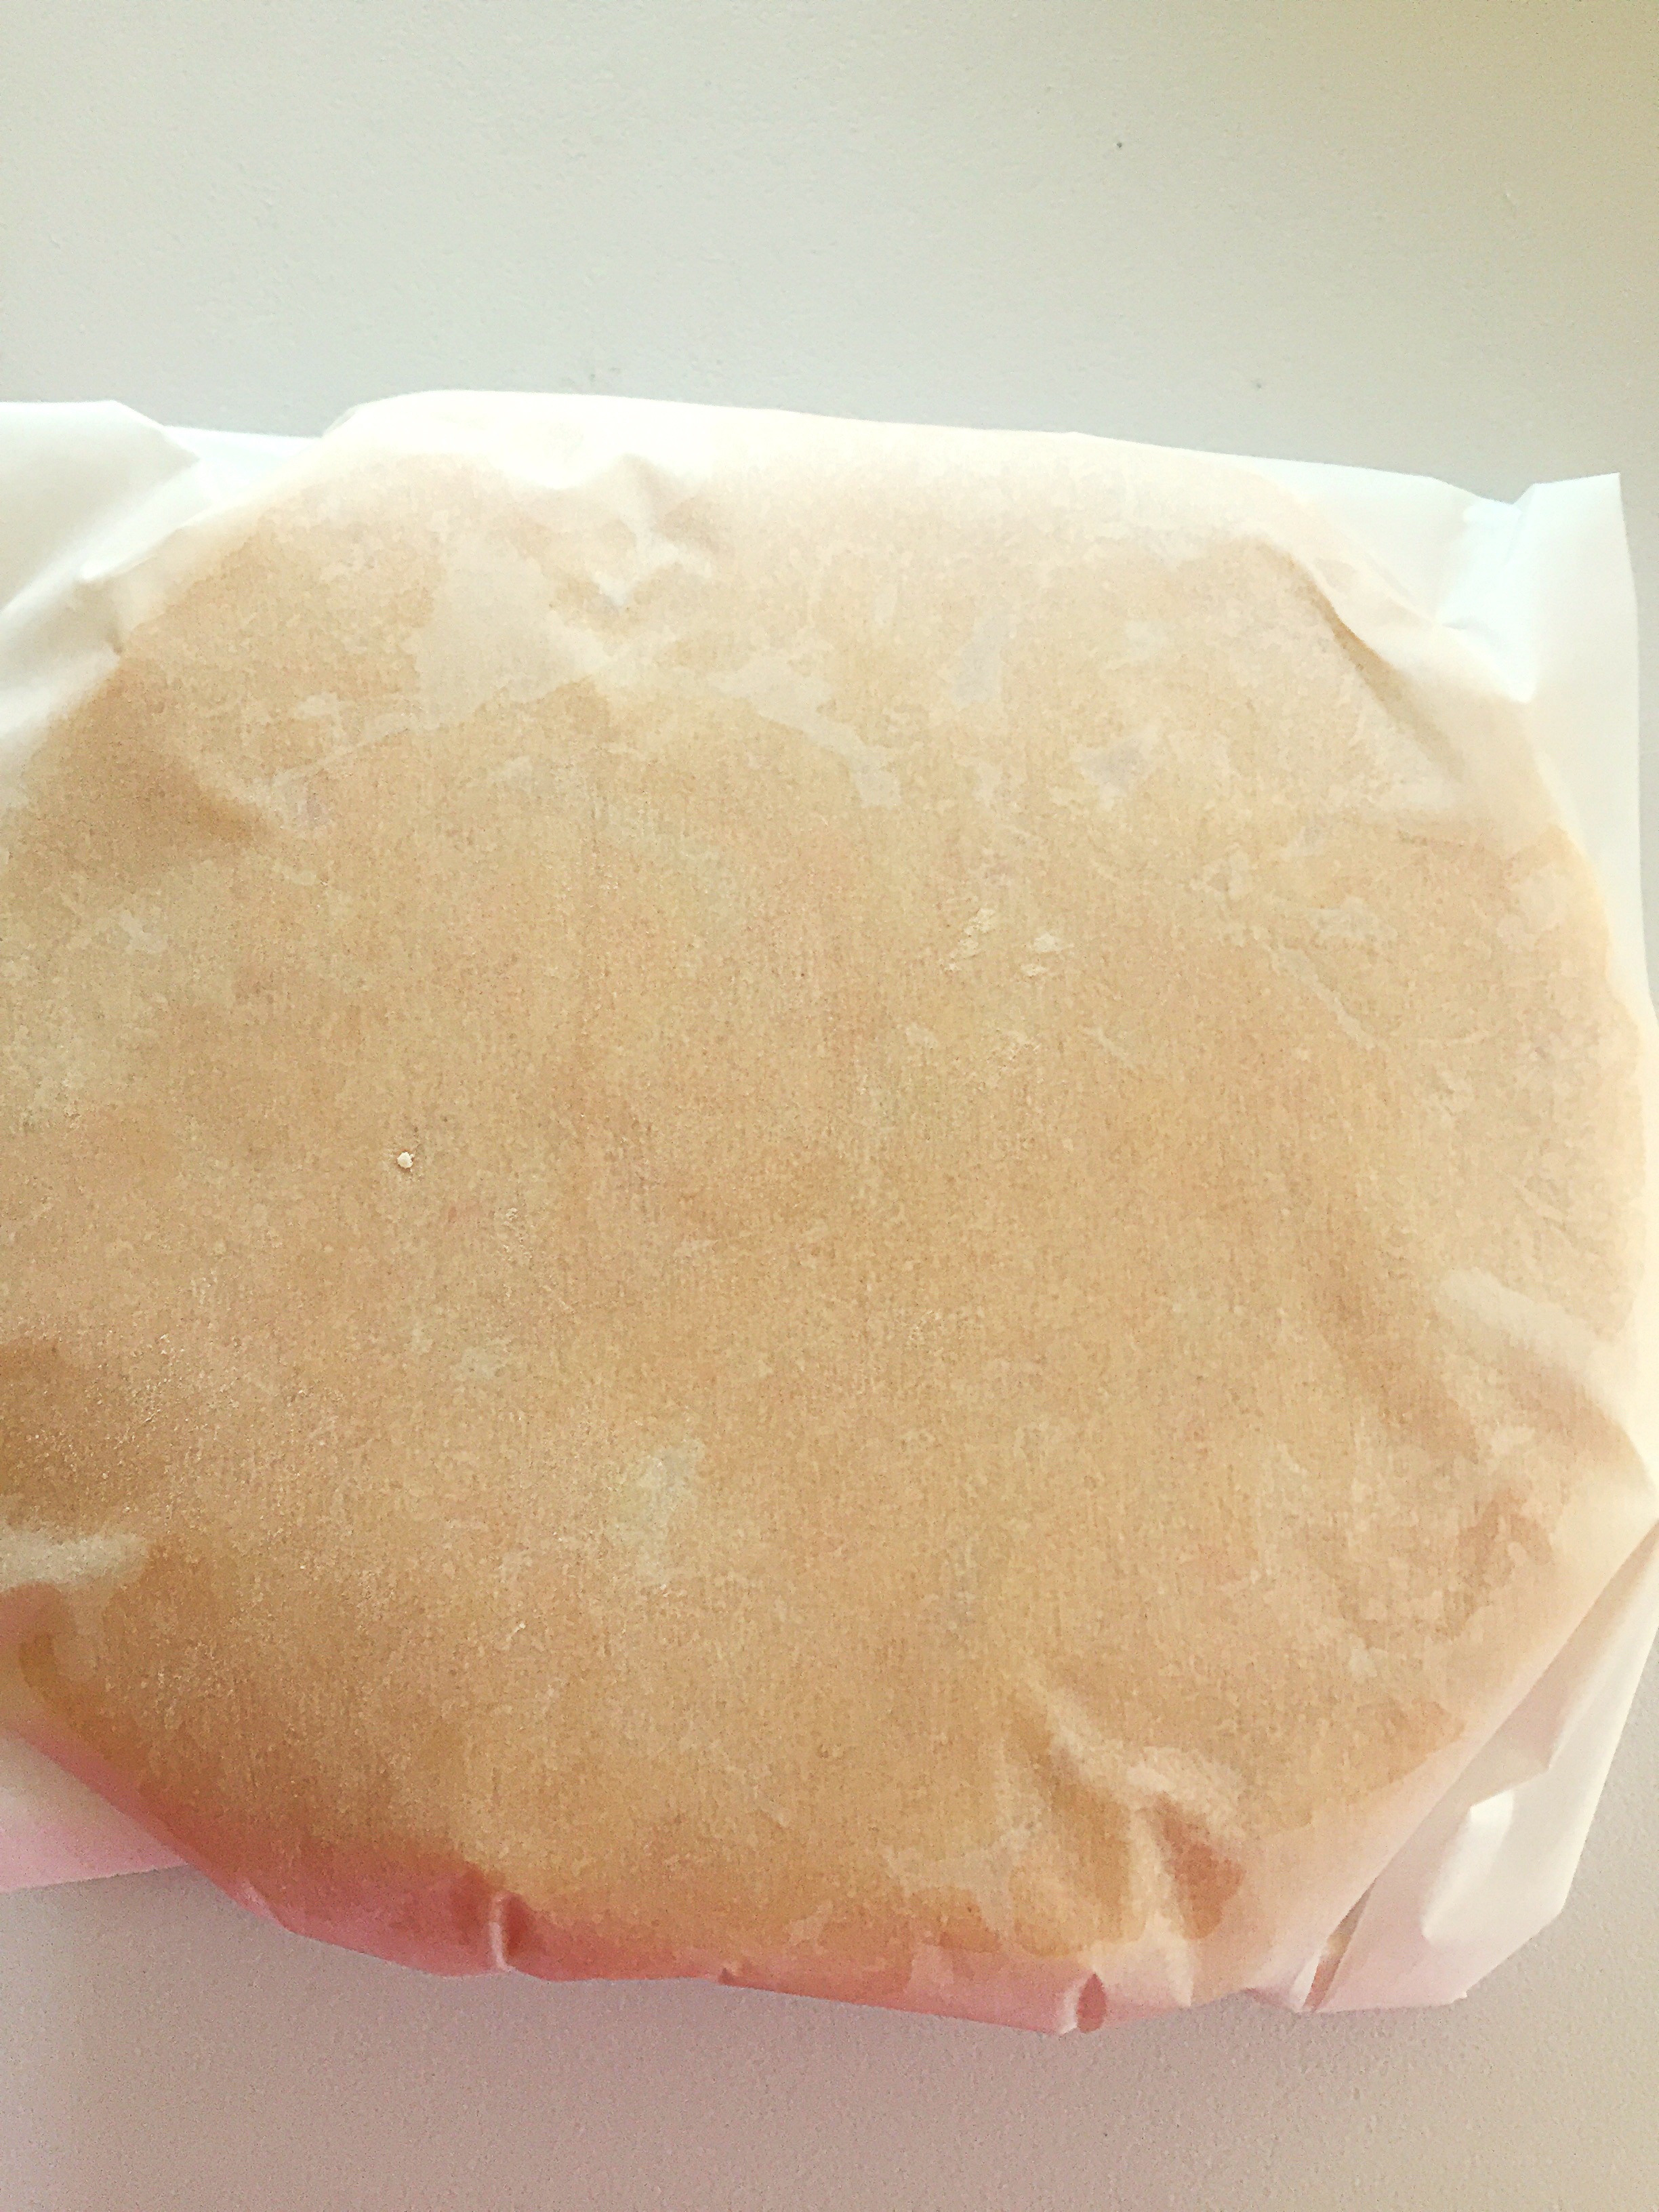
Transfer dough to a  lightly floured counter, flatten to a disc, wrap and refrigerate for 30 minutes.

image

image

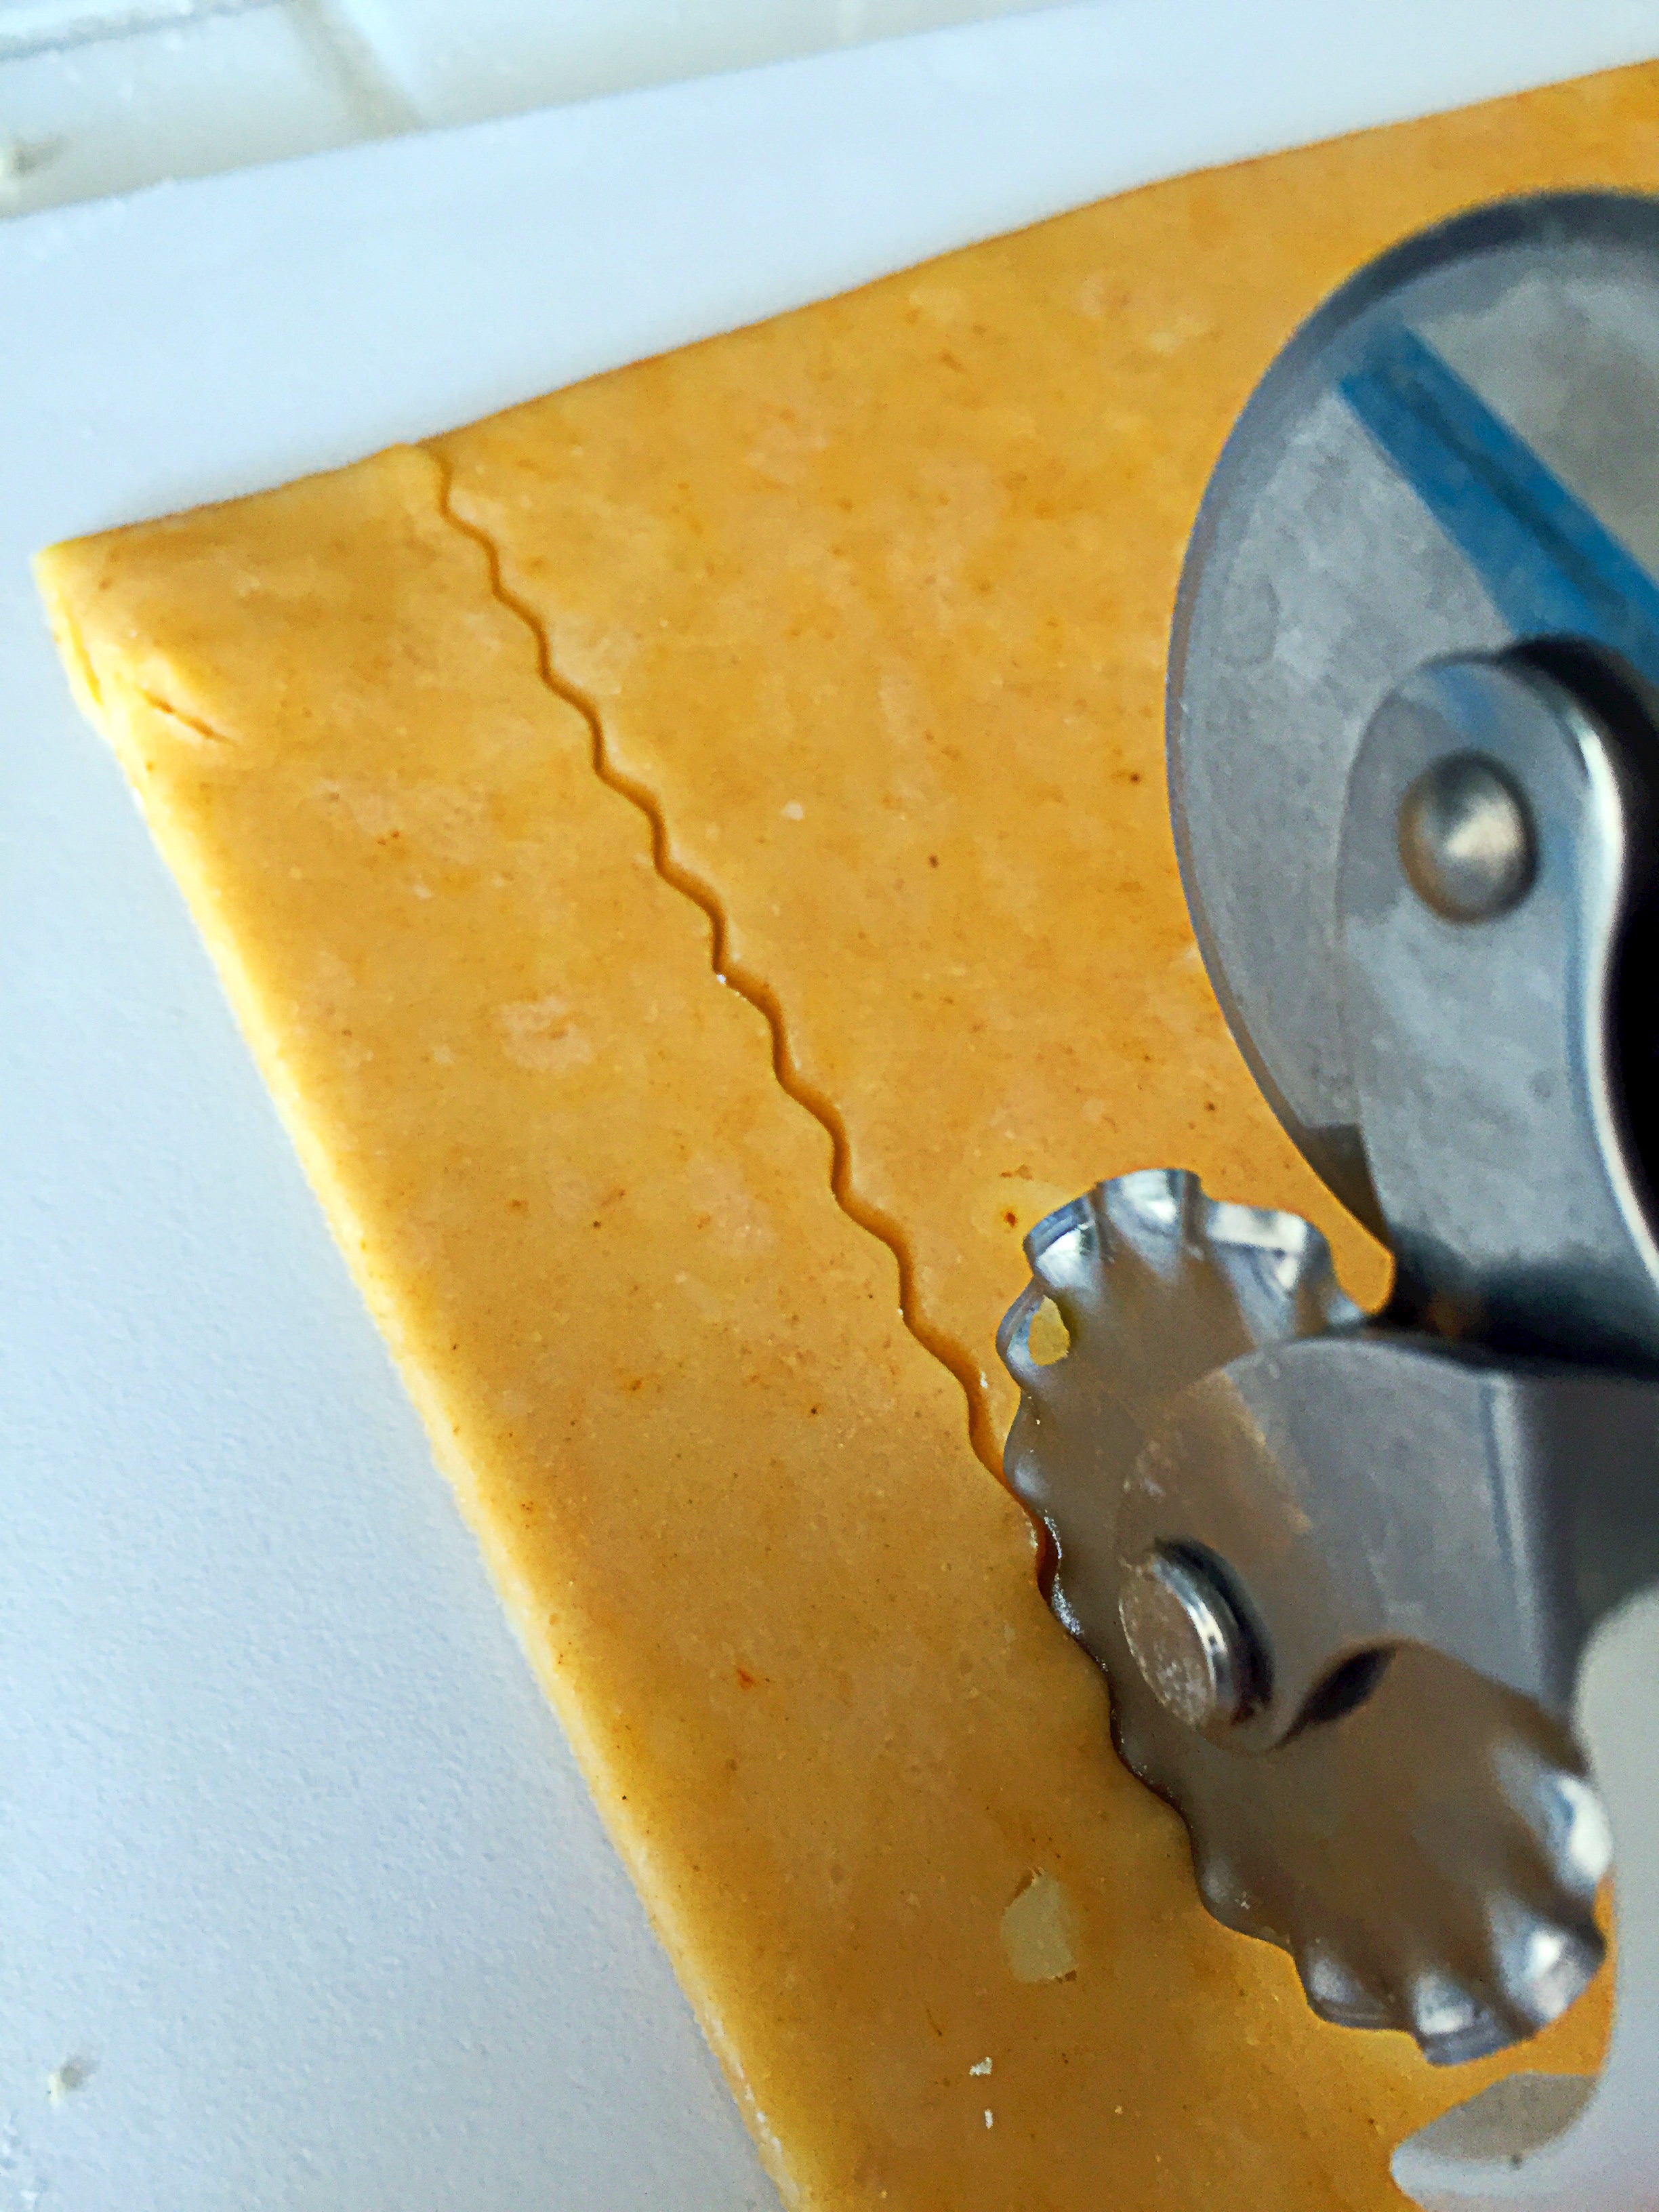
When ready to cook, pre-heat oven to 375F.  Line two bake sheets with parchment paper. Remove the dough from the refrigerator, and working on a floured counter, roll out the dough to 1/16 inch thickness–or as thin as you can get it without falling apart when you move it.

image

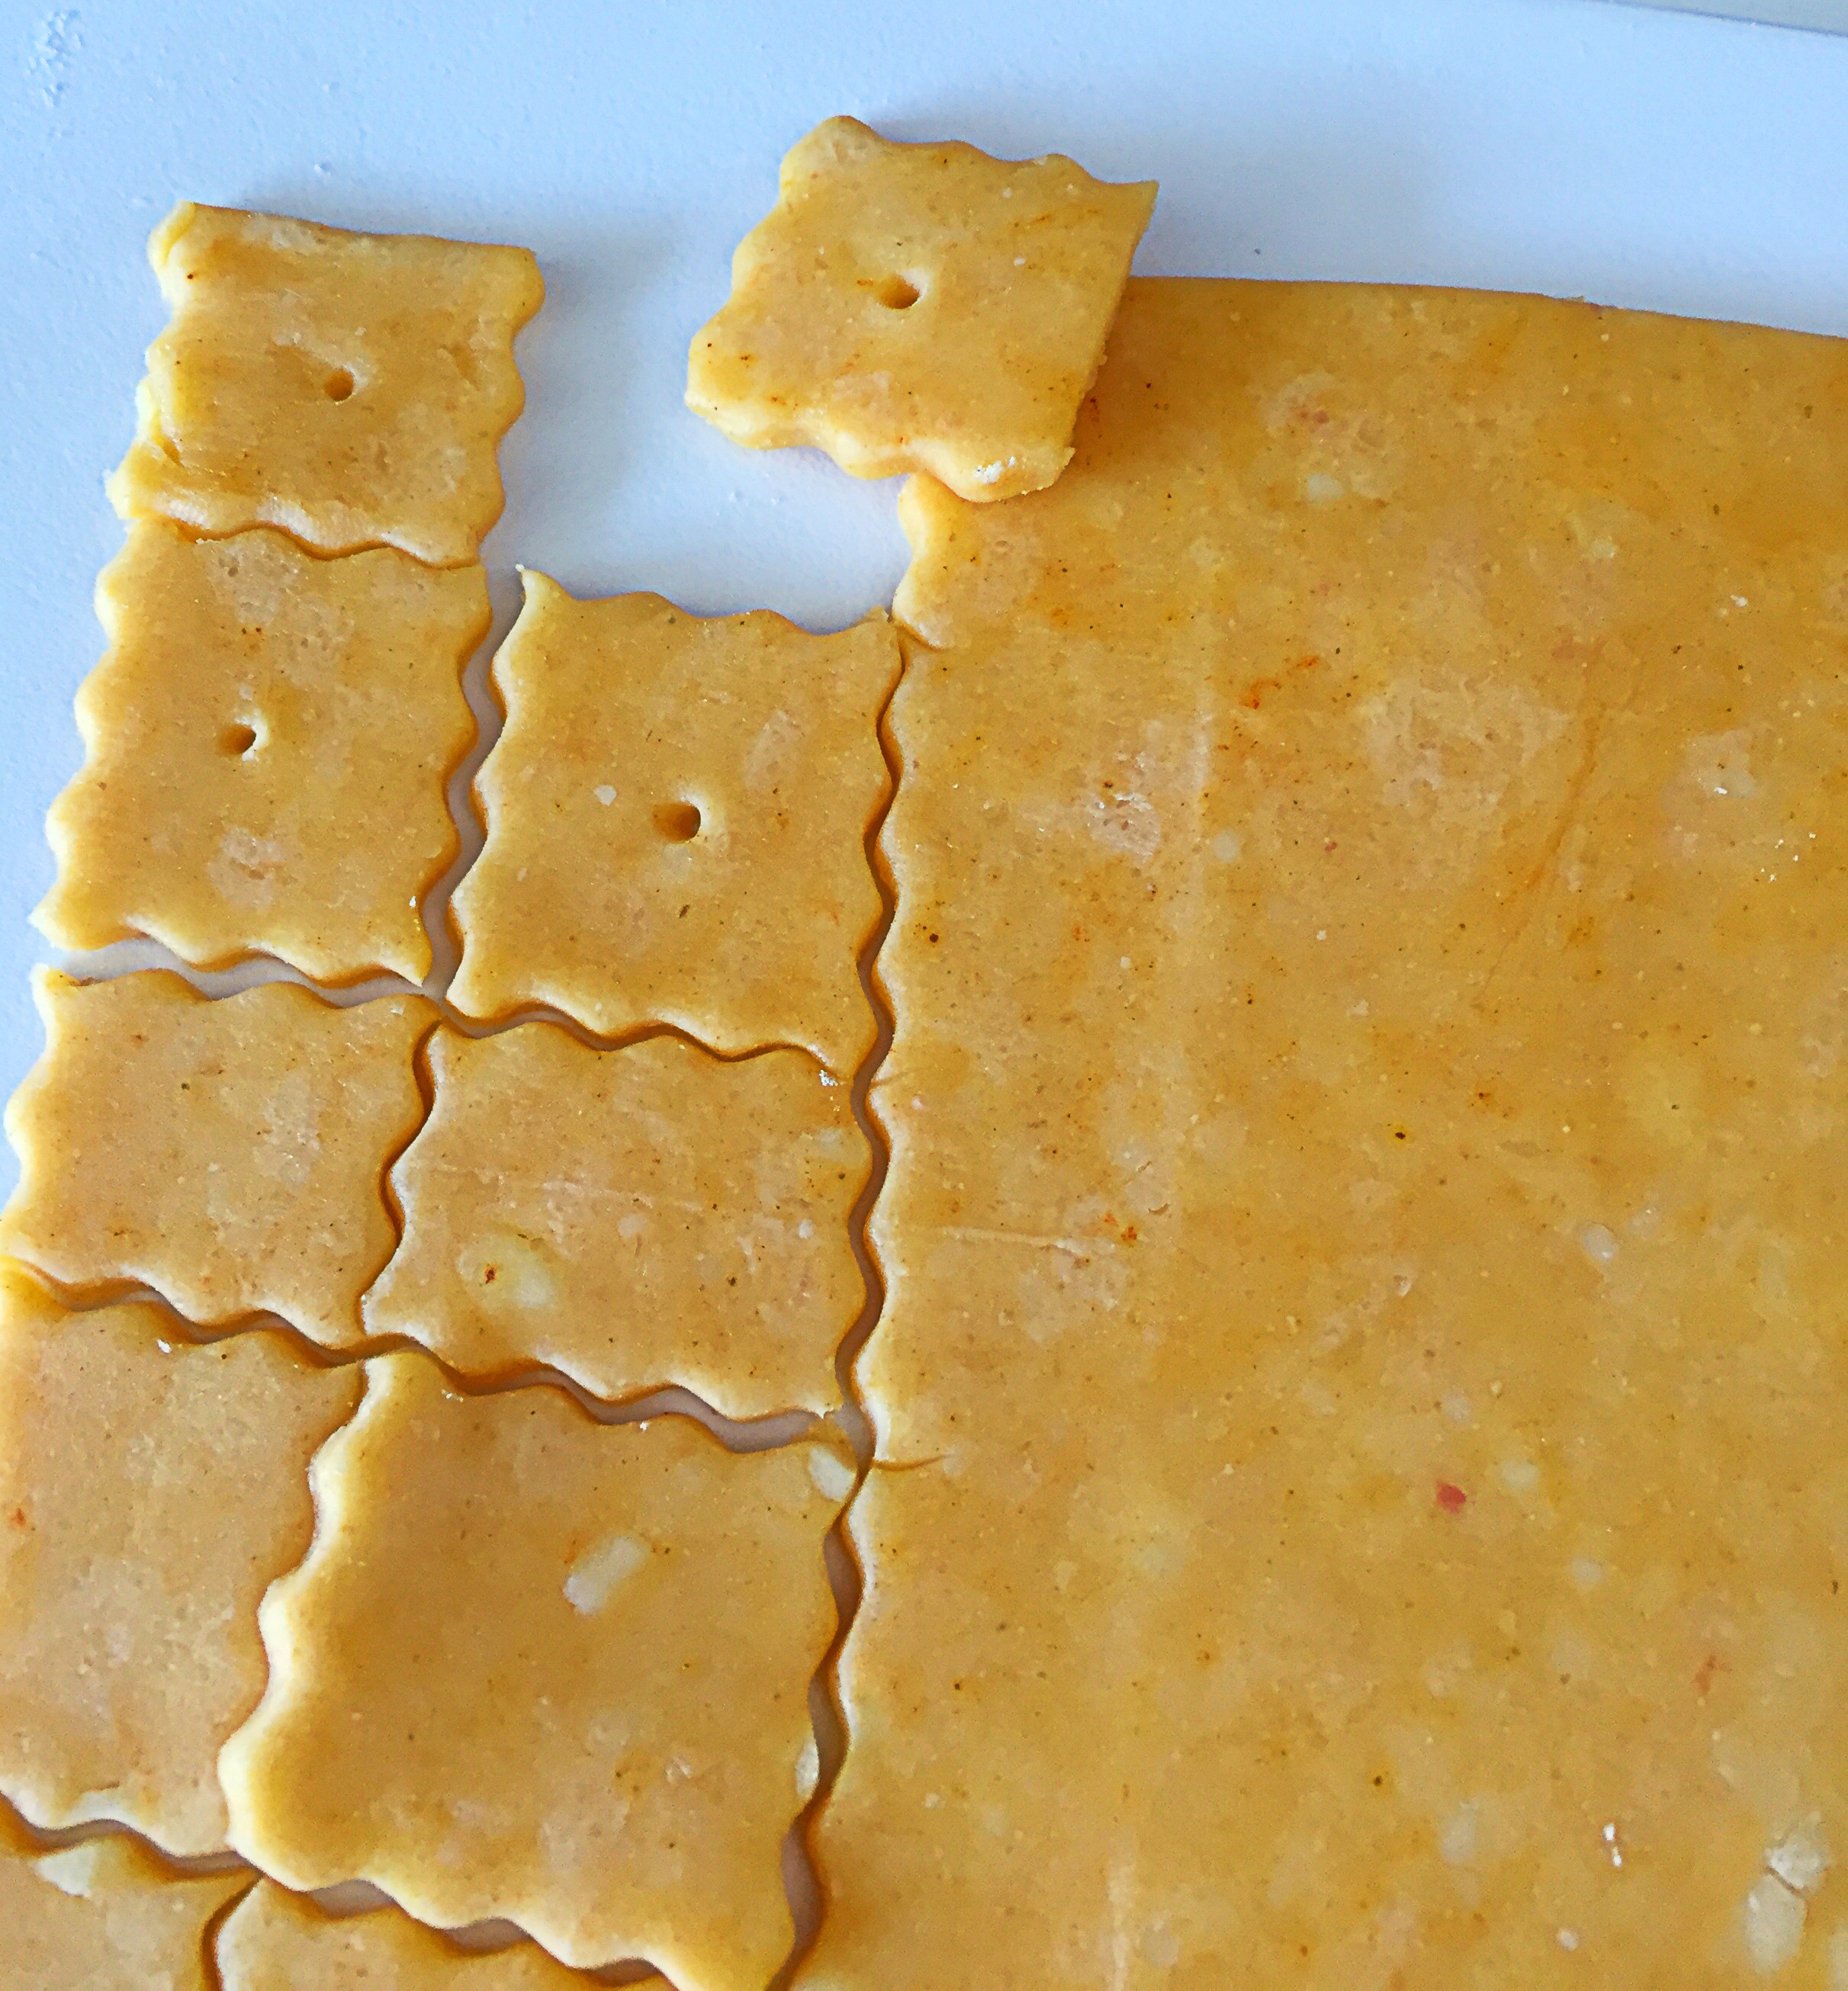
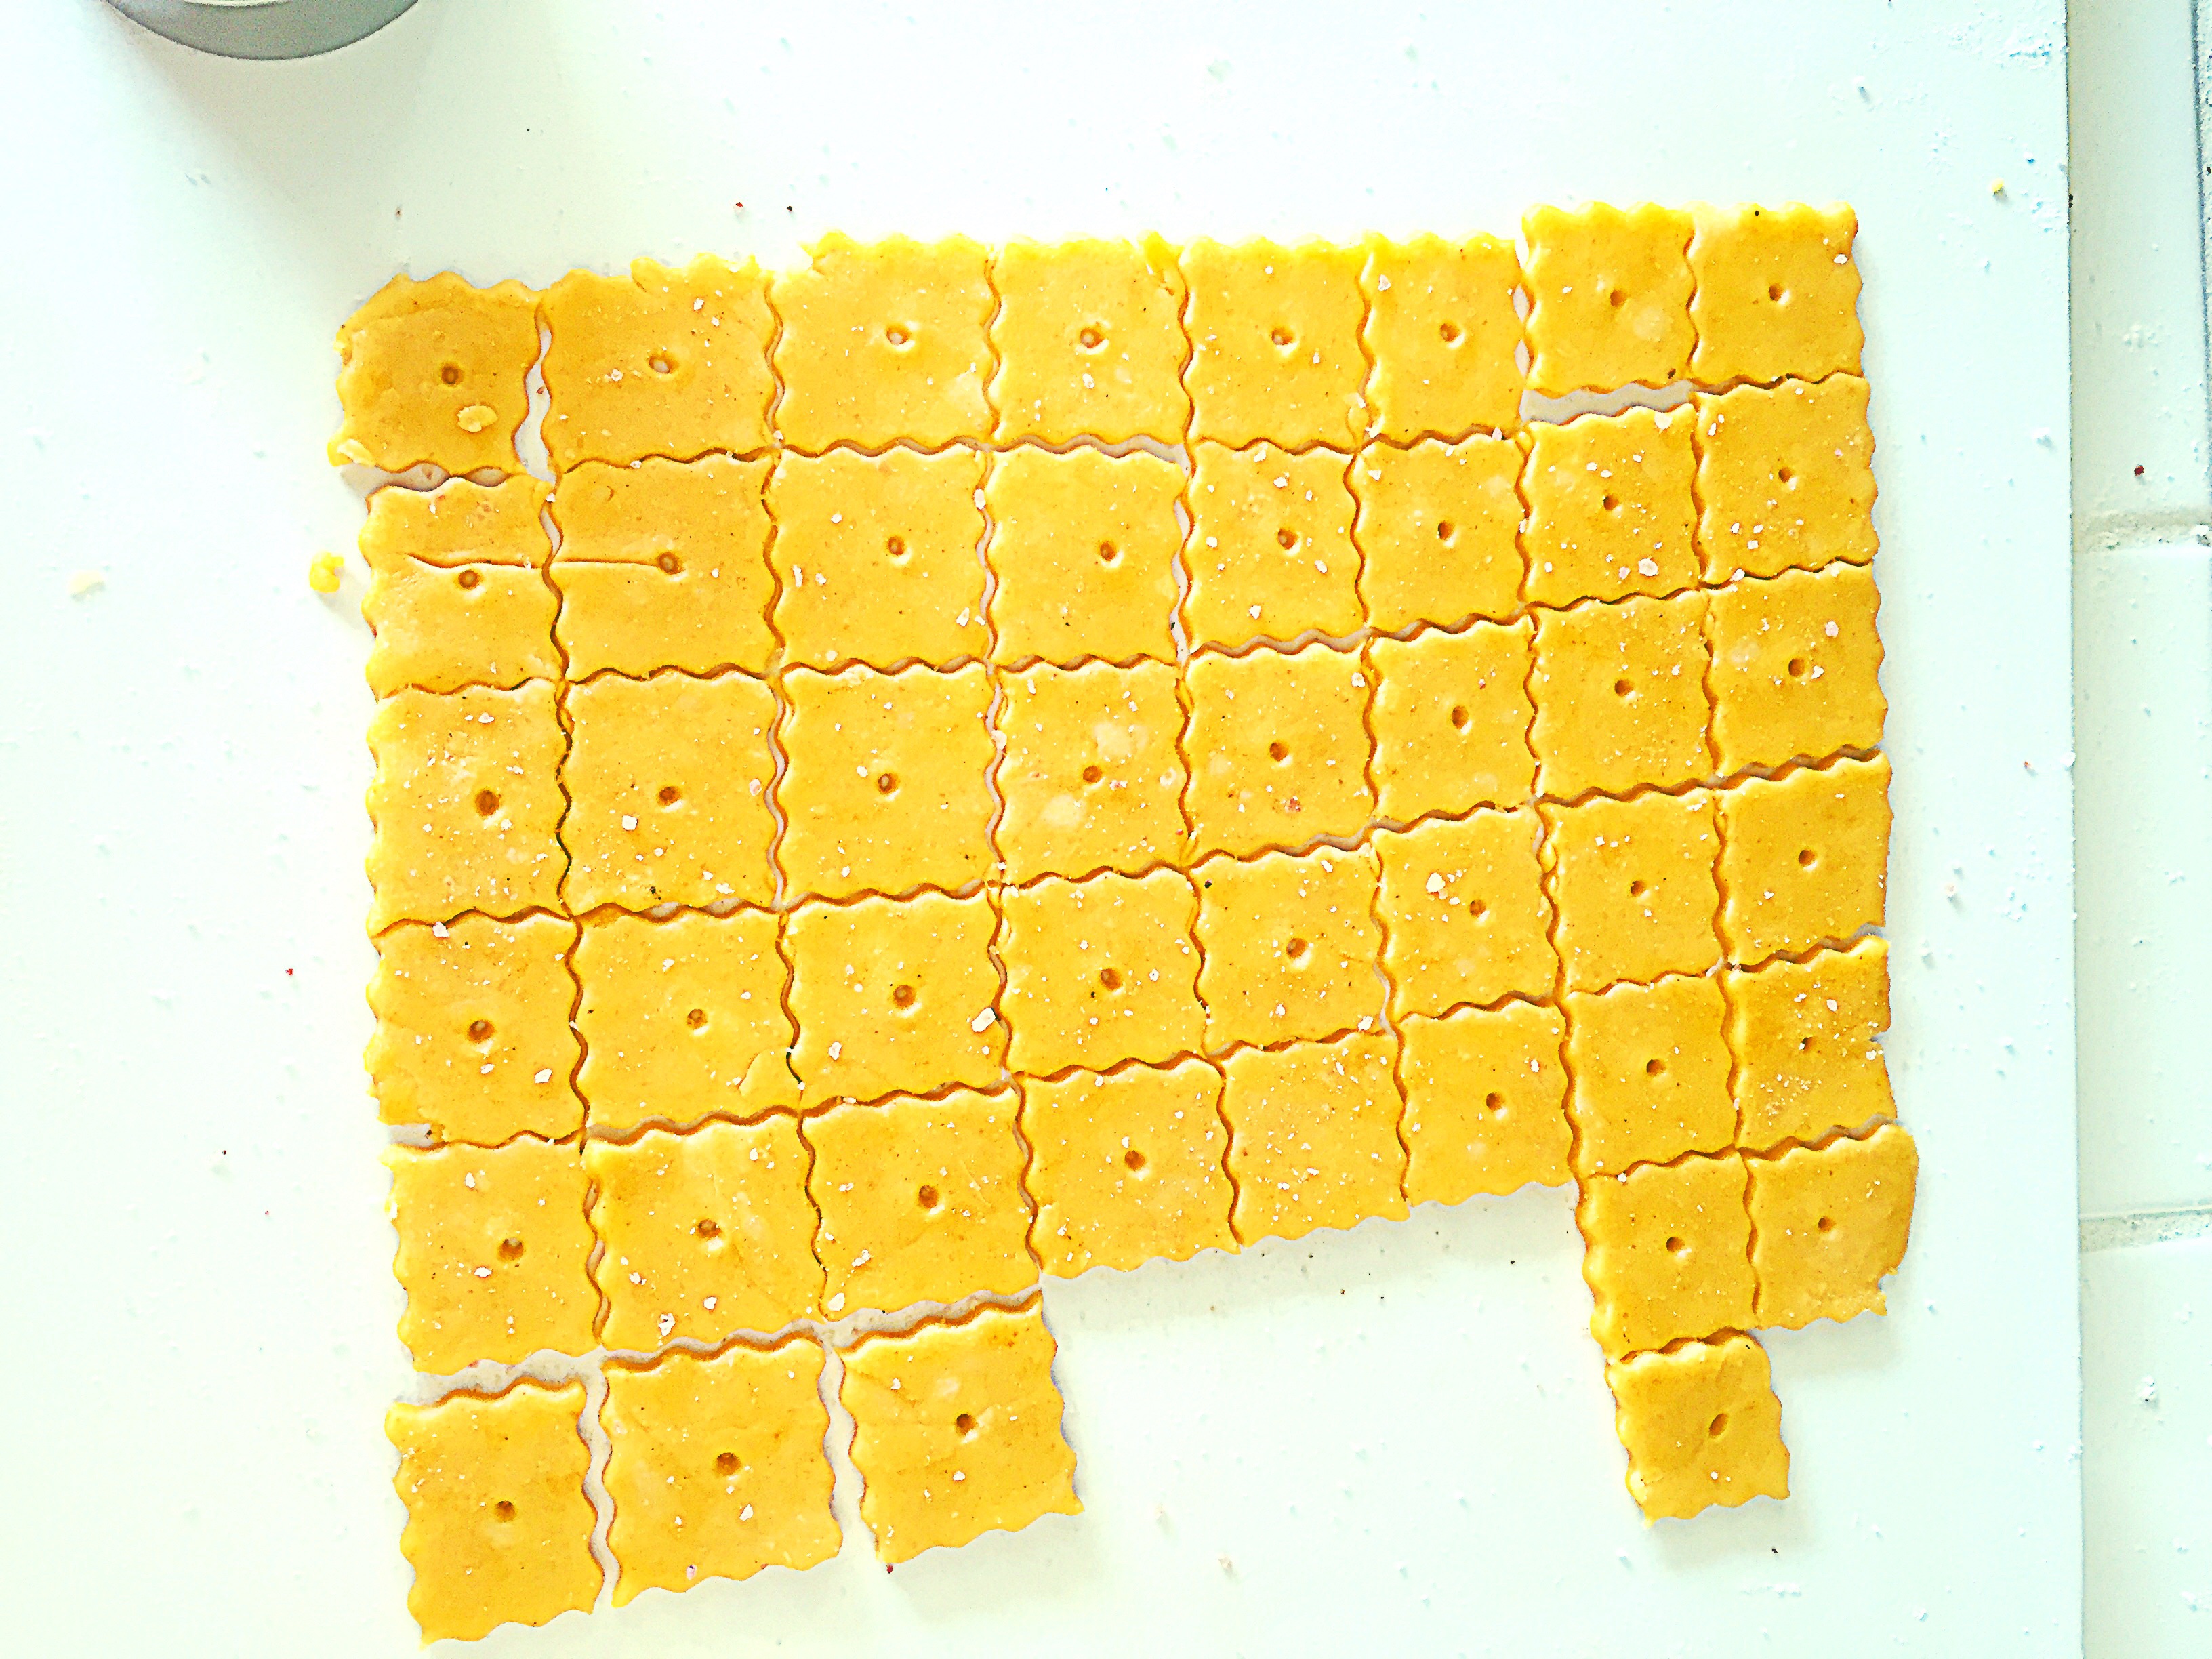
Cut the dough into 1 inch squares using a pizza or ravioli cutter or use small cookie cutters to cut out shapes.

image

Use a skewer to poke holes in the center of the crackers,

image

image

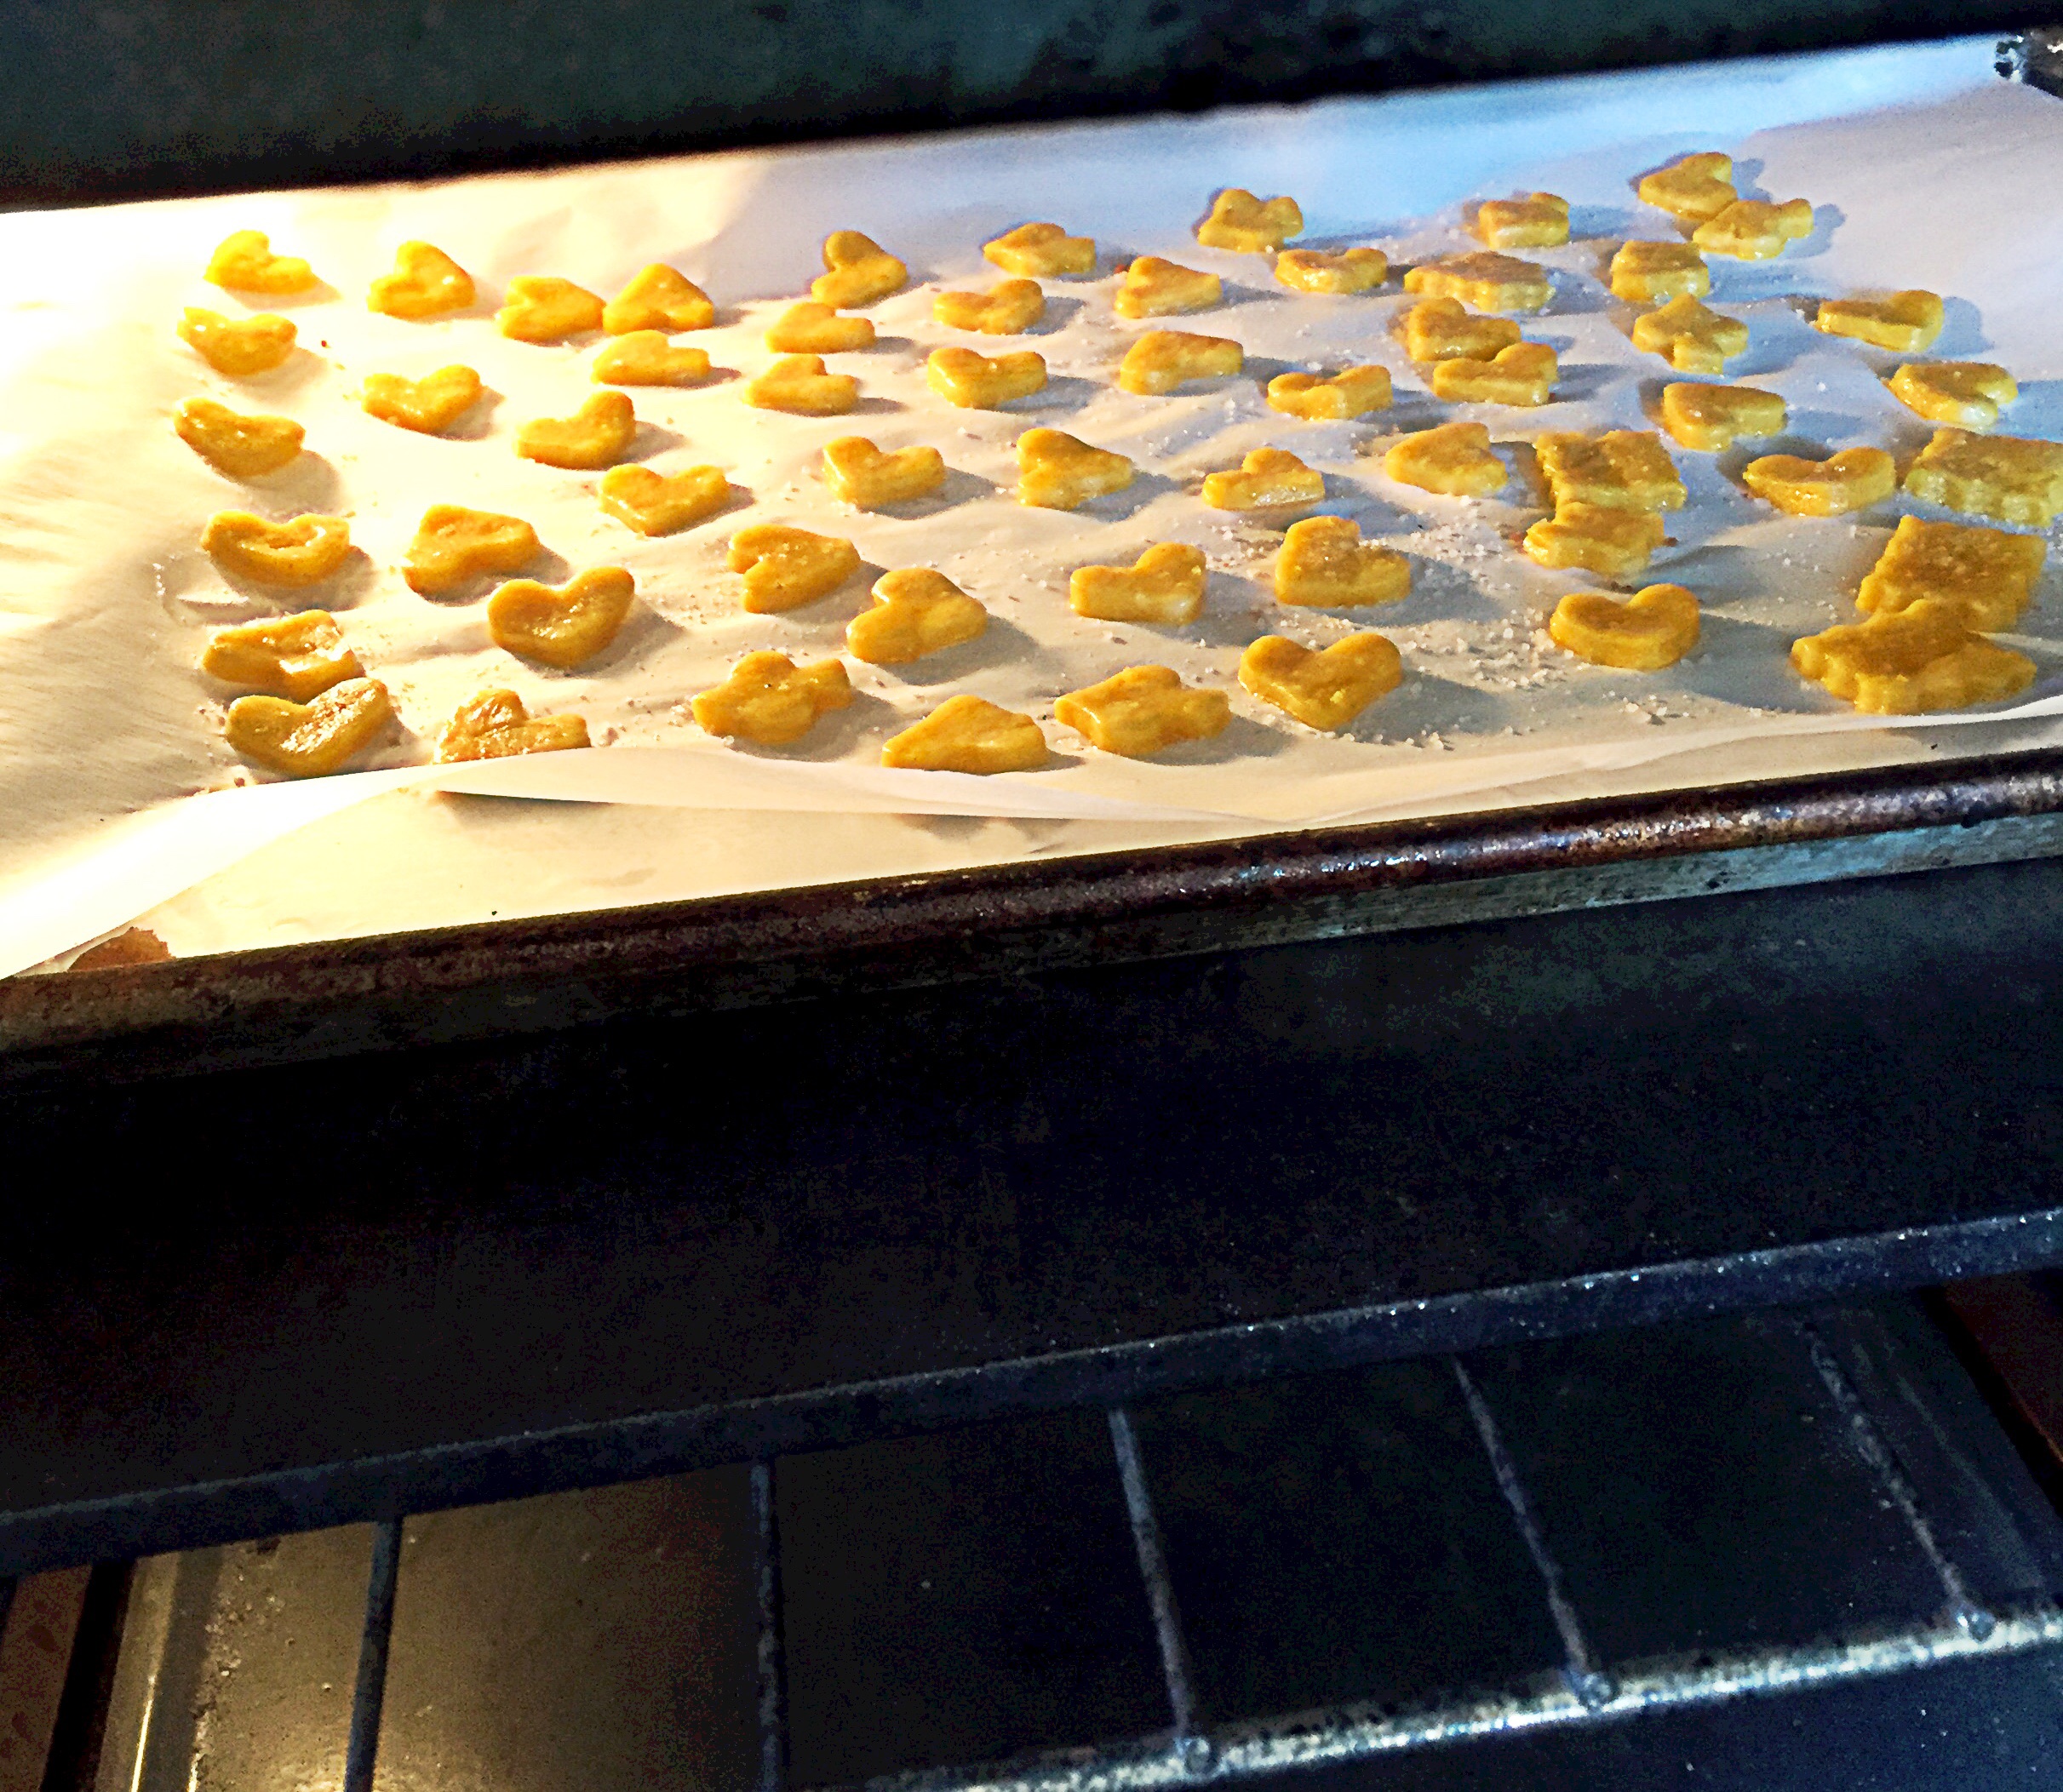
Transfer to the parchment lined bake sheets, place in the oven and bake until light and golden–about 18 minutes.

image

Remove from oven, allow to cool completely, then enjoy.

image

These can be stored in an airtight container for up to 3 days.


image


Garbanzo Bean Salad with Lime Herb Vinaigrette

image

Garbanzo Bean Salad with Lime Herb Vinaigrette


Salads are the perfect lazy meal. Add a little of this and a little of that and you have a great meal that didn’t involve 1 minute of cooking. It’s no wonder I love them so much.  When I’m in the mood for a hearty and filling salad, I always use legumes as base and build out from there. This salad makes the perfect lunch, or lazy dinner.

Pin It!

Pin It!


Ingredients:

10 ounce can of organic garbanzo beans–drained and rinsed

1/2 cup of  organic persian cucumbers, diced

1/2 cup of organic radish, diced

1/2 cup of organic bell pepper, diced

3-4 oz of Feta cheese–crumbled

Sea salt to taste

Lime Herb Vinaigrette

1/4 cup of fresh organic lime juice

3 tablespoons of olive oil

3 tablespoons of finely chopped fresh mint

1 medium clove of garlic, grated

1/2 teaspoon of ground cumin

Sea salt to taste

Directions:  Add all of the ingredients for the Lime herb vinaigrette to a bowl,  whisk together and set aside.  To a large bowl add the ingredients for the salad, season with sea salt and toss gently.

image


Pour the vinaigrette over the salad, toss once more and enjoy!

image

image

image


Pineapple Rings–How to make dehydrated Pineapple Rings

Dehydrated Pineapple Rings

Dehydrated Pineapple Rings

One of my go to snacks is dehydrated fruit.  I’m a particular fan of pineapple rings.  But, if you’ve ever purchased organic dehydrated pineapple rings, then you probably know that pineapple rings are a snack that can be out right expensive! I mean outlandishly expensive! On top of the expense, it’s pretty hard to find pineapple rings that haven’t been soaked in baths of sugar.  I’m not a fan of adding sugar to dehydrated fruit.  It’s sort of an oxymoron to me that sugar is added to dehydrated fruit at all, because if you know anything about dehydration–then you know that the sugar in fruits concentrate when dehydrated, so there really isn’t a need to add sugar–unless you’re dehydrating something really tart like cranberries then I could see the purpose of adding sugar. Last week I purchased a pineapple, I fully intended to eat it fresh. However,when I cut, and tasted it– it was pretty tasteless. Disappointing for sure. The pineapple clearly needed to ferment more.  Rather than chuck it, I sliced it and put it in the dehydrator and made pineapple rings. The resulting pineapple rings were not only flavorful, but they were sweet–everything you want would want in a fresh bite of pineapple–minus the juice of course.  The pineapple rings lasted all of 2 minutes, my sister in-law, my niece and Page, gobbled them right up–I’m pretty sure they would’ve passed on the fresh slices.

Pin It!


Prep time: 10 minutes

Cook time 6-8 hrs 10-12hr for thicker slices

Ingredients:

2 whole fair trade organic pineapple

Directions: Remove the stem from the pineapple, then slice off the top and bottom.  Slice off the skin, making sure to remove all the eyelets.

image

Now slice the pineapple thinly.

image

Keep in mind that the thicker you slice it, the longer it will take to dry.  If it’s too thin your pineapple rings will turn out crisp, if they are a bit thicker, they’ll be more leathery, so it’ just a matter of what you’re seeking in consistency.  After slicing, cut out the center core by carving a circular cut in the middle of the pineapple.

image

Remove the core and discard it.

image

Place the pineapple rings on your dehydrator sheet,

image

Set the dehydrator to 135F.  If you’re doing this in the oven, set the oven to 150F or the lowest possible setting.  Dehydrate for 6-8 hours, 10-12hrs if you cut thicker slices.

image

Once dry let cool, then enjoy!

image

Page could not wait for me to take a picture, she loves these so much!

image

image

if you like this recipe, try the recipe for my pineapple fruit roll-ups!

Spice Rubbed Salmon with Lemon Cream Sauce

Spice rubbed Salmon with lemon cream sauce

Spice Rubbed Salmon with Lemon Cream Sauce

I love salmon, especially perfectly cooked salmon. When cooked correctly salmon is moist, tender, and oh so satisfying.  Most recipes for salmon include dill, lemon, garlic or some variation of those three ingredients. I’m a big fan of garlic and lemon, but dill is just not a flavor I’m in love with.  Besides, salmon is not a fragile fish, it can hold up to more bold flavor profiles.This particular salmon recipe is proof of that.

Pin It!

Prep time: 5 minutes

Cook time: 8 minutes

Total time: 15 minutes

Ingredients:

1 lb salmon fillet

1/4 teaspoon of paprika

1/4 teaspoon of granulated garlic

1/4 teaspoon of onion powder

1/4 teaspoon of ground cumin

1/2-1 teaspoon of avocado oil or coconut oil

sea salt & black pepper to taste

Lemon cream sauce (optional)

2 Tablespoons of sour cream –can sub with yogurt

1/4 teaspoon of tabasco

1 tablespoon of lemon juice

sea salt to taste

Directions: Pre-heat oven to 425F. Mix the ingredients for the lemon sauce in a small bowl and set aside. Dry salmon fillet with paper towels, drizzle with oil on both sides, then salt, place on a foil lined bake sheet and set aside. In a small bowl mix together the paprika, garlic, onion, and cumin.

image

Sprinkle the spice mixture over the salmon,

image

Place the salmon in the oven for 8-10 minutes depending on how thick your fillet is.  My fillet was about 1/2 inch thick and it was done in 8 minutes.  Remove from oven, drizzle with lemon sauce and enjoy!

image

Creamy Caesar Salad Dressing

Creamy Caesar Dressing--DIY Caesar Salad Dressing

Creamy Caesar Dressing–DIY Caesar Salad Dressing

My latest obsession is salad.  Crispy and crunchy vegetables with a drizzle of oil, and a splash of citrus or vinegar–what’s not to love?  Salads are a great way to get in a few servings of fresh vegetables in their raw state.  As much as I love salads, they can become a bit boring if you don’t mix things up a bit.  The easiest way to do that is to switch out the vegetables and the dressing.  I often make caesar salads with romaine lettuce, but sometimes I switch out the romaine and replace it with baby kale, or lacinto kale.  It makes for a hearty salad and an especially delicious twist to the standard caesar  salad, we are all used to.  I’ll post the recipe I use for the kale caesar another day, but today, I’m sharing my recipe for my favorite creamy caesar salad dressing.  It’s my go to dressing, when I crave a creamy salad dressing.

Pin It!

Prep time: 10 minutes

Cook time: none

Ingredients:

1 clove of garlic pasted

2 Tablespoons of lemon juice

1/2 teaspoon of worcestershire sauce

1 tablespoon of anchovy paste

2 large egg yolks

1/4 cup grape seed oil

5 teaspoons of olive oil

3/4 cup of freshly grated parmesan cheese

black pepper to taste

Directions:  To a small bowl add the grated garlic and lemon juice, allow to sit for 10 minutes.  If you have a hand mixer like I do, add the lemon garlic mixture, (after it sits for 10 minutes), and the rest of the ingredients to a bowl and mix until the mixture thickens–about 1-2 minutes.

image

Transfer to an air tight container and chill until ready to use.

image

If you don’t have a hand mixer,  whisk worcestershire sauce, anchovies, and egg yolks into garlic/lemon juice mixture.


While whisking, drizzle grape seed oil and extra virgin olive oil into bowl in slow, steady stream until fully emulsified.


 Add 3/4 cup Parmesan and pepper to taste; whisk until incorporated:

image

Rosemary, Garlic, & Lemon Pototoes

image

Rosemary, Garlic, and Lemon Potatoes


One of my husbands favorite side dishes.  He is a lover of all things potato, so I’m constantly trying to switch up the way that I cook them. The easiest way for me to do that is to switch up the herbs.  In this case fresh is best! The fresh rosemary really makes these potatoes sing! The pungent and earthy flavor of fresh rosemary paired with the lemon and garlic, make for a delicious potato dish!

Pin It!


Prep time: 5 minutes

Cook time: 10-15 minutes

Ingredients:

4 medium organic potatoes (cubed skin on)

1 Tablespoon of fresh organic rosemary finely chopped

1 teaspoon of garlic finely chopped

1/2 teaspoon of lemon powder (can sub the zest of one small lemon)

4-5 Tablespoons of grape seed oil

Sea salt to taste

Directions: Heat olive oil in a frying pan. Place cubed potatoes in,

image

Cook potatoes until they start to brown, tip, cook for 5 minutes on one side, brown and then flip to the other side to brown.  Once potatoes are brown and fork tender, add the rosemary, lemon powder, and garlic, toss for ten to twenty seconds, just until you can smell the garlic, turn the fire off.

image

Transfer to a plate season with sea salt toss and enjoy!

image


If you like these potatoes then you’ll love my recipe for Lemon and Garlic Potatoes! You might also like these Ranch Potatoes!