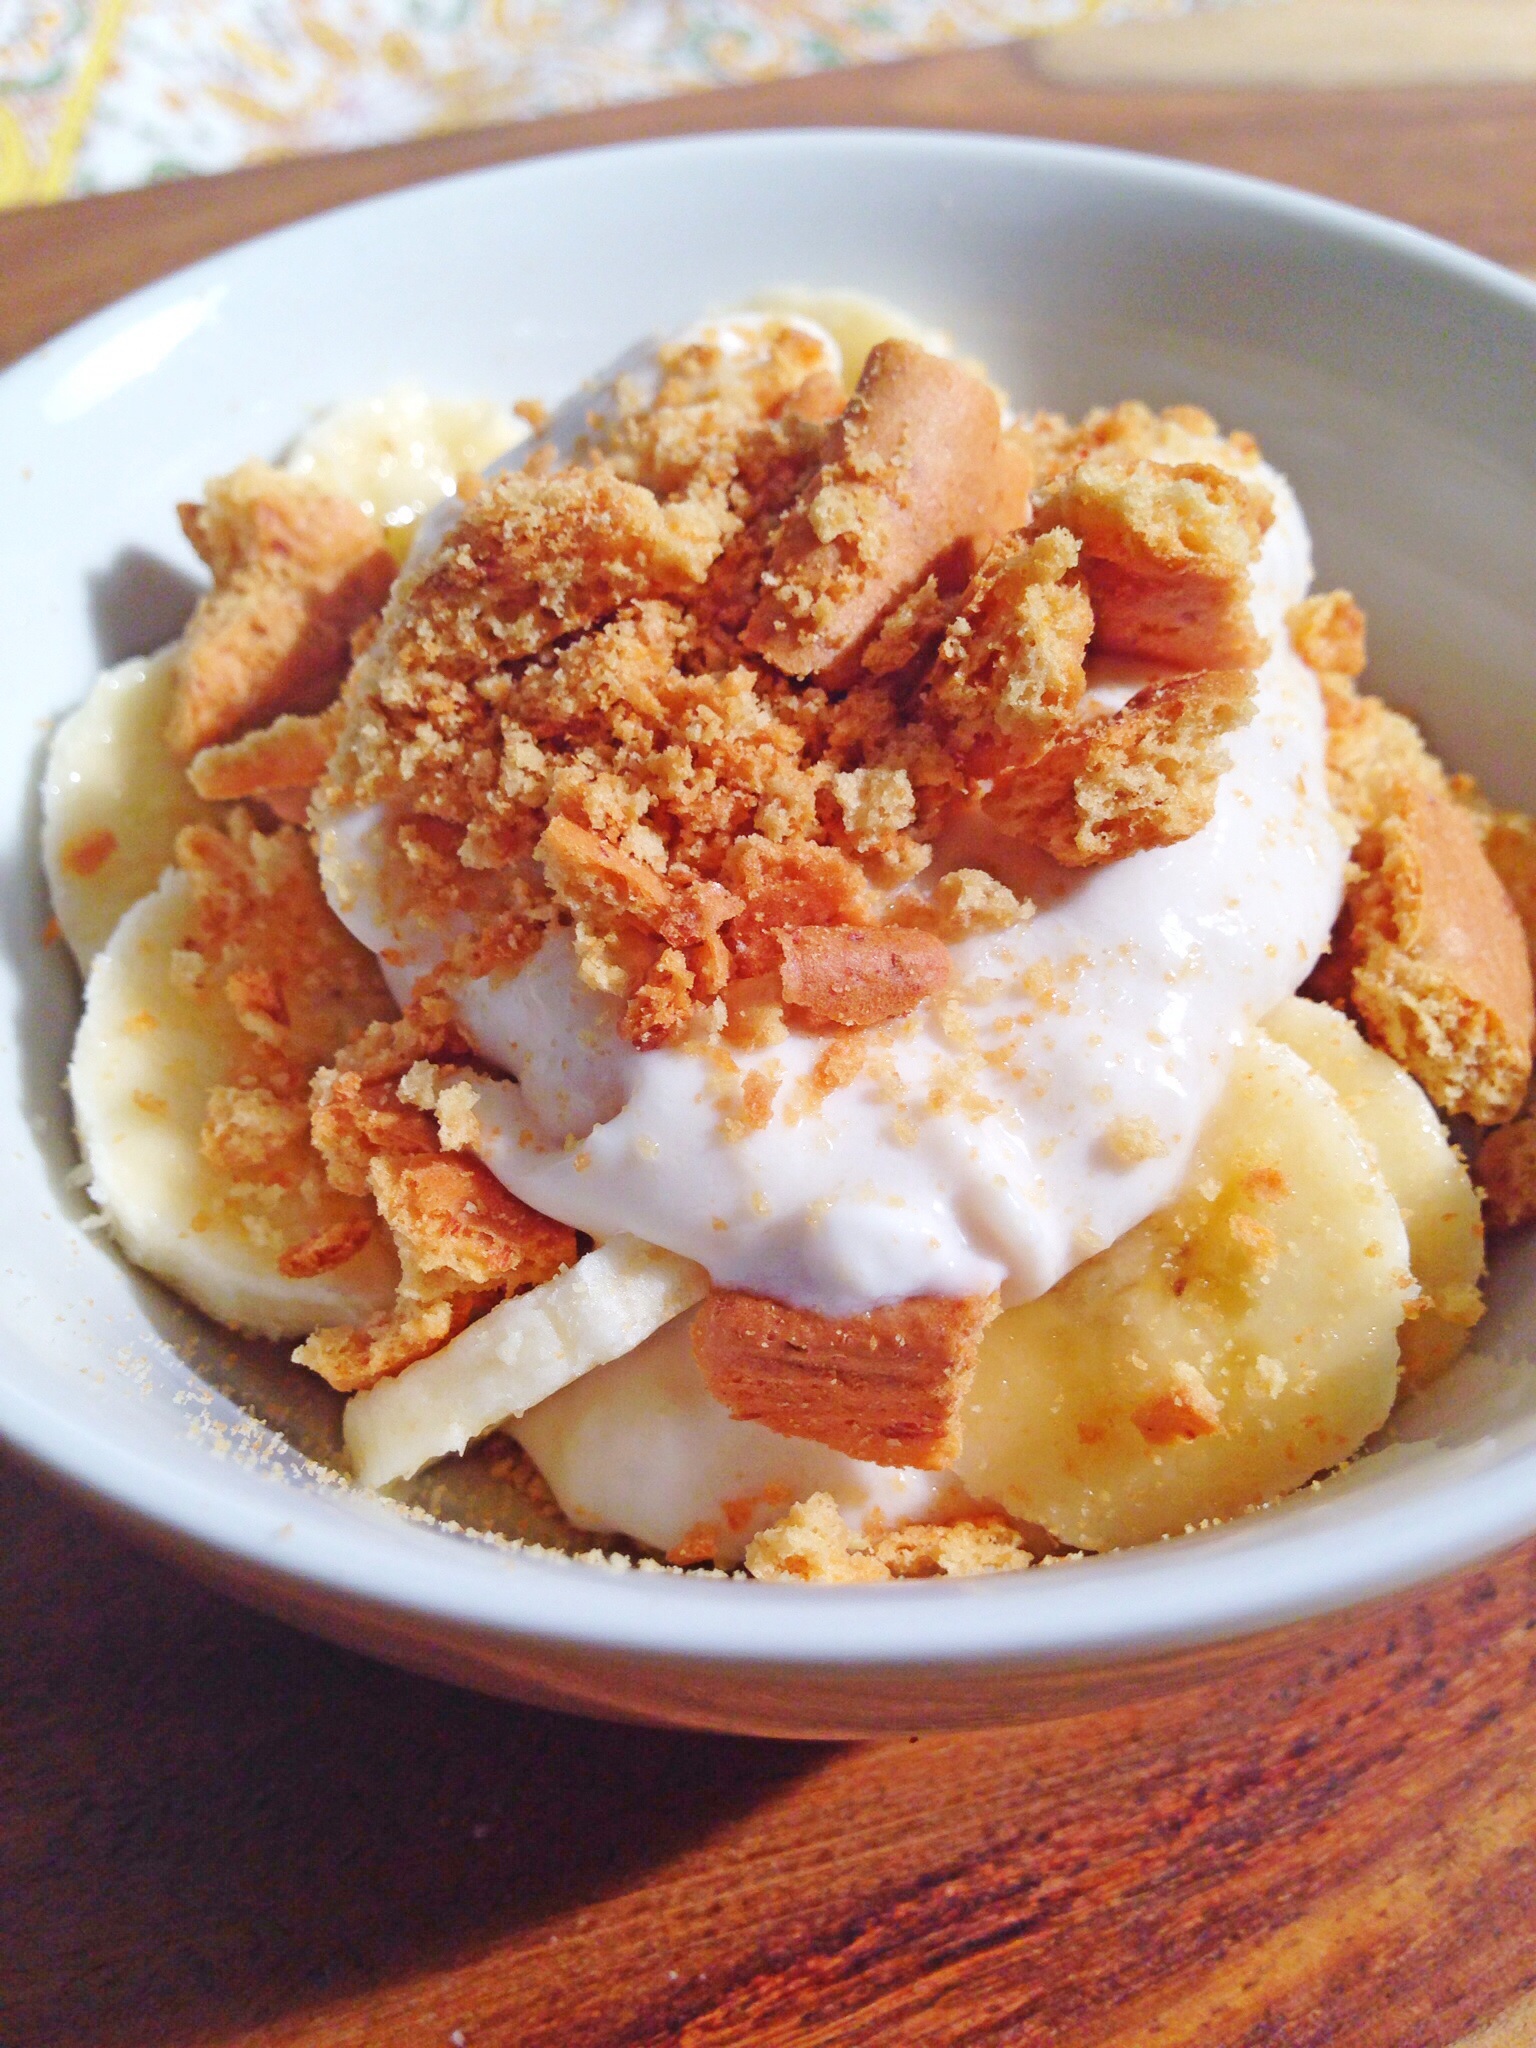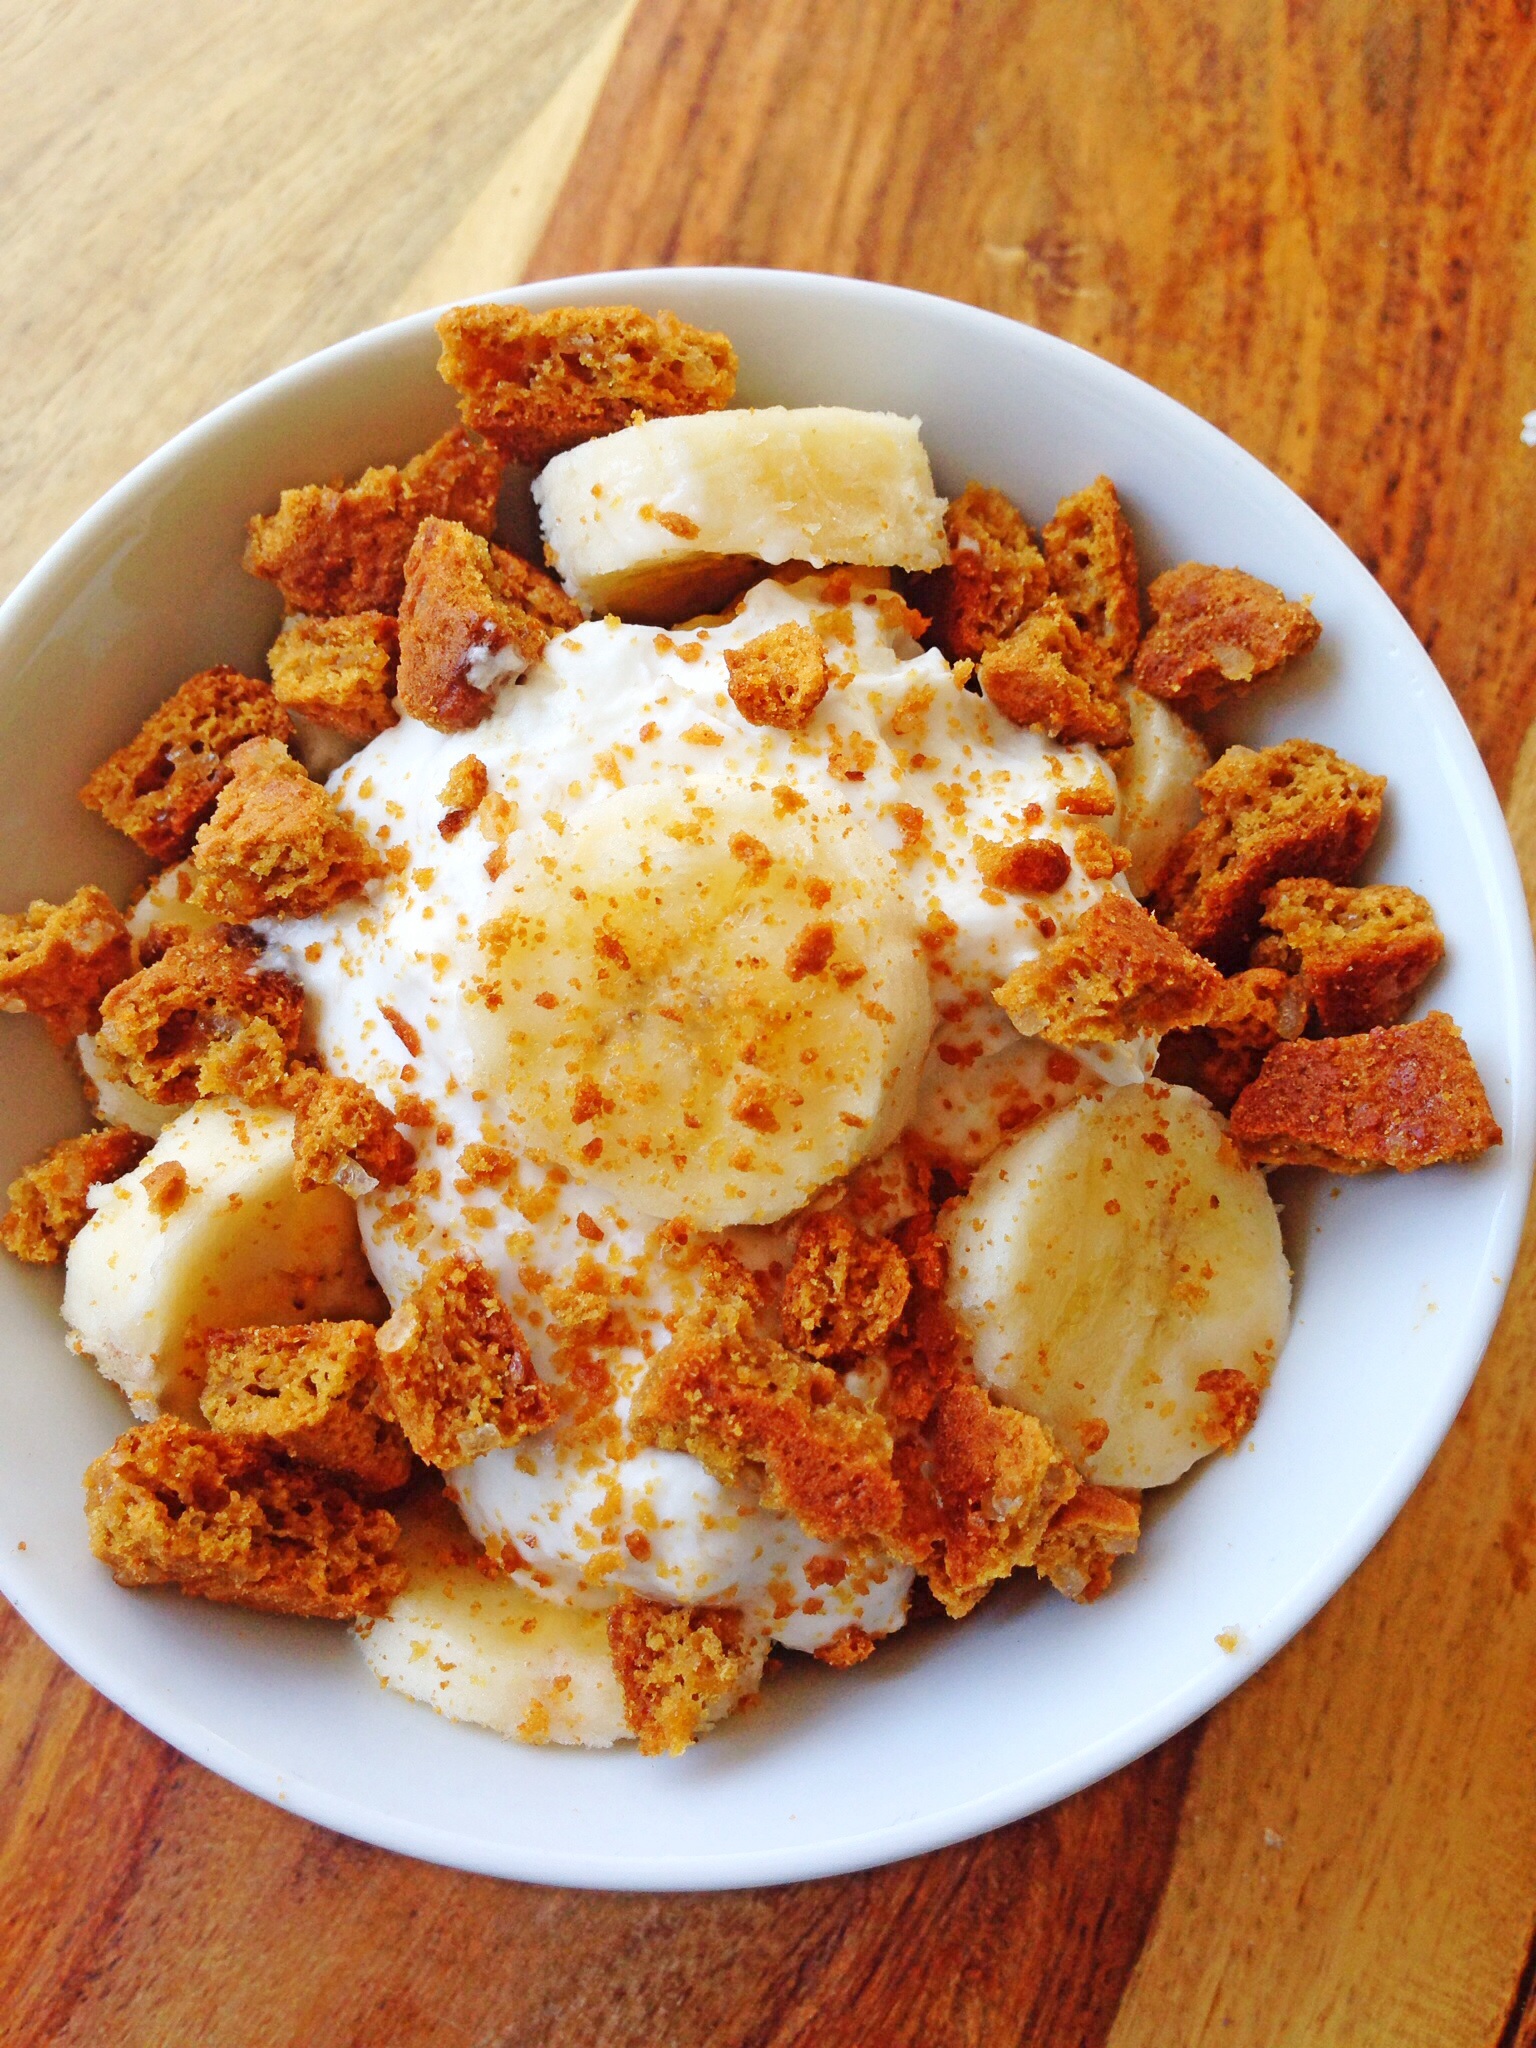
Coconut Cream Banana Pudding
I love dessert, but I’m one of those rare people who can consume just a few bites and be completely satisfied with a dessert. I don’t like to make whole cakes, pies, or a complete pan of any type of dessert unless I’m taking it to a party. At home it will just get thrown in the trash. I’m a single serving dessert kind of gal. One serving desserts make me happy, their super delicious, quick and easy to make, and always satisfying without the guilt and temptation to eat more. This Banana Coconut Cream dessert is exactly that. It’s light, takes minutes to make, and is gone just as quickly. The key to this dessert is refrigeration. Unlike whole milk cream, you don’t need to whip coconut cream for it to set into pillow like mountains, just put it into the refrigerator and The coconut cream will set up nicely. If you want to make this for an after dinner snack, put the cream into the refrigerator at least an hour before you want to make this. The best part of this dessert–besides the fact that it’s out of this world delicious–is that it only requires four ingredients, and you don’t have to cook any of them!
Pin It!
Prep time: 5 minutes
Cook time: none
Makes 2 servings
Ingredients:
1 cup of coconut cream
1 teaspoon of vanilla extract
2 tablespoons of maple syrup–can sub agave
2 bananas( one smashed with a fork, the other sliced)
5 ginger snaps roughly crumbled (can sub with graham crackers, or granola, or vanilla wafers, or nuts)
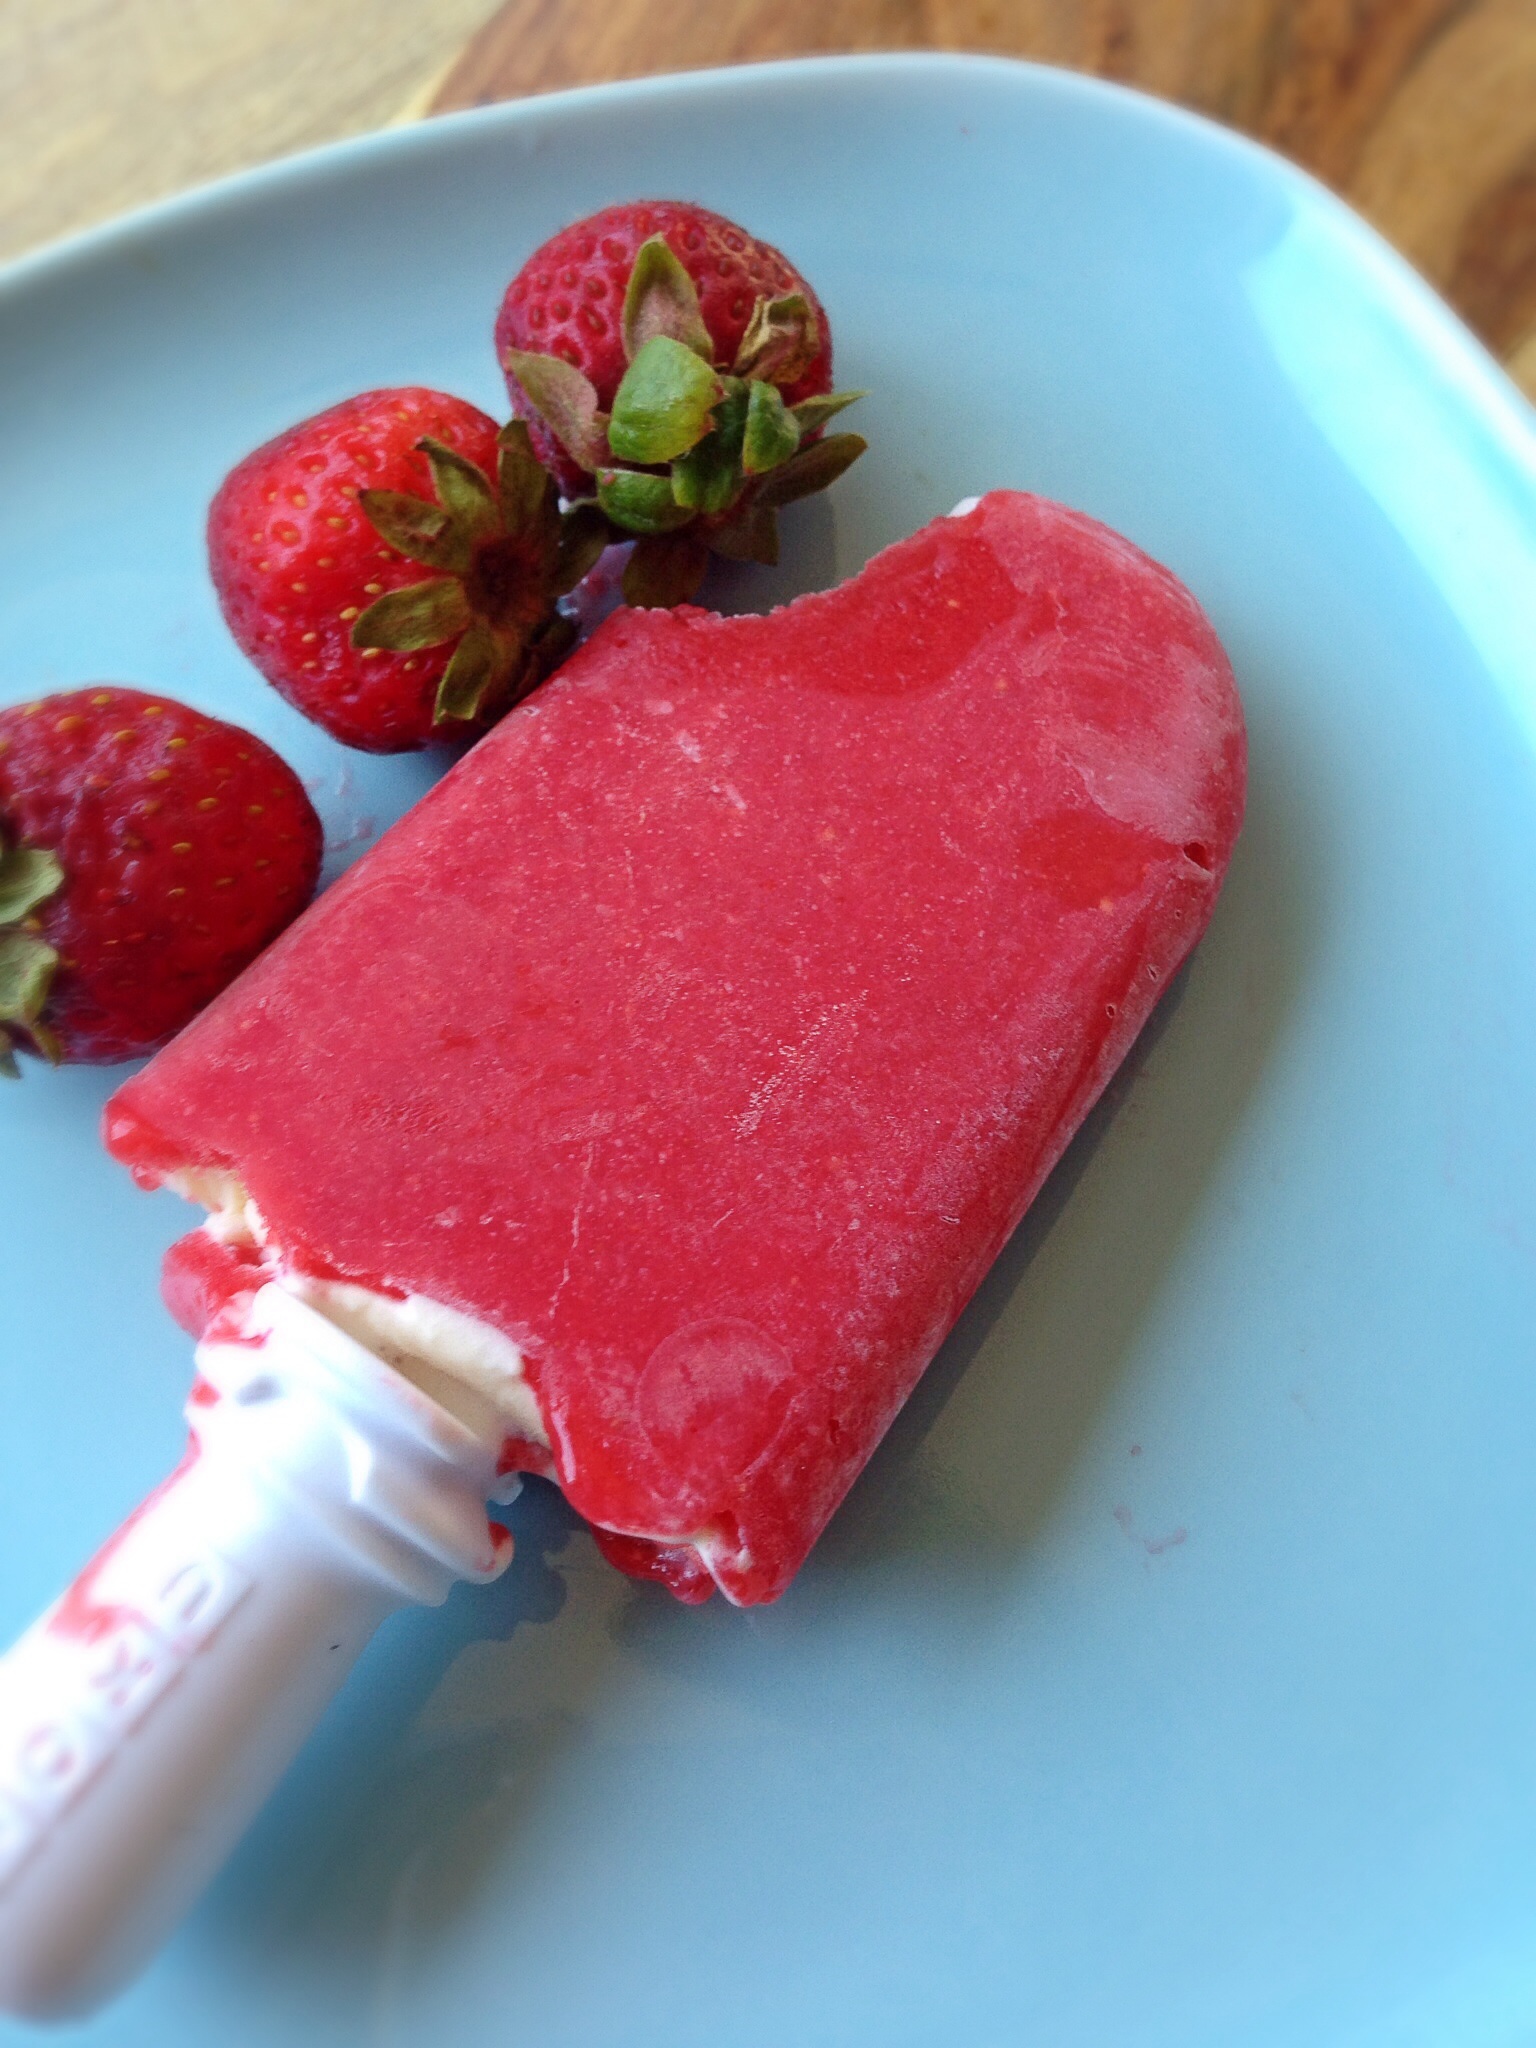
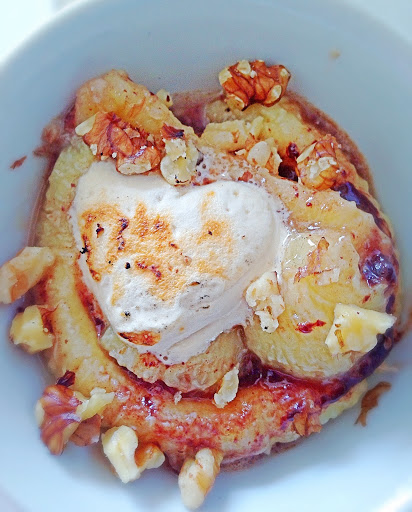
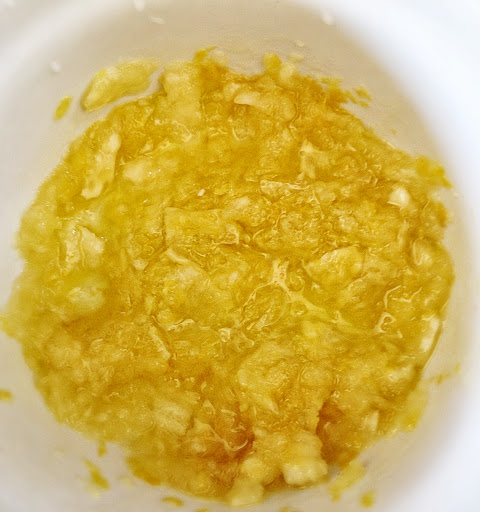
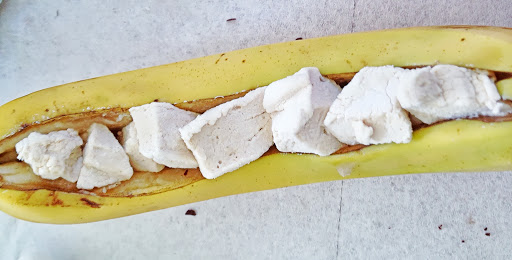
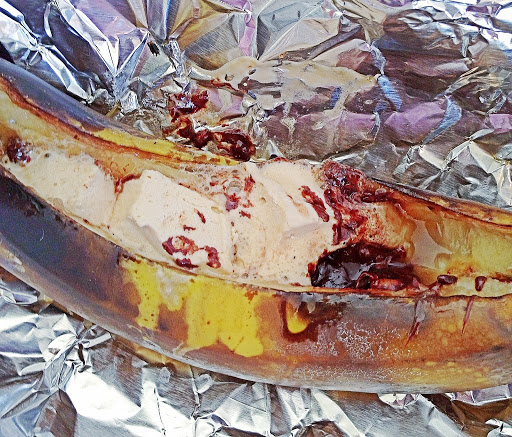
Directions: Smash banana, with a fork and set aside. To a small bowl add the coconut cream, vanilla extract, and maple syrup, mix well, cover and refrigerate until coconut cream has set–meaning it’s firm like a custard. Once set, remove from the refrigerator, and fold in the mashed banana. If you’re short on time, you can fold the mashed banana into the cream when you add the vanilla and the sweetener. Check out the video below to see exactly how I put it together. If you like this dessert then you’ll love my Banana Marshmallow Split, it’s also a single serving dessert, super easy and delicious!
Click on the link to see how I put this dessert together: https://www.youtube.com/edit?video_id=6LHcyfEoQg8
While you’re at it click here to subscribe to my channel.