D.I.Y. Ground Ginger-How to Make Powdered Ginger

How to make Powdered Ginger

How to make Powdered Ginger


If you’ve been on the fence about whether or not to purchase a dehydrator, my blogs this week may just get you off of the fence.  This week you may find yourself ordering  a dehydrator, or at the least adding one to your Christmas wish list. My dehydrator has been in constant use, and I can’t wait to share what I’ve been doing. So let’s get started! I’ve purchased fresh ginger so many times, and only used a fraction of it, the rest goes bad and then in the trash–a total waste! I was reading about drying in one of the books in my Modernist Cuisine set, and then I read a blurb in “Bon Appetite  Magazine”about powdering herbs and boom–light bulb–I thought to myself, why not powder your own ginger? So I did.  You’re probably asking yourself, “do I really need a dehydrator to do this?” The answer is no! You can do this in the oven set to 150F but you have to stay home to watch it! If you had a dehydrator you could set it and forget it–well not completely, but you wouldn’t have to worry about it burning.

Pin It!

Pin It!


Prep time:5 minutes

drying time: 1.5-2 hours

Ingredients:

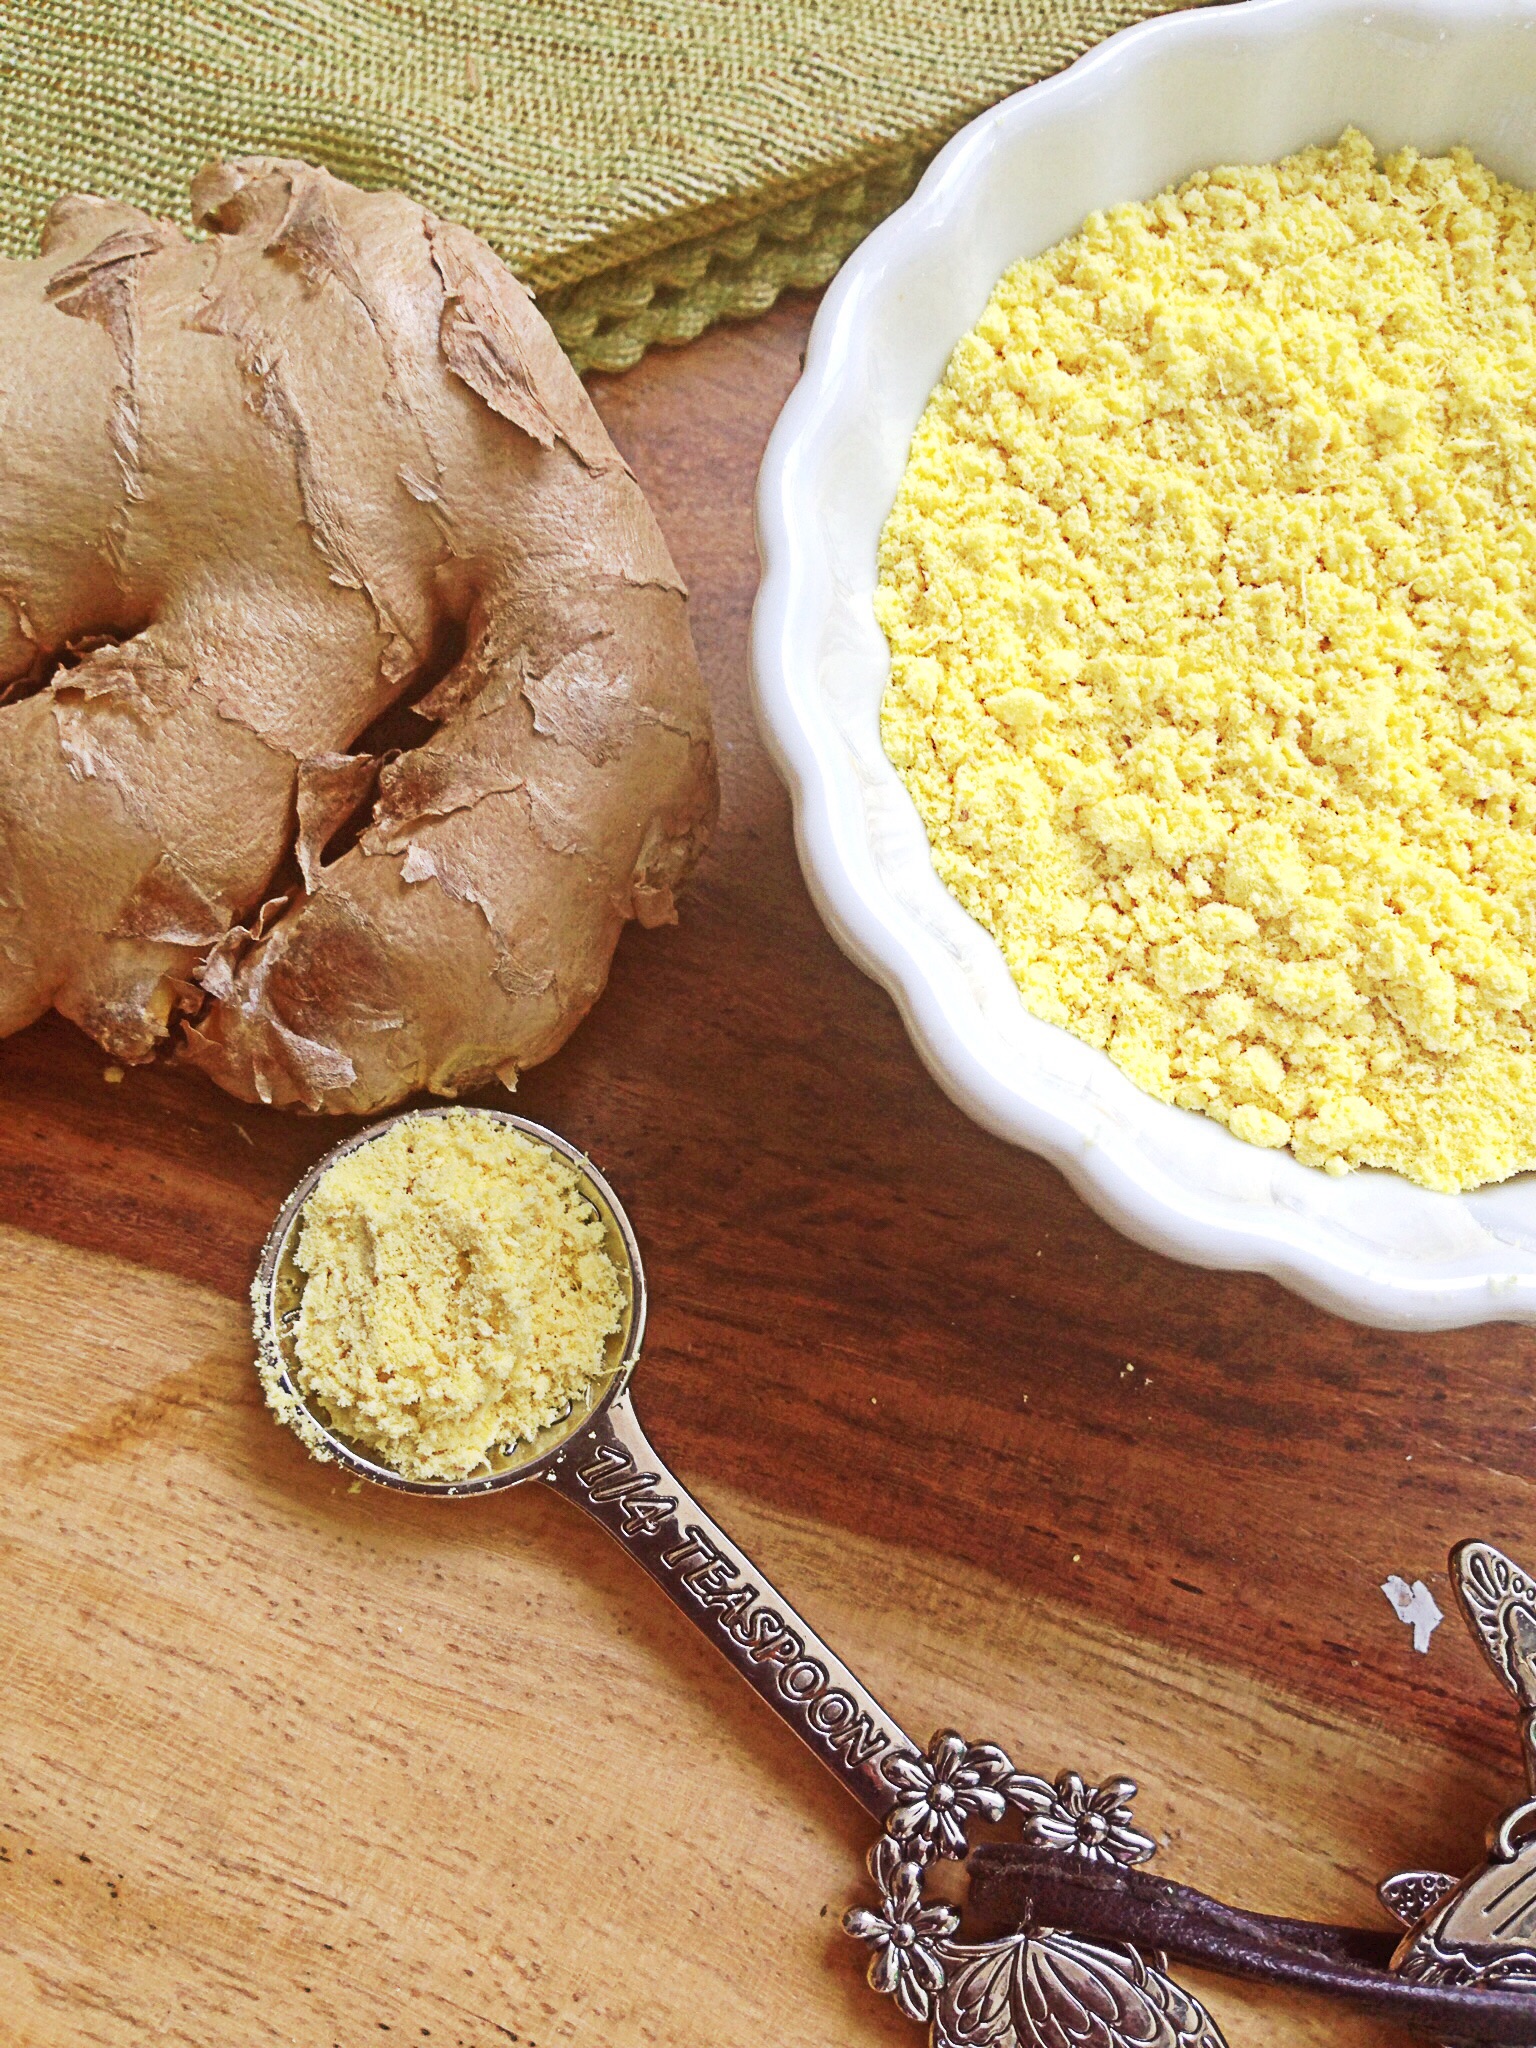
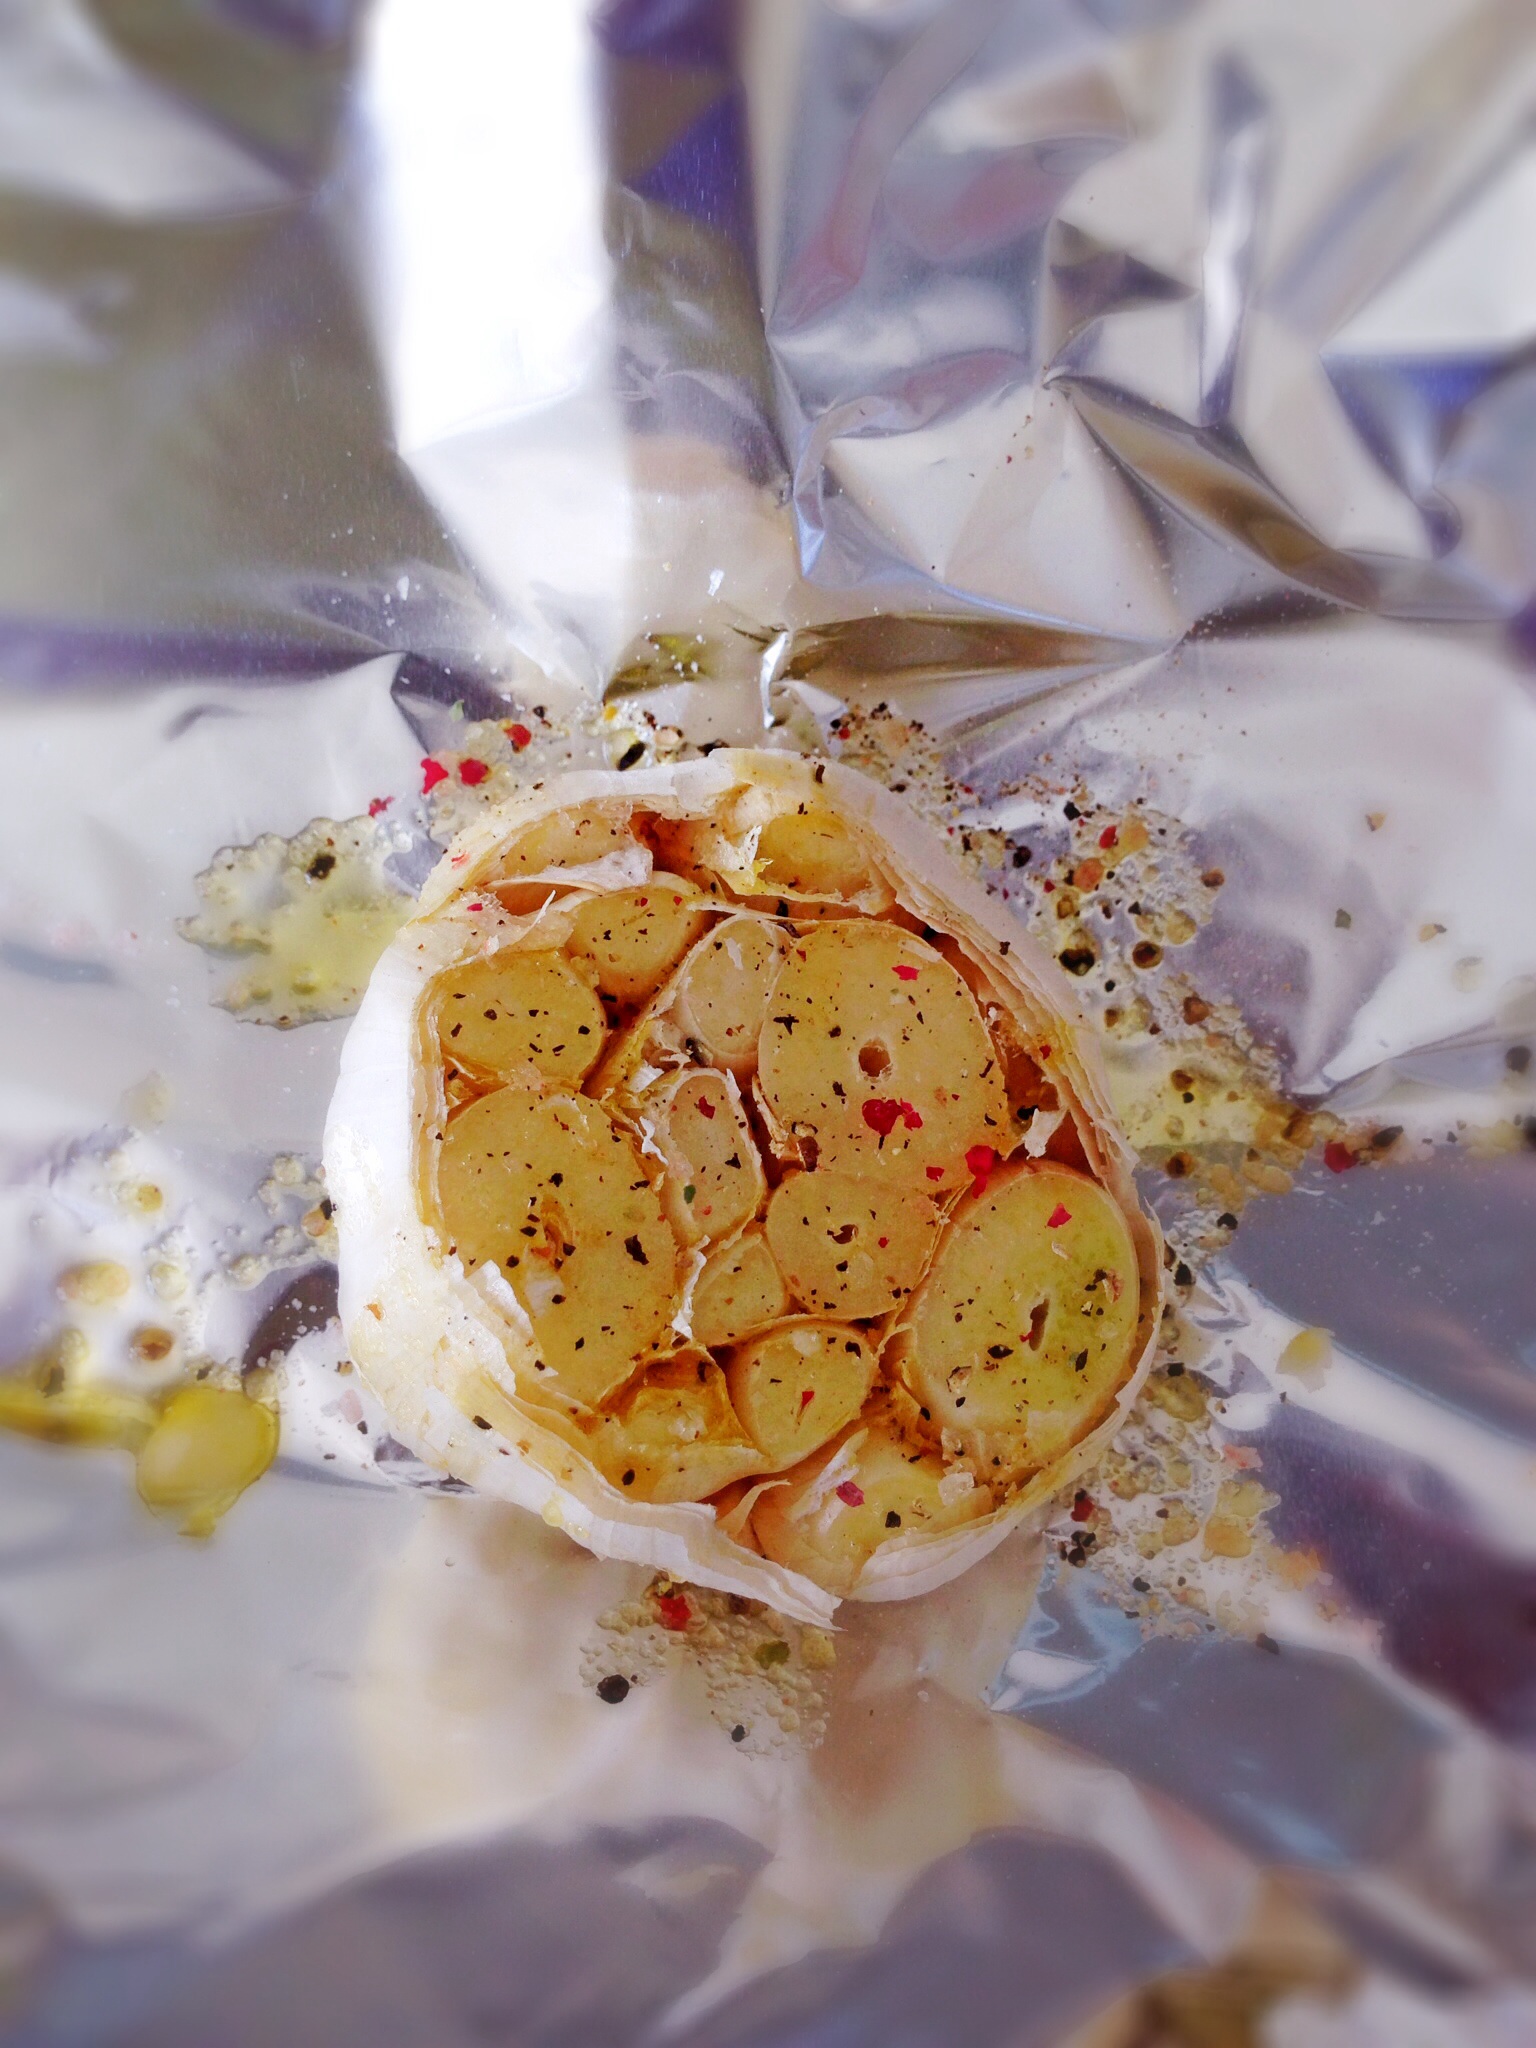
1 large bulb of fresh ginger

tools: spice grinder

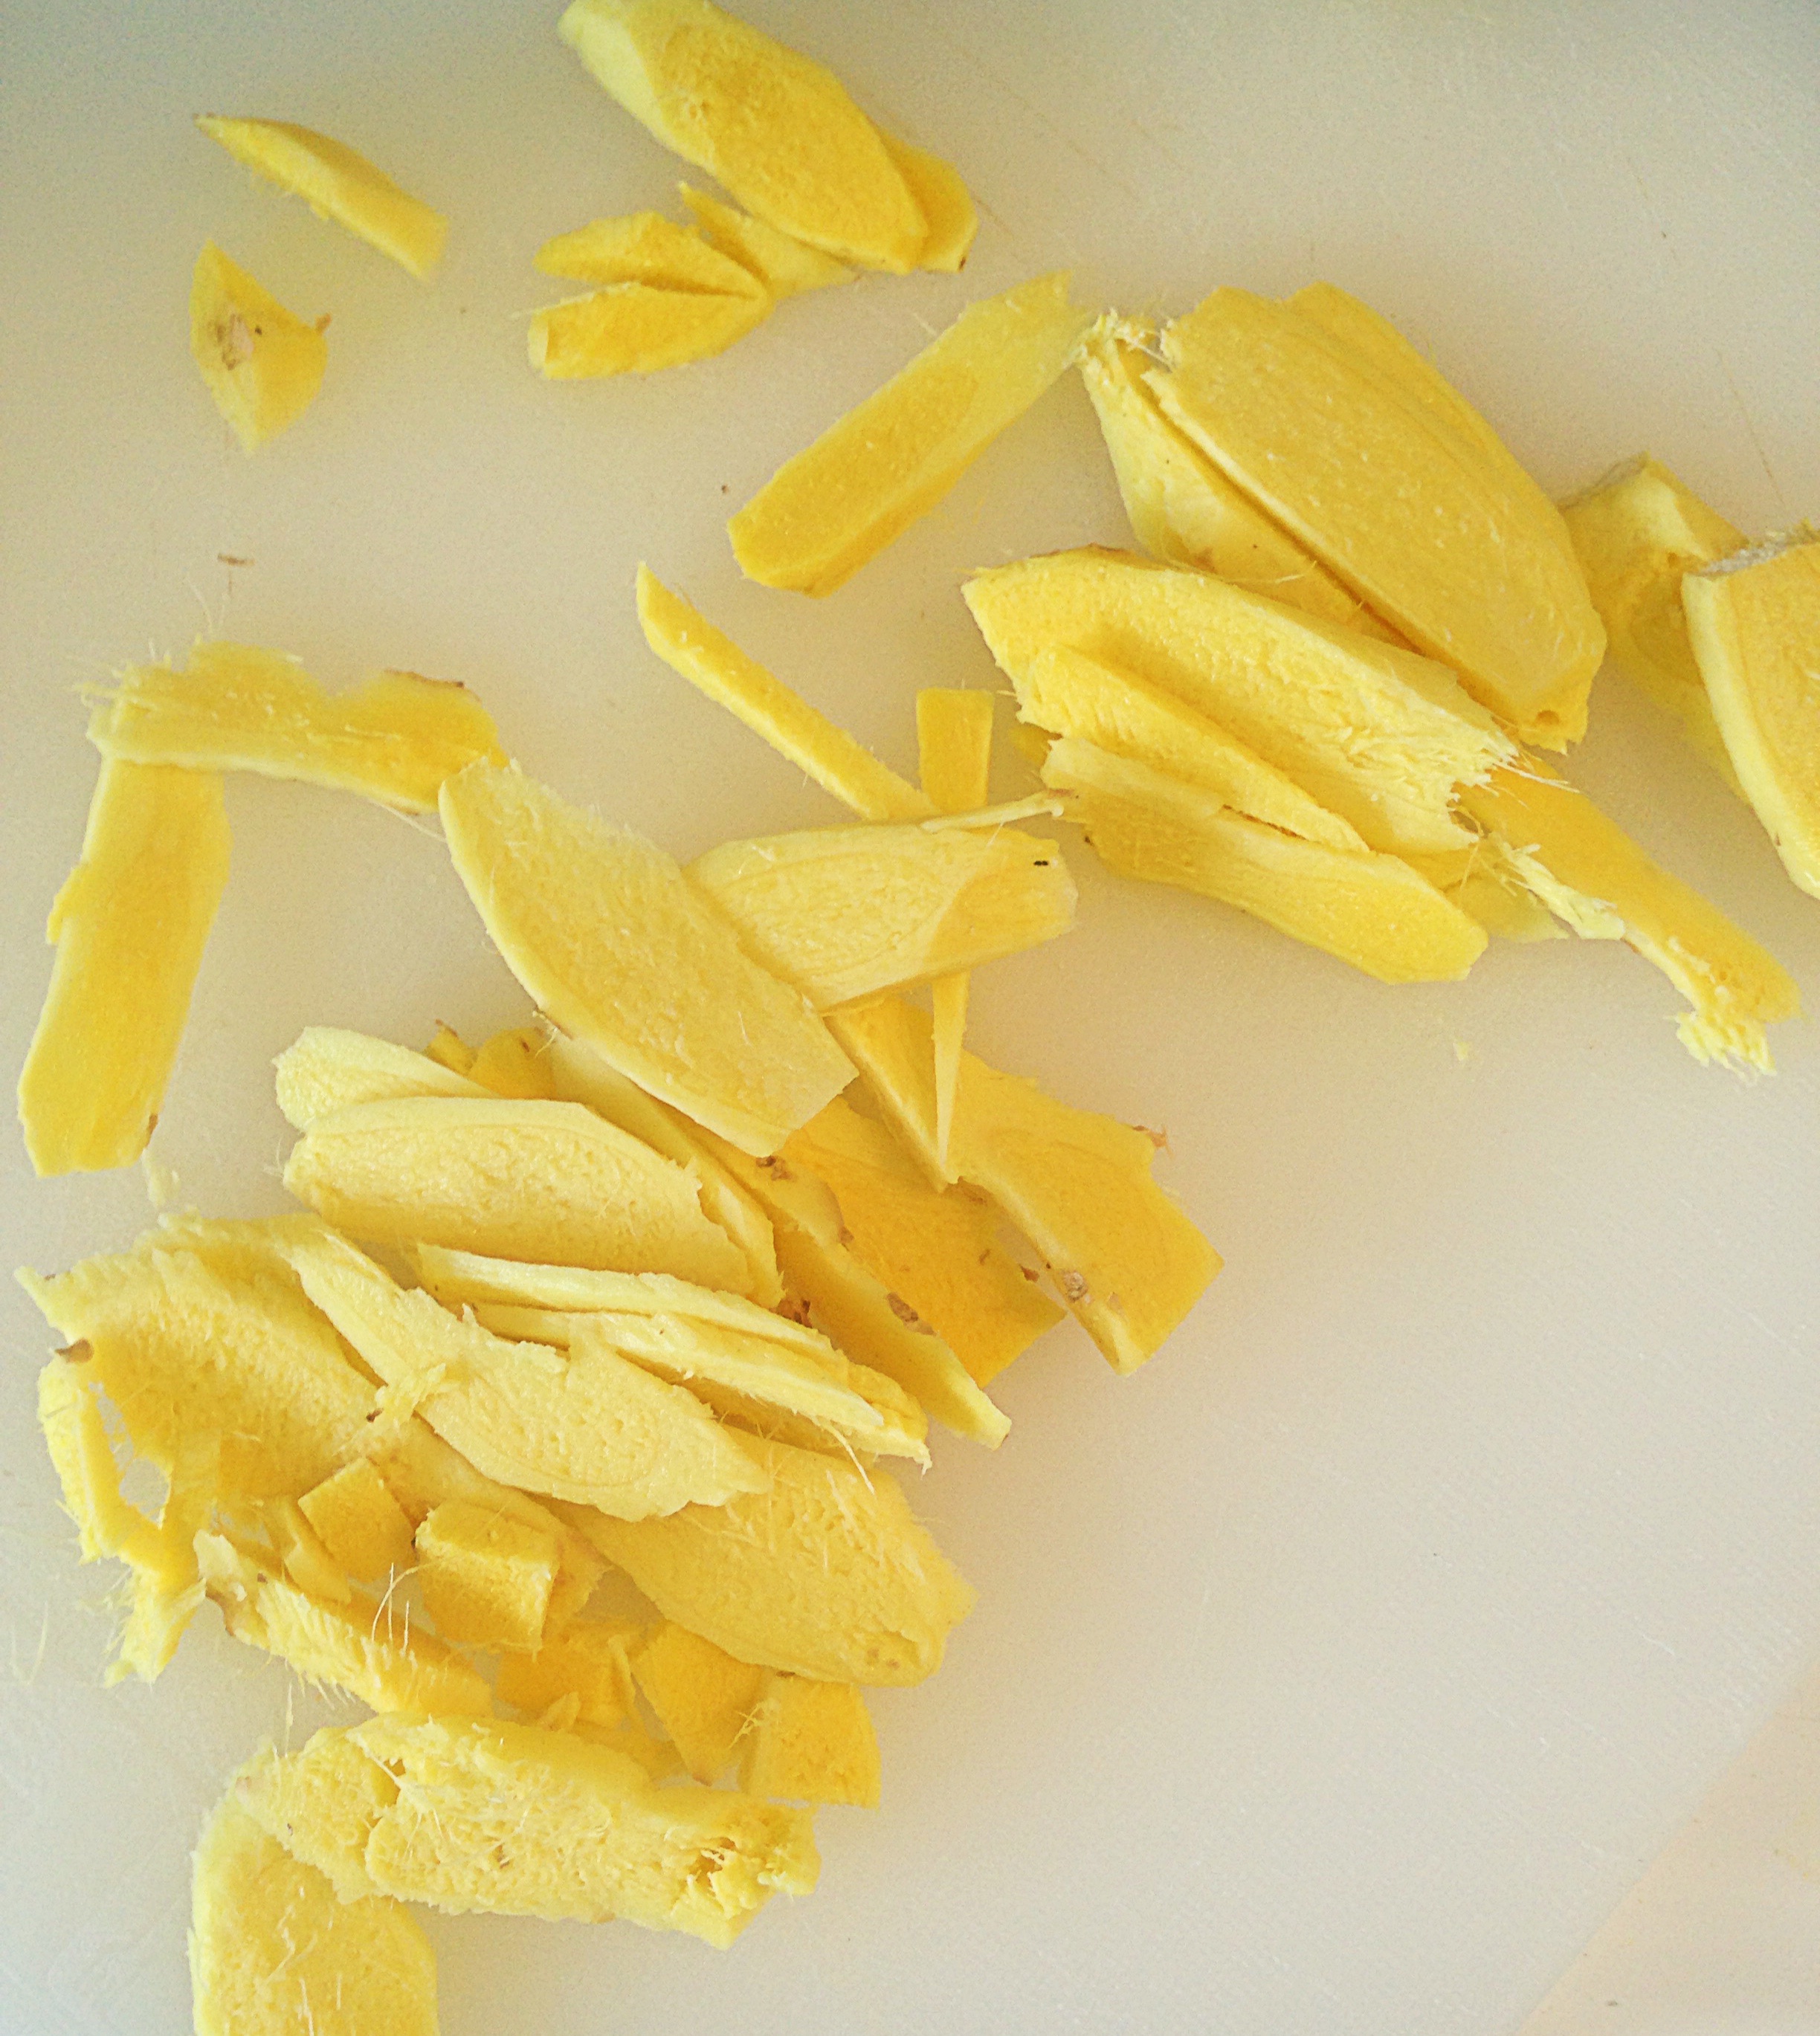
Directions: remove the skin from the ginger, then slice the ginger thinly.

image

Place the sliced ginger pieces on a piece of parchment paper, or on the sheets of your dehydrator and place in the dehydrator or oven, then set the temperature to 135 on the dehydrator, or 150F in the oven.

image

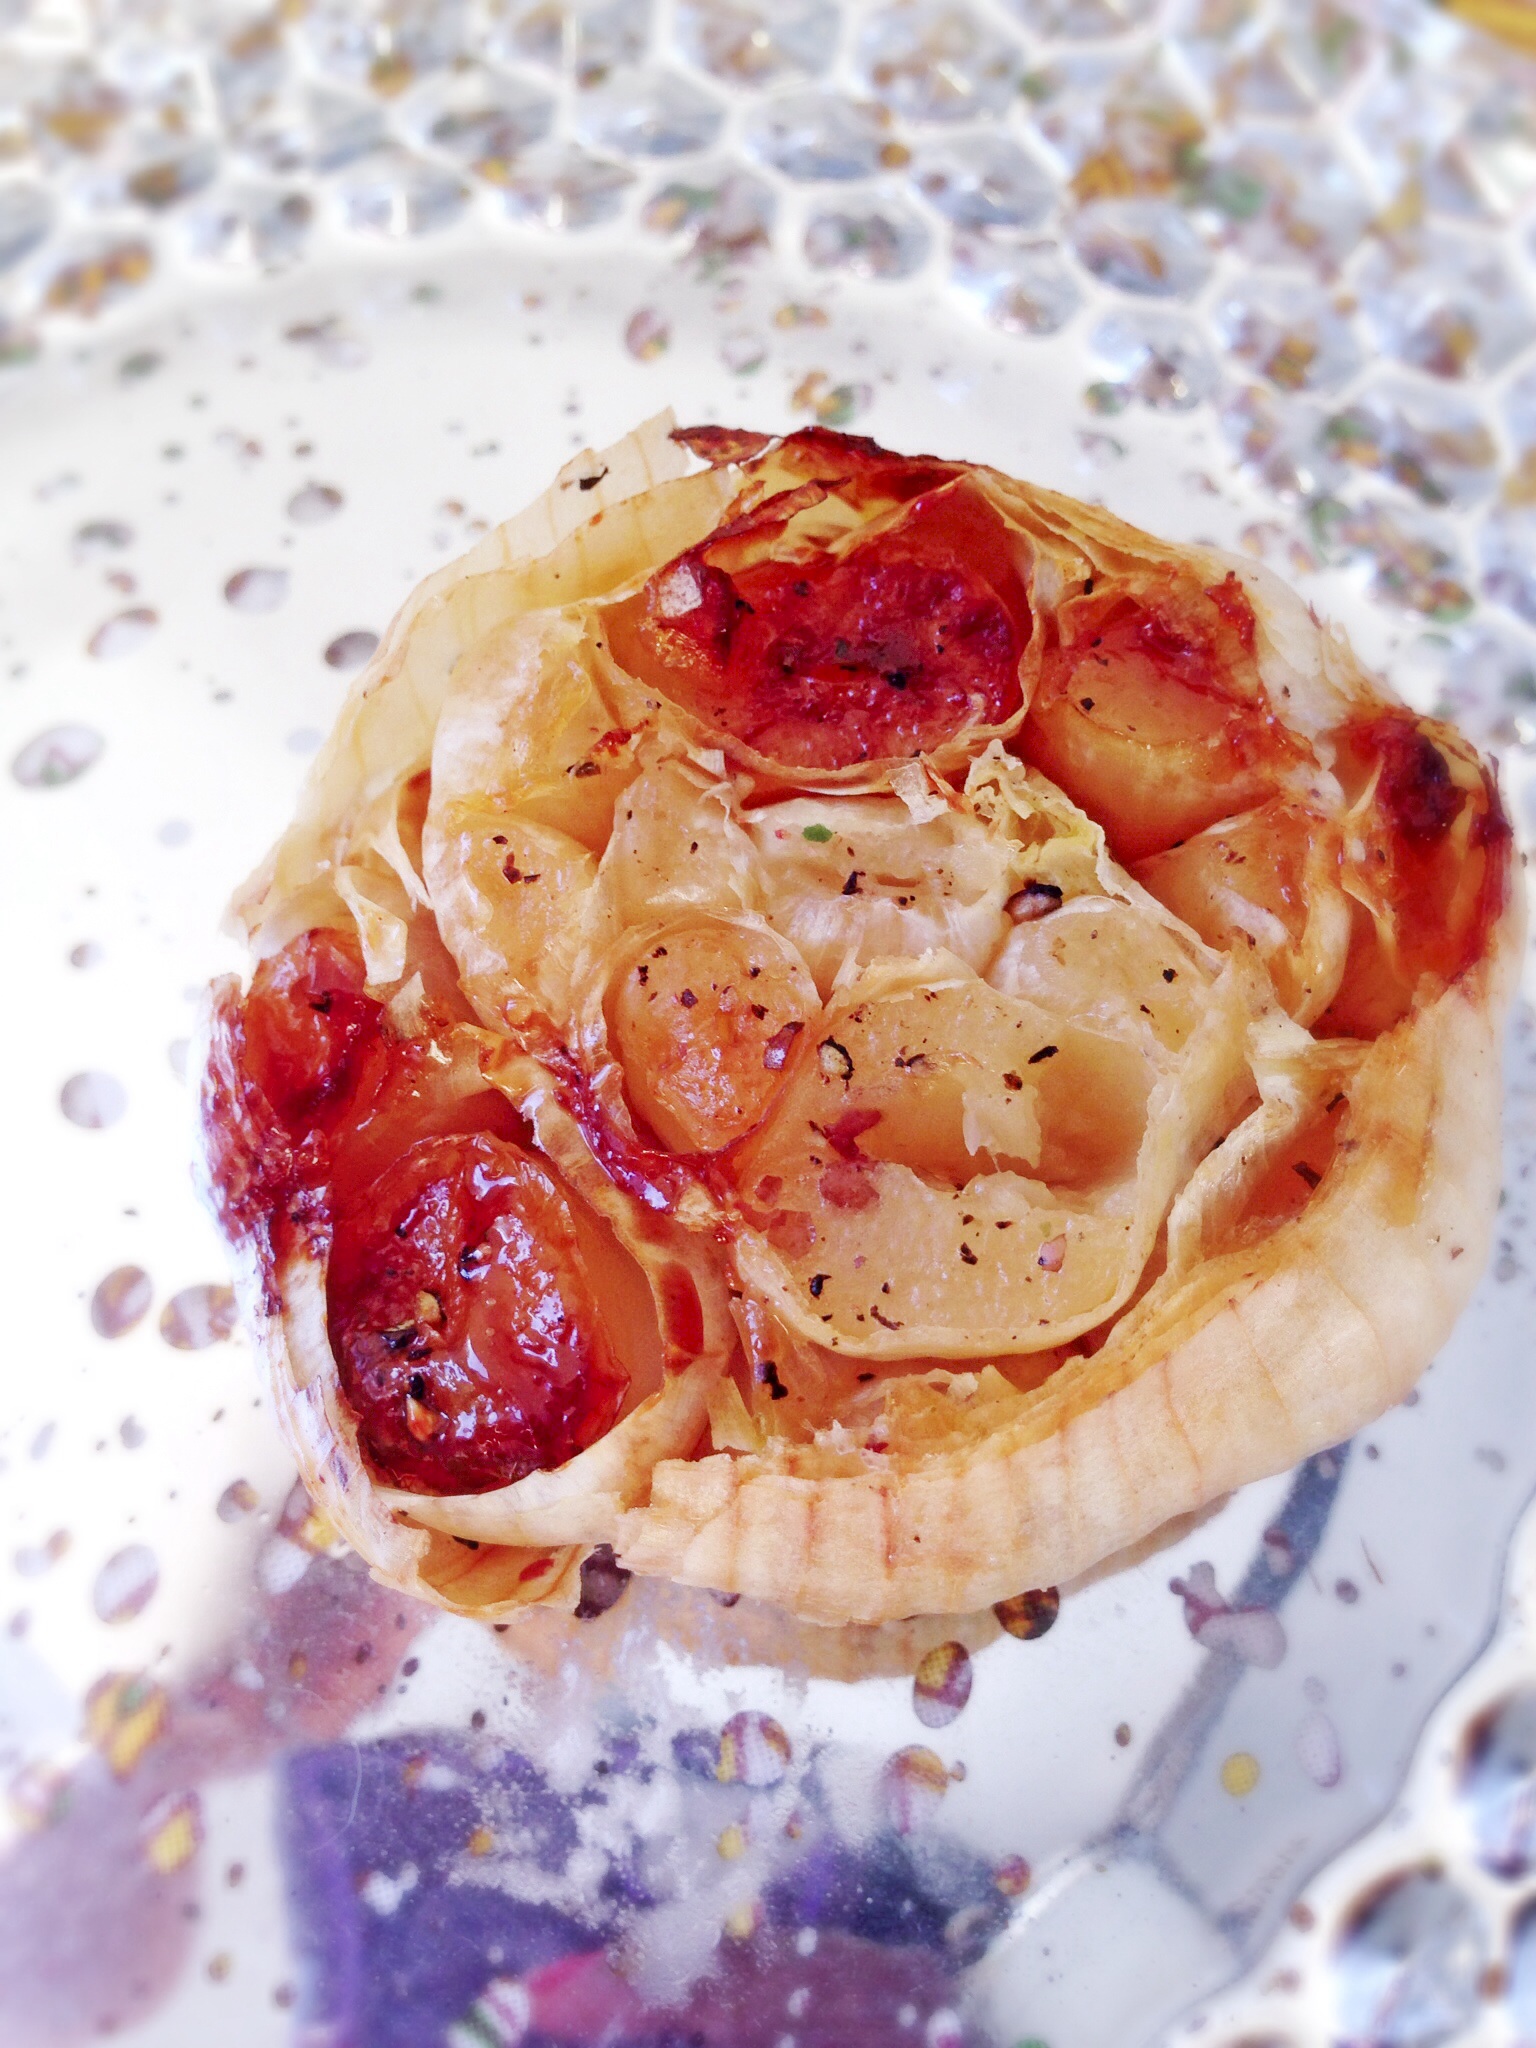
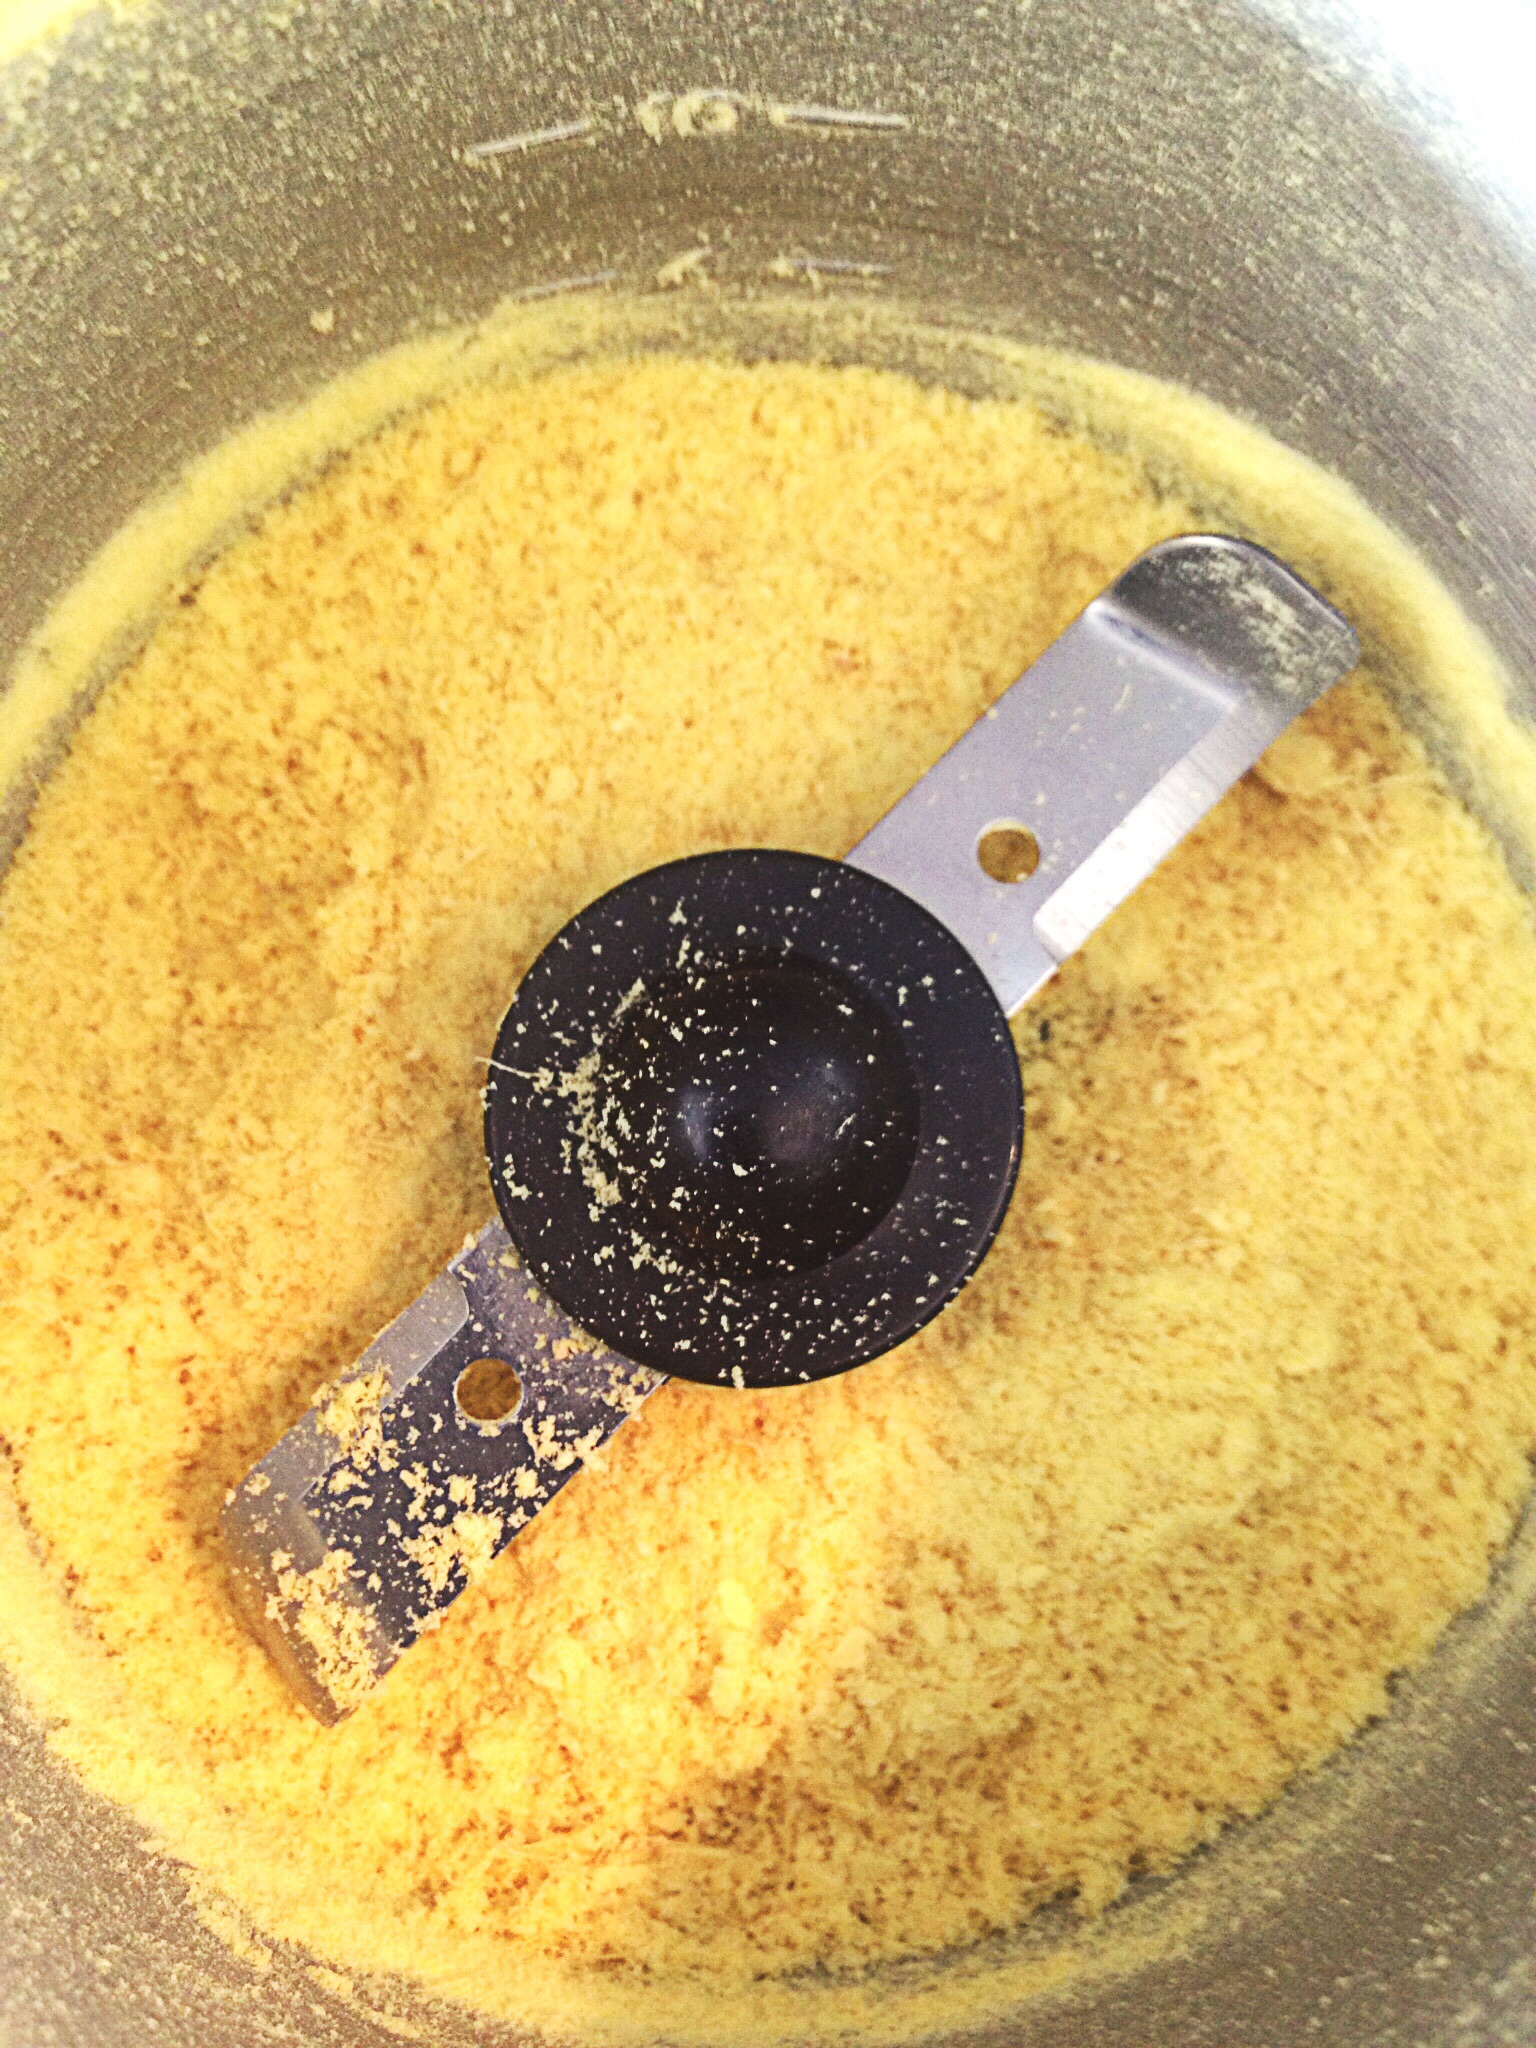
Allow the ginger to dry until it become crisp. Transfer to the spice/coffee grinder

image

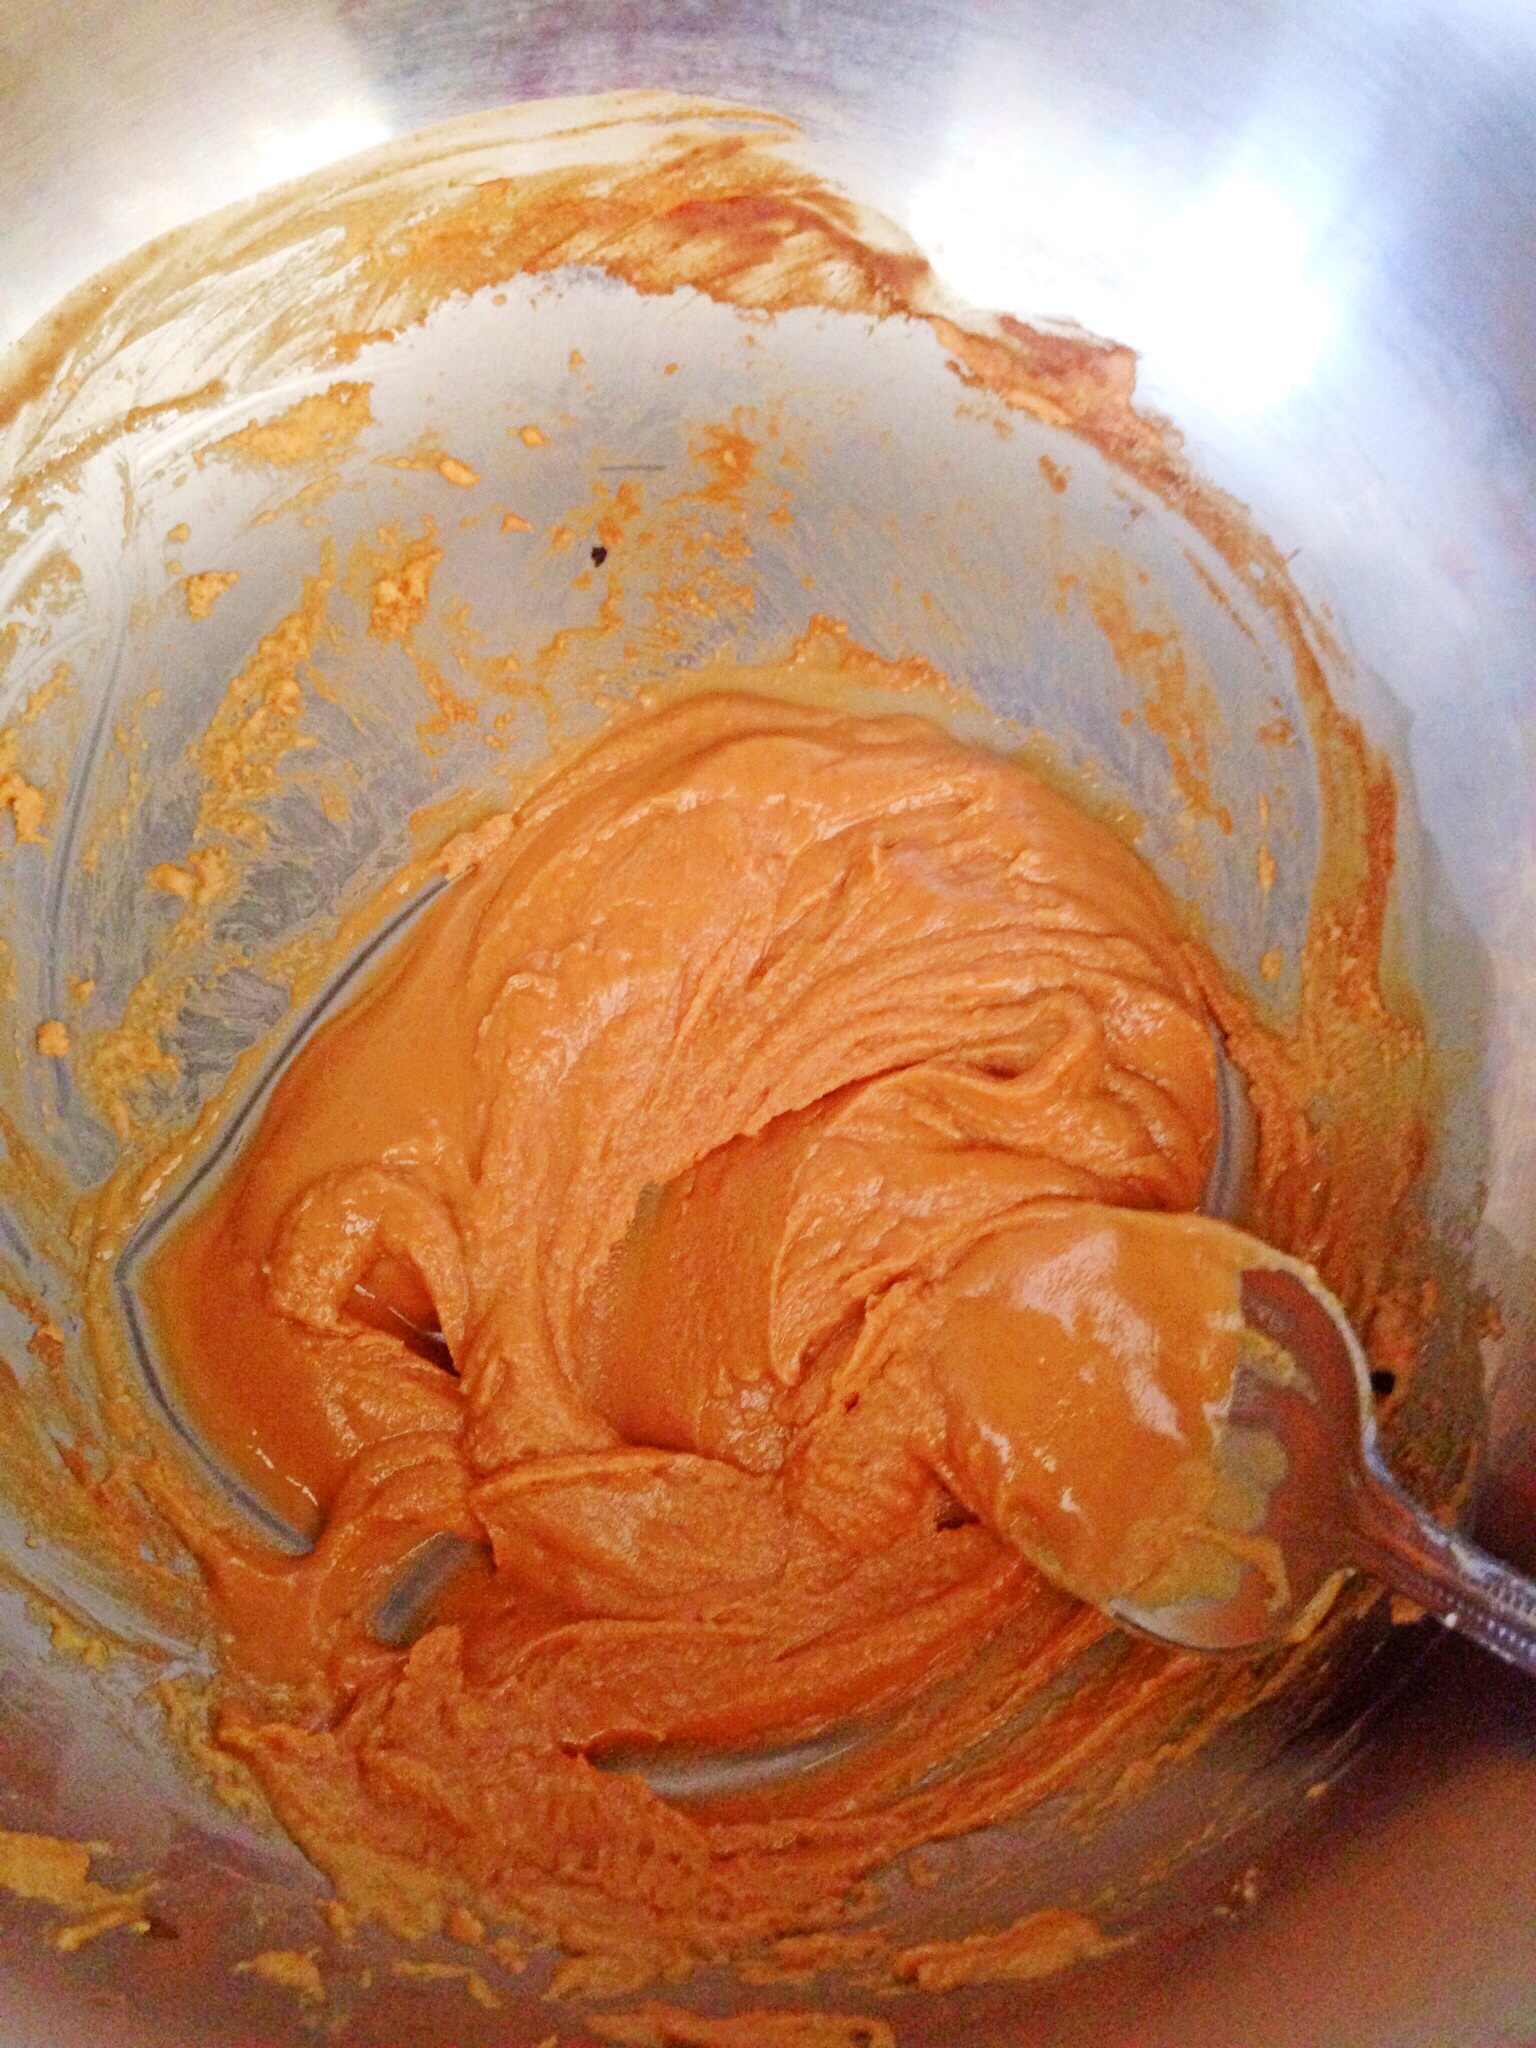
and blend until nice and powdery.

image


image


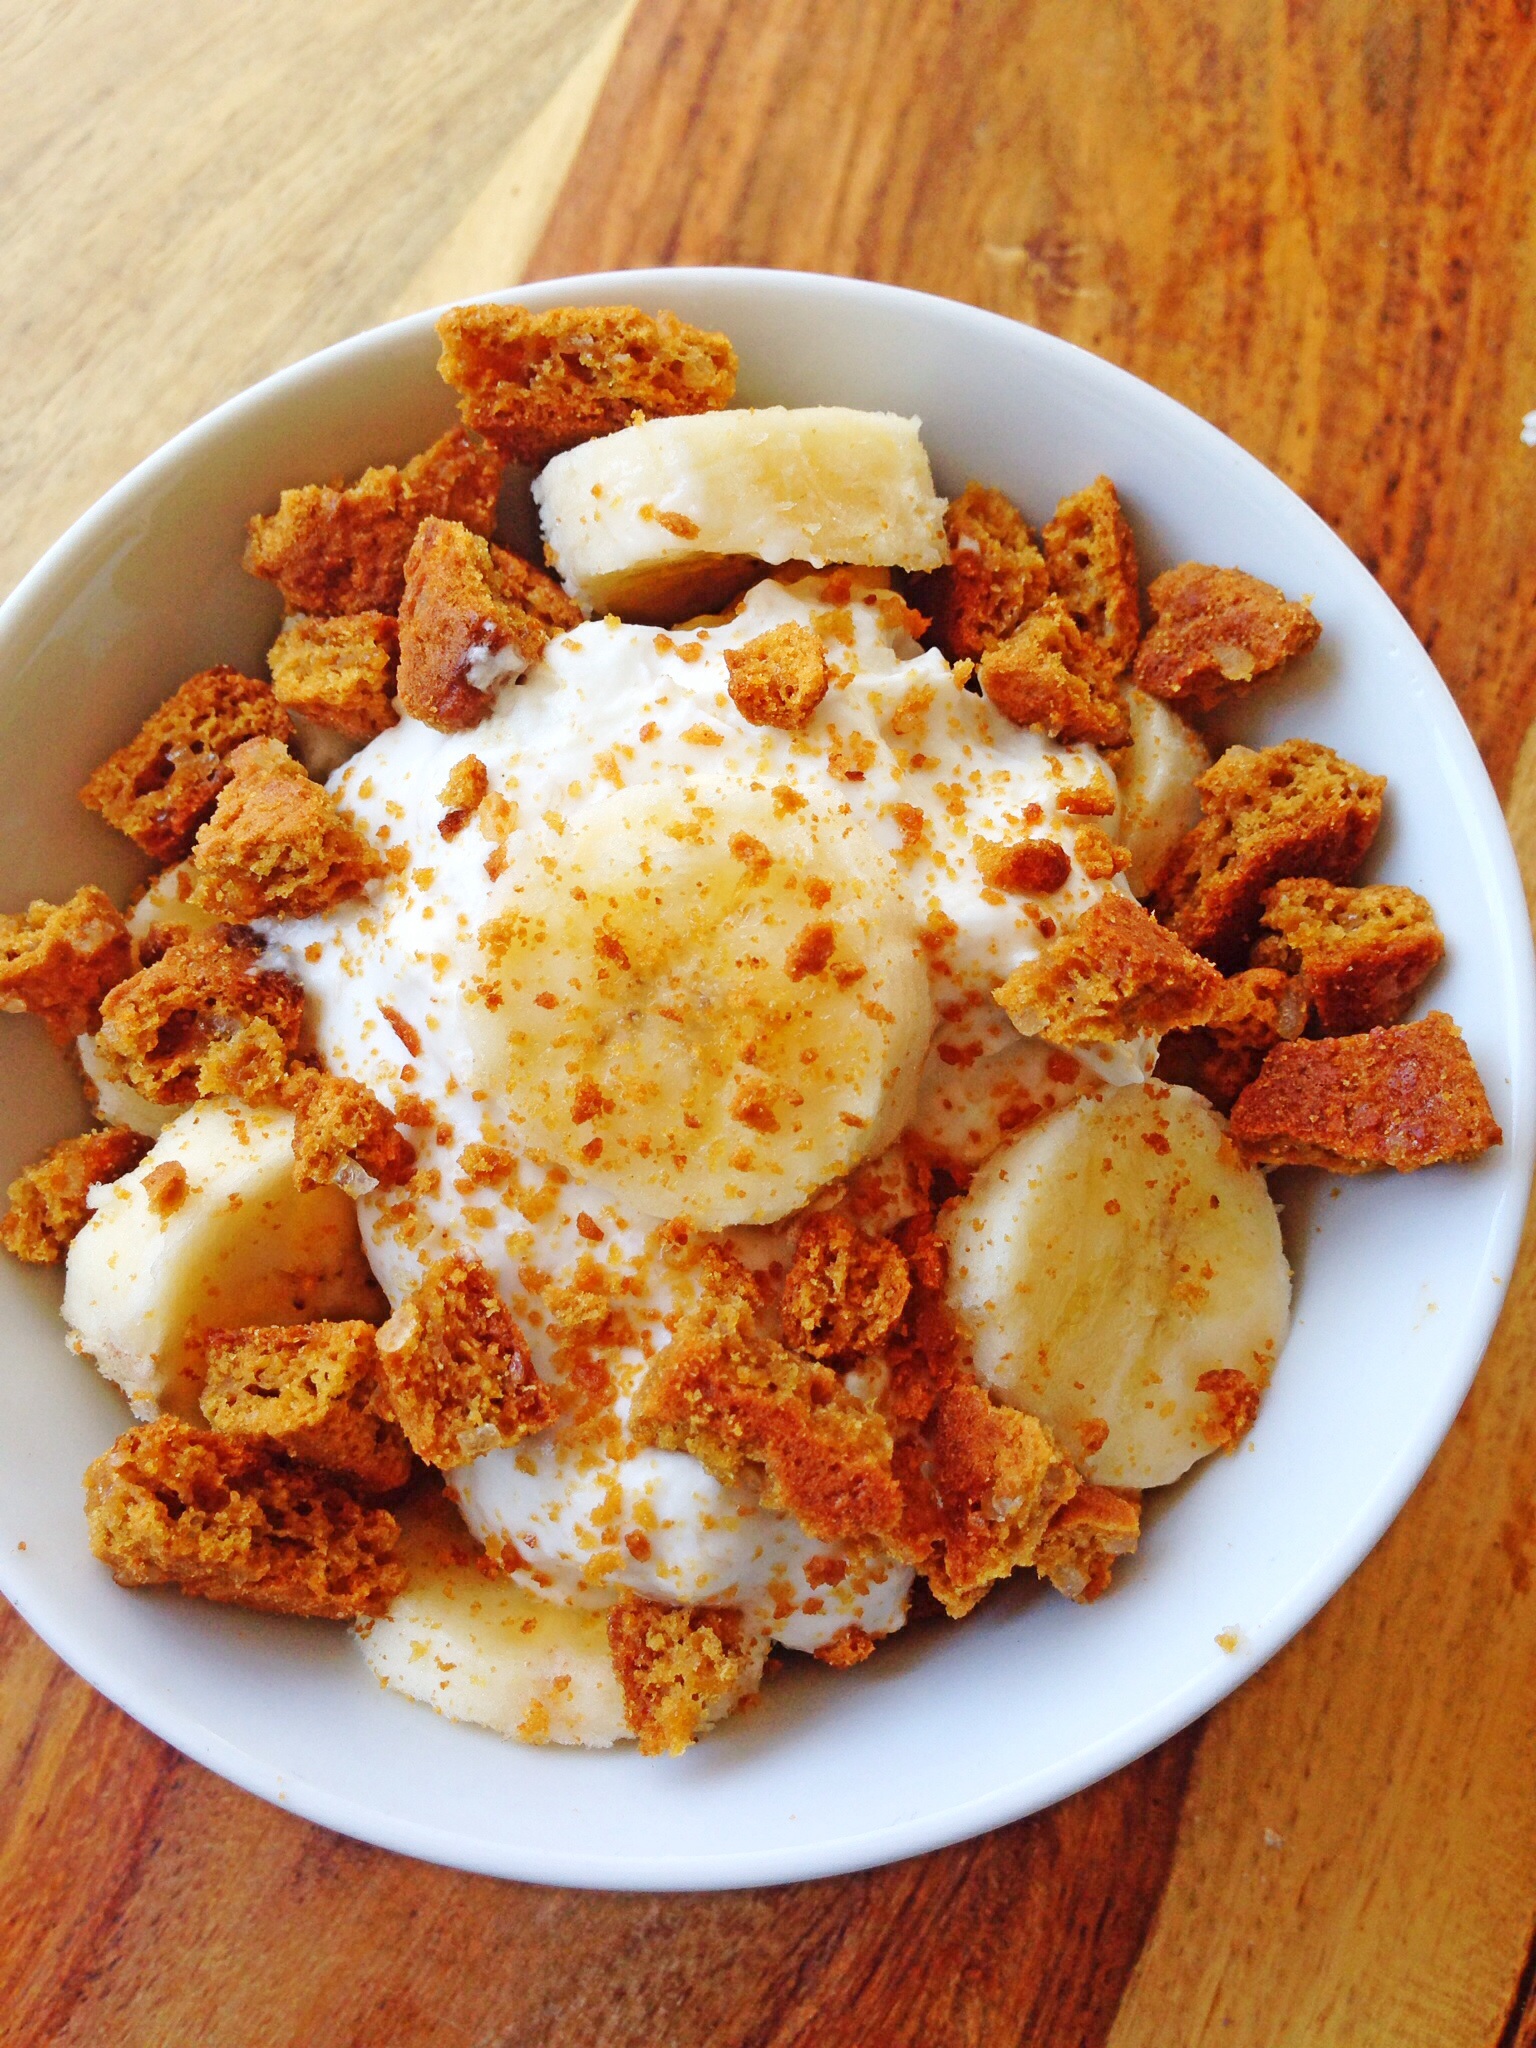
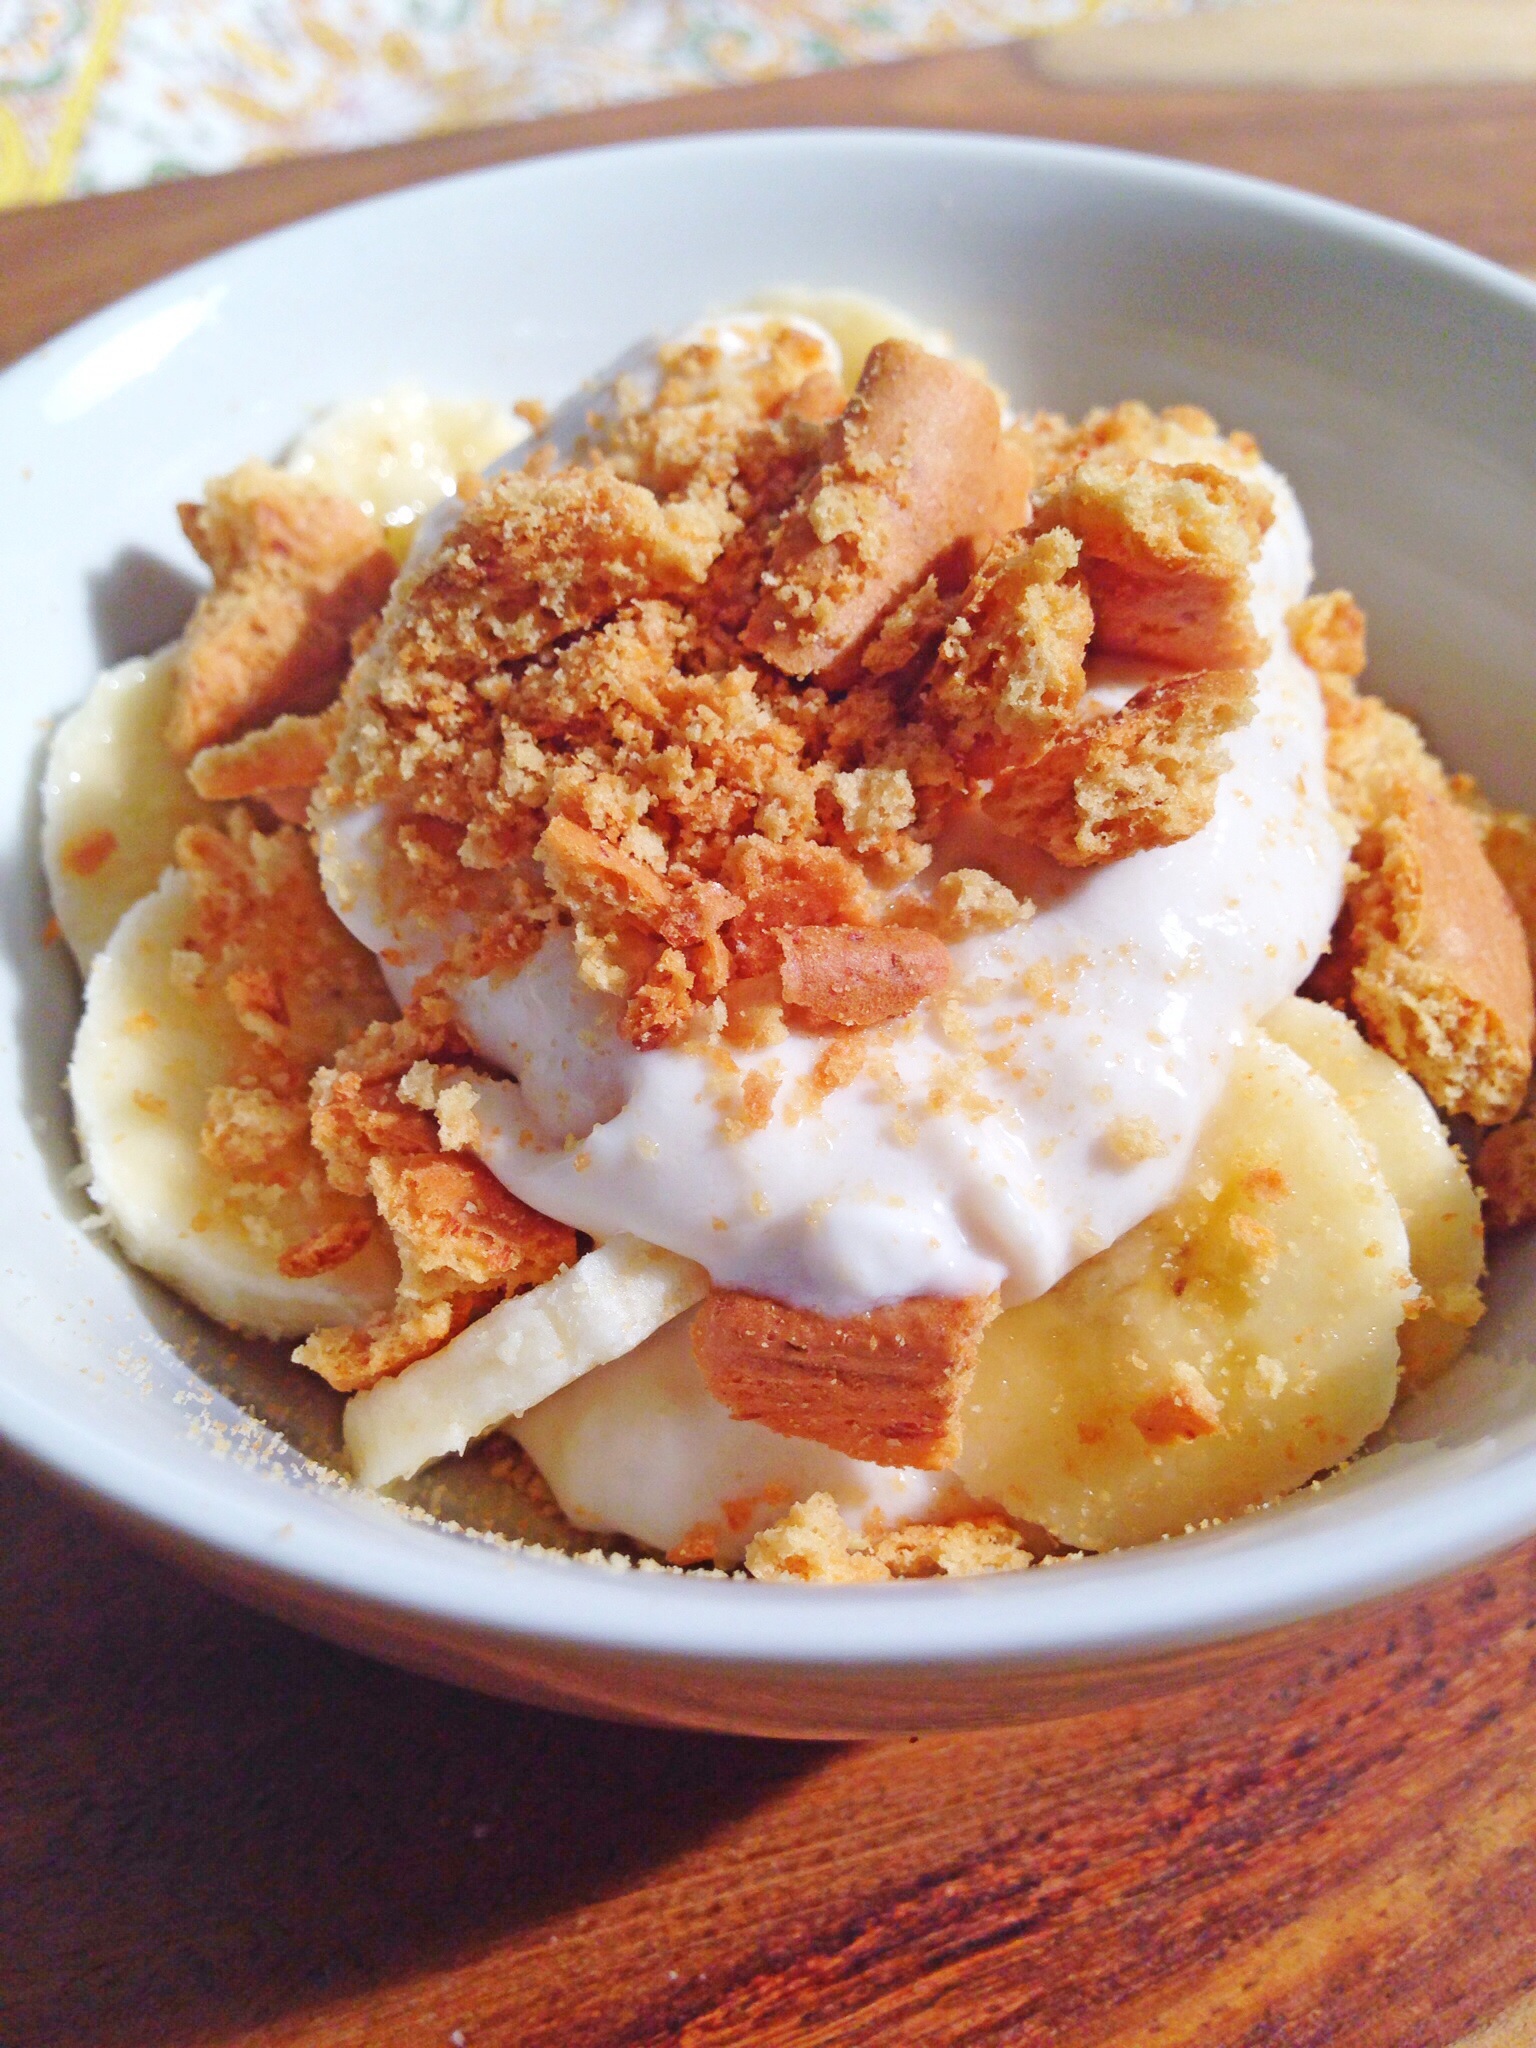
Store in an airtight container, it will be good for 8-12wks. Use this in any recipe that calls for ginger.  Add this to your favorite gingersnap recipe, and you will have some of the best gingersnaps that you’ve ever eaten!

image


D.I.Y. Taco Seasoning

Taco Seasoning

Taco Seasoning


I used to be the queen of packaged seasoning, if they made it I tried it.  It never really occurred to me that I could just as easily make most of these seasoning with spices that I already had in my pantry.   It wasn’t until I was in the middle of browning some ground meat to make tacos that I realized I was missing one key ingredient–the taco seasoning–and I was forced to make due with what I had. That was a fateful day indeed. Enlightening and freeing! I no longer buy pre-made seasonings.  I just make my own.  This taco seasoning is equally as good as the prepackaged mix that I used to buy, except it doesn’t have any cornstarch or any of the other fillers that packaged seasonings tend to have.

Pin It!

Pin It!


Prep time: 5 minutes

Servings: 1/4 cup or one package of taco seasoning

Ingredients:

1 Tablespoon Cumin

1 teaspoon coriander

1/2 teaspoon of smoked paprika

1 teaspoon of onion powder

1 teaspoon of garlic powder

1/4 teaspoon of chili powder (optional)

Directions: Mix all the ingredients in a small bowl until well combined. Add the entire contents to browned ground meat, or try it out in my recipe for Makeover Chicken Taco’s


image


Like this seasoning?  Then you make like my Dry Ranch Seasoning  or my Spicy Dry rub seasoning

Sauteed Zucchini and Mushrooms

Sauteed Zucchini and Mushrooms

Sauteed Zucchini and Mushrooms


My garden is overflowing with zucchini right now, zucchini and tomatoes!  The great thing about planting zucchini is that it yields a large bounty.  The not so great thing about planting zucchini is that it yields a large bounty.  This is particularly troublesome when you’re neighbors also plant zucchini in their own gardens, then giving the zucchini away becomes burdensome. The only solutions in such cases is to come up with new zucchini recipes nightly, or to freeze them.  At the moment, I’m trying to use my zucchini in any way that I can that doesn’t include freezing them–at least not yet.  This dish is so delicious and simple to make, it  makes a great addition as a side to any meal. If you’re Vegan Paleo, or on the Whole 30 diet, you can do this without the butter, it’s stilla delicious side.

Pin It!

Pin It!


Prep time: 5 minutes

Cook time:20 minutes

Total time: 25 minutes

Ingredients:

10 ounces of Crimini mushrooms sliced

2.5 cups of zucchini cubed

2 cloves of garlic

2 tablespoons of butter

1 tablespoon of olive oil

sea salt to taste


Directions: Heat the oil and 1 tablespoon of butter in a saute pan.  Add in the mushrooms and garlic. Season the mushrooms with sea salt, they will begin to release water.

IMG_5024

Season the mushrooms with sea salt, they will begin to release water. Cook the mushrooms until the water completely evaporates (about 10 minutes) add in the rest of the butter, and cook the mushrooms until they begin to brown (about 5 minutes).

IMG_5025


Once the mushrooms begin to brown, add in the zucchini and saute until the zucchini becomes fork tender (about 5 minutes)

IMG_5026

Remove from heat, serve and enjoy!

Image (1)


Roasted Brussels Sprouts with Parmesan, Lemon and Red Pepper Flakes

Roasted Brussels Sprouts With Parmesan, Lemon, and Red Pepper Flakes

Roasted Brussels Sprouts With Parmesan, Lemon, and Red Pepper Flakes


I was at the farmers market this past Sunday, doing my usual weekly shopping.  One of my favorite vendor’s had these beautiful stalks of brussels sprouts.  I got so excited about them that a woman, who was also shopping, pulled me aside and whispered : “How do you cook those?” This isn’t the first time this has happened to me,  believe it or not, people stop me all the time, either at the farmers market, or at Whole Foods, to ask how to cook a variety of vegetables. The funny thing about people asking me cooking questions is that they almost always whisper the question?  I don’t understand why they whisper the question! I want to tell them, “you know you’re not the only person on the planet who has no idea what to do with ((insert name of vegetable here)).”   I shared this recipe for roasted brussels sprouts with the  the lady at the farmer’s market. It’s simple, easy and so delicious.  It’s one of my absolute favorite ways to cook and eat brussels sprouts.


Pin It!

Pin It!


Prep time: 10 minutes

Cook Time: 10-15 minutes

Total time: 25 minutes

Ingredients:

1 pound of brussels sprouts halved

2 Tablespoons of lemon juice

3 tablespoons of olive oil ( or ghee or coconut oil)

Sea salt to taste

1/2 teaspoon of red pepper flakes

2 tablespoons of freshly grated parmesan cheese


Directions: Pre-heat the oven to 425F. Add the lemon juice and red pepper flakes to a medium sized bowl and set aside.  In a medium bowl add the brussels sprouts, oil and sea salt, toss well making sure that all the brussels sprouts are evenly covered with oil.

image

Place on a foil lined baking sheet and put in the oven.

image

Cook  for 10-15 minute, or until the brussels sprouts take on a significant amount of color and they become crisp and tender. Sprinkle the sprouts with  half the cheese and cook for another minute or two, just until cheese melts and becomes crisp, remove the sprouts from the oven, transfer them to the bowl with the lemon juice and the red pepper flakes, toss well to coat the brussels sprouts with the lemon juice, sprinkle with the remaining cheese, serve immediately and enjoy! These are crispy, tangy with a little kick! They are the perfect side dish for almost any meal!

image

image

Tahini Salad Dressing — Tahini Vegetable Dip


Mother's Market Inspired-Tahini Salad Dressing

Mother’s Market Inspired-Tahini Salad Dressing

I love a great salad. One of my favorite salads to eat when I eat out is a simple garden salad that I get at a local health food market that I frequent.  The salad is simple in every way,  fresh mixed greens, topped with fresh mushrooms, carrots, and beets.  What makes this salad better than other salads?  That’s simple, the tahini dressing that accompanies it. The dressing is one of the best salad dressings that I have ever tasted.  The only problem is that the restaurant doesn’t sell it in a bottle, so I can’t take it home to use at a later time, and the restaurant is very secretive about what exactly is in the dressing.  I’ve asked a thousand and one times, but they won’t give me the recipe. Sort of like they wouldn’t give me the recipe for their gingered greens, which I also love.  So as usual, I had to experiment, and come up with my own version, and it is amazingly close to their tahini dressing– exact actually.  It is so good!  You can use it to dress a salad, but it’s equally good as a dip for cucumber, carrot, and celery sticks. My daughter loves it, with a capital L, and the best part is that nothing in it is bad for you.  It’s high in protein, because it contains both sesame and cashew butters.

Pin It!

Pin It!


Prep time: 5 minutes

Cook time: none

Total time: 5 minutes

Ingredients:

2 tablespoons of tahini paste

2 teaspoons of cashew butter (about 20-30 whole cashews)

4 medium sized cherry tomatoes (about 2 tablespoons chopped)

1 large clove of garlic

1 teaspoon of Tamari soy sauce

3 tablespoons of a neutral oil like safflower

2 teaspoons of lemon juice

Directions:  Place all of the ingredients in a blender or processor and blend until smooth.  Pour into a serving container and enjoy! This would be awesome on grilled veggies as well!!

image

image

Roasted Garlic Cauliflower Mashed Potatoes!

Roasted Garlic Cauliflower Mash

Roasted Garlic Cauliflower Mash


From time to time, I crave a meal with a deep rich wine sauce. When that happens I turn to Julia Child’s beef bourguignon recipe, or my version of it.  If you have ever made beef bourguignon, then you know the sauce that accompanies the beef is everything for that particular dish! The beef, as succulent as it is, is nothing without that sauce, and that sauce was made to adorn a potato mash! The year that I had Page I decided rather than running from house to house to celebrate Thanksgiving with friends and family, it would be easier on her, and my husband and I,  if we just stayed home and made dinner ourselves. My best friend agreed and we divided the dinner duties. Instead of a massive turkey, I roasted a chicken, she made a few sides, and I baked a cake. One of the sides she made was a potato and cauliflower mash. It was delicious, and Page loved it! It was hearty and everything you’d expect when eating mash potatoes and at the same time it had the added bonus of cauliflower. When I was making my beef bourguignon, and anticipating the yumminess of the sauce, I knew that this cauliflower mash would go perfectly with the sauce. If you’re on a low carb diet, you can omit the potatoes, and whip the cauliflower in a blender. For this recipe, I opted to not whip the mash, I wanted the hearty texture, so I used a potato masher instead. If you want a more creamy texture, just throw all the ingredients in a blender after cooking them.

Pin It!

Pin It!


Prep time: 5 minutes

Cook time: 10-15 minutes

Total time: 20 minutes

Ingredients:

1 small head of cauliflower (about 5 cups)

2 medium potatoes (2 cups cubed)

4 tablespoons of grassfed butter

2 tablespoons of half and half (optional)

1 head of roasted garlic

sea salt and black pepper to taste

Directions:  Add the cauliflower and potatoes to a pot and fill with enough water to cover. Bring to a boil over medium high heat, and cook until potatoes and cauliflower are fork tender.  Immediately drain the water from the cauliflower and potatoes, then add in, butter, half and half, roasted garlic, sea salt and pepper.

image

Mash with a potato masher until well incorporated, or add all the ingredients to a blender and blend until smooth, then enjoy!

image

Roasted Garlic-How to Roast Garlic

How to Roast Garlic

How to Roast Garlic

Can you image cooking without garlic? I can’t! I love it! Garlic lends so much flavor to a savory dish, it’s hard to imagine not having it to use. I love garlic in every state, raw, blanched, powdered, and roasted.  Each has it’s own unique flavor. Roasted garlic is so delicious, and there are so many uses for it. I add roasted garlic to a plain tomato sauce to instantly take it from bland to fantastic! I add roasted garlic to one of my favorite roasted eggplant dishes. I spread roasted garlic on a good piece of crusty bread and dip it into a balsamic, red pepper, and olive oil vinaigrette, and of course, I add roasted garlic to mashed potatoes, or my cauliflower potato mash! There are a plethora of uses for roasted garlic, (like using it for my Roasted Garlic and Lemon Chicken recipe), once you learn how to roast garlic, you will wonder why you’ve been cooking without it!

Pin It!

Pin It!


Prep time: 2 minutes

Cook time:30-45 minutes

Ingredients:

1 large bulb of garlic

1 teaspoon of olive oil

sea salt and black pepper to taste (optional)

1 sheet of foil–must be big enough to fully enclose the garlic

Directions: Pre heat the oven to 400F. With a knife slice the top off of the garlic. Place the garlic inside of the foil, pour the oil over the top of the garlic, making sure to cover all exposed garlic. add sea salt and black pepper if using:

image

Fold all sides of the foil, making sure that the garlic is fully enclosed. Place the garlic bulb in your oven:

image

Cook  for 45 minutes, or until garlic is beautifully golden brown:

image

Allow to cool for 10-15 minutes, then remove by squeezing, or by removing each individual clove of garlic with a pairing knife, and enjoy!

Flourless Peanut Butter and Chocolate Meringue Cookies


Flourless Peanut Butter Meringue Cookies

Flourless Peanut Butter Meringue Cookies

If there was ever a food match that was made in heaven, it is peanut butter and chocolate! One of my favorite lazy treats is to dip a dark chocolate bar into peanut butter.  So the other day when I was craving a sweet, I thought what a great idea it would be to make a delicious peanut butter cookie that was both moist and light.  Sort of like my Starbucks Inspired Flourless Chocolate Cookie ,or, (cue the light bulb over my head), how about exactly like my Flourless Chocolate Cookie! But instead of adding melted chocolate to the meringue, I’d add melted/warmed peanut butter—and so this cookie was born! It’s light, moist, gooey, and crisp in all of the right places! A miracle really, considering the fact that we all know that I am not the most proficient baker. I was fully expecting that this would turn out to be another disastrous baking episode for me. I’m so glad that I was wrong, and that this turned out to be all that I wanted and more!

Pin It!

Pin It!


Prep time: 10 minutes

Cook time: 10-12 minutes

Total time: 20 minutes

Makes 8 cookies

Ingredients:

2 egg whites
6 Tablespoons of creamy peanut butter warmed
1/8 teaspoon of cream of tartar
3/4  cup of powdered sugar (I used maple sugar,see how to powder any type of sugar here)
1 teaspoon of vanilla extract
1/2 cup of chocolate chips (optional)

1/8 teaspoon of sea salt

Directions:  Pre-heat the oven to 375F. Over low heat warm the peanut butter, until it begins to thin a bit, and takes on a glossy shine—about 5 minutes, set aside.

image

Add the two egg whites to a bowl and beat on low until bubbles form, add the cream of tartar and beat on high, add in the sugar one tablespoon at a time and beat until peaks are stiff and fluffy—you can turn the bowl upside down with out the mixture running.

imageimage

Pour in the melted peanut butter and fold it into the egg white fluff–be gentle– fold until the white streaks disappear.

image

image

Fold in the chocolate chips,

image

then spoon the cookie mixture onto a parchment/silpat lined cookie sheet.

image

Let them cool for 10 minutes, then move them to a cookie rack to continue cooling 5-7 minutes. Serve and enjoy!

image


image

Ground Chicken and Cabbage Curry

Ground Chicken and Cabbage Curry

Ground Chicken and Cabbage Curry

Do you ever pull out something for dinner and then have no clue what you’re going to make with it? I do…all the time! Most of the time it works out, but working out on some days can be relative. Success for me is getting a nutritious meal on the table on most days. This Chicken and Cabbage curry recipe  almost didn’t come together. I pulled out the ground chicken, but all I had to go with it was the cabbage. I didn’t have any fresh onion, no fresh garlic, none of the ingredients one needs to make something taste good. My fridge was empty because I had put off grocery shopping, and now I had to pay the price. I turned to my cupboards for help. I had a bevy of ground dried spices, curry, onion powder, ground ginger and garlic.  From those dried spices, this meal was born, and let me tell you what a delicious meal it was! It is one of my husbands favorite meals. I’ve made this with fresh onion and garlic, but the dried spices give this much better flavor.

Pin It!

Pin It!


Prep time: 5 minutes

Cook time: 20 minutes

total time: 25 minutes

Ingredients:

1 lb of ground chicken

1 tablespoon of onion powder

1 teaspoon of garlic powder

2 tablespoons of curry powder

1 teaspoon of ground ginger powder

2-3 tablespoons of  olive oil, or ghee

1 small head of cabbage, chopped roughly

4 tablespoons of freshly chopped cilantro

Directions:

Heat olive oil in a pan add dried spices and  heat for 20 seconds or just until spices become fragrant. Add in ground meat and brown. Once meat has cooked, add in the cabbage, and cook for about 5-7 minutes or until cabbage wilts a bit.

image

Remove from heat, top with cilantro and serve as is, or over a bowl of brown basmati rice and enjoy!

image

Coconut Cream Banana Pudding

Coconut Cream Banana Pudding

Coconut Cream Banana Pudding


I love dessert, but I’m one of those rare people who can consume just a few bites and be completely satisfied with a dessert.  I don’t like to make whole cakes, pies, or a complete pan of any type of dessert unless I’m taking it to a party.  At home it will just get thrown in the trash.  I’m a single serving dessert kind of gal.  One serving desserts make me happy, their super delicious, quick and easy to make, and always satisfying without the guilt and temptation to eat more. This Banana Coconut Cream dessert is exactly that.  It’s light, takes minutes to make, and is gone just as quickly.  The key to this dessert is refrigeration. Unlike whole milk cream, you don’t need to whip coconut cream for it to set into pillow like mountains, just put it into the refrigerator and  The coconut cream will set up nicely. If you want to make this for an after dinner snack, put the cream into the refrigerator at least an hour before you want to make this.  The best part of this dessert–besides the fact that it’s out of this world delicious–is that it only requires four ingredients, and you don’t have to cook any of them!


Pin It!

Pin It!


Prep time: 5 minutes

Cook time: none

Makes 2 servings

Ingredients:

1 cup of coconut cream

1 teaspoon of vanilla extract

2 tablespoons of maple syrup–can sub agave

2 bananas( one smashed with a fork, the other sliced)

5  ginger snaps roughly crumbled (can sub with graham crackers, or granola, or vanilla wafers, or nuts)


Directions: Smash banana, with a fork and set aside.  To a small bowl add the coconut cream, vanilla extract, and maple syrup, mix well, cover and refrigerate  until coconut cream has set–meaning it’s firm like a custard.  Once set, remove from the refrigerator, and fold in the mashed banana. If you’re short on time, you can fold the mashed banana into the cream when you add the vanilla and the sweetener.  Check out the video below  to see exactly how I put it together.  If you like this dessert then you’ll love my Banana Marshmallow Split, it’s also a single serving dessert, super easy and delicious!

Click on the link to see how I put this dessert together: https://www.youtube.com/edit?video_id=6LHcyfEoQg8

While you’re at it  click here to subscribe to my channel.

image