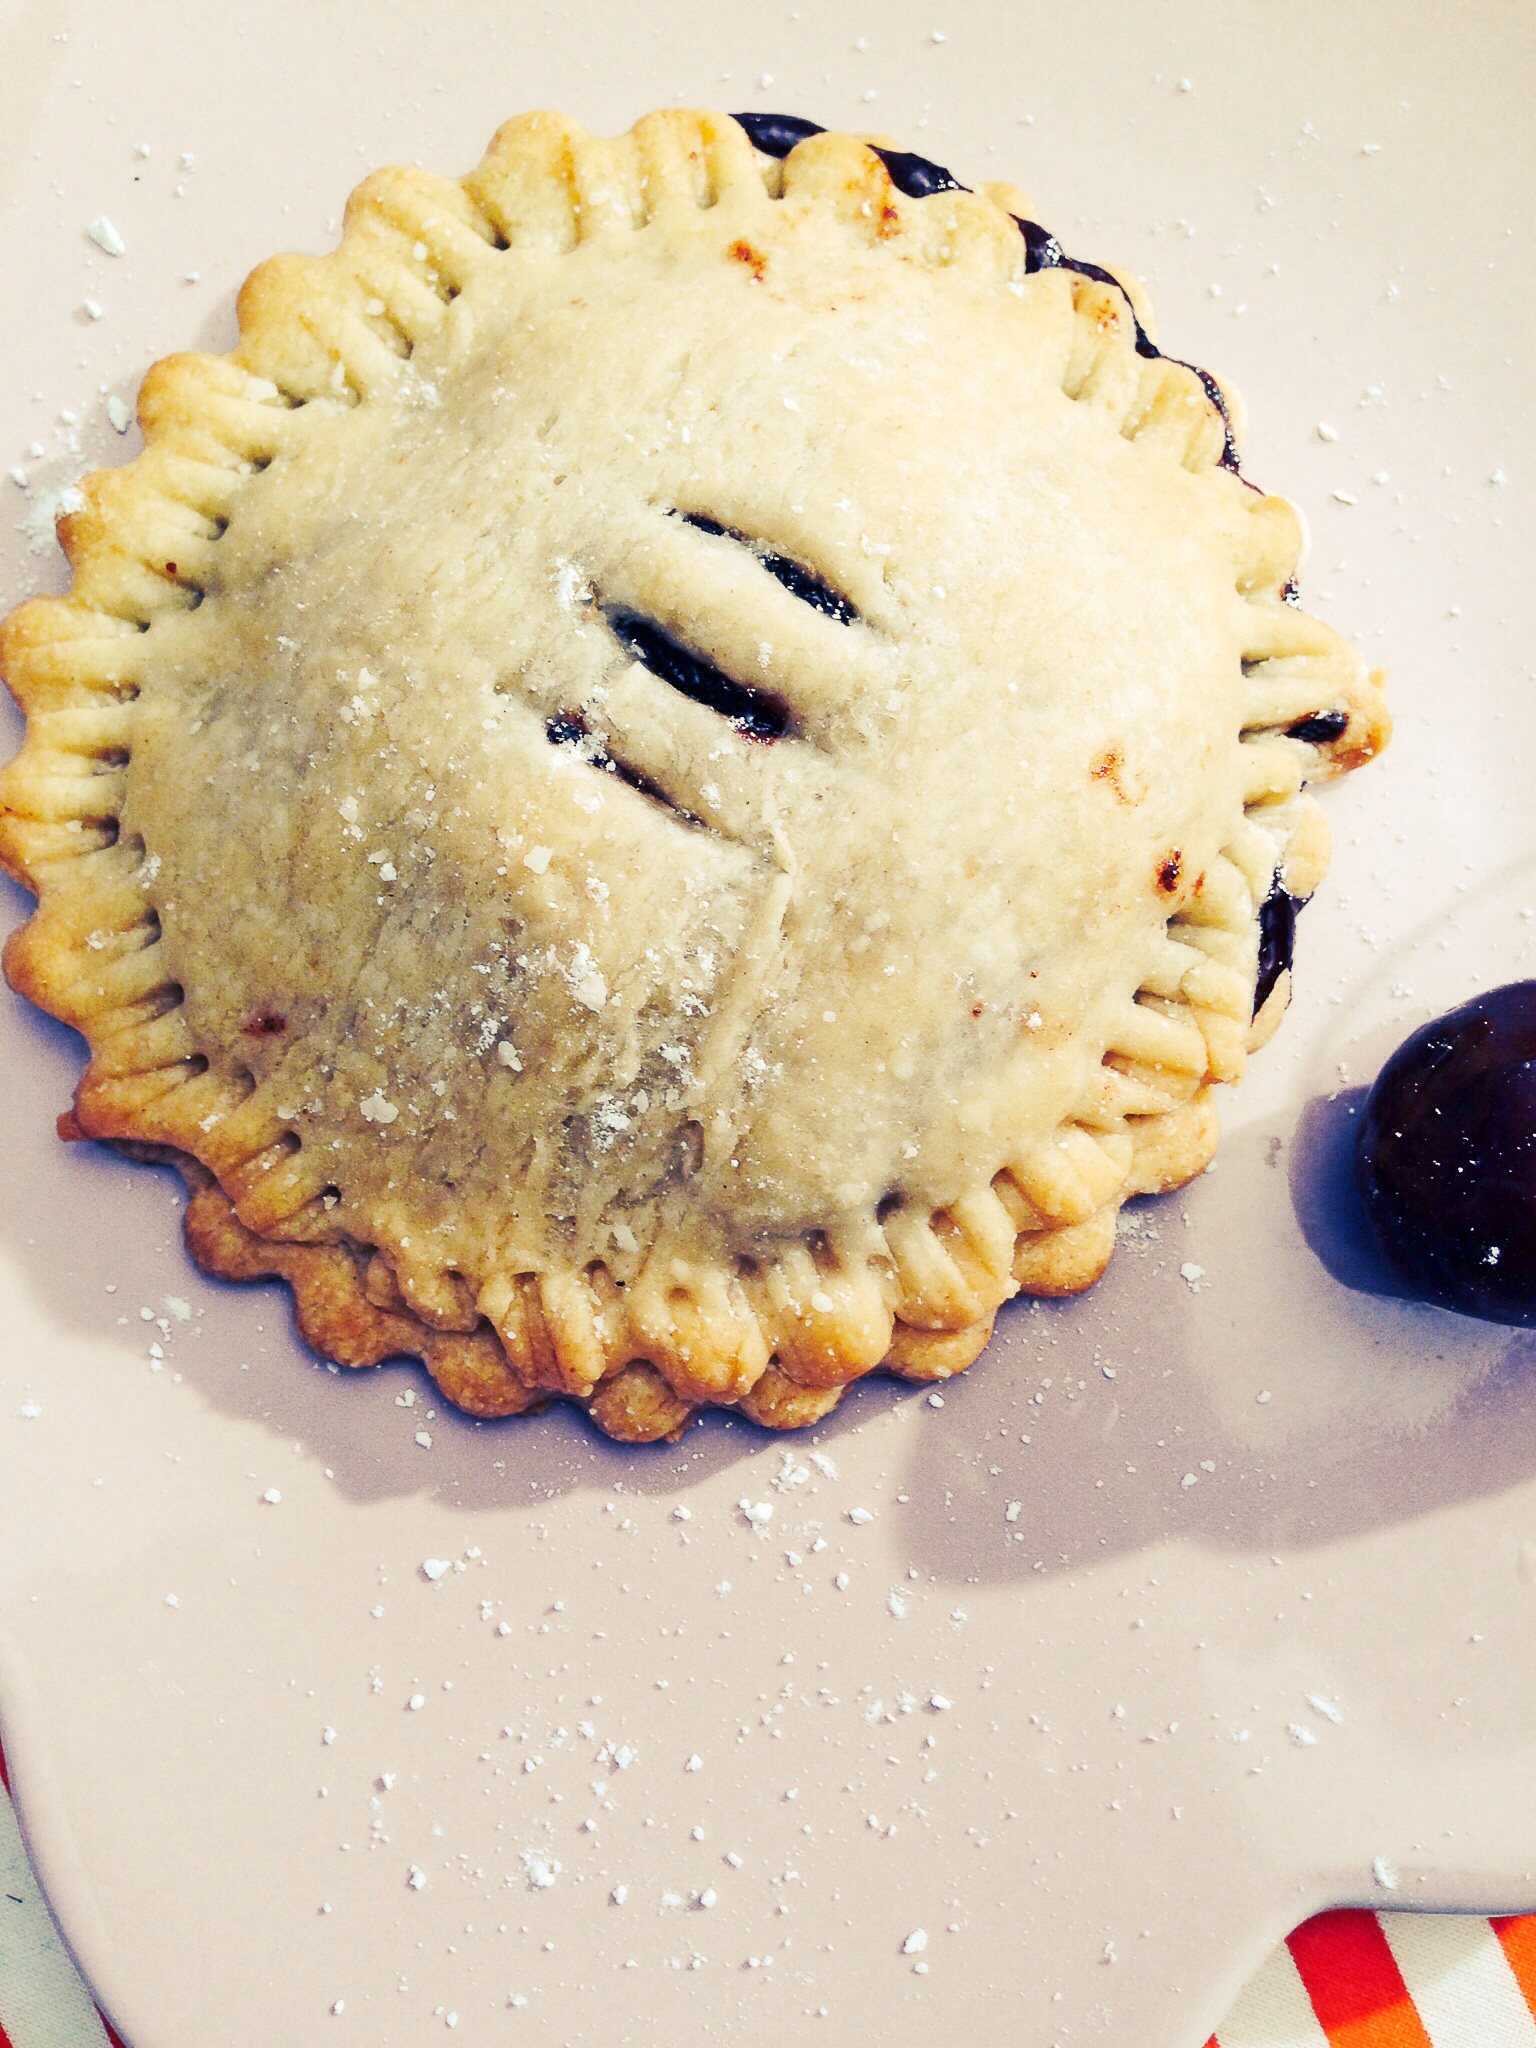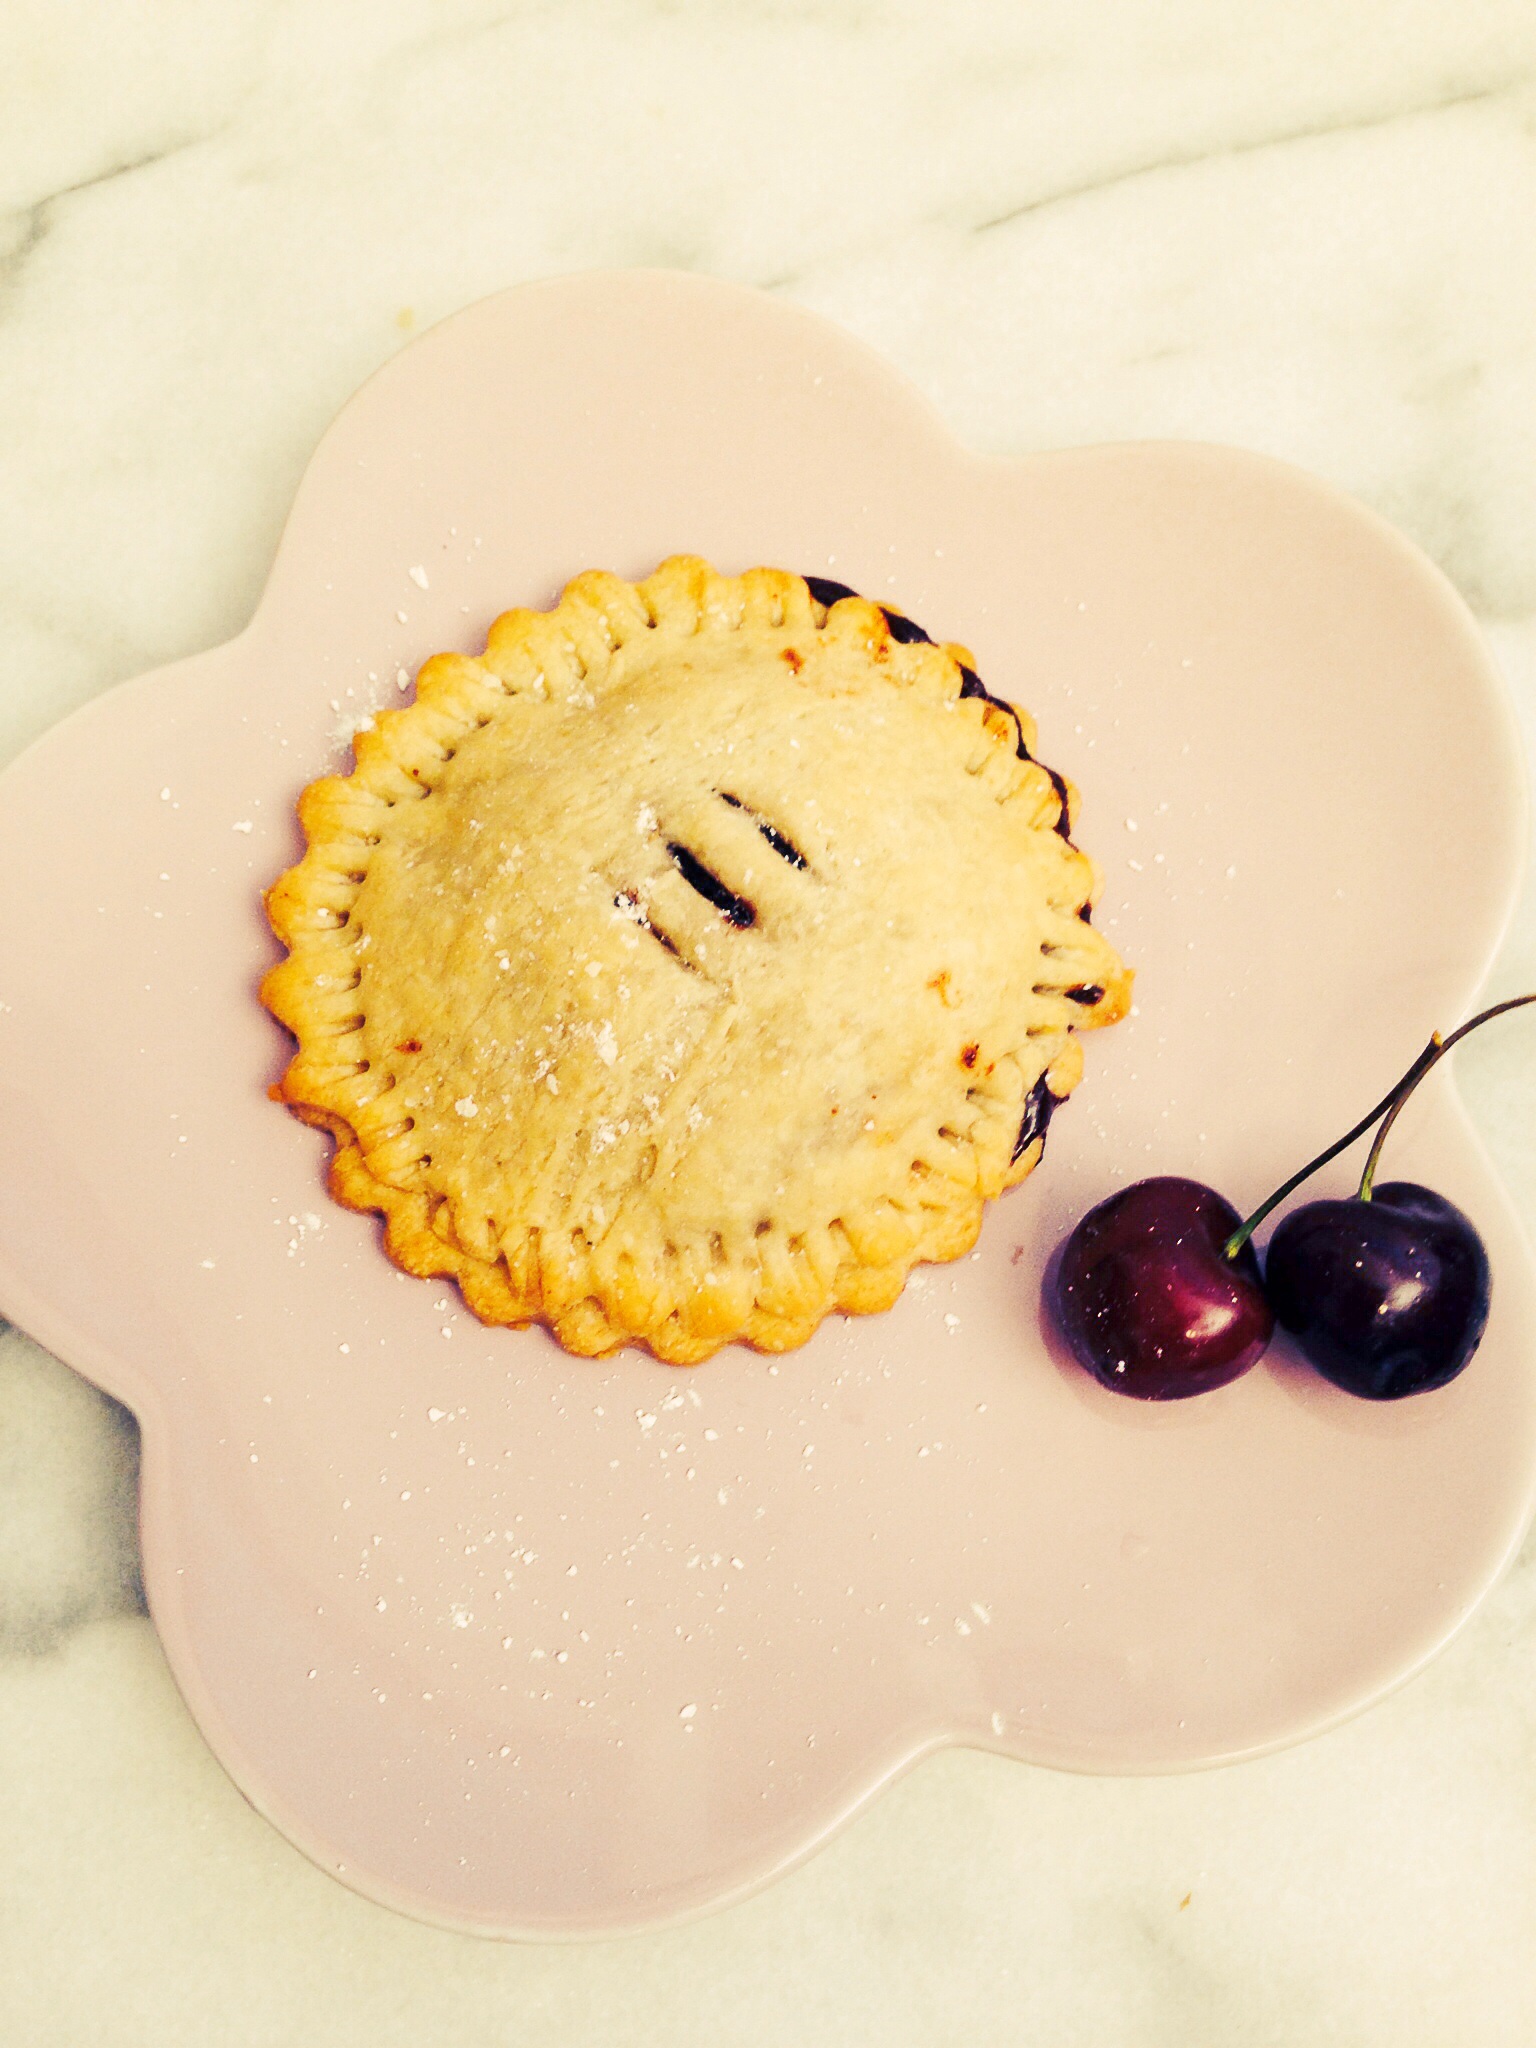
Cherry Hand Pies
I am not a fan of baking, but every now and then I get a craving and I drag myself into the kitchen and have a go at it. Baking involves a lot of science, and only after one has mastered the science, can one move onto the artistry of it. In cooking you can add a little here and there and the final result will not be drastically altered, with baking, well let’s just say, baking is much less forgiving, and that my friends is why I avoid it if I can. There is a reason why chefs on top chef avoid doing desserts–sooo many things can go wrong. This recipe took me several tries before I was happy with the final product. I tried this with puff pastry and I was less than impressed. I moved on to a gluten free, do-it-yourself pie crust, and was highly disappointed. It was my fault really, the dough was good, but I used way too much butter, and the dough spread and wouldn’t stop spreading. Finally I gave in and bought ready made pie crusts, the kind you roll out–not the kind already in a pie tin–and I was very pleased with the result. These little hand pies make a great addition to a picnic, they’re small, mess free, and you don’t have to worry about having a knife to cut the pie because these are single serving.
Pin it!
Prep time:10 minutes
cook time: 30 minutes
Makes 6 pies
Ingredients:
2 cups of fresh cherries, halved and puts removed
1/2 cup of maple sugar (cand use maple syrup, cane sugar, or sweetener of your choice)
1 tablespoon of lemon juice
1 teaspoon of vanilla extract
1 tablespoon of arrowroot powder (can sub with xantham gum, cornstarch or flour)
1/8 teaspoon of sea salt
1/8 teaspoon of cinnamon
1 package of ready made pie crusts–the kind you can roll not the ones in a pie tin.
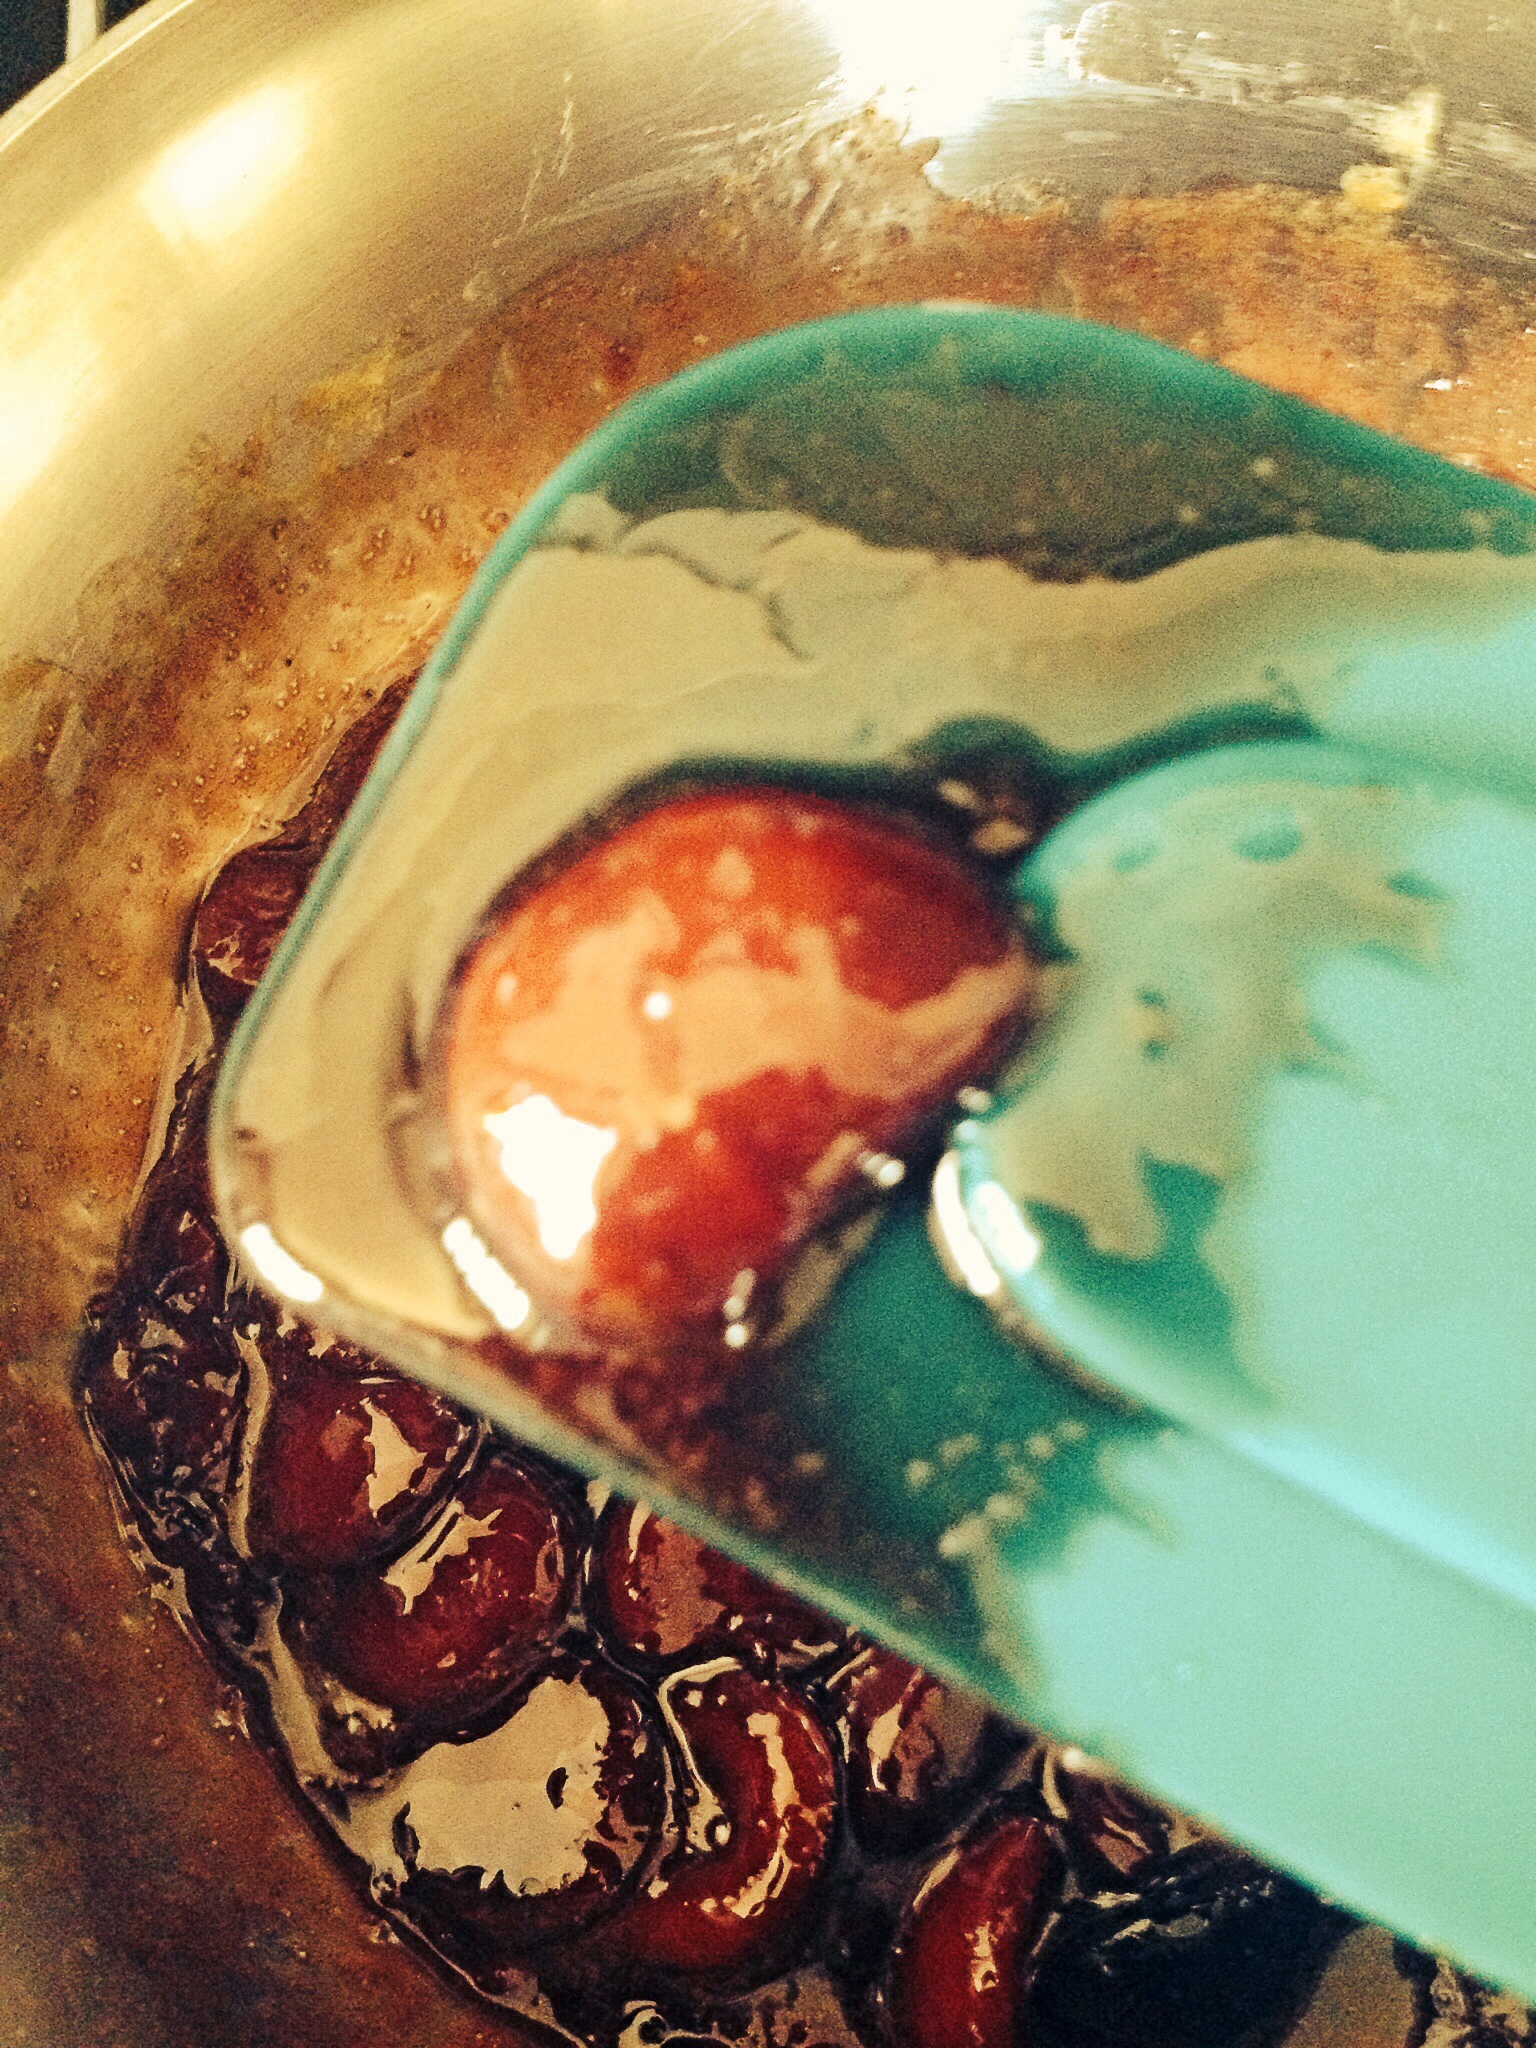
directions: add the cherries, lemon juice, sea salt and sugar to a sauce pan over medium heat.
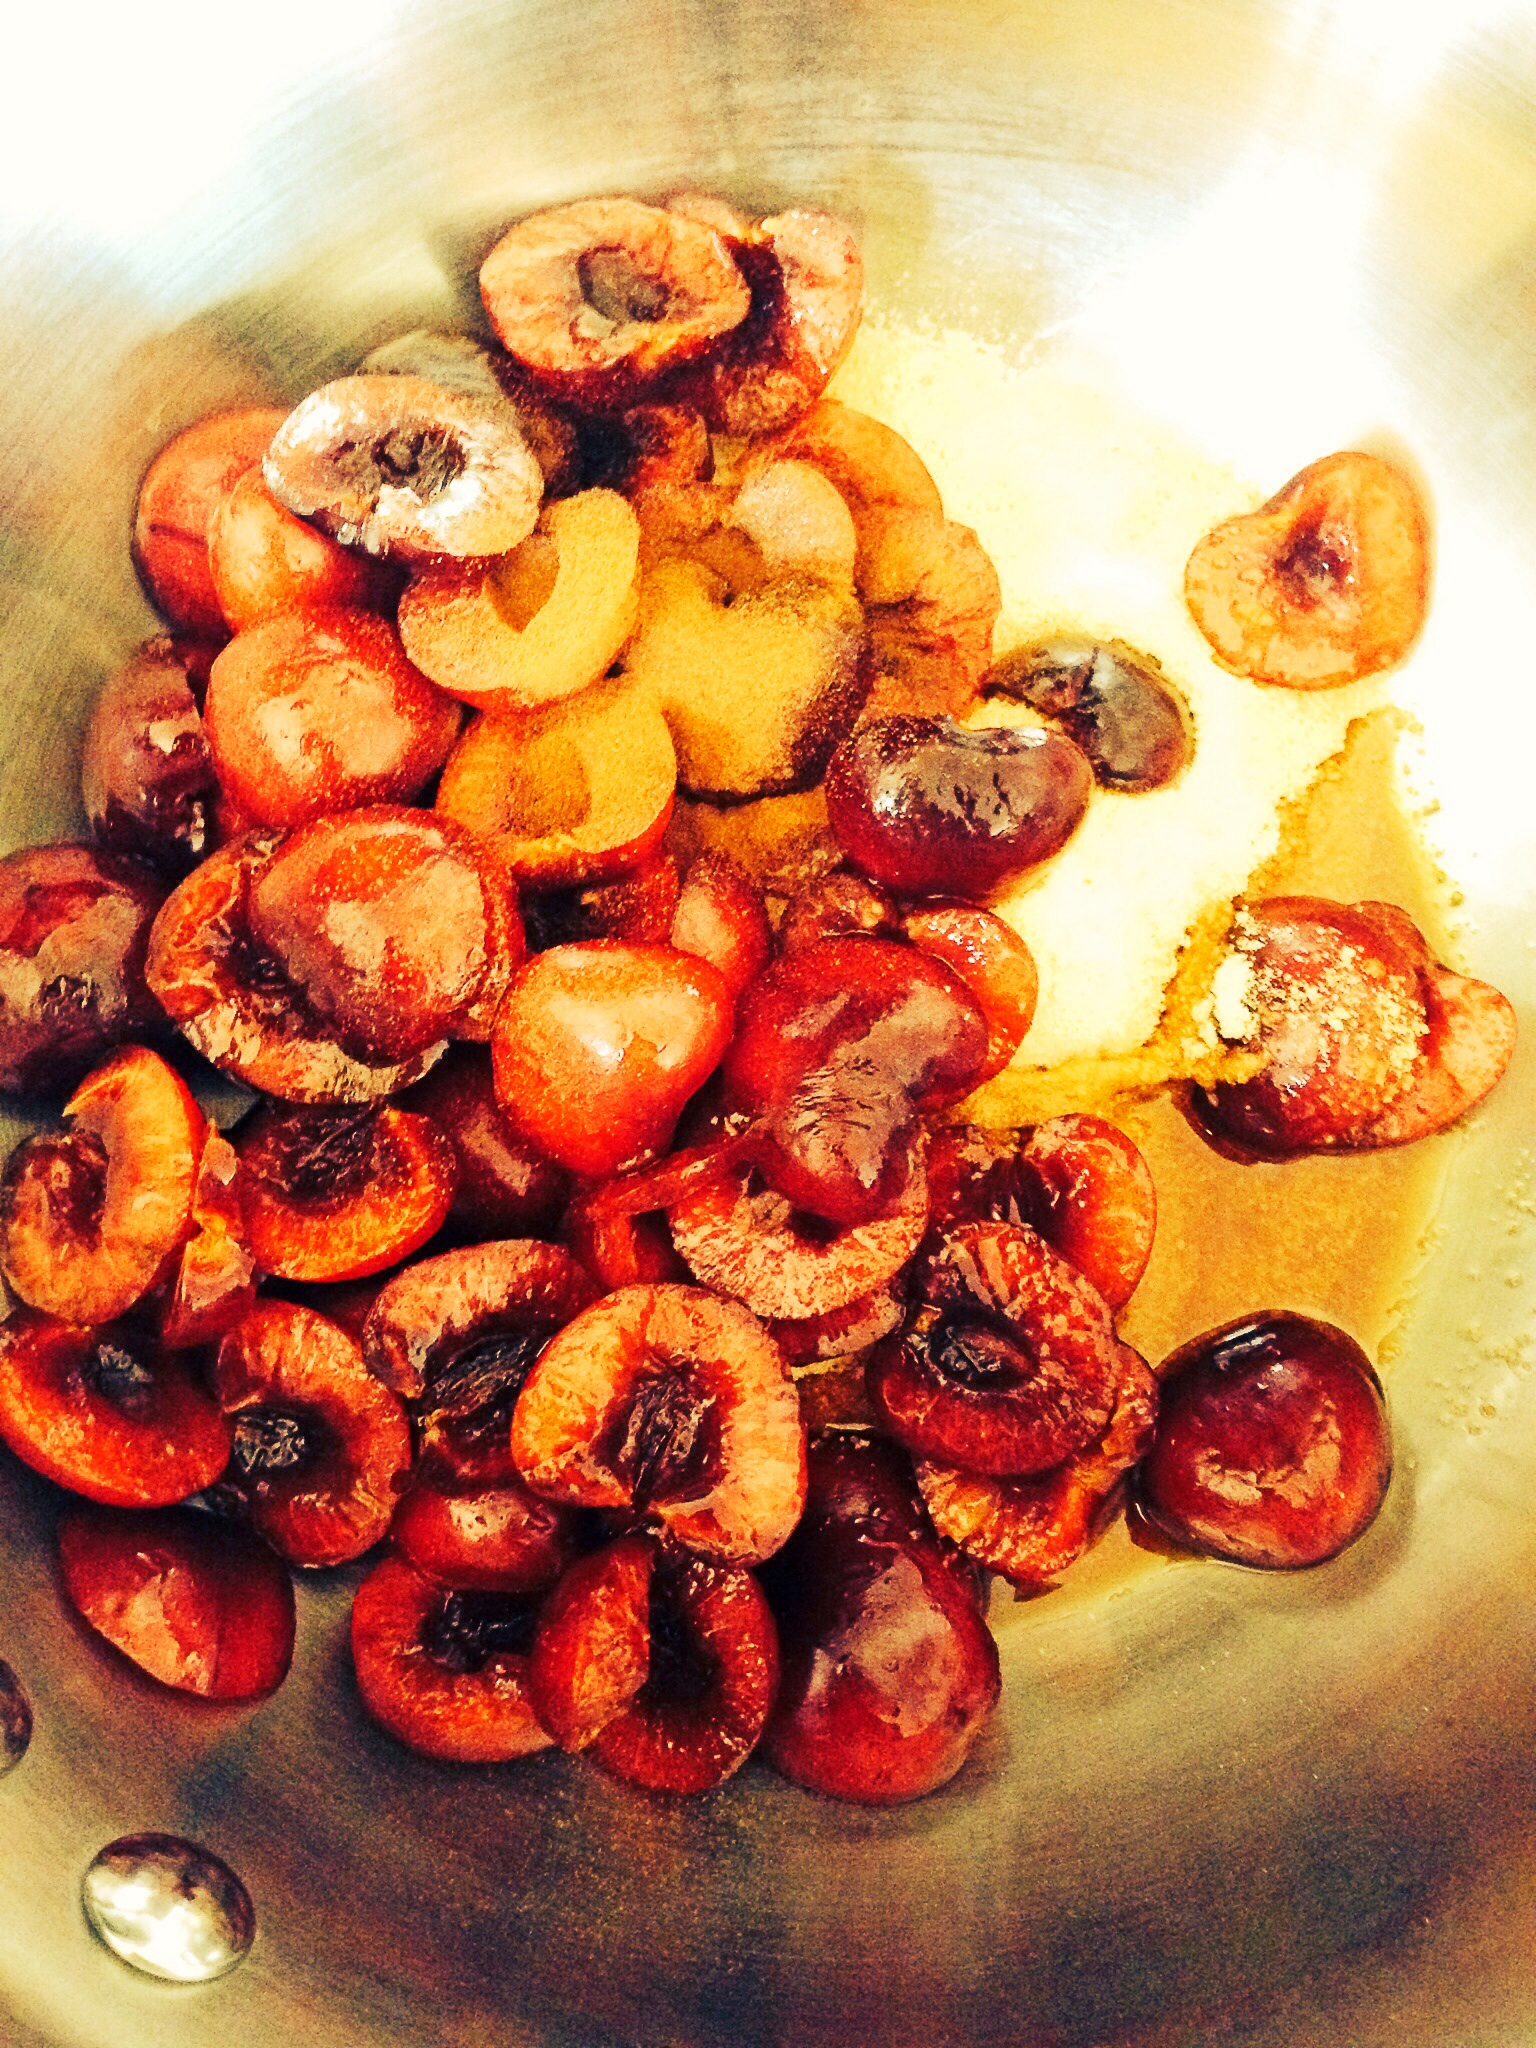
Cook until cherries begin to release juices, about 5-7 minutes.
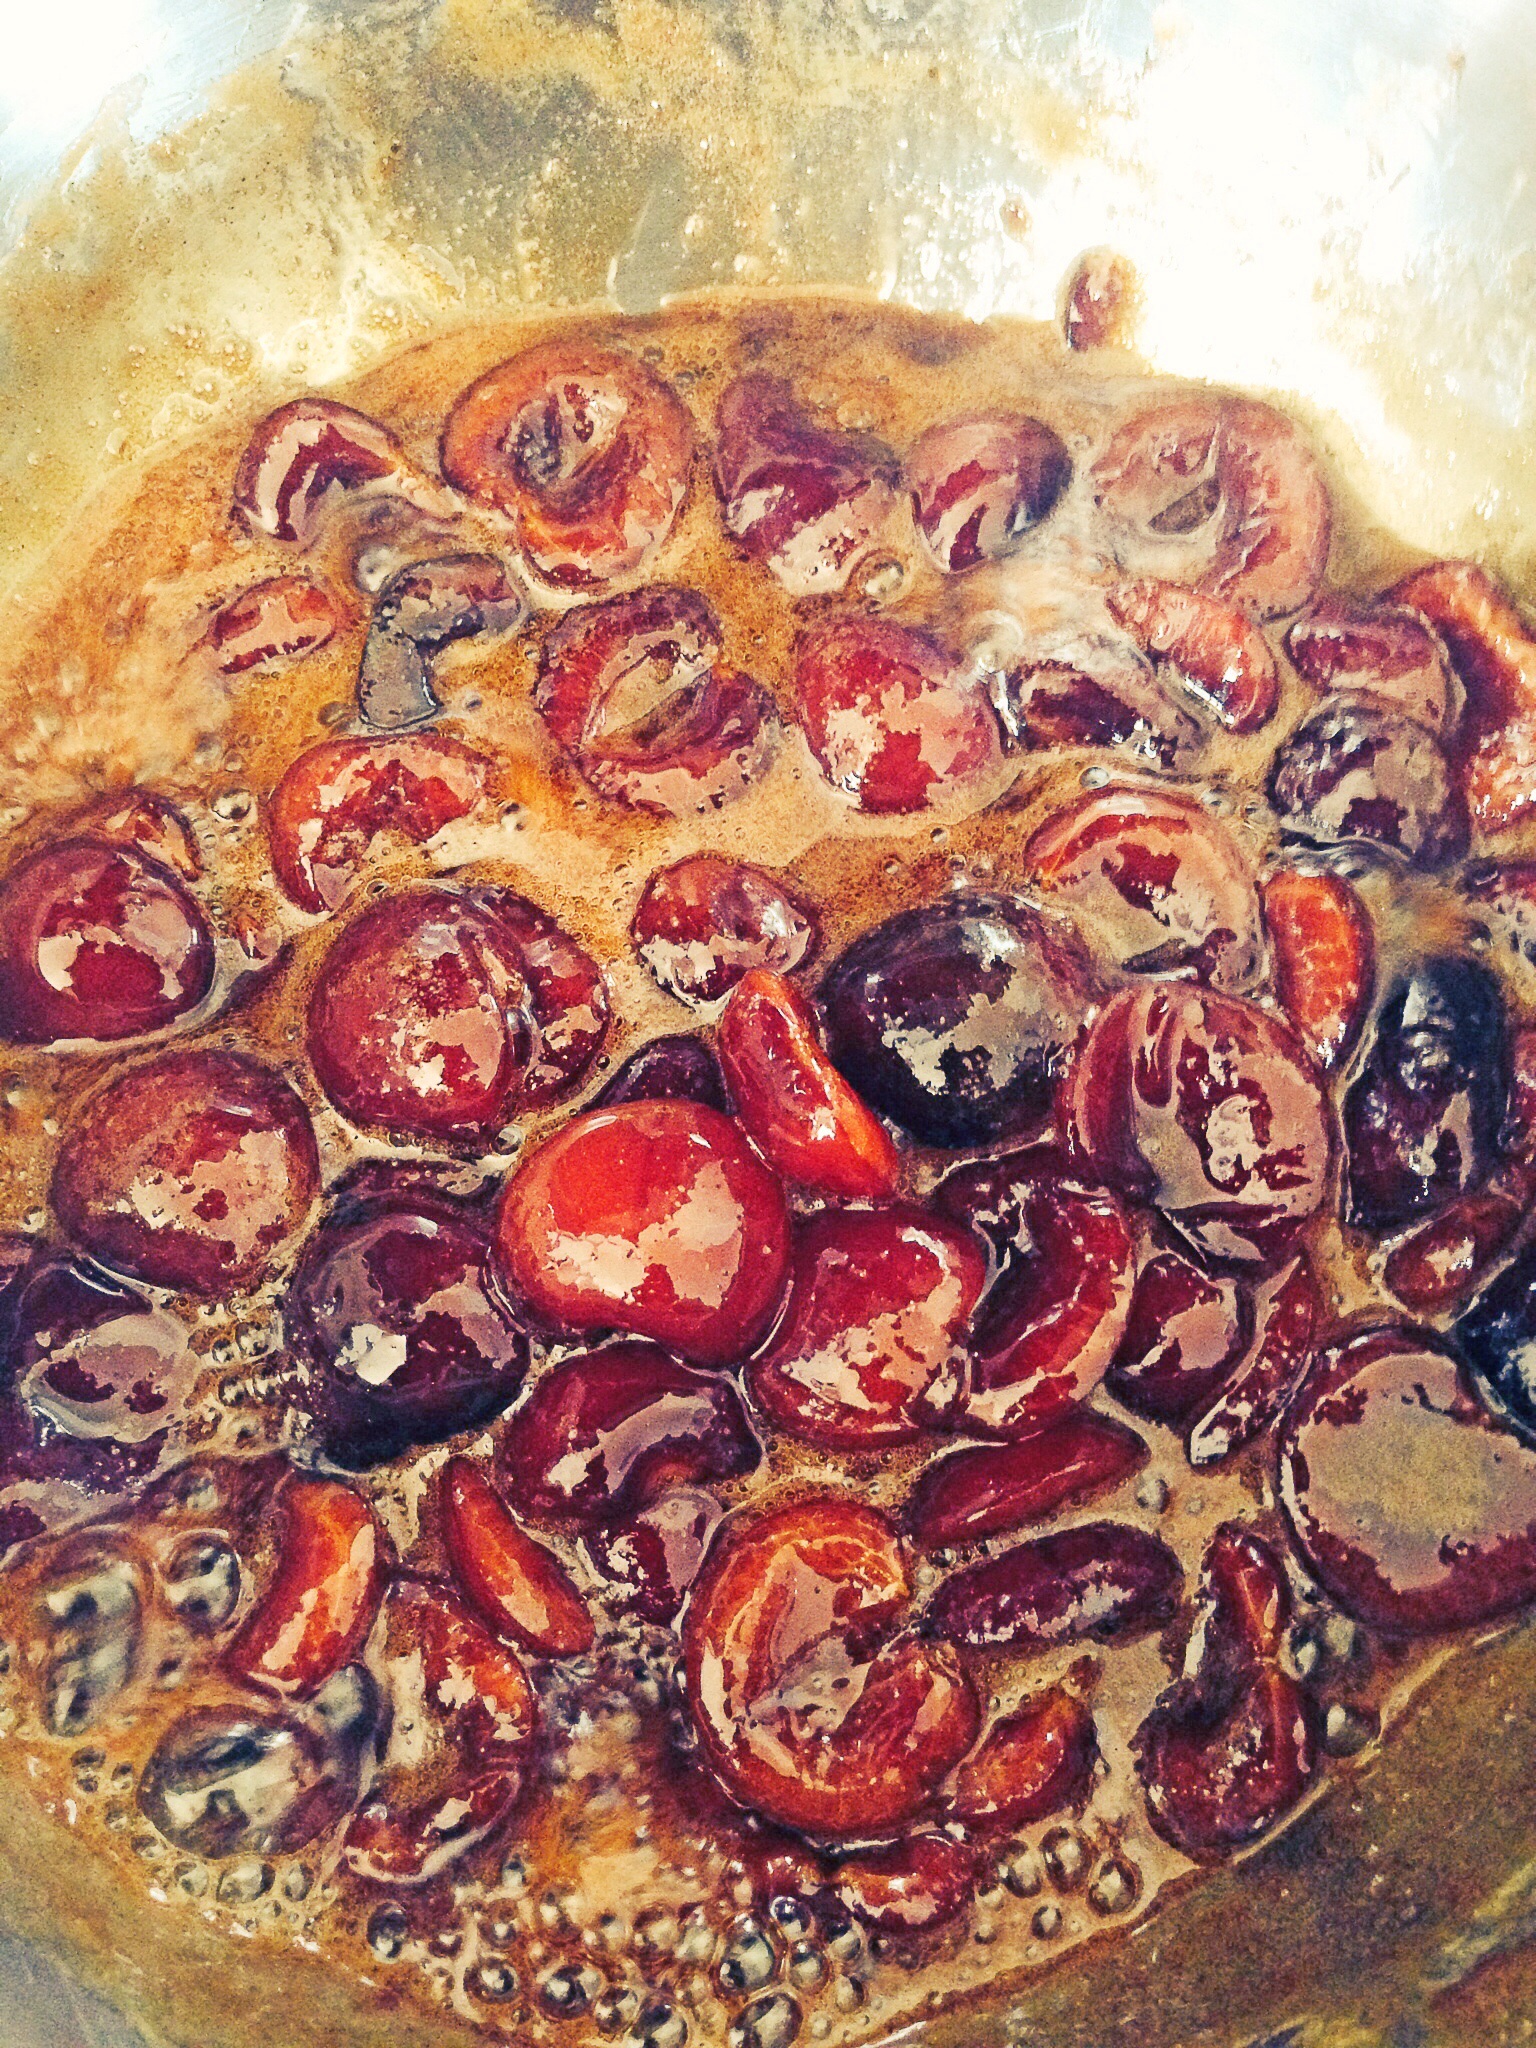
In a small bowl mix together arrowroot and 1 teaspoon of water, add it to the cherry mixture, stir and cook until mixture thickens.
Remove from heat and allow to cool to room temperature. Once mixture has cooled. Pre-heat oven to the recommended temperature on the box for the pie crust you are using. Roll out your pie crusts, then cuts out your desired pie shape. I used a tarlet tin to cut out tarlet pie shapes, two circles for each pie. Fill one of the shapes for each pie with 2-3 tablespoons of the cherry filling, top it with the other pie shape, seal it by pressing the borders with a fork. Use a knife to cut a few slits on the top of the pies for ventilation. Place the pies on a silicone/parchment lined baking sheet and bake until golden brown– about 20-30 minutes.