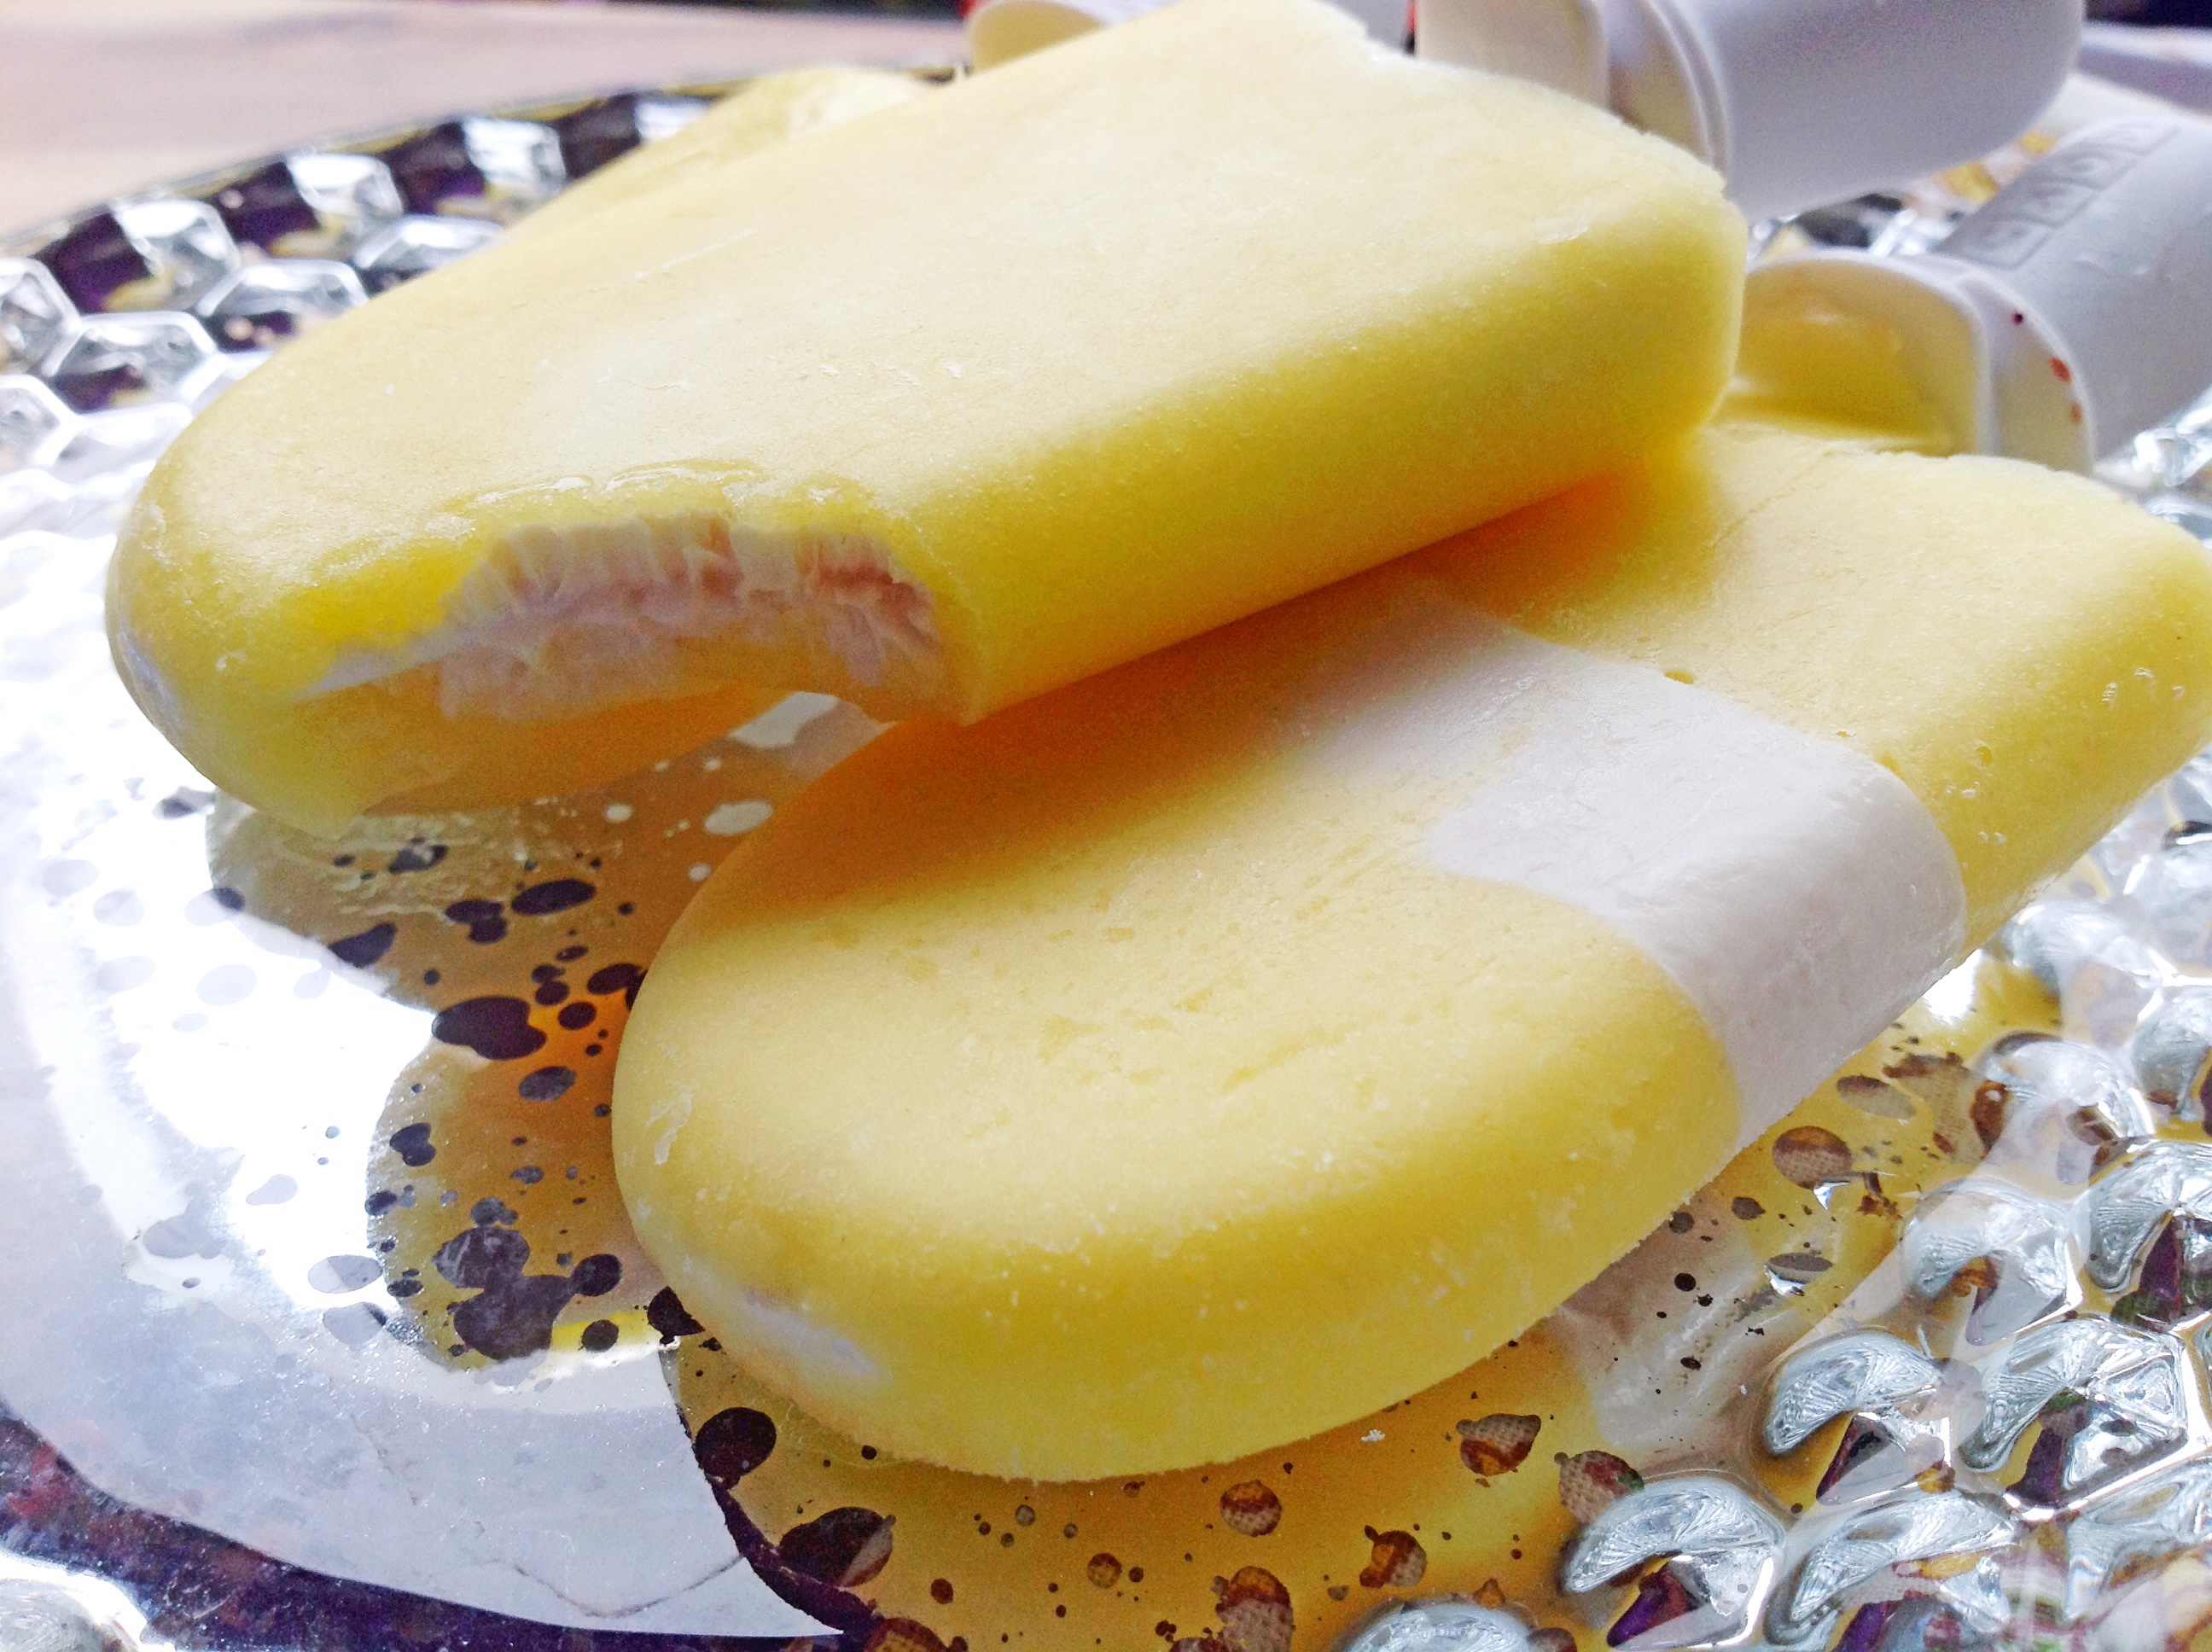
Pineapple and Coconut Cream Creamsicles
So it’s official, the Zoku Quick Pop Maker is my new favorite kitchen gadget! It has become my daughters favorite too. Although I’m pretty sure that she is more a fan of what comes out of the quick pop maker than the actual quick pop maker. We have been making all sorts of popsicles since we got it. Page is a big fan of the creamsicle–she is her mother’s daughter after all, but she is also a fan of simple juice pop’s. Pineapple is a favorite of hers, she just loves it. I decided to pair it with coconut cream, and let me tell you—THEY ARE AMAZING!!!!!!!!!!!!
Pin It!
Prep time: 10 minutes
Cook time: none
Ingredients:
1 cup of Pureed pineapple
1/2 cup of coconut cream
1/2 teaspoon of vanilla extract
2 tablespoons of maple syrup or your favorite sugar
Directions: Add the cream, vanilla extract and maple syrup to a cup, mix well and set aside. If using classic pop molds, place all ingredients in a blender and blend until well combined. Divide mixture evenly among molds and freeze for 6-8 hours or until frozen solid. If you are using the Zoku Quick pop maker, Pour the pineapple puree into the molds and allow to set for 2-3 minutes. At the 2 minute mark siphon out the remaining unfrozen puree with a straw or a unused infant aspirator–I purchased one just for this. Zoku sells a tool kit for $20 which includes a siphon tool, but the aspirator is $3 and does the job equally as well. After you have removed all of the juice, pour cream into the molds, and allow to set for another 4-5 minutes, then follow the directions for removing the pops. If you aren’t going to eat the pops right away, you can store them in sandwhich size zip lock bags and place them in the freezer until you’re ready to eat them. These never last longer than a few hours in our house, so I can’t say how long you could store them that way. If you like these, you’ll probably love my Orange creamsicle, and Strawberry Creamsicle recipes too.