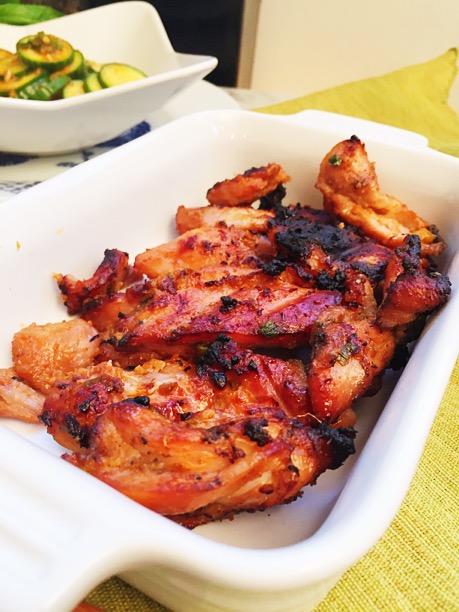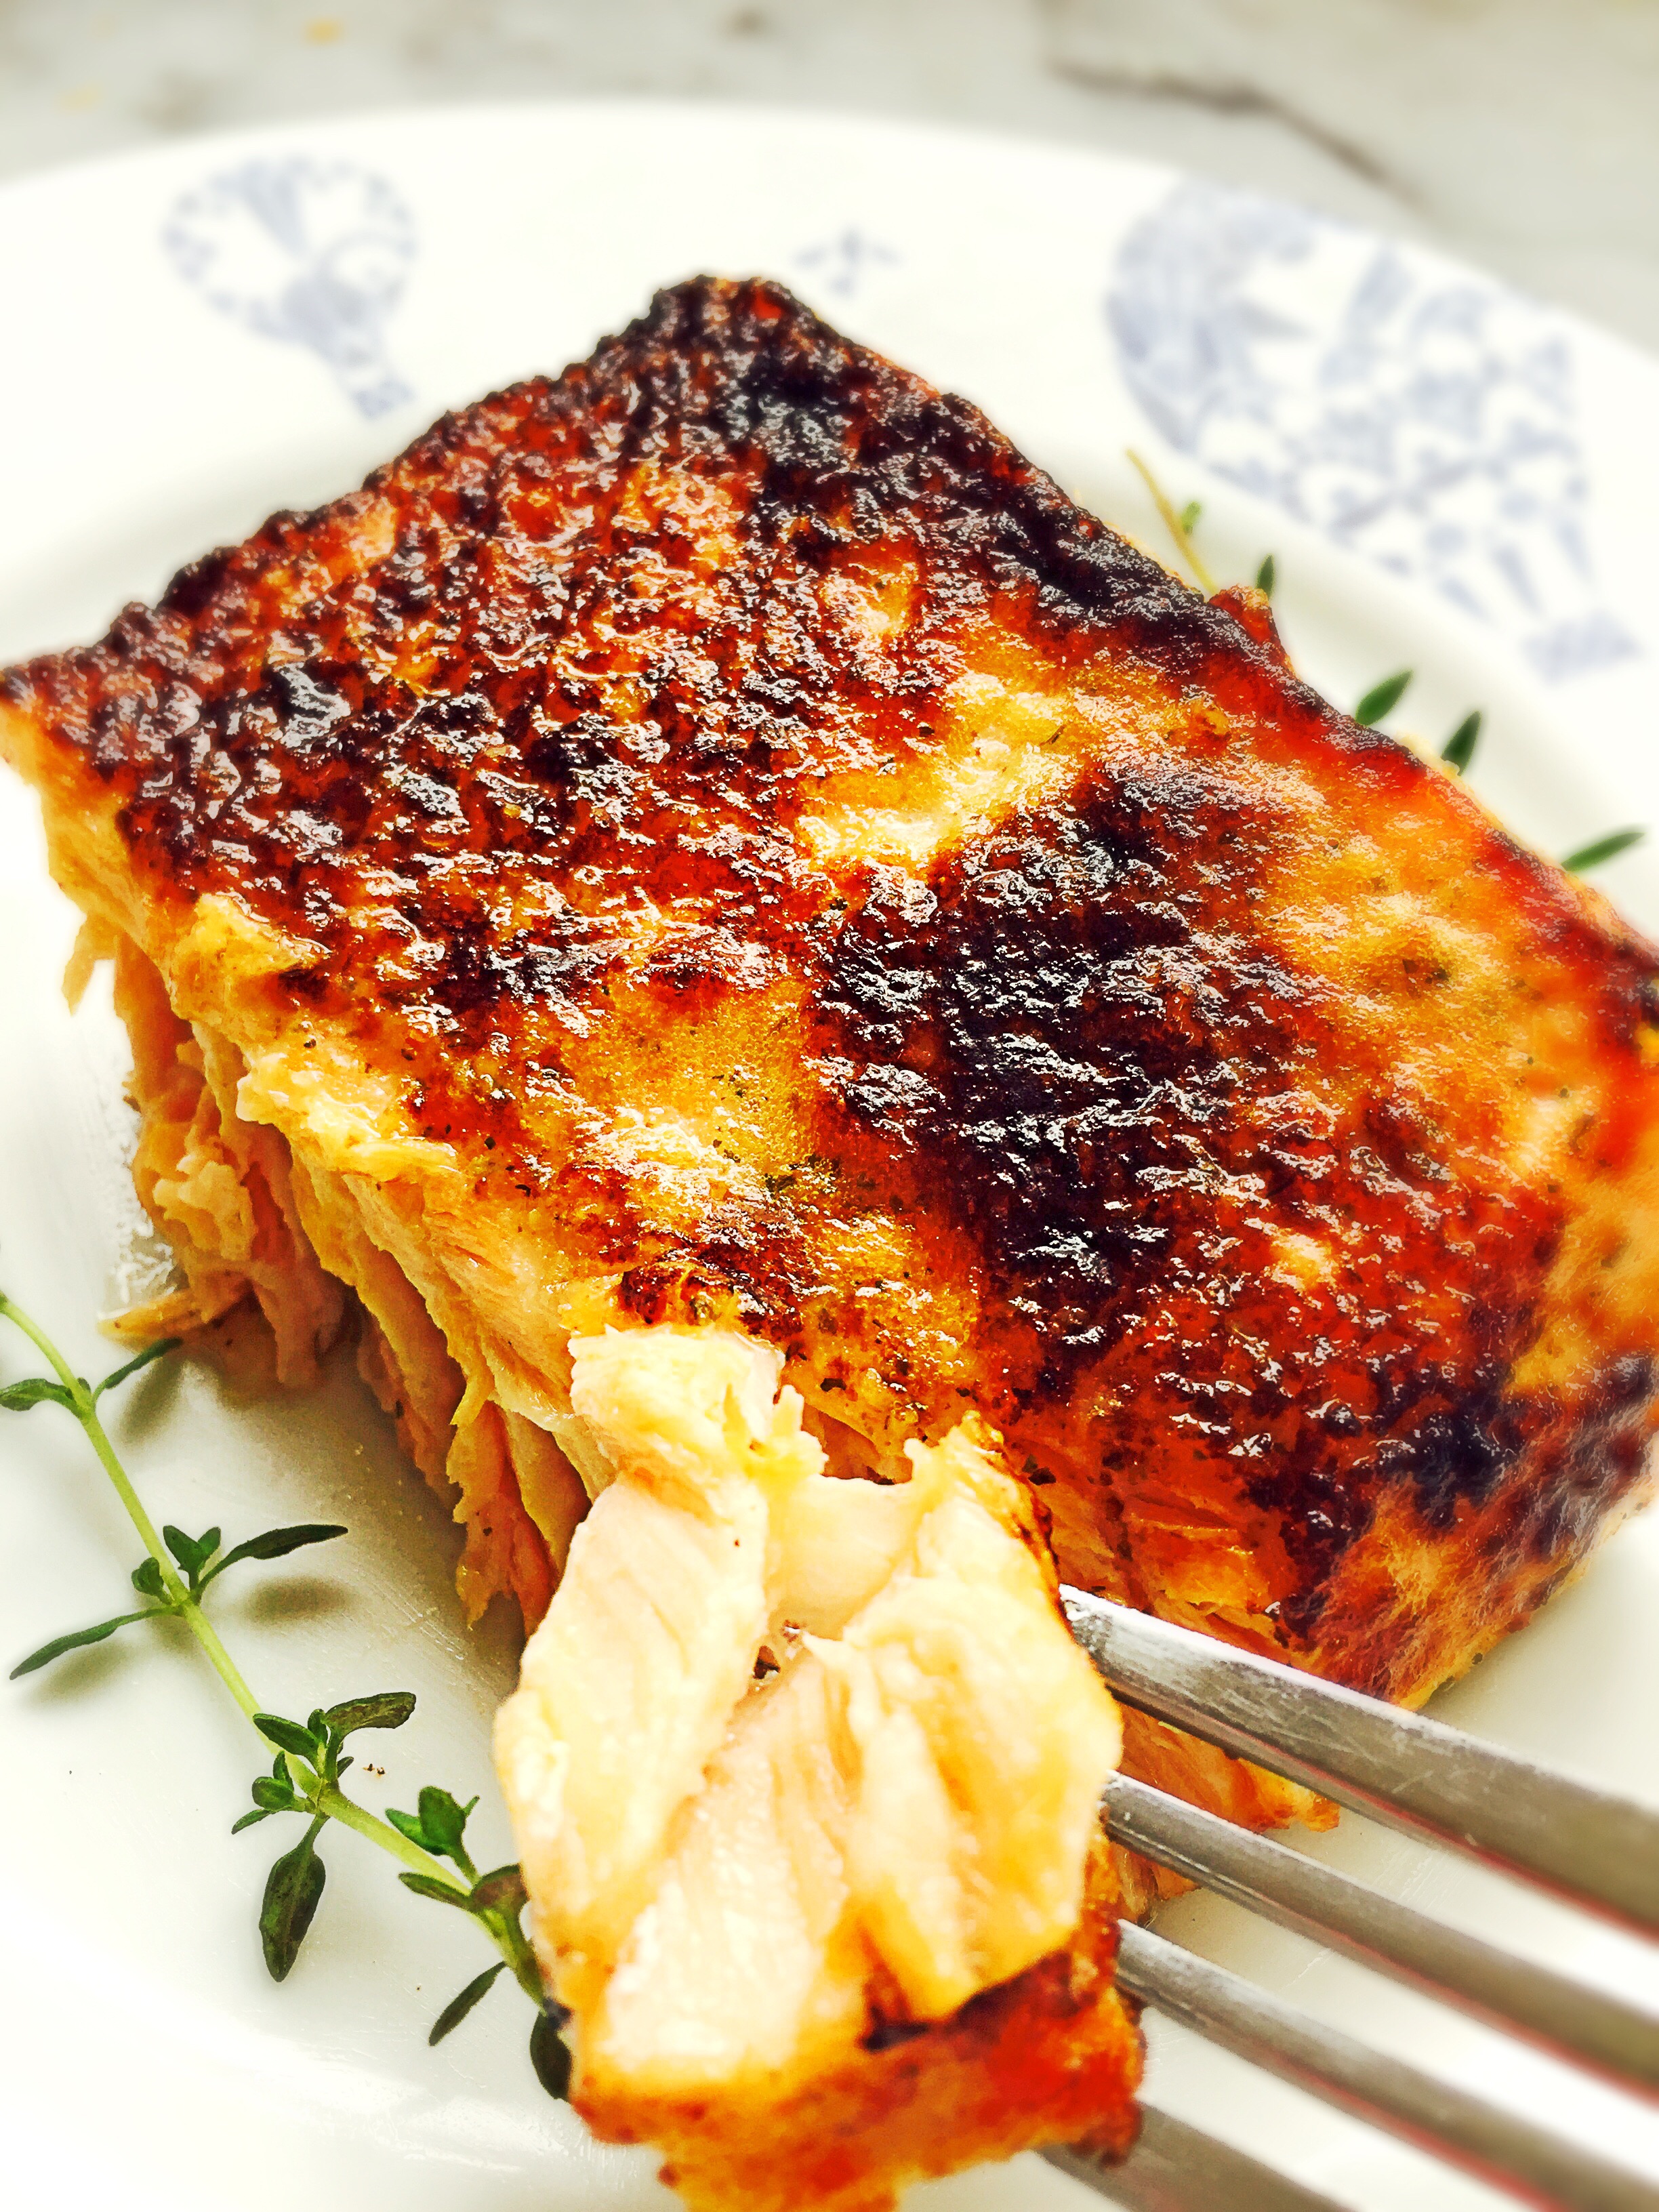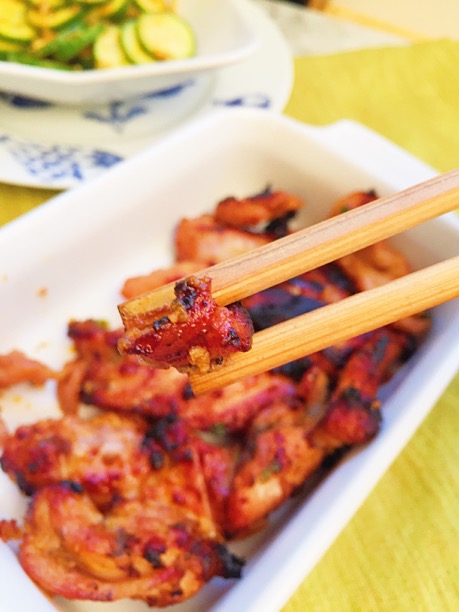
Korean Barbecue Chicken
Pin It!
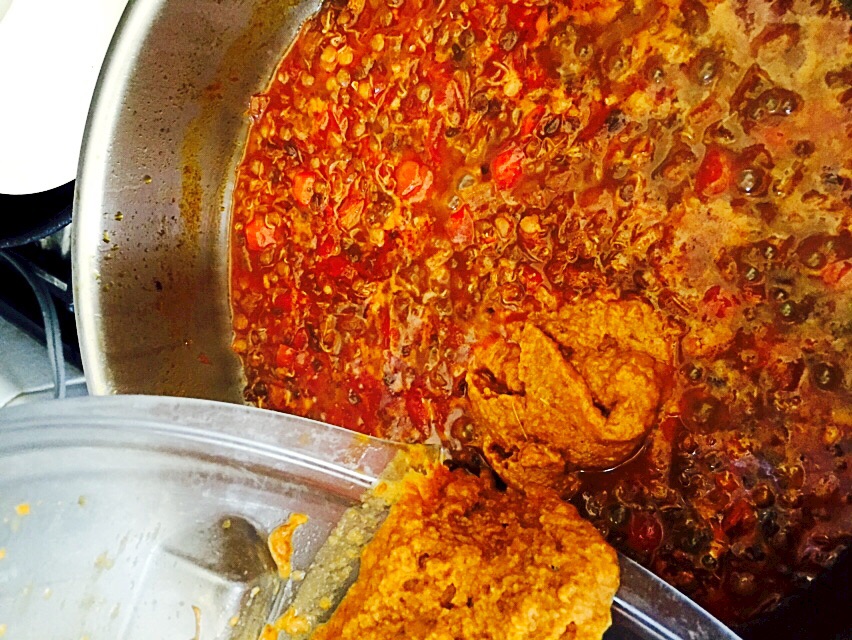
I love Korean barbecue, what’s not to love? Grilled meat, pickled and fermented veggies…mmmh it’s a veritable umami bomb on a plate. The fermented veggies alone are enough to get me into the door of a Korean restaurant. I love banchan, savory sprouts, kimchi, cucumber kimchi, and daikon radish make the heaviness of the barbecued meats lighter. I remember my first experience eating Korean food. The week of my wedding my best friend suggested that we go to a Korean bath spa together. She said it would be a great mini break for me to table the stress of planning a wedding, and at the same time get my skin nice and polished for the wedding. I happily agreed, we had gone to many a spa together throughout our friendship, so why not make another happy memory with my best friend before I sailed off into wedded bliss, I thought. The day before our appointments my best friend called to say that something came up at work and she could not join me, but she insisted that I go alone because I needed to destress, so I did. The spa was unlike any other spa I had ever been to. After checking in, I was led on a guided tour of the steam rooms, jade rooms, and showers. Everyone within the walls, except for the technicians, was completely naked and Asian. I stuck out like a sore thumb. First of all, I wasn’t at all prepared to be completely naked in front of anyone other than a technician. At all the spa’s that I had ever been to everyone wore something, be it a robe, or bathing suit, but not this spa. I also was not prepared to leave without having had my body polish. I had read the Yelp reviews and this place was the best! I wanted to sparkle and shine at my wedding and the only thing standing in the way of that happening was me getting naked, so I did. I was sitting in the sauna with three women, and they could sense my unease. They were so kind, they chatted me up, and when I felt comfortable one of them asked me how I found out about the spa. I told them and they laughed. I’m guessing that the spa didn’t get very many non-Asian patrons, which is too bad, nakedness aside, it was a great spa. The spa lacked the more polished elegance of a Burke Williams, but what it lacked in elegance, it made up for it other areas, namely the food area. After getting my scrub, and detoxing in the sauna, I walked over to the jade rooms, and just beyond that was a bar and the scent coming from the bar was intoxicating. The bar/restaurant had a full menu of soups with fermented and pickled veggies, JACKPOT! I grabbed a folded robe from a pedestal near the entrance into the bar–you didn’t think they would make us eat naked did you?–and sat down to a deliciously healthy meal. If only all spa’s included this kind of service. That was my first experience eating Korean food, and since then I’ve fallen in love with it. This recipe is my take on chicken Korean barbecue. I have to say that this chicken is delicious! Better than the chicken that I’ve had at most restaurants that I’ve been to. This recipe requires Gochujang–a spicy fermented chili paste. You may need to venture into an Asian market for the Gochujang. I purchased a jar at my local Whole Foods, they had several varieties of it, I chose a garlic Gochujang.
Here’s what you need:
Ingredients:
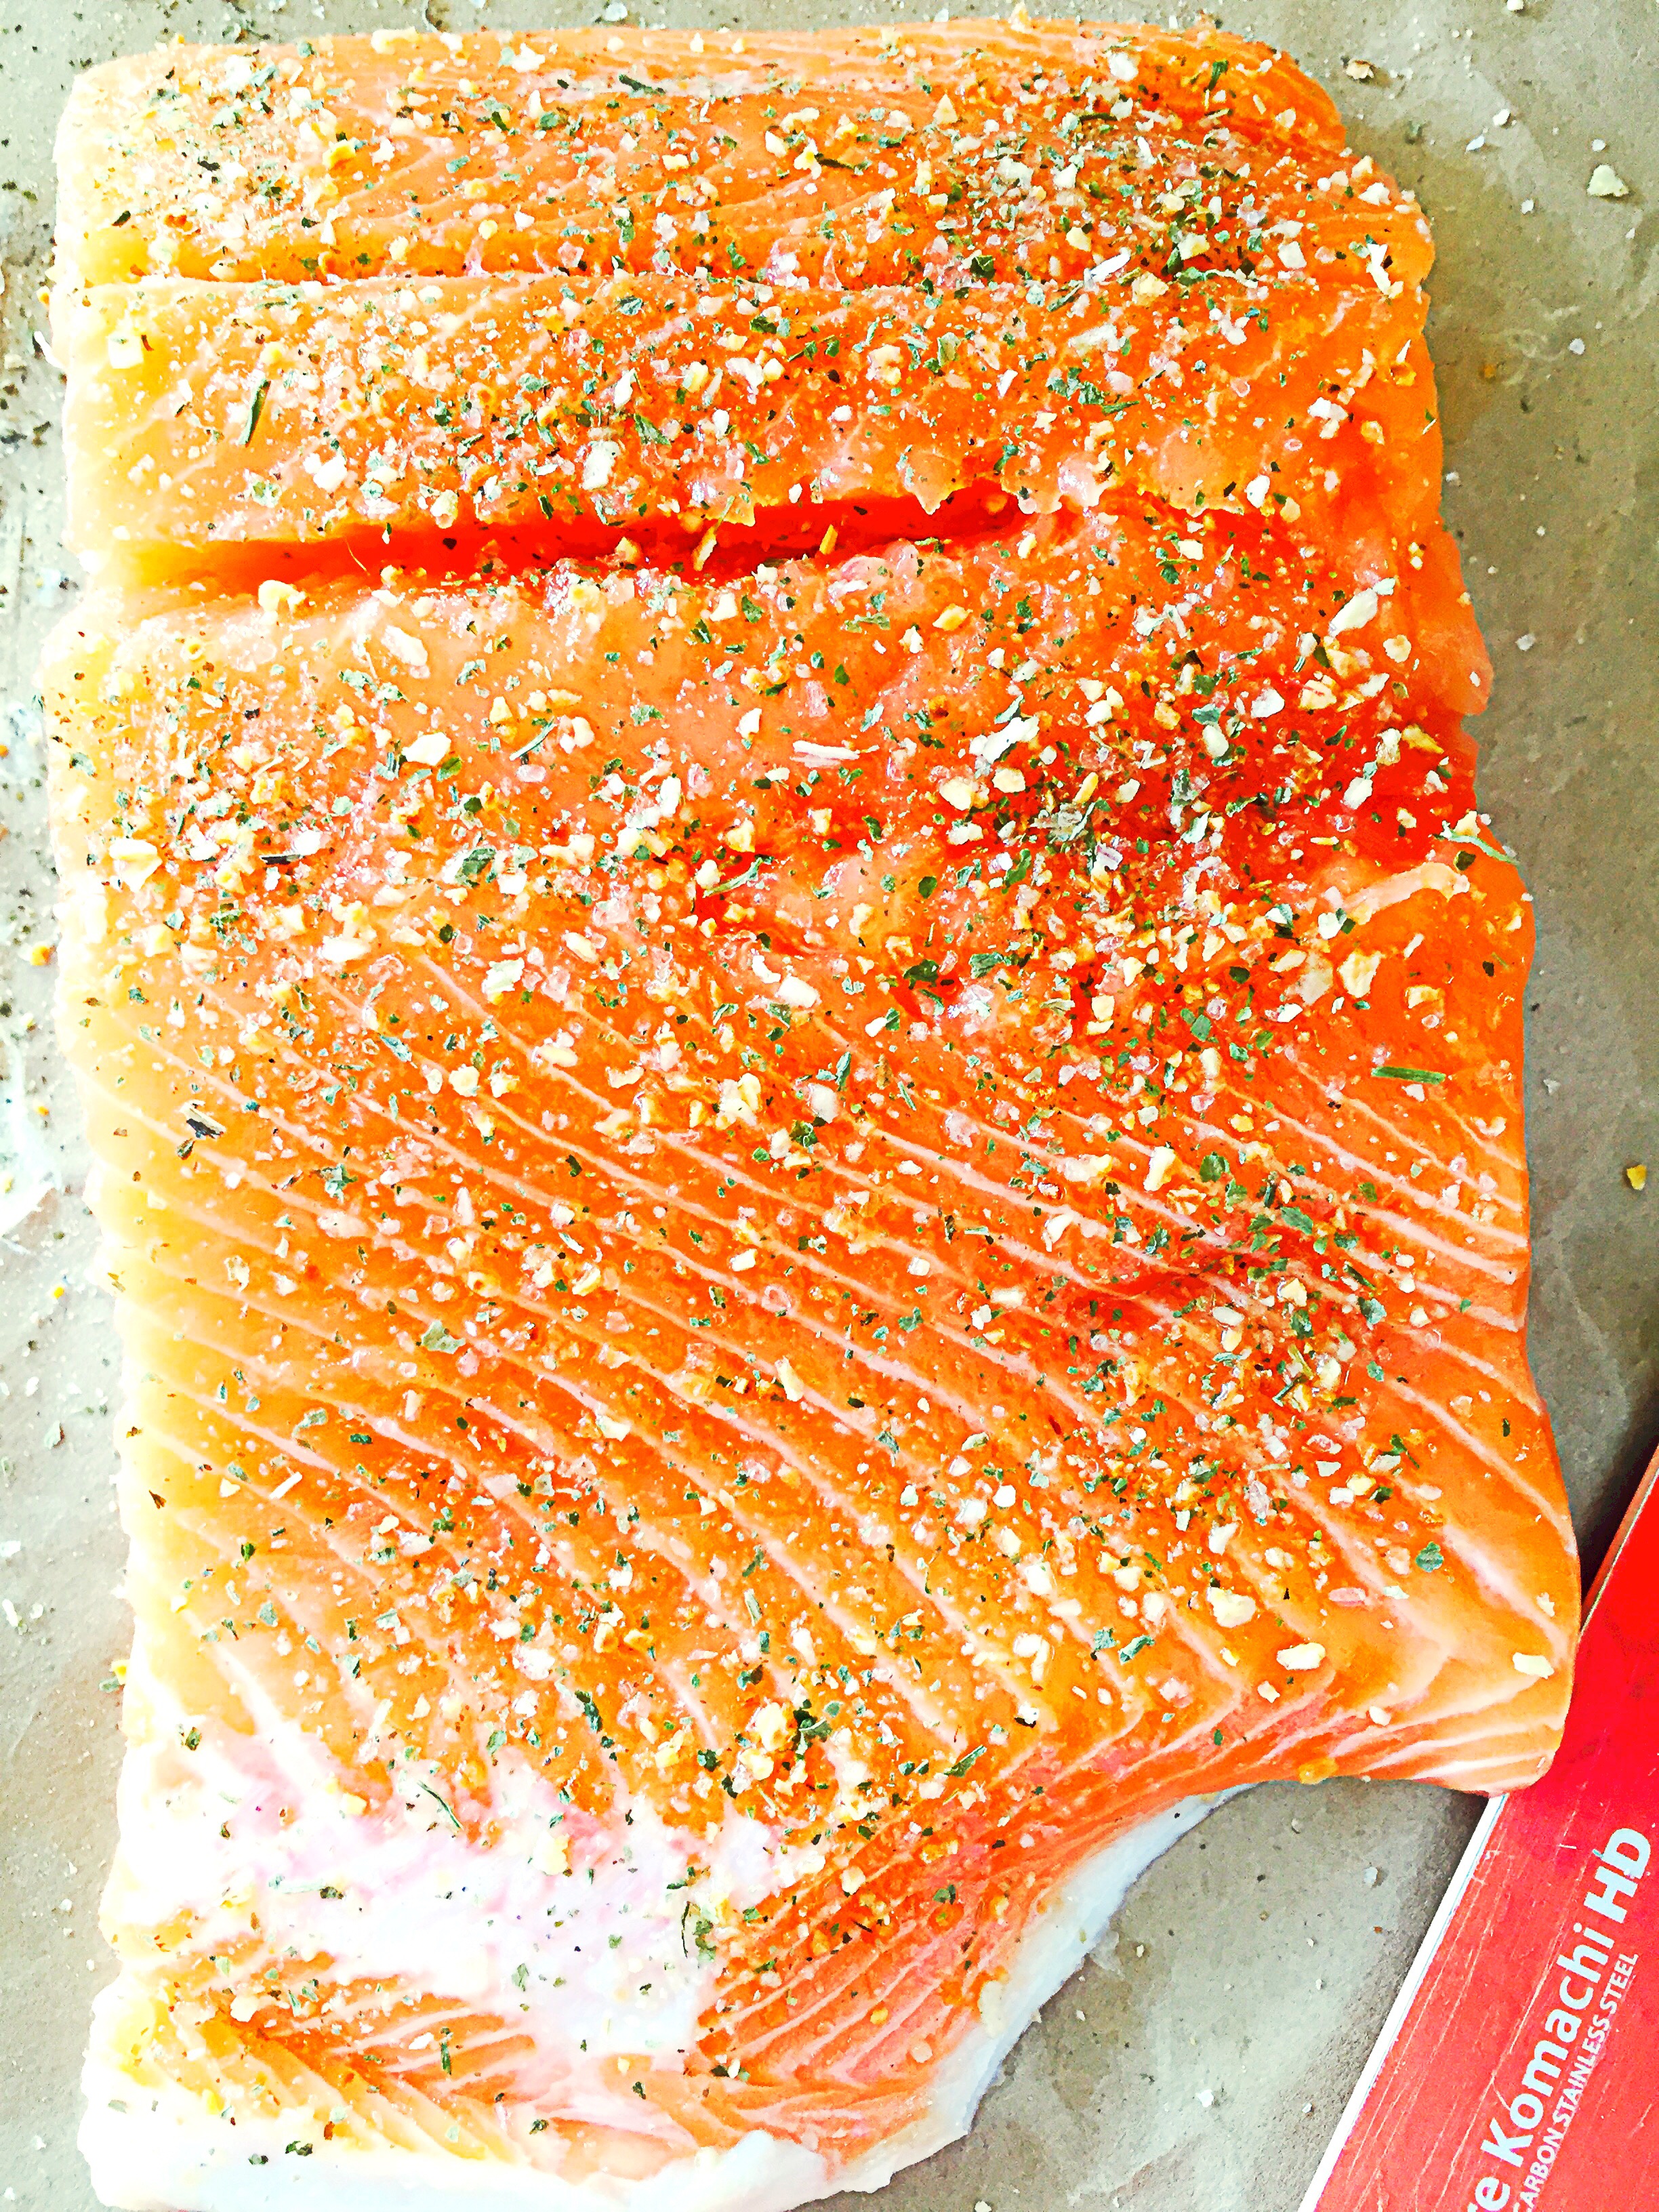
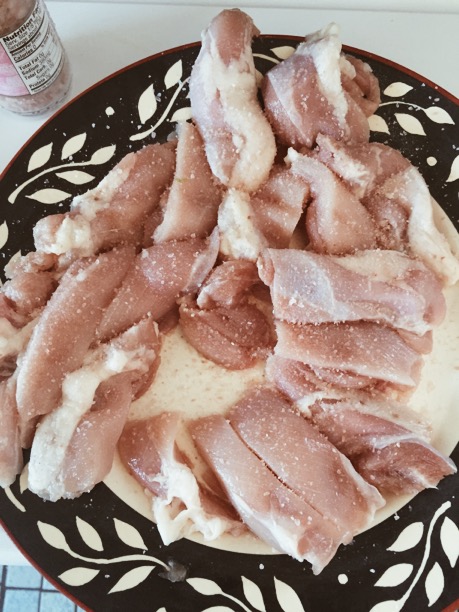
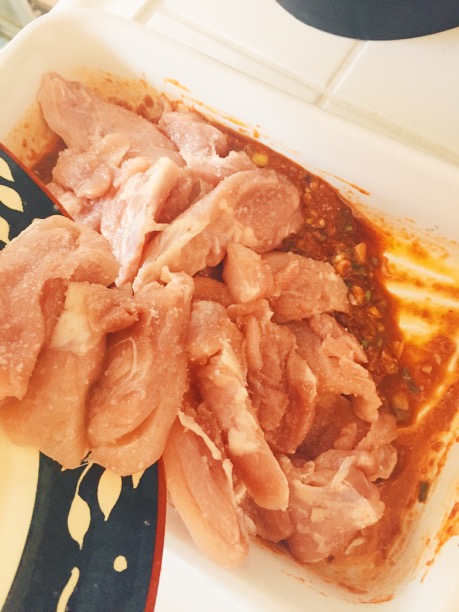
1lb of boneless skinless organic chicken thighs, cut each thigh into 3 or 4 pieces
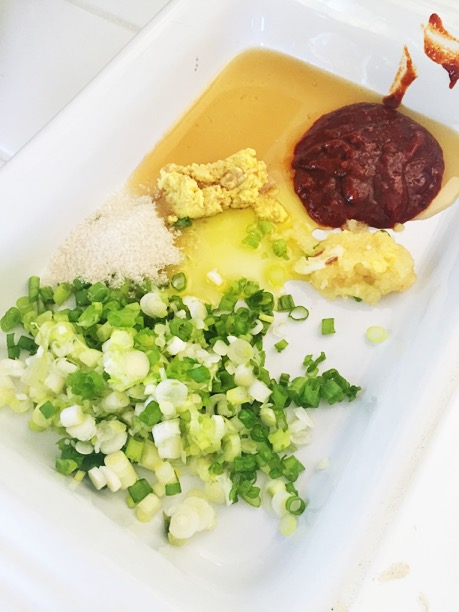
1.5 tablespoons of Gochujang
2 teaspoons of sugar–can sub with maple sugar or syrup
1 teaspoon of garlic grated
3 green onions chopped finely both whites and green parts
1 teaspoon of grated ginger
2 teaspoons of sesame oil
1 teaspoon of olive or grapeseed oil
2 tablespoons of soy sauce
sea salt to taste
Directions: Season the chicken with sea salt and set aside.
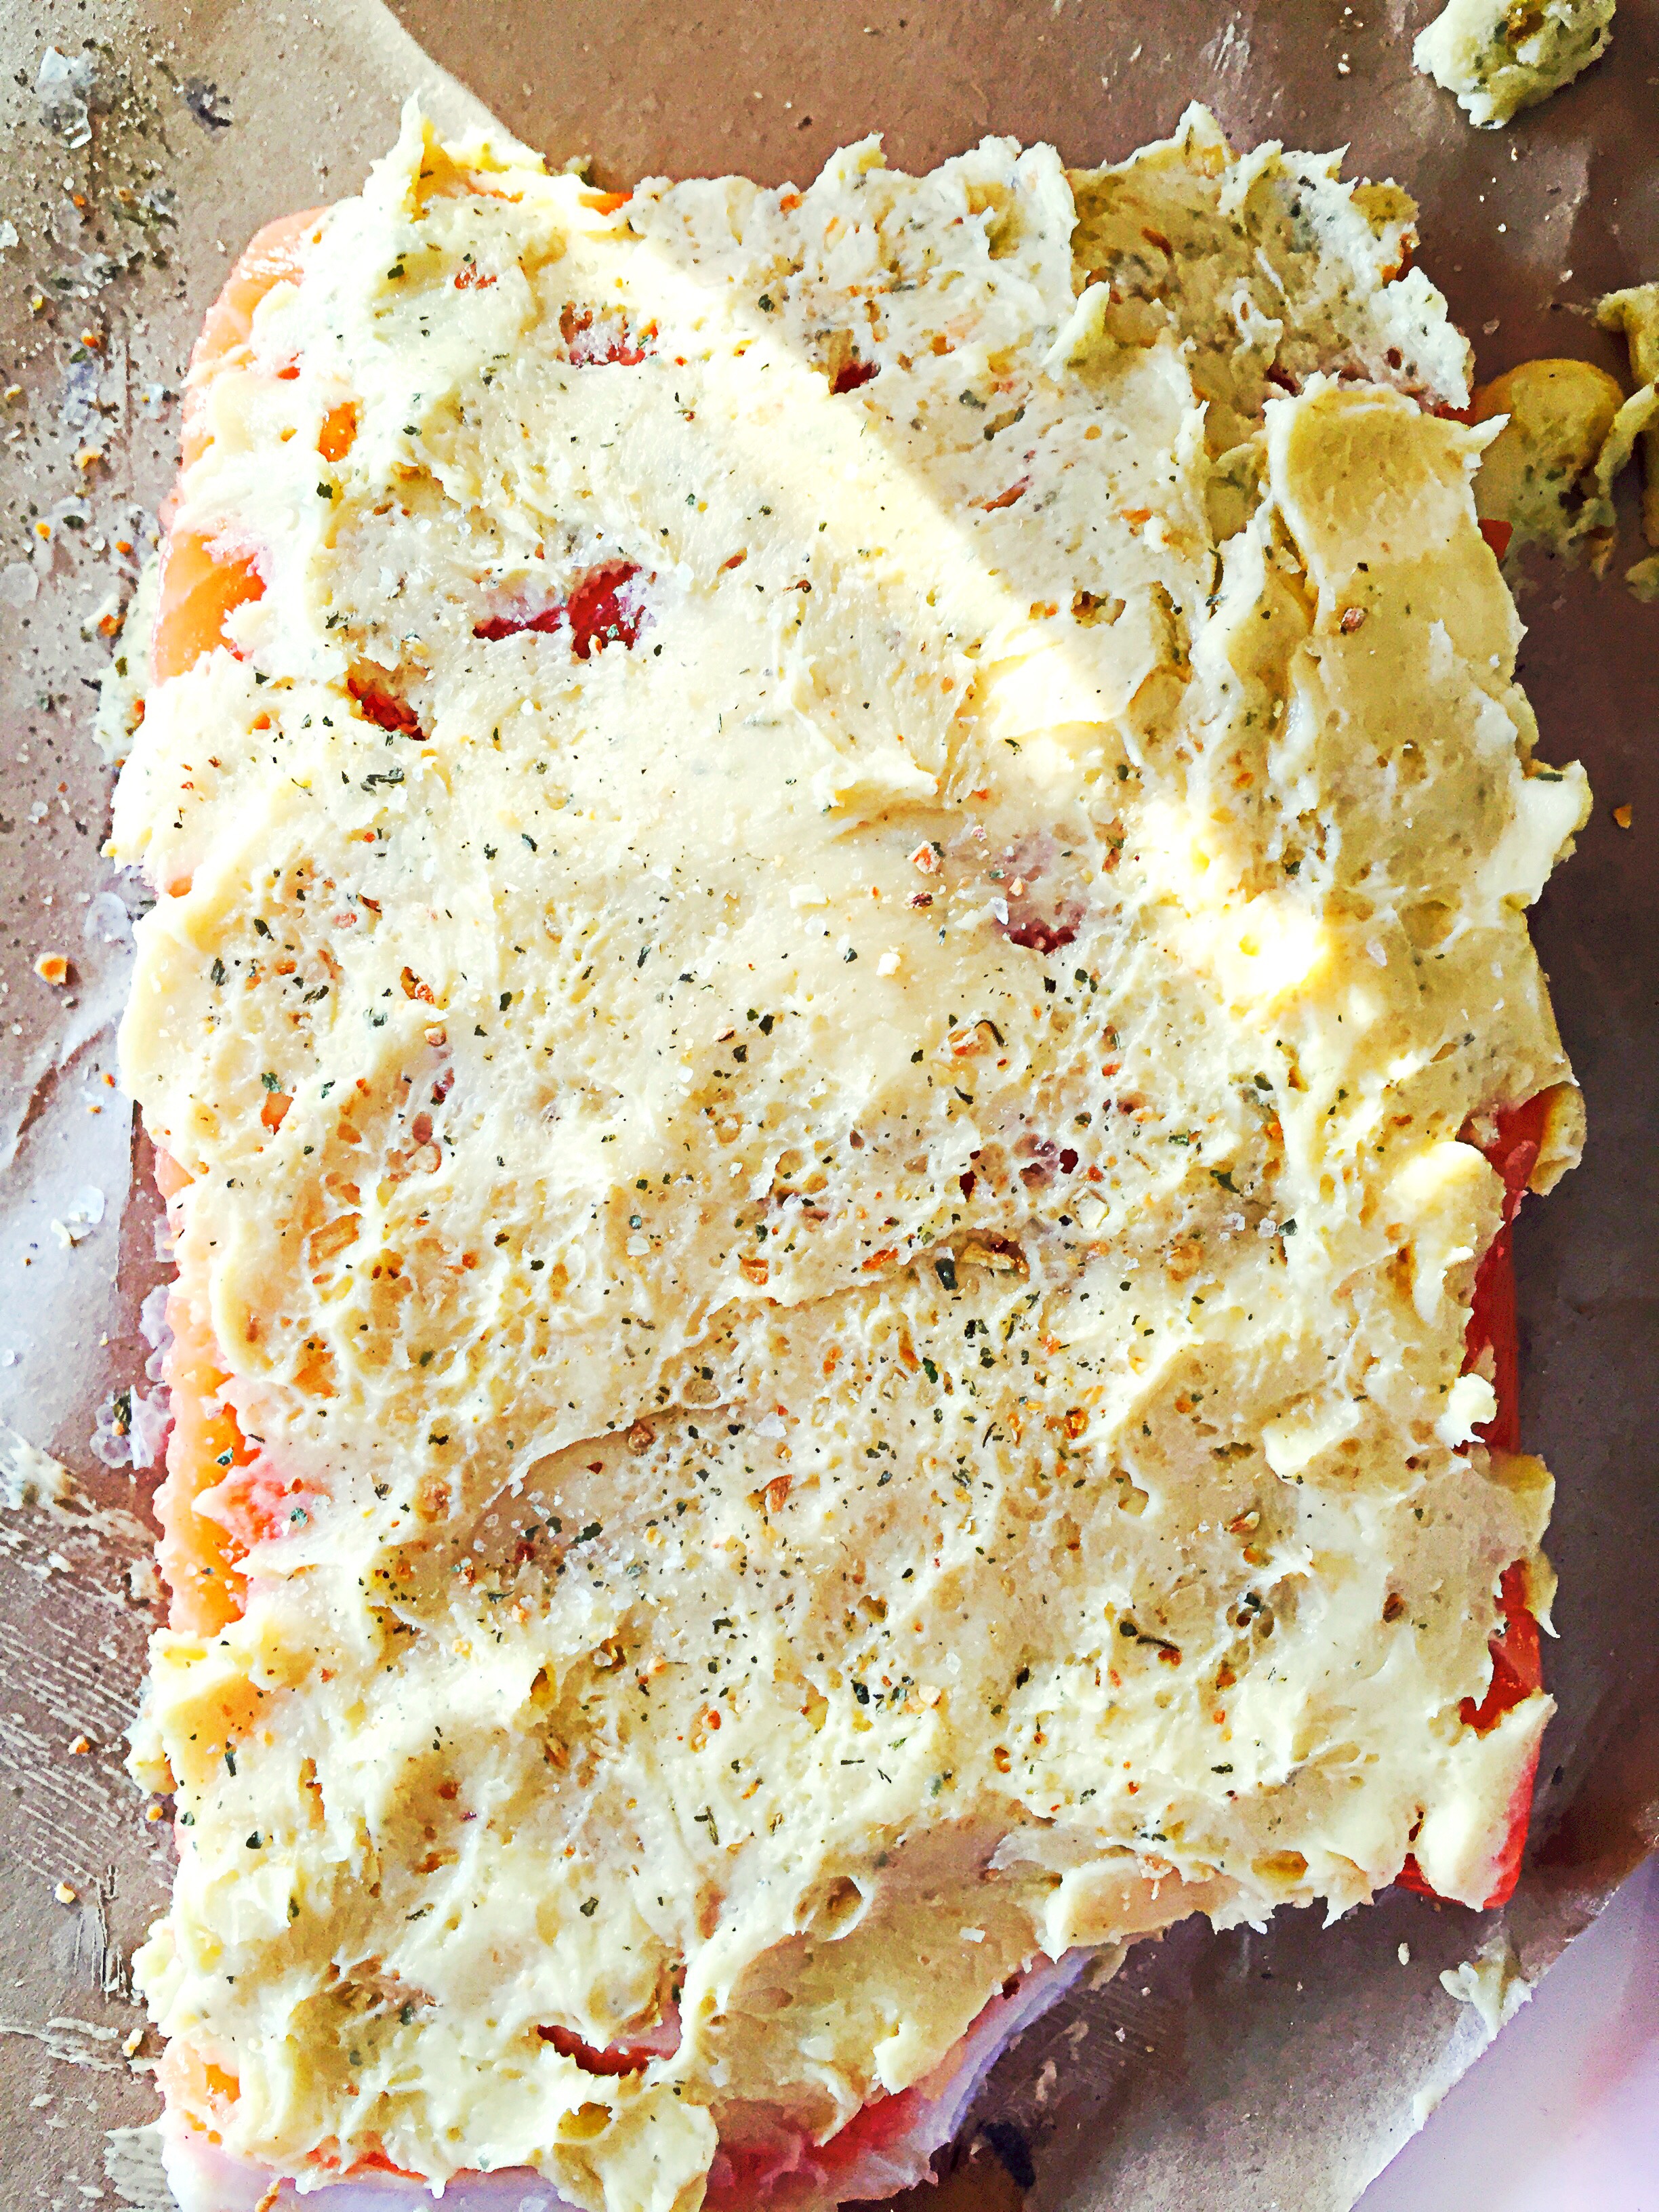
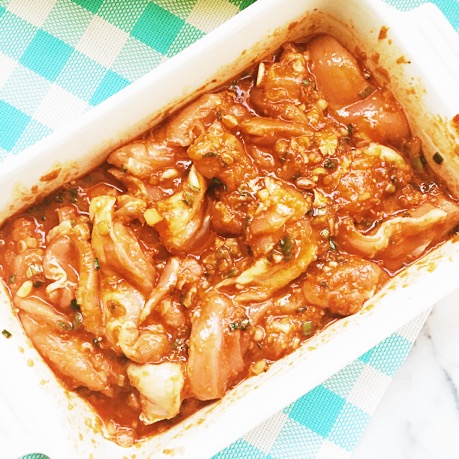
To a large mixing bowl or medium size bake pan add the remaining ingredients,
combine and mix well,
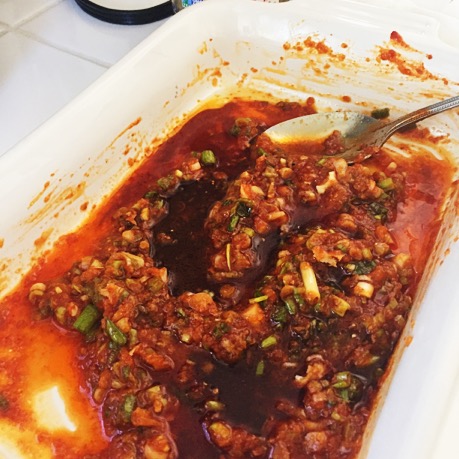
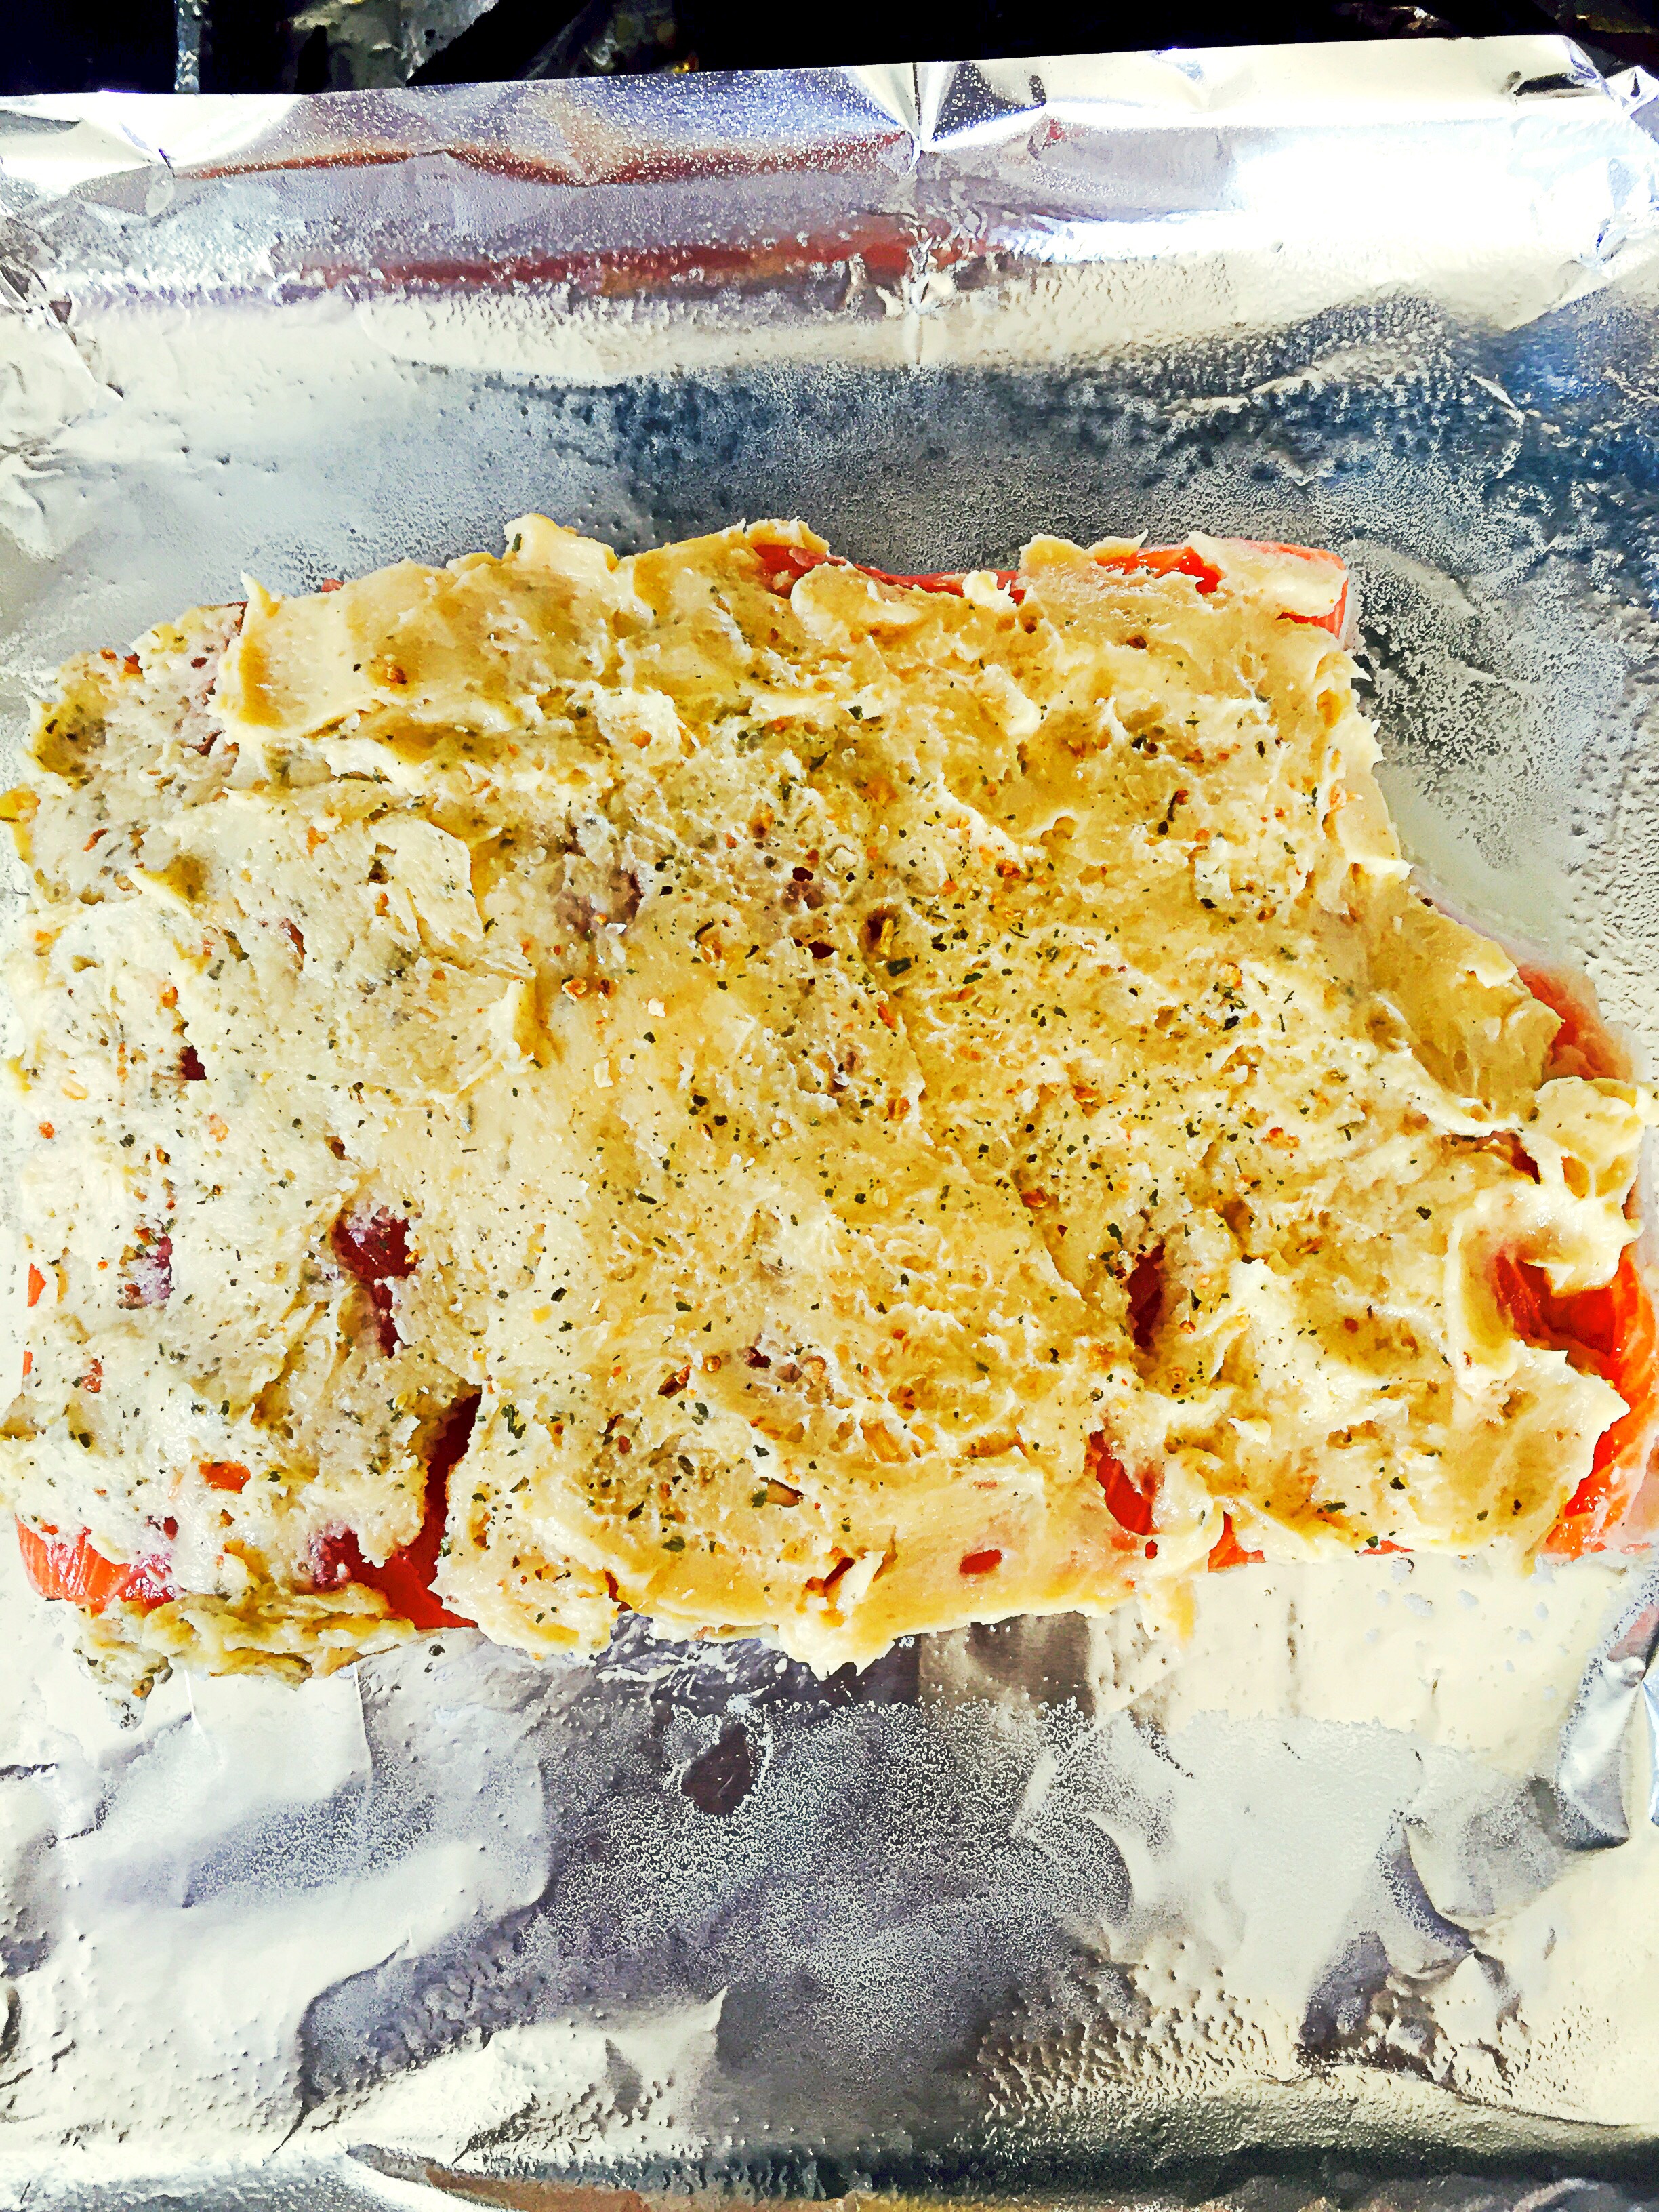
then toss in the chicken, tossing to coat the chicken completely in the marinade.
Cover with foil and place in the refrigerator for at least an hour.
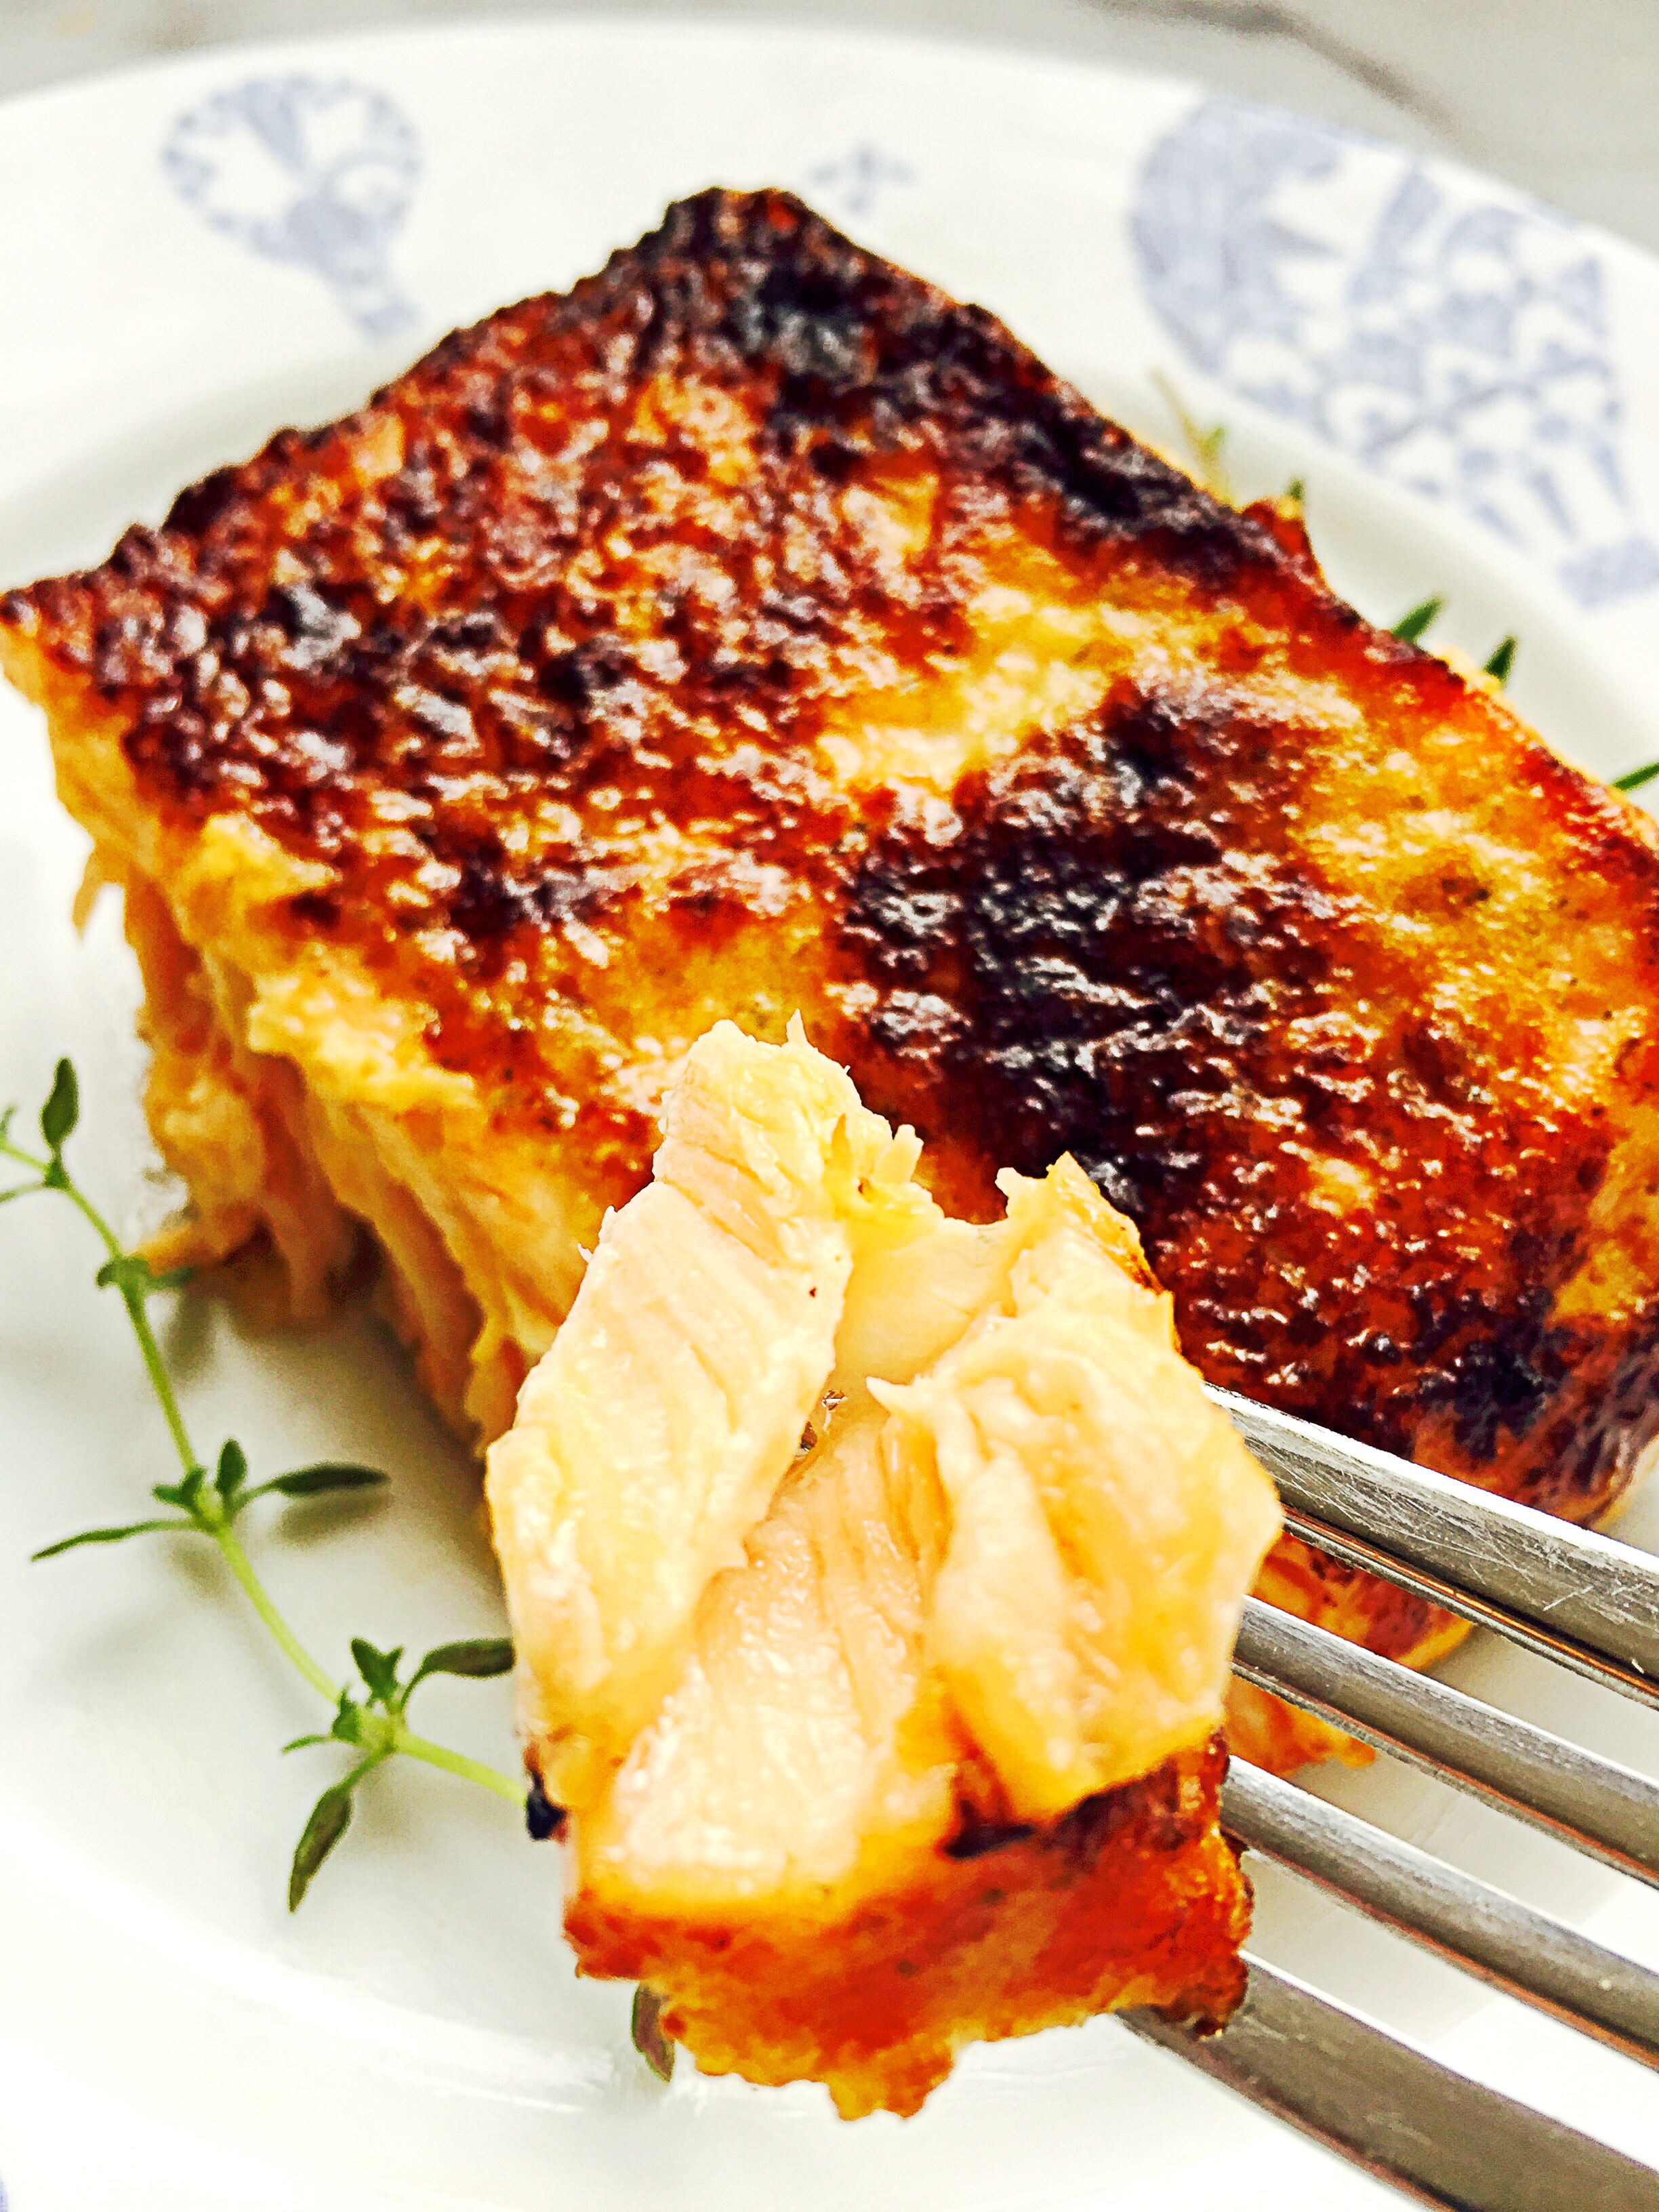
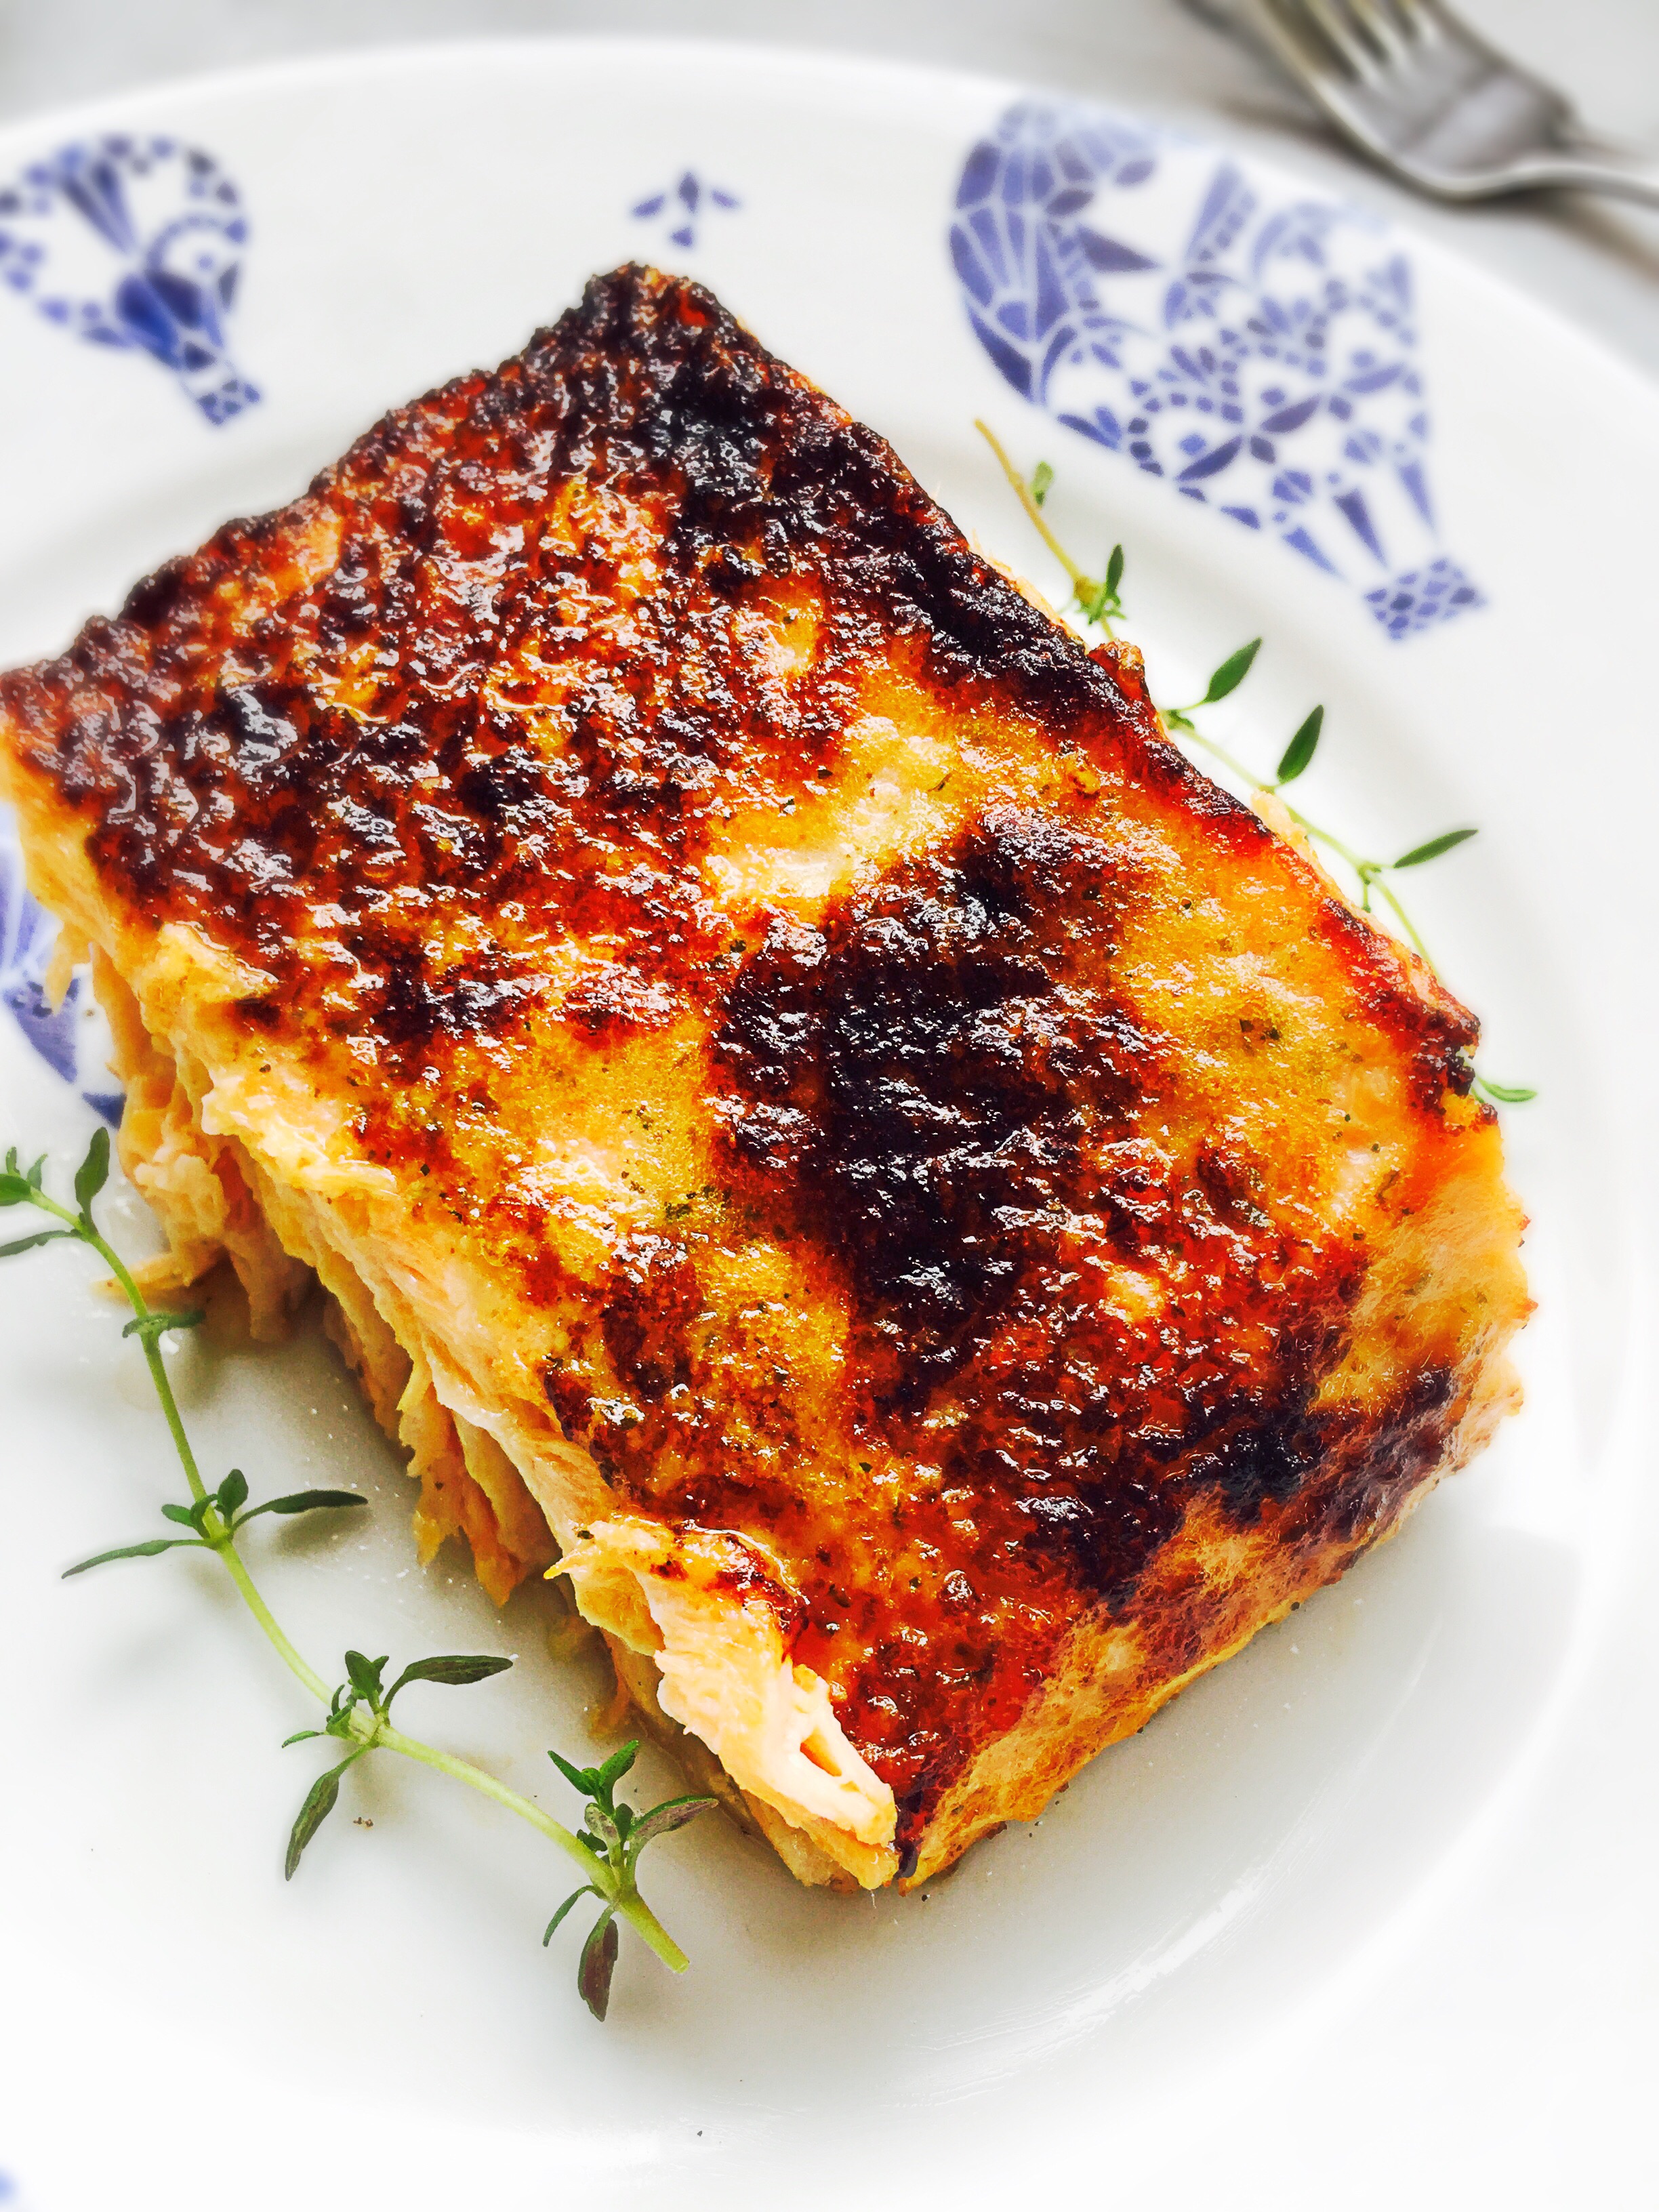
Remove the chicken from the refrigerator 30 minutes before cooking. Grill the chicken on a hot grill, 5-7 minutes on each side, serve and enjoy!