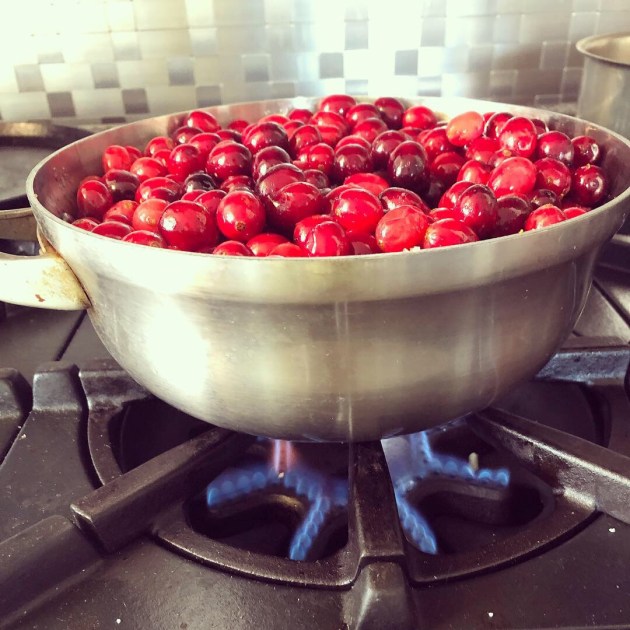
If you’ve been following me on Instagram you know that I’ve been busy preparing for Thanksgiving and Page’s Birthday right after. We are hosting Thanksgiving , which means that I will be doing most of the cooking. I spent most of the day writing out my menu, dividing up tasks I can accomplish throughout the next few days. Today I tackled prepping my desserts which just means I weighed the dry ingredients put them in bags, labeled, and sealed them. Now all I have to do is add the wet ingredients and bake. As you can see I’ve learned over the years that cooking a large meal like this requires a lot of forethought and staggering of duties. So today one of the other things on my to do list was to make this cranberry sauce! It takes 10 minutes, you throw everything in one pot, a little bit of stirring and you’re done! So easy and super delicious and definitely an upgrade to the canned stuff. Trust me once you make this you will never go back to the canned stuff!
Here’s what you need:
Ingredients
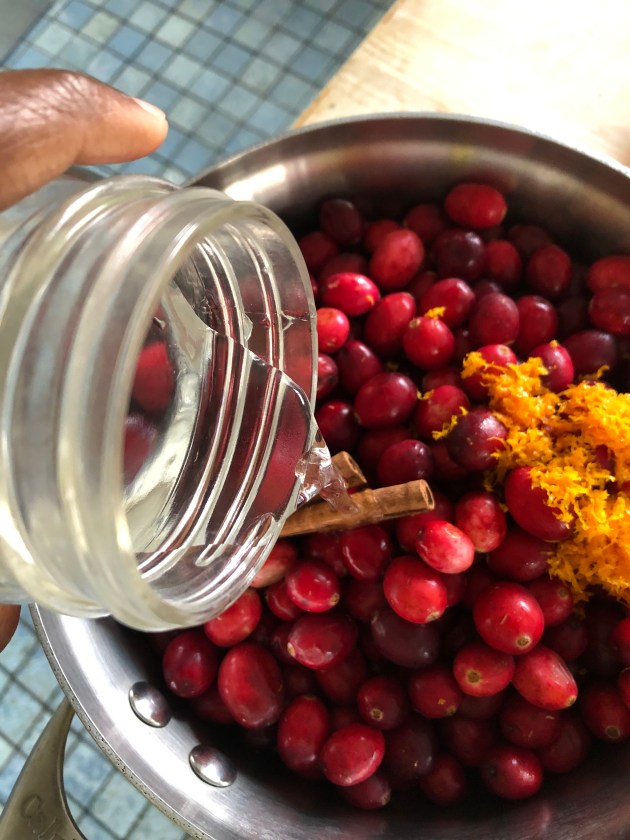
12oz organic cranberries fresh or frozen
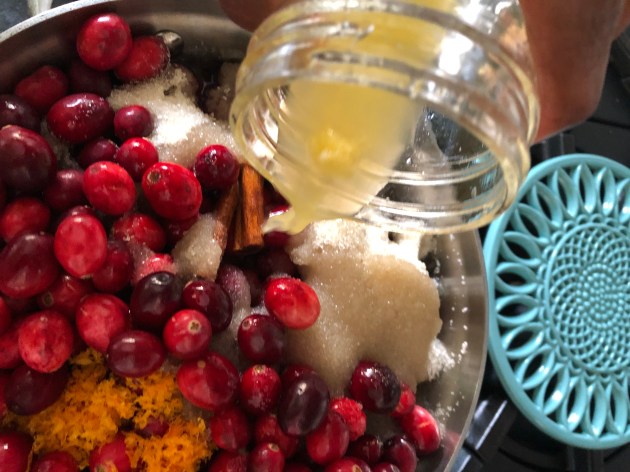
1 cup sugar
1/2 cup water
1 cinnamon stick
Zest of 1 organic orange
Juice of 1 organic orange
1/2 teaspoon of allspice (optional)
Directions:
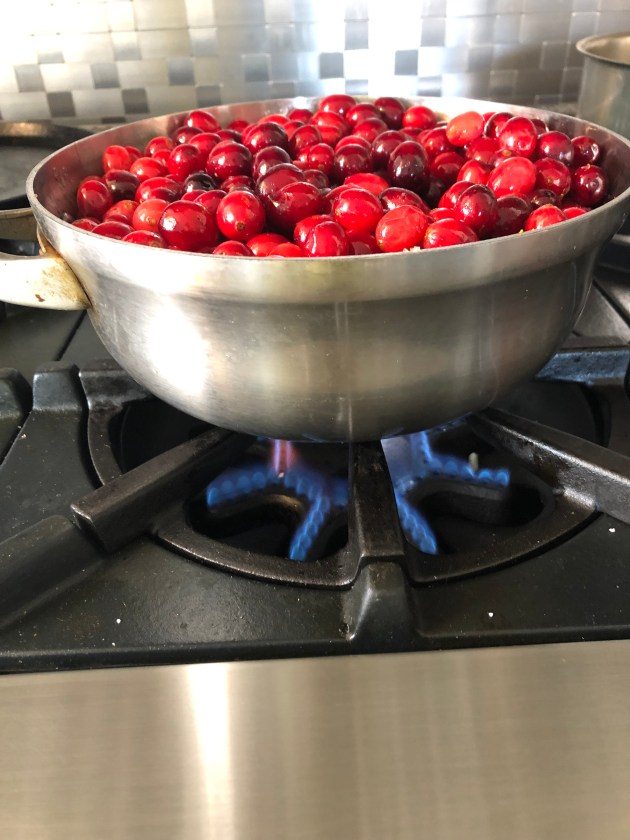
Place cranberries, cinnamon stick, orange zest, sugar, water, and juice in a medium sized saucepan. Bring to a boil, lower the heat and simmer, stirring as the cranberries begin to pop. The sauce is done once it thickens about
10 minutes. Remove from heat, let cool, serve immediately or place in an airtight container and refrigerate.
Last year, I had the hair-brained idea that I could make my own pasta. In my head it seemed simple enough, I would mix a few eggs with some flour and make delicious, velvety, egg noodles. I ordered an old school pasta roller (ATLAS 150) and when it came, I was eager to live out the visions of velvety egg noodles in my head. I started with this very recipe that I’m sharing with you today. Only I hadn’t a clue what I was doing, I added 2 cups of flour, a few whole eggs, and when the dough didn’t immediately come together like I thought it should, water. After letting my dough rest, I tried to roll it out. Rolling the dough out with the Atlas was one of the most awkward experiences of my life. Not one part of it felt natural. As a matter of fact it felt extremely unnatural. I felt like even if I had 3 additional hands, rolling the pasta would still feel awkward. My folly was clear. The manual pasta roller wasn’t for me. I decided right then and there I would need an electric pasta machine, and immediately set out searching for one. I ended up ordering the KitchenAid 3 piece Pasta attachment. During my research, I read every review, of every pasta machine on the market, (Phillips, ATLAS, Kitchenaid 3 piece roller set, Kitchenaid Pasta extruder, Marcado, ect.), and although I learned a lot about the different machines and their features, I also learned a lot more about pasta. It made me think maybe I need to focus on what I did wrong with my pasta dough, and not what was wrong with the pasta machine. The dough I made initially was sticky and the resulting noodles were a pitiful clump of a mess. So I pulled out the ATLAS, my handy kitchen scale, and proceeded to weight my ingredients to make pasta. Instead of adding water when the dough seemed dry, I kneaded until my dough came together, and what do you know–it came together without one additional drop of water. Not only that! When I went to roll it, the two hands that God gifted me with were more than enough to roll and cut my noodles! In fact it was so easy, and such a different experience from the first time that I knew it was not the machine that was my problem, it was my dough! So here’s the key to making pasta, weigh your ingredients, don’t add unnecessary water, and let your dough rest so that it has time to relax and hydrate. If you follow those 3 rules you will never fail at making pasta. Now that you have those keys, the recipe I used is from the Serious eats blog. They have a great article on the Science of Making Pasta, definitely read it. It has some great information in it. If you are in the market for a pasta maker, check out my review on my YouTube channel of both the ATLAS 150 Wellness Pasta machine, and The KitchenAid 3 Piece Pasta Roller Attachment. I contrast the two and give you a step by step on how to use both. By the way I purchased both machines with my own money, I wasn’t paid by either company to give the review. Now to the recipe. You can find 00 flour at most grocery stores. If you can’t substitute with All purpose or bread flour.
Here’s what you need:
10 ounces of 00 flour
2 large whole eggs (weighing 4.0 oz) If my eggs weigh more I remove some of egg white until they don’t
4 egg yolks ( weighing 2.5 oz)
1 teaspoon of sea salt
Directions: Weigh your ingredients:
My egg yolks were a little over so I removed some with a spoon:
Place your flour in a large bowl and make a well. Add your eggs and salt to the well.
With a fork beat the eggs until fully mixed.
Slowly start to incorporate the flour until a sticky dough has formed.
At this point I pour the contents of my bowl out on to a large work surface.
The dough will feel sticky by look very dry–DO NOT ADD WATER! You’ll want to, but trust me DON’T! Gather the dough together and knead.
The dough will appear to be dry and unwilling to come together, but keep going.
Knead and knead some more, until every drop of flour is incorporated into the dough, and the dough looks like this:
Now wrap it in cling wrap, and let it rest for at least 30 minutes.
It needs that time to hydrate fully and to let the gluten relax. Now it’s time to roll. With a bench knife cut the dough into 4 equal parts. Note how smooth the dough is now that it has had time to relax,
Place one part of the dough on a lightly floured work surface. Re-wrap the remaining dough in the cling wrap and set aside. Place your pasta roller dial on the lowest setting. On my ATLAS that is 0(zero). On my KitchenAid attachment it’s 1.
STEP 1: Roll the dough out into an oval shape on your work surface.
STEP 2: Roll the dough through the 0 setting 3 times.
Then fold the dough into an envelope and run it through the 0 setting 3 more times.
This is only to make the dough edges uniform. But honestly if oval edges don’t bother you, that step is not necessary. The only time I fold my edges into an envelope is when I tear my dough. If your dough tears, fold it and start back at the zero setting. Once you’ve run the dough through the 0 setting 3 times, dust it lightly with flour.
STEP 3: Move the dial on your pasta machine up one dial.
Run the dough 3 more times through dial setting 1. Dust the pasta sheet and Repeat steps 1-3, rolling the dough through 3 times on each dial setting from 2-6.
With each pass through and dial adjustment the dough gets thinner, smoother and longer.
Just a note: On dial 6 running it through 1 or 2 times maybe all you need–that’s up to you to determine. If it feels like if you run it through one last time it may rip, then don’t run it through. By this time you should have a long beautiful sheet of pasta.
Dust it lightly with flour, and place it on a parchment lined sheet, and cover with a sheet of parchment/cling wrap/towel. Repeat Steps 1-3 for the remaining 3 portions of dough.
Now it’s time to cut your pasta sheets. If you’re making lasagna you’re pretty much done, just cut the sheets to fit your pan size. If you’re making spaghetti, or fettuccine, attach the cutter to your machine. Place the pasta sheets through your cutter of choice.
Gather the cut pasta as it comes out of your machine. Sprinkle some flour on your board, then place the noodles on the board and gently roll them in the flour, making sure to dust the ends. Gently place the noodles in a circular nest on a dusted piece of parchment. Cover and continue until all your dough has been cut.
When your ready to cook, bring a medium pot of salted water to boil. Place a few the noodles in and cook for 60-90 seconds. Toss in your favorite sauce and enjoy! Freeze any unused noodles in a ziplock, and when you’re ready to use them, simply bring a pot of water to boil, and drop the noodles in frozen. Cook until Al dente.
Don’t forget to check out my YouTube Channel for a detailed review of the KitchenAid and Atlas Pasta makers:
This recipe was born out of a pure need to get dinner on the table quickly. I love cauliflower and on a normal day I would slice it and place it in the oven to cook, but time didn’t allow for me to do so recently. Page was hungry and I did not have 20 minutes to spare. The great thing about being rushed to get dinner on the table–yes there is a great thing about it–is that you need to keep it simple. This recipe is exactly that–simple– it contains less than 5 ingredients and the best part? It only took 10 minutes!
Pin It!
Ingredients:
2 cups of sliced cauliflower
2 cloves of garlic (smashed)
2 tablespoons of oil ( grape seed, or olive oil)
1 tablespoon of butter
5-6 sprigs of thyme
sea salt and black pepper to taste
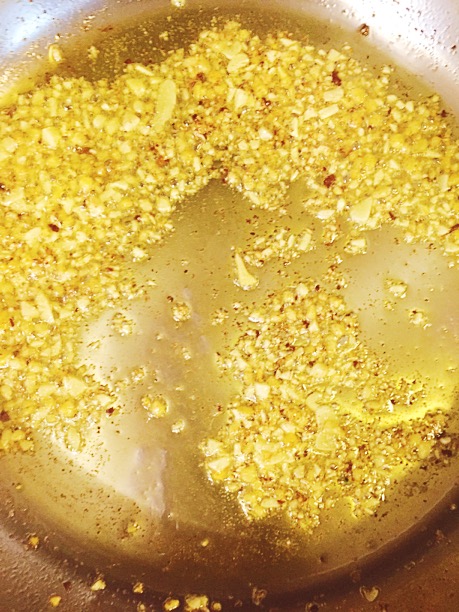
Directions: Heat a cast iron skillet until it smokes. Add in the 2 tablespoons of oil. Add the cauliflower, and allow to cook for 5 minutes undisturbed.
Add the butter, thyme and garlic, take care when adding the thyme, the water in the thyme will cause the oil to pop.
Allow to cook for another 5 minutes. Once the cauliflower has browned and taken on some color,
Transfer it to a serving platter, season with salt and pepper, serve and enjoy!
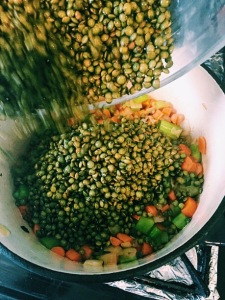
My daughter loves lentil soup. It is one of her favorite meals. My version of lentil soup is not highly complicated, lentils, carrots, celery, onion, and a final squeeze of lemon at the end. When I ran across a recipe by Kenji over on the Serious eats blog adding a parsley and lemon Gremolata, I knew I had to try it! Let me tell you, hands down this is the best lentil soup that I’ve ever had or made! My daughter ate 3 bowls, (3 of her little mini bowls, but 3 bowls none the less), and she could not stop saying how yummy it was. I decided to use cilantro instead of parsley because I love the flavor of cilantro, lemon, and lentils—super yummy. If cilantro is not your thing, then by all means use parsley, this soup is good either way! If you know you’re putting this in your weeknight line up soak the lentils overnight, it will shave off 30 minutes of your cooking time.
Prep time: 10 minutes
Cook time: 45minutes-1hour
servings: 6
Here’s what you need:
Gremolata Ingredients:
6 cloves of garlic, minced
2 tablespoons lemon zest
4 tablespoons oil
1/2 cup cilantro chopped (sub parsley)
Ingredients for Soup
1 cup of lentils ( I used French green lentils)
1 cup carrots diced
1 cup celery diced
1 medium onion diced
4 tablespoons oil
2 tablespoons lemon juice
5 cups of good quality chicken broth( sub with veggie stock if you want to make this vegetarian)
1 lemon cut into wedges for squeezing.
Directions: Add the ingredients for the gremolata to a small bowl,
Mix well and set aside.
Heat 4 tablespoons of oil in a Dutch oven pan, add the onions, carrots and celery,
Sauté until onions are translucent about 5 minutes,
Add the lentils mix well,
Add half of the gremolata. Mix well and cook for 2-3 minutes, your house should smell amazing at this point.
Add in the chicken stock and bring to a boil.
Lower the fire and simmer until lentils are nice and tender around 45 minutes. Add water, if necessary, it wasn’t for me. Once lentils are tender, add the lemon juice, mix well then turn off the fire. Serve by ladling into soup bowls and topping with a dollop of the remaining Gremolata, a few squeezes of lemon juice, and enjoy!
If you don’t have it already, check out Kenji’s new book, The Food Lab, it’s full of useful cooking information backed by science.
Now that Page is in school–two schools if we’re being technical–there are always opportunities for me to cook, or prepare treats for her classes. This week has been particularly hectic because both schools are doing fundraising drives, and if you’re a parent then you know the schools require a lot of participation from parents in the form of raising money and volunteering to bring food and elbow grease. Luckily for me none of the kids in Page’s class have food allergies, so I decided to make these popcorn balls. Popcorn balls have always been one of my favorite Halloween treats. They contain popcorn and marshmallows, really what’s not to love? These popcorn balls also have a yummy touch of peanut butter, you can omit it, or sub with sun butter or almond butter if you have a little one with allergies. If not–live a little–tis the season! You can make your own marshmallows here’s how, or you can buy a store brand. I got a gluten free version from Whole Foods.
Pin It!
Makes 12 medium popcorn balls
Here’s what you need:
Ingredients
6 cups of organic Non-GMO popcorn (equal to 1/4 cup of unpopped popcorn)
Directions: Pop 1/4 cup of popcorn kernels then set aside in a large bowl.
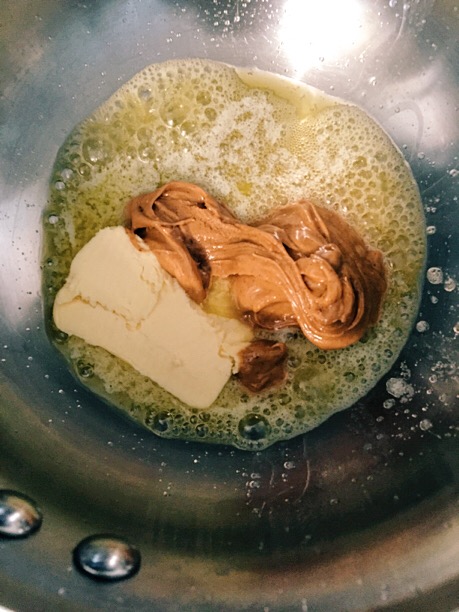
To a sauce pan add the butter,
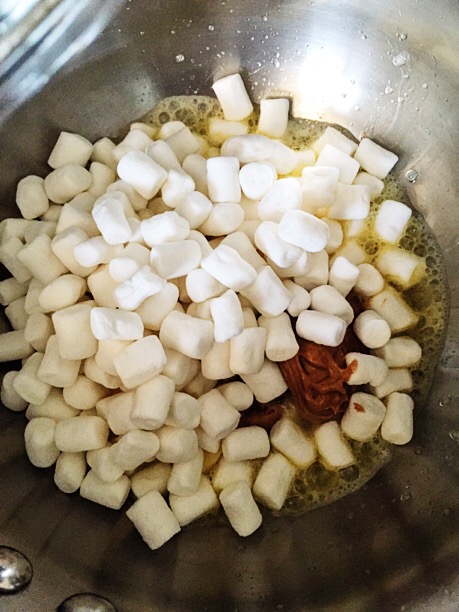
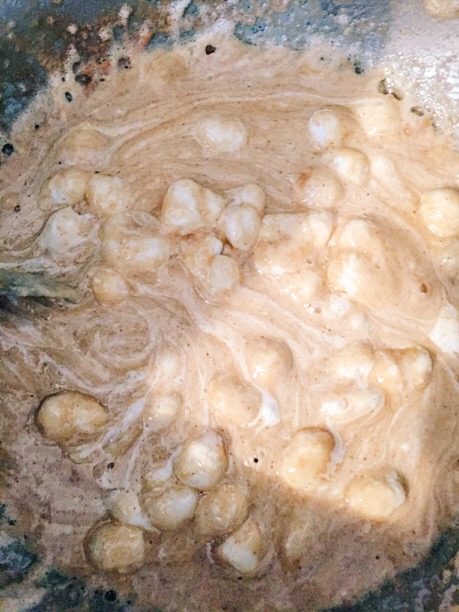
let it melt then add the peanut butter, marshmallows,
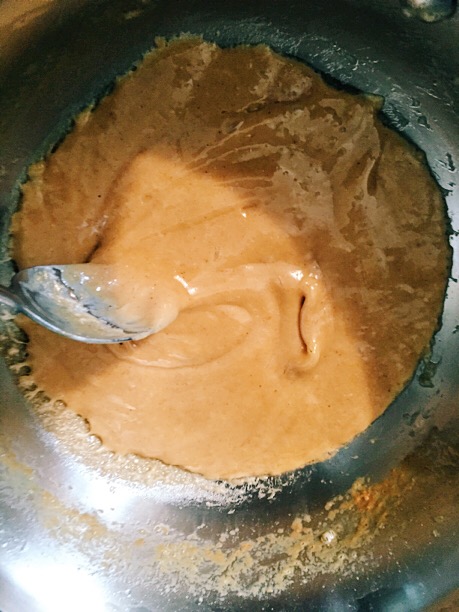
Stir until melted,
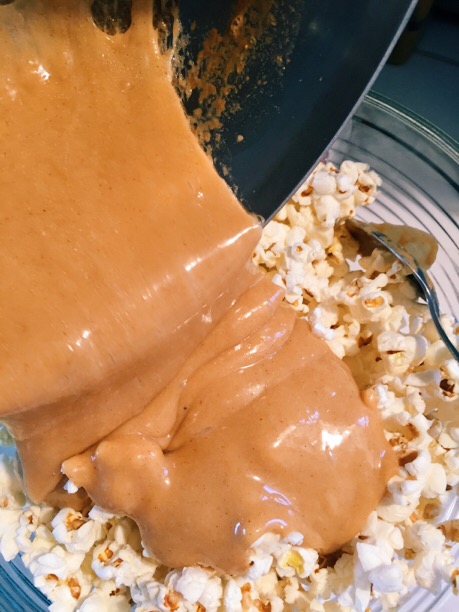
Working quickly pour the marshmallow mixture over the popcorn.
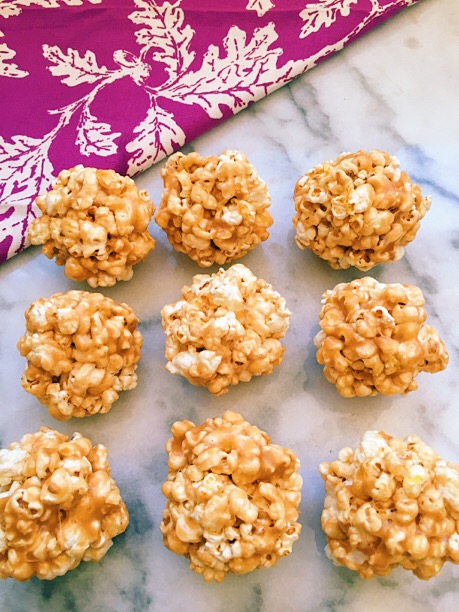
With a spatula work quickly to coat the popcorn in the marshmallow mixture. Once all the popcorn has been coated, work quickly to form the popcorn into balls.
The mixture will still be quite warm so be careful and try not to burn your hands. Once all the balls have been formed serve and enjoy!
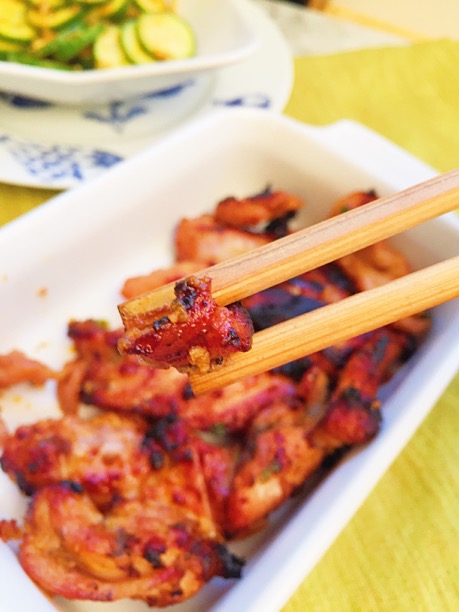
I love Korean barbecue, what’s not to love? Grilled meat, pickled and fermented veggies…mmmh it’s a veritable umami bomb on a plate. The fermented veggies alone are enough to get me into the door of a Korean restaurant. I love banchan, savory sprouts, kimchi, cucumber kimchi, and daikon radish make the heaviness of the barbecued meats lighter. I remember my first experience eating Korean food. The week of my wedding my best friend suggested that we go to a Korean bath spa together. She said it would be a great mini break for me to table the stress of planning a wedding, and at the same time get my skin nice and polished for the wedding. I happily agreed, we had gone to many a spa together throughout our friendship, so why not make another happy memory with my best friend before I sailed off into wedded bliss, I thought. The day before our appointments my best friend called to say that something came up at work and she could not join me, but she insisted that I go alone because I needed to destress, so I did. The spa was unlike any other spa I had ever been to. After checking in, I was led on a guided tour of the steam rooms, jade rooms, and showers. Everyone within the walls, except for the technicians, was completely naked and Asian. I stuck out like a sore thumb. First of all, I wasn’t at all prepared to be completely naked in front of anyone other than a technician. At all the spa’s that I had ever been to everyone wore something, be it a robe, or bathing suit, but not this spa. I also was not prepared to leave without having had my body polish. I had read the Yelp reviews and this place was the best! I wanted to sparkle and shine at my wedding and the only thing standing in the way of that happening was me getting naked, so I did. I was sitting in the sauna with three women, and they could sense my unease. They were so kind, they chatted me up, and when I felt comfortable one of them asked me how I found out about the spa. I told them and they laughed. I’m guessing that the spa didn’t get very many non-Asian patrons, which is too bad, nakedness aside, it was a great spa. The spa lacked the more polished elegance of a Burke Williams, but what it lacked in elegance, it made up for it other areas, namely the food area. After getting my scrub, and detoxing in the sauna, I walked over to the jade rooms, and just beyond that was a bar and the scent coming from the bar was intoxicating. The bar/restaurant had a full menu of soups with fermented and pickled veggies, JACKPOT! I grabbed a folded robe from a pedestal near the entrance into the bar–you didn’t think they would make us eat naked did you?–and sat down to a deliciously healthy meal. If only all spa’s included this kind of service. That was my first experience eating Korean food, and since then I’ve fallen in love with it. This recipe is my take on chicken Korean barbecue. I have to say that this chicken is delicious! Better than the chicken that I’ve had at most restaurants that I’ve been to. This recipe requires Gochujang–a spicy fermented chili paste. You may need to venture into an Asian market for the Gochujang. I purchased a jar at my local Whole Foods, they had several varieties of it, I chose a garlic Gochujang.
Here’s what you need:
Ingredients:
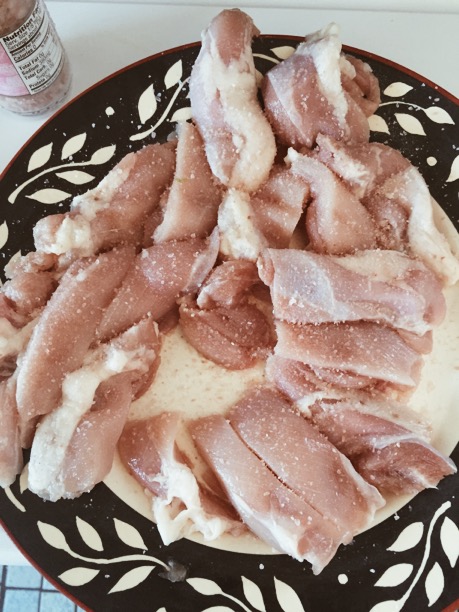
1lb of boneless skinless organic chicken thighs, cut each thigh into 3 or 4 pieces
1.5 tablespoons of Gochujang
2 teaspoons of sugar–can sub with maple sugar or syrup
1 teaspoon of garlic grated
3 green onions chopped finely both whites and green parts
1 teaspoon of grated ginger
2 teaspoons of sesame oil
1 teaspoon of olive or grapeseed oil
2 tablespoons of soy sauce
sea salt to taste
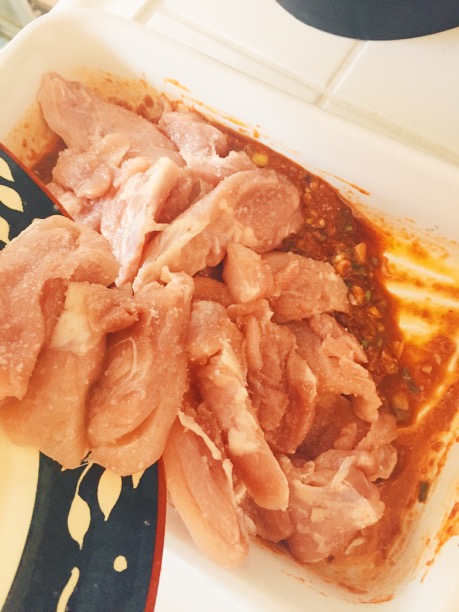
Directions: Season the chicken with sea salt and set aside.
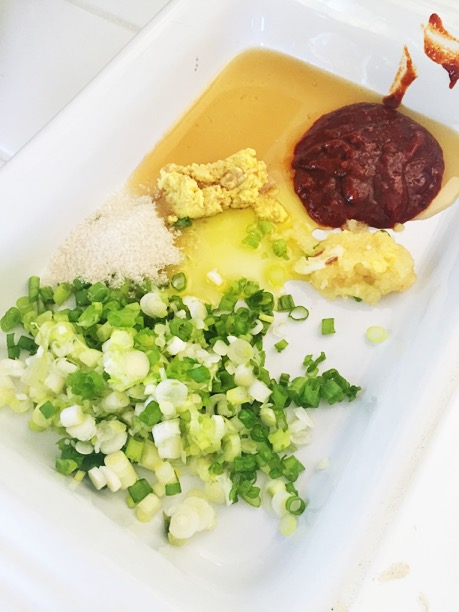
To a large mixing bowl or medium size bake pan add the remaining ingredients,
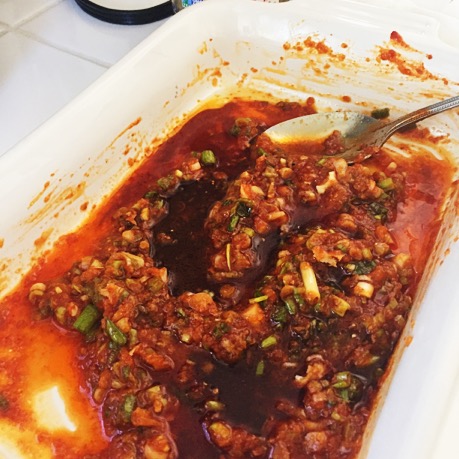
combine and mix well,
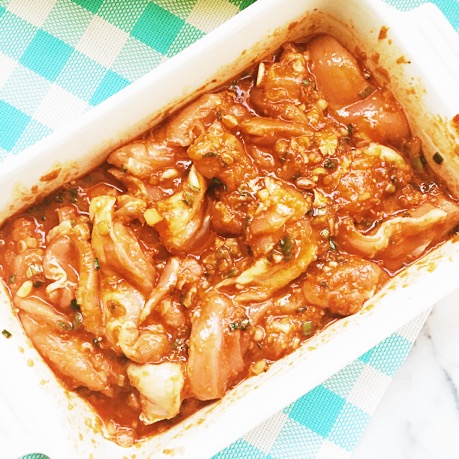
then toss in the chicken, tossing to coat the chicken completely in the marinade.
Cover with foil and place in the refrigerator for at least an hour.
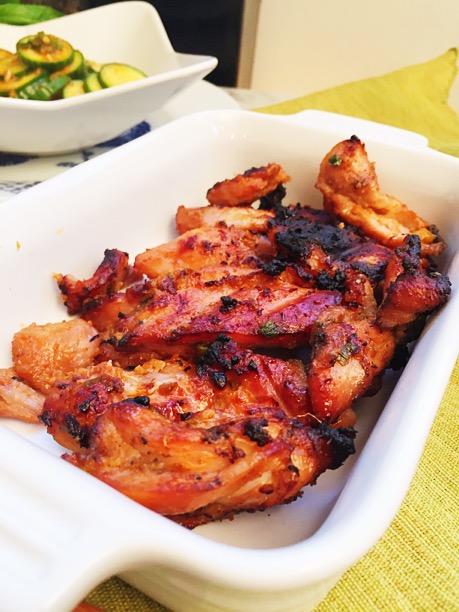
Remove the chicken from the refrigerator 30 minutes before cooking. Grill the chicken on a hot grill, 5-7 minutes on each side, serve and enjoy!
Ahh…rice. The staple food for many cultures. In fact, rice is so important to my good friend Gina’s parents that they will not even travel without bringing along their rice maker. It’s the first thing her mom unpacks in the hotel room. My husband and my daughter are huge fans of rice. Page is a particular fan of basmati, and I can’t say that I blame her. A good basmati is aromatic, light and airy, like eating a cloud. I don’t cook rice that often, so even a small bag could last us months. Whenever I do make rice, as much as my husband and daughter love it, we always have leftovers. I hate to throw it away so I always try to find a way to use it. Page loves fried rice–who doesn’t? She is a particular fan of my Crab Fried Rice. But we don’t always have crab in the house. So I use what I have, usually a few vegetables, and an egg. One of the fish restaurants we frequent makes a garlic rice that Page just devours. So I decided to do my own take on the garlic rice which she loves so much.
Pin It!
Here’s what you need:
Ingredients
2-3 cups of room temperature left over rice
1/2 teaspoon of tumeric
1 tablespoon of minced garlic
1 tablespoon of minced ginger
1 tablespoon of oil
sea salt or soy sauce to taste
Directions: Add the oil, garlic, tumeric and ginger to a saute pan and heat on medium heat until garlic and ginger slightly brown,
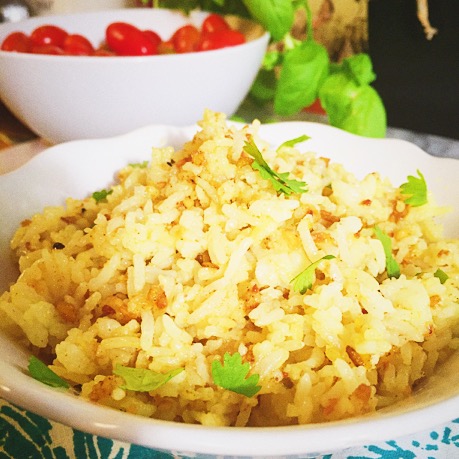
add in the rice, toss until rice is heated.
Transfer to a serving bowl, season with soy or sea salt, and a drizzle of sesame oil, garnish with cilantro, serve and enjoy. This is AMAZING with my Korean barbecue chicken, stay tuned for that recipe tomorrow!
How amazing are potatoes? I love them in every form. So does Page. I have been wanting to do a tater tot for her for a long while now. They are super easy to make, especially if you have a food processor. You just throw the potatoes in, and the processor does all the work. All you have to do is form the tots. If you’re not into forming a few hundred tiny balls of potatoes, this also works as a recipe for hash browns–yes a two for one! I’ve used potato starch in this recipe, but feel free to use all purpose flour if you so choose. You can also substitute almost any potato in this recipe. Sweet potato tater tots are pretty awesome!
Pin It!
Ingredients:
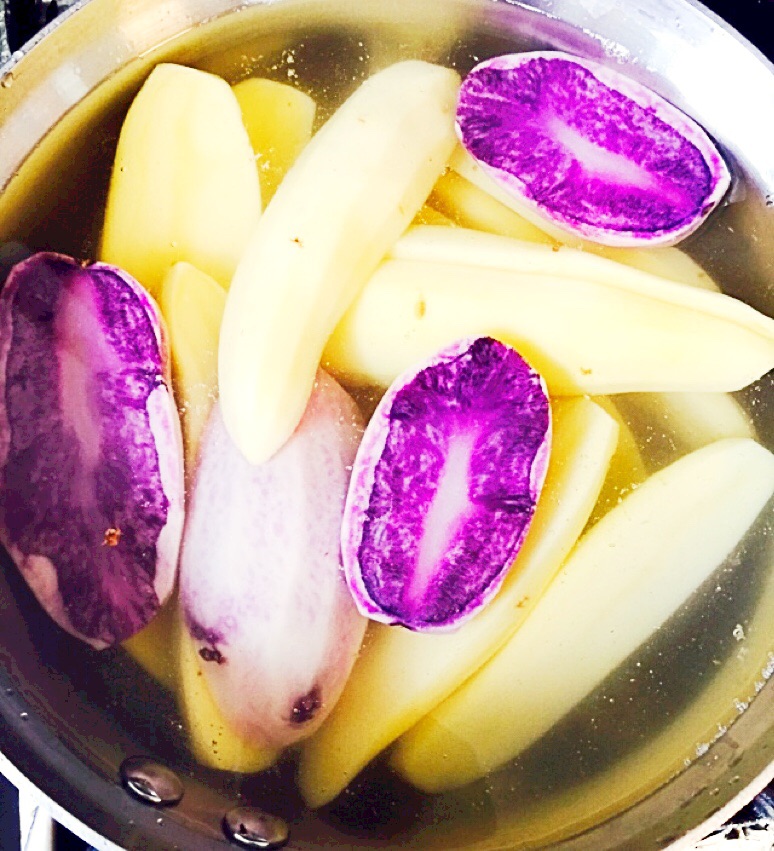
2 pounds of potatoes peeled–I used fingerlings and purple
1 tablespoon of potato starch (can sub for any flour you’d like)
1 cup of high heat oil like safflower or grapeseed
sea salt to taste
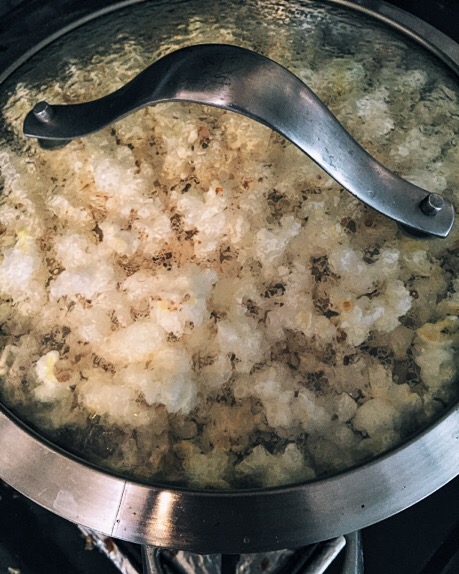
Directions: Place the potatoes in a pot in cold water–enough to cover them, and bring to a boil–allow to cook for 6-7 minutes,
then strain and allow to cool to room temperature.
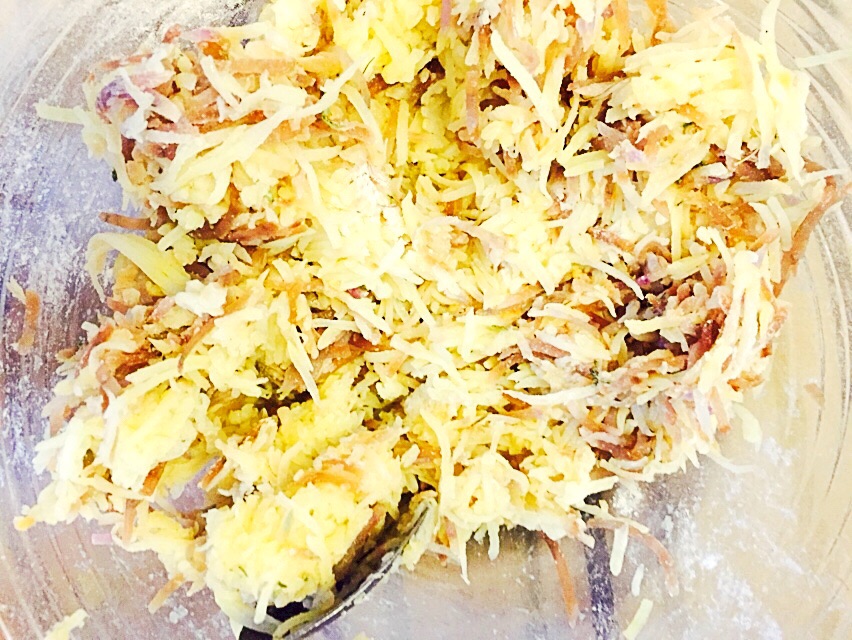
Once cool, grate with a box grater, or grate in a food processor. Once grated, wrap the shredded potatoes in cheese cloth and wring out all the water that you can, transfer to a large bowl, add seasoning, and potato starch, and form tater tots.
TIP: If your dough is sticky wet your fingers, balls will be easier to form. Heat oil in a skillet. Once hot fry tots in batches until brown.
Transfer to a paper towel lined plate, season with salt and serve with my recipe for ketchup and enjoy!
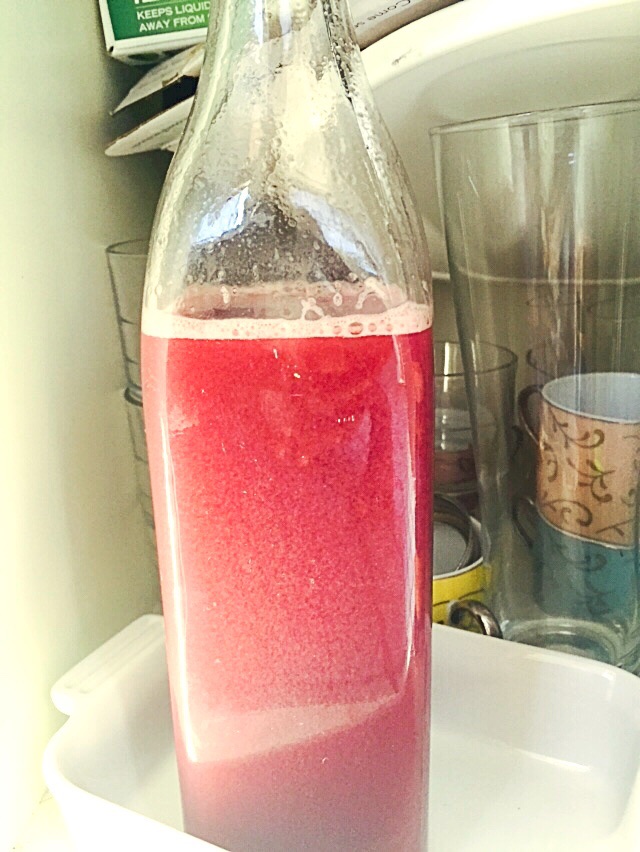
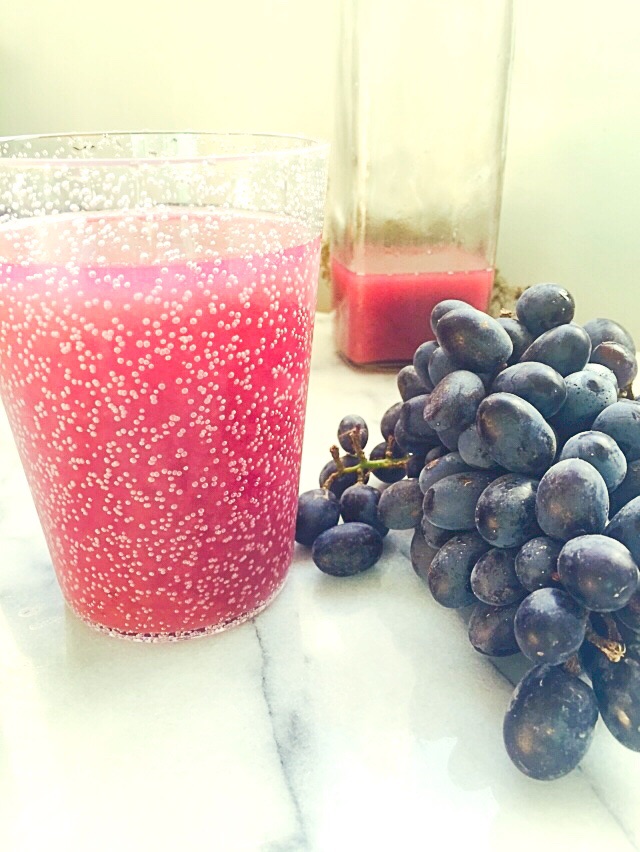
Concord Grape Soda–Lacto Fermented Concord Grape Soda
We took a short break/vacation to take Page up north. By north I mean northern California. We live in southern California, and don’t really travel up north often enough, as a matter of fact, my husband would love nothing more than to move up north. It’s where his roots are, where his soul speaks, and ultimately where I think he’d like us to retire. Up north people are much more liberal–I would venture to say that the people up north are the prototype for what people in other states consider Californians. Socially liberal, tree hugging, animal loving, free spirited Californians. Here in the south, we are still liberal, but much more superficial–I call it the Hollywood effect. People in the north are street friendly, meaning they stop and talk to you, and are truly interested in getting to know you. They know their neighbors, talk to them regularly even. Here in the south, you’d be lucky to see your neighbor once a week, and talk to them once a month. It’s a very different atmosphere. Everything is so green in the north–in spite of the drought–there are so many farms–yes I said farms–I know the image of our state is one of sunshine and beaches, but we grow a lot of food here in California. We visited the Muir Woods which Page LOVED! Page really enjoyed San Francisco, she was especially fond of the steep hills. We especially loved the food. I had so many restaurants on my list of must try restaurants but we only made it to a few. I really wanted to visit State Bird Provisions, and Bar Tartine, time just didn’t permit it. On the road trip up, I brought along my Bar Tartine Techniques & Recipes book. I came across a recipe for Grape Soda and knew it would be the first thing that I was going to make when we returned home. Luckily for me, concord grapes just so happen to be in season. I found them on sale at Whole Foods for $2.99/lb. Not bad for organic grapes! Since my ginger bug was active, this was a breeze to make. If you can find organic grape juice then it will be even more simple, If not take the time to juice the grapes like I did–so worth it!
Directions: Add the juice, water and lacto starter to a large mason jar. Make sure the jar is large enough to allow for some head space, cover with cheese cloth and place in a dark area–out of direct sun light.
Allow to ferment for 3-4 days or until the mixture is slightly foamy and releases bubbles when stirred. It’s hot here so my mixture was fizzy and bubbly by day 2.
Transfer the mixture to a flip top bottle or canning jar, making sure to leave at least 1 inch of head space–I’d say 2.5 inches just to be safe.
Let this stand at room temperature for no more than 24 hours, to allow for pressure/carbonation to build,–my suggestion is that you allow this to carbonate inside of a dark cabinet.
You do not want to run the risk of an explosion in an open environment–it’s dangerous! Once carbonated, transfer to a refrigerator. Once cool, serve over ice and enjoy! Tip: If using a glass flip top bottle, place the bottle in a tube sock, and then place that in a closed cabinet. If the bottle explodes it will confine the damage.
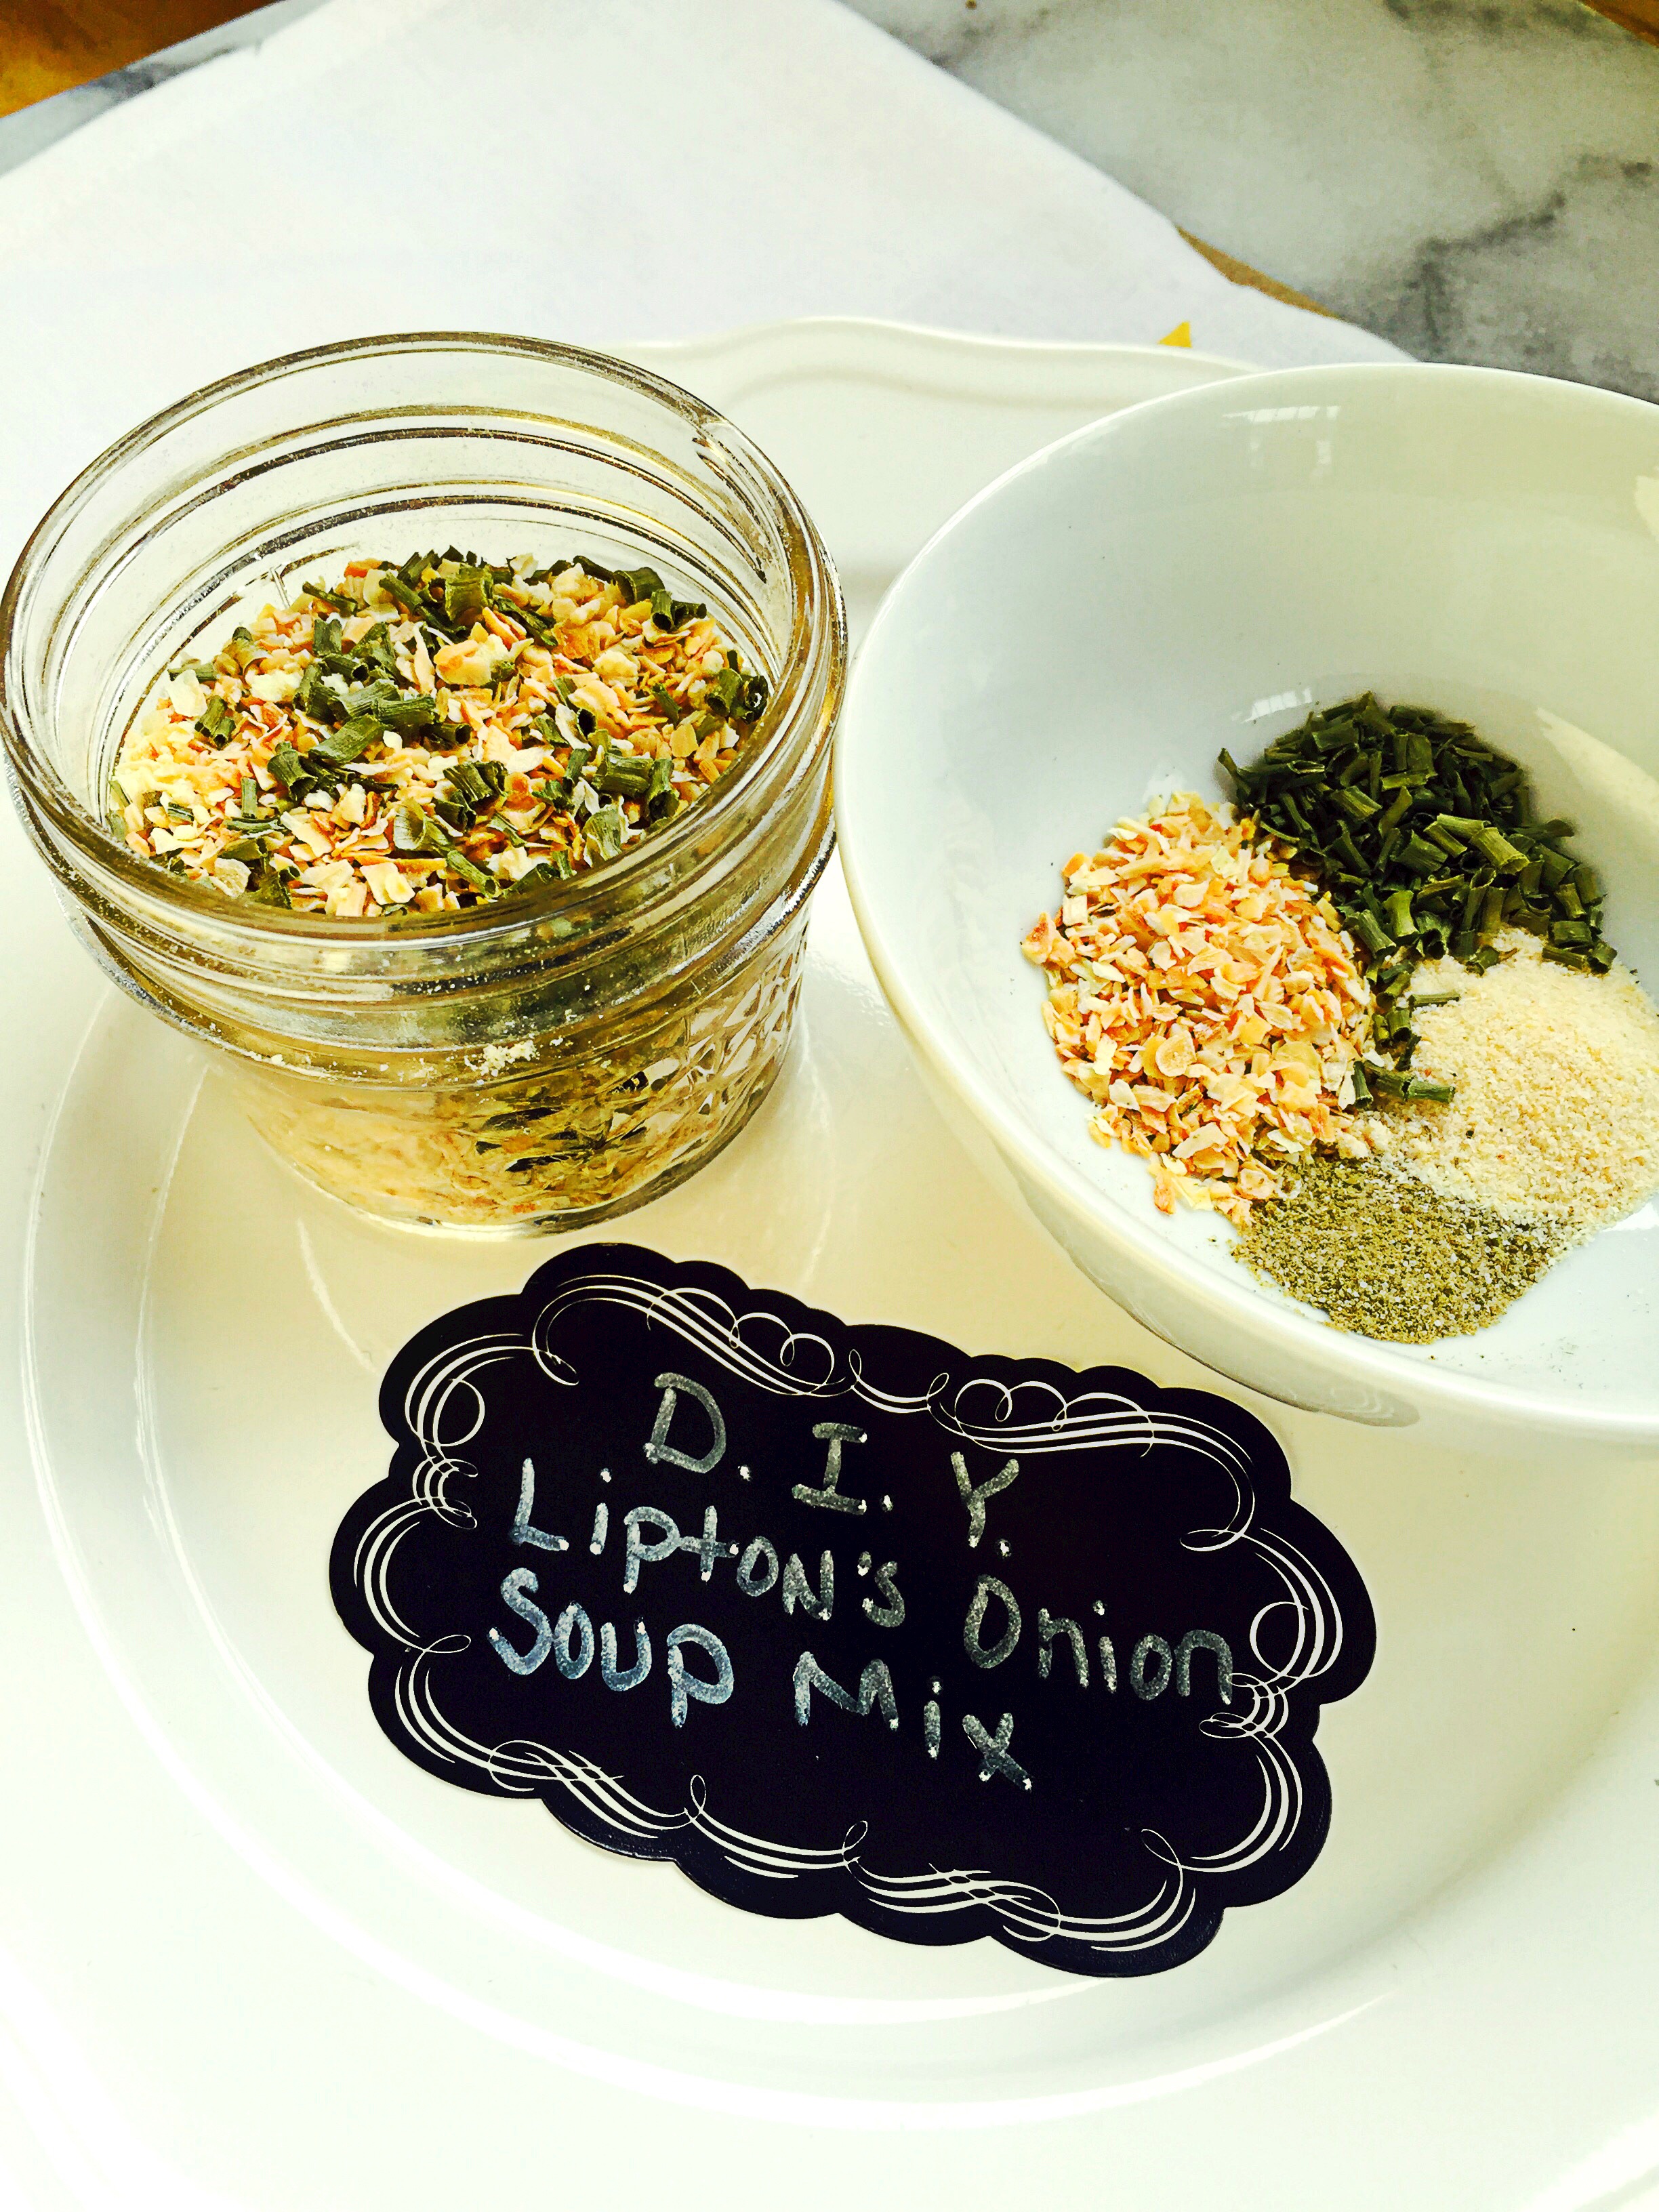
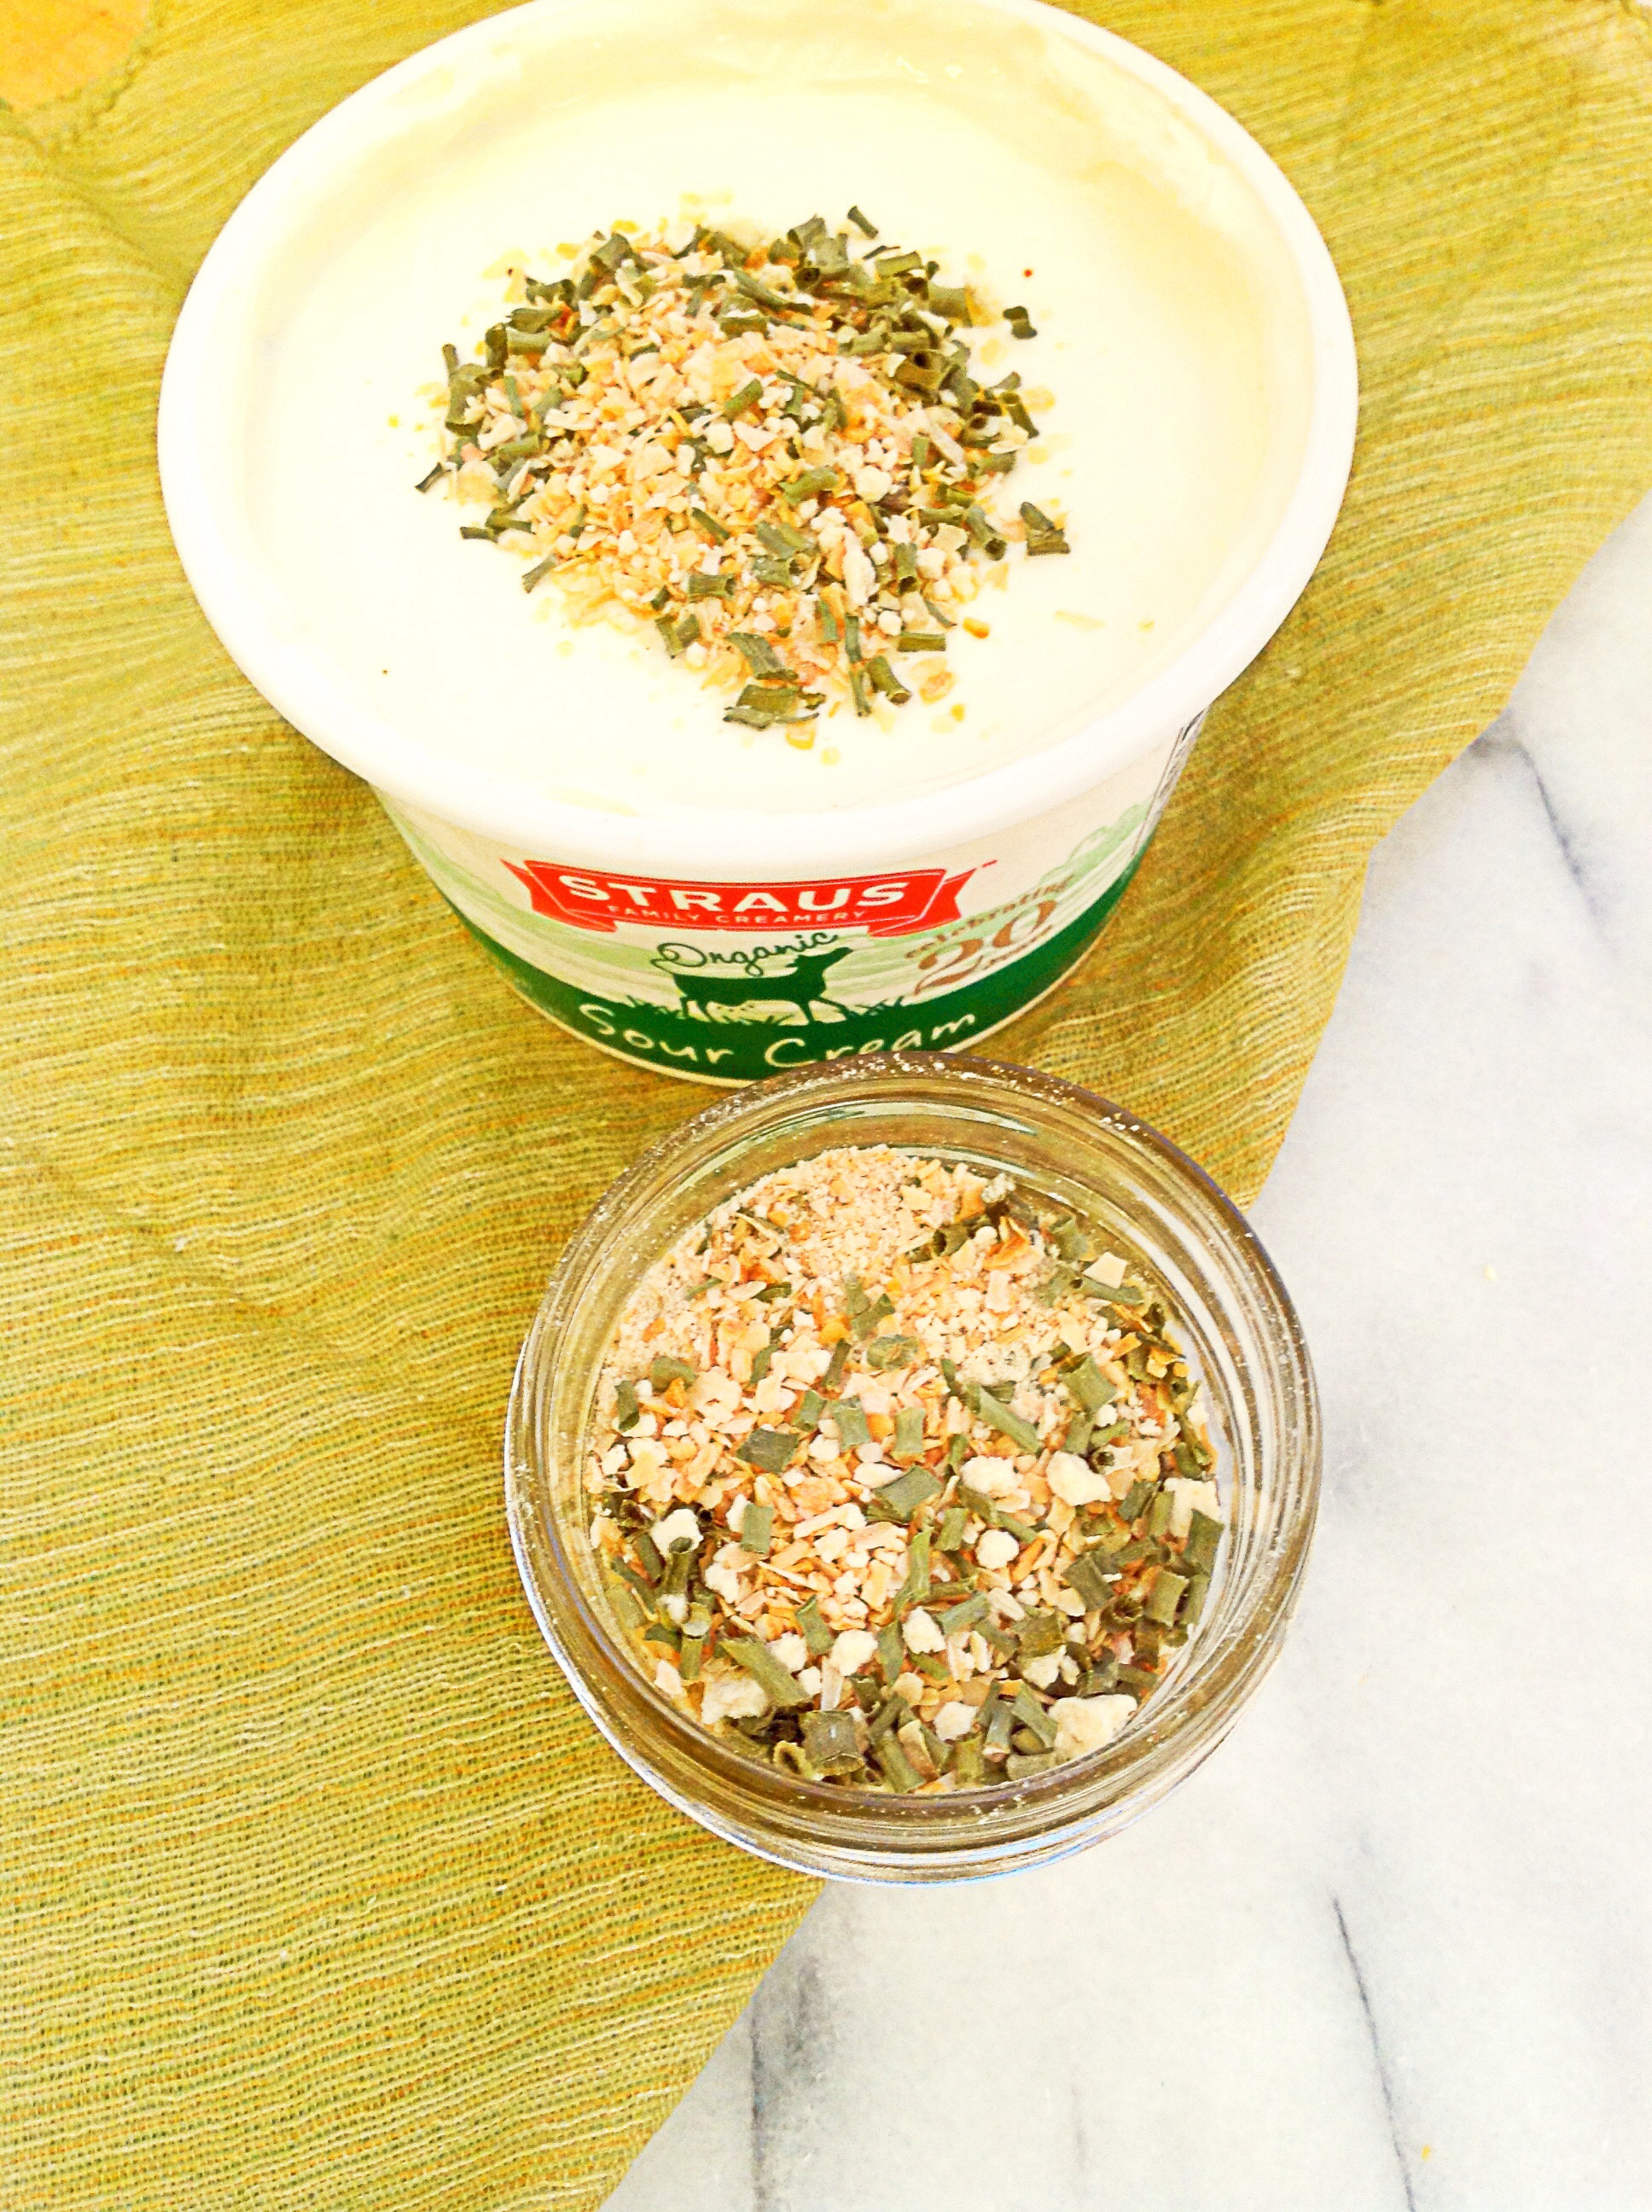
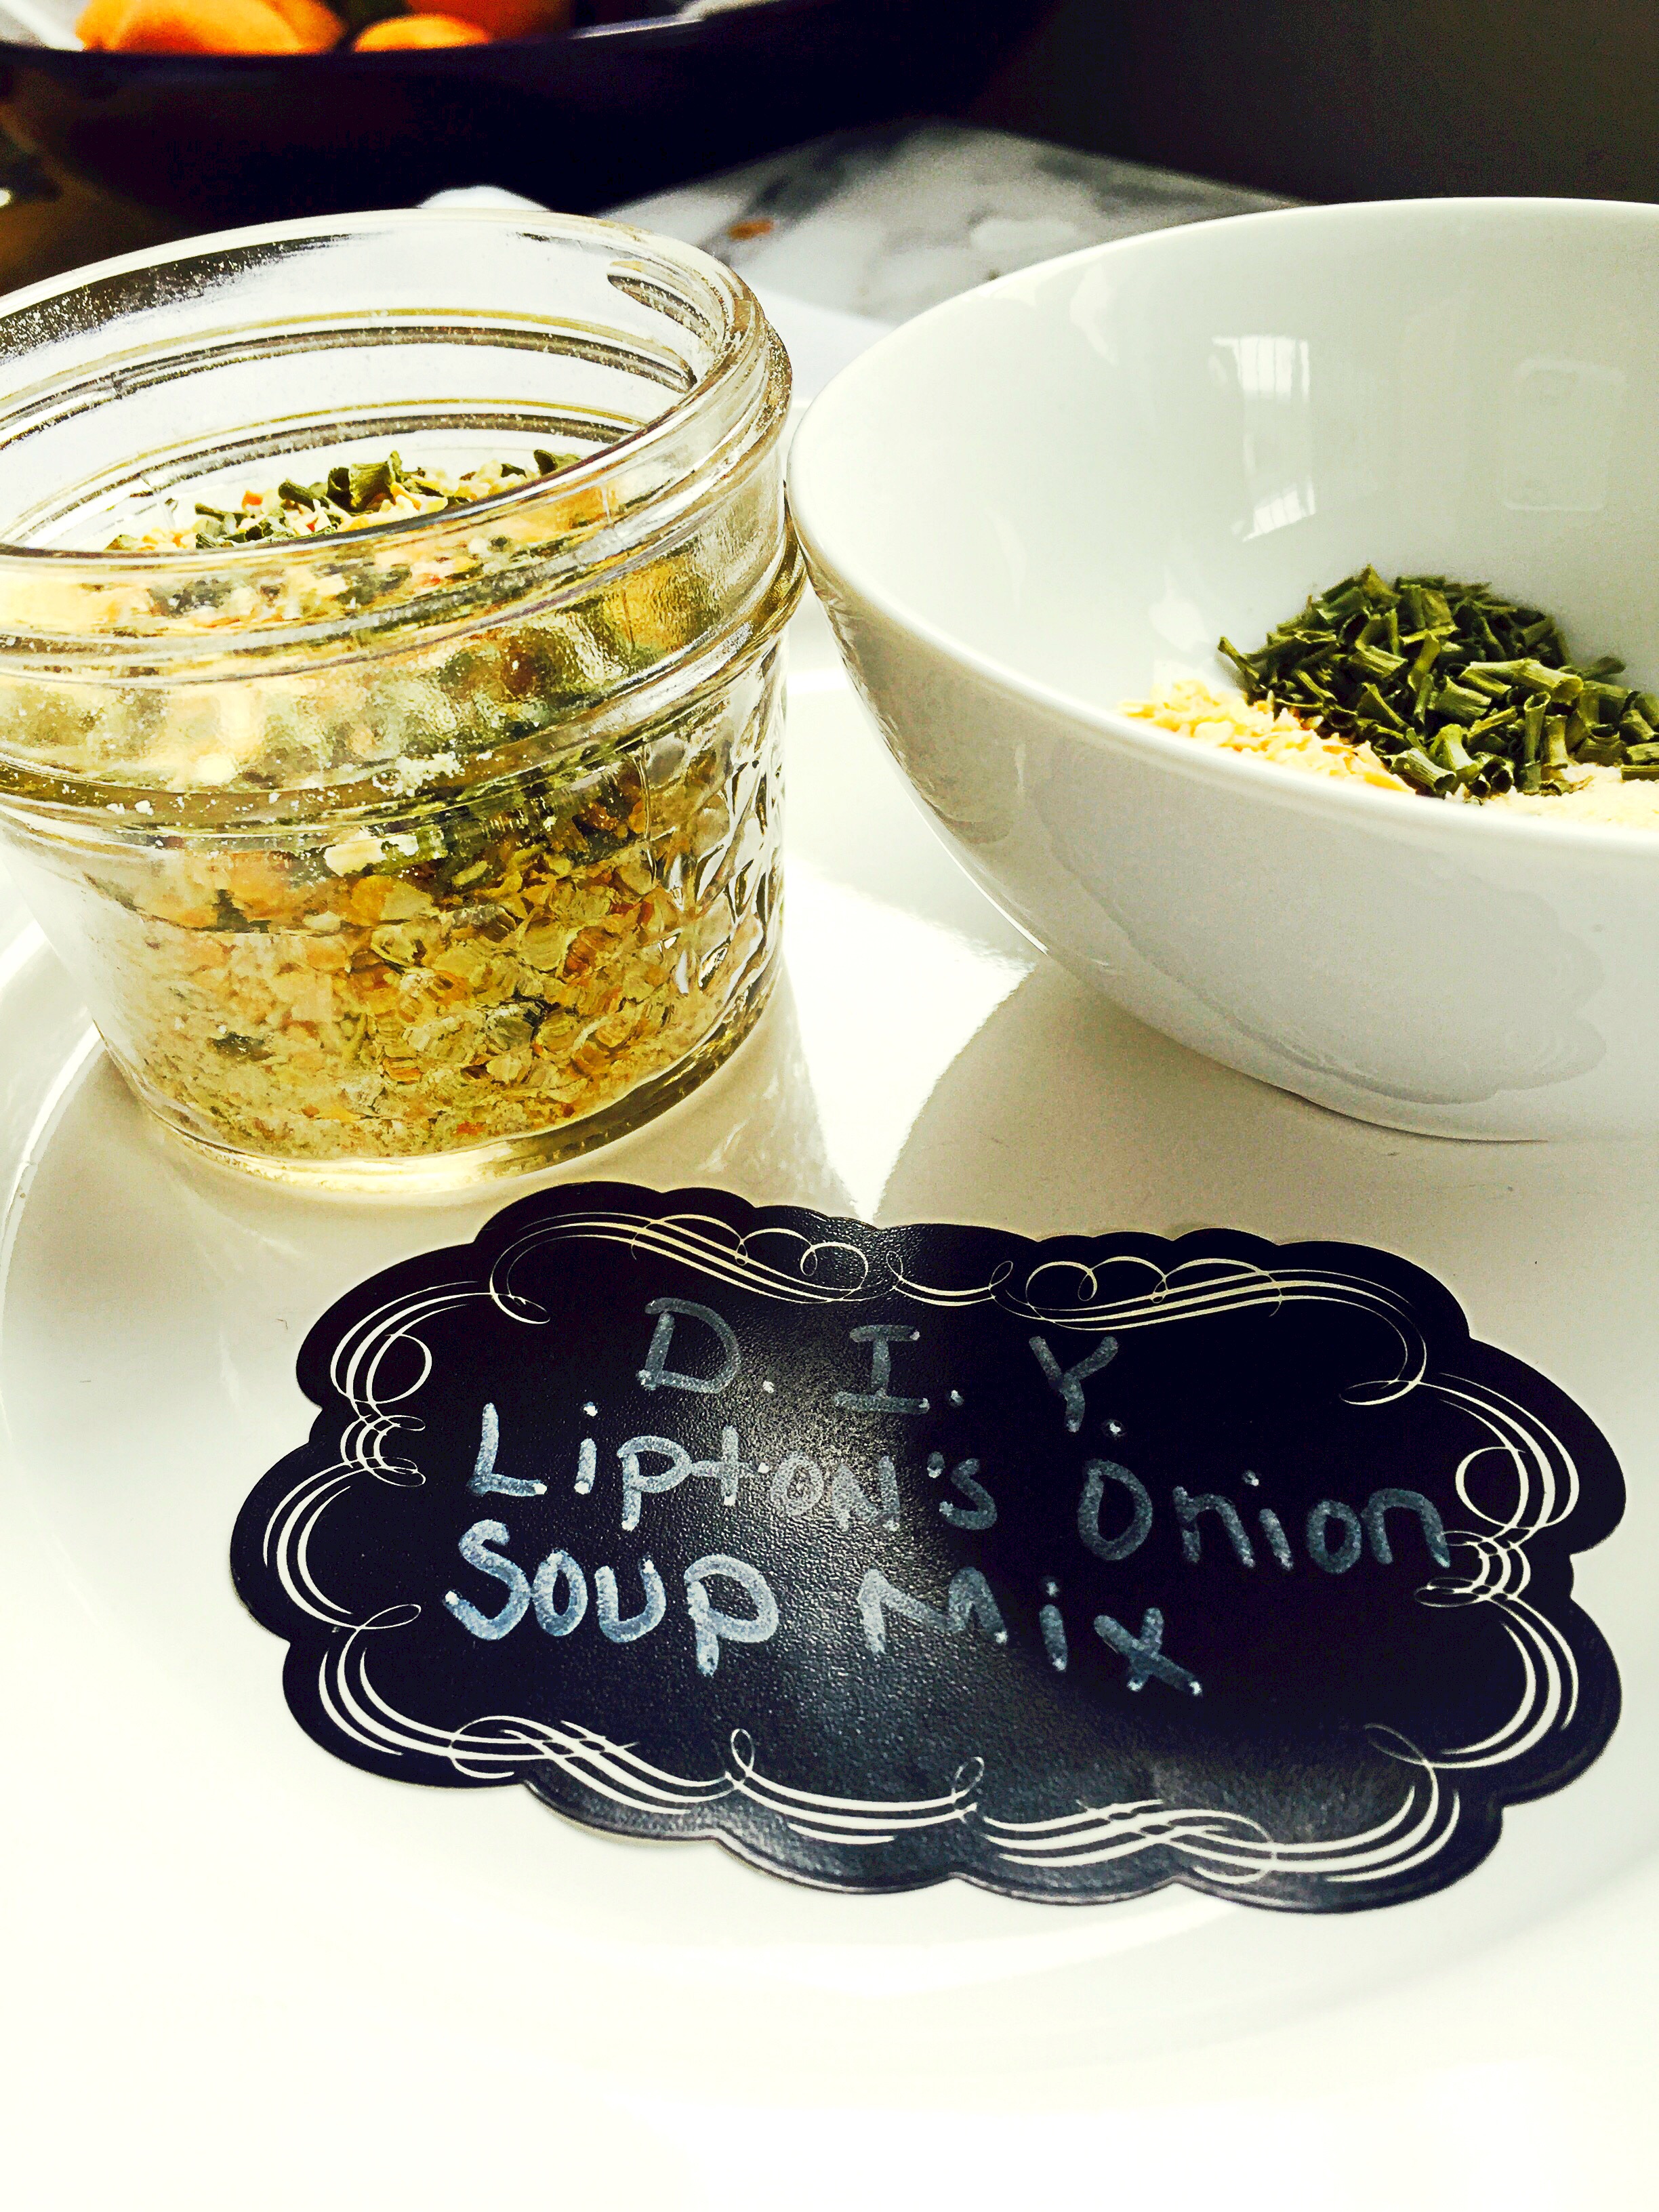
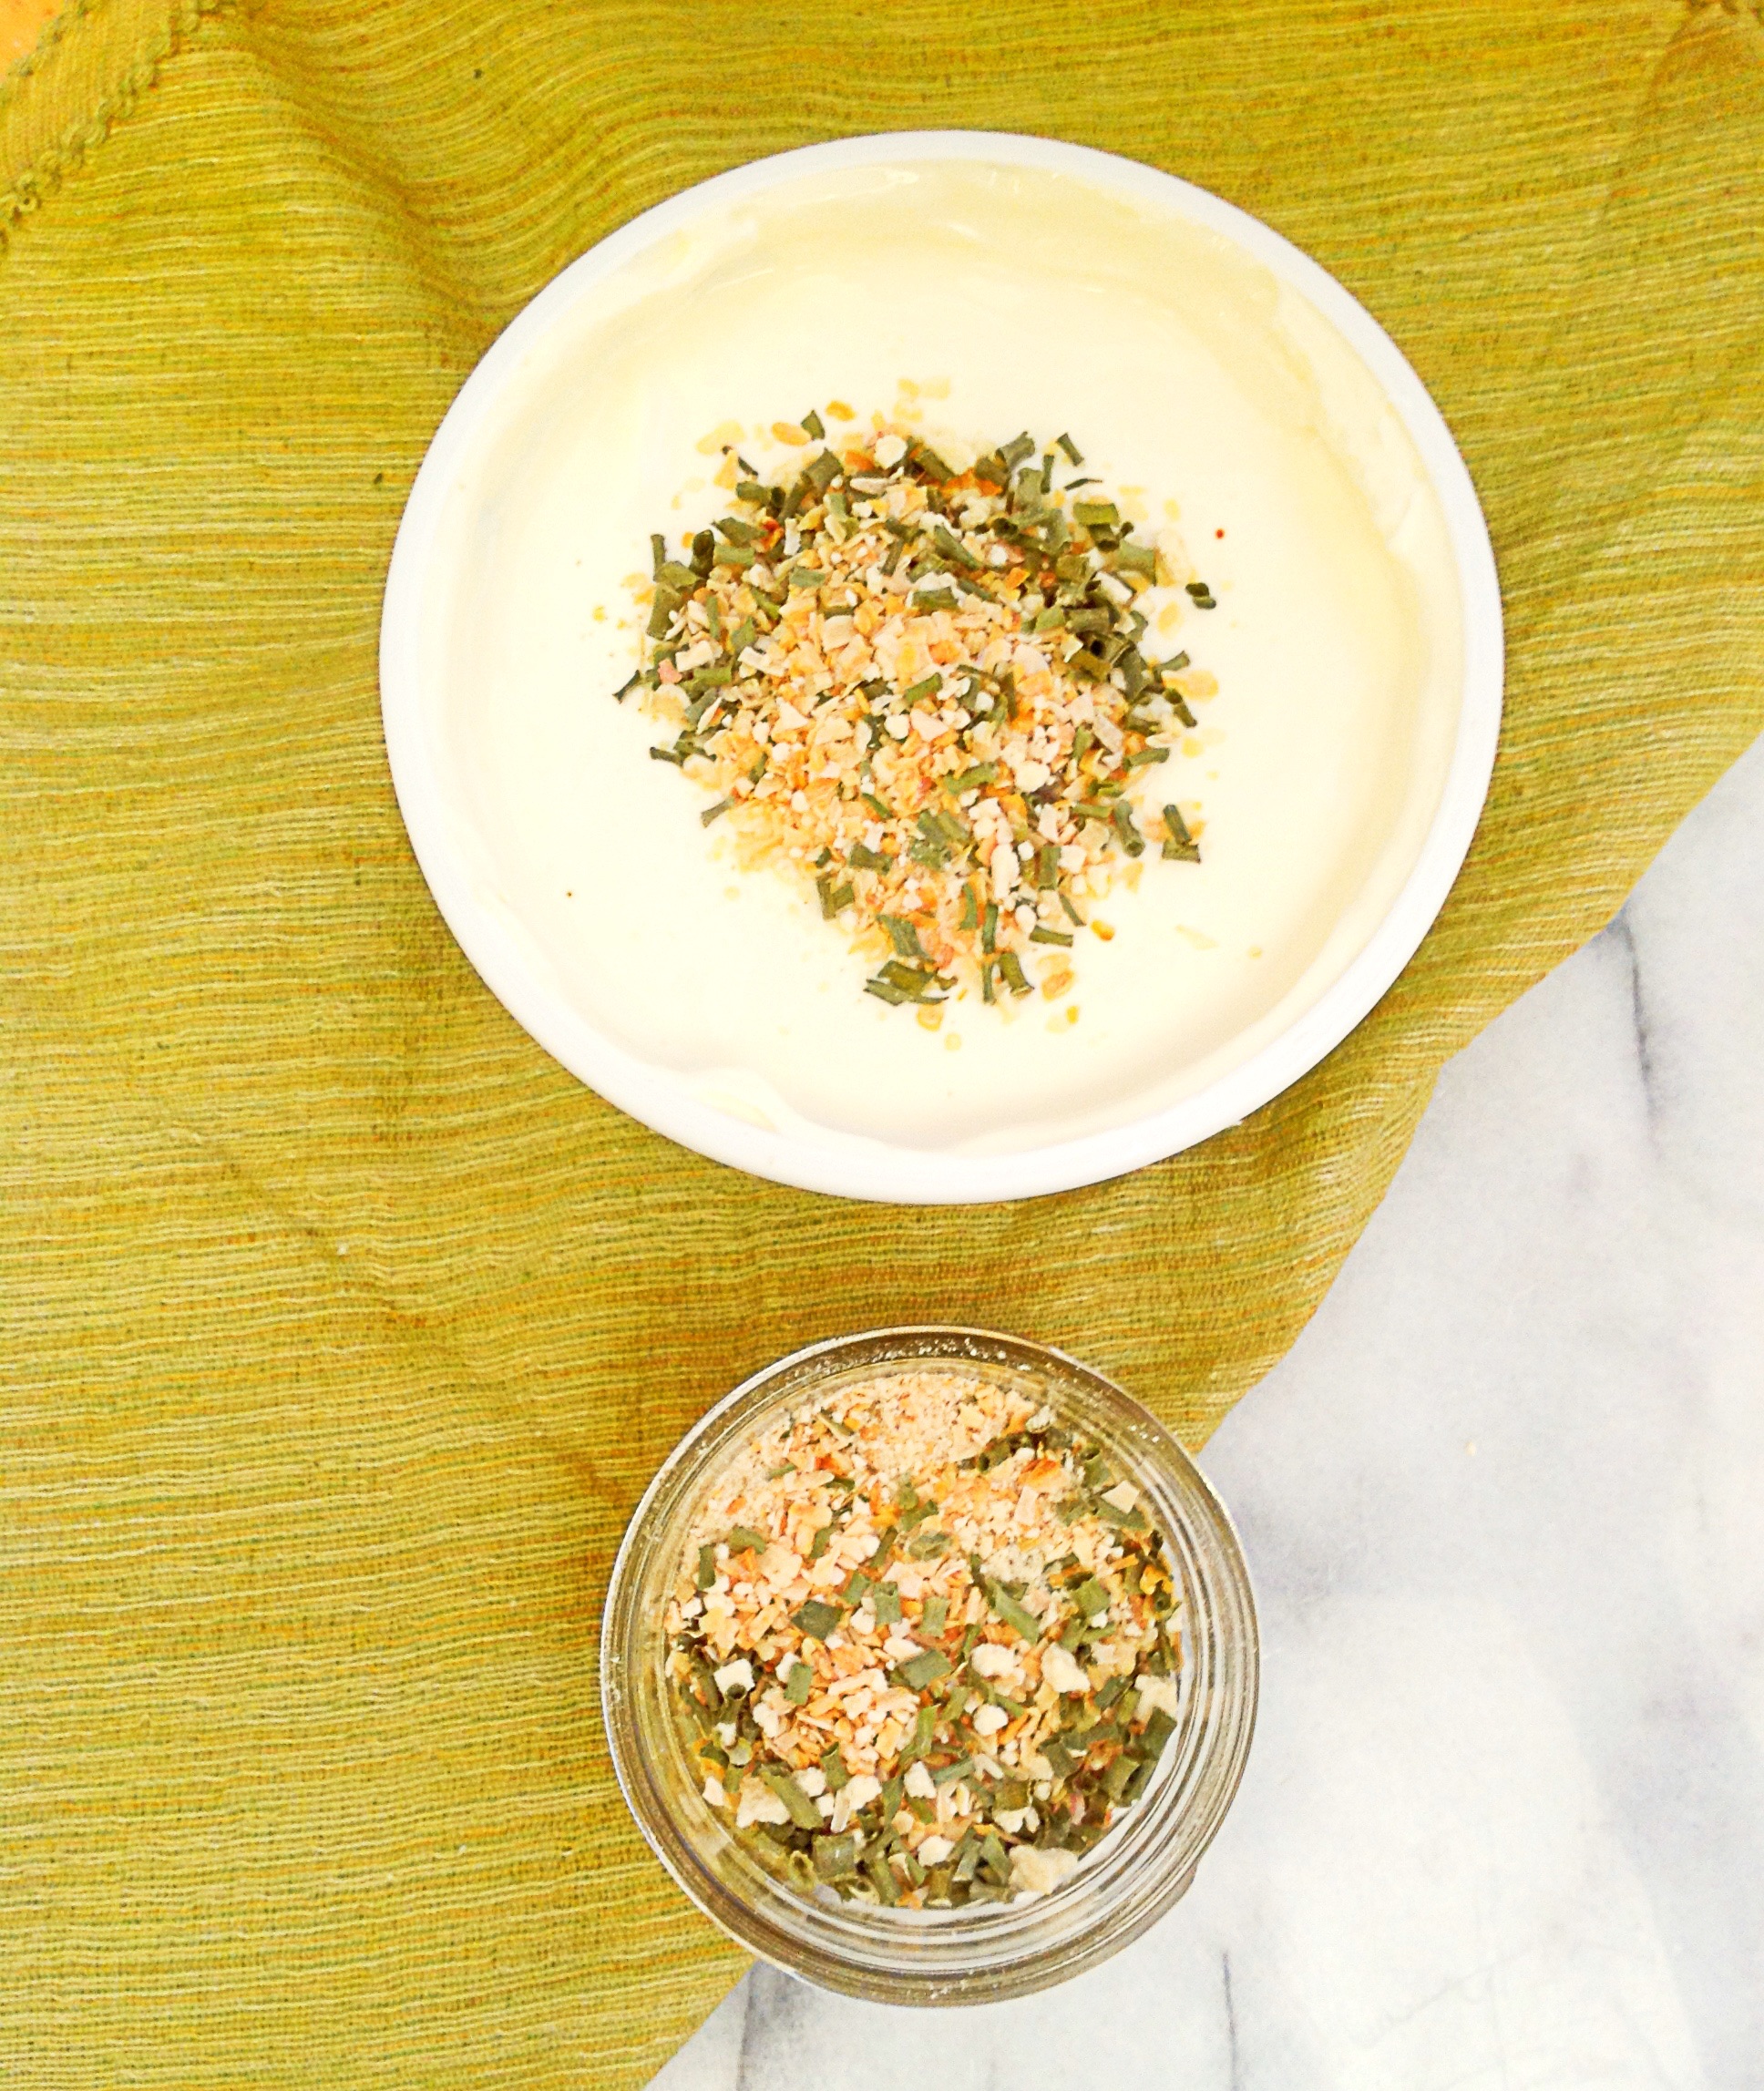
There are three seasonings that I can rely on my mom to have in her cupboards at all times: Lawry’s seasoning salt, Lemon pepper, and Lipton’s Onion Soup Mix. In fact while writing this, I was tempted to call her, and have her take a picture of what is inside her cupboards, just so that you guys could see, but she’s not that technologically savvy. She barely knows how to get the pictures that I send her of Page through text. When I was growing up my mom would rent 4-5 movies and make a bunch of snacks for us watch over the course of the weekend. One of those snacks was a sour cream and onion dip. She’d take a container of sour cream and mix in a package of the Lipton Onion Soup mix–simple but delicious. We’d happily nosh on potato chips, celery, and carrot sticks dipped in the onion dip while we watched the latest movie release from Blockbuster video–yes I just dated myself! Oh the memories! I haven’t had that dip in years! I’d say a good 10-12 years, maybe longer. It’s not something my mom makes any more. I wanted to make it for me and my hubby, but I didn’t want to buy the Lipton’s seasoning. I had an idea of what was in the seasoning–or at least I thought I did– dried minced onion, onion powder, dried green onion–but to be sure I called my mom and asked her what was on the ingredient list. Sure enough she had a box in her cupboard and the ingredient list she read to me was anything but simple. Besides the MSG, onion powder, and cornstarch, there were a list of ingredients that had nothing to do with onions. So I set out to do what I do best and made my own–without all the added preservatives and coloring. I used the organic onion powder that I made myself, and added minced onion and a few herbs. A perfect match! Tastes just like I remember it! Delicious!!
Pin It!
Makes the equivalent of 1 package of Lipton Onion soup mix
Ingredients:
4 Tablespoons of organic dried minced onion flakes
3 teaspoons of organic onion powder
1 teaspoon of organic dried chives
1 teaspoon of sea salt
1/4 teaspoon of celery salt
Directions: Mix all ingredients together in a small bowl, if you don’t plan on using this right away, transfer it to an air tight container for later use.