Pan Fried Cauliflower with Garlic and Thyme

Pan Fried Cauliflower with Garlic and Thyme

Pan Fried Cauliflower with Garlic and Thyme


This recipe was born out of a pure need to get dinner on the table quickly.  I love cauliflower and on a normal day I would slice it and place it in the oven to cook, but time didn’t allow for me to do so recently.  Page was hungry and I did not have 20 minutes to spare.  The great thing about being rushed to get dinner on the table–yes there is a great thing about it–is that you need to keep it simple.  This recipe is exactly that–simple– it contains less than 5 ingredients and the best part? It only took 10 minutes!

Pin It!

Pin It!


Ingredients:

2 cups of sliced cauliflower

2 cloves of garlic (smashed)

2 tablespoons of oil ( grape seed, or olive oil)

1 tablespoon of butter

5-6 sprigs of thyme

sea salt and black pepper to taste


Directions: Heat a cast iron skillet until it smokes.  Add in the 2 tablespoons of oil.  Add the cauliflower, and allow to cook for 5 minutes undisturbed.

Add the butter, thyme and garlic, take care when adding the thyme, the water in the thyme will cause the oil to pop.

Allow to cook for another 5 minutes. Once the cauliflower has browned and taken on some color,

Transfer it to a serving platter, season with salt and pepper, serve and enjoy!


Grilled Greek Chicken Bowls

Greek Grilled Chicken Bowls

Greek Grilled Chicken Bowls

After years of only getting a harvest of two or three lemons per year, my lemon tree is in full bloom.I finally have a bountiful harvest. In fact, I have so many lemons, I caught myself finally uttering words I thought I would never utter–I have too many lemons.  My motto is when life gives you lemons–cook with them! Luckily for me,  the Mediterranean flavor profile is one of my favorite flavor profiles.  I love a great greek chicken salad. I decided to switch things up a bit, by taking the same ingredients I might use to make a greek salad, and instead, make a warm and savory bowl.  The result–delicious! The best thing about this bowl is it can be eaten warm, or cold, it is delicious either way. Feel free to switch out the ingredients, using kale in place of spinach, grill the chicken on the barbecue instead of in the pan,  or add red bell pepper and marinated artichokes.  You can also switch out the grains, use basmati rice instead of quinoa.  If you want to make this vegetarian, replace the chicken in this recipe with tofu or just add more mushrooms. To make it Paleo omit the grains and add more spinach or kale.

Prep time: 10 minutes

Cook time: 30 minutes

Serves 4

Pin It!

Pin It!


Ingredients For Sauce/marinade:

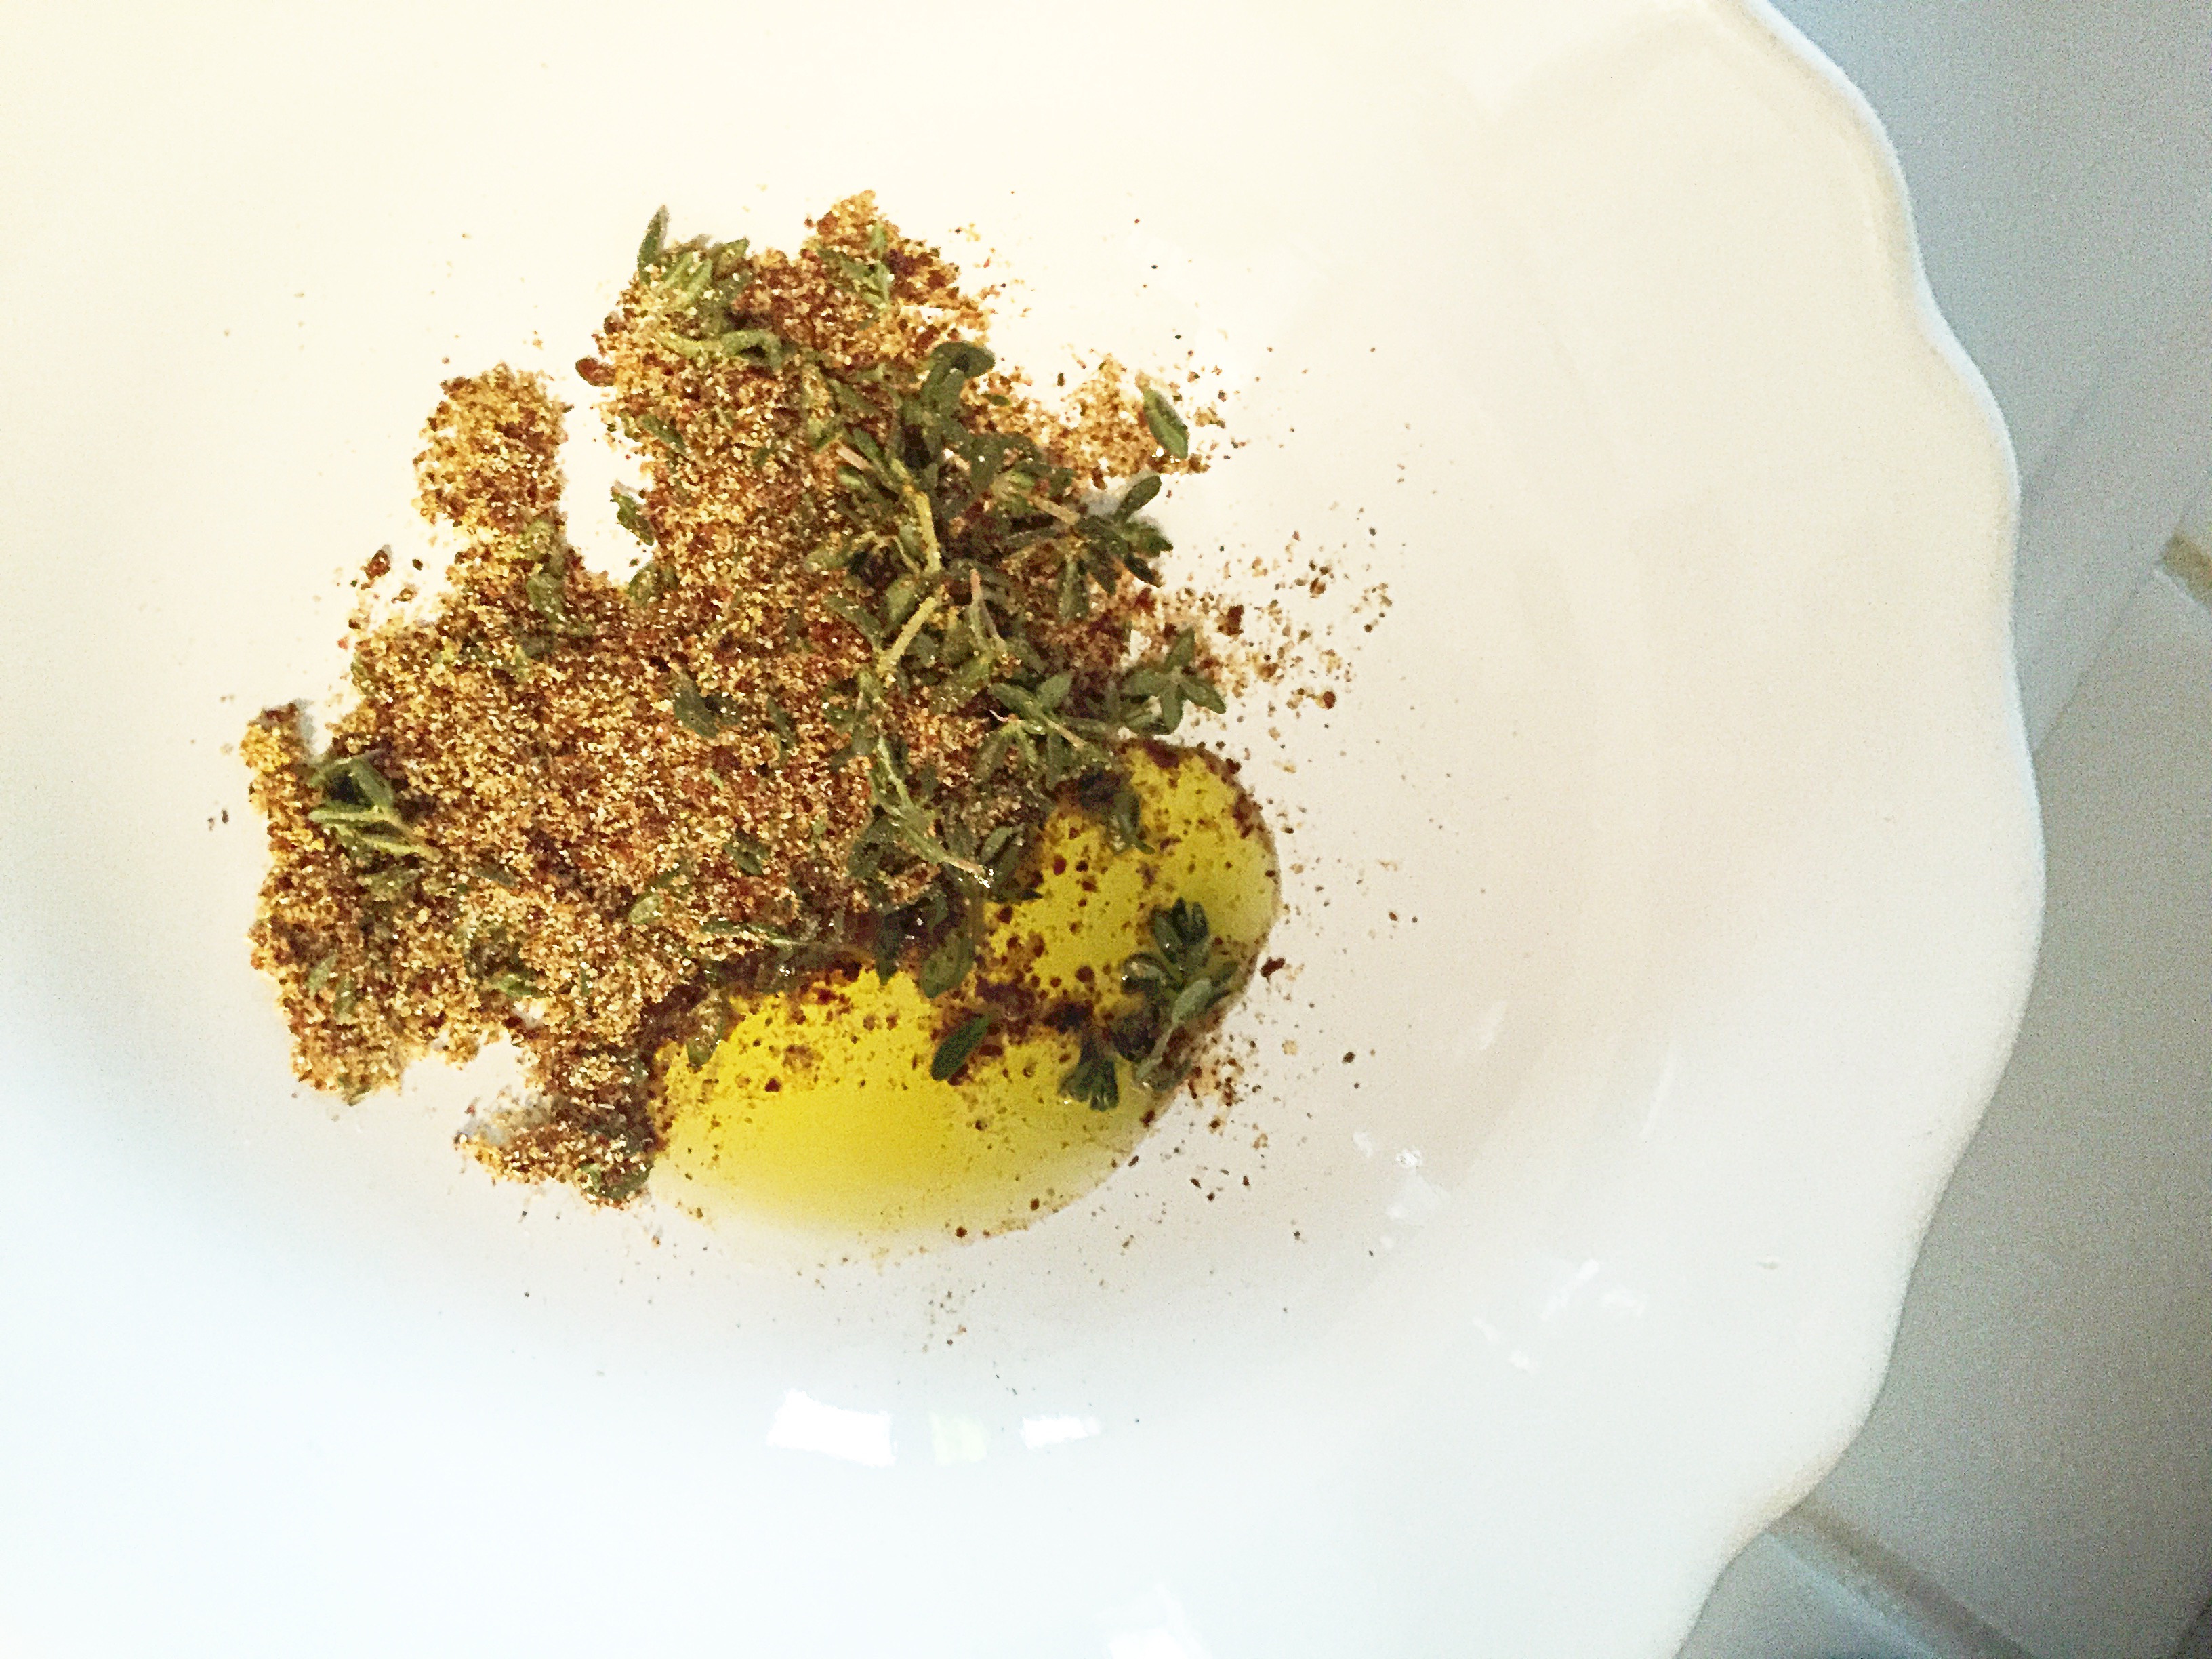
4 large cloves of garlic minced

1 tablespoon of fresh Thyme

1/2 cup of fresh lemon juice

1 tablespoon of lemon zest

1/3 cup of olive oil

1/4 teaspoon of sea salt

Ingredients for chicken bowl:
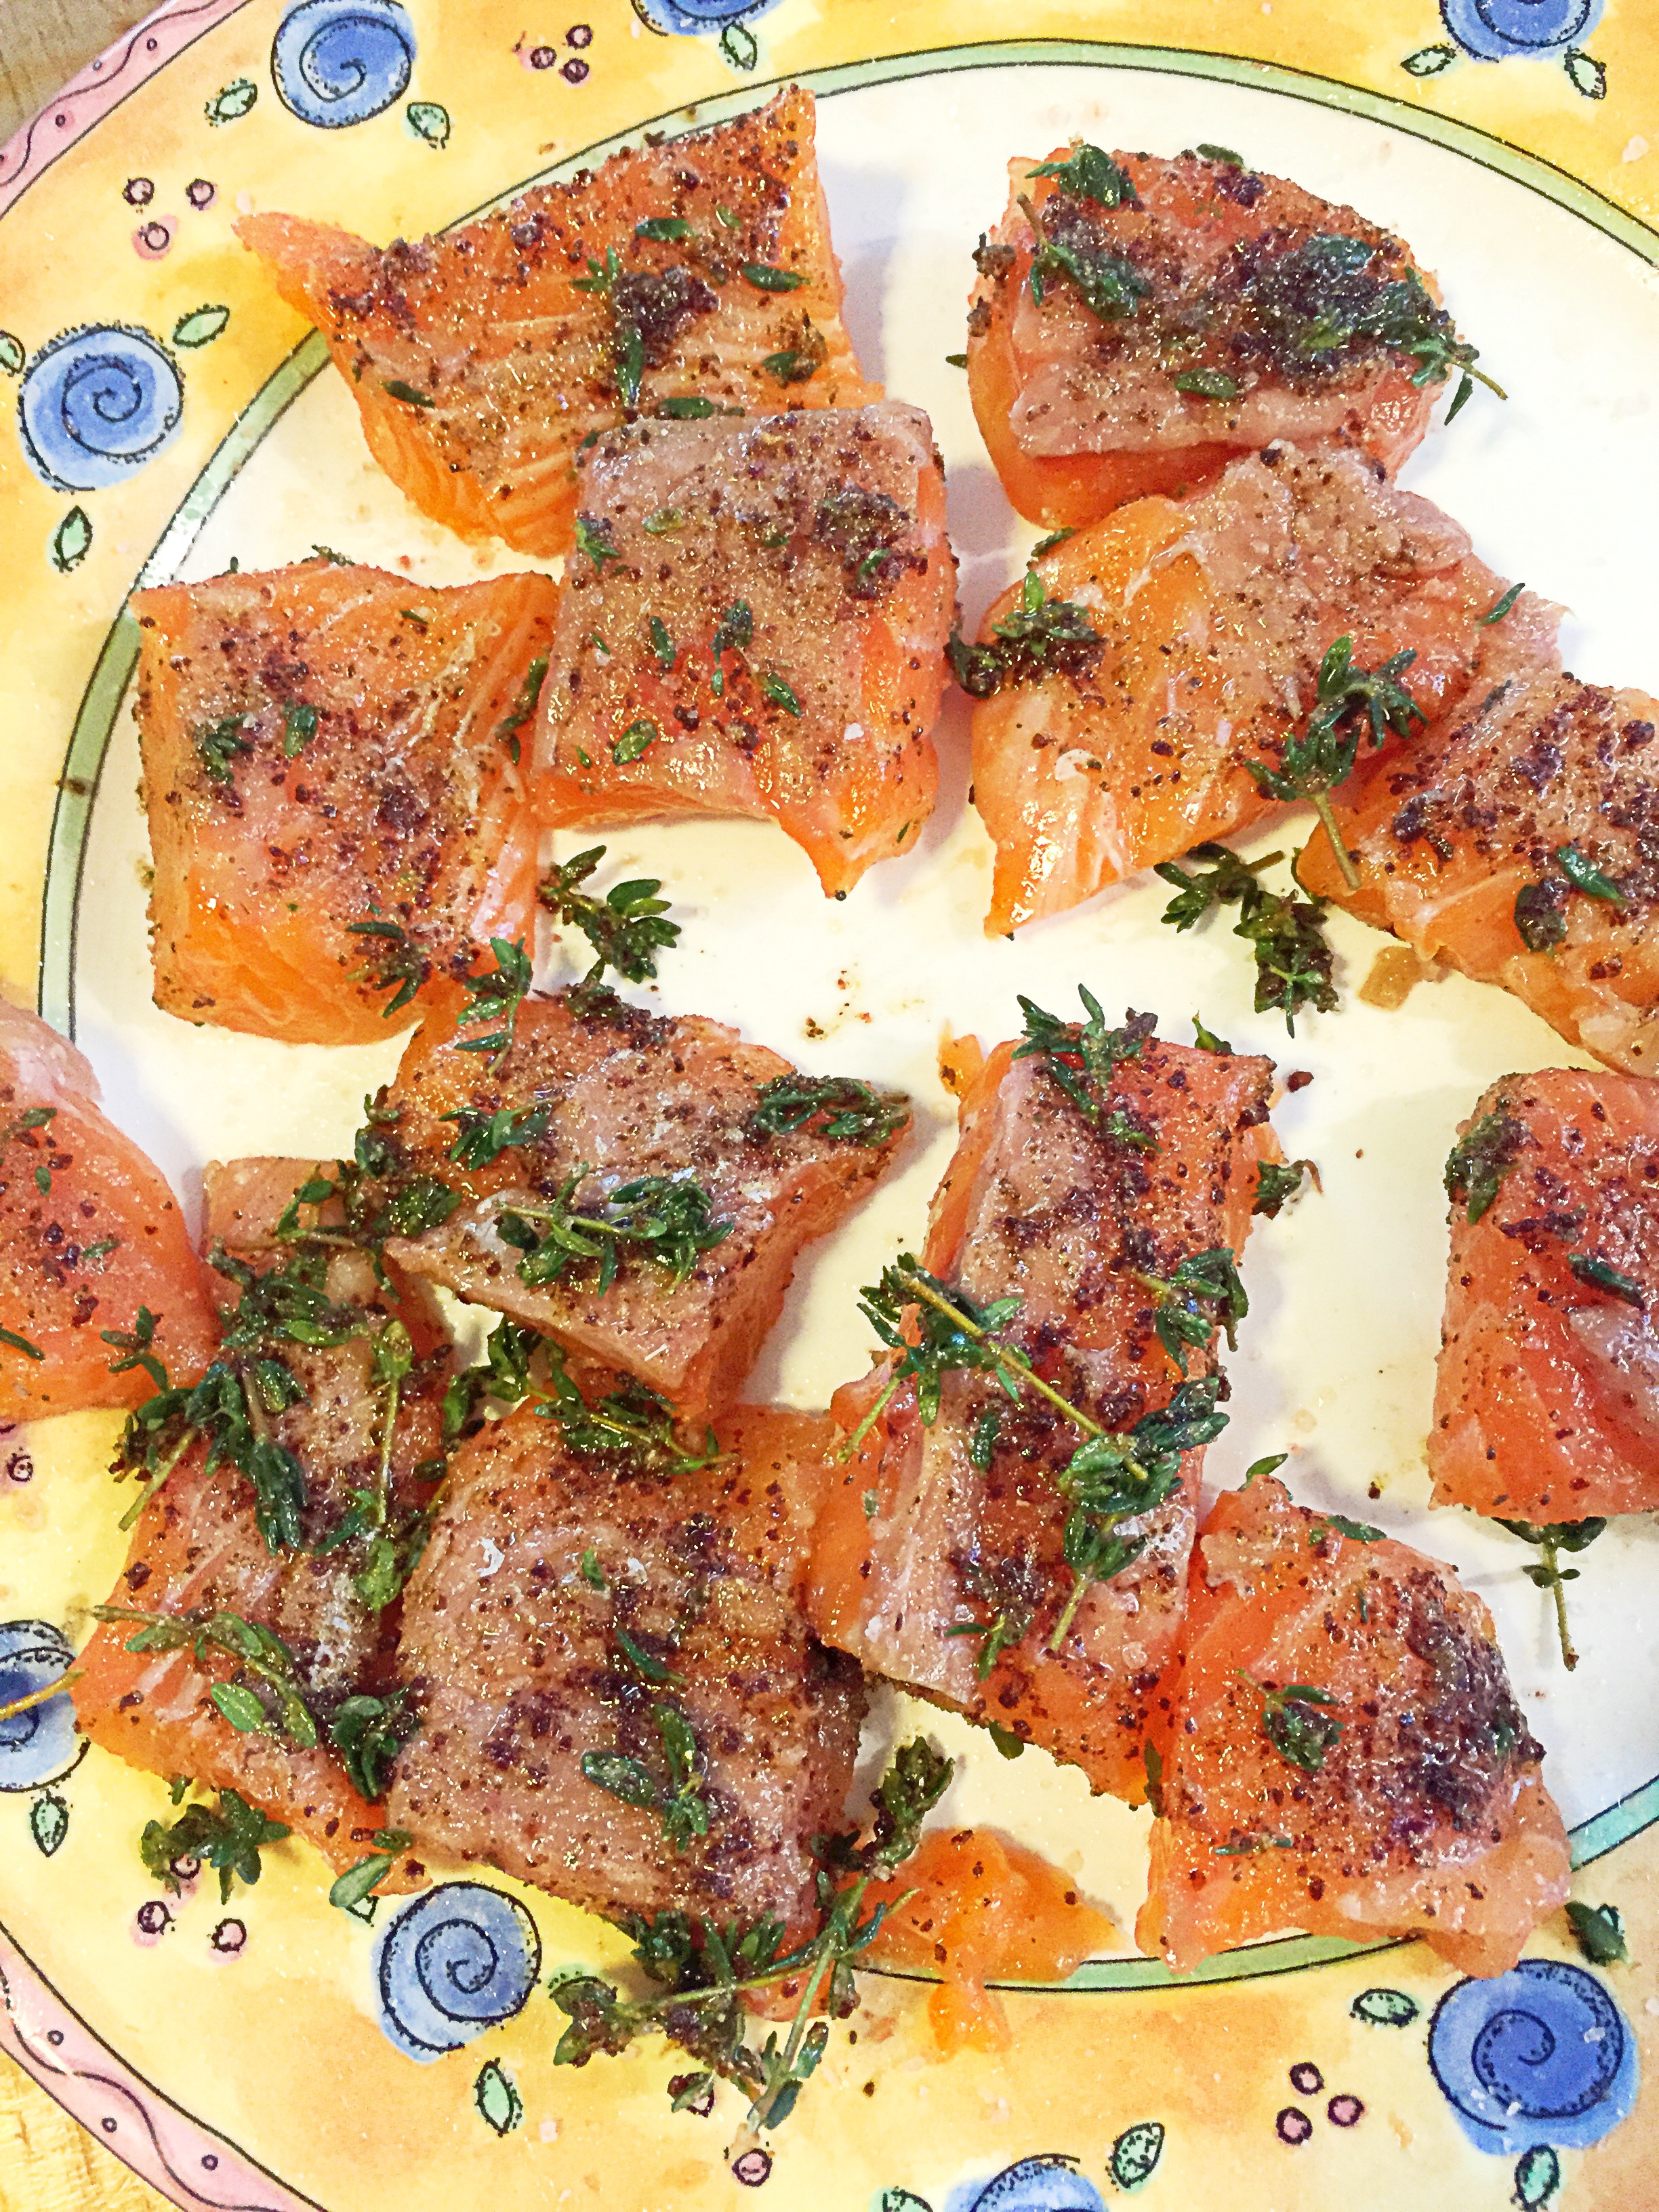
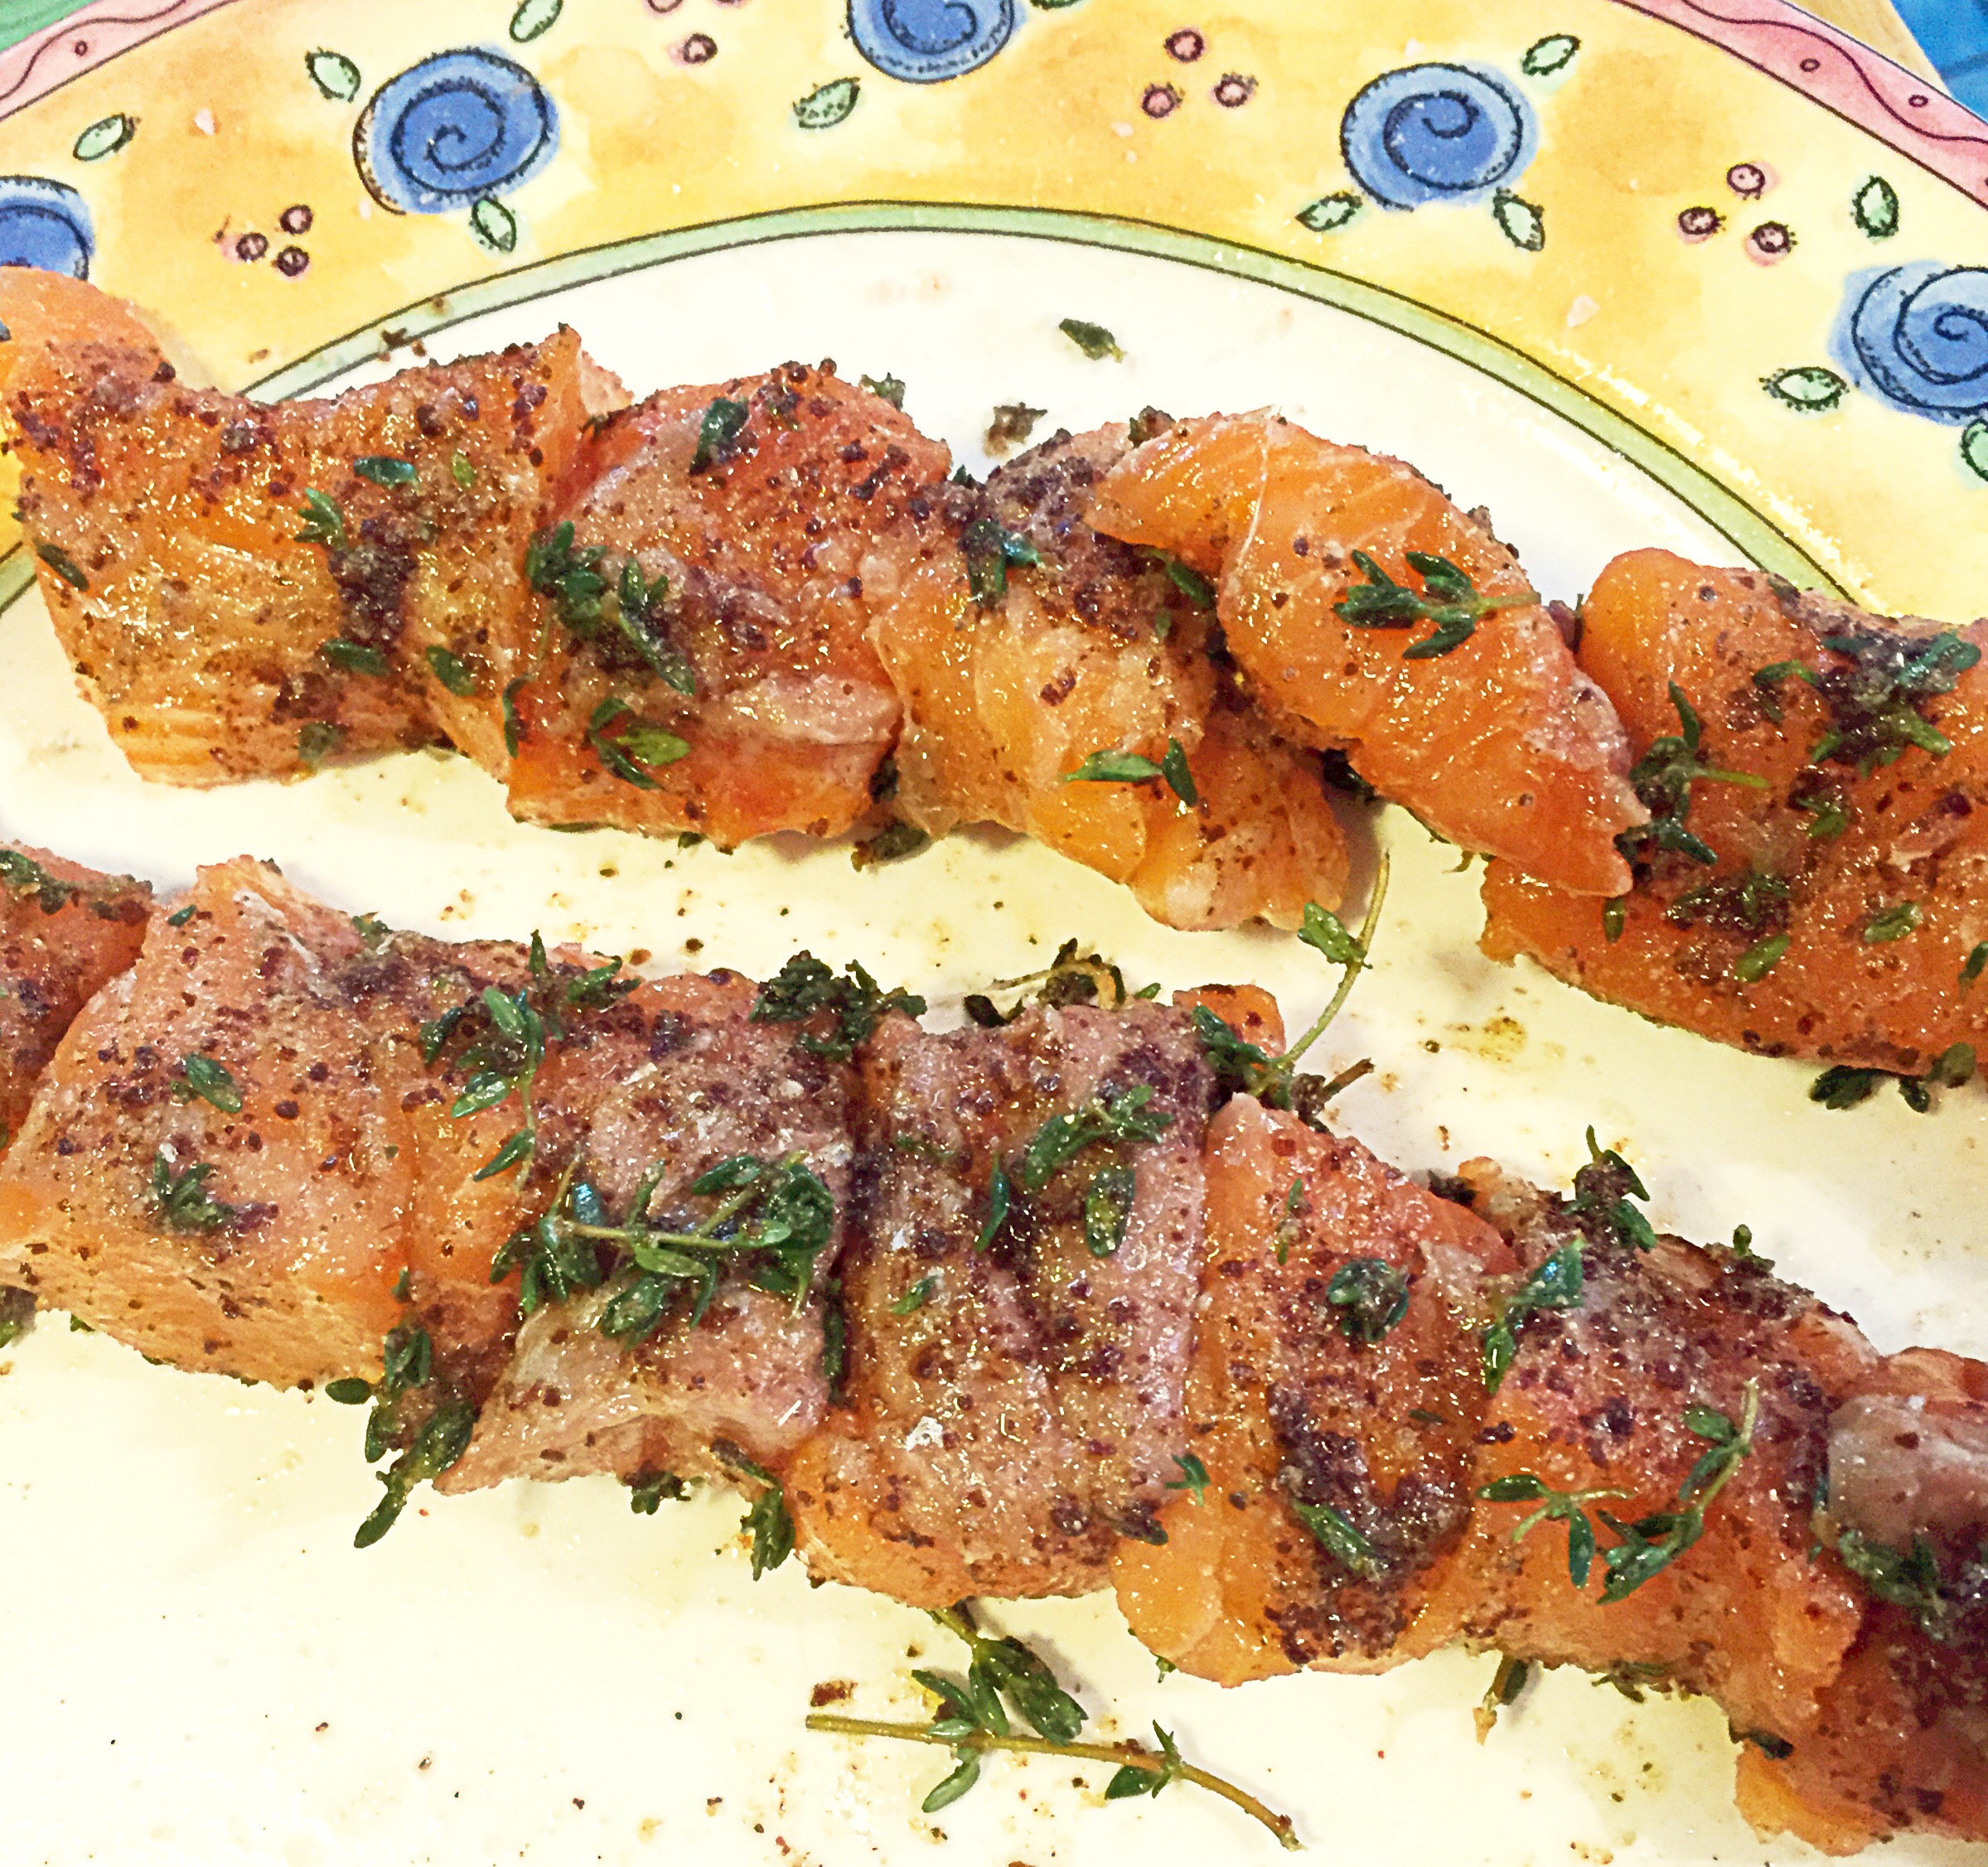
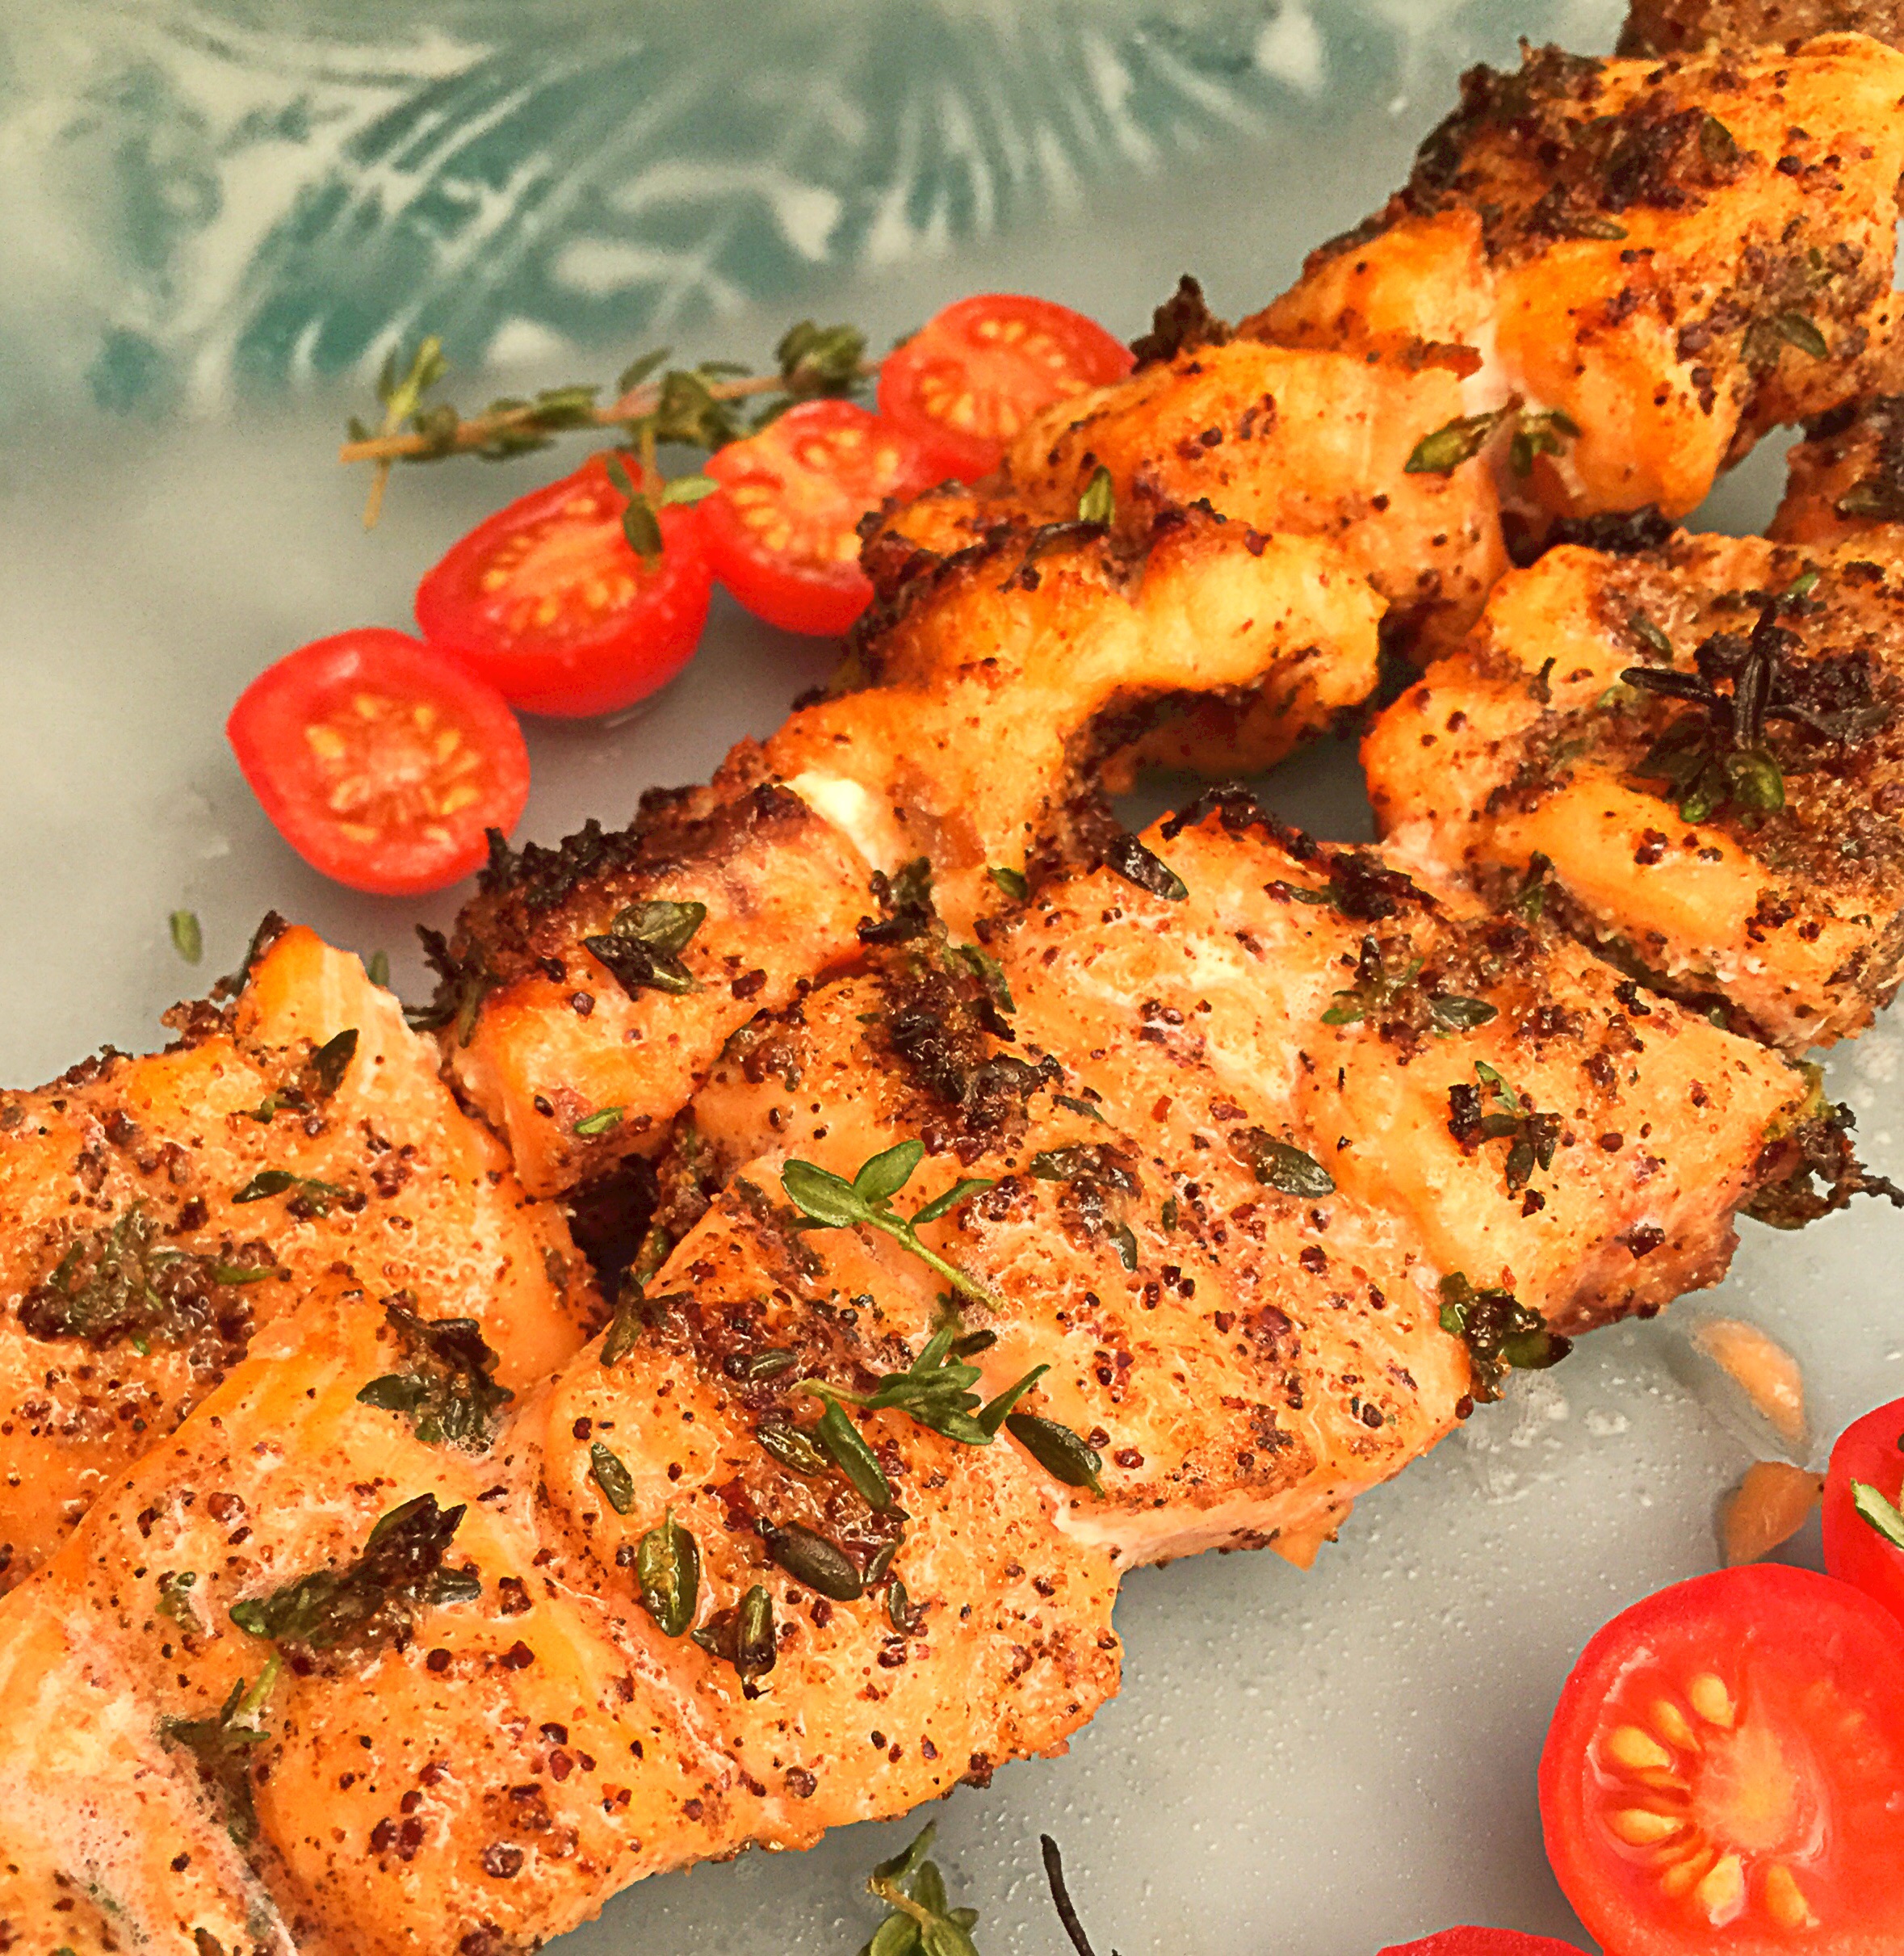
5 chicken thighs

1 cup of Persian cucumber diced

1 cup of tomato diced

10 ounces of sliced crimini mushrooms

12 ounces of spinach

1 cup of quinoa

1 cup of feta cheese, crumbled

4 Tablespoons of oil, split

sea salt to taste

Directions: Place the quinoa and 2 cups of water in a pan, cover and cook until water evaporates(about 10-15 minutes), then set aside.

with k2 preset

Heat the garlic, olive oil and thyme in a saucepan for 1-2 minutes.

NOTE: You do not want the garlic to brown. If it browns then you’ve cooked it too long.  The point of this is to infuse the oil with garlic and thyme and also mellow out the garlic.  The two-minute mark is usually long enough.

Transfer the infused oil to a bowl, add the lemon juice, sea salt, and lemon zest, mix well.

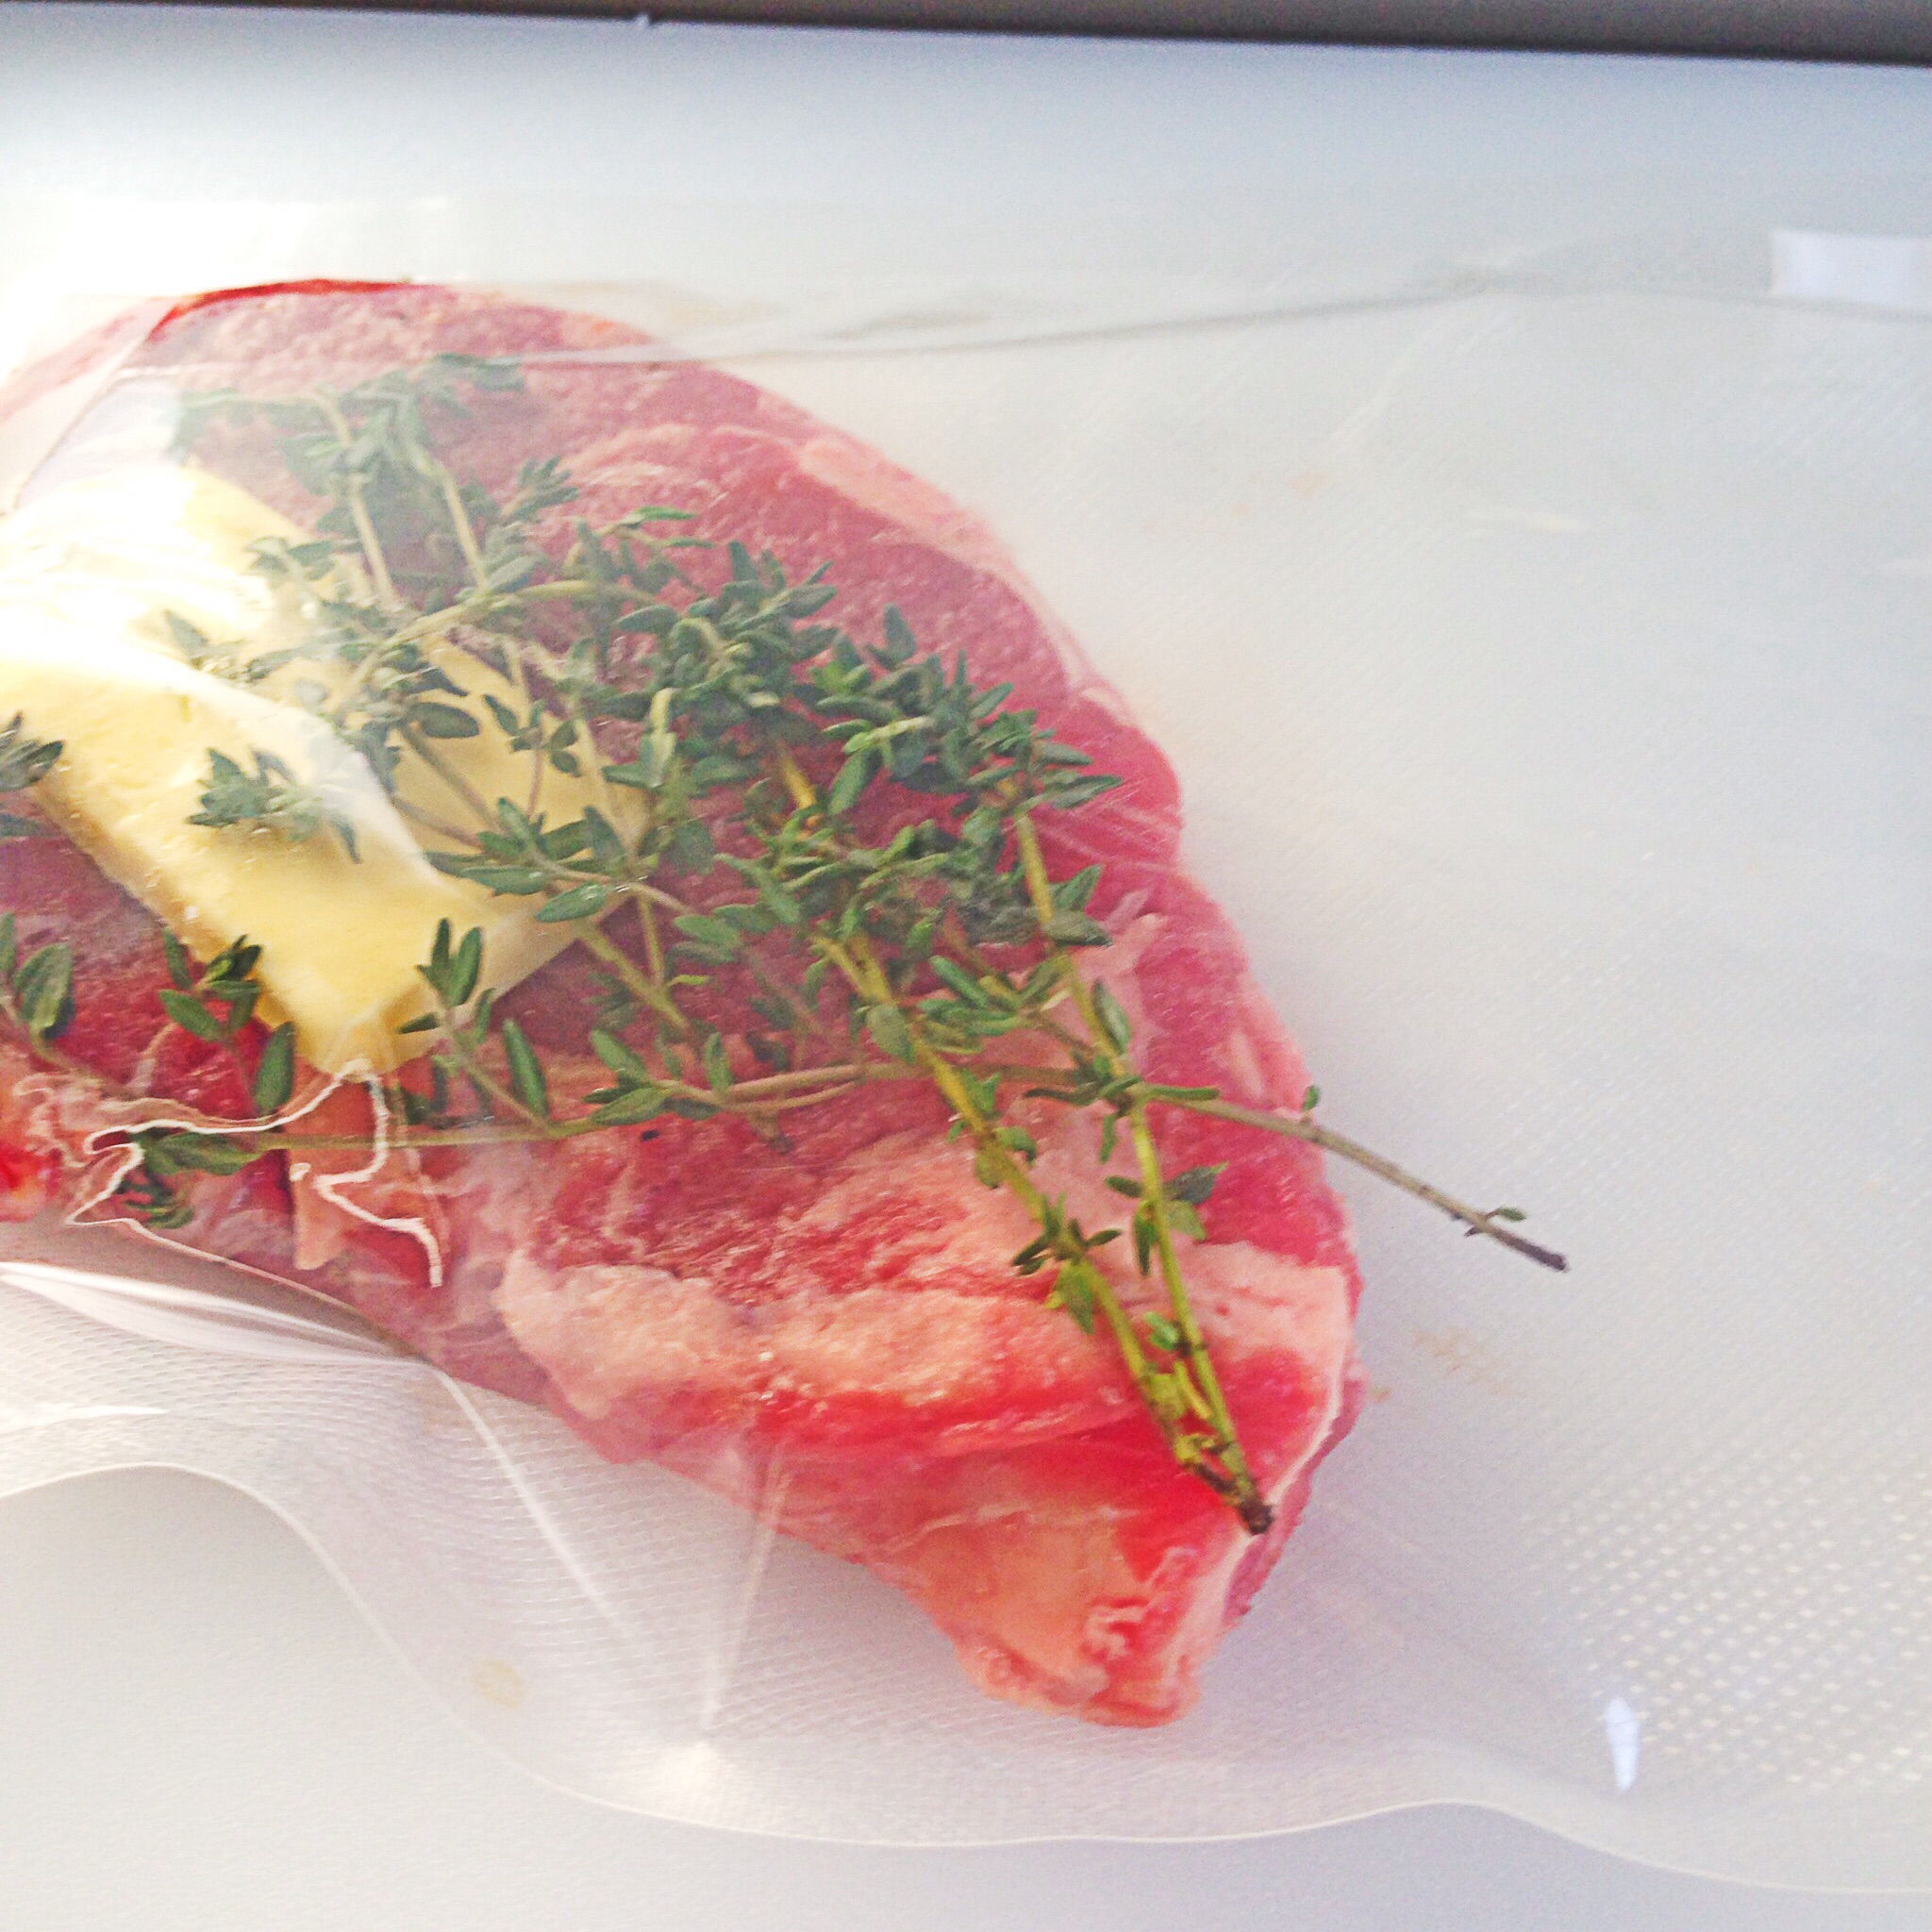
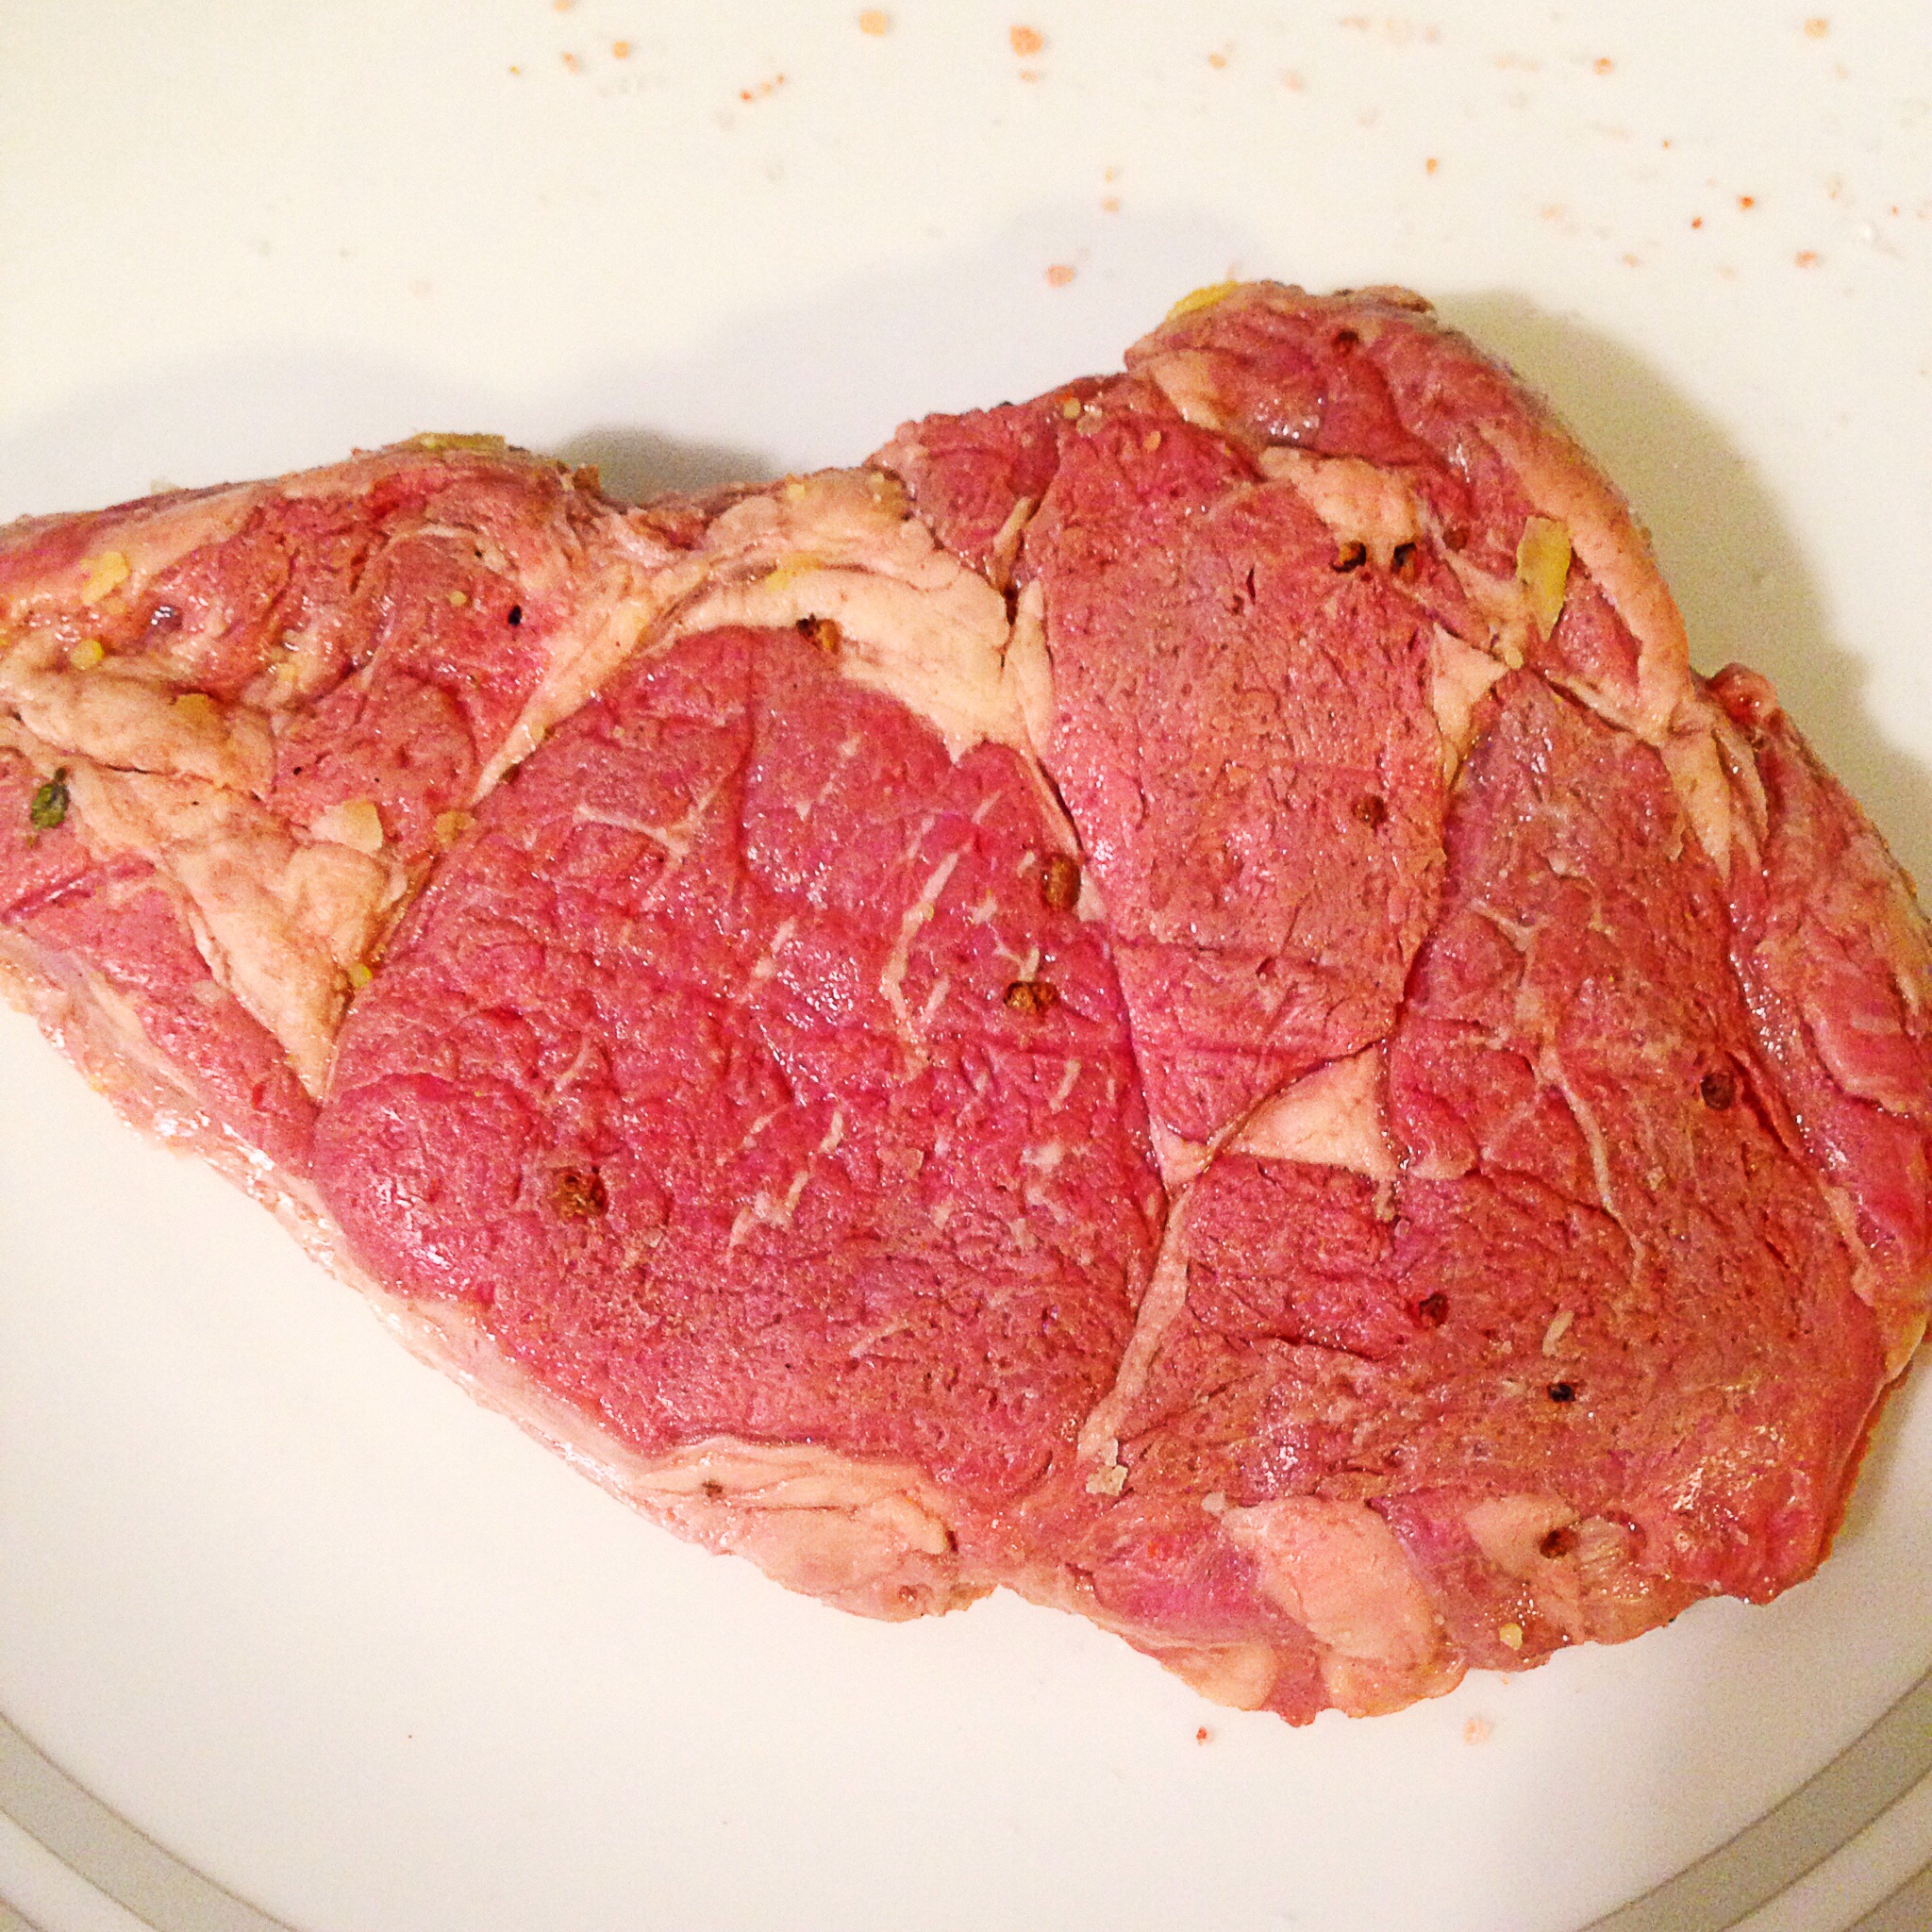
Season the chicken with sea salt, and pour half of the sauce/marinade over the chicken, set the remaining sauce/marinade aside.  Place the chicken in the refrigerator to marinate for a minimum of 15 minutes.

Heat  2 tablespoons of olive oil in a saute pan, add the mushrooms, season with sea salt and cook until brown–about 10 minutes.  Once the mushrooms are brown, transfer them to a plate and set aside.

Add the spinach to the same saute pan, cook until wilted about 3-4 minutes.

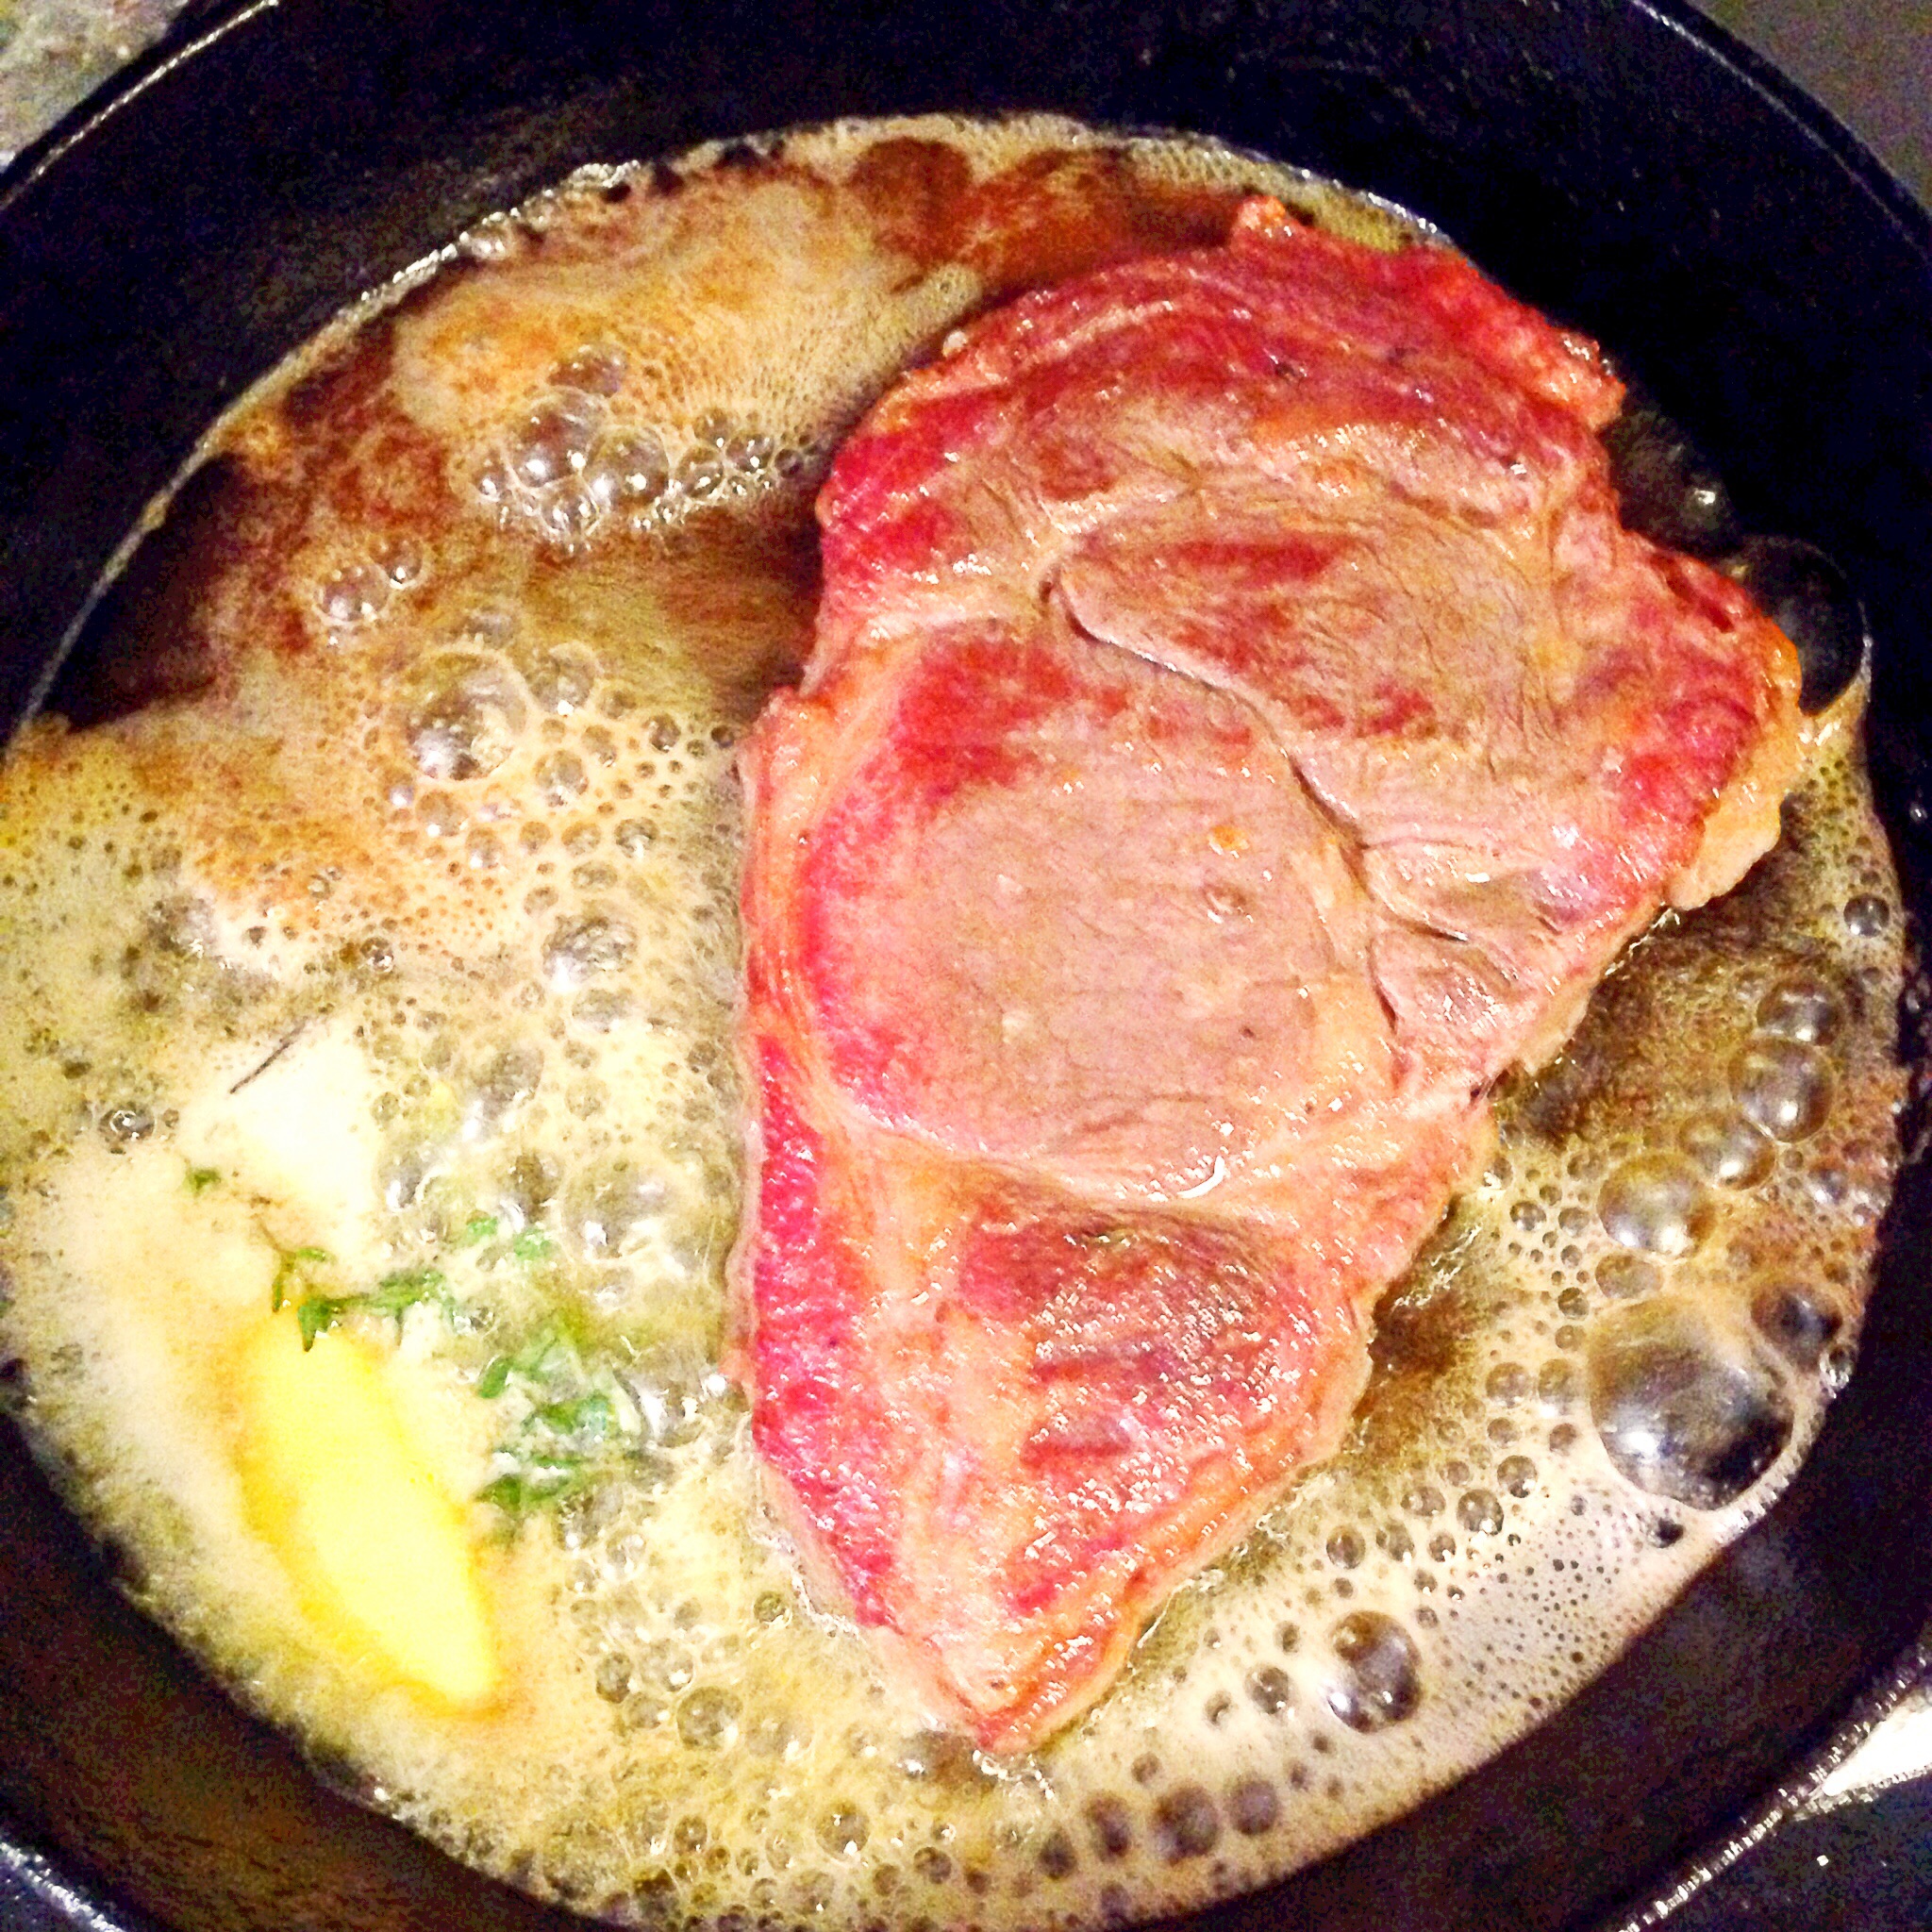
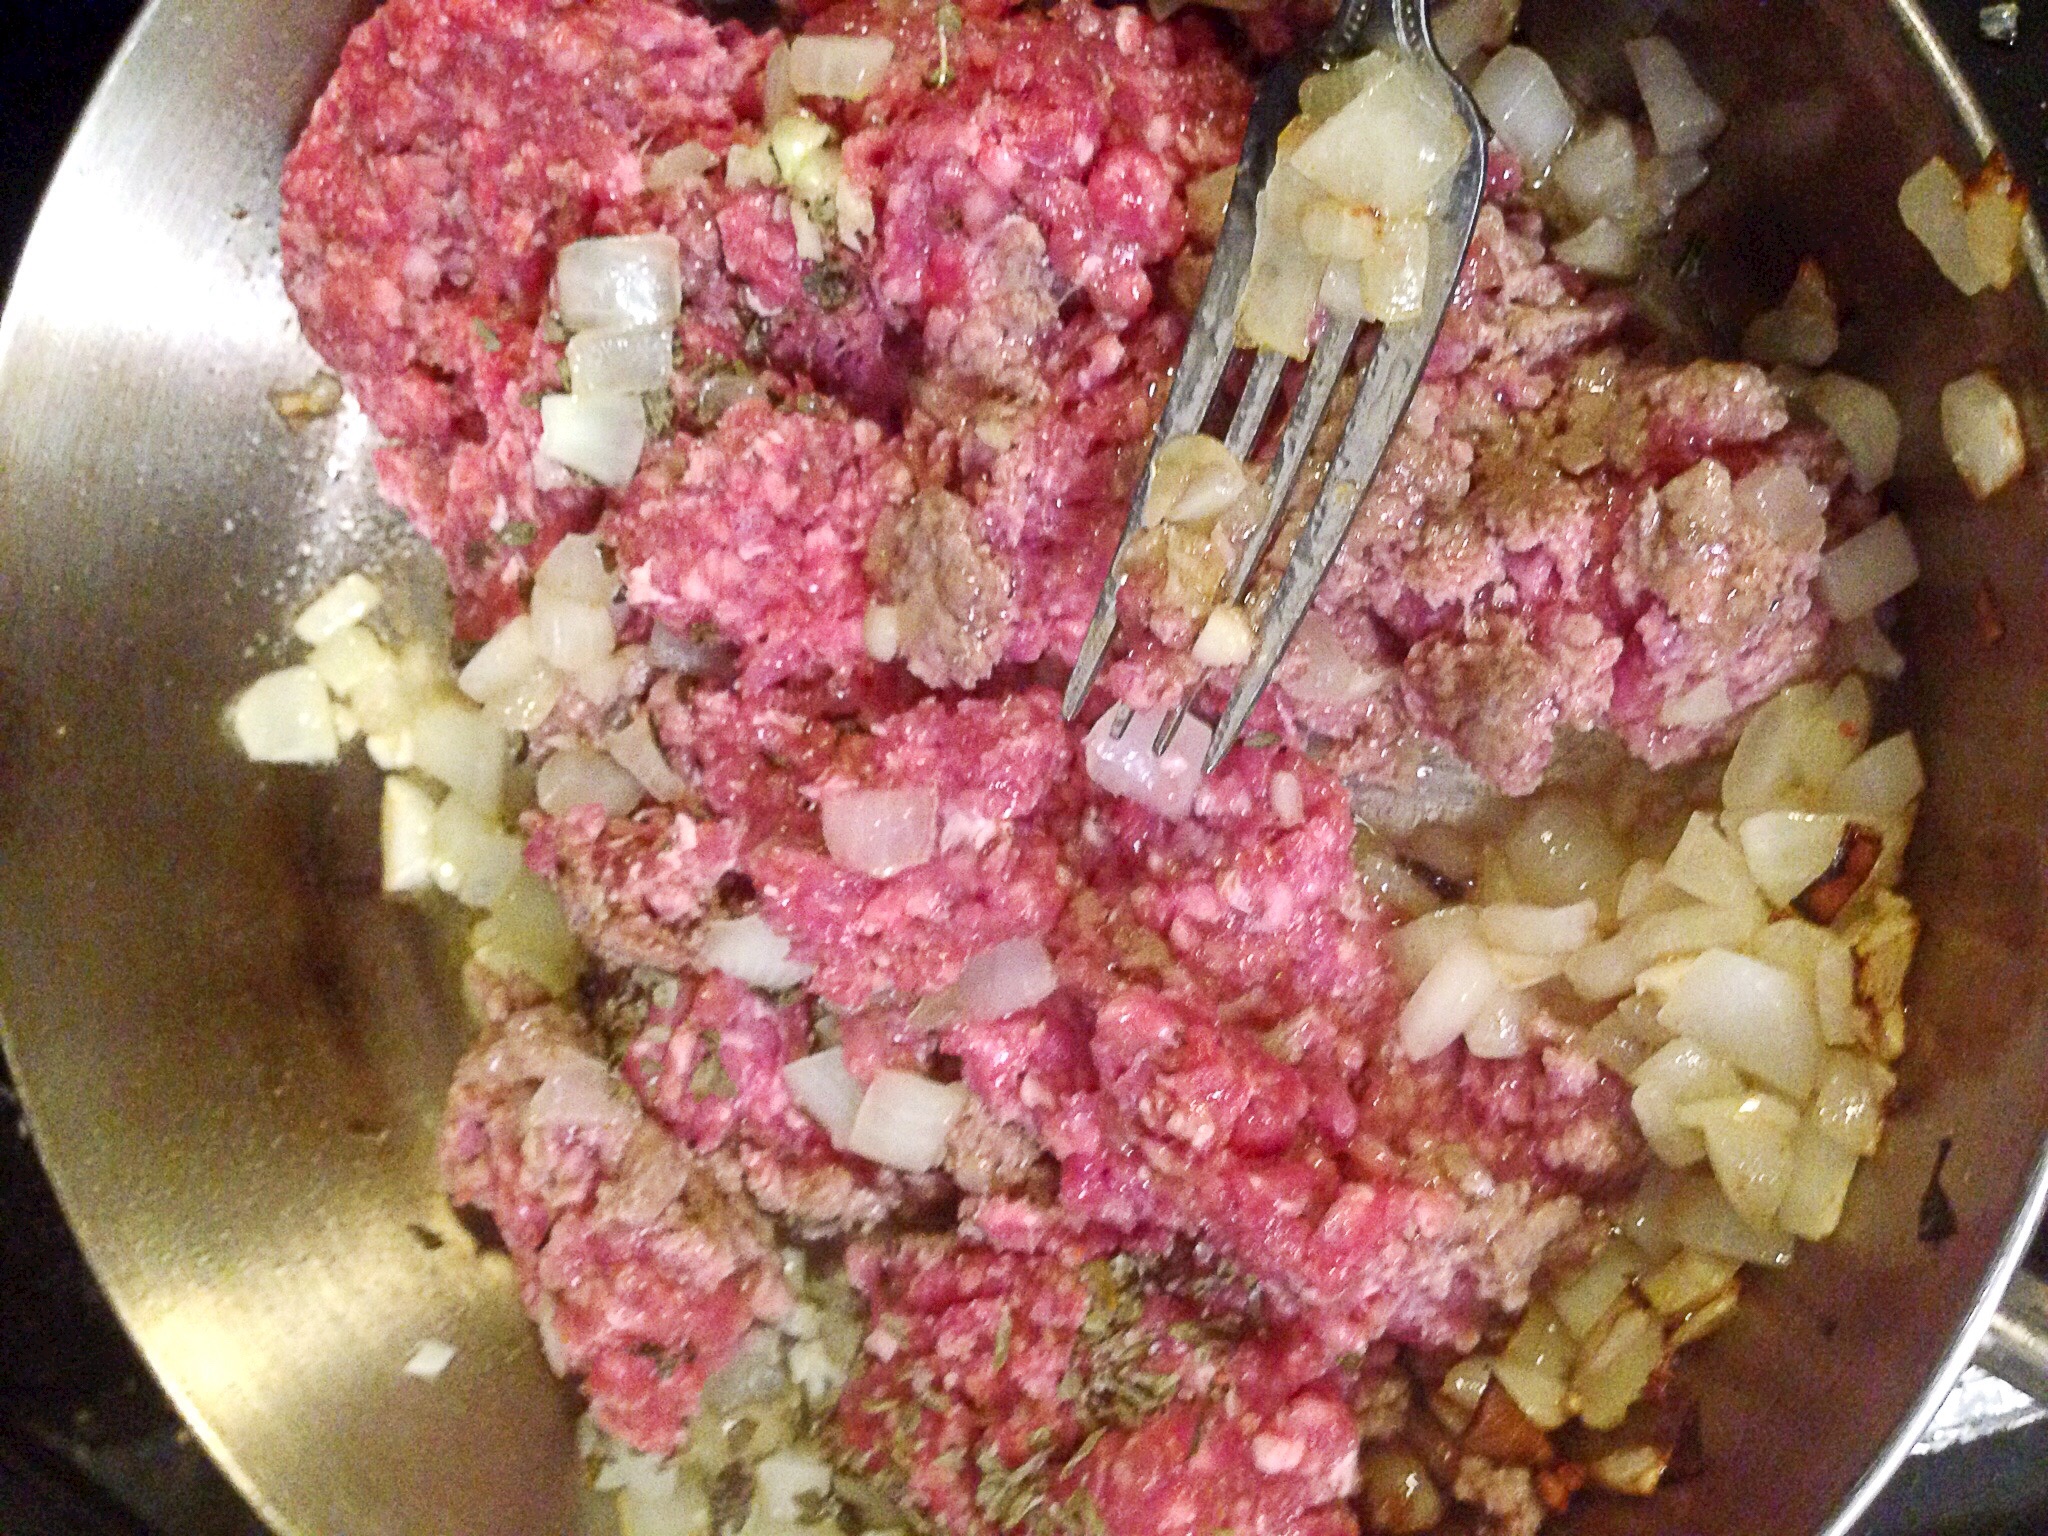
Heat the remaining 2 tablespoons of oil in a cast iron skillet. The skillet should be smoking hot.  Once it is hot, add the chicken and cook undisturbed for 3-4 minutes on each side or until chicken is cooked through.

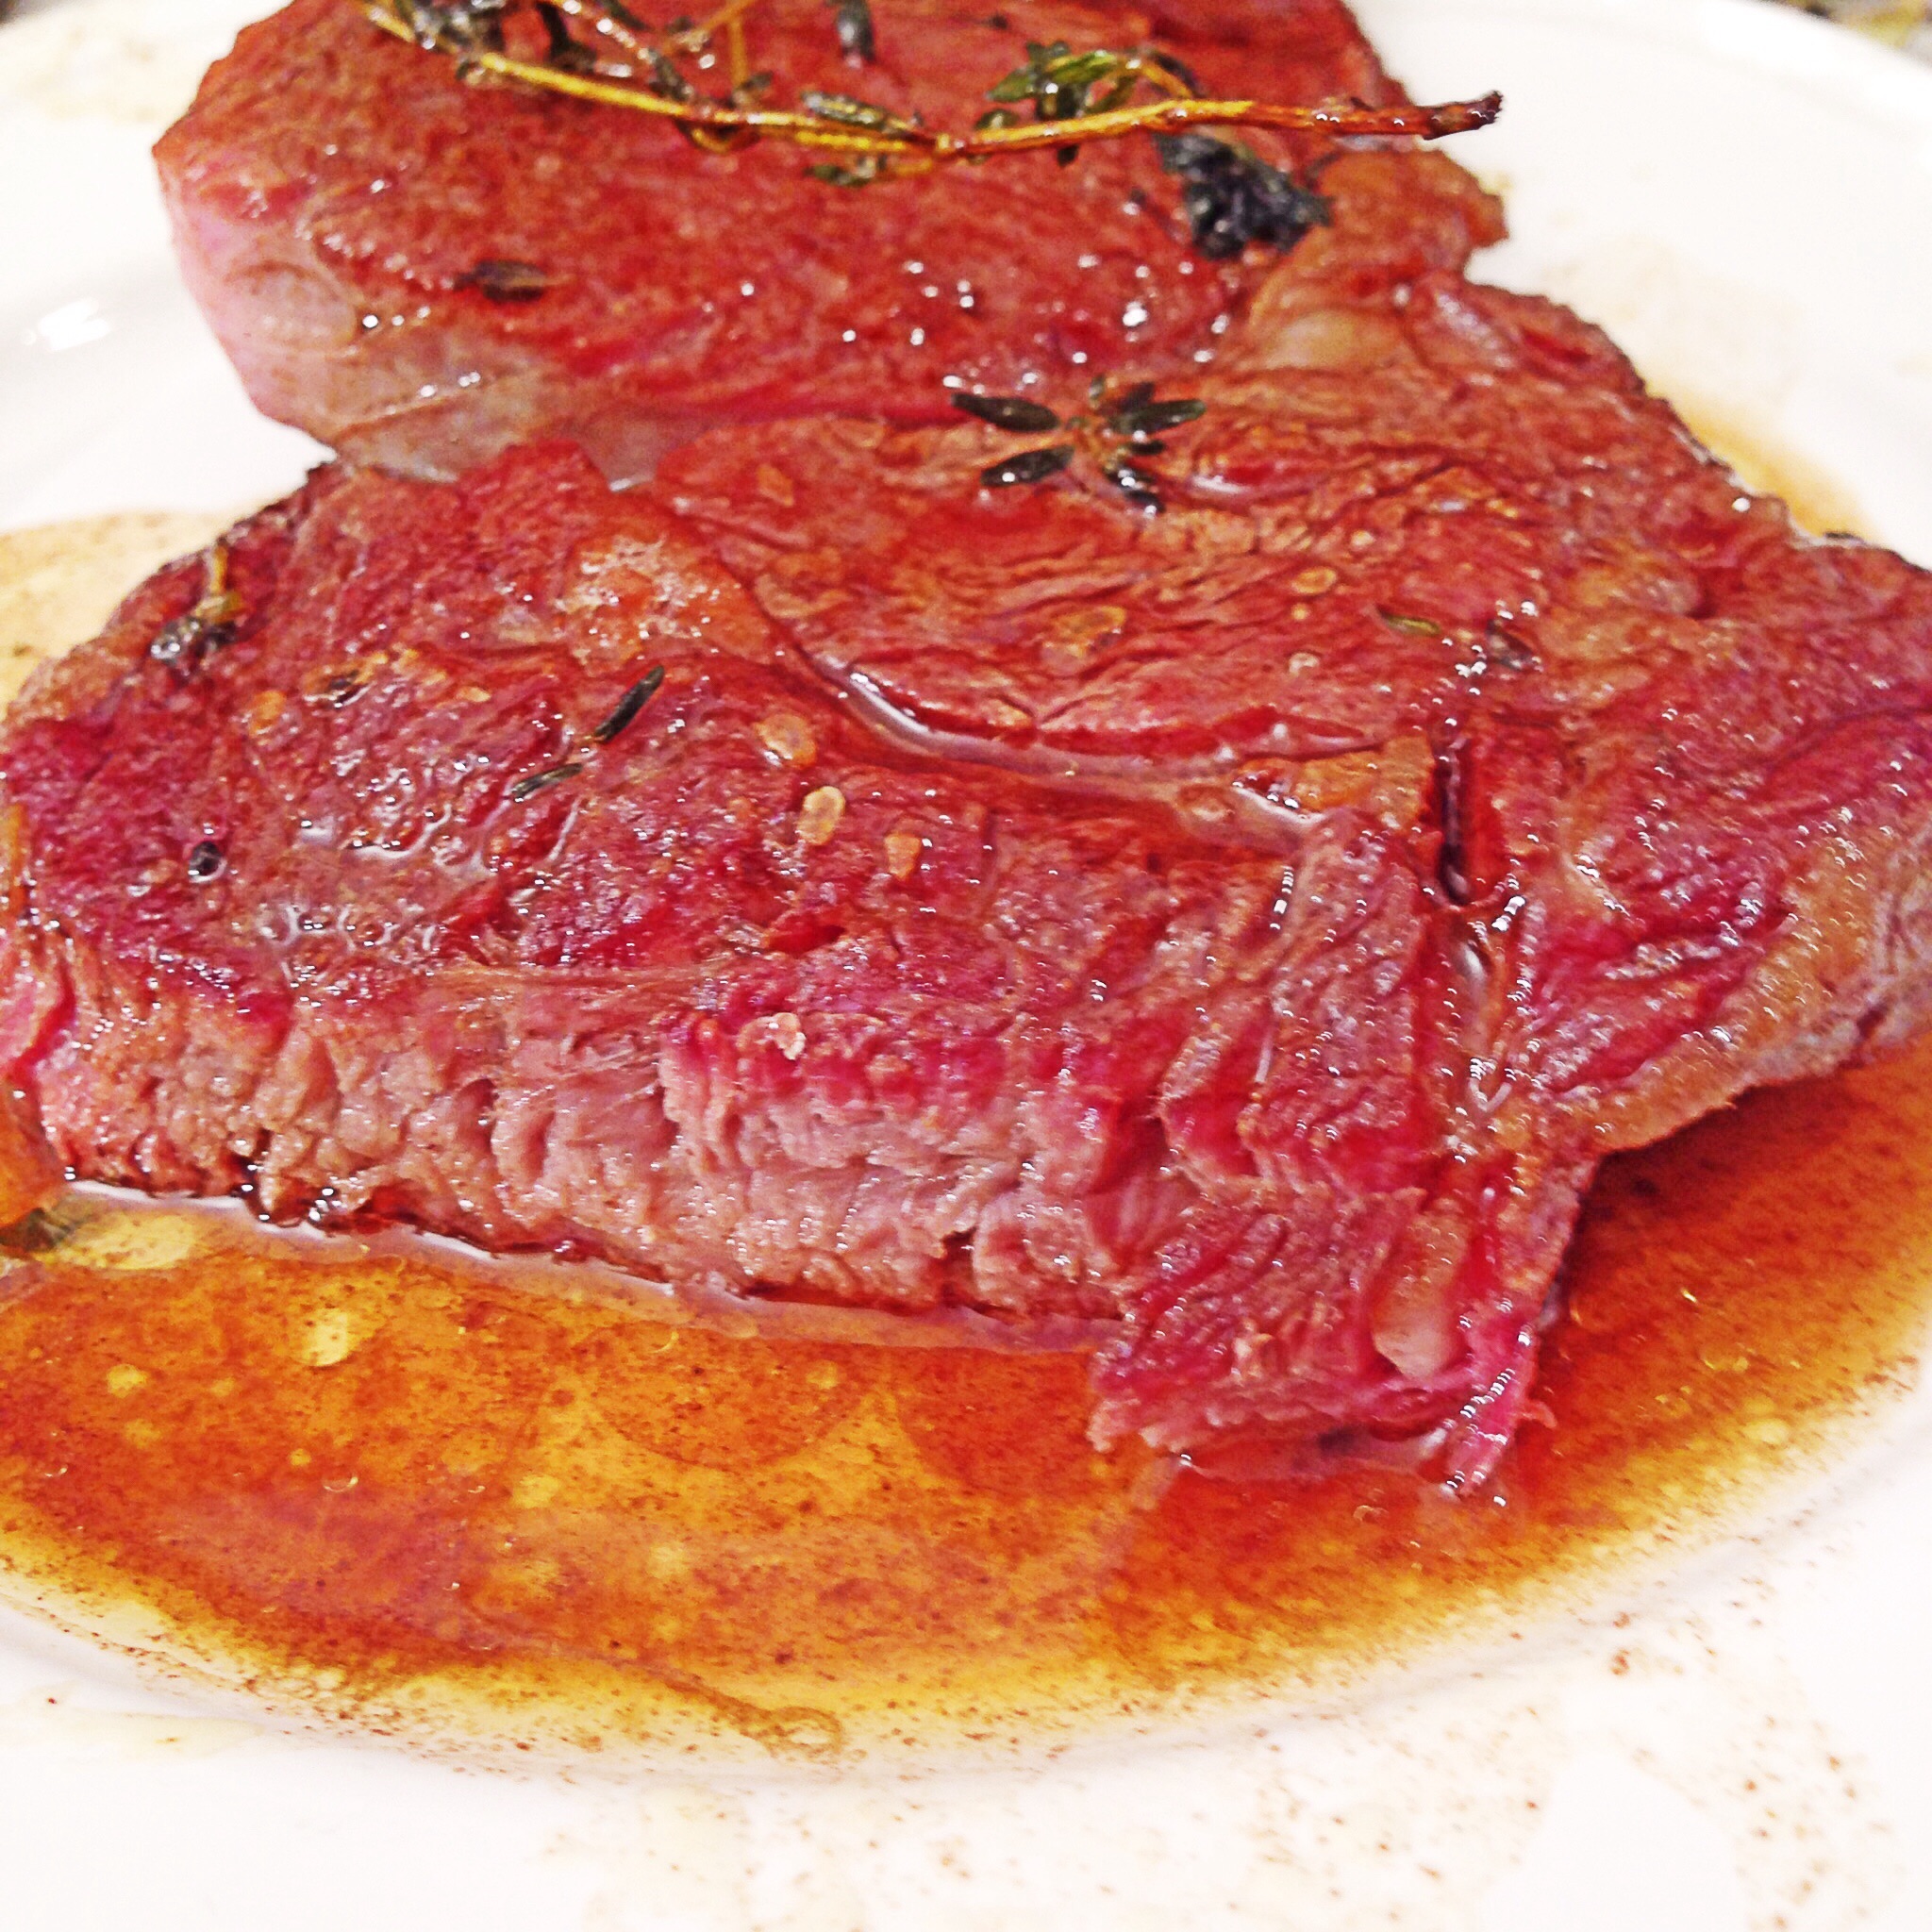
Assemble the bowls by adding some quinoa, mushrooms, spinach, cucumbers, tomatoes, feta and chicken to each bowl.  Spoon 2-3 tablespoons of the remaining sauce over each bowl, and enjoy!


Ginger Garlic Fried Rice

Ginger Garlic Fried Rice

              Ginger Garlic Fried Rice

Ahh…rice. The staple food for many cultures.  In fact, rice is so important to my good friend Gina’s parents that they will not even travel without bringing along their rice maker.  It’s the first thing her mom unpacks in the hotel room. My husband and my daughter are huge fans of rice.  Page is a particular fan of basmati, and I can’t say that I blame her.  A good basmati  is aromatic, light and airy, like eating a cloud.     I don’t cook rice that often, so even a small bag could last us months.  Whenever I do make rice, as much as my husband and daughter love it, we always have leftovers.  I hate to throw it away so I always try to find a way to use it.   Page loves fried rice–who doesn’t?  She is a particular fan of my Crab Fried Rice.  But we don’t always have crab in the house.  So I use what I have, usually a few vegetables, and an egg.  One of the fish restaurants we frequent makes a garlic rice that Page just devours. So I decided to do my own take on the garlic rice which she loves so much.

Pin It!

Pin It!


Here’s what you need:

Ingredients

2-3 cups of room temperature left over rice

1/2 teaspoon of tumeric

1 tablespoon of minced garlic

1 tablespoon of minced ginger

1 tablespoon of oil

sea salt or soy sauce to taste

Directions: Add the oil,  garlic,  tumeric and ginger to a saute pan and heat on medium heat until garlic and ginger slightly brown,

Processed with VSCOcam with s1 preset

add in the rice, toss until rice is heated.

Processed with VSCOcam with c1 preset

Transfer to a serving bowl, season with soy or sea salt, and a drizzle of sesame oil, garnish with cilantro, serve and enjoy. This is AMAZING with my Korean barbecue chicken, stay tuned for that recipe tomorrow!

Processed with VSCOcam with s5 preset

Herbaceous Grilled Lamp Chops

Herbaceous Grilled Lamb Chops

Herbaceous Grilled Lamb Chops

Last weekend I visited a Persian market.  The market filled me with all sorts of food inspiration, but it mostly left me with a strong desire to eat lamb.  I guessing that desire came from the cooked foods section, which had fresh lamb kabobs and shawarma. The market also housed a rather large meat department, it had lamb in every form, hooves, hearts, livers, basically every part of the lamb that a better cook than I am could possibly want to cook. A far cry from the selection at my local Whole Foods! I feel like I hit the lottery if they have stewed lamb meat once every 4 months.  Wouldn’t it be fabulous to be able to walk into your local market and find, um..choices?  Like ramps in the spring time, in California–but I digress.  Let’s just say, I left the Persian market with market envy.   I shop at Whole Foods so often that when I go into a conventional grocery store, I’m always amazed at how inexpensive things are.  Haha..call it reverse sticker shock! Thank you Whole Foods!  Surprisingly, I did not leave the Persian market with lamb.  I did find some great spices, some pomegranate molasses, and a few other great items.  I left with my new finds and a mission to cook these lamb chops.

Pin It!

Pin It!


Ingredients:

1 lb lamb chops

2 tablespoons of fresh rosemary, finely chopped

4-5 cloves of garlic minced

1 teaspoon lemon powder, can sub with lemon zest

1/2 teaspoon of olive oil

Directions: To a small bowl add garlic, rosemary, lemon zest and oil, mix well.

image

Dry lamb chops, season generously with sea salt. Rub the lamb chops with the herbaceous garlic paste.

image

Place lamb chops on a hot grill, and cook for 5-7 minutes on each side, or until lamb chops are cooked to your liking.  Remove from grill, serve with a fresh squeeze of lemon and enjoy!

image

Persian Spiced Salmon Kabobs

Persian Spiced Salmon Kabob's

Persian Spiced Salmon Kabob’s


I love a good kabob and lately I’ve been craving them.  Salmon is such a hearty fish, and there are many great ways to prepare salmon, but when you want to switch things up a bit–grilled salmon is the way to go.  I made a paste to adorn this salmon, and it’s rich in Mediterranean flavors.  I used sumac, which can be found in any middle eastern store, or in your local Trader Joe’s–it’s where I got mine.  Sumac is tart,  sour and is often used in place of lemon in middle eastern recipes.   If you can’t find sumac, then by all means feel free to substitute with the zest of a lemon.  The flavor is this dish is fantastic.  The fresh thyme was amazing! I felt like I was eating at one of my favorite Persian restaurants.  Page really loved it, and my husband could not stop with the compliments.

Pin It!

Pin It!


Prep time: 5 minutes

cook time: 7 minutes

Total time: 12 minutes


Ingredients:

1lb of salmon– dried with paper towels, de-skinned, and cubed into 1 inch pieces

1 teaspoon of sumac powder– can substitute with lemon zest

1/2 teaspoon of garlic powder

1/2 teaspoon of cumin

1 teaspoon of fresh thyme-stems removed

1 teaspoon of olive oil–or oil of your choice

sea salt to taste

Directions: To a small bowl add the garlic powder, cumin powder, fresh thyme and oil, mix well and set aside.

image

Rub the spice mixture on the salmon,

image


then add the salmon to skewers,

image


Grill the salmon for 3-4 minutes on each side, remove from grill, serve and enjoy!

image


Spice Rubbed Salmon with Lemon Cream Sauce

Spice rubbed Salmon with lemon cream sauce

Spice Rubbed Salmon with Lemon Cream Sauce

I love salmon, especially perfectly cooked salmon. When cooked correctly salmon is moist, tender, and oh so satisfying.  Most recipes for salmon include dill, lemon, garlic or some variation of those three ingredients. I’m a big fan of garlic and lemon, but dill is just not a flavor I’m in love with.  Besides, salmon is not a fragile fish, it can hold up to more bold flavor profiles.This particular salmon recipe is proof of that.

Pin It!

Prep time: 5 minutes

Cook time: 8 minutes

Total time: 15 minutes

Ingredients:

1 lb salmon fillet

1/4 teaspoon of paprika

1/4 teaspoon of granulated garlic

1/4 teaspoon of onion powder

1/4 teaspoon of ground cumin

1/2-1 teaspoon of avocado oil or coconut oil

sea salt & black pepper to taste

Lemon cream sauce (optional)

2 Tablespoons of sour cream –can sub with yogurt

1/4 teaspoon of tabasco

1 tablespoon of lemon juice

sea salt to taste

Directions: Pre-heat oven to 425F. Mix the ingredients for the lemon sauce in a small bowl and set aside. Dry salmon fillet with paper towels, drizzle with oil on both sides, then salt, place on a foil lined bake sheet and set aside. In a small bowl mix together the paprika, garlic, onion, and cumin.

image

Sprinkle the spice mixture over the salmon,

image

Place the salmon in the oven for 8-10 minutes depending on how thick your fillet is.  My fillet was about 1/2 inch thick and it was done in 8 minutes.  Remove from oven, drizzle with lemon sauce and enjoy!

image

Creamy Caesar Salad Dressing

Creamy Caesar Dressing--DIY Caesar Salad Dressing

Creamy Caesar Dressing–DIY Caesar Salad Dressing

My latest obsession is salad.  Crispy and crunchy vegetables with a drizzle of oil, and a splash of citrus or vinegar–what’s not to love?  Salads are a great way to get in a few servings of fresh vegetables in their raw state.  As much as I love salads, they can become a bit boring if you don’t mix things up a bit.  The easiest way to do that is to switch out the vegetables and the dressing.  I often make caesar salads with romaine lettuce, but sometimes I switch out the romaine and replace it with baby kale, or lacinto kale.  It makes for a hearty salad and an especially delicious twist to the standard caesar  salad, we are all used to.  I’ll post the recipe I use for the kale caesar another day, but today, I’m sharing my recipe for my favorite creamy caesar salad dressing.  It’s my go to dressing, when I crave a creamy salad dressing.

Pin It!

Prep time: 10 minutes

Cook time: none

Ingredients:

1 clove of garlic pasted

2 Tablespoons of lemon juice

1/2 teaspoon of worcestershire sauce

1 tablespoon of anchovy paste

2 large egg yolks

1/4 cup grape seed oil

5 teaspoons of olive oil

3/4 cup of freshly grated parmesan cheese

black pepper to taste

Directions:  To a small bowl add the grated garlic and lemon juice, allow to sit for 10 minutes.  If you have a hand mixer like I do, add the lemon garlic mixture, (after it sits for 10 minutes), and the rest of the ingredients to a bowl and mix until the mixture thickens–about 1-2 minutes.

image

Transfer to an air tight container and chill until ready to use.

image

If you don’t have a hand mixer,  whisk worcestershire sauce, anchovies, and egg yolks into garlic/lemon juice mixture.


While whisking, drizzle grape seed oil and extra virgin olive oil into bowl in slow, steady stream until fully emulsified.


 Add 3/4 cup Parmesan and pepper to taste; whisk until incorporated:

image

Tortilla Pizza– How to make Pizza with a Tortilla crust


Tortilla Pizza

Tortilla Pizza


A friend of mine has been espousing the virtues of the Baking Steel for over a year and half now.  We don’t make very many pizza’s in this house, so I put it on my list of things that I want to buy in the future, but really can wait. Then I read all about the virtues of this steel plate in Modernist Cuisine, and I knew that I needed one sooner rather than later.  Aside from being a great way to make brick oven style pizza’s, the baking steel works as a plancha, an anti-griddle, and a teppanyaki.  A multi-purpose gadget always excites me, so I  ordered one.  I came across a great article on Serious eats about a reversible version of the Baking Steel, and right next to it was a recipe for Extra-Crispy Bar-Style Tortilla Pizza and I knew that I had to try it. Leave it to me to buy a gadget made for making pizza only to put it aside to make a pizza in a cast iron skillet.  After making this, I don’t know why I never thought to try making pizza with a tortilla as a base before.  I’ve used naan, pita, and a middle eastern bread to make pizza before, so you would think it would have occurred to me to try one with a tortilla.  This pizza is super-duper easy, takes less than 10 minutes from start to finish, and it’s the best thin crust pizza that I’ve ever eaten.   For my gluten free friends, this pizza is easily adapted to become gluten free by switching out the flour tortilla, with a gluten free tortilla, Whole Food’s sells a host of different varieties. You can add additional toppings to this, but I kept it simple.

Prep time: 5 minutes

Cook time: 7-10 minutes

Pin It!


Ingredients:

3 tablespoons of Organic Tomato sauce (I used the Trader Joe’s brand)

1/4 cup of freshly grated parmesan cheese

1/2 cup of organic mozzarella cheese (grated)

3 fresh basil leaves sliced thinly

1 large organic flour tortilla

1/2 teaspoon coconut oil or grape seed oil

Directions: Pre-heat oven to broil.  Add the oil to the cast iron pan and bring to temperature over high heat.

image

Once the oil is hot, wipe out any excess with a paper towel–be careful not to burn yourself.

image

Add the tortilla to the pan, turn the heat down to medium-low.

image

Add the 3 tablespoons of tomato sauce,

image

spread the sauce out evenly over the tortilla, all the way out to the edges.

image


Add the mozzarella.

image

Then add the parmesan around the edges–you are giving your pizza a parmesean crust.

image

Add the basil:

image

Transfer the pizza to the oven,

image


Allow the pizza to cook for 3-4 minutes or until the cheese bubbles and browns.

image

Remove the pan from the oven.  The pizza should be nice and crisp–if it is not, place the cast iron pan over a burner, turn on the fire and allow to  cook for another 30-60 seconds until it’s nice and crisp. Remove the pizza from the pan slice, serve and enjoy! This recipe is only for one pizza, so if you need more adjust accordingly.  My daughter enjoyed this so much, that she begged me to make her one for breakfast the next morning.

image


image


image

If you like this recipe you will probably like my recipe for Artisan Prosciutto Tomato and Basil Pizza.

Follow and like me on Facebook: http://www.facebook.com/lazygirldinners

Pan Seared Sous Vide Rib-eye Steak

Sous Vide Rib-eye Steak

Sous Vide Rib-eye Steak


I have really been enjoying my Anova Precision Cooker‘s. I expected my cooking to improve, but I never expected how much sous vide would change the way I cook.  This past Sunday I went to my local farmer’s market and Whole Foods and as I was plotting out what I would cook for the week, it struck me: I could cook everything that I needed to make for the week with my sous vide cooker in one day–that day–Sunday–in less than 2 hours–1.5 hours to be exact, of non active cook time!  Que the bells people, this thing is LIFE CHANGING!!!!! I don’t think I can cook any other way now.  Cooking sous vide is a lazy girls best friend! I’m 4 meals in and there is no turning back for me! Every meal is fresh, restaurant quality and quick to make.  If you’re in the market for a Christmas gift you might want to put an immersion circulator on your wish list–two words–LIFE CHANGING!!!  Now to this steak.  It was delish, the best steak I’ve eaten in some time!  It’s actually the first time that I’ve cooked a rib-eye inside on a stove top.  I always have my husband grill them.  As great as the steak was I would have liked it a bit more rare than it was.  But my husband likes them medium well, so if you happen to like it the way I do, then set the temperature on your circulator lower than 140F,  138F would probably work better.

Pin It!


Prep time: 5 minutes

Cook time: 1 and 22 minutes hours

Ingredients:

1 pound rib-eye steak

4-5 sprigs of fresh thyme

1 teaspoon butter

1 clove of garlic smashed

sea salt and black pepper

For pan searing

2 Tablespoons of butter

3 tablespoons of a high temperature oil like grape seed or safflower.

3-4 sprigs of thyme

Directions:  Fill a pot with enough water to come to cover the minimum level line on your circulator. Set your circulator to 140F and wait for it to bring the water to temperature.  Meanwhile season both sides of your steak with sea salt and black pepper.  Add the steak to a vacuum bag, top with butter, thyme and garlic.  Seal bag shut using your vacuum sealer or water displacement method.

image

Once the water has come to temperature add the sealed steak to the pot and cook for 1 hour and 22 minutes.

image

Once the steak has cooked for 1 and 22 minutes remove it from the water if you are ready to cook it right away, remove it from the bag and pat it dry and let it rest while you heat the oil in a skillet.  If you plan on cooking it later even if it’s only a few hours later place into an ice bath (1 cup of salt dissolved in 4 cups of  warm water, then add 2lbs of ice).  Let the steak sit for 1 hour in the ice bath before refrigerating.

image

When you’re ready to cook the steak.  Heat 3 tablespoons of oil in a cast iron skillet. Remove it from the bag, discard the thyme leaves and garlic.  Season the steak with a little more sea salt.

image

Once the oil is hot add the steak, brown it on both sides making sure to flip it constantly.  Add the 2 tablespoons of butter and allow it to melt.  Add in 3 sprigs of thyme and baste the steak with the oil in the pan. Making sure to focus on the areas of steak that have fat–you want to brown those parts.

image

Once the steak is nice and golden brown–about 5-6 minutes remove it from the pan, serve and enjoy–no need to rest a sous vide steak.

image

image


Lazy Girl Stove-top Lasagna

Lazy Girl Stove Top Lasagna

Lazy Girl Stove Top Lasagna


These last few weeks have been a whirlwind, I have been burning both ends of the candle wick for some time now, and it finally caught up with me.  But even when mom is sick, our kiddies still need to eat! I normally use all of these ingredients to make my lasagna, but I make the meat sauce on the stove, then transfer the sauce to a bake pan and layer it over the noodles, top with cheese and finish this in the oven.  However, because I was sick, I thought why not just try this on the stove top.  Surprisingly it worked! This lasagna is the ultimate in lazy cooking, but it yielded the best lasagna that I’ve ever made, and the easiest!


Pin It!

Pin It!


Prep time: 2 minutes

Cook time: 25-30 minutes

Ingredients:

1 lb of grass fed ground beef

1 small brown onion (chopped)

3 cloves of garlic (chopped)

1 teaspoon of dried basil

15 ounces of organic tomato sauce

1 cup of organic mozzarella cheese

5 tablespoons of organic whole fat cottage cheese

2  lasagna noodles I used brown rice lasagna noodles

1 tablespoon of olive oil

sea salt to taste


Directions: Heat olive oil in a saute pan, add in onion and garlic and cook until onion turns translucent.

image

Add in ground meat, season generously with sea salt and cook until brown.  Drain any excess fat.

image

Add basil, cottage cheese and half of the tomato sauce,. stir until all ingredients are combined,

image

Top with the lasagna noodles–I broke them and spread them out over the the entire pan–

image

Top with the remaining sauce, making sure that all the noodles are completely covered and submerged in the sauce. Cook on medium low heat until the noodles are cooked through.

image

Once noodle are done, top with cheese, cover and cook for an additional 2-3 minutes, and the cheese has melted.

image

Serve and enjoy!

image