Homemade Granola Bars with Cranberries & Walnuts

Homemade Granola Fruit and Nut Bars

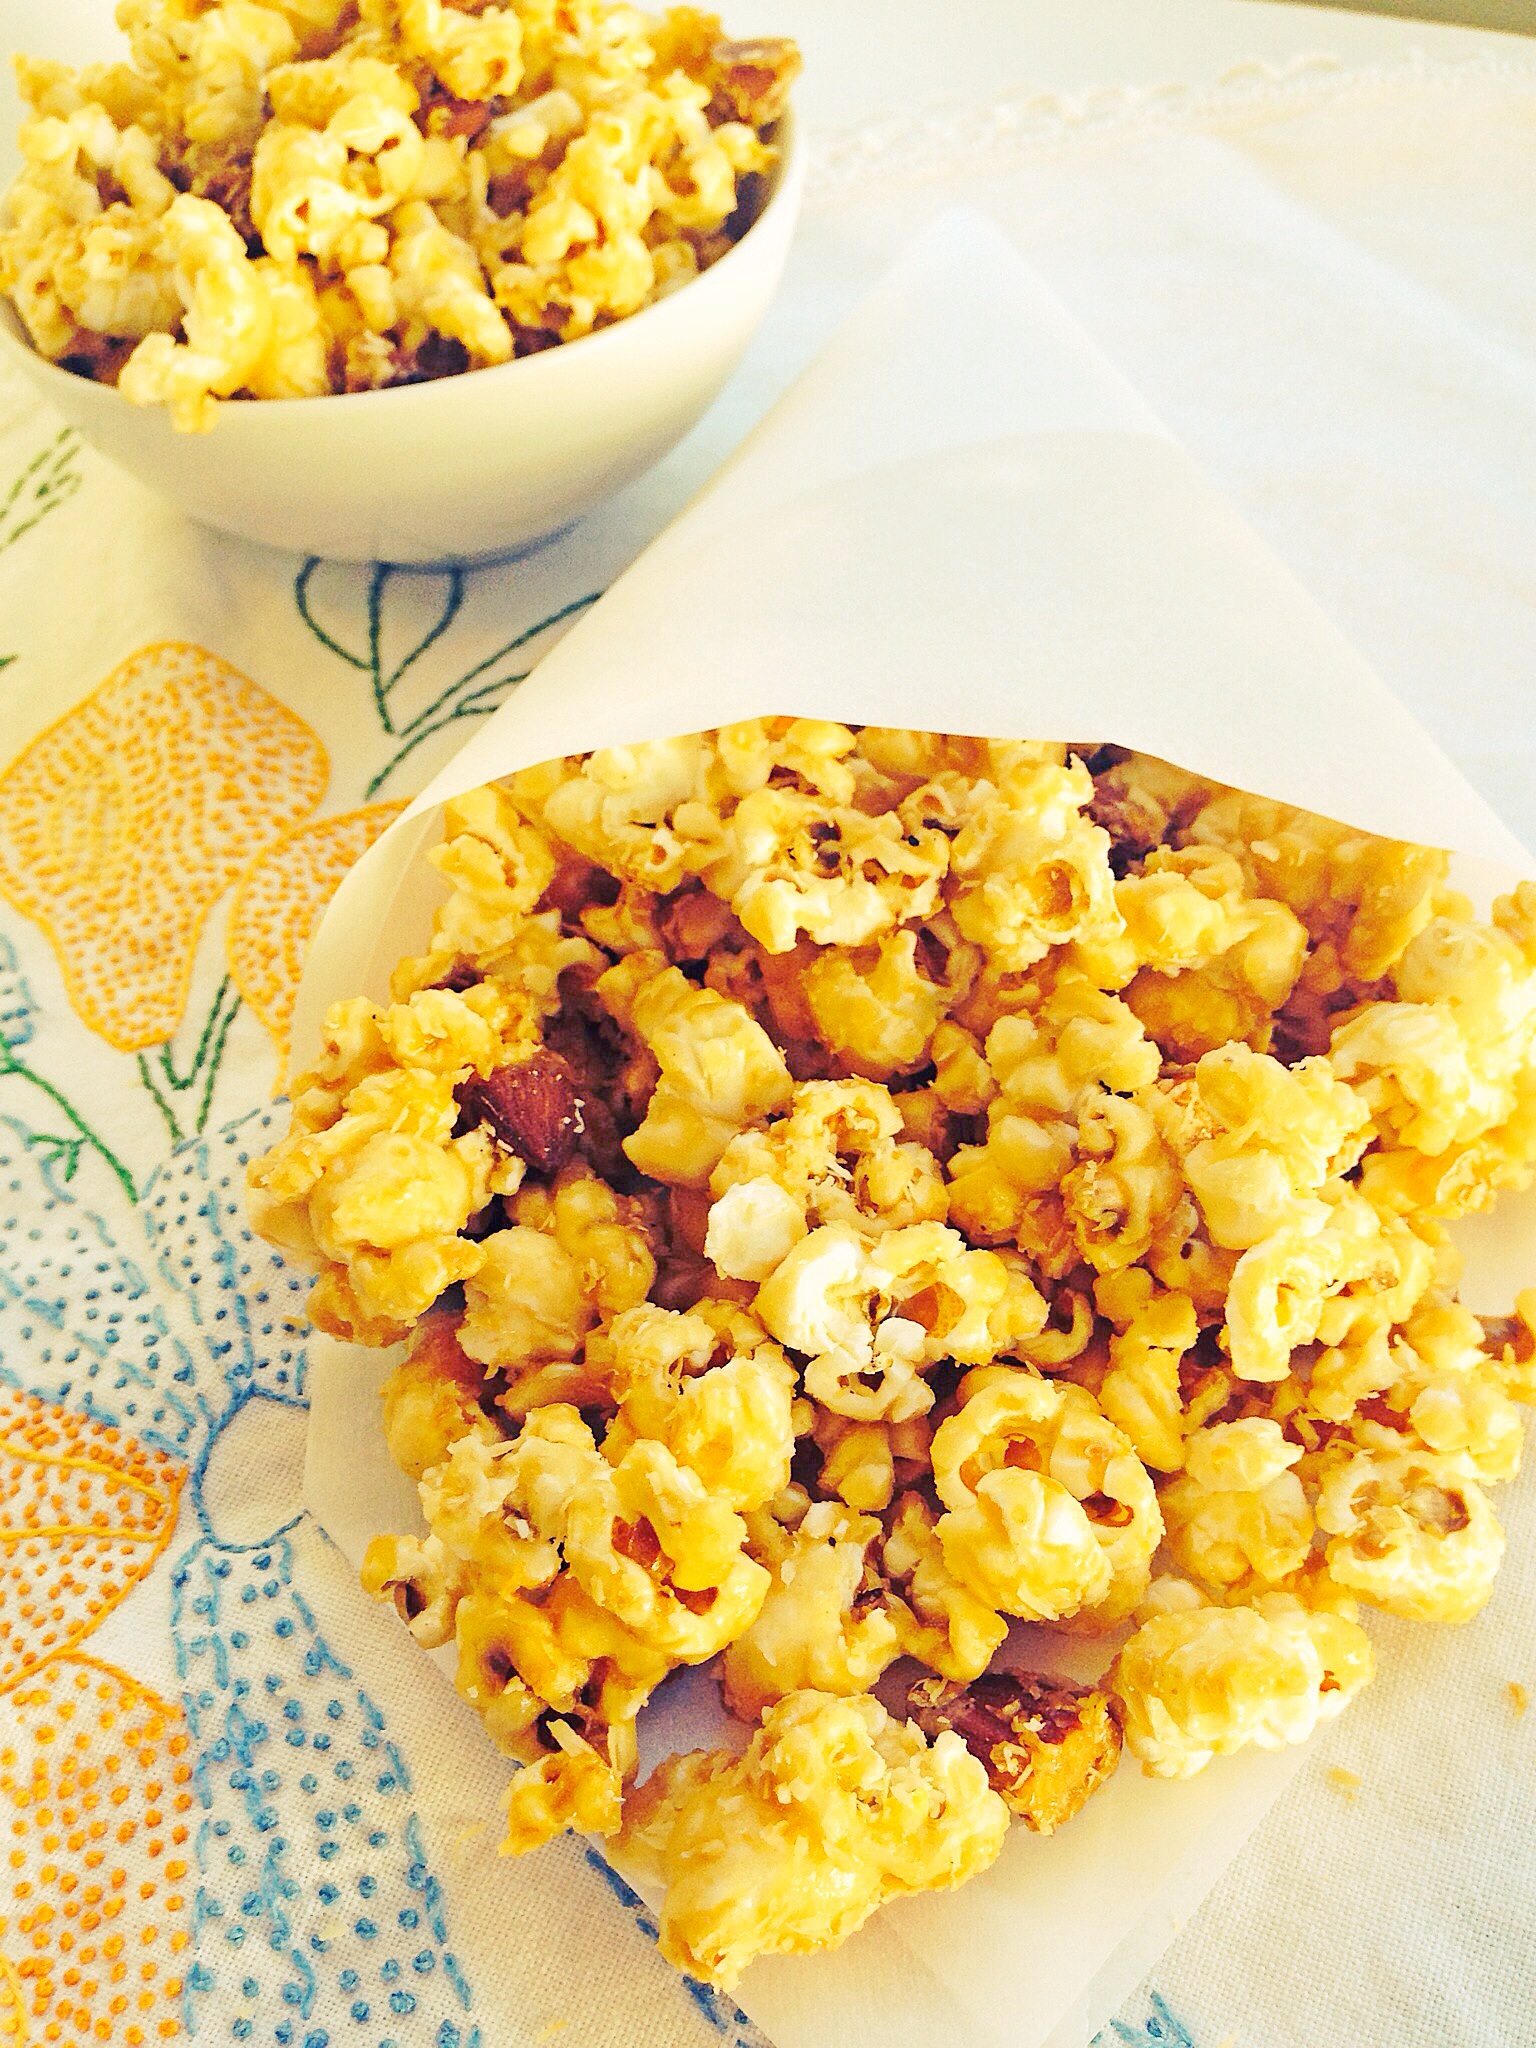
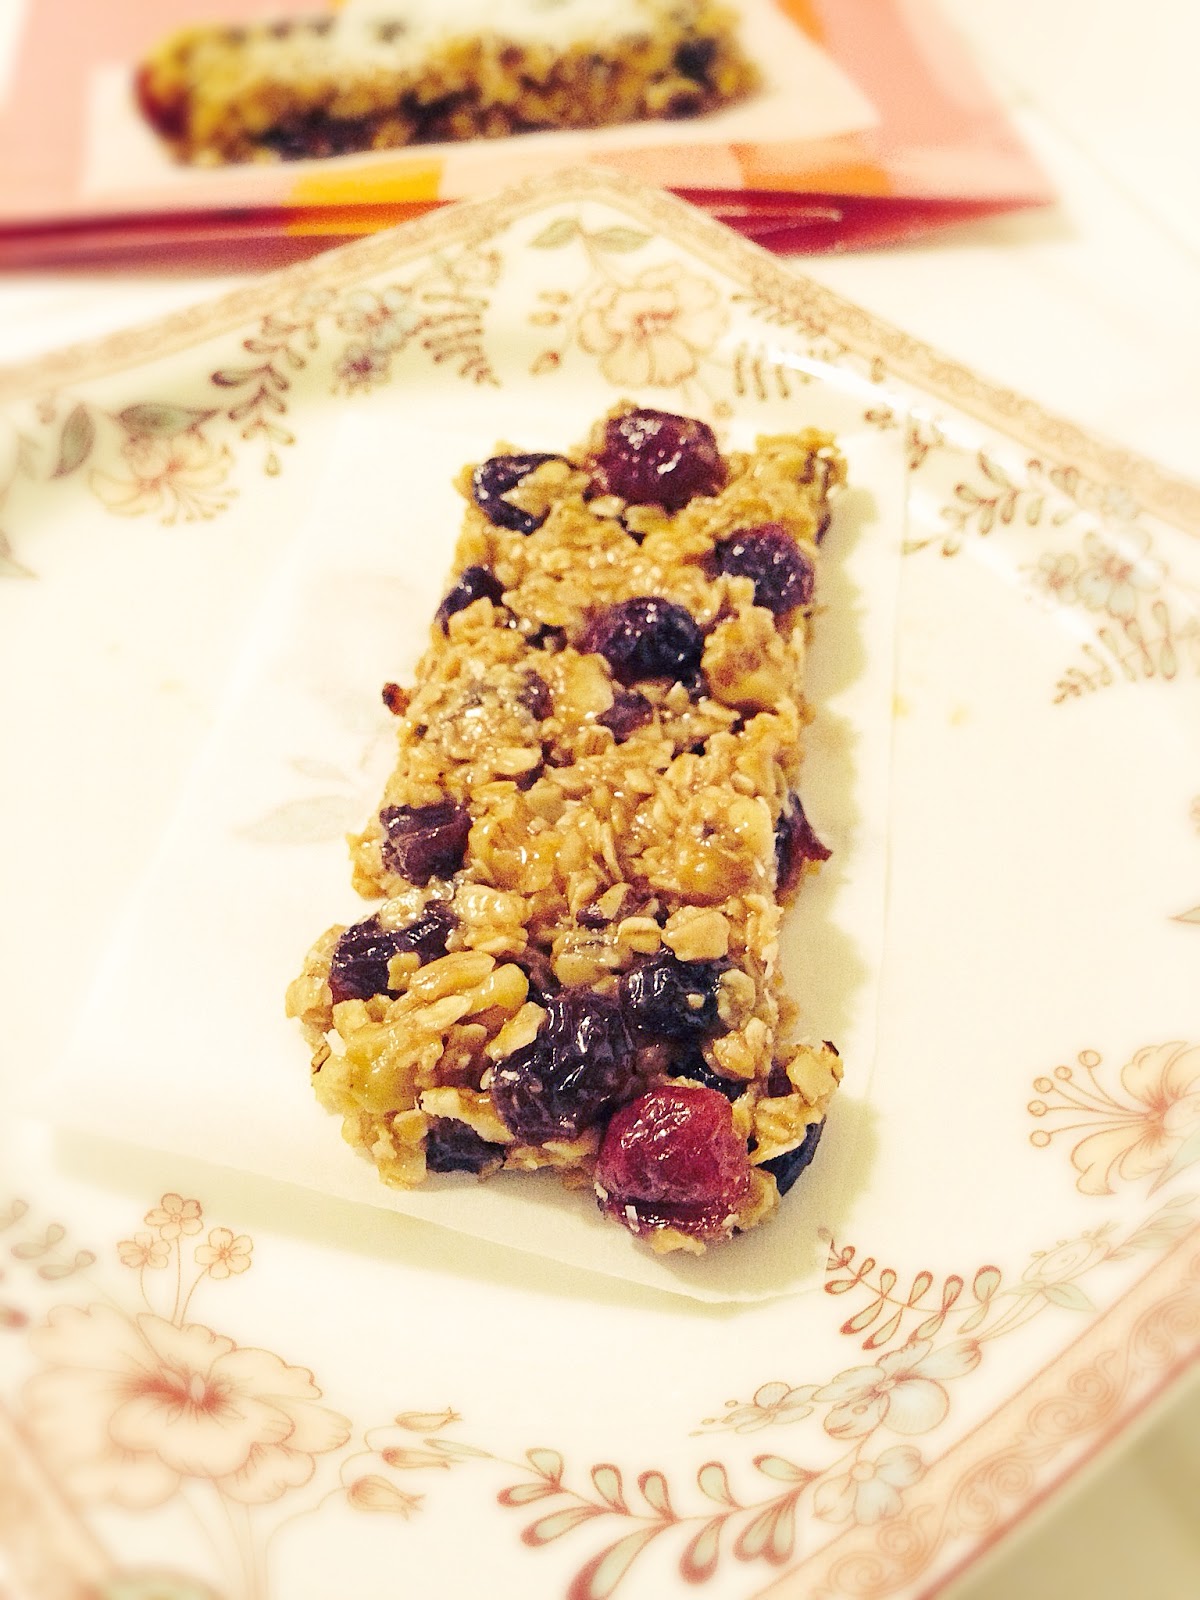
I don’t know about you, but around this time of the year, I start to scale back on my weekday cooking in order to prepare my refrigerator for all of the things I am making for Thanksgiving. This year my self imposed scale back has nothing to do with needing room for my thanksgiving dishes, instead I’m scaling back in preparation for not being home. We are joining millions of travelers this year, we are going to visit my in-laws in Nevada for Thanksgiving. Since we’ll be in the car for more than 3 hours, I decided to prepare some healthy snacks for us to munch on during the drive. This granola bar fits the bill perfectly. It has nuts, 3 kinds of fruit, and no refined sugar!

Prep time: 10 minutes
Cook time: 10 minutes
Total time: 20 minutes

Ingredients:
3/4 cup of maple syrup
2 tablespoons coconut oil or butter plus more for oiling the baking dish
2 cups old-fashioned rolled oats
1 1/3 cups chopped nuts I used walnuts
1/4 teaspoon sea salt
1 cup of dried fruit, I used a mixture of sour cherries, cranberries, and raisins
1/3 cup creamy almond or peanut butter
1/4 cup honey

1/4 cup of Coconut flakes unsweetened  for topping (optional)

Directions:
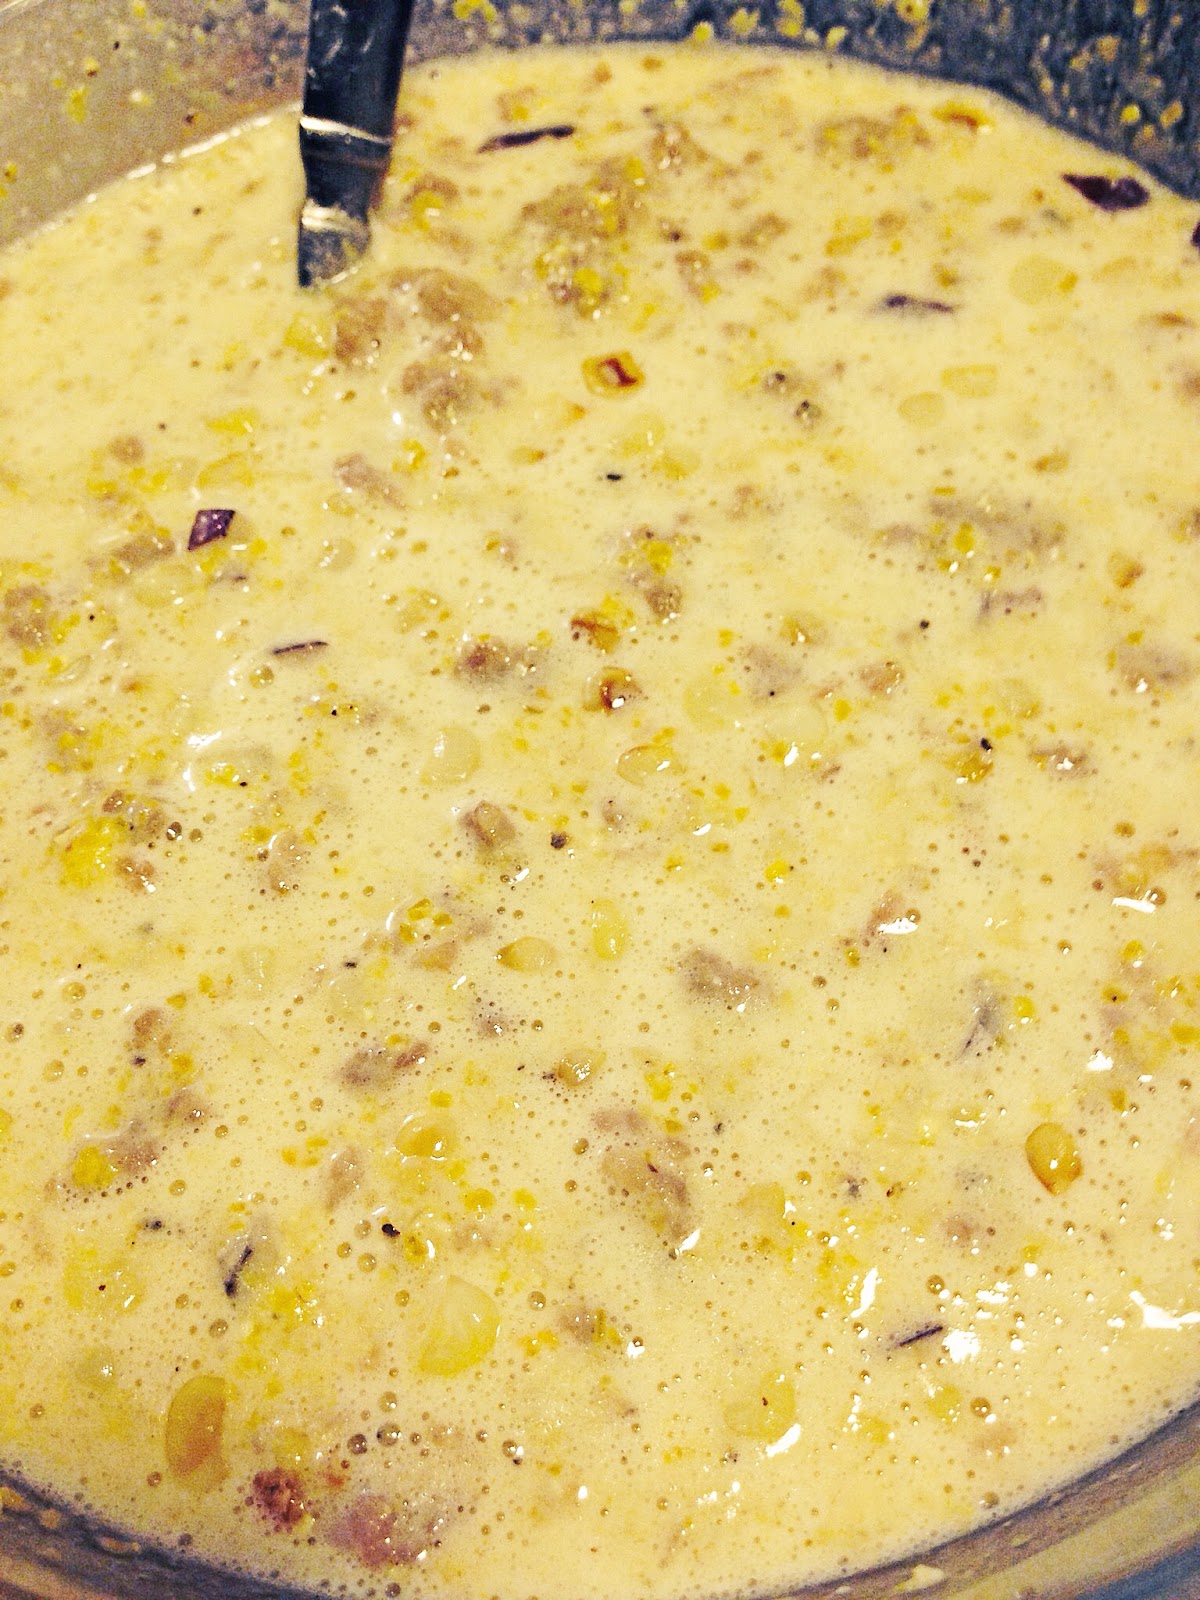
Preheat oven to 375 degrees. In a small saucepan, heat 1/4 cup of the maple syrup and the 2 tablespoons of coconut oil over low. Cook, stirring, until the oil melts. In a large bowl, combine oats, nuts, and pinch of salt. Drizzle maple mixture over oat mixture and stir to combine. Spread mixture evenly on a large rimmed baking sheet. Bake until golden brown, about 10 minutes. Place the oats in large bowl, add dried fruit and mix well. 

Lightly butter an 8-inch square baking dish. 

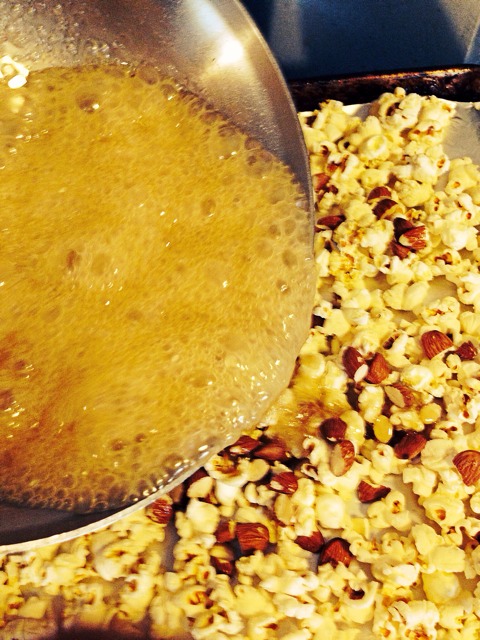
In saucepan, combine remaining 1/2 cup of maple syrup, almond butter, and honey over medium heat. Cook, stirring occasionally, until mixture comes to a boil. Drizzle over oat mixture and stir until combined; transfer  mixture to buttered baking dish. With a spatula, firmly press granola into dish. Refrigerate until firm, about 1 hour, then cut into bars or squares.


What are your plans for Thanksgiving?

Since I’ll be visiting family next week, I am not sure I will have time to post. My daughter is turning 2 on Thanksgiving day, so when we return I’ll be focused on celebrating this major milestone with her. Happy cooking, and a very Happy Thanksgiving to you all!

Corn Griddle Cakes with Turkey Sausage

Corn Griddle Cakes with Turkey Sausage

Do you ever have breakfast for dinner? I don’t mean a bowl of cereal, I mean one of those Sunday morning, bacon, and eggs, with a side of cinnamon french toast kind of breakfast dinners! Aren’t those the best? There is just something about eating breakfast foods at night that makes them all the more tasty! Cue these corn cakes! They have everything your love about breakfast mixed up in one fluffy delicious cake! Top them with warm maple syrup, and you get the picture!

Ingredients:
7 ounces of breakfast sausage, I used turkey sausage, casings removed
1.5 cups of fresh or frozen, thawed, corn kernels
1 cup of yellow cornmeal
1/2 cup of whole wheat flour
1 tablespoon of maple syrup, or sweetener of your choice
1 teaspoon of sea salt
1 teaspoon of black pepper
1/2 teaspoon of baking soda
1/4 teaspoon of baking powder
1 1/4 cup of butter milk, (can substitute plain yogurt, or add 1 tablespoon of vinegar or lemon juice to 1 1/4 cup of milk and let sit at least 10 minutes before adding it to the recipe)
2 large eggs
1/4 cup of green onions, can use brown onion as substitute.
Butter or ghee for cooking cakes.

Directions:

  • Cook sausage in a skillet over medium heat, breaking up into small pieces, until browned and cooked through, about 8 minutes. Using a slotted spoon, transfer sausage to a small bowl. Add corn to same skillet and cook over medium-high heat, stirring often, until browned, 5–6 minutes. Transfer corn to bowl with sausage and let cool. Wipe skillet clean and reserve.
  • Whisk cornmeal and the rest of the dry ingredients in a medium bowl. Whisk buttermilk, maple syrup and eggs together, and add to the dry ingredients, whisk until just combined. Fold in sausage, corn, and scallions.


  • Heat 1 Tbsp.  butter in a skillet; working in batches and adding butter as needed between batches, add batter to pan by tablespoonfuls. Cook until cakes are crisp and golden brown, 2–3 minutes. Turn cakes over and cook until browned, 1–2 minutes longer. Transfer cakes to paper towels to drain. Serve warm drizzled maple syrup yum!!!!

    What’s your favorite breakfast for dinner meal?

    Follow and like me on Facebook: http://www.facebook.com/lazygirldinners 

Braised Chicken in Caper Sauce

Braised Chicken in Caper Sauce

I love capers, something about their salty brininess speaks to my taste buds. This dish is so simple, and easy to make. All the work is in remembering that you’re cooking it, so that you don’t burn down the house!

Prep time: 5 minutes
Cook time: 25 minutes
Total time: 30 minutes

Ingredients:
1lb of chicken ( I used skinless, boneless thighs, you can use bone in with skin, but just be aware it will extend the cooking time a bit.)
1/3 cups white wine vinegar
1.5 cups of organic chicken broth
1/3 cup of capers drained and rinsed
1/2 cup of fresh parsley
1 medium onion
Sea salt and black pepper to taste

Directions:

  • Heat 2 Tbsp. oil in a large heavy skillet over medium heat. Season the chicken with sea salt and black pepper, then add the chicken and brown on both sides. Add in the  onion; cook, stirring often, until softened. Add the parsley, and capers to skillet; cook for 1 minute. 
     
     
    Stir in broth and vinegar.  Reduce heat to medium-low; cover and simmer until meat is tender and  cooked through falling off the bone, about 20 minutes.
  • Transfer chicken to a large platter. Spoon sauce over chicken; garnish with parsley.

Caramel Popcorn with Almonds and Coconut Flakes

Caramel Popcorn
Coconut Caramel Popcorn

You didn’t think that I would let Halloween pass without a giving you a recipe for a delectable goodie did you. Okay I almost did. It’s been a busy week for me and I haven’t had much time to devote toward taking pictures for the blog. But, I rallied, and summoned the rest of my energy to make this popcorn for you guys. I’m selfless what can I say:-). If you’re looking for something chewy and soft, similar to a popcorn ball, then this is not the recipe for you. This recipe is more like the popcorn you’d find in those large tins people give you at Christmas, only this is 1000 times better.

Cook time: 30 minutes
Servings: 6 cups

Ingredients:
1/4 cup of Organic non GMO popcorn
3 Tablespoons of Coconut oil
1/4 cup plus 2 Tablespoons of Almonds
1 cup of Organic Sugar
4 Tablespoons of grassfed butter
3 Tablespoons of Organic Corn Syrup
1 teaspoon of Sea salt
1/4 cup of water
1/4 cup of coconut flakes (optional)

Spray a large baking sheet with coconut oil. Preheat the oven to 300 degrees F.
Add popcorn kernels and 3 Tbsp. coconut oil to a large, heavy-bottomed pot. Cover and cook over medium-low heat, shaking frequently. You will start hearing the corn pop after a few minutes—keep cooking until there’s a gap of about 5 seconds or more between pops. Immediately remove the pan from heat and pour the popcorn onto the prepared baking sheet. Add the almonds and set aside.

In a medium saucepan, combine the sugar, butter, corn syrup, and water. Place over medium heat and cook, without stirring, until the mixture is a light caramel color, about 10 minutes. Add the salt and stir to combine. Pour the caramel over the popcorn and almonds.


Place the baking sheet in the oven and cook until the caramel becomes thin and shiny, about 10 minutes.

Remove the baking sheet from the oven and working quickly use a rubber spatula, to fold and coat the popcorn and Almond mixture with caramel. Don’t worry if you can’t coat it all in this first toss, if the caramel starts to harden return the bake sheet to the oven. Repeat this process as many times as necessary to completely coat the popcorn and Almonds with caramel or until the caramel has turned a dark amber color. I did this 5 times checking on the popcorn and tossing it, in 5 minute intervals. On my 4th turn I added the coconut flakes. I just sprinkled them in and gave good toss.

Once you remove the popcorn, let it cool for 2-3 minutes, then break the popcorn into bite-size pieces. Cool completely before transferring to a storage container. It will last two weeks stored in an air-tight container.


Follow and like me on Facebook: http://www.facebook.com/lazygirldinners 

How to roast chicken-Steps to making the perfect roast chicken everytime!

Lemon and Garlic Roast Chicken
Pin It!

Pin It!


Roasted chicken is universal. Almost every culture has some version of roasted chicken in their culinary history. However, as universal as roast chicken is, many still have a hard time making it. Just yesterday someone I follow posted a before and after picture of a roast chicken on Instagram. The bird was pasty before it went in the oven, and the bird was still pasty after it came out of the oven. I felt bad for this Instagramer because I’ve been there. The truth is that roasting a bird perfectly begins with steps that are made long before the bird goes in the oven. If you master these steps, I guarantee you that your roast chickens will come out of the oven, perfectly marinated, juicy and with a skin that is crackling and golden brown.

Step 1. Pick the right chicken! Organic, non GMO, and air chilled is the way to go! Why? Because conventional chickens are stored in salt water to plump them up before you buy them. A water logged chicken can taste good, but it will likely be harder to get a crispy crust on a water logged chicken, than one that is not water logged. Note: Read the label on the chicken, most chickens in the supermarket have  up to 4% retained water because they are dropped in a 34 degree chlorinated water bath before they are sold. Air chilled chickens are not exposed to water, so getting a crisp skin on an air chilled chicken is easier.

Step 2.  Brining! Most of you are probably thinking, “but you just said not to buy a water logged chicken, now you’re telling me to brine it?!” I said it, and I meant it!  There are other ways to brine without water.
Salt brining. This will change your life! Salt brining literally is what it sounds like, you thoroughly salt the chicken, put it in a Zip-Loc and let it sit over night. Salt does two things, it retains moisture and it pulls out moisture. This is a wonderful thing for a small bird like a chicken, because it doesn’t take longer than an hour to cook, so the amount of moisture it looses because of the salt brine is not significant enough for it to dry out. But it pulls out just enough moisture on the surface of the bird to make the skin crisp. At the same time it breaks down the protein, which means moist, tender, and well seasoned chicken!

Step 3. The skin needs to be rubbed with oil, not butter. Although butter tastes great, it contains 16-18% water and 80% fat. Water is an enemy to getting perfectly crispy skin on a roast chicken. If you want to use butter to flavor your chicken, then by all means do so. Just make sure to put the butter where it will do the most good..under the skin in the breast bone. If you want crisp brown skin, use oil, it does not contain water, it is 100% fat, so it will result in a chicken that is so beautifully brown, you may not want to cut it…note I said may not, after you get a whiff of the this delicious chicken all bets are off.

Step 4. Bake on a high temperature from the start. Most people reverse bake roast chickens, meaning they bake at a lower temperature for a longer period of time so the chicken doesn’t dry out, and then blast it at the end on a higher temp in hopes of browning the skin.  Seems plausible enough but results are often not consistent. Take my advice, bake your chicken on 450 degrees farenheight for 45 minutes to 1 hour, your chicken will come out perfect every time.

Recipe for brine
1.5 tablespoons of Sea salt or kosher salt for every 1 pound bird.

Sprinkle the salt all over the bird, place in a large bag and let sit over night. When your ready to cook it, add the oil and any herb you want–rub with a little garlic, bake it for 45 minutes to one hour, and Wah-La perfectly roasted chicken!

Dandelion Greens with Sautéed Mushrooms

Have you ever gone to the farmers market, and laid eyes on a vegetable and thought “that looks interesting let me try it?” We’ll that’s what happened to me this Sunday. I walked up to my favorite herb stand to get my usual arsenal of fresh herbs, and I stumbled upon some fresh dandelion greens. Sometimes I get so inspired by fresh veggies at the farmers market. I love trying new things. My love of trying new things can result in an amazing dish, as in this one, or a not so amazing dish. I had heard of dandelion greens before, but I had no clue how to cook them. So once the excitement of using this new leaf wore off, I was left to figure out what to do with these dandelion greens. I tasted the raw leaves…Big mistake! They are as my daughter would say “super duper, bitter.” They almost remind me of bitter gourd/melon.  But even these greens are not as bitter as bitter melon. I Googled them and found that dandelion leaves are actually weeds. You know those weeds that are growing in your vegetable garden? Yes those weeds, they’re edible…who knew? I decided I wanted to mellow out the bitterness, the best way to do that is to cook them. I got out some Crimini mushrooms, because mushrooms always make greens better, and some garlic and started my journey. I had no idea where I was going with this, but I can tell you that I ended up in taste bud heaven at the end of it all. Every element of this salad adds an additional flavor profile. This dish is filling, and gratifying on so many levels. I could eat it every day! If you can’t find dandelion greens, try substituting a hearty bitter green like beet greens, turnip greens or chard.

Here’s what you need:
1 bunch of organic Dandelion leaves, cut with bottom stems removed
10 ounces of Crimini Mushrooms sliced
2 Large cloves of garlic chopped finely
Handful of walnuts, toasted
1/2 cup of fresh cherry tomatoes sliced in half, I used fresh tomatoes from my garden
1/3 cup of goat cheese, or more if you are so inclined
1 teaspoon of butter
1 teaspoon of balsamic vinegar
Juice of 1/2 of a small lemon
2tablespoons of olive oil
Sea salt and pepper to taste

Directions:
Warm the olive oil and garlic in a sauté pan:

Once you can smell the garlic (20 seconds), add in the mushrooms:

Salt the mushrooms and allow to cook until just before the water from the mushrooms evaporates(5-7 minutes). Add in the tab of butter, and allow the mushrooms to brown and take on a bit of color. This step is important don’t skip it! Browning releases Unami flavor.

After the mushrooms have taken on some color add in the dandelion greens.

Sauté until wilted, then add in the balsamic vinegar and lemon juice:

Mix well, add in the tomatoes, toss for about a minute, turn off the fire:

Add in walnuts, and cheese, toss, season with salt and pepper and serve. This would also be good cold, but served warm this salad is super comforting and satisfying!

What have been some interesting farmers market finds for you?

Follow and Like me on Facebook: http://www.facebook.com/lazygirldinners.com