How to make Dehydrated Watermelon

Dried Watermelon--How to make Dehydrated Watermelon

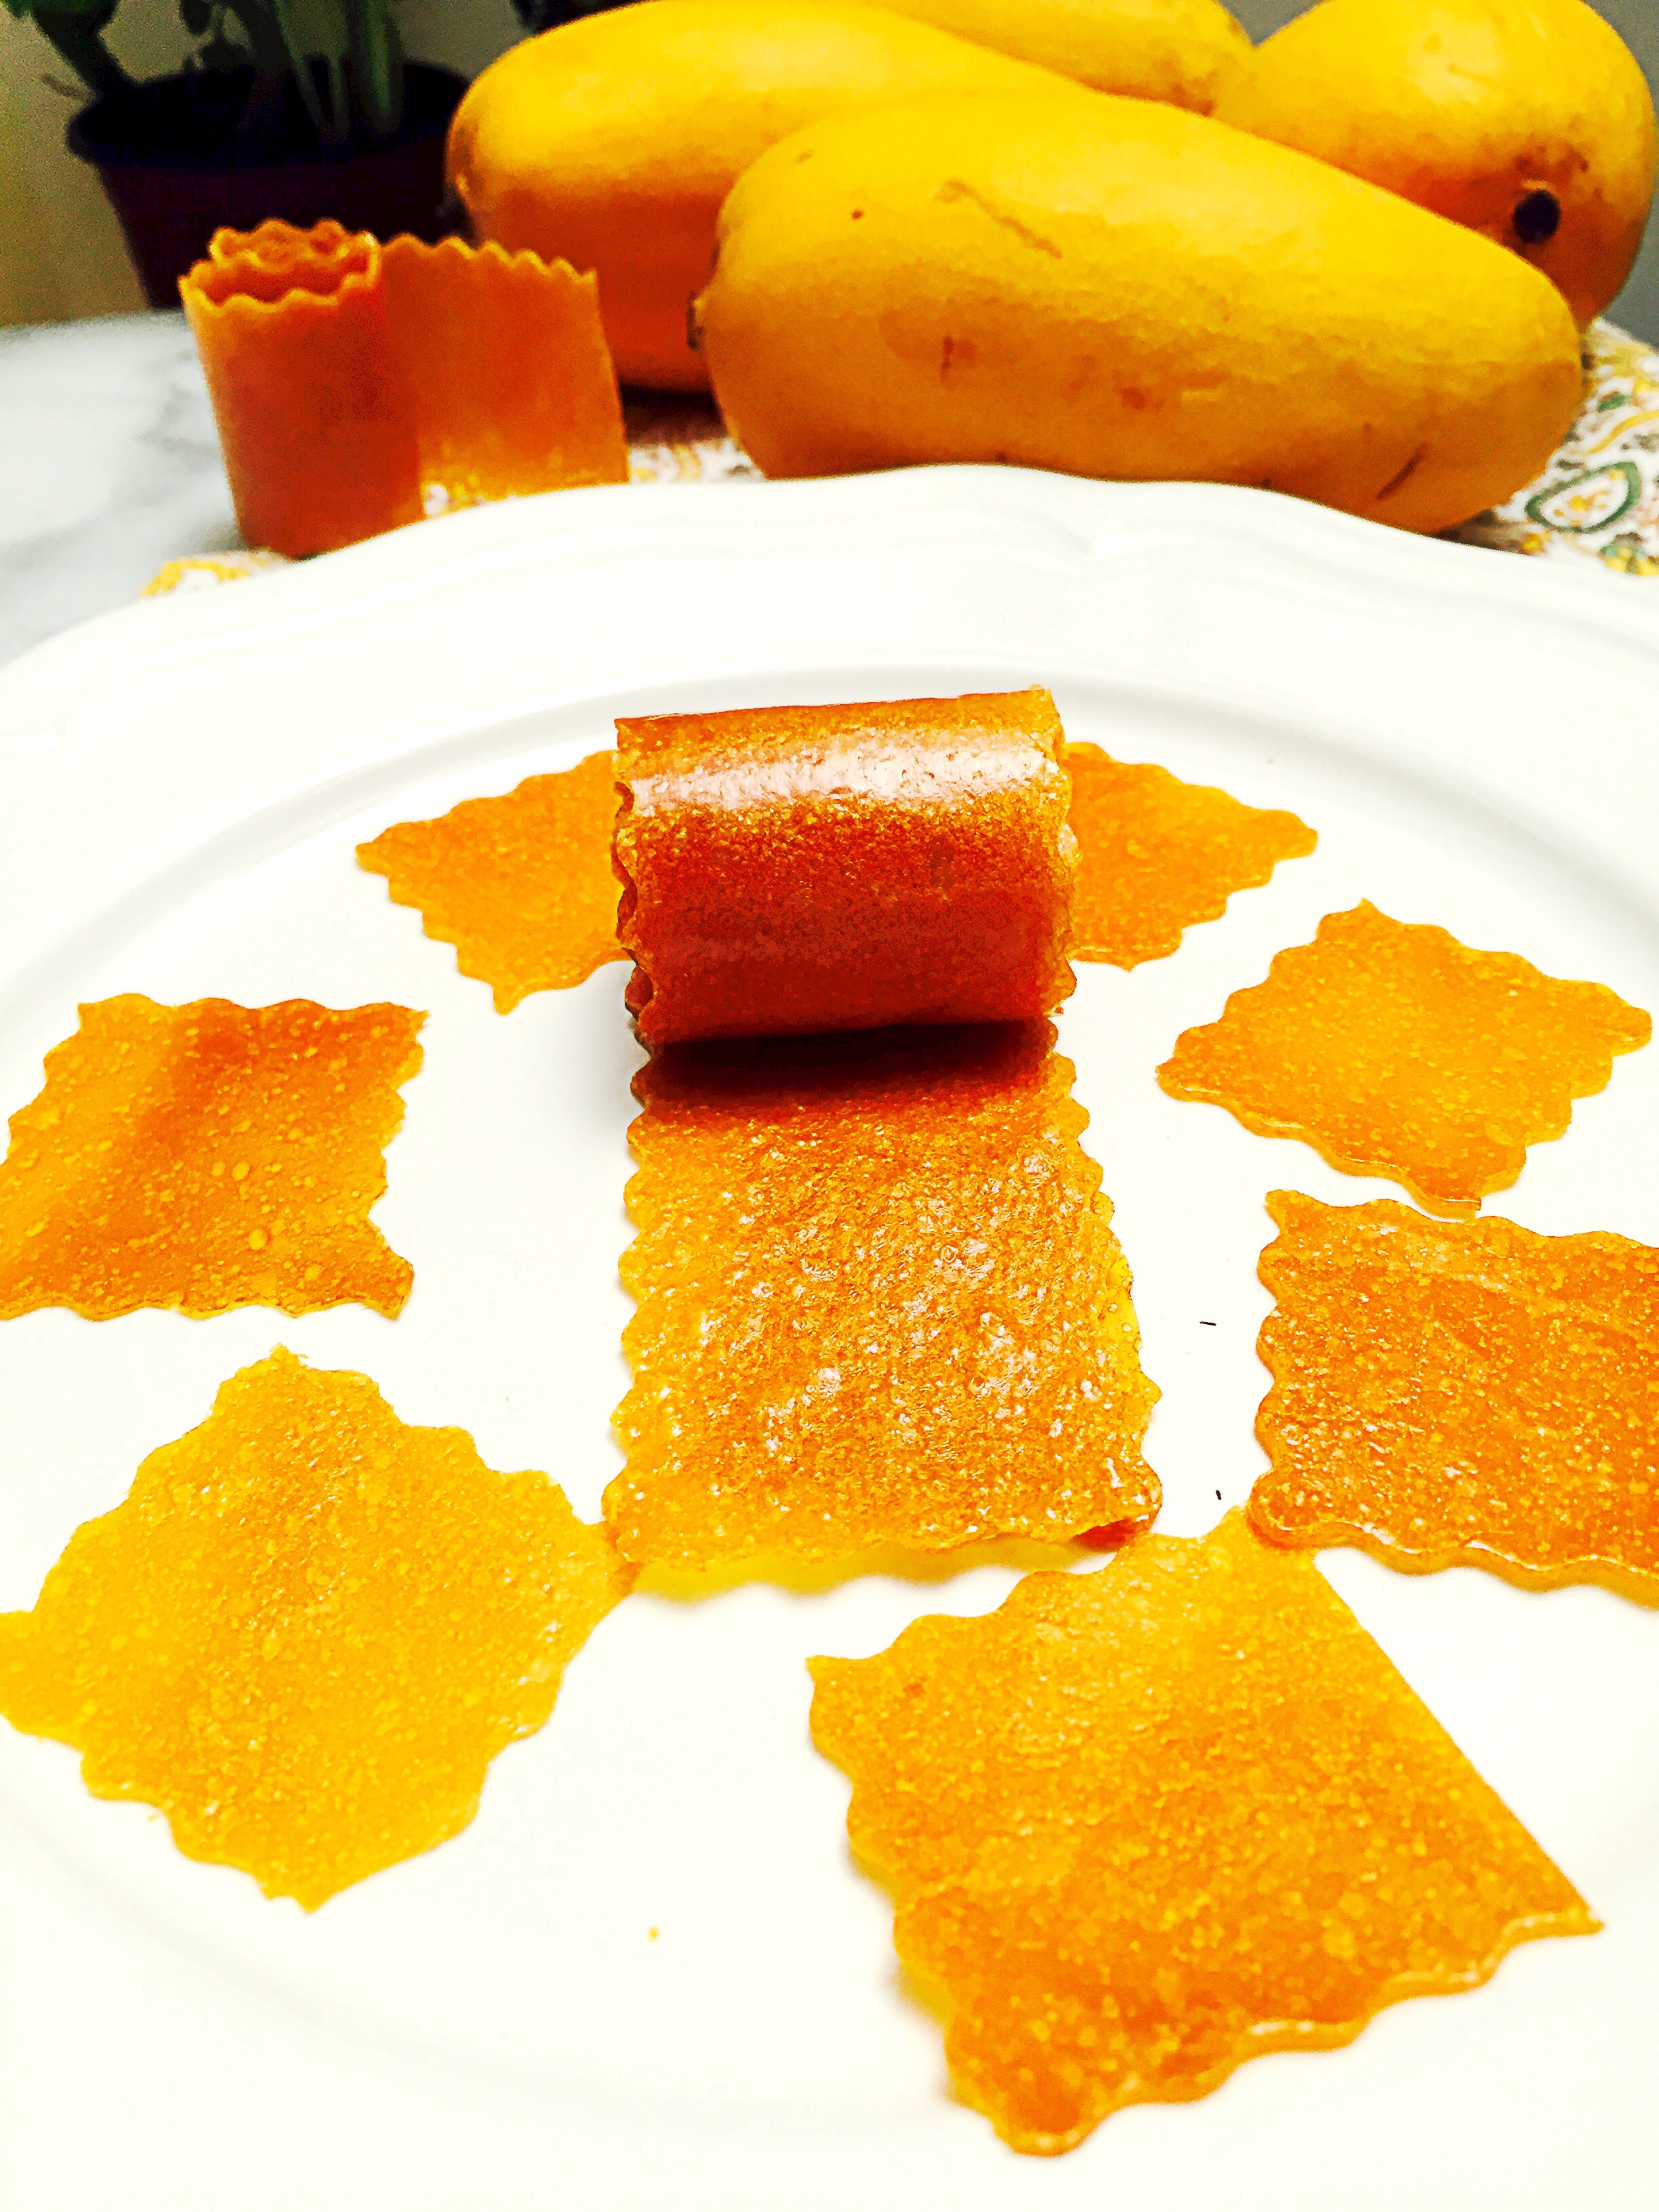
Dried Watermelon–How to make Dehydrated Watermelon

This week is Teacher Appreciation Week at Page’s school.  Every day this week she is required to bring in a small gift to show how much she appreciates all that her teacher’s do.  The note that the room mom sent home said to send a sweet treat as a gift, knowing the kinds of sweets that most moms have sent in the past I thought why not send something semi-healthy.  So I marched down to my local Whole Foods and purchased an organic seedless watermelon.  Lucky for me it was on sale.   The result- a deliciously sweet watermelon snack.  It was so good, that I raced back to Whole Foods to get another watermelon to dry.  When I dry fruit I never add sugar to it.  I see many recipes that do and I never understand why.  There really isn’t a need to. In fact, the watermelon I chose was not at all that sweet in its natural form, but in its dried form it was highly sweet, almost like I had added sugar to it. So for this “recipe” all you need is a fresh watermelon, a dehydrator, or an oven set to low and time.

Pin It!

Pin It!


Prep time: 5 minutes

Cook time: 6-8 hours

Ingredients:

Watermelon

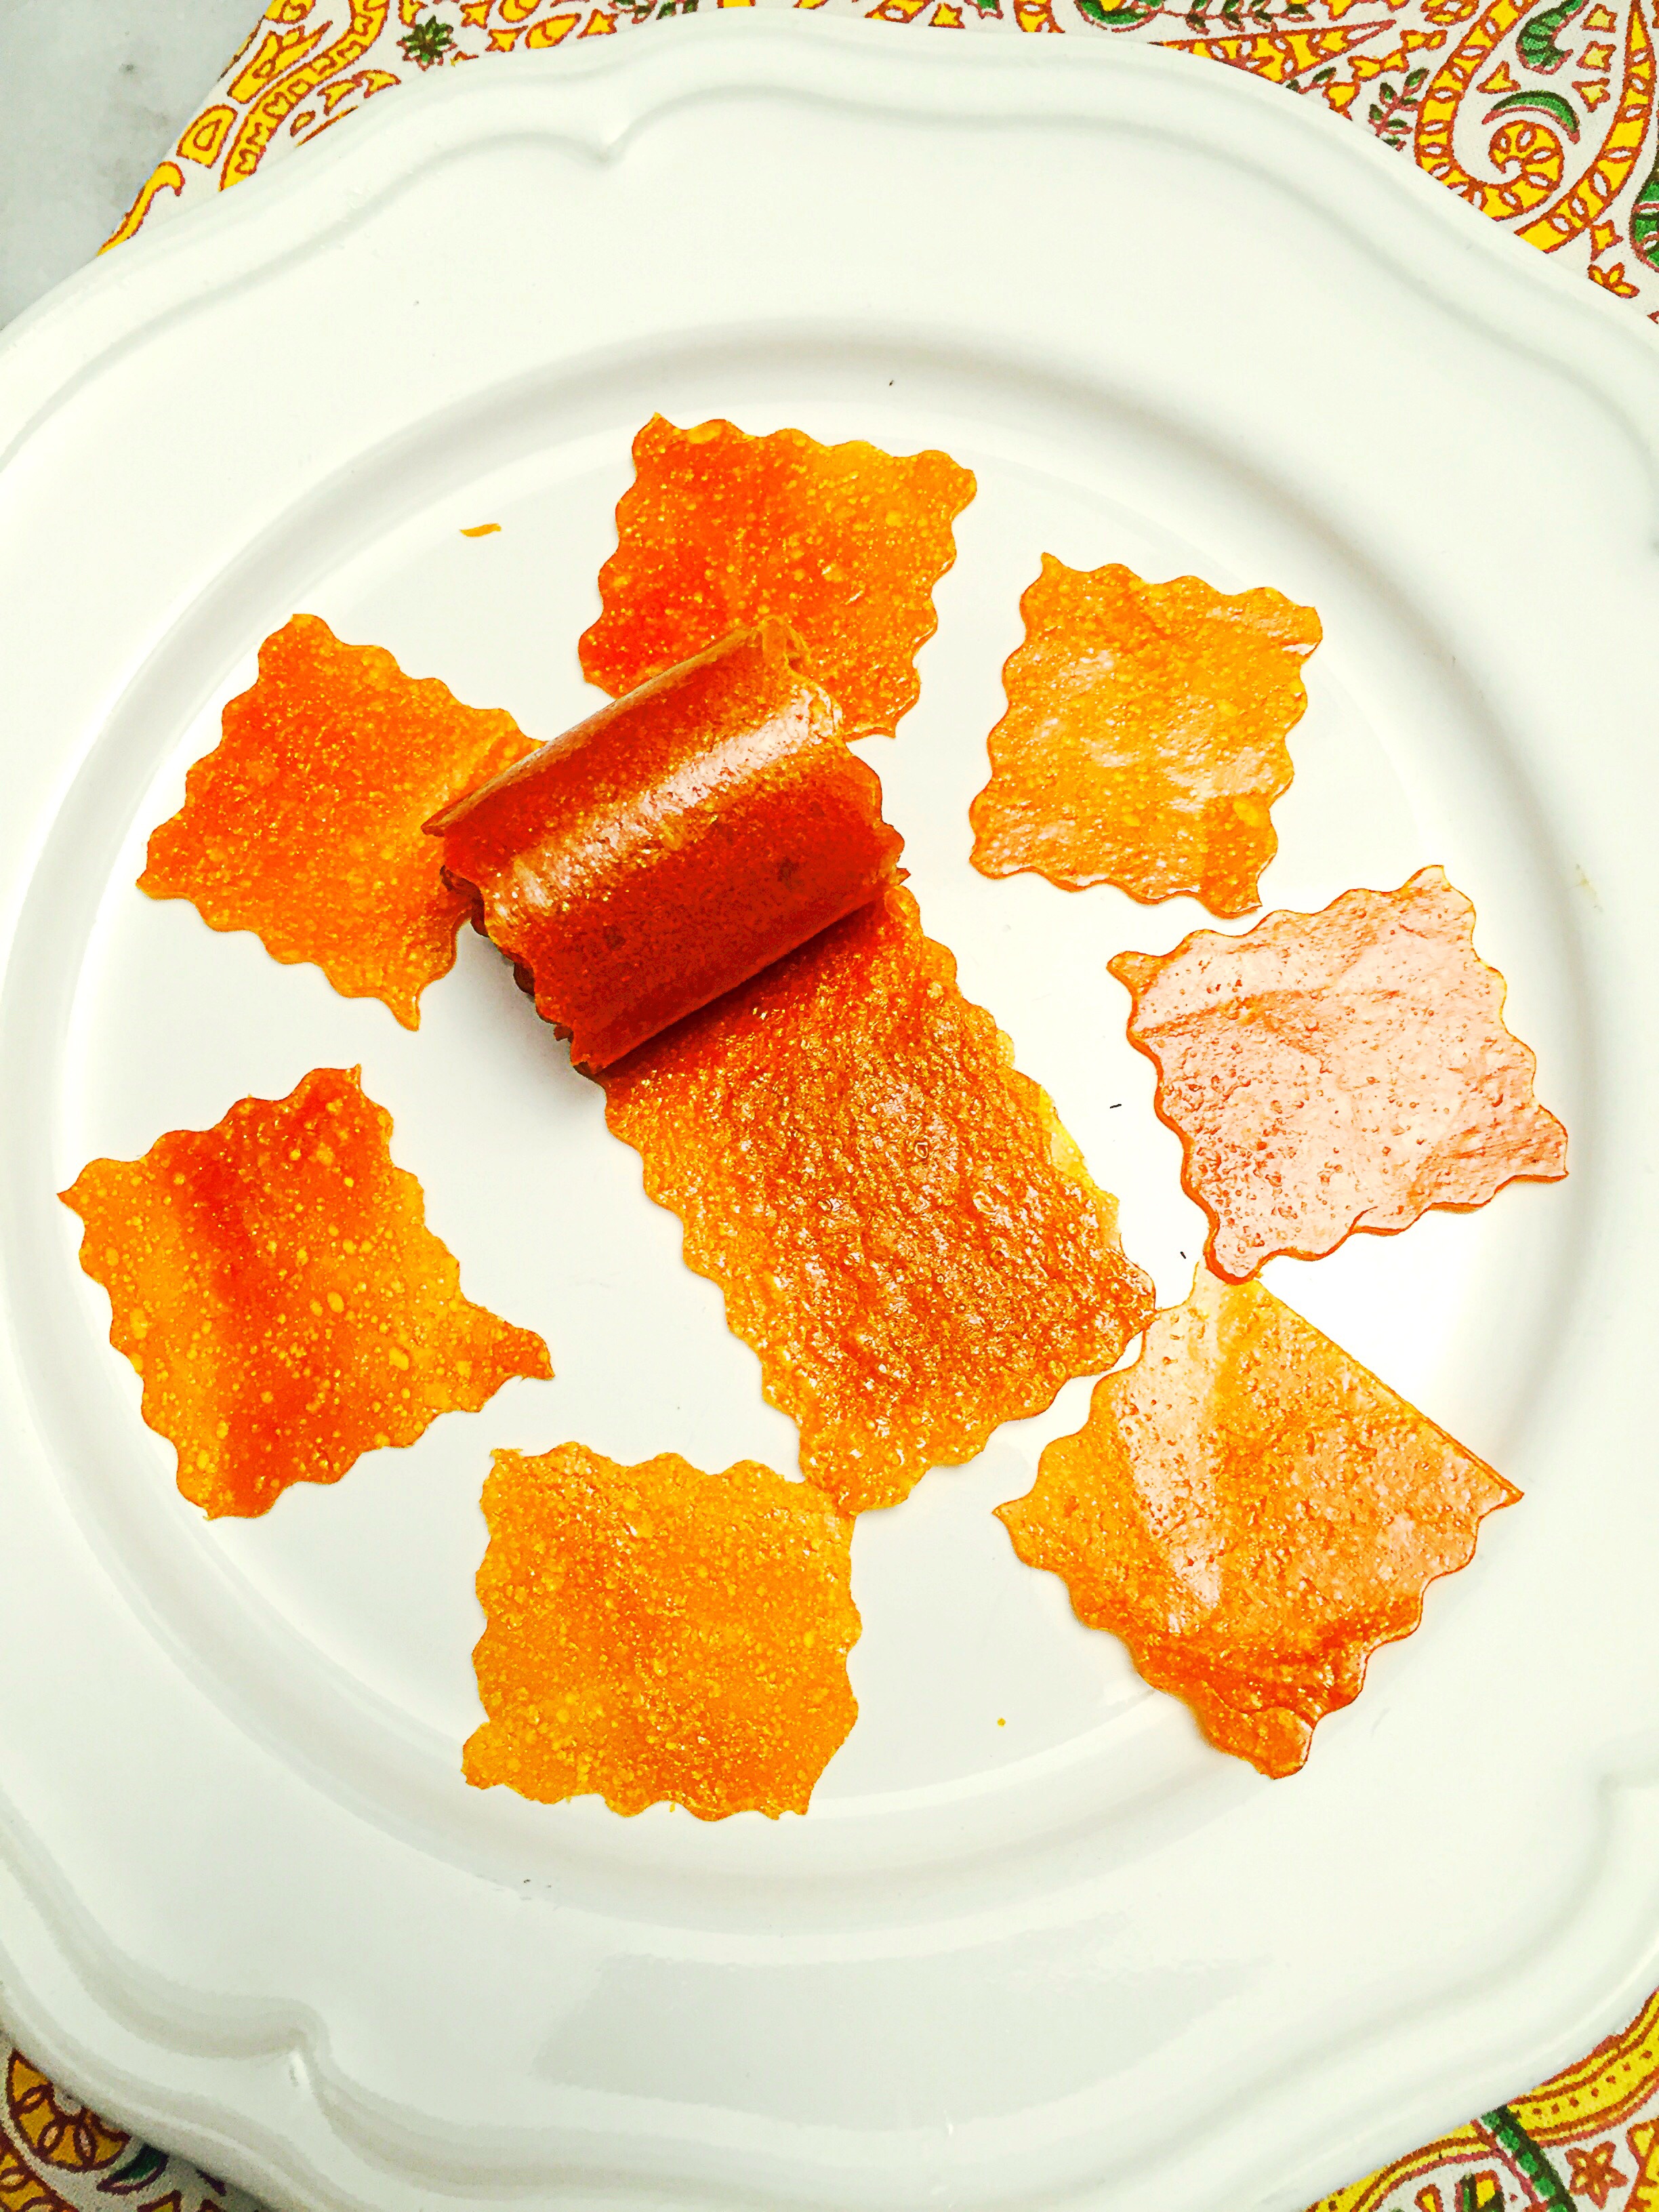
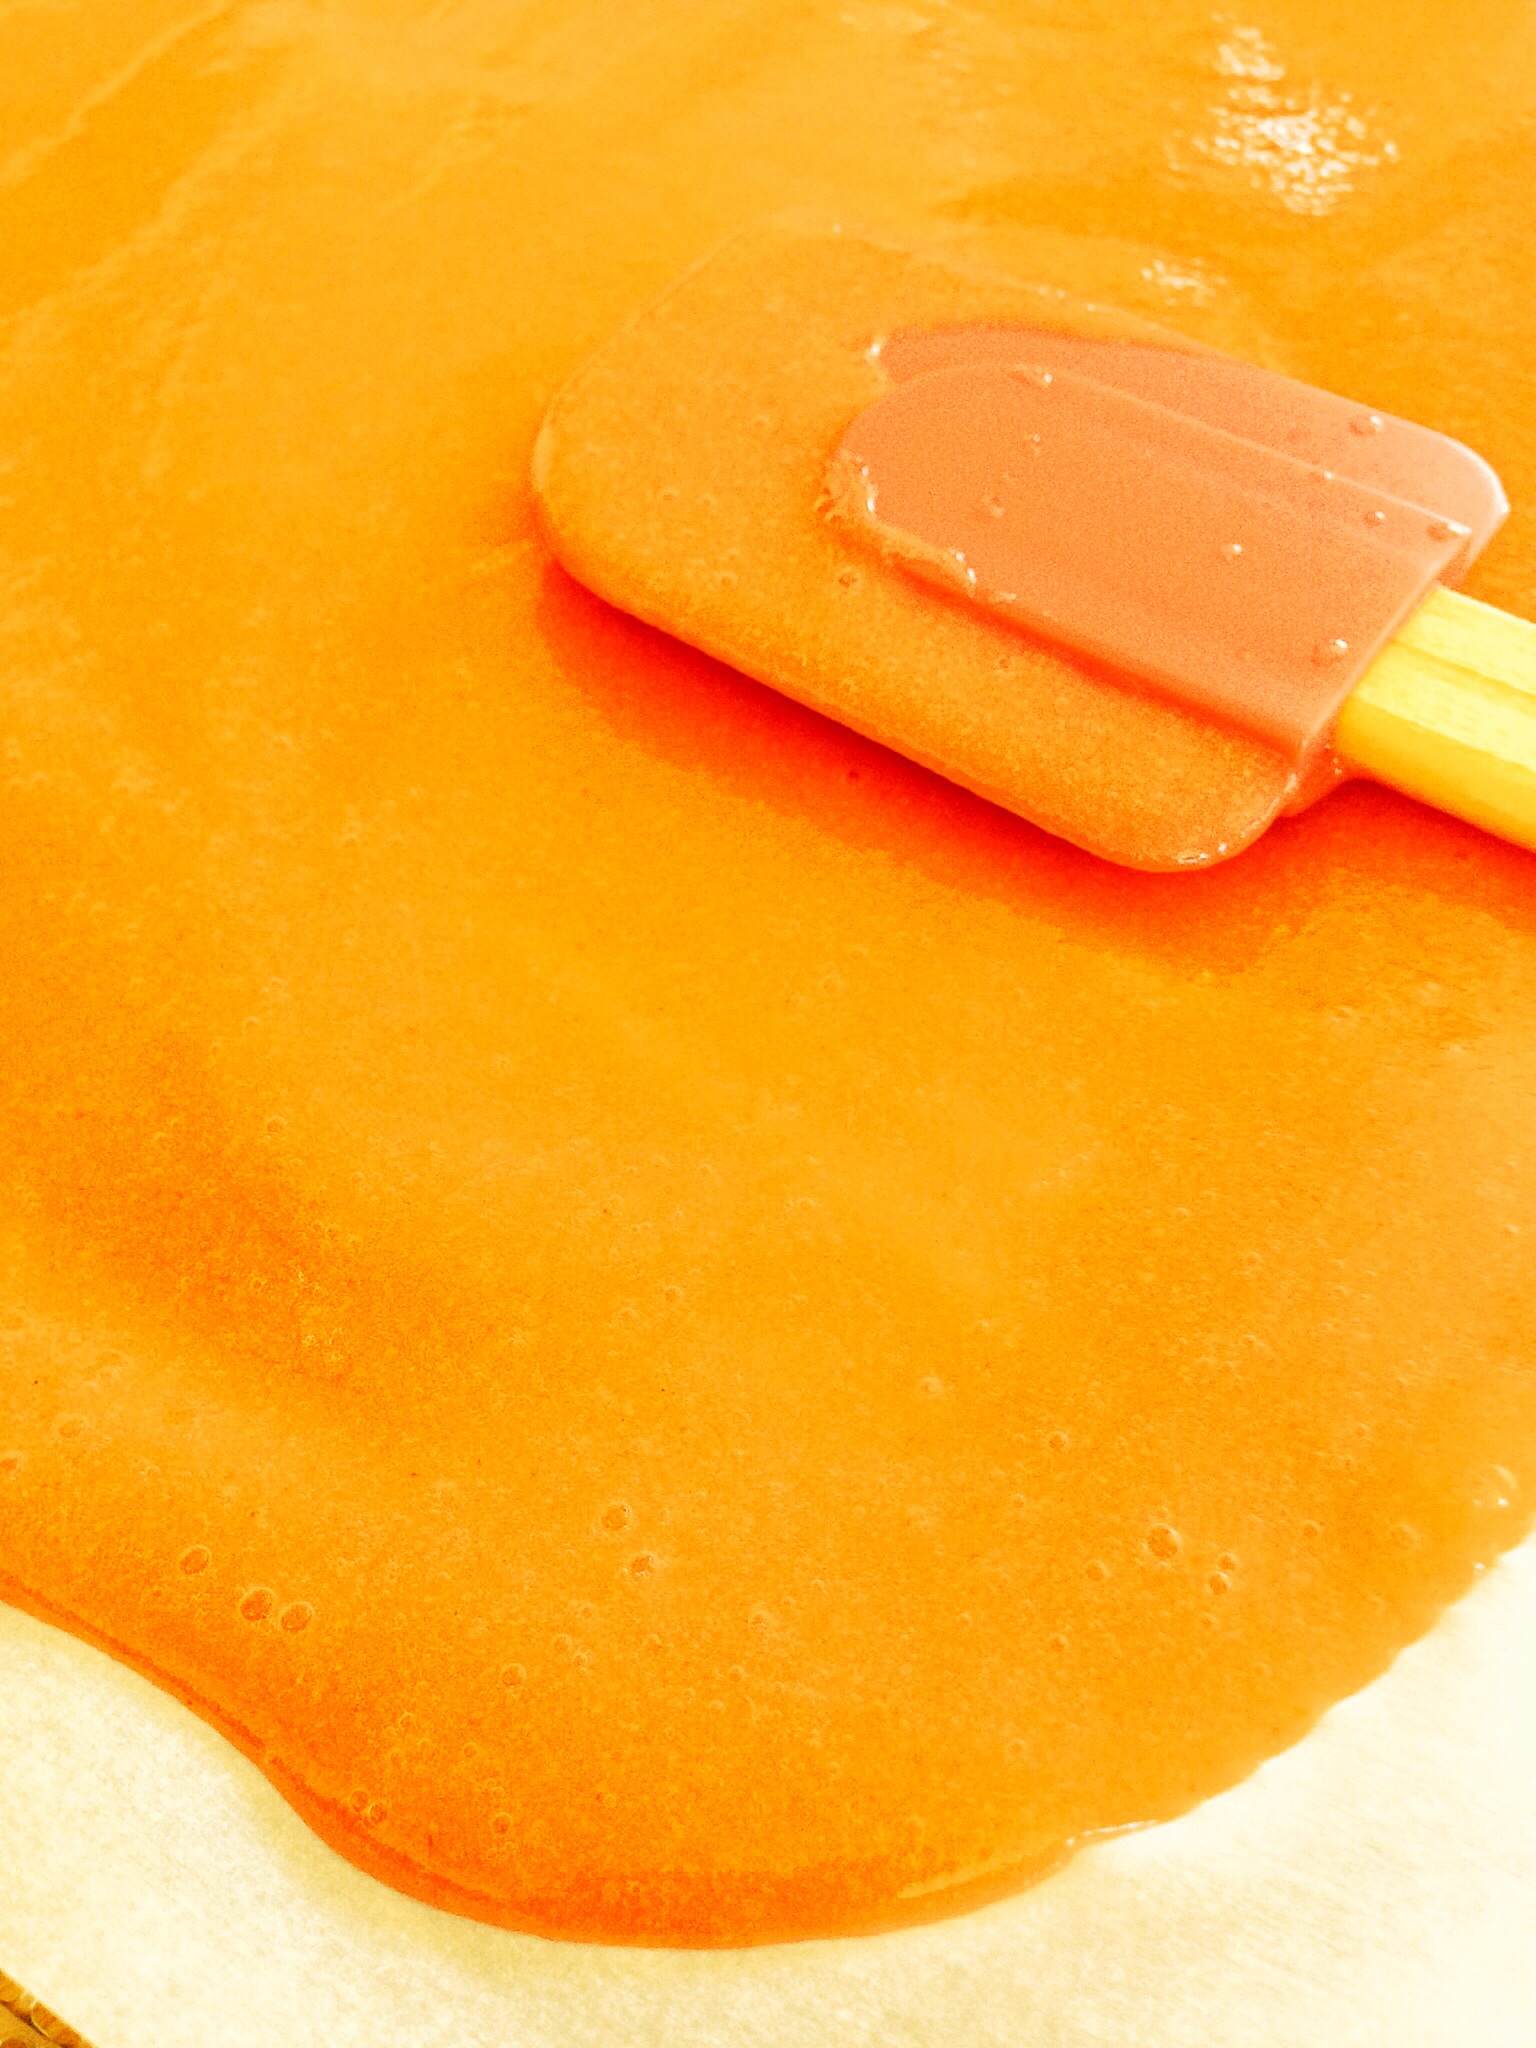
Directions: Slice the watermelon and discard the rind. Keep in mind that the thinner you slice it the quicker it dehydrates.

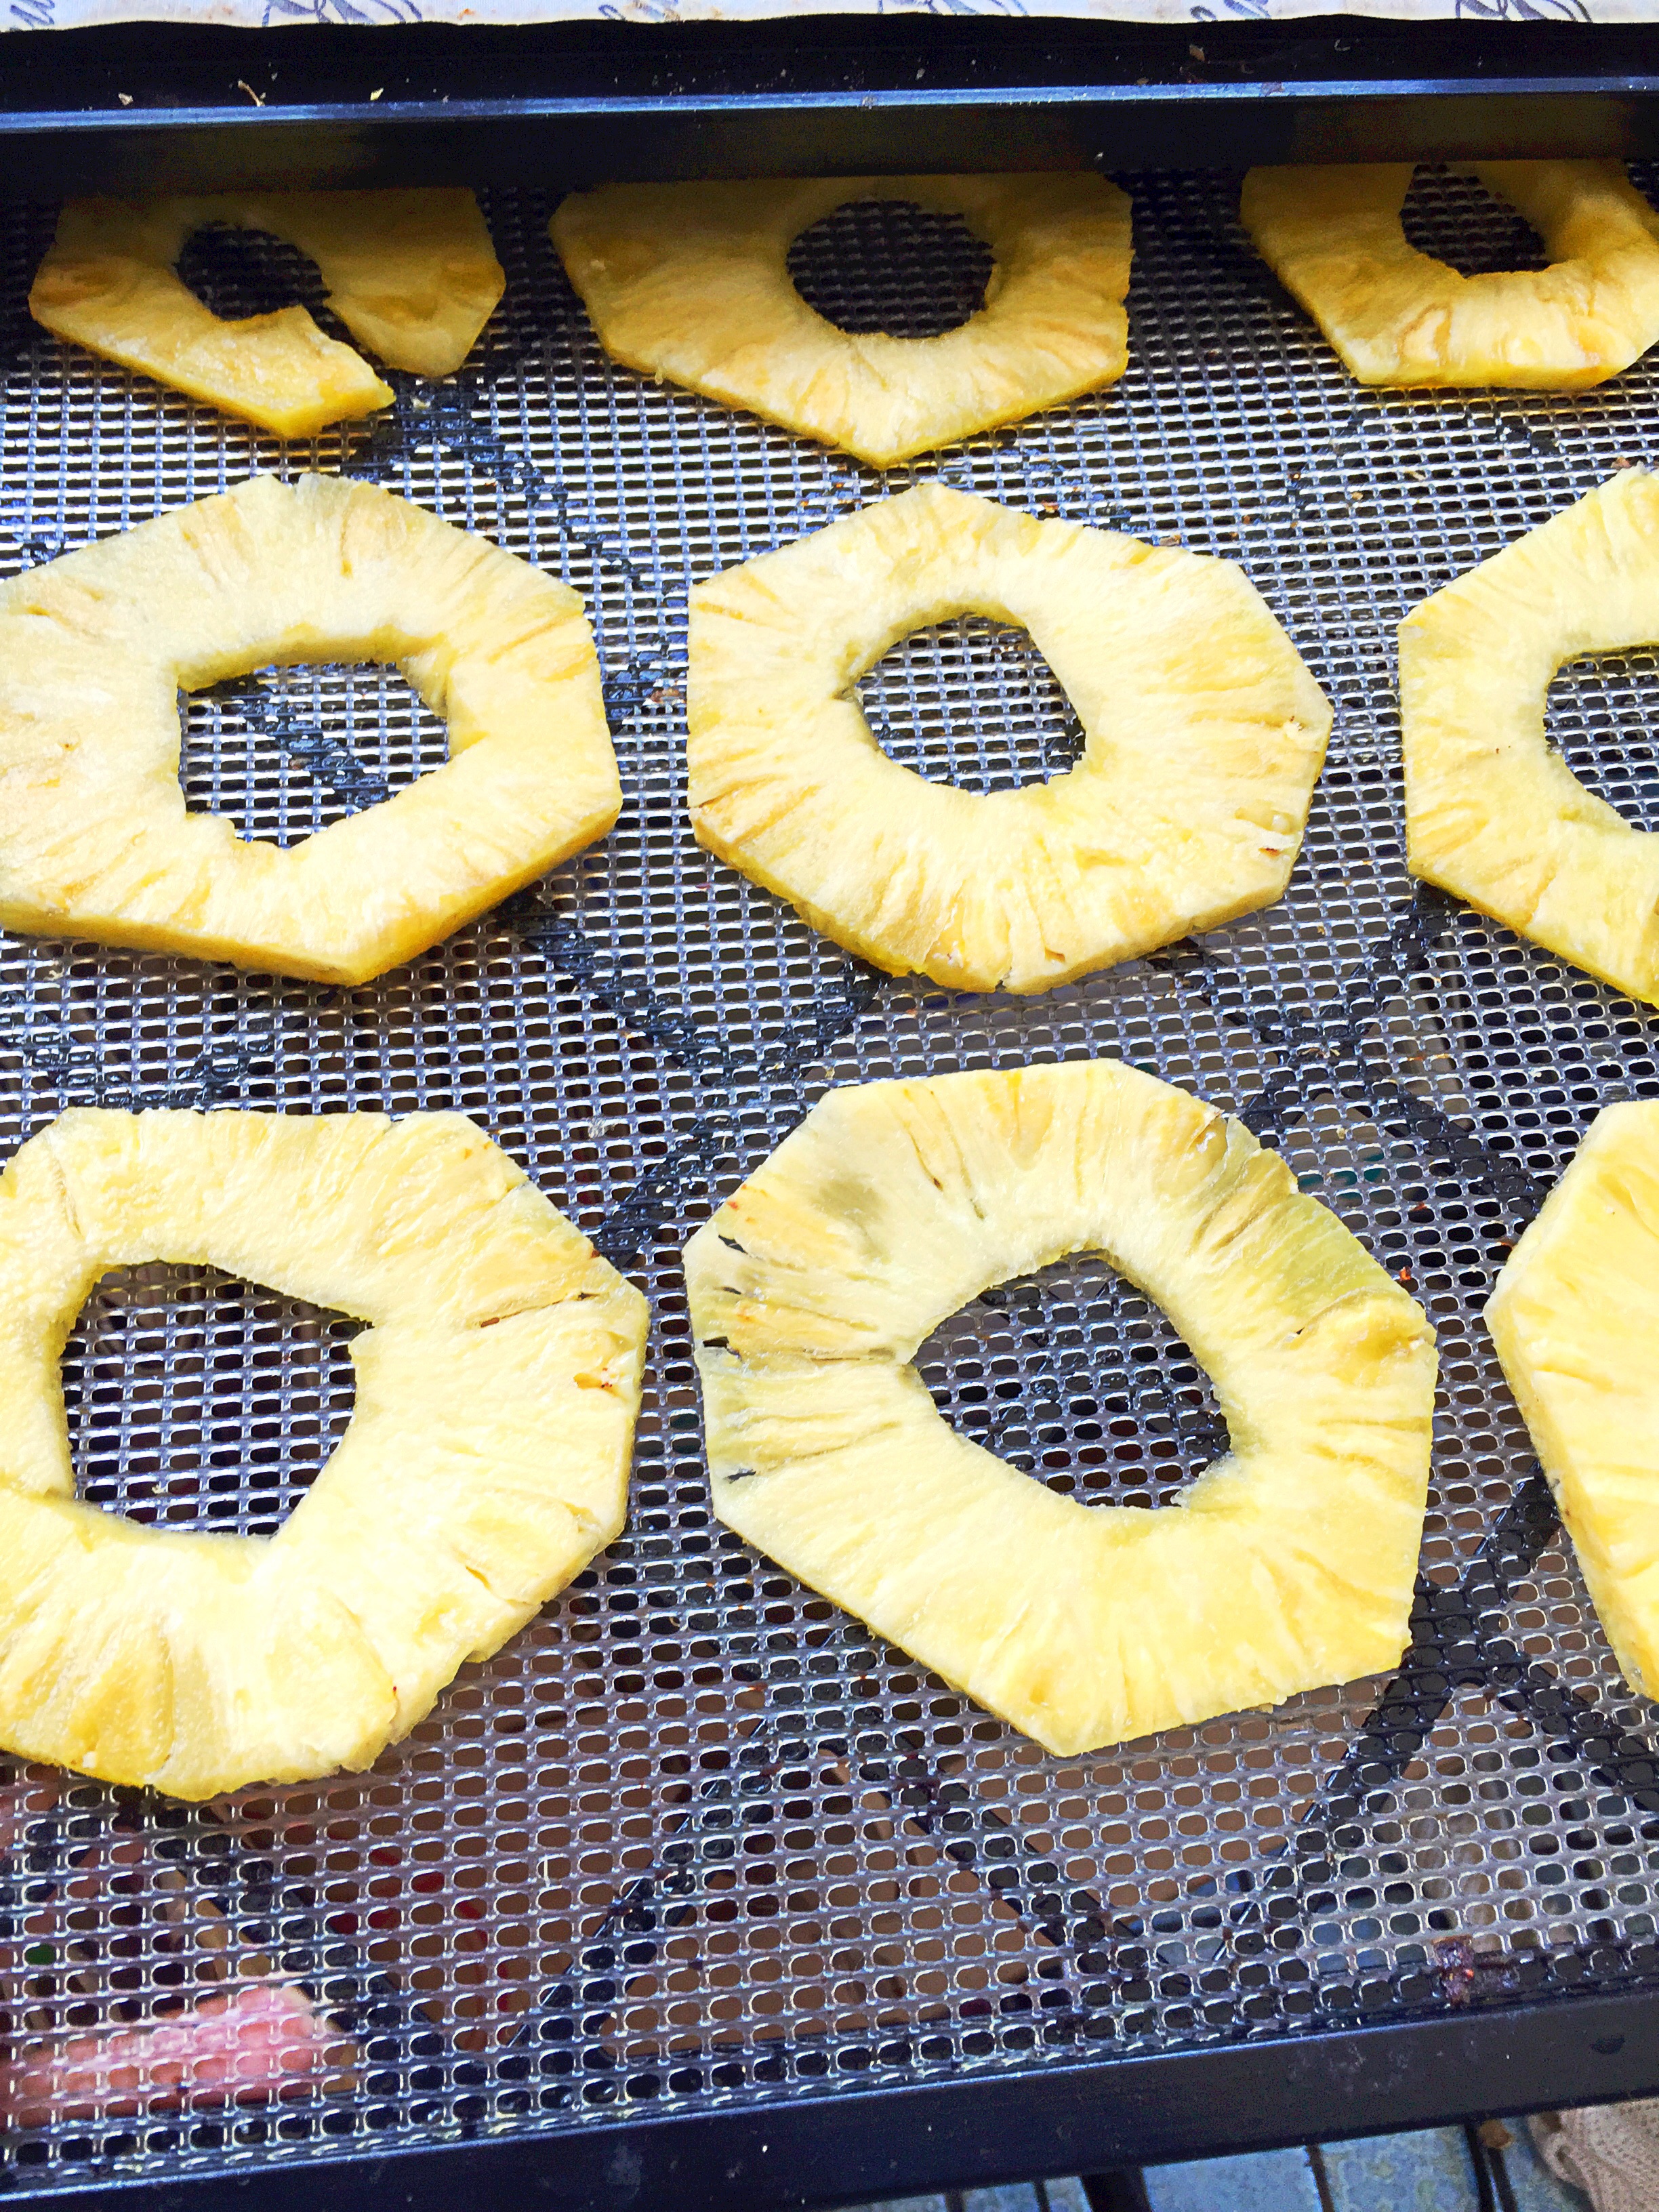
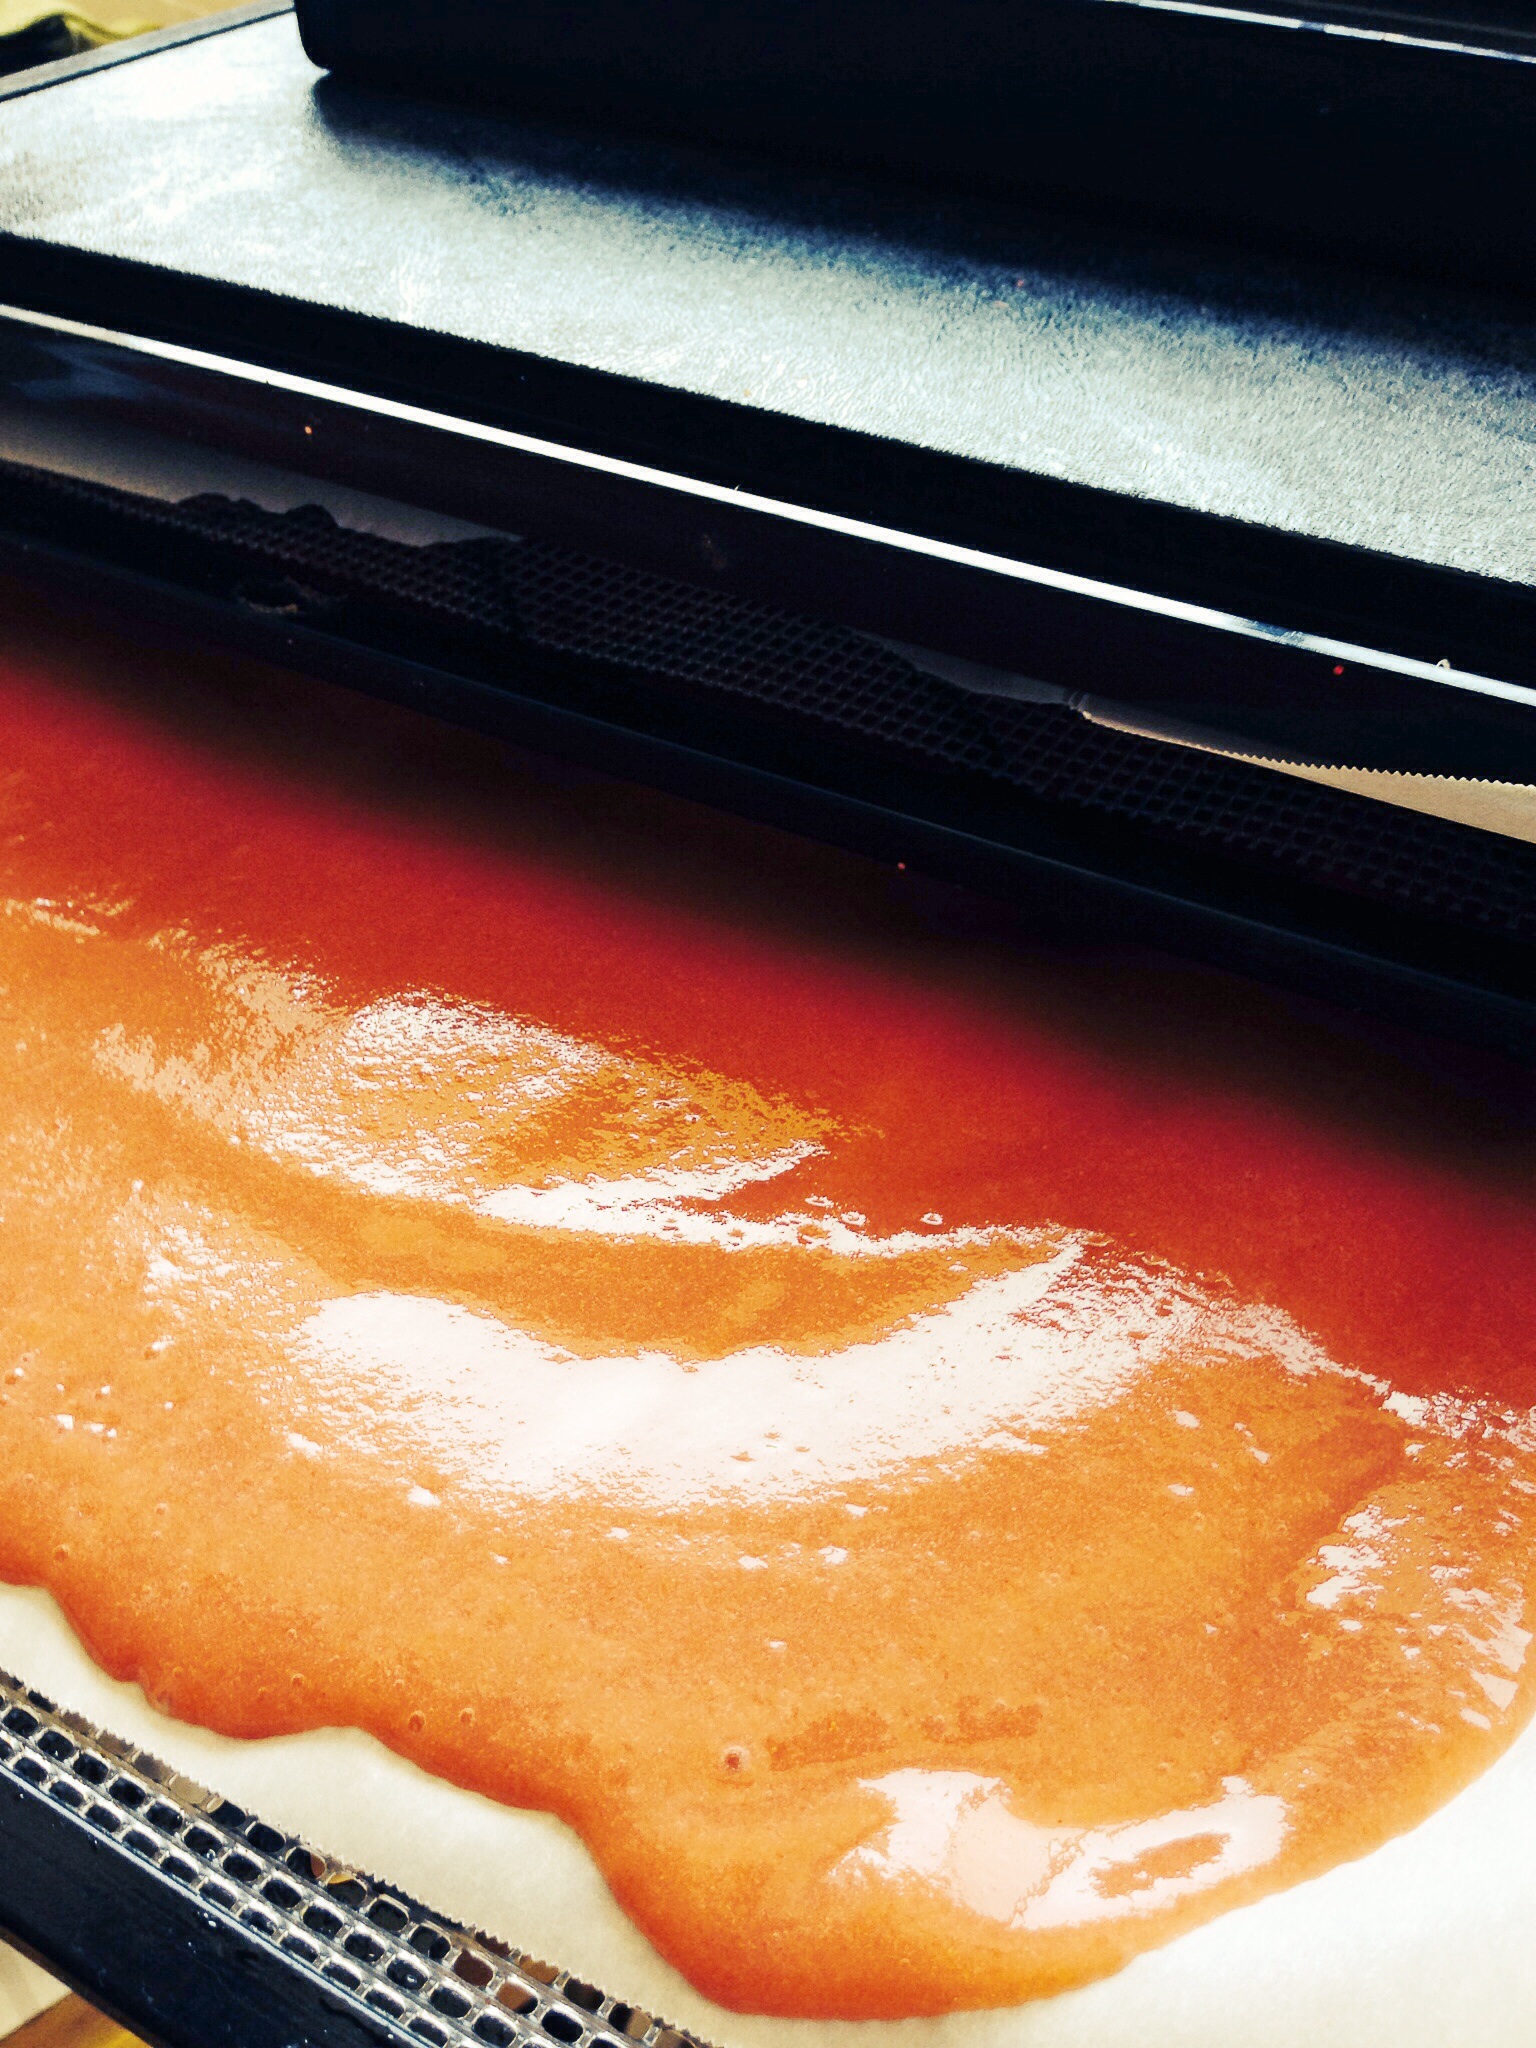
Place the sliced watermelon on dehydrator sheets. Set it on 135F for 6-8 hours depending on how thick you sliced the watermelon.

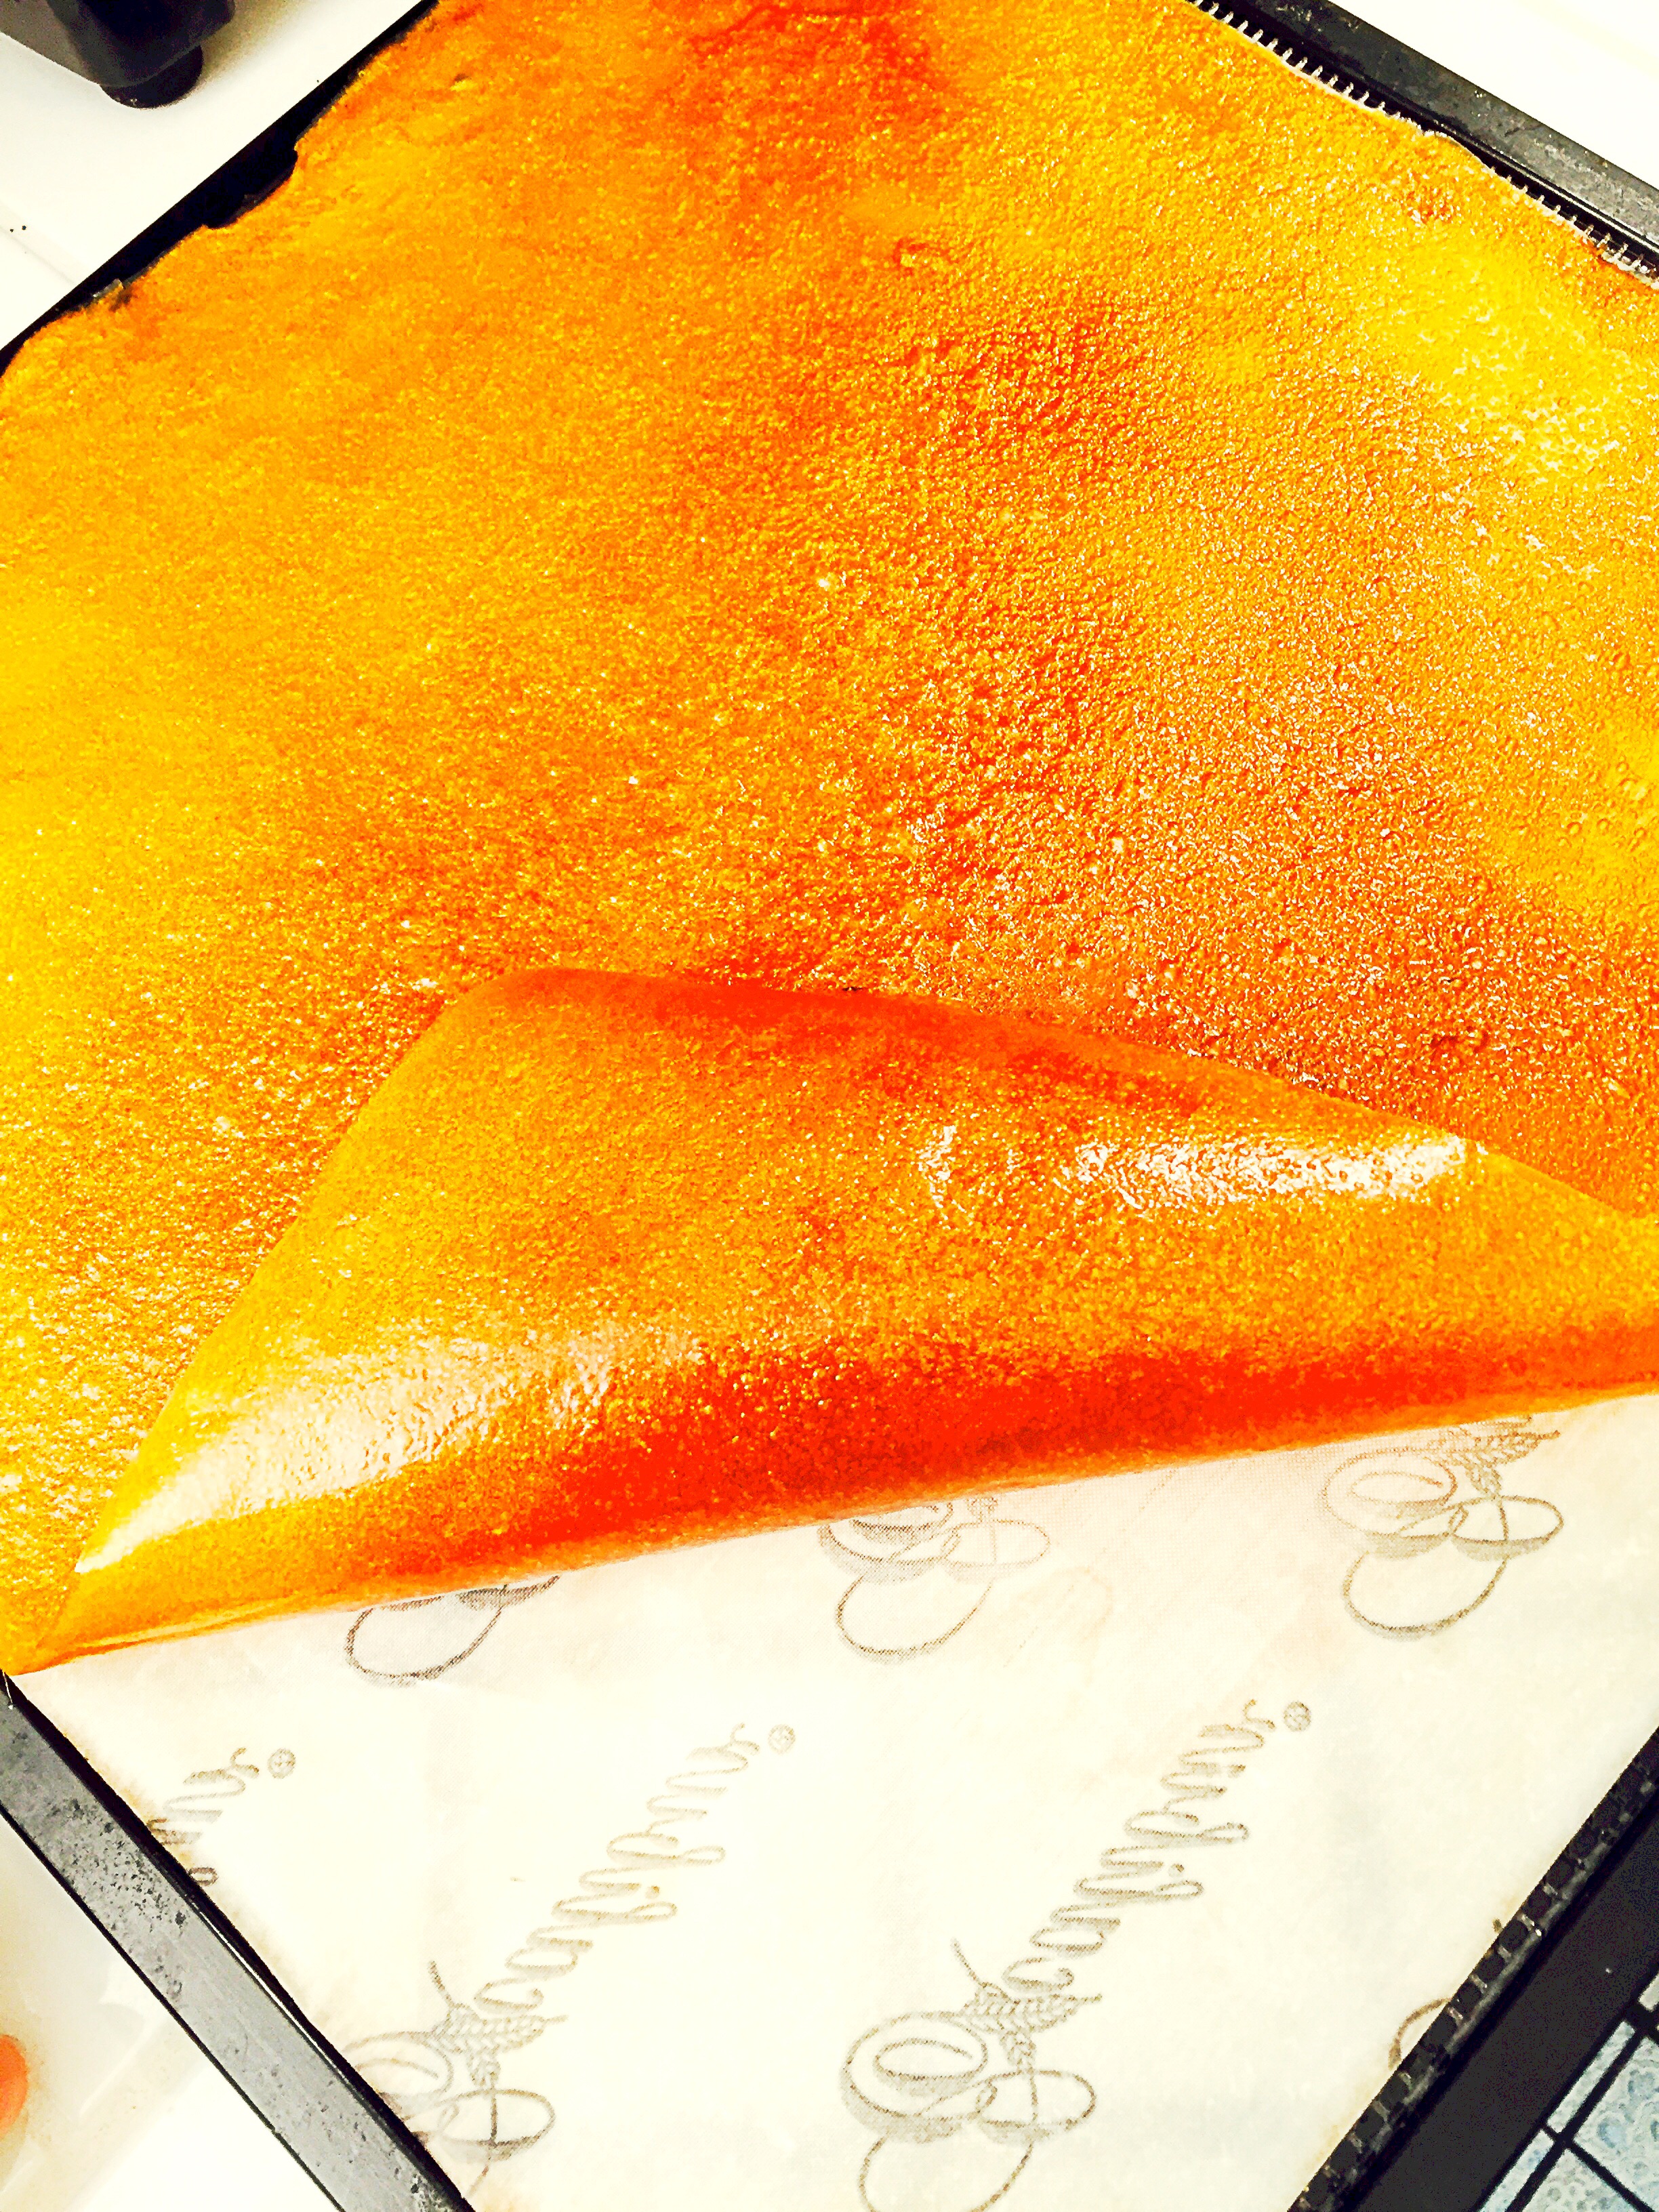
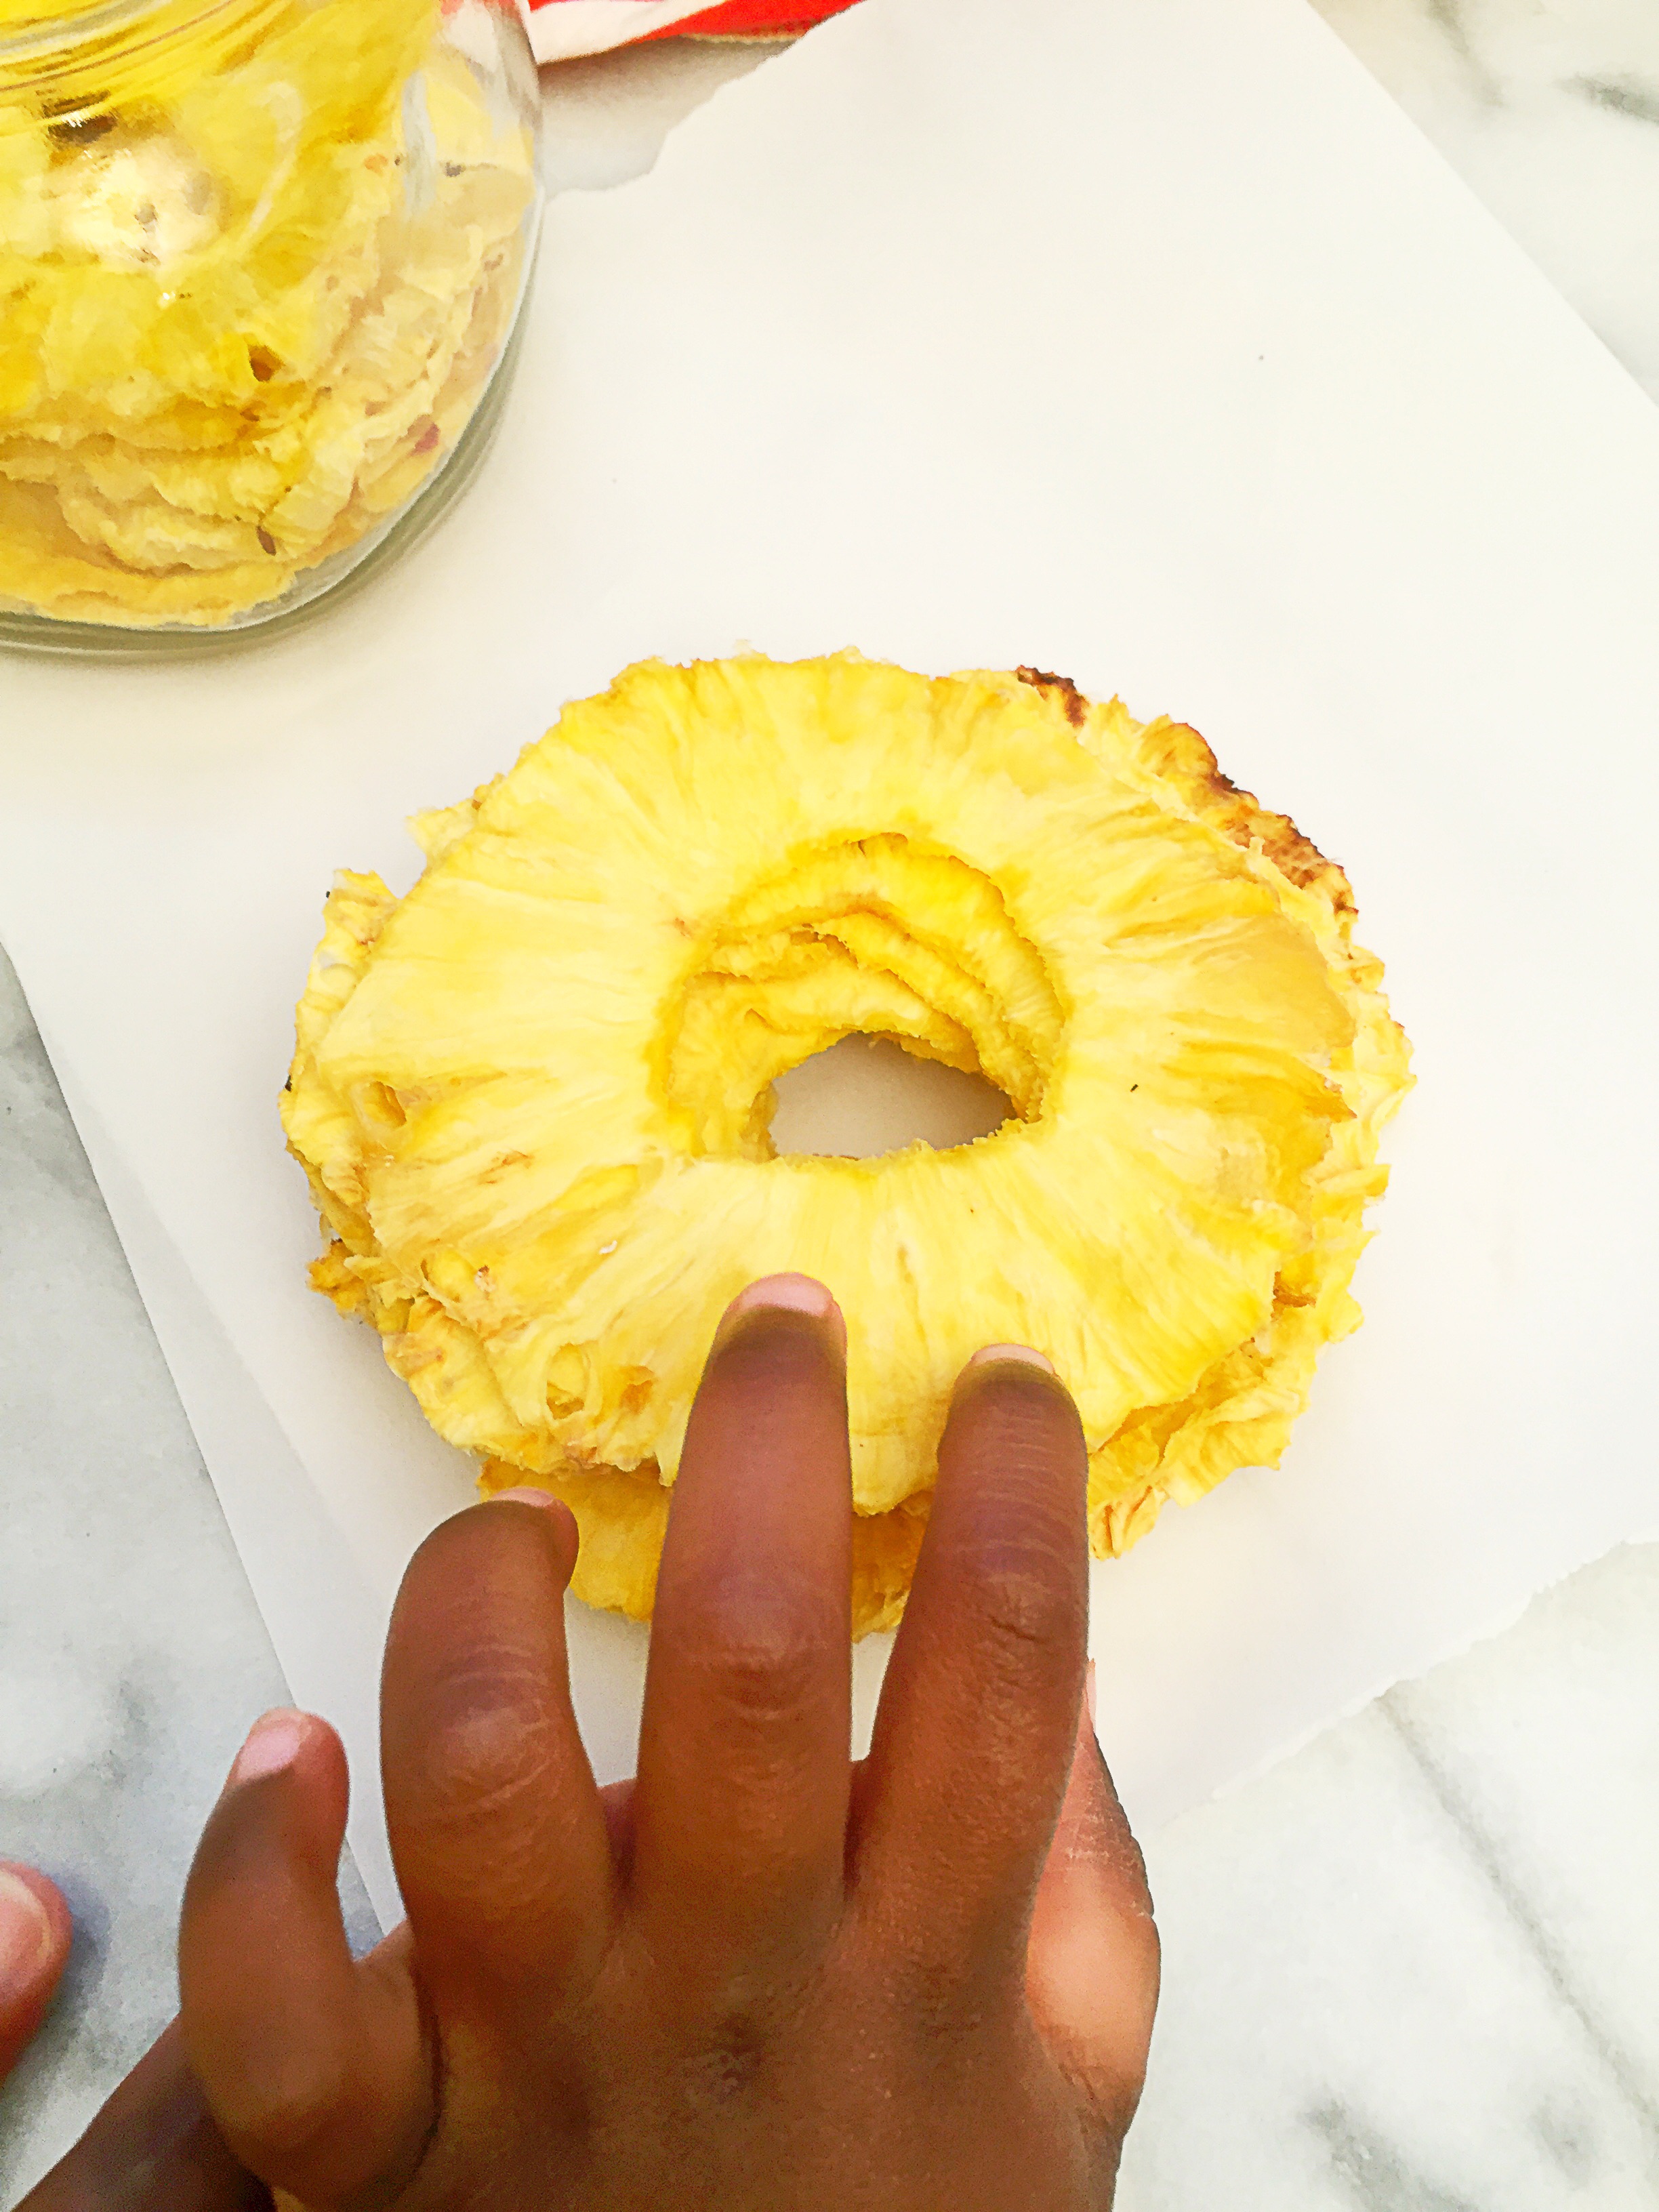
The watermelon is done when it is pliable but dry to the touch.

If you don’t have a dehydrator–get one they are worth the money and the counter space–you can do this in an oven, set the oven to the lowest setting, and place the watermelon on a parchment lined cookie sheet.  My oven’s lowest setting is 250F.  If you are using your oven on a setting this high, keep in mind that the watermelon will dehydrate at a faster rate, so keep an eye on it, at the 4-5 hour mark, your watermelon will likely be done.

D.I.Y. Mango Fruit Roll-ups-How To Make Dehydrated Mango Treats

DIY Mango Fruit Roll-Ups

DIY Mango Fruit Roll-Ups


My friends are a kind and generous bunch! They are constantly giving me gifts–beyond the gift of friendship!  My friends supply me with a constant supply of treats.  I went out to lunch with two of my best girls friends the other day, and came home with a gift box of mango’s! Sweet, delicious, and ultra creamy, I did not want them to go to waste, before we got the chance to eat them all.    One of my favorite dried fruits to eat, besides pineapple rings, is dried mango.  But it’s so hard to find mango’s that have not been soaked in sugar.  The best thing about making these yourself, is that you don’t have to worry about that.  Page loved these treats even more than I did, I cut them into bite size pieces with a pastry cutter after they were done.  You could also use a pizza cutter.


Pin It!

Pin It!


Ingredients:

6 mango’s, skin and pits removed


Directions: Place mango in blender:

image

Blend until smooth.

image


Pour out onto parchment paper and smooth out evenly.

image


Place in oven, or dehydrator on 135 degrees Fahrenheit, or the lowest setting on your oven, for 6-8 hours. 

image

Remove from parchment paper, roll, and enjoy!

image


image

If you like this recipe you’ll love these: Pear Fruit Roll-ups, Strawberry-Apple Fruit Roll-ups, Pineapple Fruit Roll-ups, Tropical Punch Fruit Roll-ups, Strawberry Fruit Roll-ups

D.I.Y. Cheese Crackers–How to make Cheese It Crackers

DIY Cheese Cracker's--DIY Cheese it's

DIY Cheese Cracker’s–DIY Cheese it’s

My mom is a lover of all things snack related, so for Mother’s Day I want to give her what she enjoys most. I had been planning on making cheese cracker’s for Page, she was given gold fish crackers as a snack at school, and came home and immediately asked me to buy them.  Not really going to happen.  So since my mom and Page share a love of great snacks, I thought I’d make these cheese crackers for them. These cracker’s are what AWESOME aspires to be! They’re better than great! And they’re 1000 times tastier than store bought cheeze it’s.  The recipe I used comes from America’s Test kitchen, so if you want the recipe in it’s original form click here.  I used less salt than the original recipe calls for.  Cheese already has a lot of salt, so adding too much is overkill. Do pick a great quality cheese for these, because quality matters for this particular recipe–good cheese=great cheese crackers. The recipe calls for the use of Annatto seeds, I found them quite easily in the spice section of Whole Foods.  If you can’t find them, omit them from the recipe–your crackers will be white, instead of orange–not a big deal, they’ll still taste beyond amazing!!!


Ingredients:

6 ounces of organic sharp cheddar cheese, finely grated

4 tablespoons of butter (2 ounces)

1 teaspoon of sea salt

1/2 cup + 2 tablespoons of all purpose flour

2 tablespoons of cornstarch

1 tablespoon of Annatto seeds, coarsely ground (optional)

2 tablespoons of boiling water

Directions: To a small bowl add add the coarsely ground annatto seeds and the boiling water.

image

Allow the seeds to steep in the boiling water for 5 minutes, then strain and allow to cool to room temperature.

image


Meanwhile, add the butter, 1 teaspoon of salt, and cheese to a stand mixer with the paddle attachment,

image

mix on medium speed until cheese and butter are creamed and well combined–about 30 seconds.

image

Add in the flour and cornstarch and mix until combined–about 1 minute.

image

Add in the Annatto seed water,

image

then mix until dough clumps together or forms a ball–about 15 seconds.

image

Transfer dough to a  lightly floured counter, flatten to a disc, wrap and refrigerate for 30 minutes.

image

image

When ready to cook, pre-heat oven to 375F.  Line two bake sheets with parchment paper. Remove the dough from the refrigerator, and working on a floured counter, roll out the dough to 1/16 inch thickness–or as thin as you can get it without falling apart when you move it.

image

Cut the dough into 1 inch squares using a pizza or ravioli cutter or use small cookie cutters to cut out shapes.

image

Use a skewer to poke holes in the center of the crackers,

image

image

Transfer to the parchment lined bake sheets, place in the oven and bake until light and golden–about 18 minutes.

image

Remove from oven, allow to cool completely, then enjoy.

image

These can be stored in an airtight container for up to 3 days.


image


Pineapple Rings–How to make dehydrated Pineapple Rings

Dehydrated Pineapple Rings

Dehydrated Pineapple Rings

One of my go to snacks is dehydrated fruit.  I’m a particular fan of pineapple rings.  But, if you’ve ever purchased organic dehydrated pineapple rings, then you probably know that pineapple rings are a snack that can be out right expensive! I mean outlandishly expensive! On top of the expense, it’s pretty hard to find pineapple rings that haven’t been soaked in baths of sugar.  I’m not a fan of adding sugar to dehydrated fruit.  It’s sort of an oxymoron to me that sugar is added to dehydrated fruit at all, because if you know anything about dehydration–then you know that the sugar in fruits concentrate when dehydrated, so there really isn’t a need to add sugar–unless you’re dehydrating something really tart like cranberries then I could see the purpose of adding sugar. Last week I purchased a pineapple, I fully intended to eat it fresh. However,when I cut, and tasted it– it was pretty tasteless. Disappointing for sure. The pineapple clearly needed to ferment more.  Rather than chuck it, I sliced it and put it in the dehydrator and made pineapple rings. The resulting pineapple rings were not only flavorful, but they were sweet–everything you want would want in a fresh bite of pineapple–minus the juice of course.  The pineapple rings lasted all of 2 minutes, my sister in-law, my niece and Page, gobbled them right up–I’m pretty sure they would’ve passed on the fresh slices.

Pin It!


Prep time: 10 minutes

Cook time 6-8 hrs 10-12hr for thicker slices

Ingredients:

2 whole fair trade organic pineapple

Directions: Remove the stem from the pineapple, then slice off the top and bottom.  Slice off the skin, making sure to remove all the eyelets.

image

Now slice the pineapple thinly.

image

Keep in mind that the thicker you slice it, the longer it will take to dry.  If it’s too thin your pineapple rings will turn out crisp, if they are a bit thicker, they’ll be more leathery, so it’ just a matter of what you’re seeking in consistency.  After slicing, cut out the center core by carving a circular cut in the middle of the pineapple.

image

Remove the core and discard it.

image

Place the pineapple rings on your dehydrator sheet,

image

Set the dehydrator to 135F.  If you’re doing this in the oven, set the oven to 150F or the lowest possible setting.  Dehydrate for 6-8 hours, 10-12hrs if you cut thicker slices.

image

Once dry let cool, then enjoy!

image

Page could not wait for me to take a picture, she loves these so much!

image

image

if you like this recipe, try the recipe for my pineapple fruit roll-ups!

Rice Puffs–How to Make Rice Puff Snacks

Rice Puffs

Rice Puffs

Today I’m giving you a recipe for ultra crispy, and delicious homemade rice puffs. I’m not a huge fan of rice, but my daughter and my husband are.  They are especially fond of Basmati rice. I love the way that Basmati rice smells.  It has it’s own unique aroma, no other rice smells as good cooking as Basmati does.  I buy Basmati in  area close by called Little India.  I go there every so often to stock up on Indian spices as well.  The only problem with that is that I always leave with a 20 pound bag of GMO free Basmati rice!  It’s enough rice to feed my family for a year—we don’t eat rice that often.  I almost always end of giving most of it away, it’s just too much, but they don’t sell it in smaller quantities.  I have had this recipe for rice puffs in my que for a long while now, just haven’t had the rice to make it. I got the idea from a recipe in Modernist Cuisine,  but found a simpler more home cook friendly version of it on Chef Steps.  I’ve added my own spin on it with the addition of the lime salt, but if you haven’t gotten around to making my Lime powder, then  plain sea salt will do, and these will still be amazing! You don’t have to use Basmati to make these, you can use any rice. Still don’t have a dehydrator?  Buy one it will be the best $40 bucks you’ve spent in a long while.  The alternative is to put the rice puree in the oven set to the lowest setting 150F leave the oven door just a bit ajar, and check it before it reaches the 2 hour mark.  Check at 1.5 hour mark, you don’t want this to crisp up and burn.

Pin It!

Pin It!


Prep time: 20 minutes

Cook time: 10 minutes

Drying time: 2 hrs


Ingredients:

3/4 cup of rice

3 and 1/4 cups of water

1/2 cup 0f safflower oil

3 teaspoons of lime powder

1 teaspoon of sea salt (powdered–just add sea salt to a spice mill and blend until powdered)

Directions: Add the lime powder sea salt to a bowl mix well and set aside.  Add rice and water to a pot, cook until rice is tender and falling apart–there will still be water in the pot.

image


Transfer the cooked rice along with any left over water to a blender and blend until smooth.

image


Pour the rice puree out onto silpat’s smooth out into thin layers.

image

Place in the dehydrator on 122F and allow to dehydrate for 2 hours.  The dehydrated rice puree should be pliable but also have a snap to it.

image

Note: If you dehydrate for too long, the rice puffs will not puff, if you dehydrate for too short a period, they will not puff either.  When you place your rice puffs in the hot oil they should sink  to the bottom of the pot and then immediately rise and puff.


Once your puree has been dehydrated, heat the oil to 374F, while the oil is heating break the rice sheet into bite size pieces.  When the oil reaches temperature, drop the rice sheet pieces into the oil, they should drop to the bottom and rise and puff up immediately, fry for 2-3 seconds then remove from oil and season with lime salt immediately,

image


let the rice puff’s cool, then enjoy!


image


Pear Fruit Roll-Ups-How to make fruit roll-ups at home


Pear Fruit Roll-Ups

Pear Fruit Roll-Ups

One of my favorite ways to use ripe fruit is by making fruit roll-ups.  In my opinion it’s the best way to use fully ripe fruit, because the fruit is ripe, it’s very sweet, and that means that you don’t have to add sugar to make these fruit roll-ups great.  Additionally fruit roll-ups are so super easy to make and a great way to reinvent a fruit that you have an abundance of.  I have dehydrator, but these can be done in an oven.  Just set your oven to 150 or the lowest possible setting. If you don’t own a dehydrator yet, I suggest that you get one, they are really inexpensive around $40-$50 on the lower end–these work fine, and $299 on the higher end.  But they are so useful! At the least you’ll be able to make some of my favorite fruit roll-up recipes like: Tropical punch fruit roll-ups, pineapple fruit roll-up, Strawberry-apple fruit roll-ups or strawberry fruit roll-ups.

Pin It!

Pin It!


Prep time: 5 minutes

Cook time: 4-6 hours

Ingredients:

5 ripe pears

Directions:  Quarter the pairs and remove the core.  Add cored pears to a blender,

image

Blend until smooth.

image

Pour the pear puree out onto a piece of parchment paper or a silpat, and smooth out into a thin layer.

image

Place in a dehydrator on 134F for 4-6 hours.

image

Alternatively you can place the parchment paper or silpat on a cookie sheet and place in the oven on the lowest setting for 4-6 hours.

image

Pineapple and Coconut Cream Creamsicles!!!

Pineapple and Coconut Cream Creamsicles

Pineapple and Coconut Cream Creamsicles

So it’s official, the Zoku Quick Pop Maker is my new favorite kitchen gadget! It has become my daughters favorite too.  Although I’m pretty sure that she is more a fan of what comes out of the quick pop maker than the actual quick pop maker.  We have been making all sorts of popsicles since we got it.  Page is a big fan of the creamsicle–she is her mother’s daughter after all, but she is also a fan of simple juice pop’s.  Pineapple is a favorite of hers, she just loves it.  I decided to pair it with coconut cream, and let me tell you—THEY ARE AMAZING!!!!!!!!!!!!

Pin It!

Pin It!


Prep time: 10 minutes

Cook time: none

Ingredients:

1 cup of Pureed pineapple

1/2 cup of coconut cream

1/2 teaspoon of vanilla extract

2 tablespoons of maple syrup or your favorite sugar

Directions: Add the cream, vanilla extract and maple syrup to a cup, mix well and set aside.  If using classic pop molds, place all ingredients in a blender and blend until well combined.  Divide mixture evenly among molds and freeze for 6-8 hours or until frozen solid. If you are using the Zoku Quick pop maker, Pour  the pineapple puree into the molds and allow to set for 2-3 minutes.  At the 2 minute mark siphon out the remaining unfrozen puree with a straw or a unused infant aspirator–I purchased one just for this.  Zoku sells a tool kit for $20 which includes a siphon tool, but the aspirator is $3 and does the job equally as well.  After you have removed all of the juice, pour cream into the molds, and allow to set for another 4-5 minutes, then follow the directions for removing the pops.  If you aren’t going to eat the pops right away, you can store them in sandwhich size zip lock bags and place them in the freezer until you’re ready to eat them.  These never last longer than a few hours in our house, so I can’t say how long you could store them that way.  If you like these, you’ll probably love my Orange creamsicle, and Strawberry Creamsicle recipes too.

Orange Creamsicles

How to make Homemade Orange Creamsicles–How to make Half and Half bars

Watch my How to Video above, there is a cameo appearance by my daughter Page

Pin It!

Pin It!


Another favorite frozen treat of mine when I was a little girl was orange creamsicles. We used to call them half and half bars, because that’s exactly what they were, half juice pop and half cream center.  Whatever you call them, I think we can all agree that they are super delicious. Unfortunately creamsicles are not made the way they used to be made, they have a ton of ingredients in the boxed versions in the store, none of which contain real juice or cream. This recipe takes care of that.  I used freshly squeezed orange juice for these, but if you can find some fresh juice in the store that does not have added sugar and preservatives, then go for it.  If you decide to squeeze the juice yourself, just make sure that the oranges that you’re using are very sweet, that way you don’t have to add sugar to sweeten the juice.  If heavy cream isn’t your thing (my vegan friends) don’t fret, I’ve done these with coconut cream, and they are just as yummy if not more.  Lastly, I purchased the Zoku Quick Pop Maker to make these, it’s the only way to get a true half and half bar, with that creamy center filling, but if you don’t want to spend the $25 (for a single), $38( for the duo), or $50 (for the triple) pop maker, you can still make these, but you’ll have to blend the mixture, or just pour half juice and half cream into regular molds, ( I used Zoku Classic pop molds), you’ll get a verticle half and half bar–still delicious.

Prep time: 10 minutes
Ingredients:
1 cup of freshly squeezed organic orange juice
1 cup of heavy cream or coconut cream
1/2 teaspoon of vanilla extract
2 tablespoons of maple syrup
Directions: Add the cream, vanilla extract and maple syrup to a cup, mix well and set aside.  If using classic pop molds, place all ingredients in a blender and blend until well combined.  Divide mixture evenly among molds and freeze for 6-8 hours or until frozen solid.
If you are using the Quick pop maker, Pour the orange juice into the molds and allow to set for 2-3 minutes.  At the 3 minute mark siphon out the remaining unfrozen juice with a straw or a unused infant aspirator–I purchased one just for this.  Zoku sells a tool kit for $20 which includes a siphon tool, but the aspirator is $3 and does the job equally as well.  After you have removed all of the juice, pour cream into the molds, and allow to set for another 4-5 minutes, then follow the directions for removing the pops.
Orange Creamsicle

Orange Creamsicle

image If you aren’t going to eat the pops right away, you can store them in sandwich size zip lock bags and place them in the freezer until you’re ready to eat them.  These never last longer than a few hours in our house, so I can’t say how long you could store them that way. These are the Orange and Coconut Creamsicles that I made using the classic Zoku popsicle molds:  

Strawberry Apple Fruit-roll ups


Strawberry Apple Fruit Roll-Ups

Strawberry Apple Fruit Roll-Ups

Now that summer has arrived we are constantly on the go.  Which means that we spend much more time in the car.  My daughter does surprisingly well on car rides, however, she does better if I am armed with plenty of games to fill her time, and of course snacks don’t hurt.  She is extremely fond of apple strings–apples that I run through my vegetable spiralizer on the spaghetti attachment, however they oxidize so quickly after making them, I like to save those for home snacks.  Enter fruit roll-ups, she loves them and they are extremely travel friendly.  If you follow this blog, then you know I have several recipes for fruit rolls ups my tropical punch fruit roll-ups are my absolute favorite, but the pineapple, or strawberry fruit roll ups are equally as delicious!


Pin It!

Pin It!


Ingredients:

10 ounces of strawberries stems removed

2 medium sized apples, cores removed

Directions: Place the strawberries and apples in a blender and blend until smooth.

image

Pour the mixture out onto a parchment lined sheet and smooth into a thin layer.

image

image

Place in a dehydrator on 134 for 4-6 hours, or in a oven on the lowest setting for 4-6 hours.

image

Fruit roll-ups are done when you can peel them off of the parchment without them sticking.

image

Homemade Granola Bars with Cranberries & Walnuts

Homemade Granola Fruit and Nut Bars

I don’t know about you, but around this time of the year, I start to scale back on my weekday cooking in order to prepare my refrigerator for all of the things I am making for Thanksgiving. This year my self imposed scale back has nothing to do with needing room for my thanksgiving dishes, instead I’m scaling back in preparation for not being home. We are joining millions of travelers this year, we are going to visit my in-laws in Nevada for Thanksgiving. Since we’ll be in the car for more than 3 hours, I decided to prepare some healthy snacks for us to munch on during the drive. This granola bar fits the bill perfectly. It has nuts, 3 kinds of fruit, and no refined sugar!

Prep time: 10 minutes
Cook time: 10 minutes
Total time: 20 minutes

Ingredients:
3/4 cup of maple syrup
2 tablespoons coconut oil or butter plus more for oiling the baking dish
2 cups old-fashioned rolled oats
1 1/3 cups chopped nuts I used walnuts
1/4 teaspoon sea salt
1 cup of dried fruit, I used a mixture of sour cherries, cranberries, and raisins
1/3 cup creamy almond or peanut butter
1/4 cup honey

1/4 cup of Coconut flakes unsweetened  for topping (optional)

Directions:
Preheat oven to 375 degrees. In a small saucepan, heat 1/4 cup of the maple syrup and the 2 tablespoons of coconut oil over low. Cook, stirring, until the oil melts. In a large bowl, combine oats, nuts, and pinch of salt. Drizzle maple mixture over oat mixture and stir to combine. Spread mixture evenly on a large rimmed baking sheet. Bake until golden brown, about 10 minutes. Place the oats in large bowl, add dried fruit and mix well. 

Lightly butter an 8-inch square baking dish. 

In saucepan, combine remaining 1/2 cup of maple syrup, almond butter, and honey over medium heat. Cook, stirring occasionally, until mixture comes to a boil. Drizzle over oat mixture and stir until combined; transfer  mixture to buttered baking dish. With a spatula, firmly press granola into dish. Refrigerate until firm, about 1 hour, then cut into bars or squares.


What are your plans for Thanksgiving?

Since I’ll be visiting family next week, I am not sure I will have time to post. My daughter is turning 2 on Thanksgiving day, so when we return I’ll be focused on celebrating this major milestone with her. Happy cooking, and a very Happy Thanksgiving to you all!