How to Brown Butter
It has been said that butter makes everything better. In my opinion brown butter is butter in it’s best form. The nutty, butterscotch notes butter has once it has been browned are heavenly! I love to use brown butter in everything from sauces to baked goods. In fact, the other day, Page and I were baking with browned butter, and even she–in all of her 3-year-old astuteness–could not stop saying how good the brown butter smelled. The aroma had us both in a euphoric trance–I’m not exaggerating–we were both giddy over the smell–and the cookies…the cookies were AMAZING!!! I’ll share that post another day. You can make as much, or as little, of this as you’d like. Once the butter has browned, you can place it in the refrigerator to use for later. A good brown butter sauce can liven up everything –even veggies.
Pin It!
Prep time: none
Cook time: 5-7 minutes
Ingredients:
2 sticks of butter
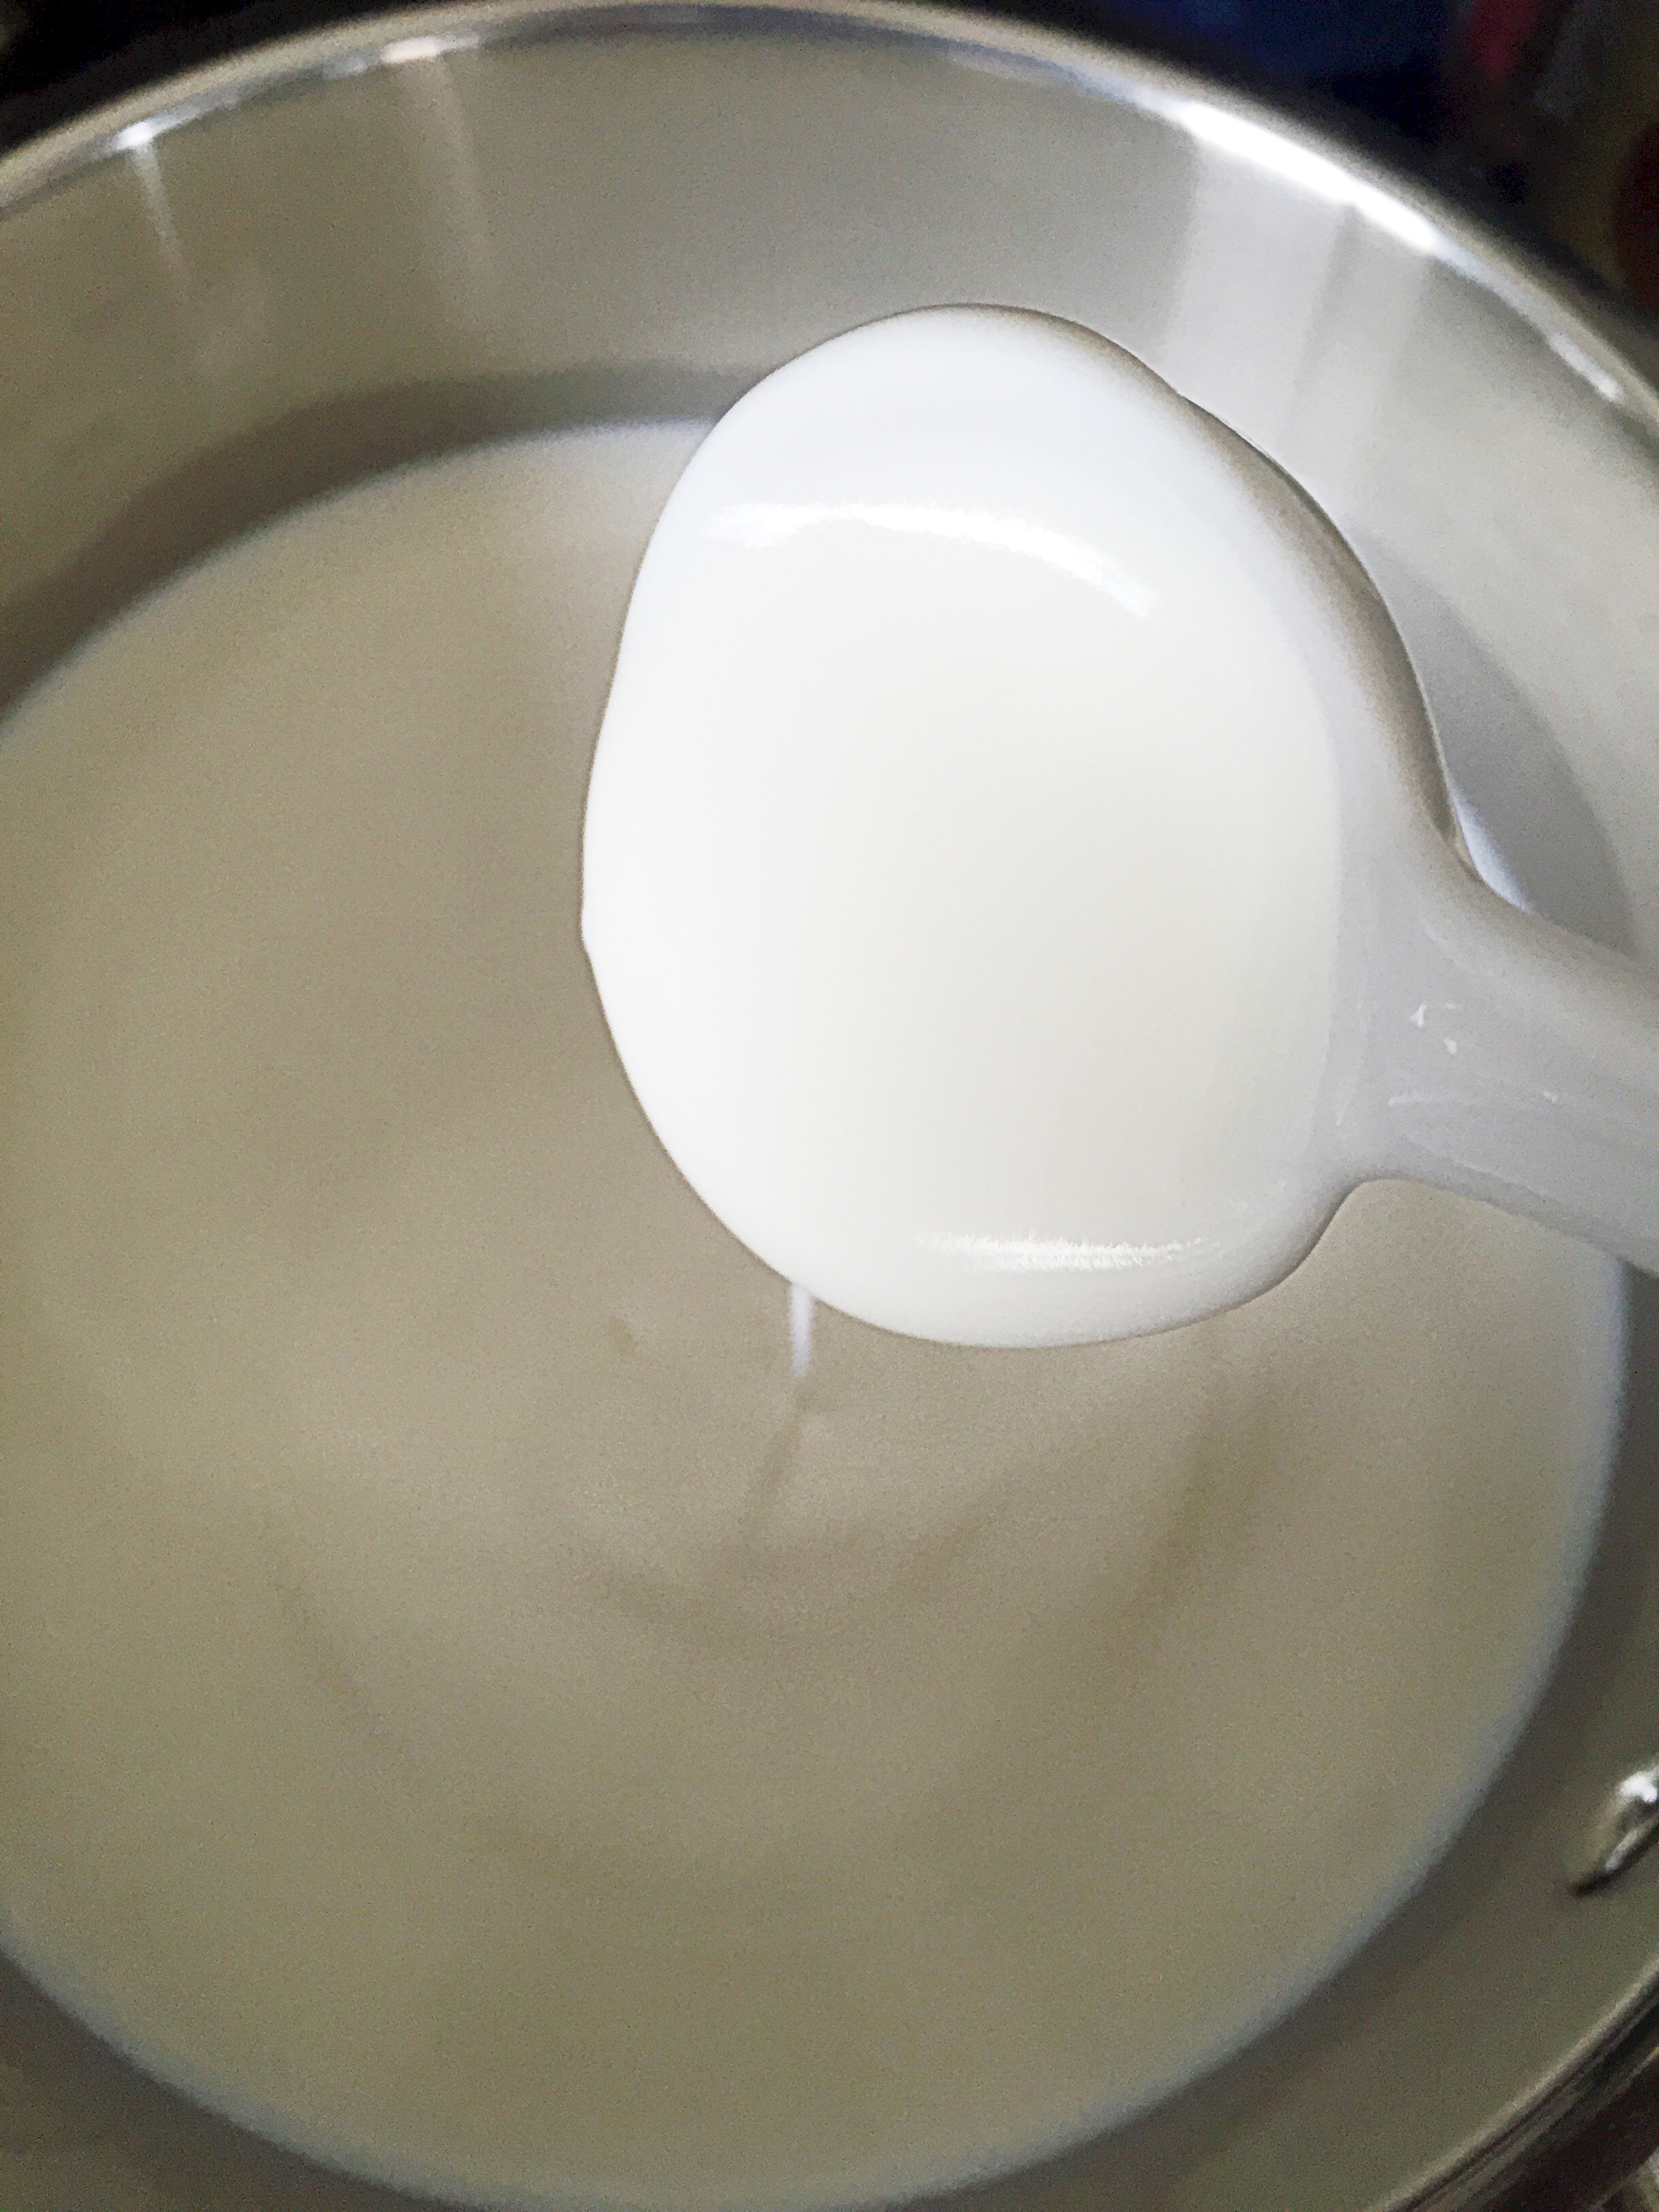
Directions: Place the butter in a stainless steel or clear bottom sauce pan

and melt over medium low heat.

Once the butter has completely melted, things move along pretty quickly, the solids have already begun to separate for me and it’s been about two minutes:

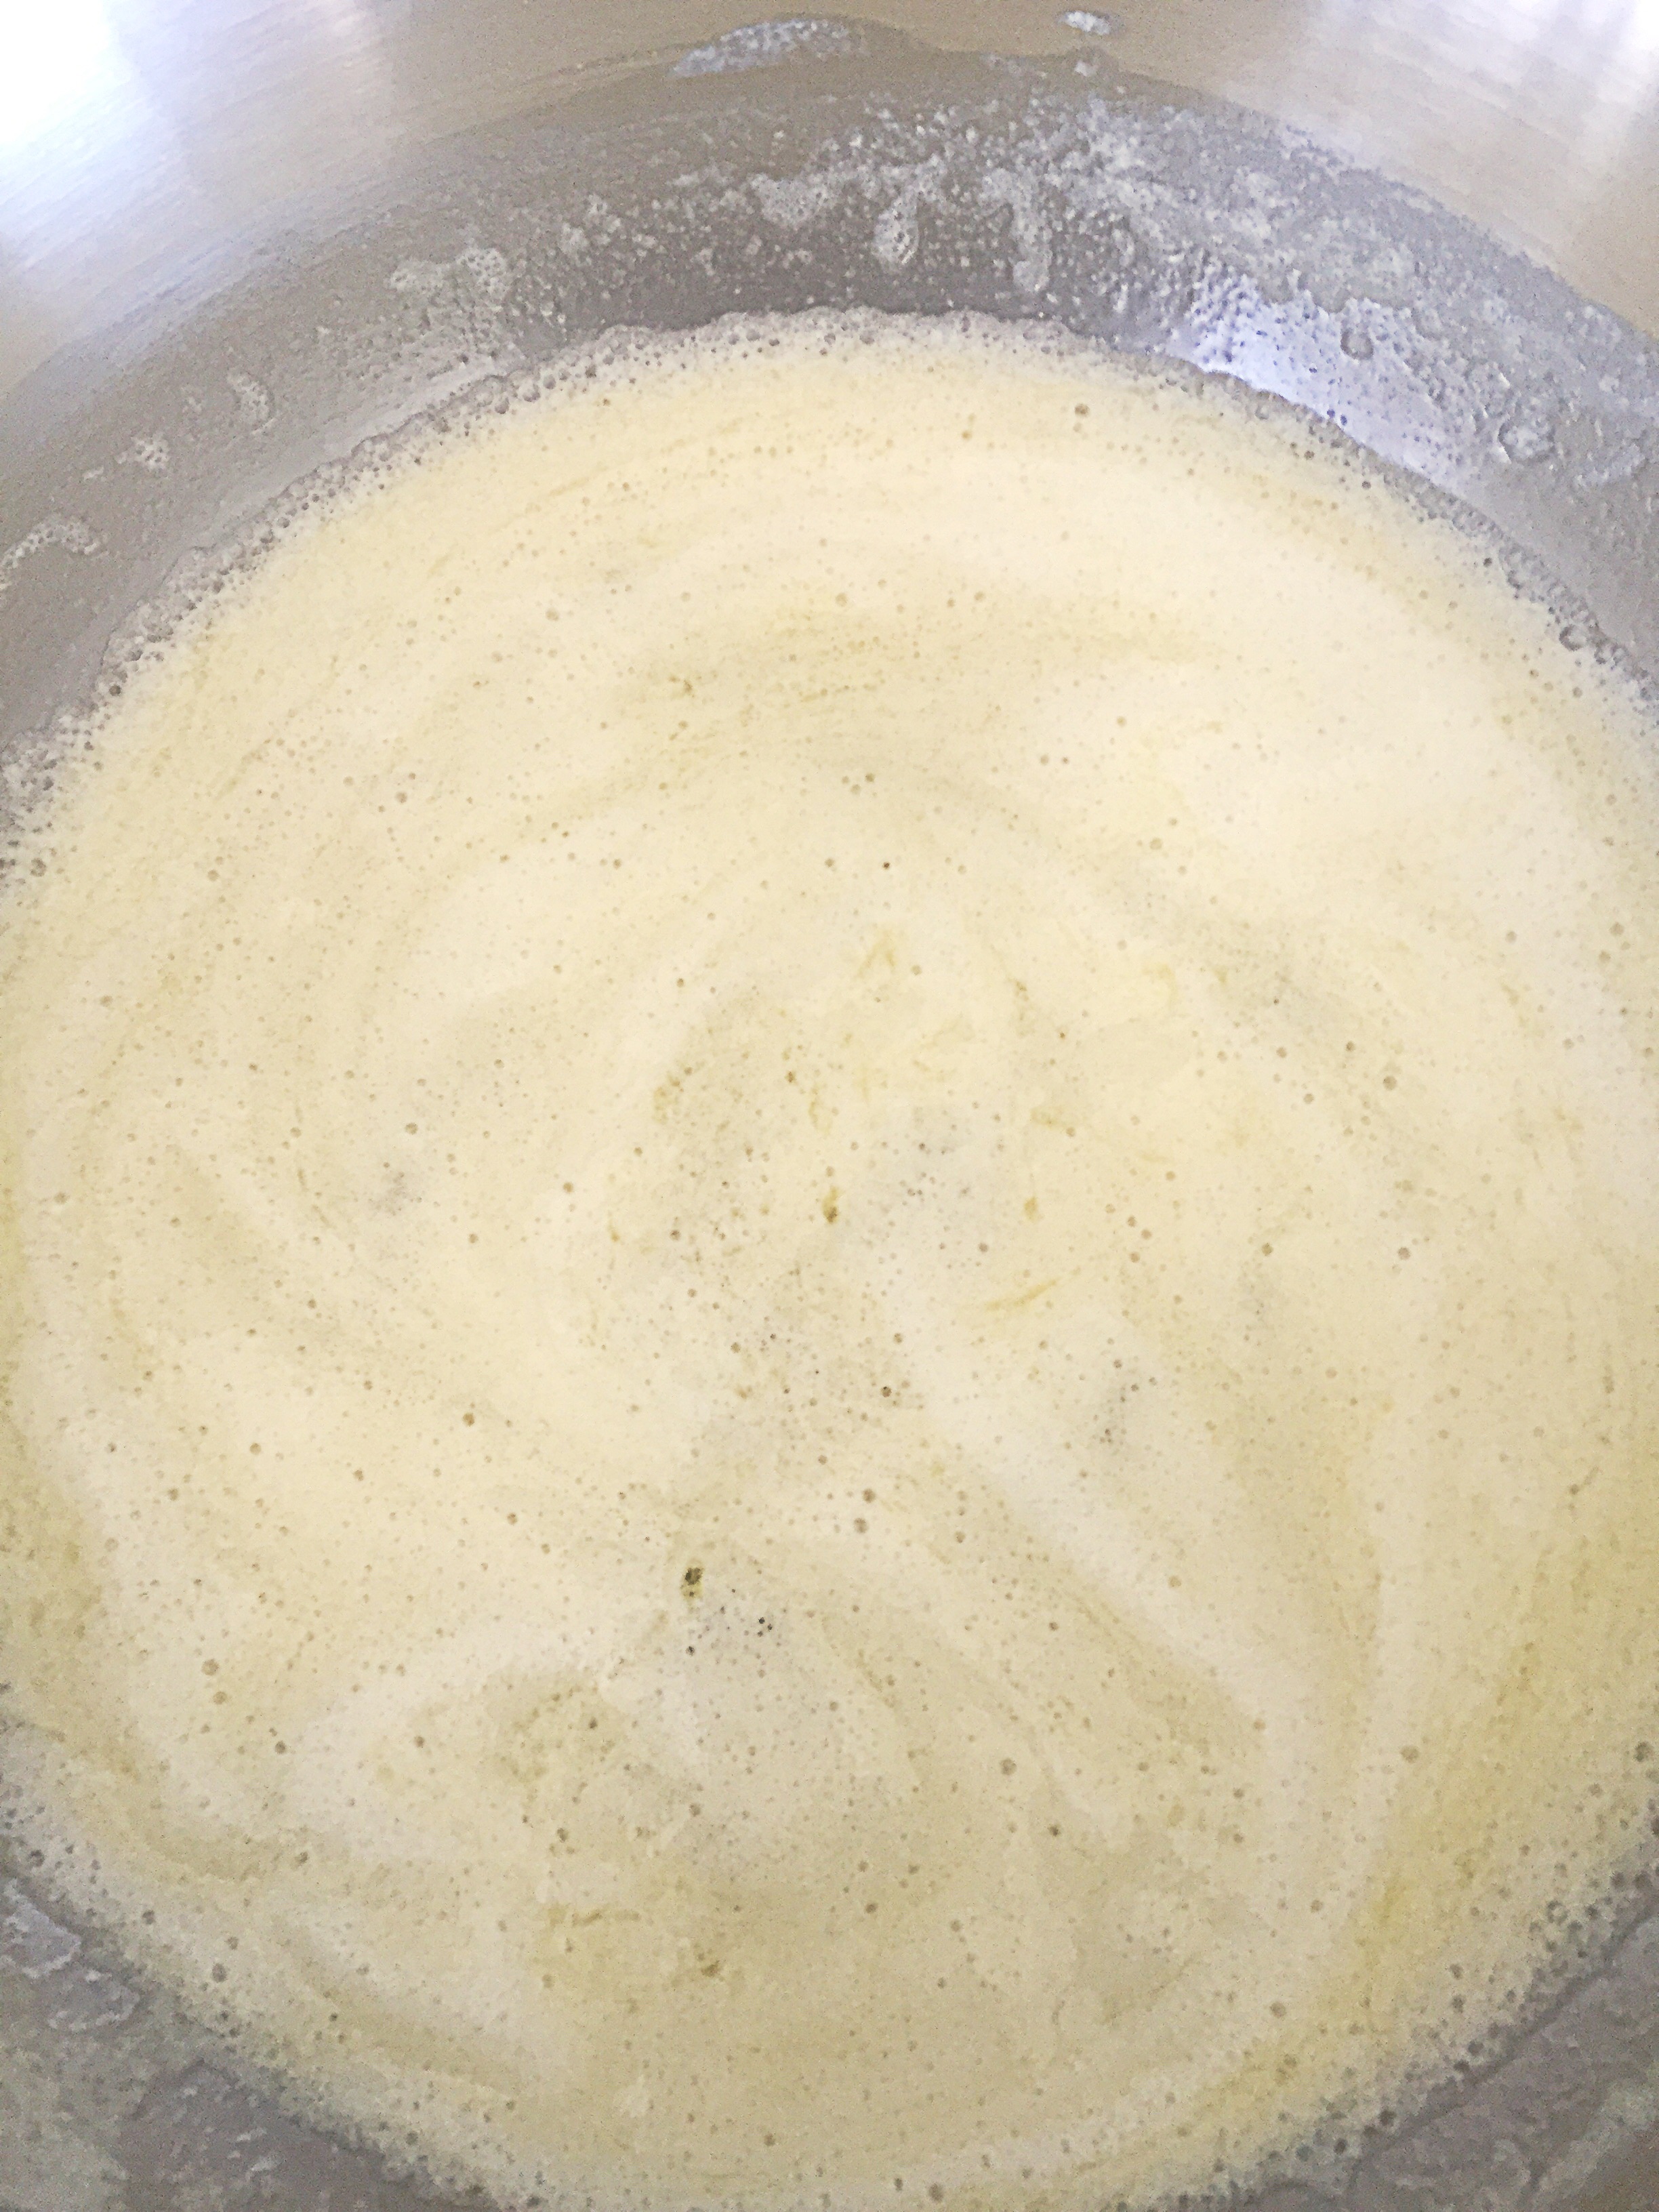
At about 5 minutes in the butter will start to bubble and and splatter, stir, stir, and stir some more:

Now is the time to watch the butter like a hawk, because then this happens:
Foam, a lot of foam, which makes it hard to see if the butter has browned underneath, so move the foam to the side with a spoon to see if the butter has browned. 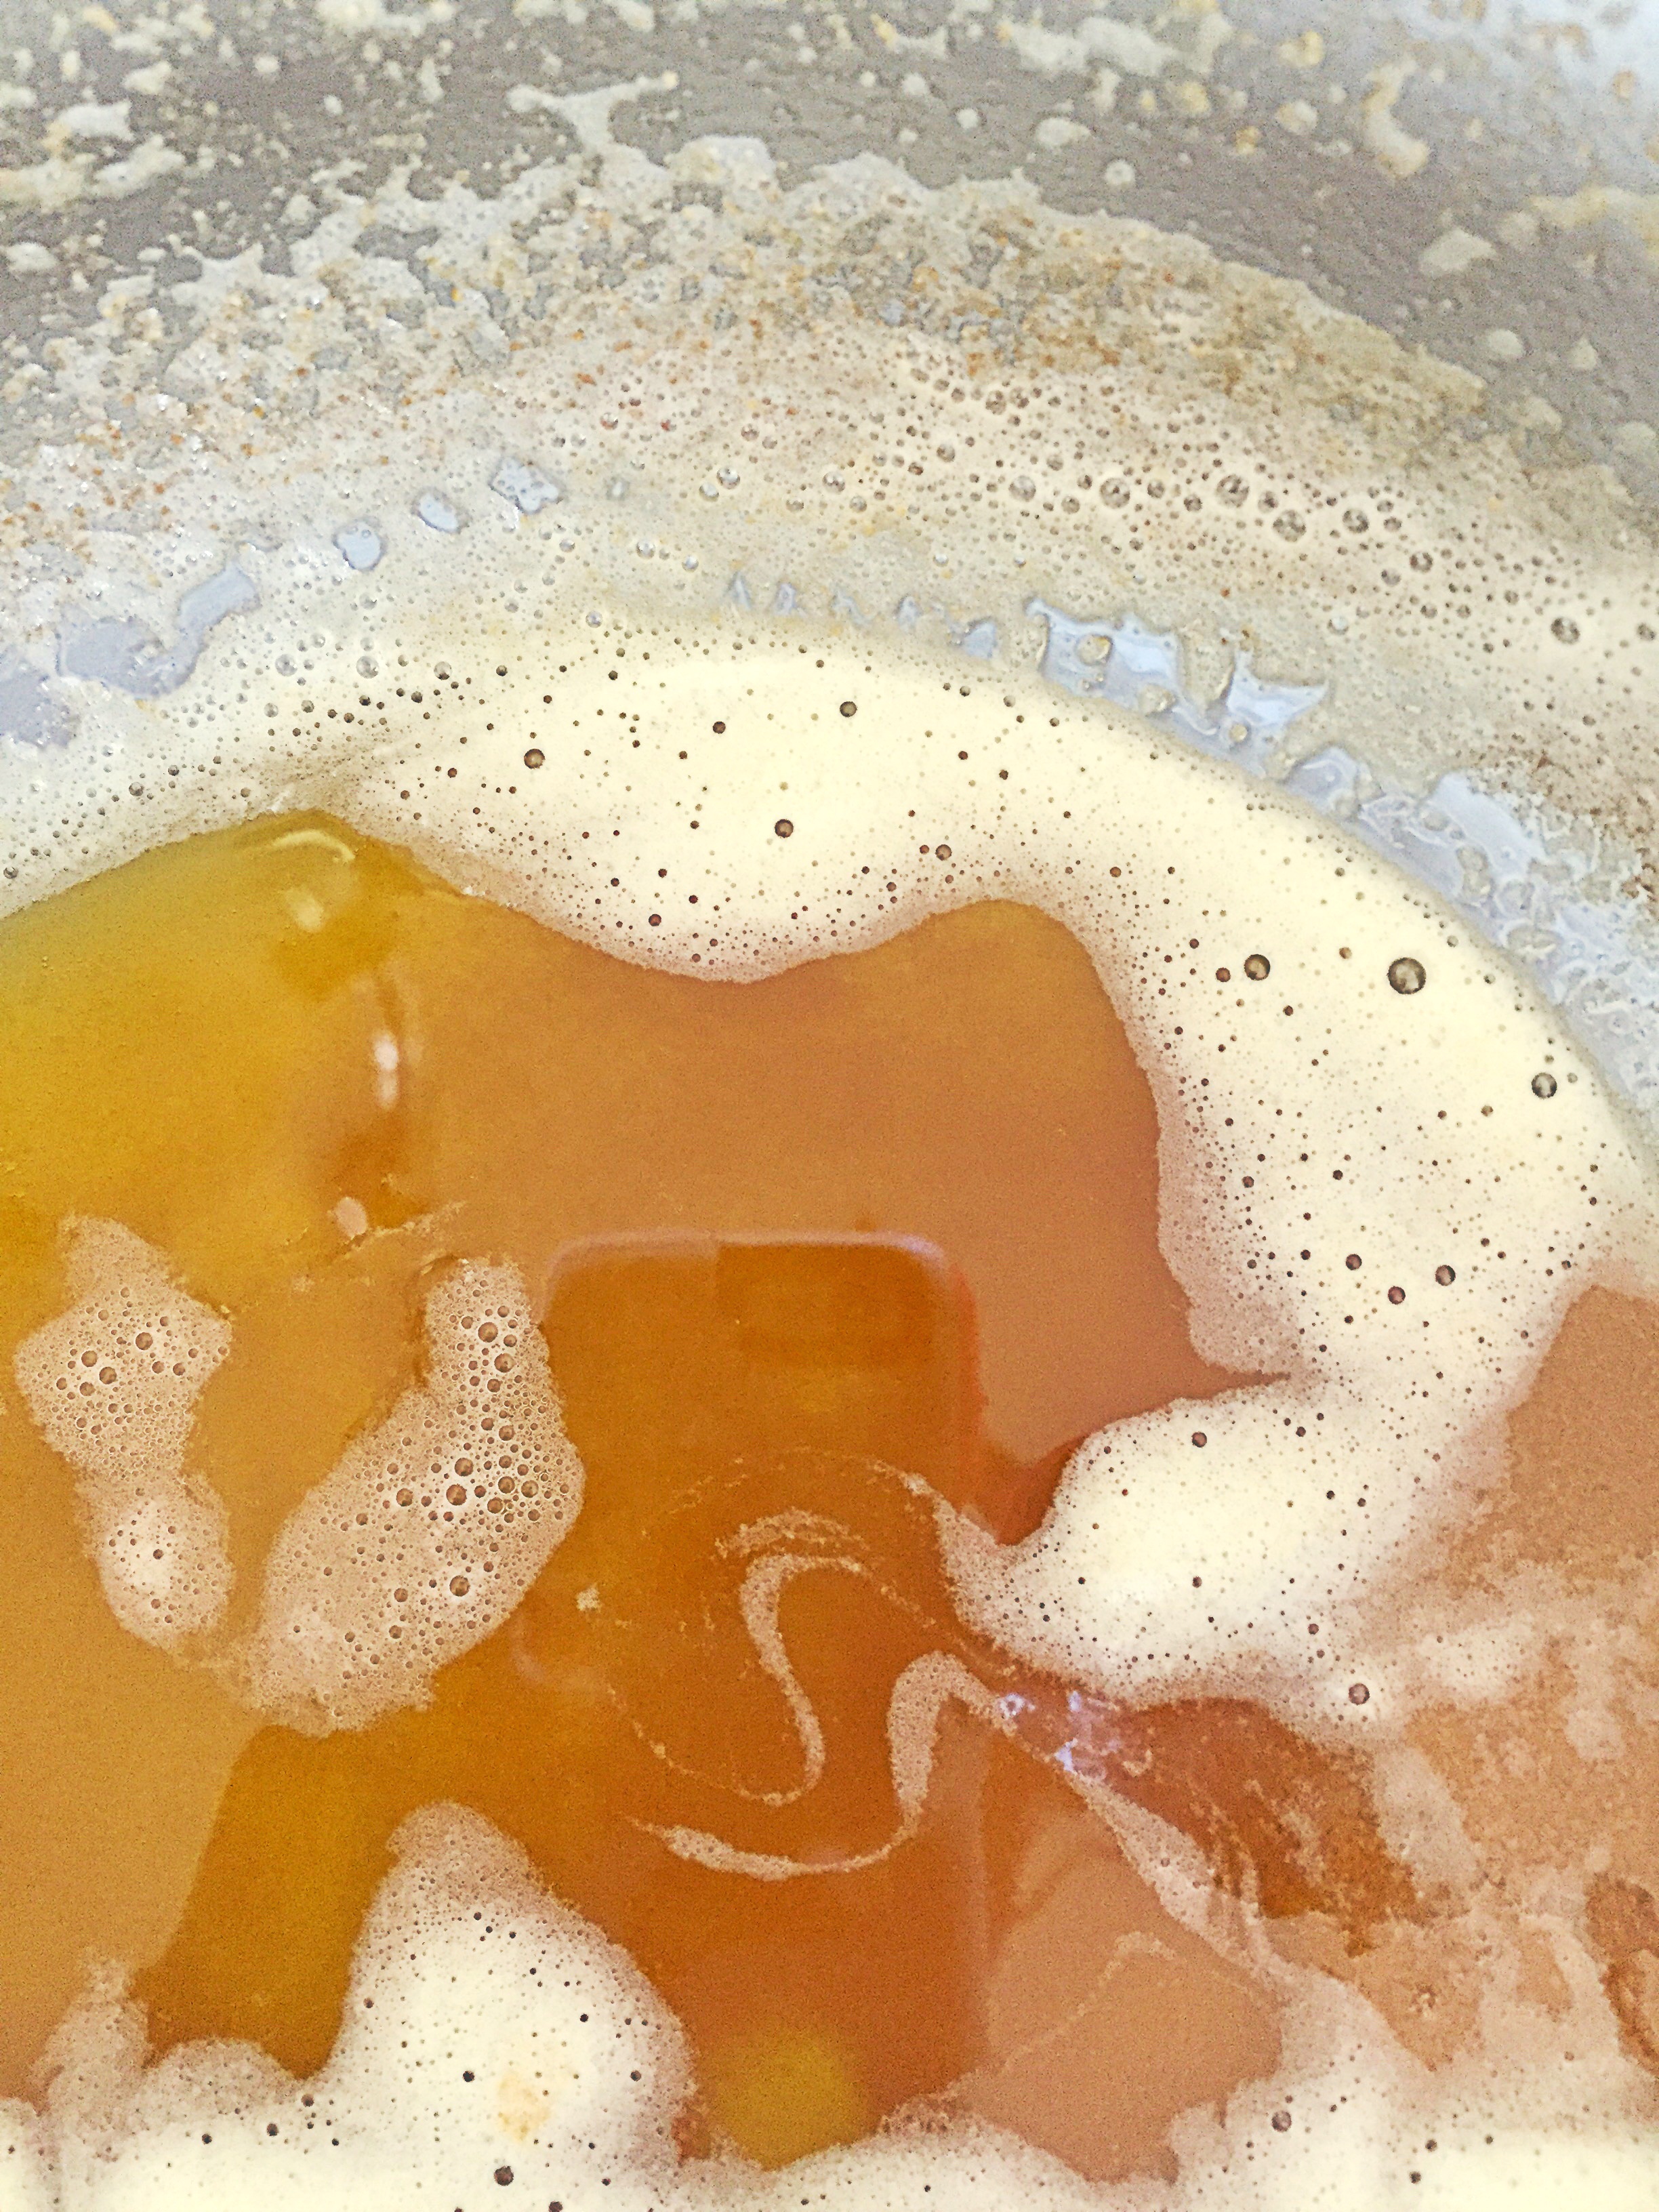
You’ll be able to tell the butter has browned because you’ll start to see brown bits of milk solids on the spoon and in the pan.

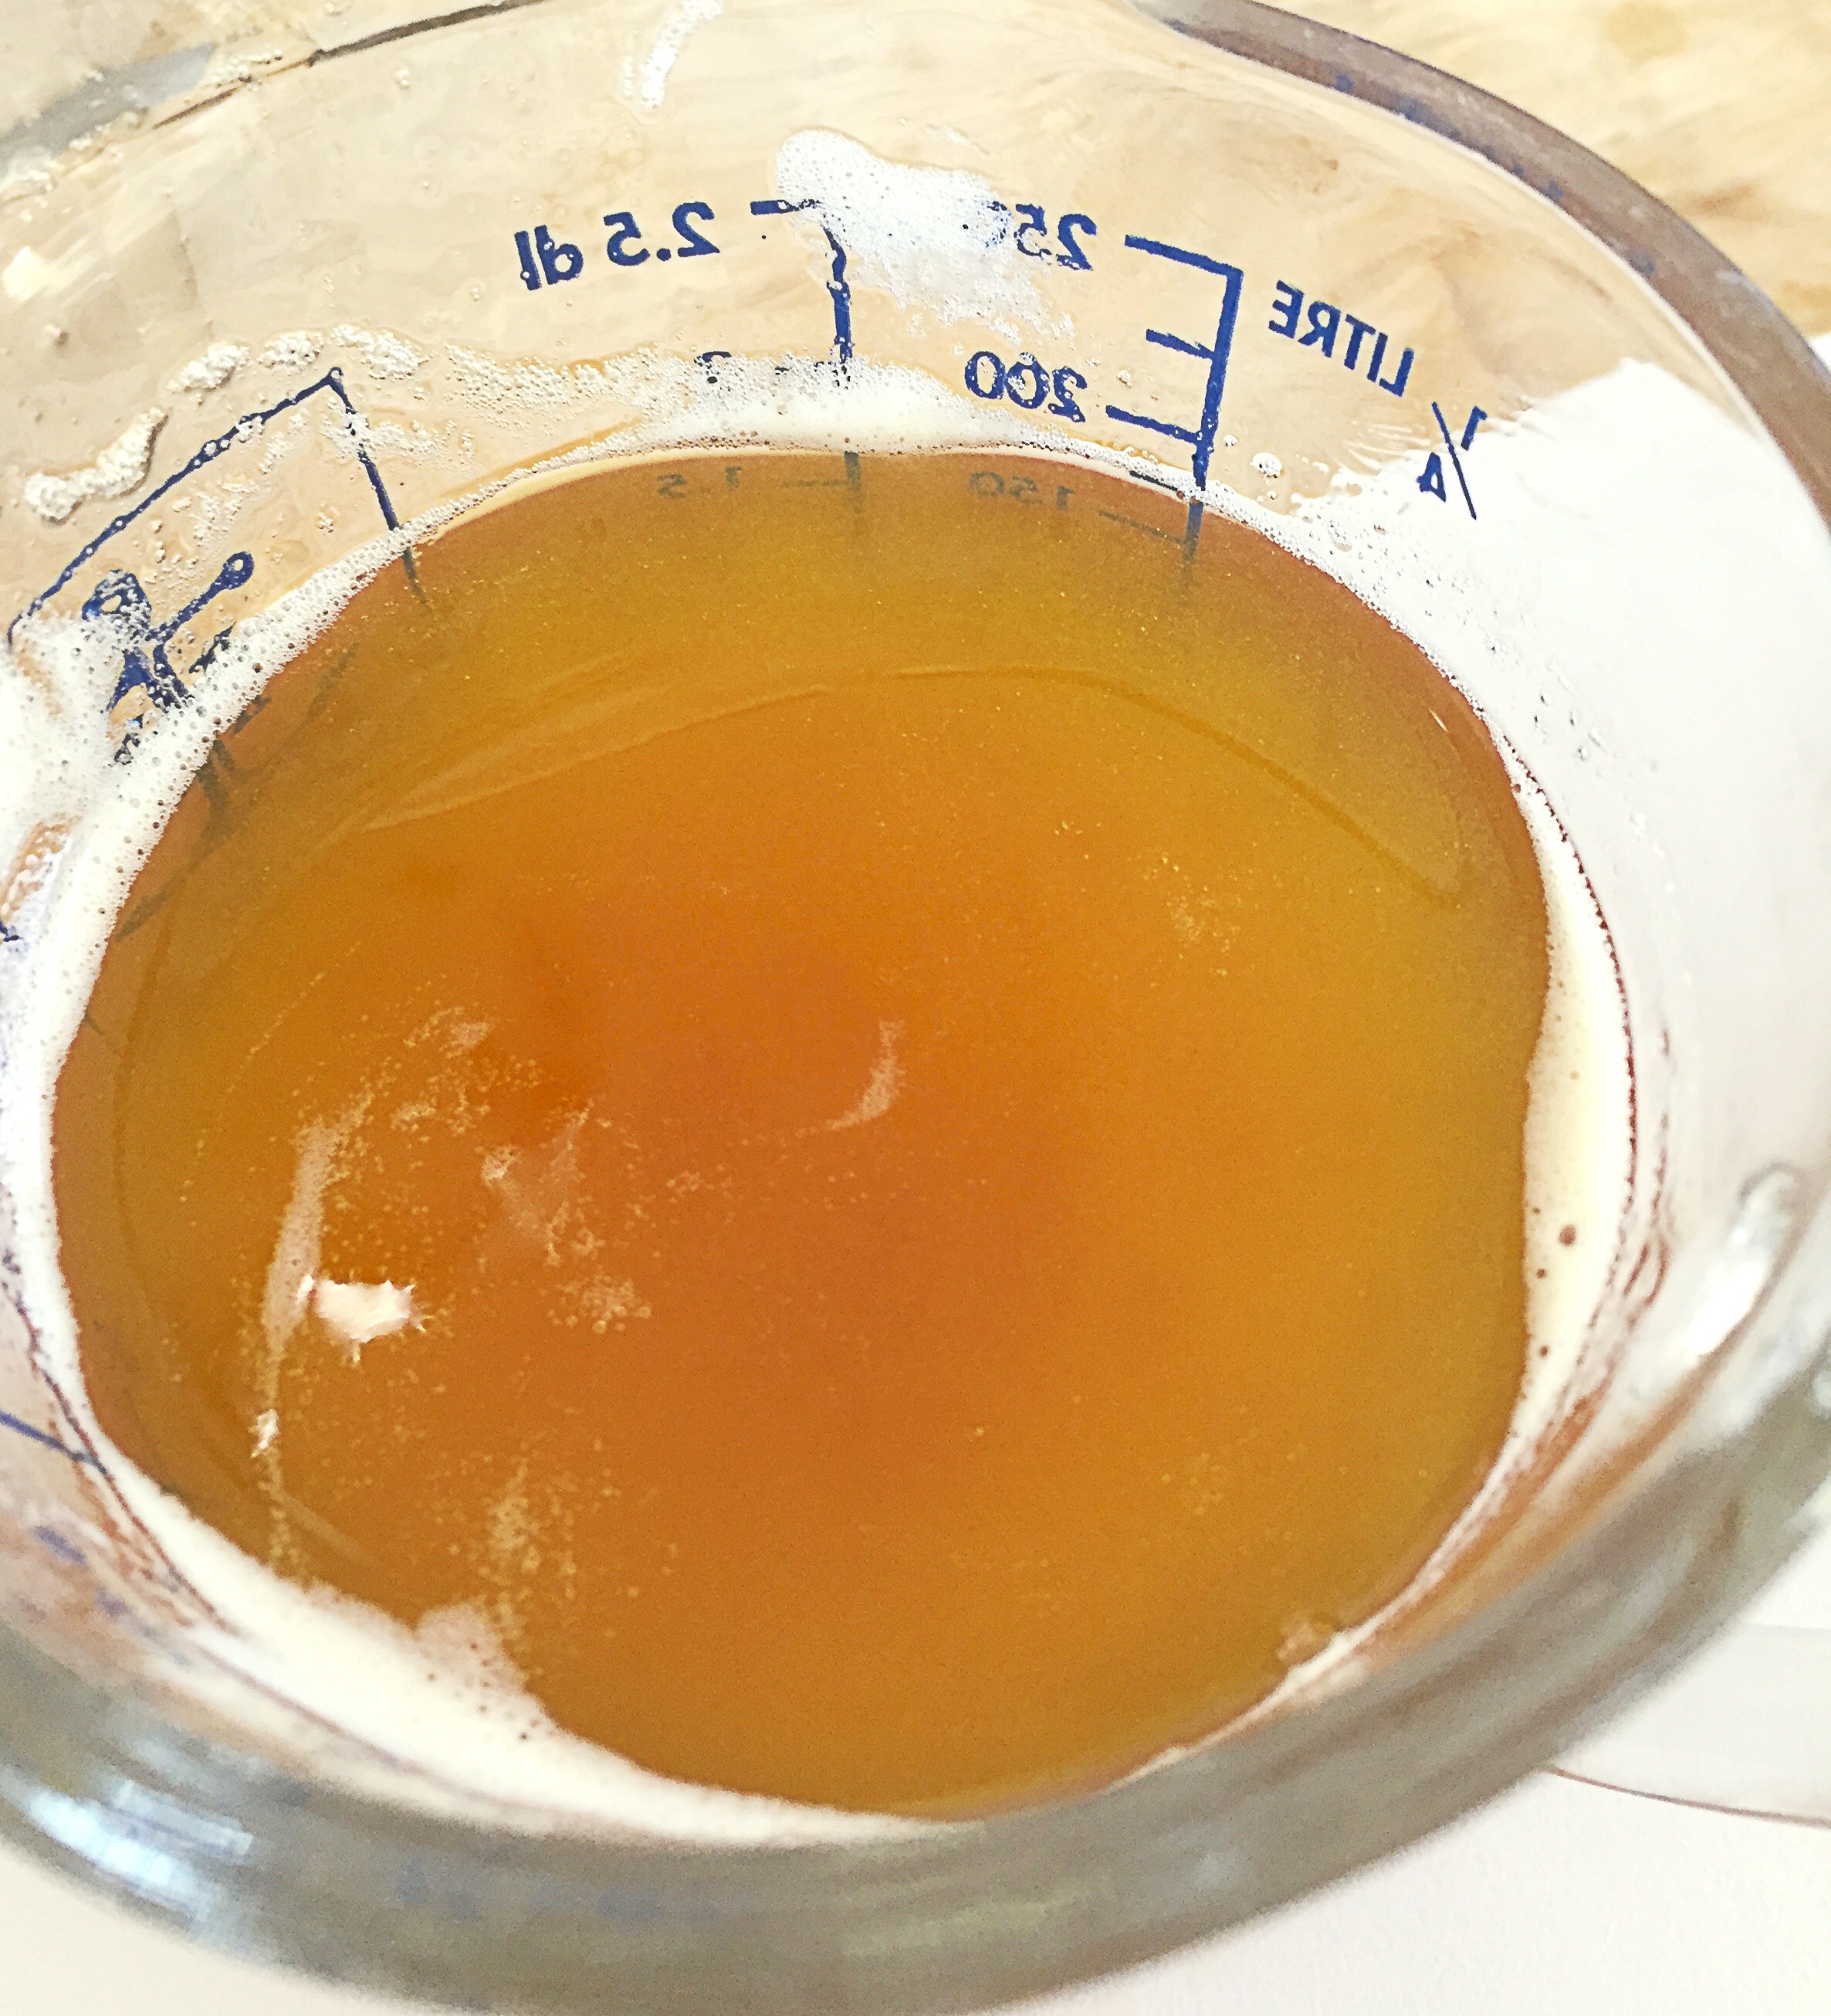
The butter will also start to smell AMAZING!! It takes on a sweet, nutty almost butterscotch aroma. I was happy with the color at this point, but you could go a little longer–just be careful not to go too much longer, because the butter continues to brown even after you remove it from the heat. After you’re happy with the color, remove it from heat and transfer to a heatproof container. Make sure to transfer all of the butter milk solids–the milk solids are the best part. They don’t look appetizing but they are. I added them after I took this picture, just so you guys could see what they look like.:

Continue to stir for a few minutes to help cool it down.
Use it right away or allow the brown butter to cool to room temperature before transferring to an air tight container and then the refrigerator for later use.