DIY BBQ Rub–Lazy Girl All Purpose Barbecue Seasoning

Lazy Girl BBQ Spice Rub

Lazy Girl BBQ Spice Rub

By now you know that I love to make my own dry rubs and seasonings. I am a particular fan of the Trader Joe’s brand BBQ rub, but it’s not organic, and it contains sugar.  So of course I had to make my own version–without the sugar. I find that most things that call for sugar, either need less than the recipe calls for, or  don’t need it at all.  If you want to add sugar to this, then by all means add it, 1 teaspoon of maple sugar won’t kill you, but it really isn’t necessary for this recipe, this seasoning is fantastic all own its own. Also a bit of spice is nice in the recipe but I have made it optional.  My daughter isn’t a fan of spicy foods, so I often leave the spice as a later addition for the grown ups.  This truly is an all purpose seasoning, it taste great on chicken, pork, tofu, or steak.

Pin It!


Prep time: 5 minutes

Cook time: none

Ingredients:

2 teaspoons of smoked paprika

1 teaspoon of onion flakes (can sub onion powder)

1 teaspoon of satsuma powder (can sub 2 teaspoons of orange zest)

1 teaspoon of cumin

1 teaspoon of ground coffee

1 teaspoon of himilayan sea salt

1/2 teaspoon of red pepper flakes (optional)


Directions: Add all ingredients to a small bowl,

image

Mix well:

imageTransfer to an air tight container until ready to use:

image


This is such a great seasoning, and it’s not just something to use on grilled meats.  I used it to make oven roasted barbecue chicken the other night, and it was a huge hit!


image


Follow and like me on Facebook:  www.facebook.com/lazygirldinners

DIY Yogurt–How to Make Yogurt

image


I have been wanting to make my own yogurt for a long while now. I have put off making it because I rarely buy milk, unless I want to make ice cream.  The truth is that we don’t drink milk, so there is rarely a need for it in our home.  I was in Whole Food’s the other day and went to pick up a jar of my favorite Bulgarian yogurt, when I thought–now is the time to make my own.  The process is super simple.  I did it with my Sous-vide machine, but you could do this in your slow cooker on low,  in a dehydrator set to 110F, or with just the light of your oven door.

Pin It!


Prep time: 5 minutes

Cook time: 5 minutes Plus 6 hours of non cook time

Ingredients:

4 cups of full fat organic milk

4 tablespoons of full fat organic yogurt–make sure the yogurt that you choose has active live cultures.

Directions: Heat the milk in a stainless steel sauce pan,

image


When the temperature reaches 110F turn off the fire and whisk in the yogurt.

image


Transfer the mixture to a glass jar,

image

Lightly cap it,

image

If you aren’t using a slow cooker or a immersion circulator, place the jar in the oven and turn on the oven light and allow to culture over night.  If using a slow cooker, fill the cooker with water, place the jar inside and set the cooker to low–or 110F.

If using a circulator, fill a pan with enough water to cover the sides of the jar, set the circulator to 110F and add the jar–let sit for 4-6 hour’s or until the yogurt thickens to the consistency of store bought yogurt–the longer you let the yogurt sit the more tart and thick it becomes–so if you find that you like the consistency and taste at 4 hours then remove it from the heat then–if you like it more tart then let it go for longer–even over night–it’s really up to you, and your preference.

image

Remove from circulator and refrigerate.  Once refrigerated, the yogurt will thicken a bit more, and the whey will separate from the yogurt, you can pour it off or mix it back into the yogurt.

image

The yogurt will keep for up to 2 weeks.  If you plan on making another batch you can use this yogurt as a starter.

image

imageHow easy was that?! I can’t believe I didn’t try this sooner!  The yogurt is delicious!

Follow and Like me on Facebook: http://www.facebook.com/lazygirldinners


Preserved Lemon Salt–How to make Sour Salts

Preserved Lemon Sour Salt

Preserved Lemon Sour Salt

This blog has been a year in the making. Sour salts and the use of sour salts first caught my attention after reading an article in Bon Appetite Magazine about  how the chef at State Bird Provisions was using sour salts to brighten up dishes, and make use of an ingredients that would otherwise not get used.  His approach was simple, dehydrate something as simple as a preserved lemon, grind it into a powder, and boom you’ve created a flavorful salt without even trying.  After reading that article, I knew that I wanted to try making a preserved lemon salt.  I put it on my list of things to blog about, but never got around to it–it has been almost a year since I read that article! Of all the sour salts I have on my list to make, the preserved lemon sour salt has always intrigued me the most–that and a lime pickle salt–I love a good lime pickle! My first thought was to make my own preserved lemons and lime pickle.  But rather than make you all–and myself wait for me to make a preserved lemon, which would further prolong me making this sour salt, I thought  I’d just skip ahead a few steps and buy some preserved lemon’s from my local Whole Foods. Christmas is just a few weeks away, and since I’m giving these salts away as gifts I cant wait to make preserved lemons from scratch.

Pin It!

Makes about 4 ounces of sour salt.

Prep time: 5 minutes

Drying time: 2hrs

Ingredients:

4 preserved lemons (sliced thinly)

Directions: Pre-heat oven to 150F if using an oven.  If using a dehydrator set it to 135F. Place preserved lemon slices evenly onto your dehydrator sheets, if using a stove,  spread over a wire rack set inside of a bake sheet.

image

Bake or dehydrate  until hard and brittle, it took about 1.5 hours in my dehydrator. Once slices are hard and crisp, transfer to a spice mill/ blender and grind until powdery,

image

Transfer the powder to an air tight container.

image

You’ve just created a gourmet salt.  You can sprinkle this on chicken, and fish.  Add it to my North African Lamb Stew, or to some grilled lamb chops, the possibilities are endless.

image

Sauteed Zucchini and Mushrooms

Sauteed Zucchini and Mushrooms

Sauteed Zucchini and Mushrooms


My garden is overflowing with zucchini right now, zucchini and tomatoes!  The great thing about planting zucchini is that it yields a large bounty.  The not so great thing about planting zucchini is that it yields a large bounty.  This is particularly troublesome when you’re neighbors also plant zucchini in their own gardens, then giving the zucchini away becomes burdensome. The only solutions in such cases is to come up with new zucchini recipes nightly, or to freeze them.  At the moment, I’m trying to use my zucchini in any way that I can that doesn’t include freezing them–at least not yet.  This dish is so delicious and simple to make, it  makes a great addition as a side to any meal. If you’re Vegan Paleo, or on the Whole 30 diet, you can do this without the butter, it’s stilla delicious side.

Pin It!

Pin It!


Prep time: 5 minutes

Cook time:20 minutes

Total time: 25 minutes

Ingredients:

10 ounces of Crimini mushrooms sliced

2.5 cups of zucchini cubed

2 cloves of garlic

2 tablespoons of butter

1 tablespoon of olive oil

sea salt to taste


Directions: Heat the oil and 1 tablespoon of butter in a saute pan.  Add in the mushrooms and garlic. Season the mushrooms with sea salt, they will begin to release water.

IMG_5024

Season the mushrooms with sea salt, they will begin to release water. Cook the mushrooms until the water completely evaporates (about 10 minutes) add in the rest of the butter, and cook the mushrooms until they begin to brown (about 5 minutes).

IMG_5025


Once the mushrooms begin to brown, add in the zucchini and saute until the zucchini becomes fork tender (about 5 minutes)

IMG_5026

Remove from heat, serve and enjoy!

Image (1)


Roasted Garlic-How to Roast Garlic

How to Roast Garlic

How to Roast Garlic

Can you image cooking without garlic? I can’t! I love it! Garlic lends so much flavor to a savory dish, it’s hard to imagine not having it to use. I love garlic in every state, raw, blanched, powdered, and roasted.  Each has it’s own unique flavor. Roasted garlic is so delicious, and there are so many uses for it. I add roasted garlic to a plain tomato sauce to instantly take it from bland to fantastic! I add roasted garlic to one of my favorite roasted eggplant dishes. I spread roasted garlic on a good piece of crusty bread and dip it into a balsamic, red pepper, and olive oil vinaigrette, and of course, I add roasted garlic to mashed potatoes, or my cauliflower potato mash! There are a plethora of uses for roasted garlic, (like using it for my Roasted Garlic and Lemon Chicken recipe), once you learn how to roast garlic, you will wonder why you’ve been cooking without it!

Pin It!

Pin It!


Prep time: 2 minutes

Cook time:30-45 minutes

Ingredients:

1 large bulb of garlic

1 teaspoon of olive oil

sea salt and black pepper to taste (optional)

1 sheet of foil–must be big enough to fully enclose the garlic

Directions: Pre heat the oven to 400F. With a knife slice the top off of the garlic. Place the garlic inside of the foil, pour the oil over the top of the garlic, making sure to cover all exposed garlic. add sea salt and black pepper if using:

image

Fold all sides of the foil, making sure that the garlic is fully enclosed. Place the garlic bulb in your oven:

image

Cook  for 45 minutes, or until garlic is beautifully golden brown:

image

Allow to cool for 10-15 minutes, then remove by squeezing, or by removing each individual clove of garlic with a pairing knife, and enjoy!

Homemade Chicken Stock -Using Leftover Roast Chicken Carcass


Homemade Chicken Stock

Homemade Chicken Stock

Store bought stock is great, it involves no work, other than opening a box, and pouring it into your pot. What’s not to love about that? As great as the store bought chicken stock is, it lacks the depth of flavor you get when you make a homemade stock.  Although you gain flavor from making a stock at home, it does take time, even if you use a pressure cooker. If you are going to make this chicken stock, then do it when you have a few hours to lay around the house. Although this isn’t something you need to check very often, it does require time to simmer. This particular chicken stock is one of my favorite methods of making chicken stock, mainly because I get to make use of something that would normally get thrown out–the left over carcass of a roasted chicken. You read that correctly, this chicken stock is made using the carcass of a roast chicken.  I normally add the chicken carcass, and the bones from the thigh and leg bones, I just pick the meat off of them and add them to the pot.  If you’d like a more potent chicken flavor you can add a few raw legs into the pot as well, but I find that it’s not necessary, if you simmer this stock long enough it will be full of flavor. Tomorrow I will show you another way to make chicken stock, which I learned from Modernist Cuisine, stay tuned.

Pin It!

Pin It!


Prep time: 10 minutes

Cook time: 3-4 hours

Ingredients: 1 Roast Chicken carcass

1 cup of organic carrots diced

1 cup of organic celery diced

1 large brown onion diced

4 sprigs of organic thyme

2 large cloves of garlic sliced

7 cups of cold water

1 Tablespoon of olive oil

Sea salt and black pepper to taste

Directions:  Add the oil to a stock pan or pressure cooker, add in garlic and onion, and cook until onions turn translucent about 5-7 minutes.  Add in carrots and celery, and cook for another 5 minutes. image   Add in the carcass of the chicken and any additional bones that you have saved, add in the thyme image Add in the cold water, image   
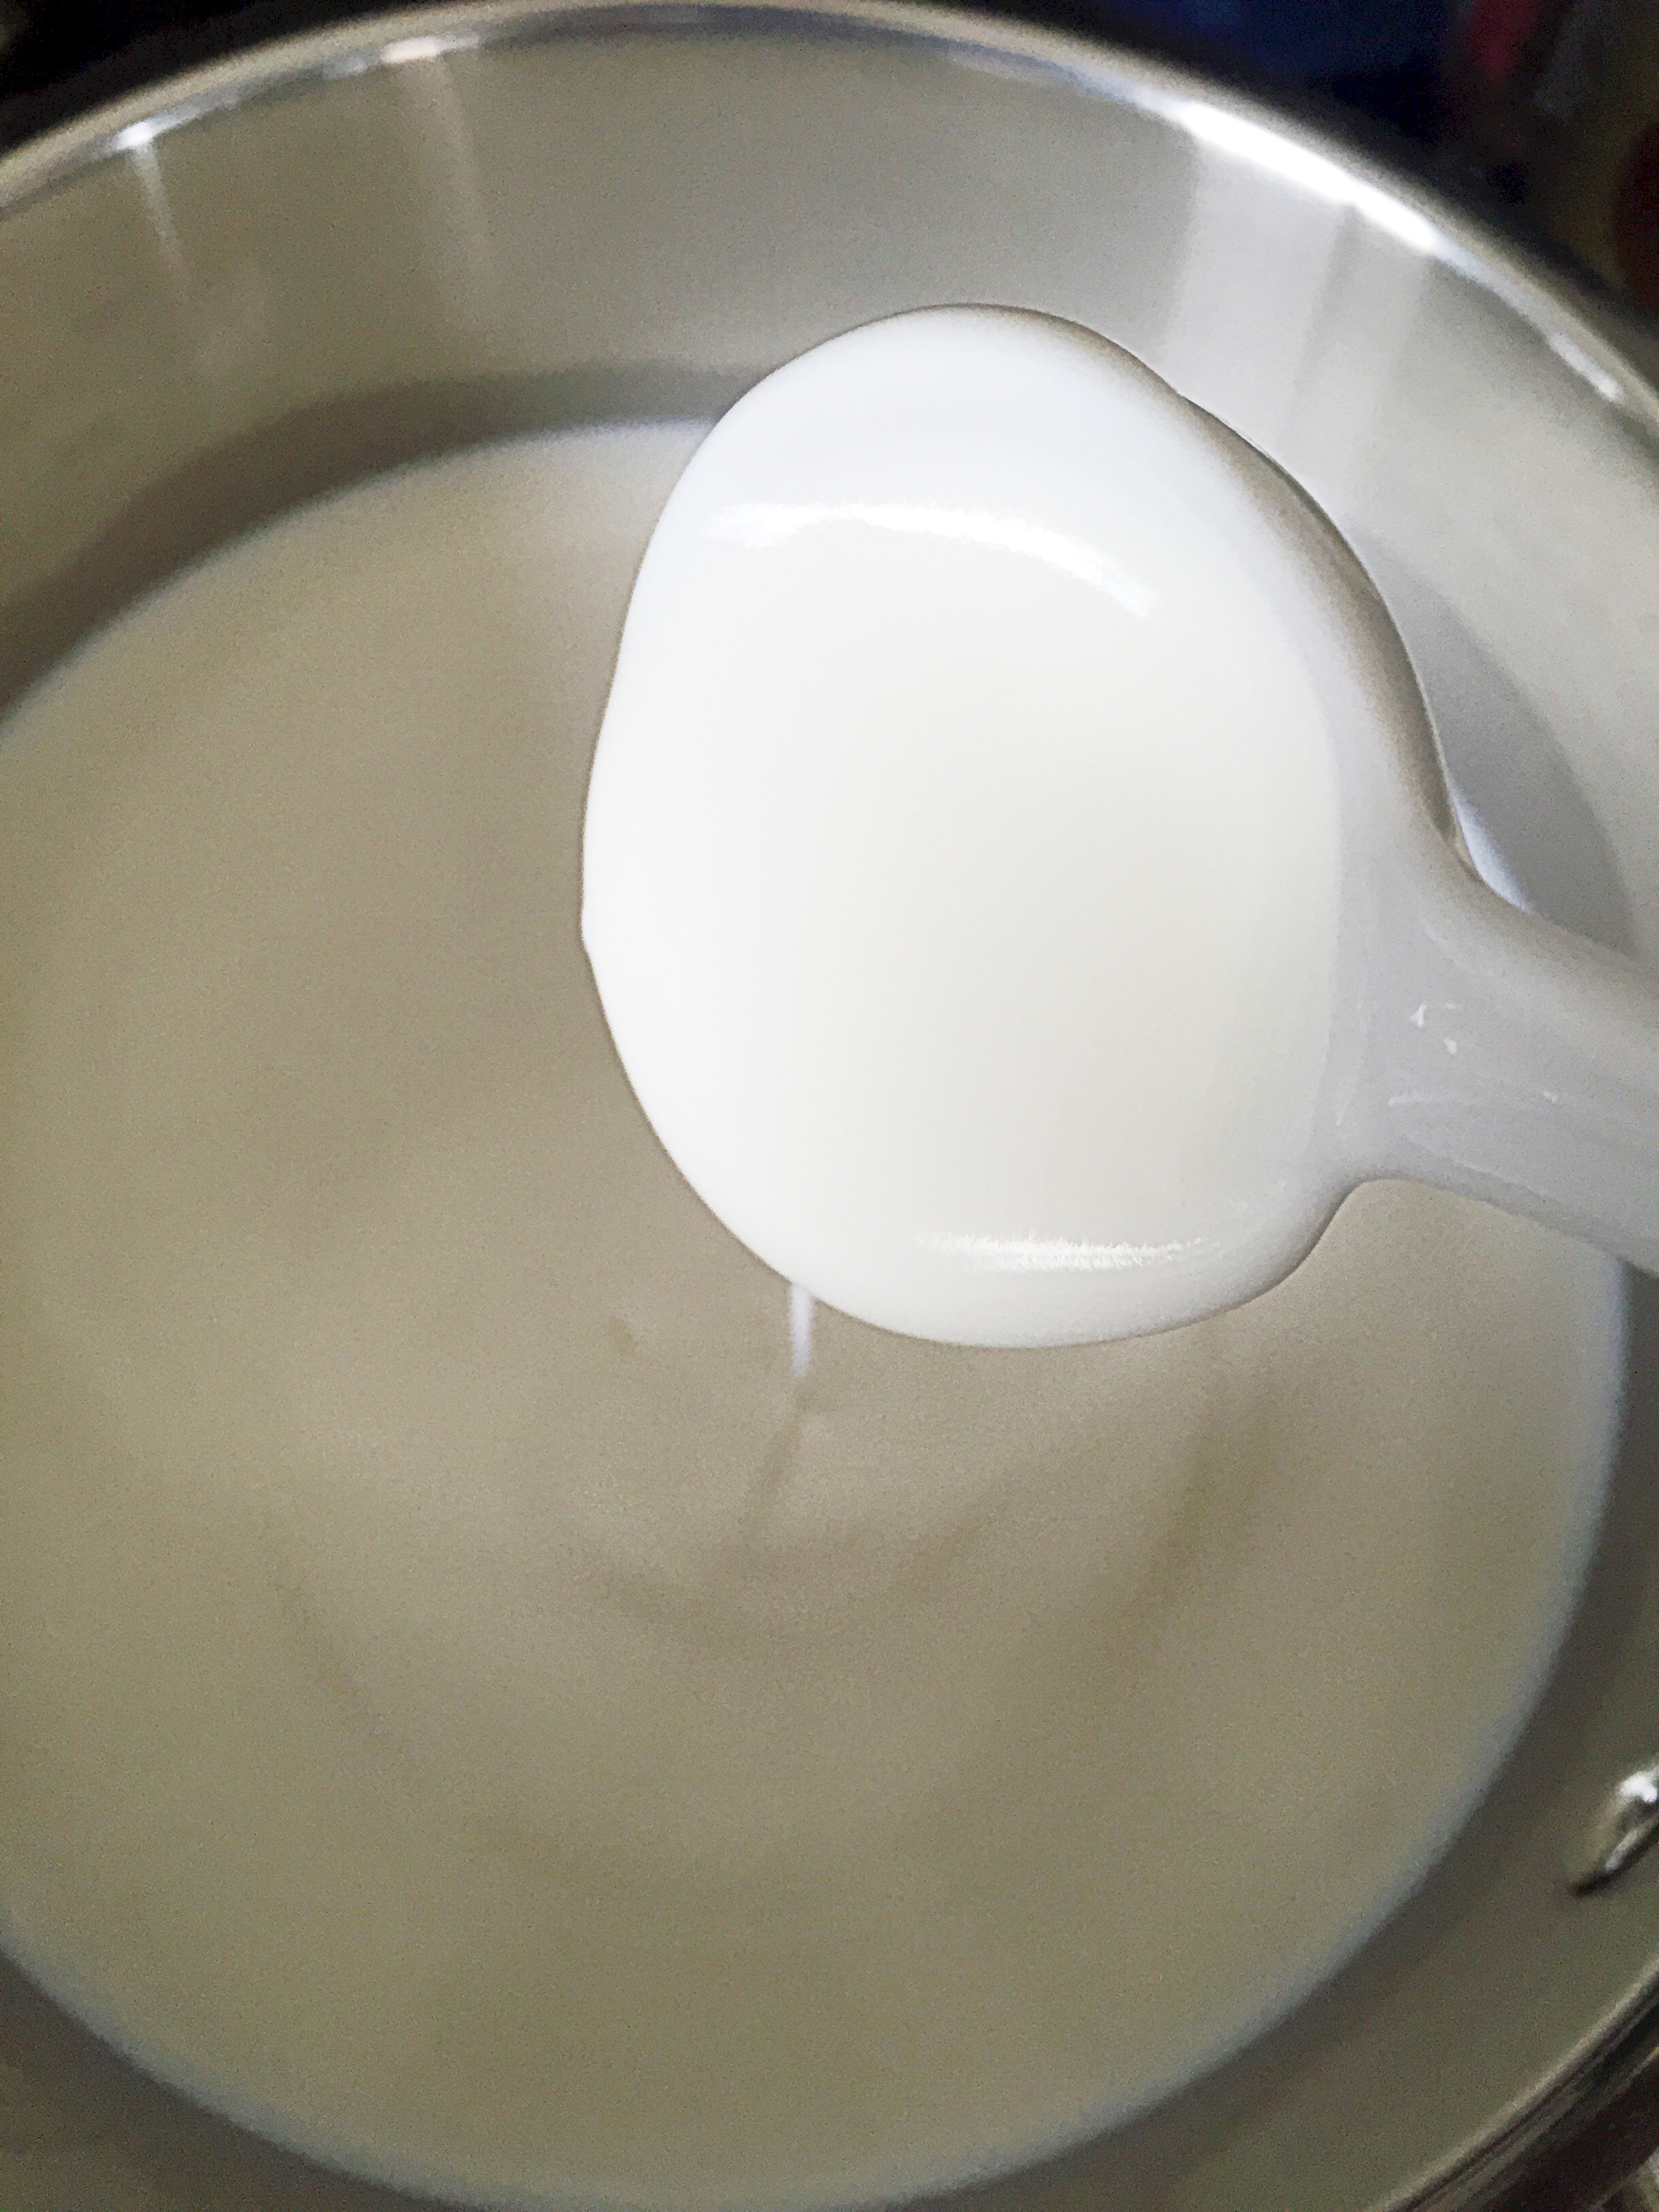
Bring stock up to a boil, reduce heat to low, cover and simmer for 3-4 hours.  When I cook this on the stove I check it every 45 minutes. After about 3.5 hours on the stove this stock, should be nice and flavorful, but the longer you cook it, the more concentrated it becomes and thus more flavorful. After the flavor is where you want it, turn off the fire, allow to cool to room temp, you can remove the fat that has formed on top of the stock at this point, then strain the stock through a sieve.  If you are doing this in a pressure cooker, which I recommend, after adding the water to the pot, close the pot, lock the lid and bring up to pressure, lower the heat once the pot has pressurized, and cook undisturbed for 2 hours. Turn off the heat, then depressurize your pot according to the manufacturers instructions, remove lid, and allow the stock to cool to room temperature.  Strain the stock through a sieve and freeze in an airtight container. This recipe makes about 4.5 cups of stock, I split it in half and freeze it. It makes it easier when I have a recipe that requires only 2 cups of stock. The remaining half cup of stock, I freeze in ice cube trays, and once frozen, I seal those in a ziplock type bag.  One ice cube of stock is about  tablespoon of stock, great to  make sauces with.
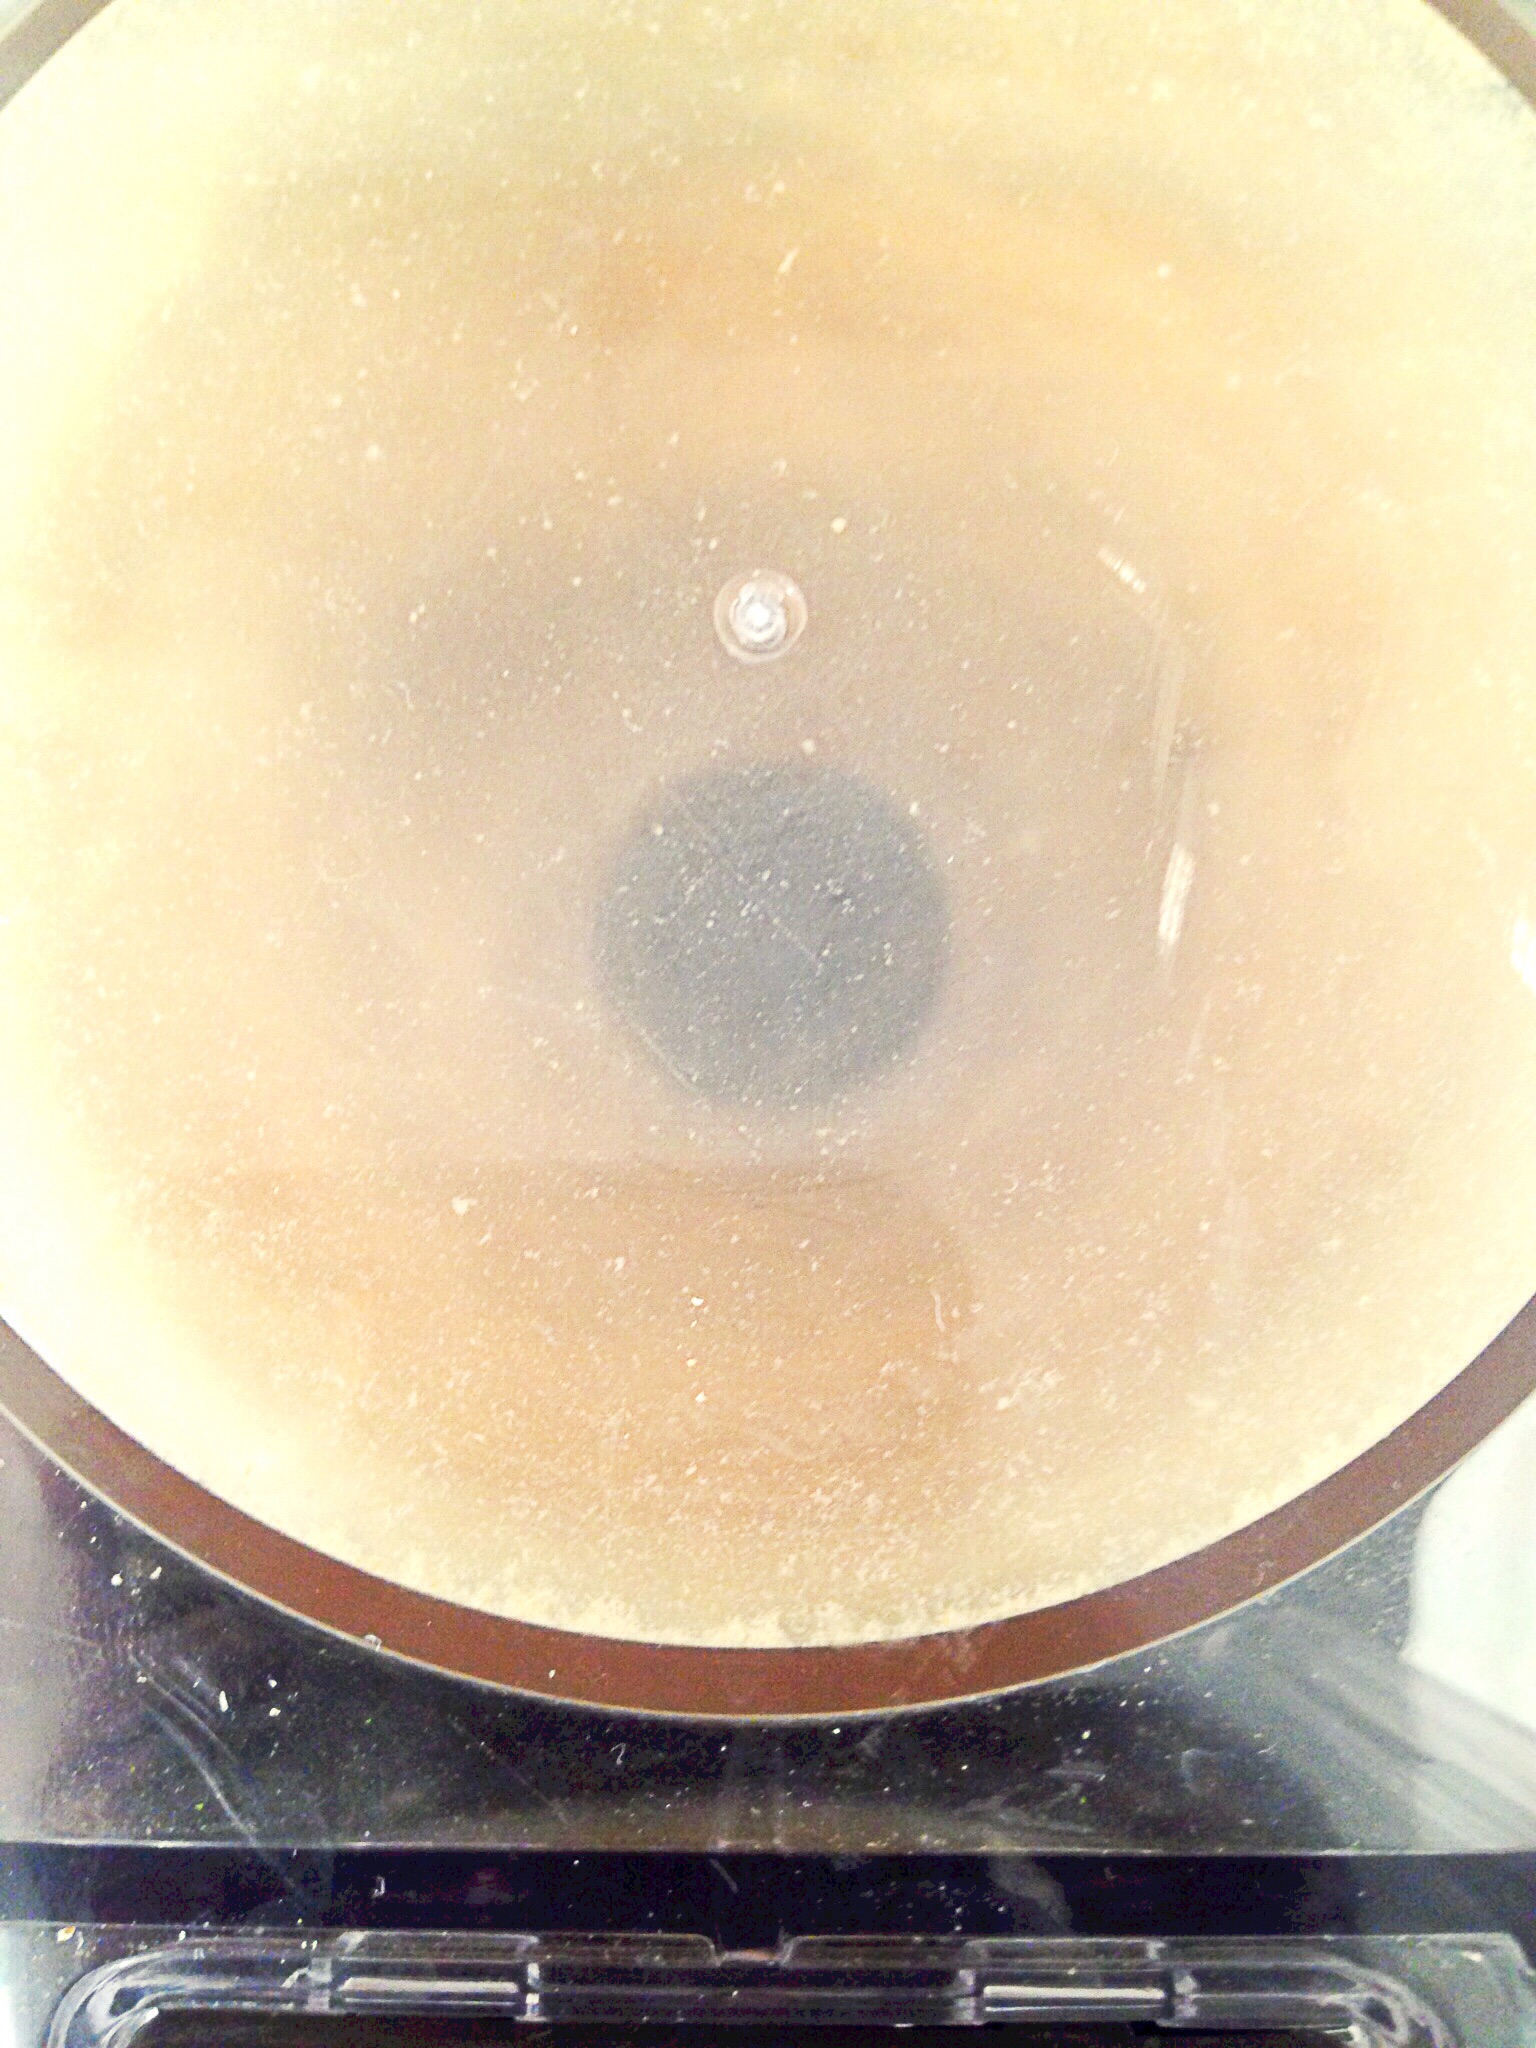
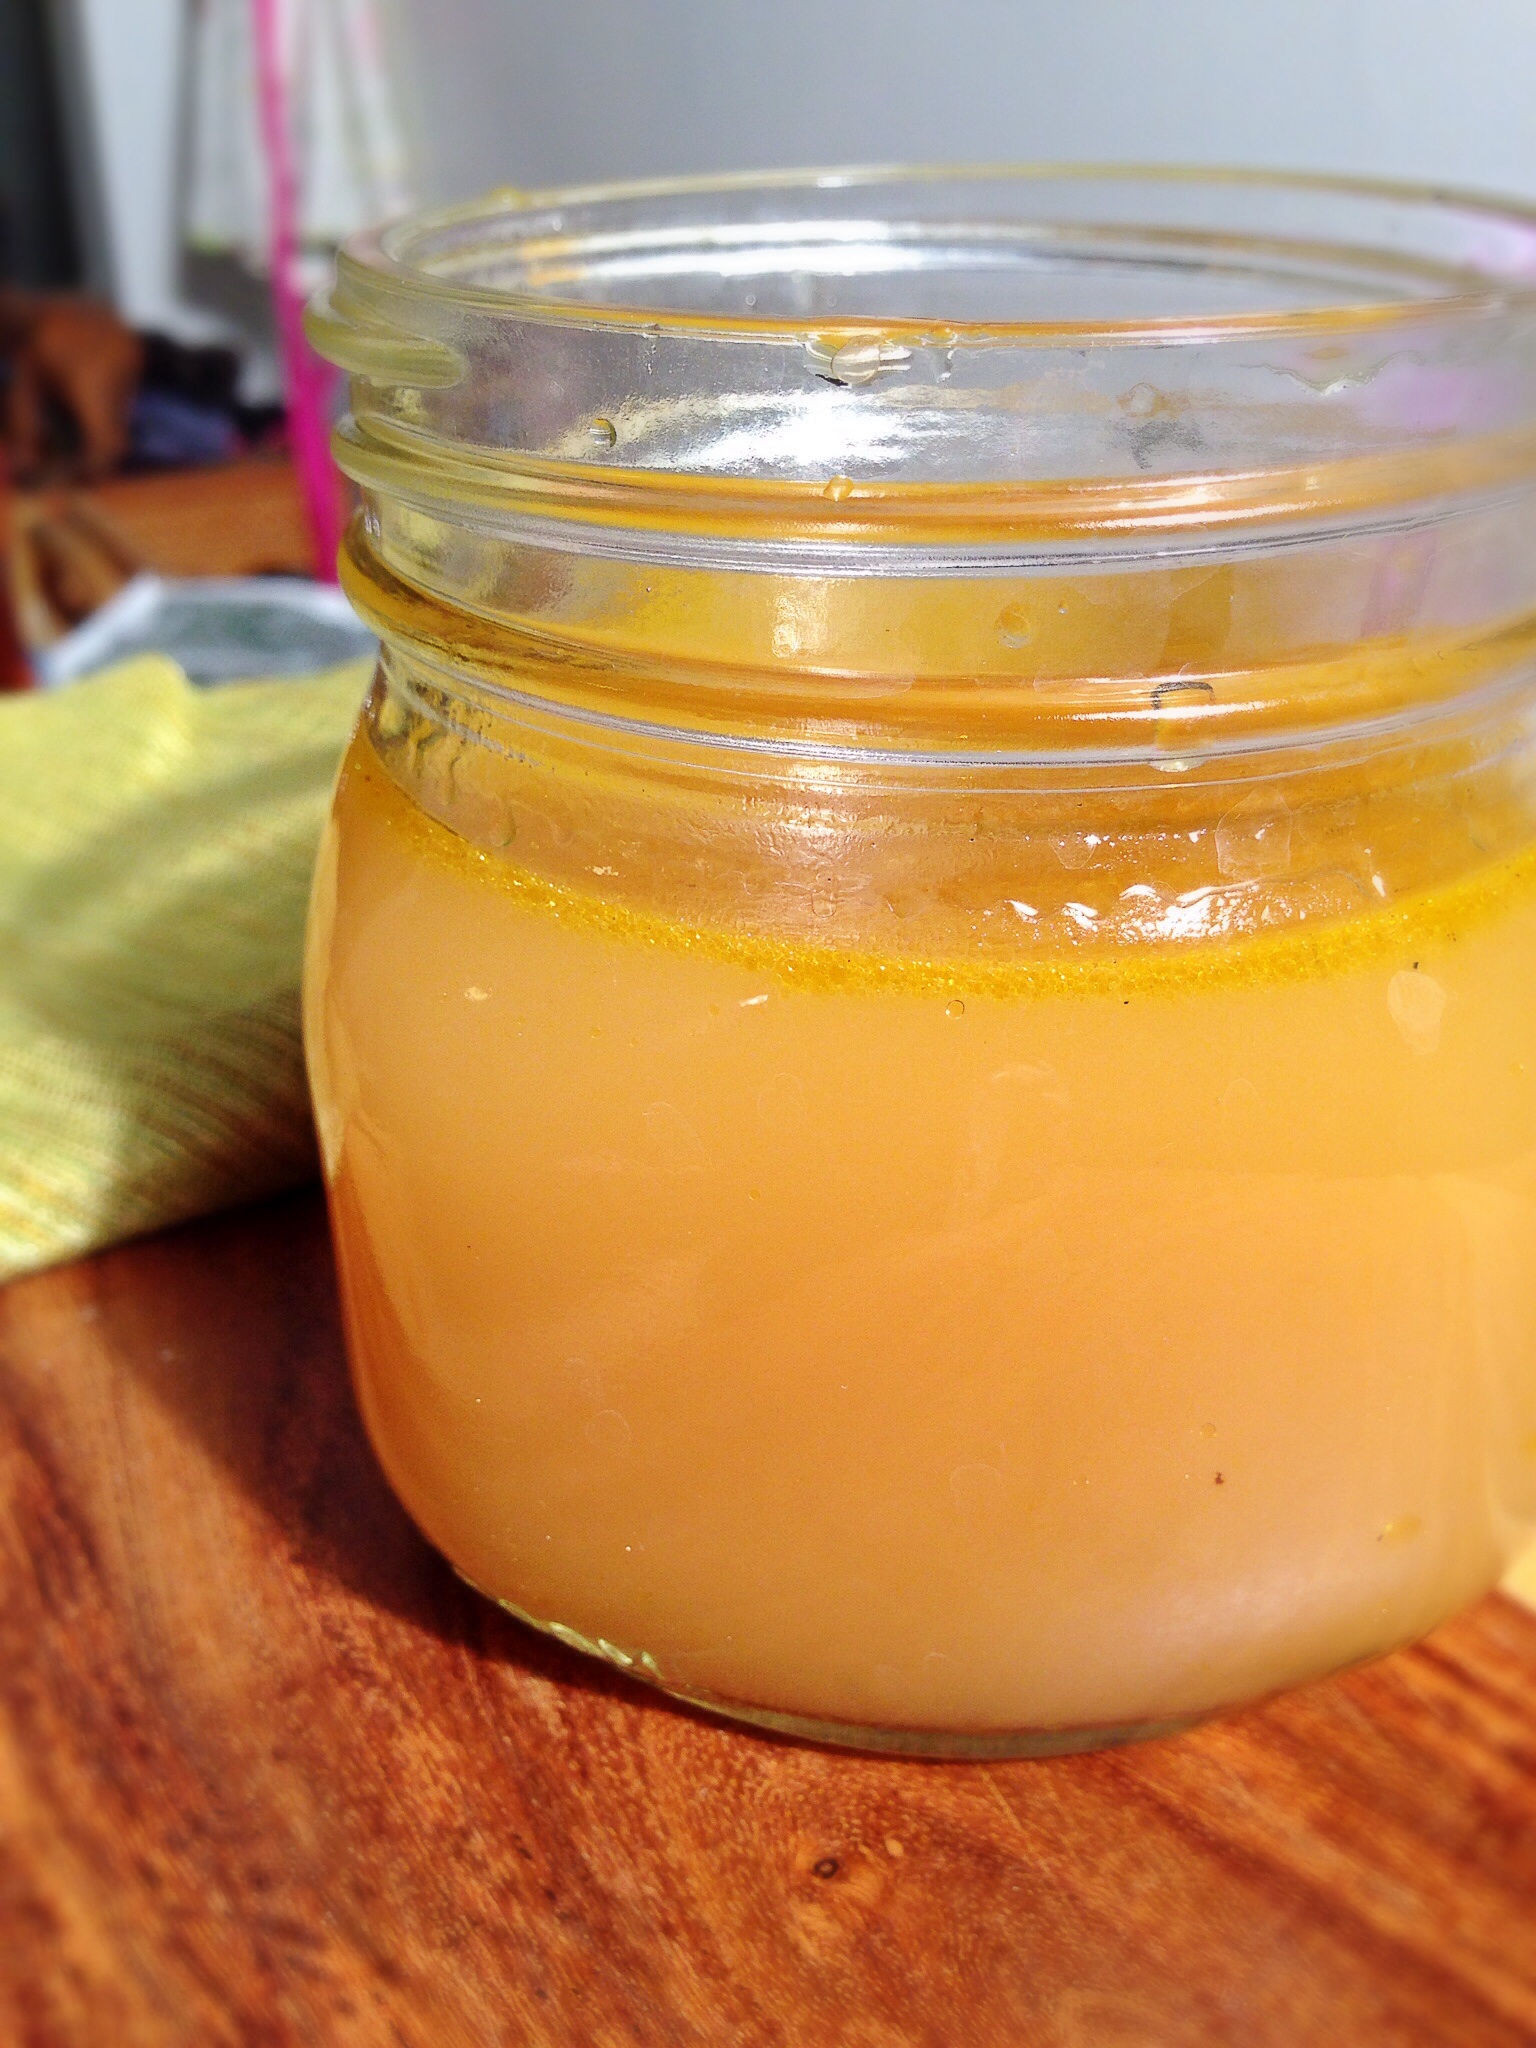
 image