D.I.Y. Mango Fruit Roll-ups-How To Make Dehydrated Mango Treats

DIY Mango Fruit Roll-Ups

DIY Mango Fruit Roll-Ups


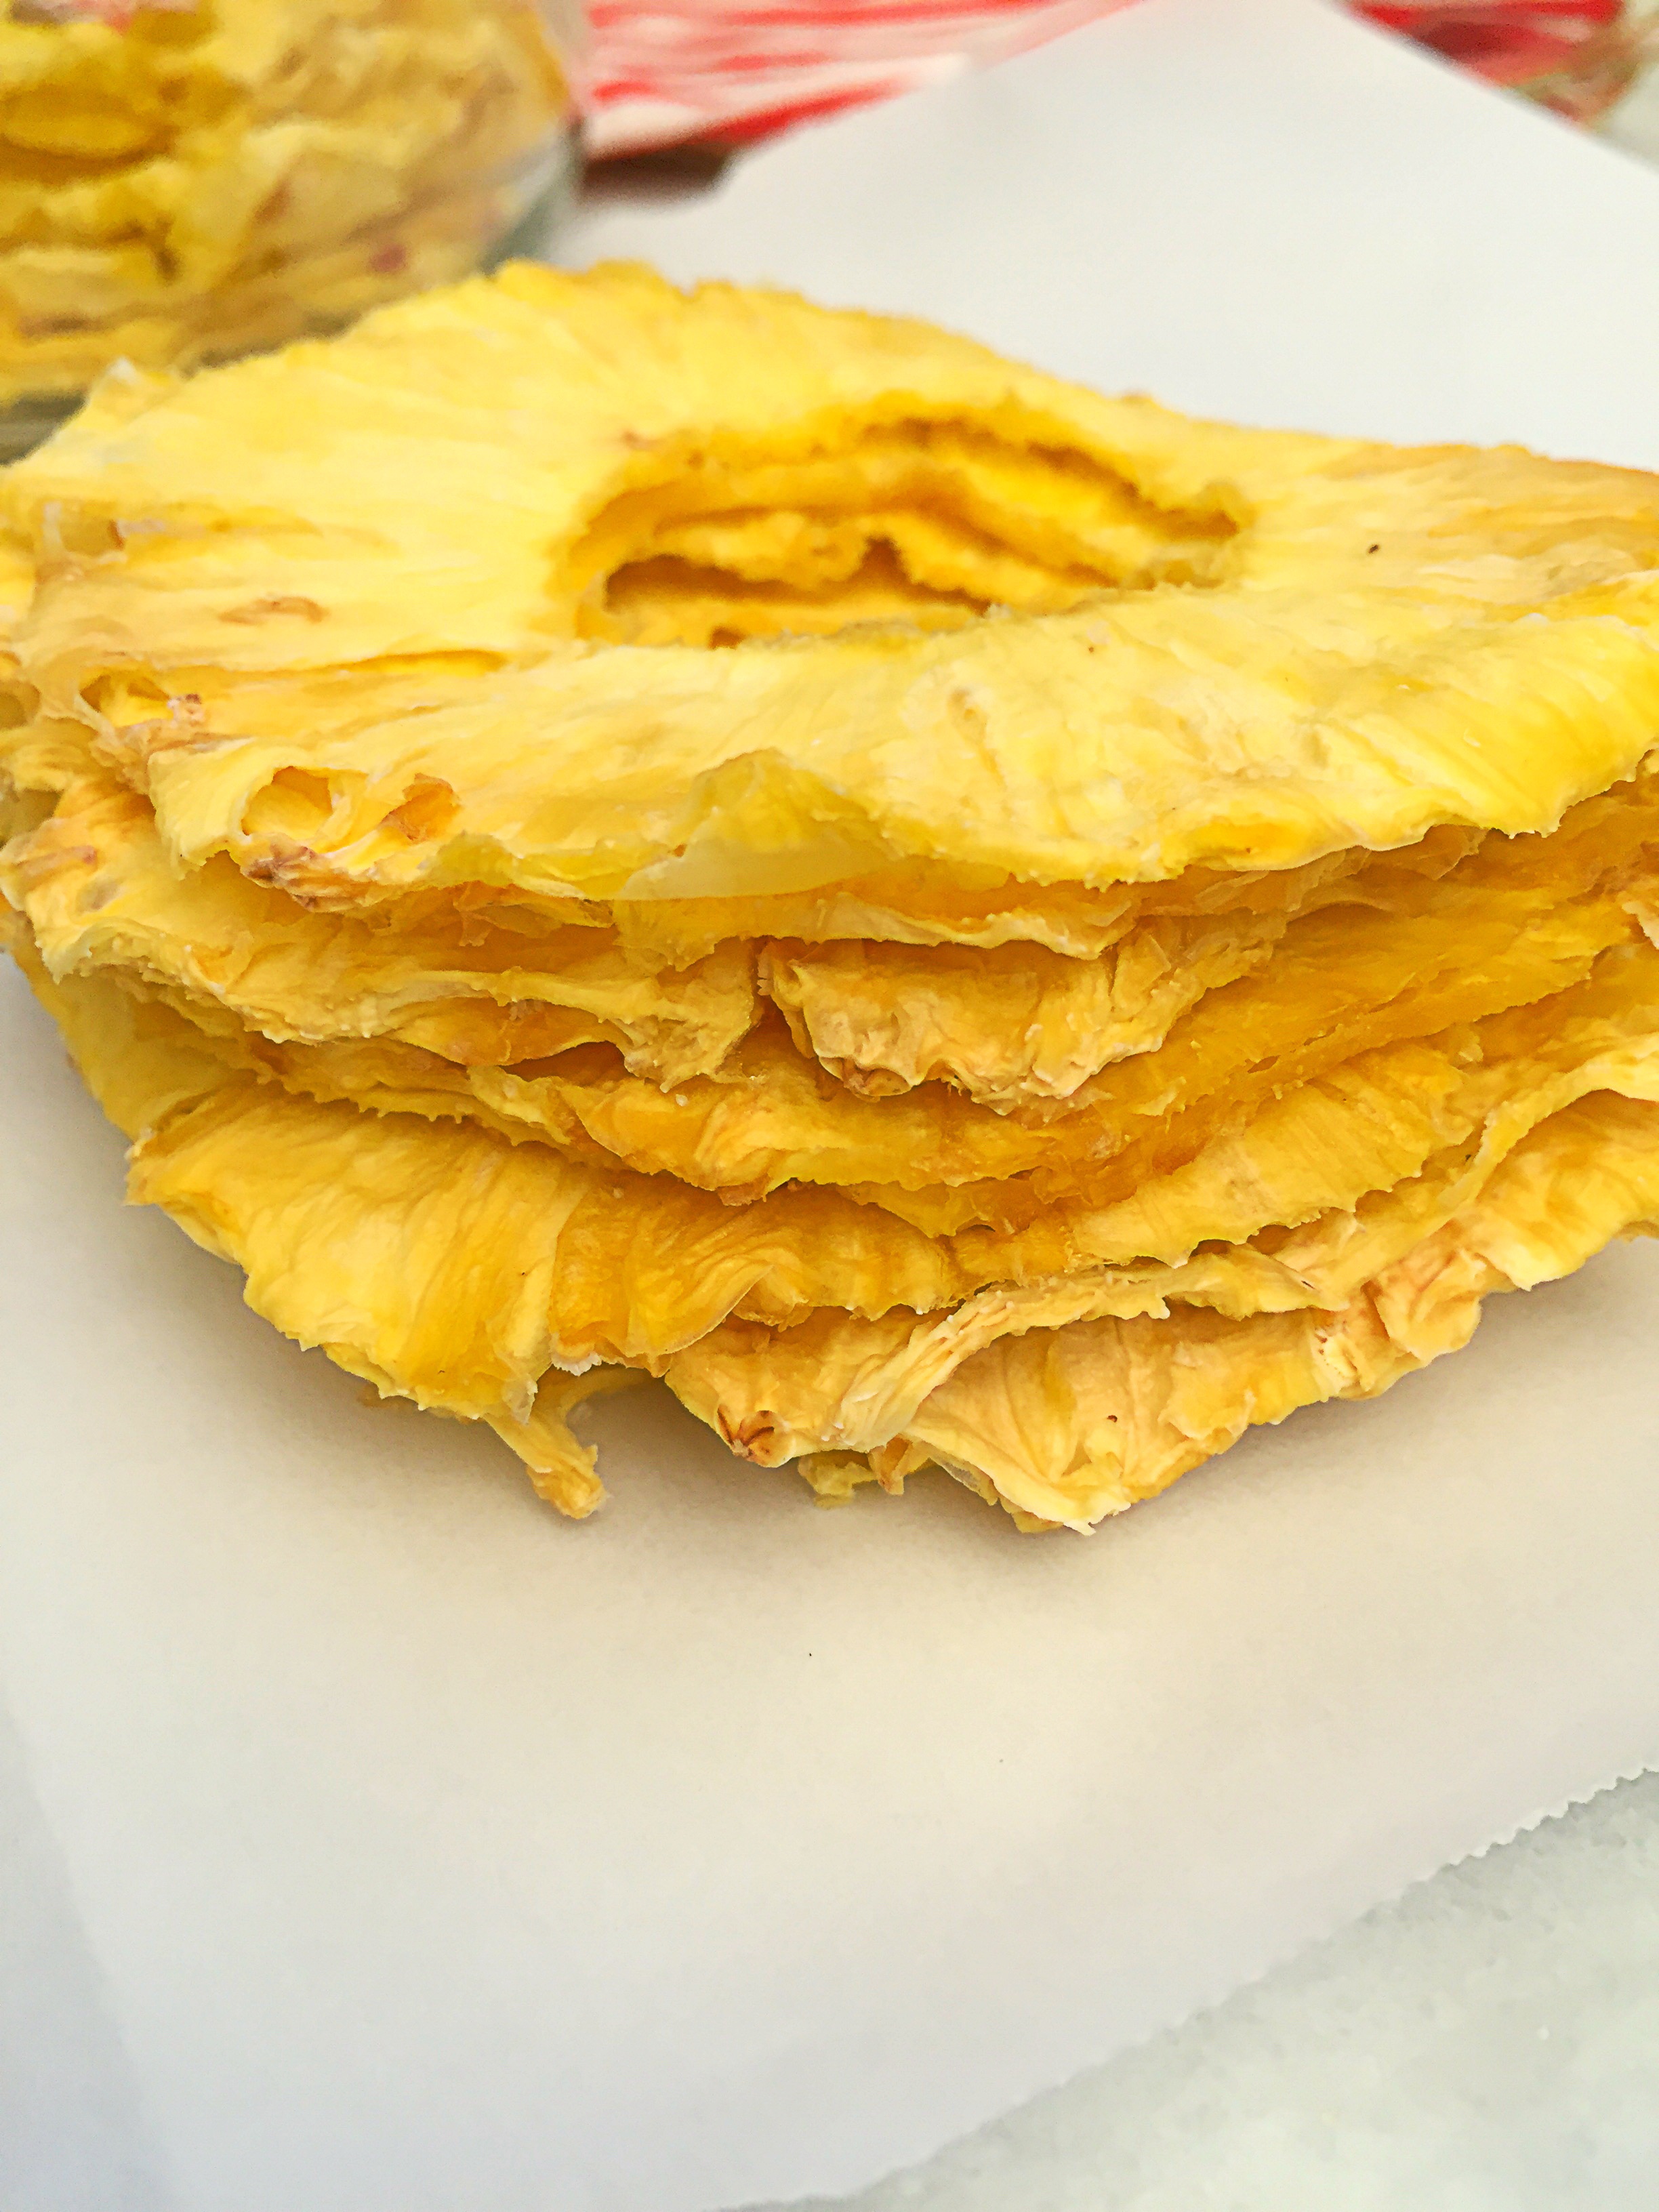
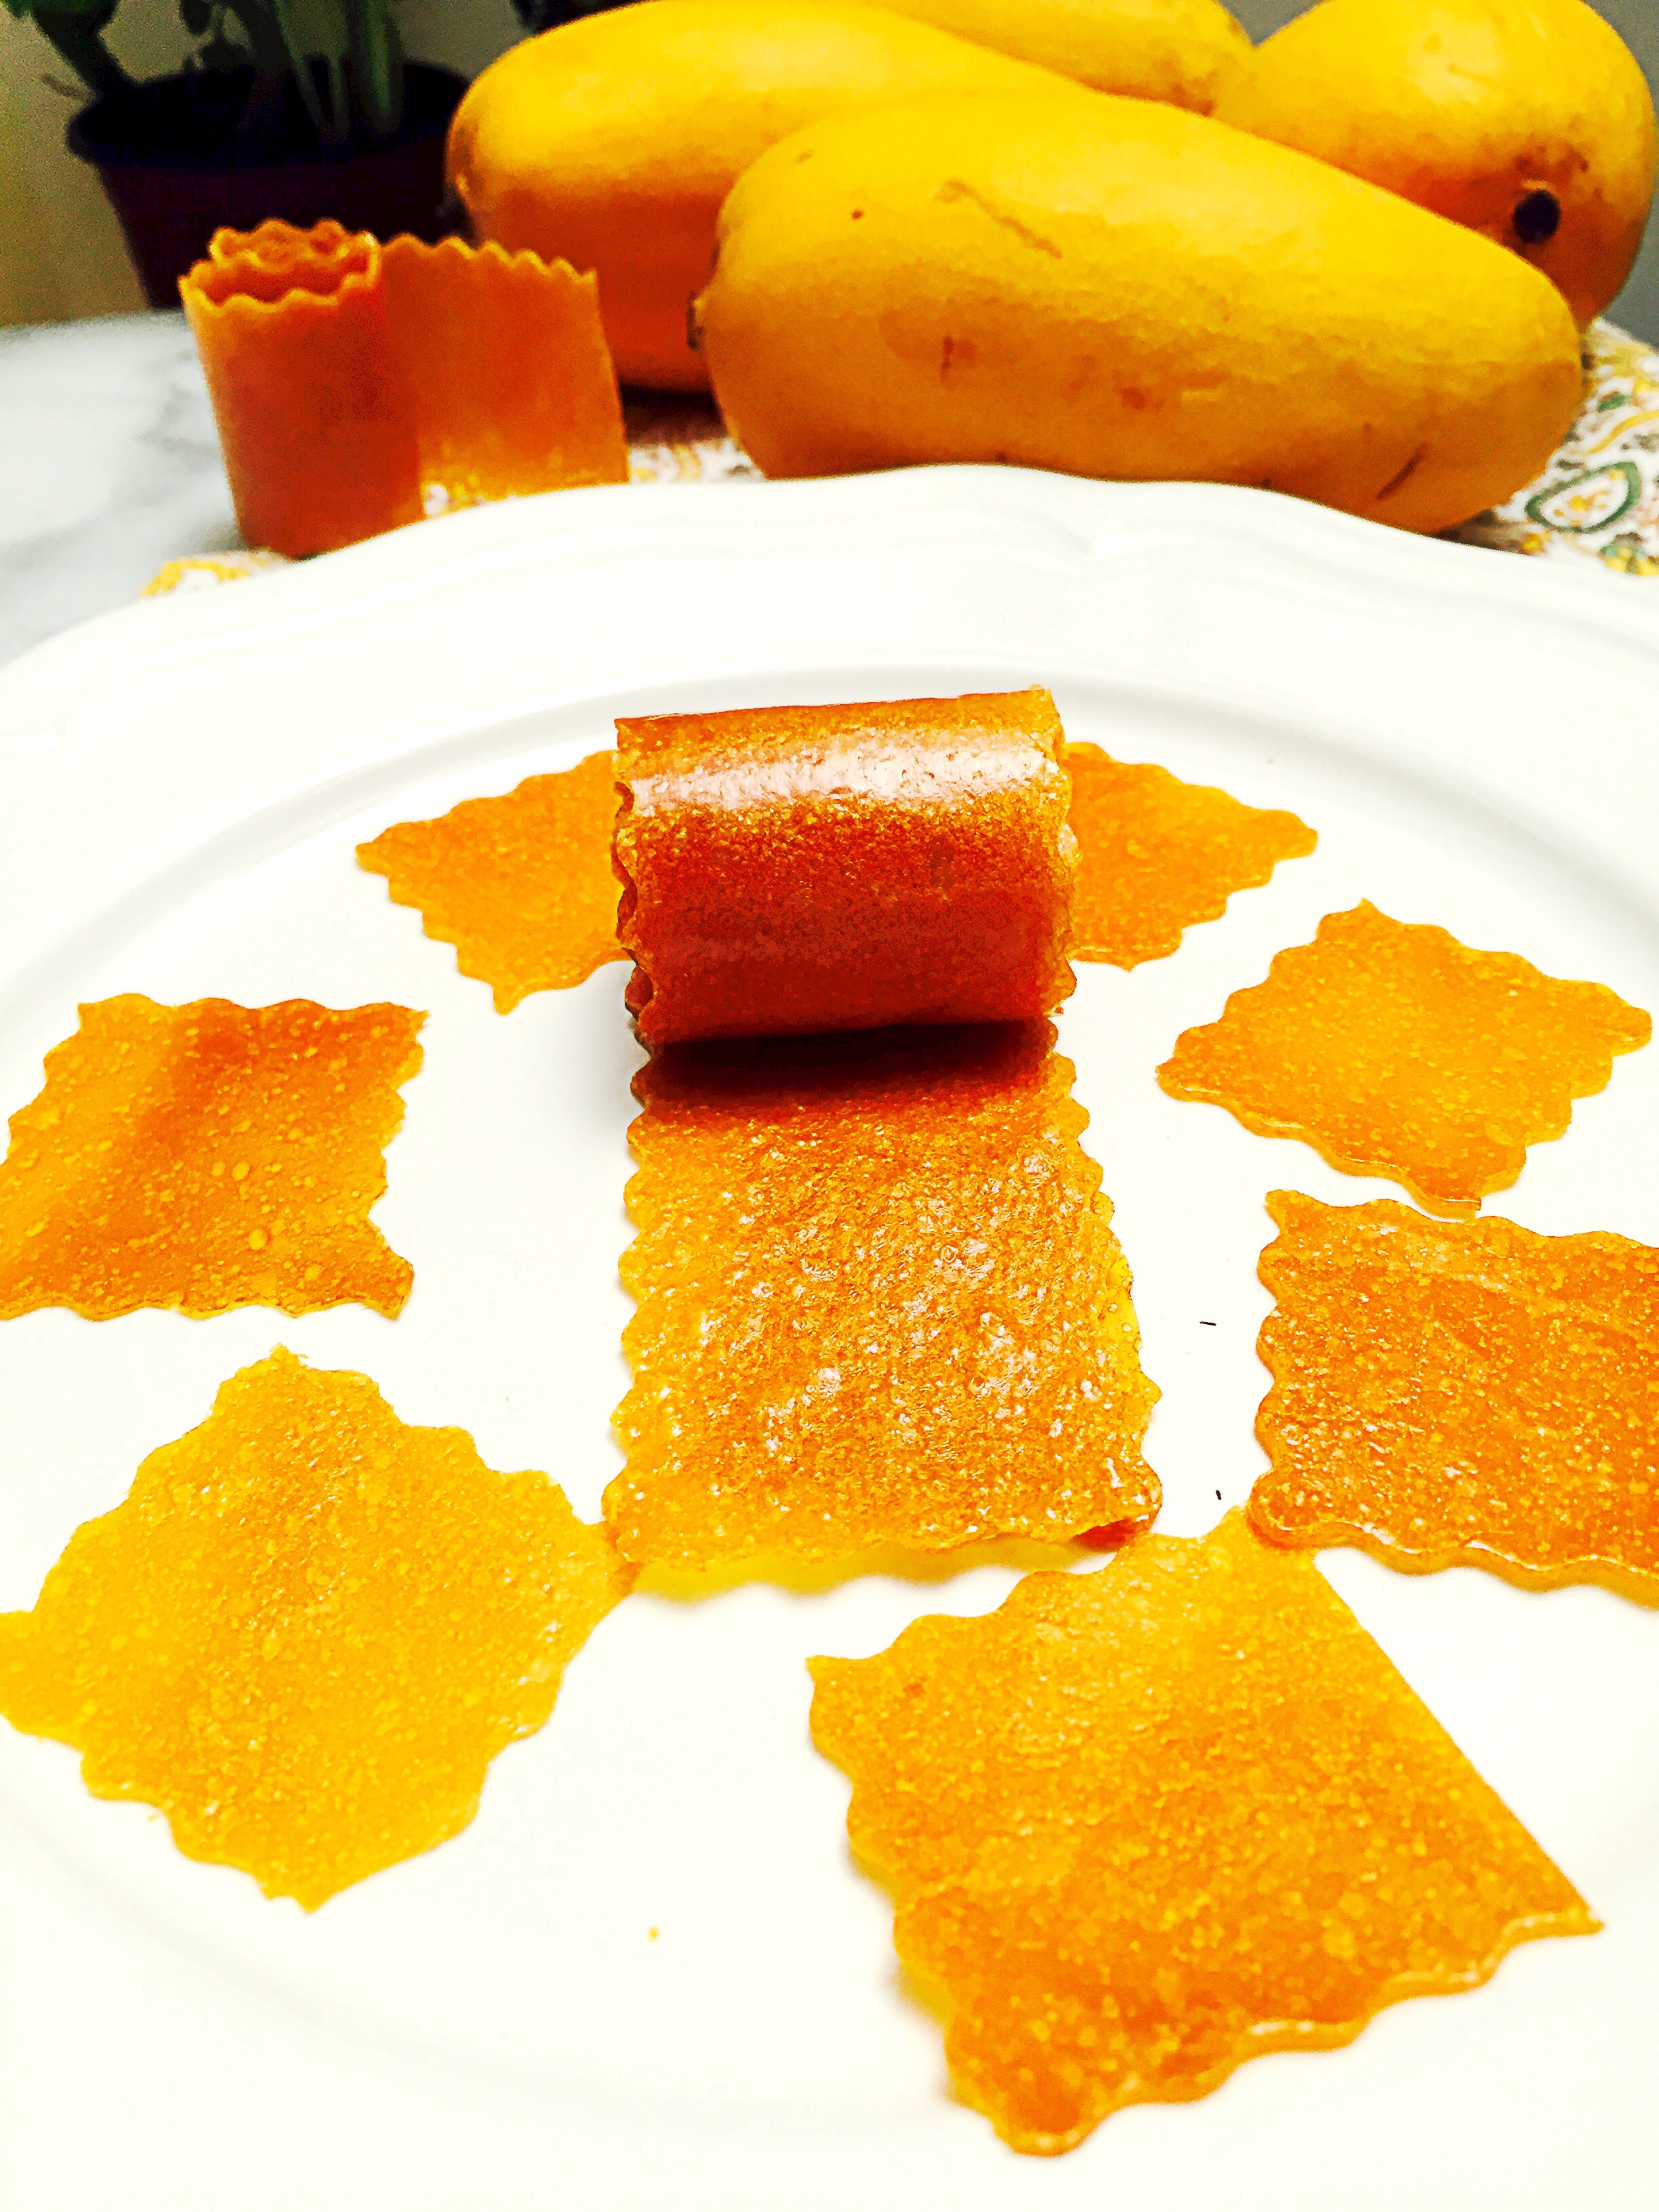
My friends are a kind and generous bunch! They are constantly giving me gifts–beyond the gift of friendship!  My friends supply me with a constant supply of treats.  I went out to lunch with two of my best girls friends the other day, and came home with a gift box of mango’s! Sweet, delicious, and ultra creamy, I did not want them to go to waste, before we got the chance to eat them all.    One of my favorite dried fruits to eat, besides pineapple rings, is dried mango.  But it’s so hard to find mango’s that have not been soaked in sugar.  The best thing about making these yourself, is that you don’t have to worry about that.  Page loved these treats even more than I did, I cut them into bite size pieces with a pastry cutter after they were done.  You could also use a pizza cutter.


Pin It!

Pin It!


Ingredients:

6 mango’s, skin and pits removed


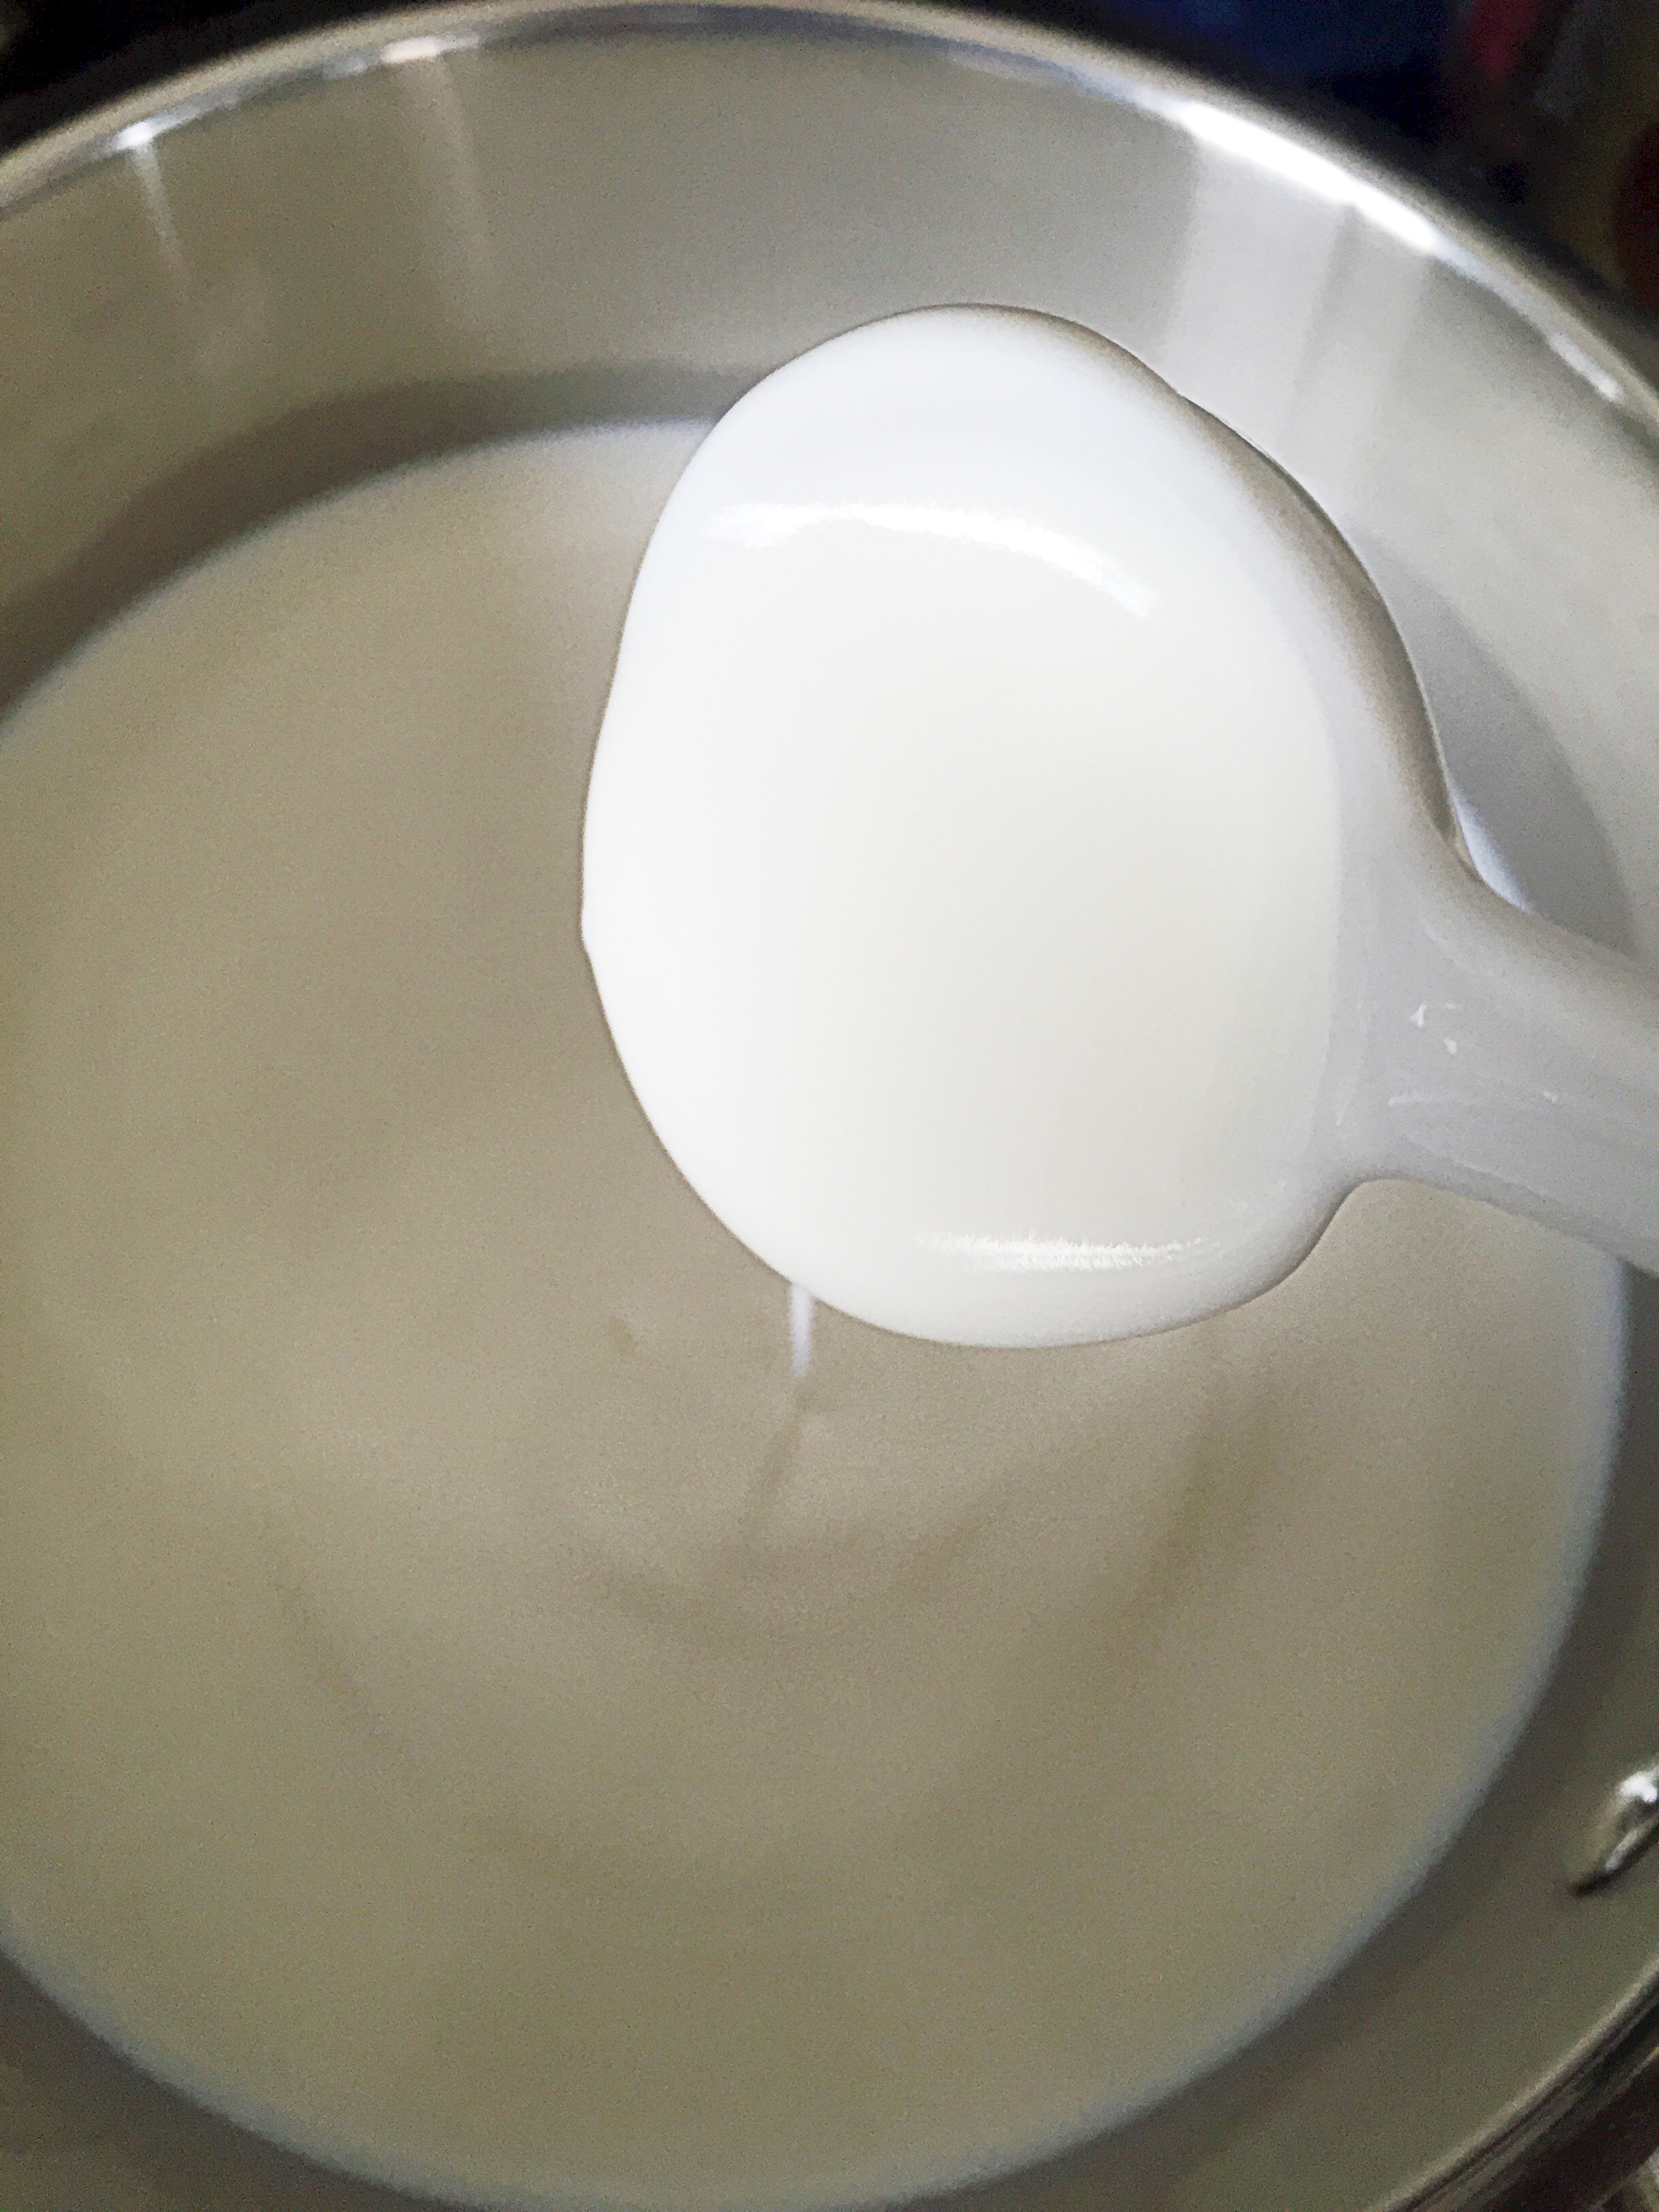
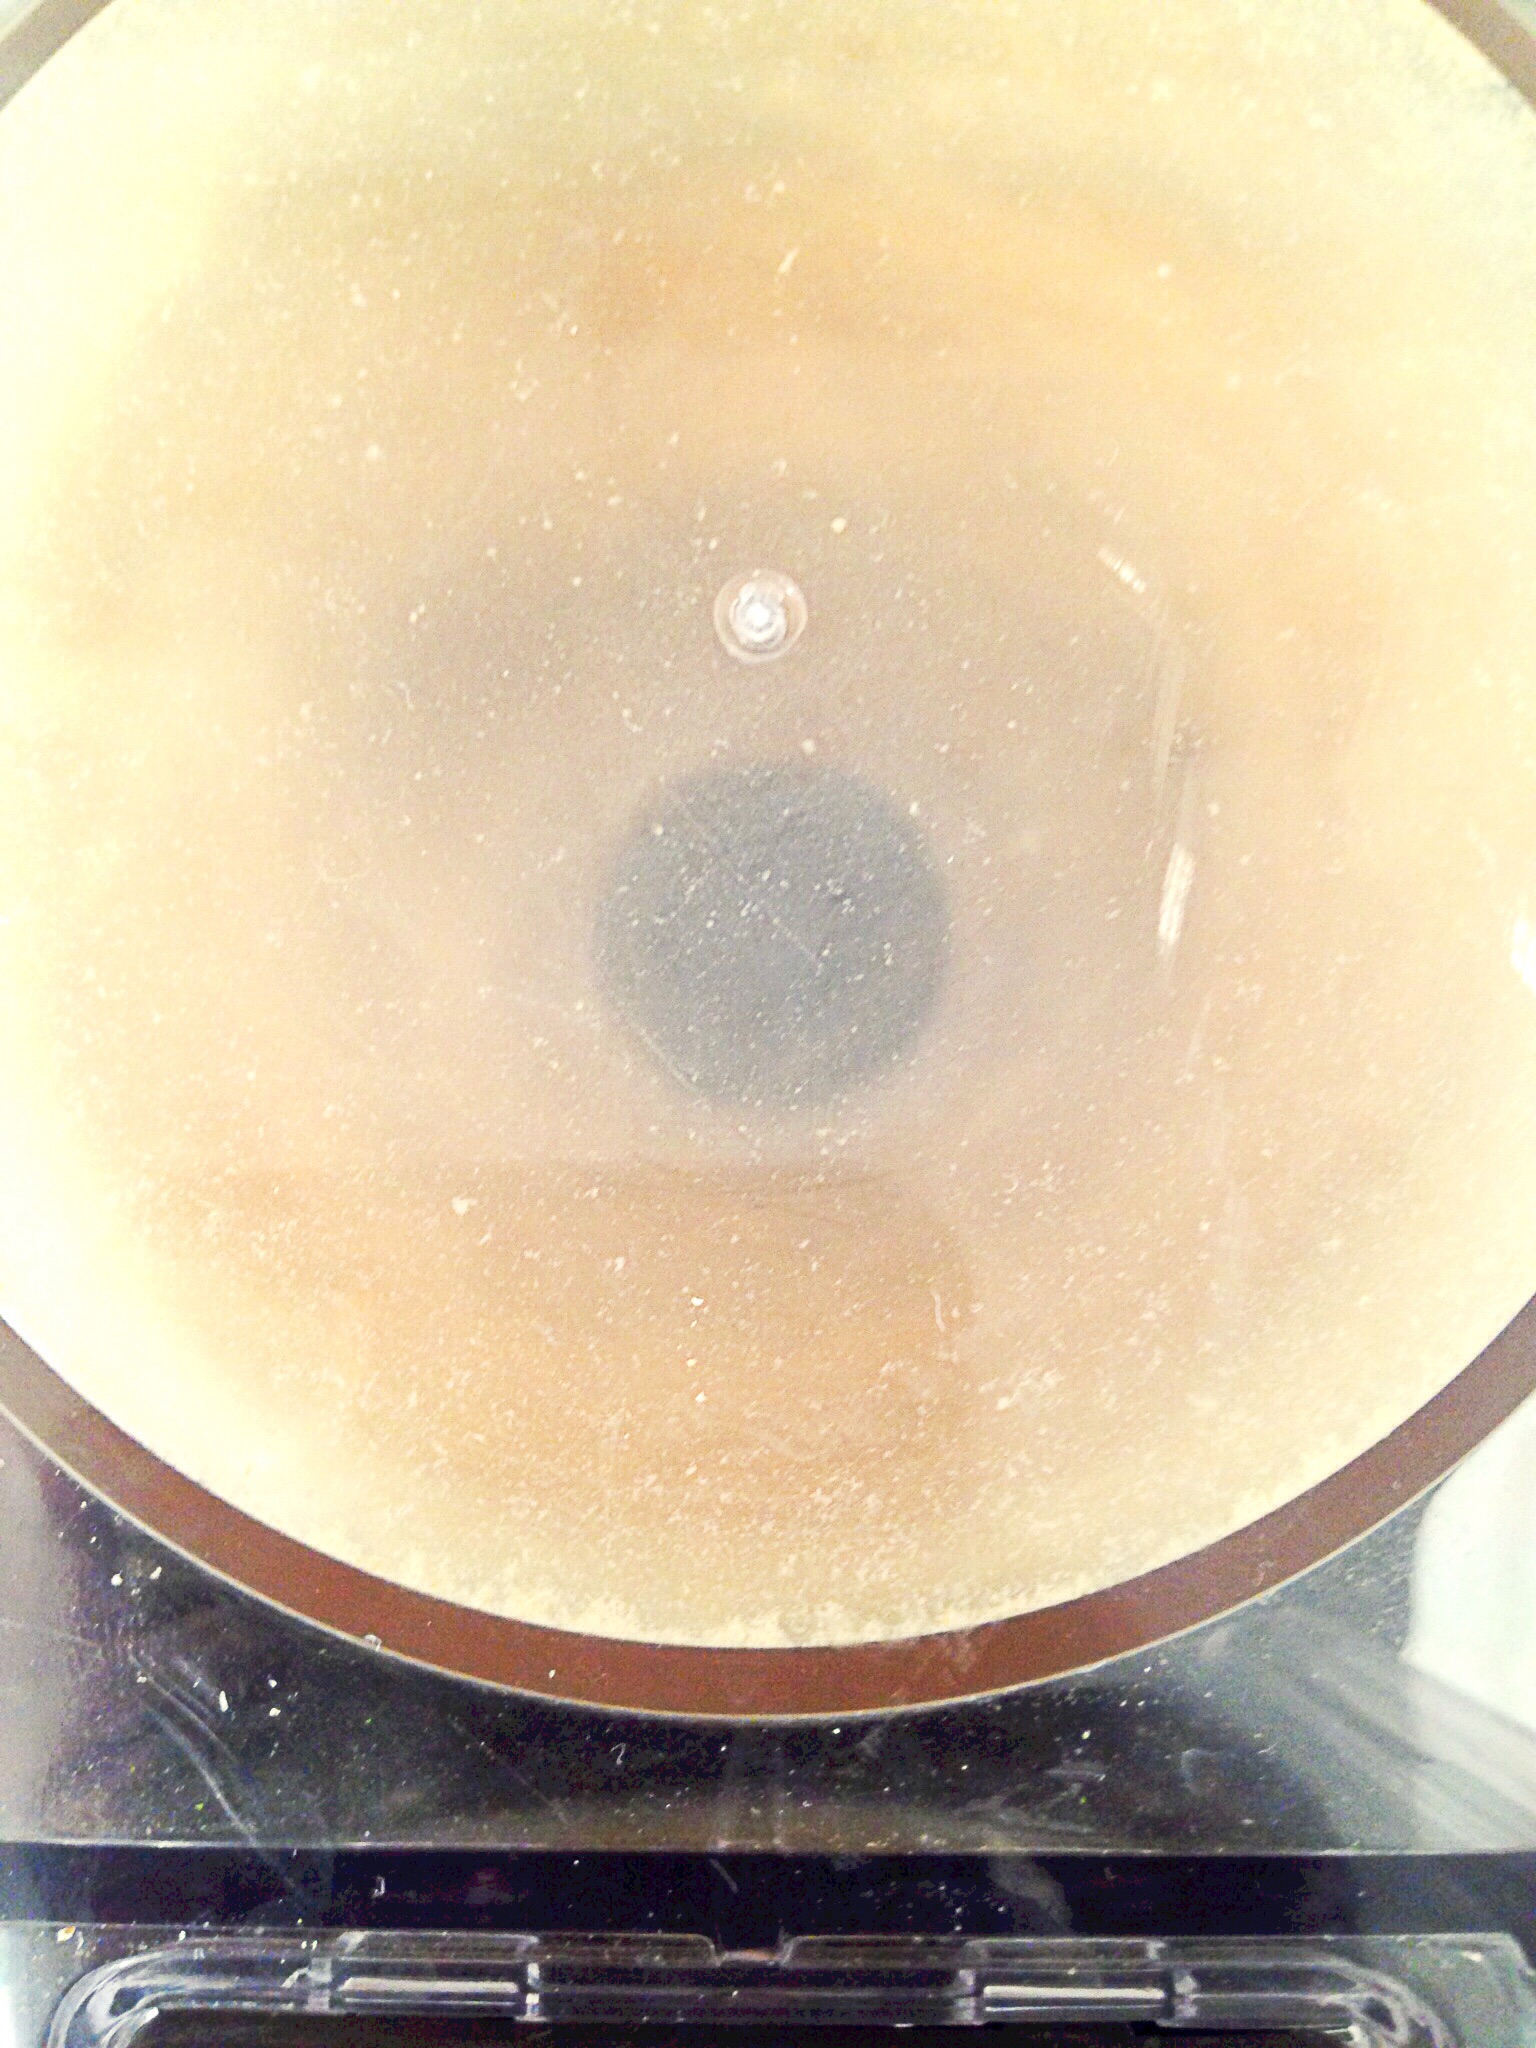
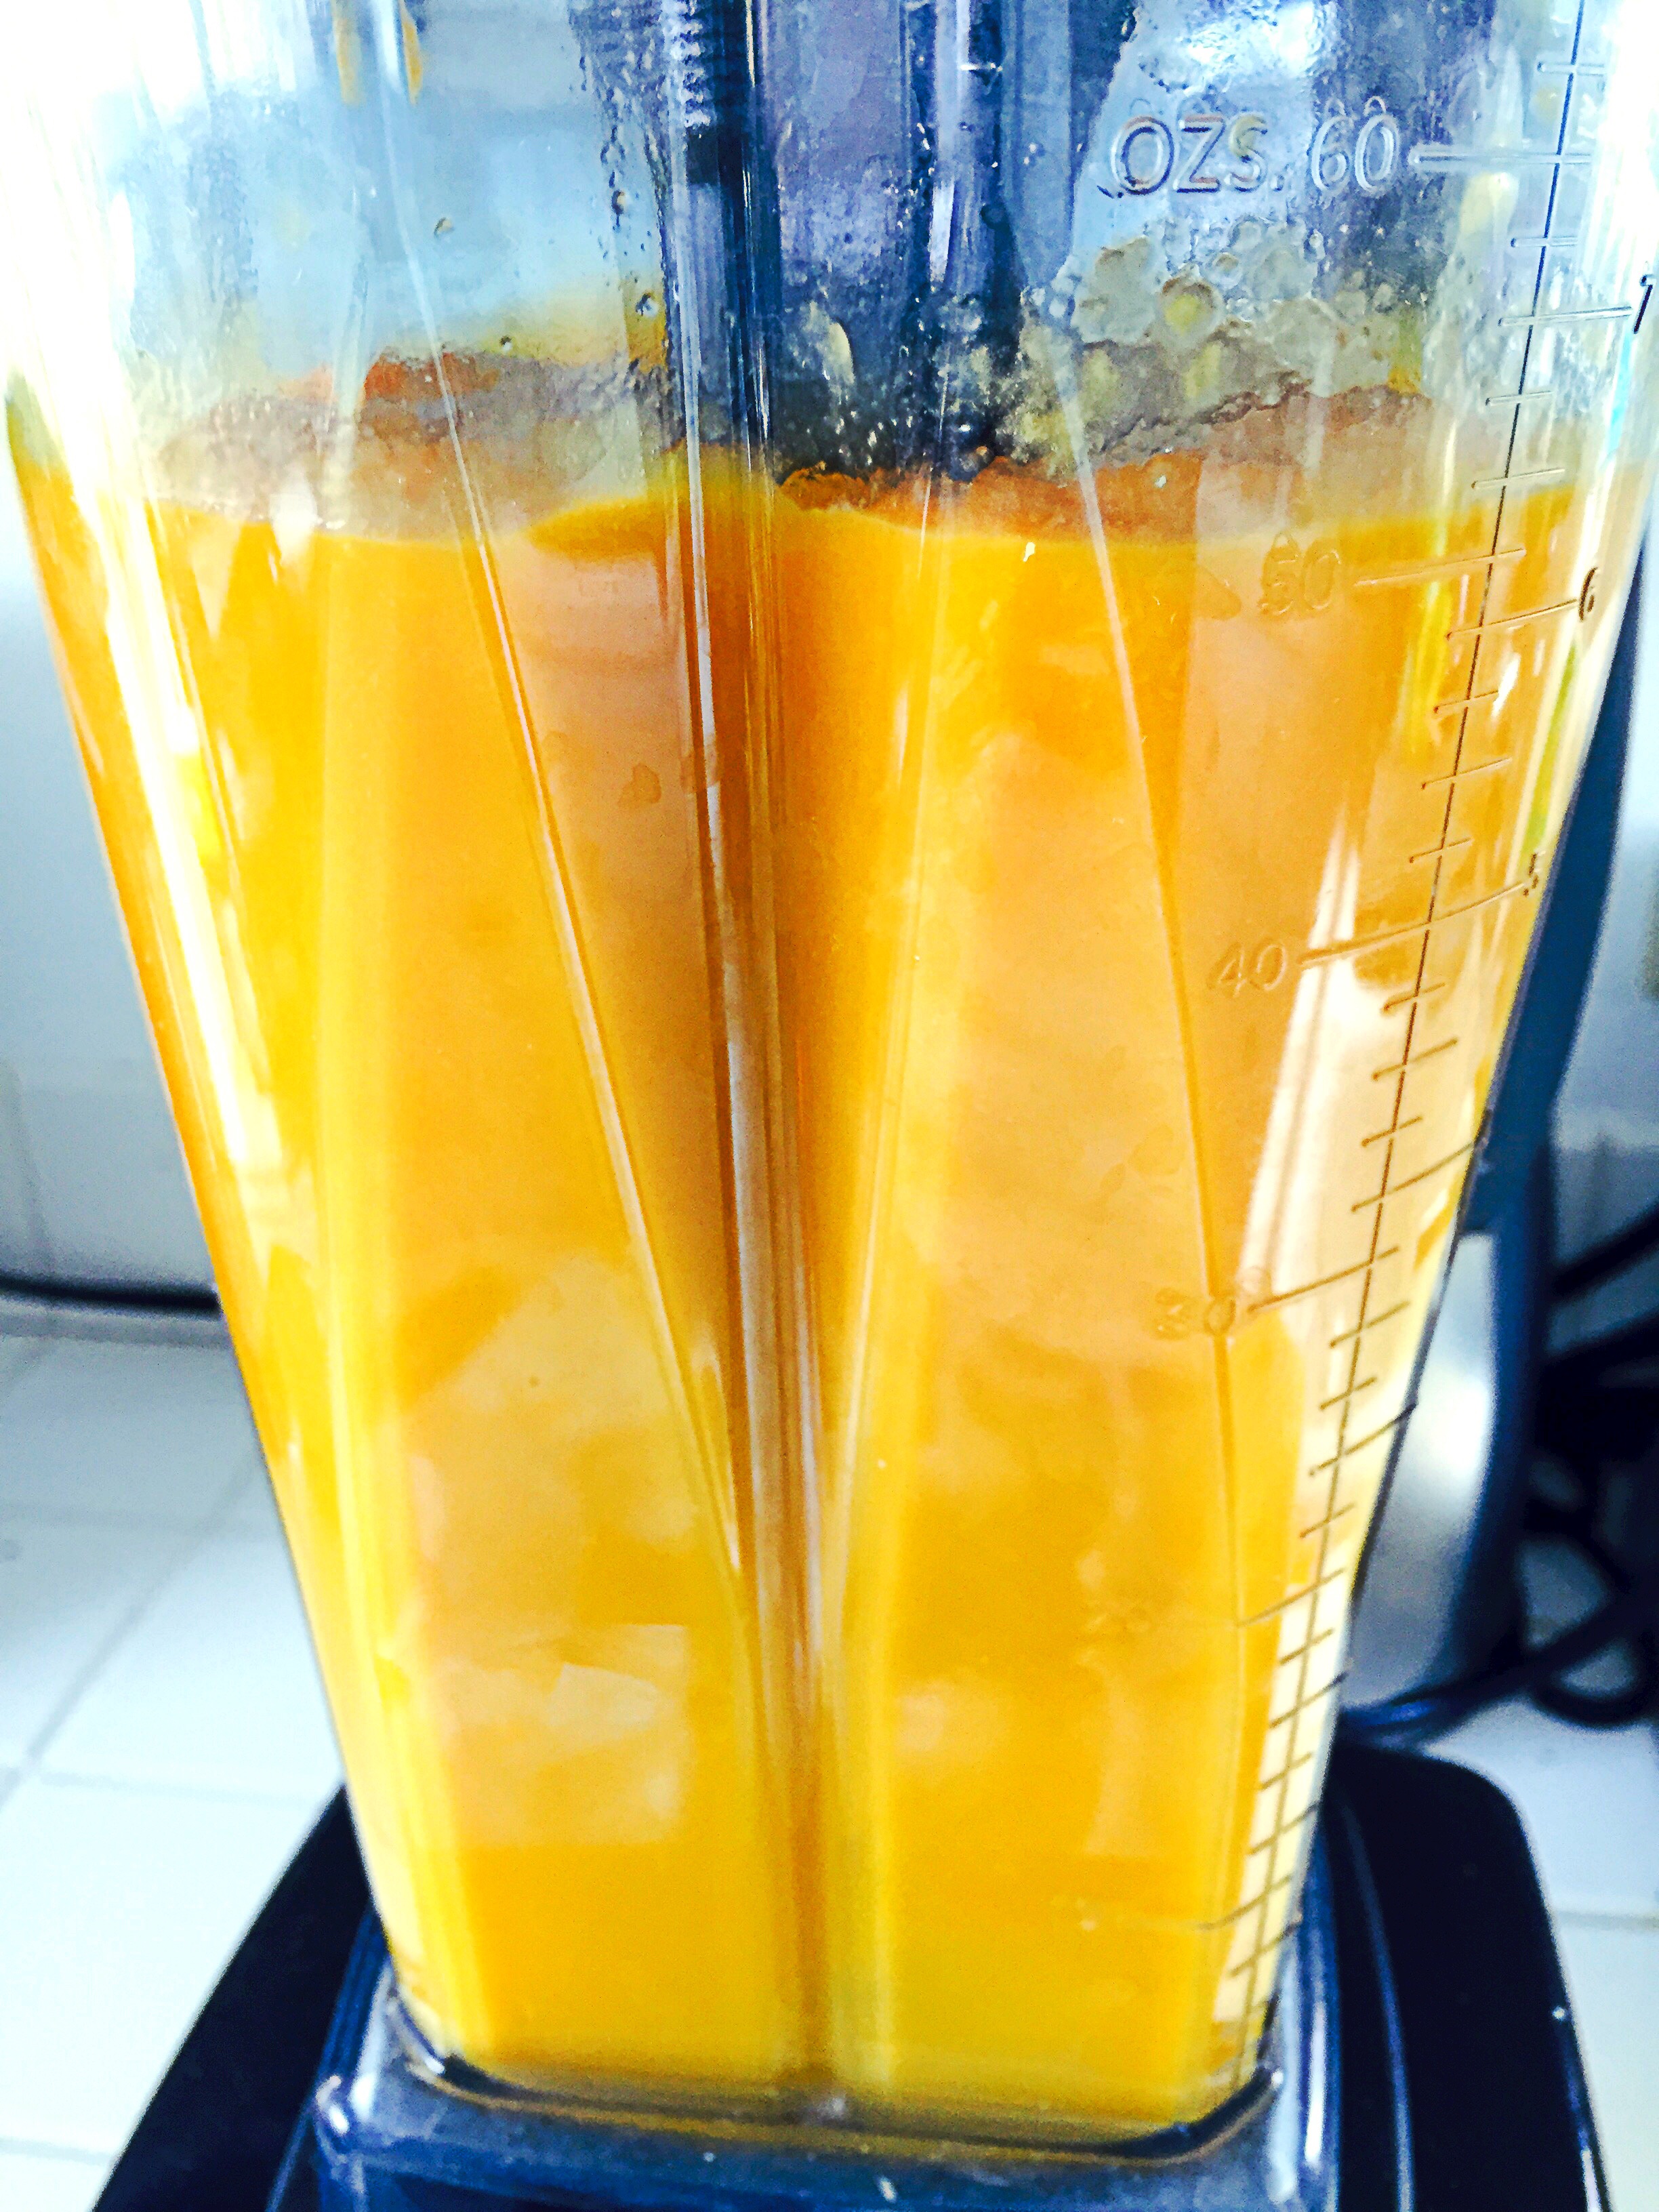
Directions: Place mango in blender:

image

Blend until smooth.

image


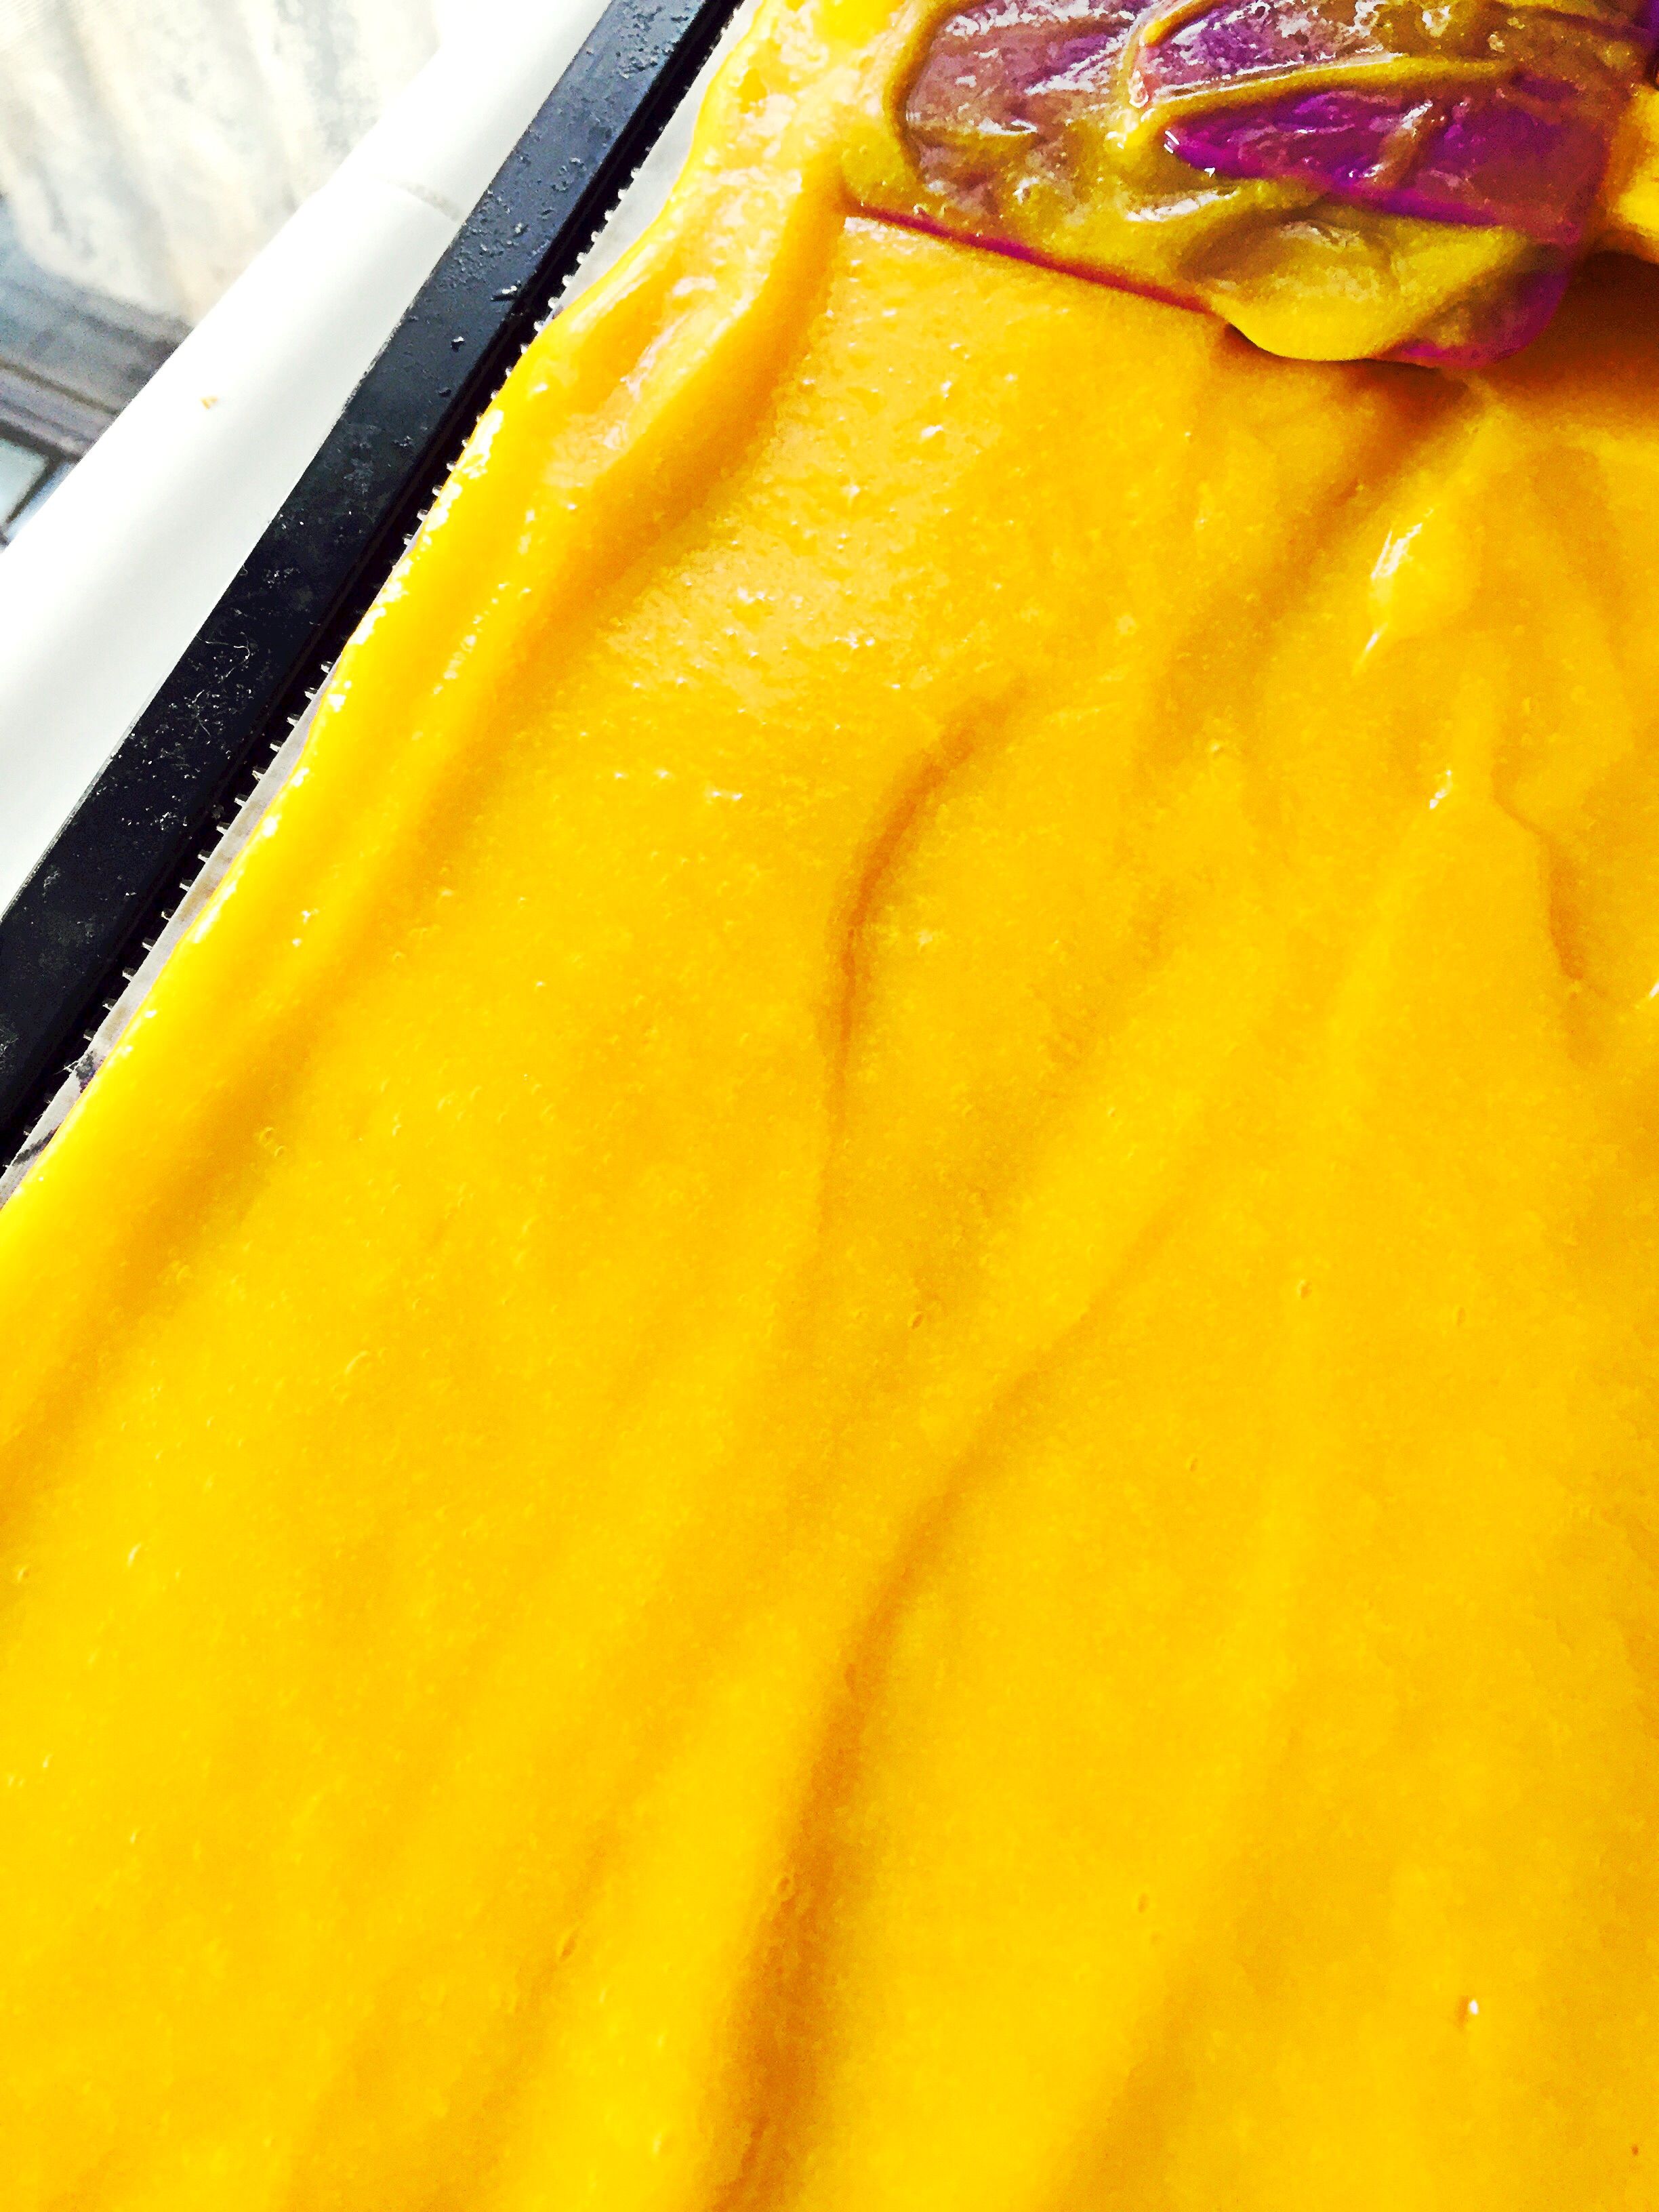
Pour out onto parchment paper and smooth out evenly.

image


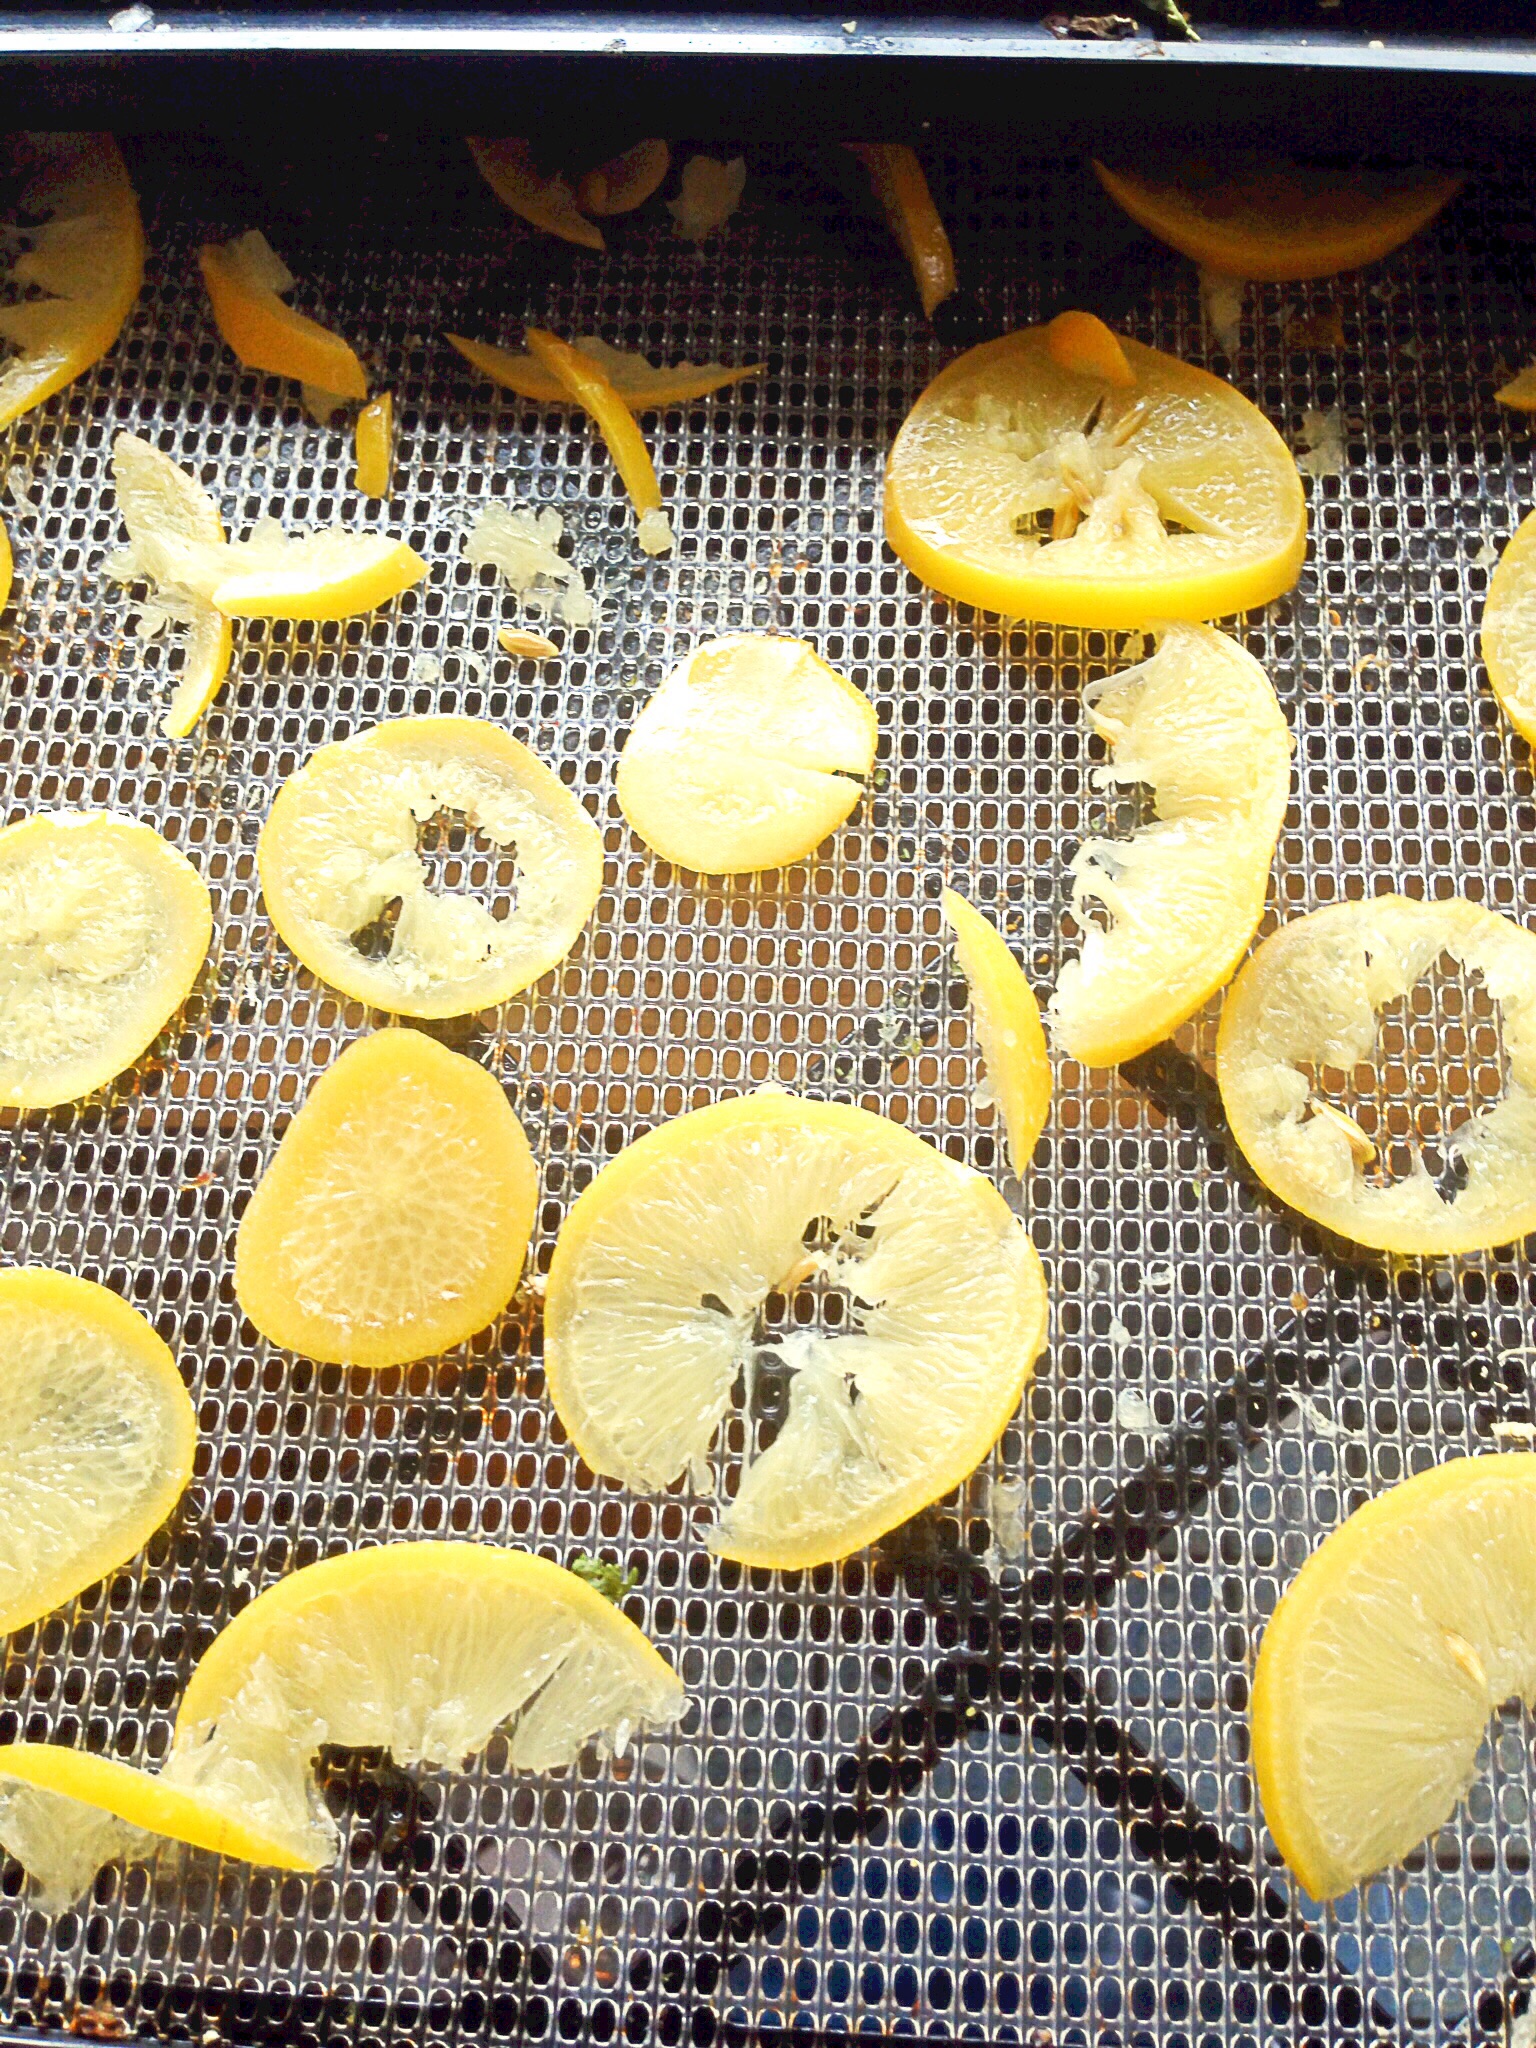
Place in oven, or dehydrator on 135 degrees Fahrenheit, or the lowest setting on your oven, for 6-8 hours. 

image

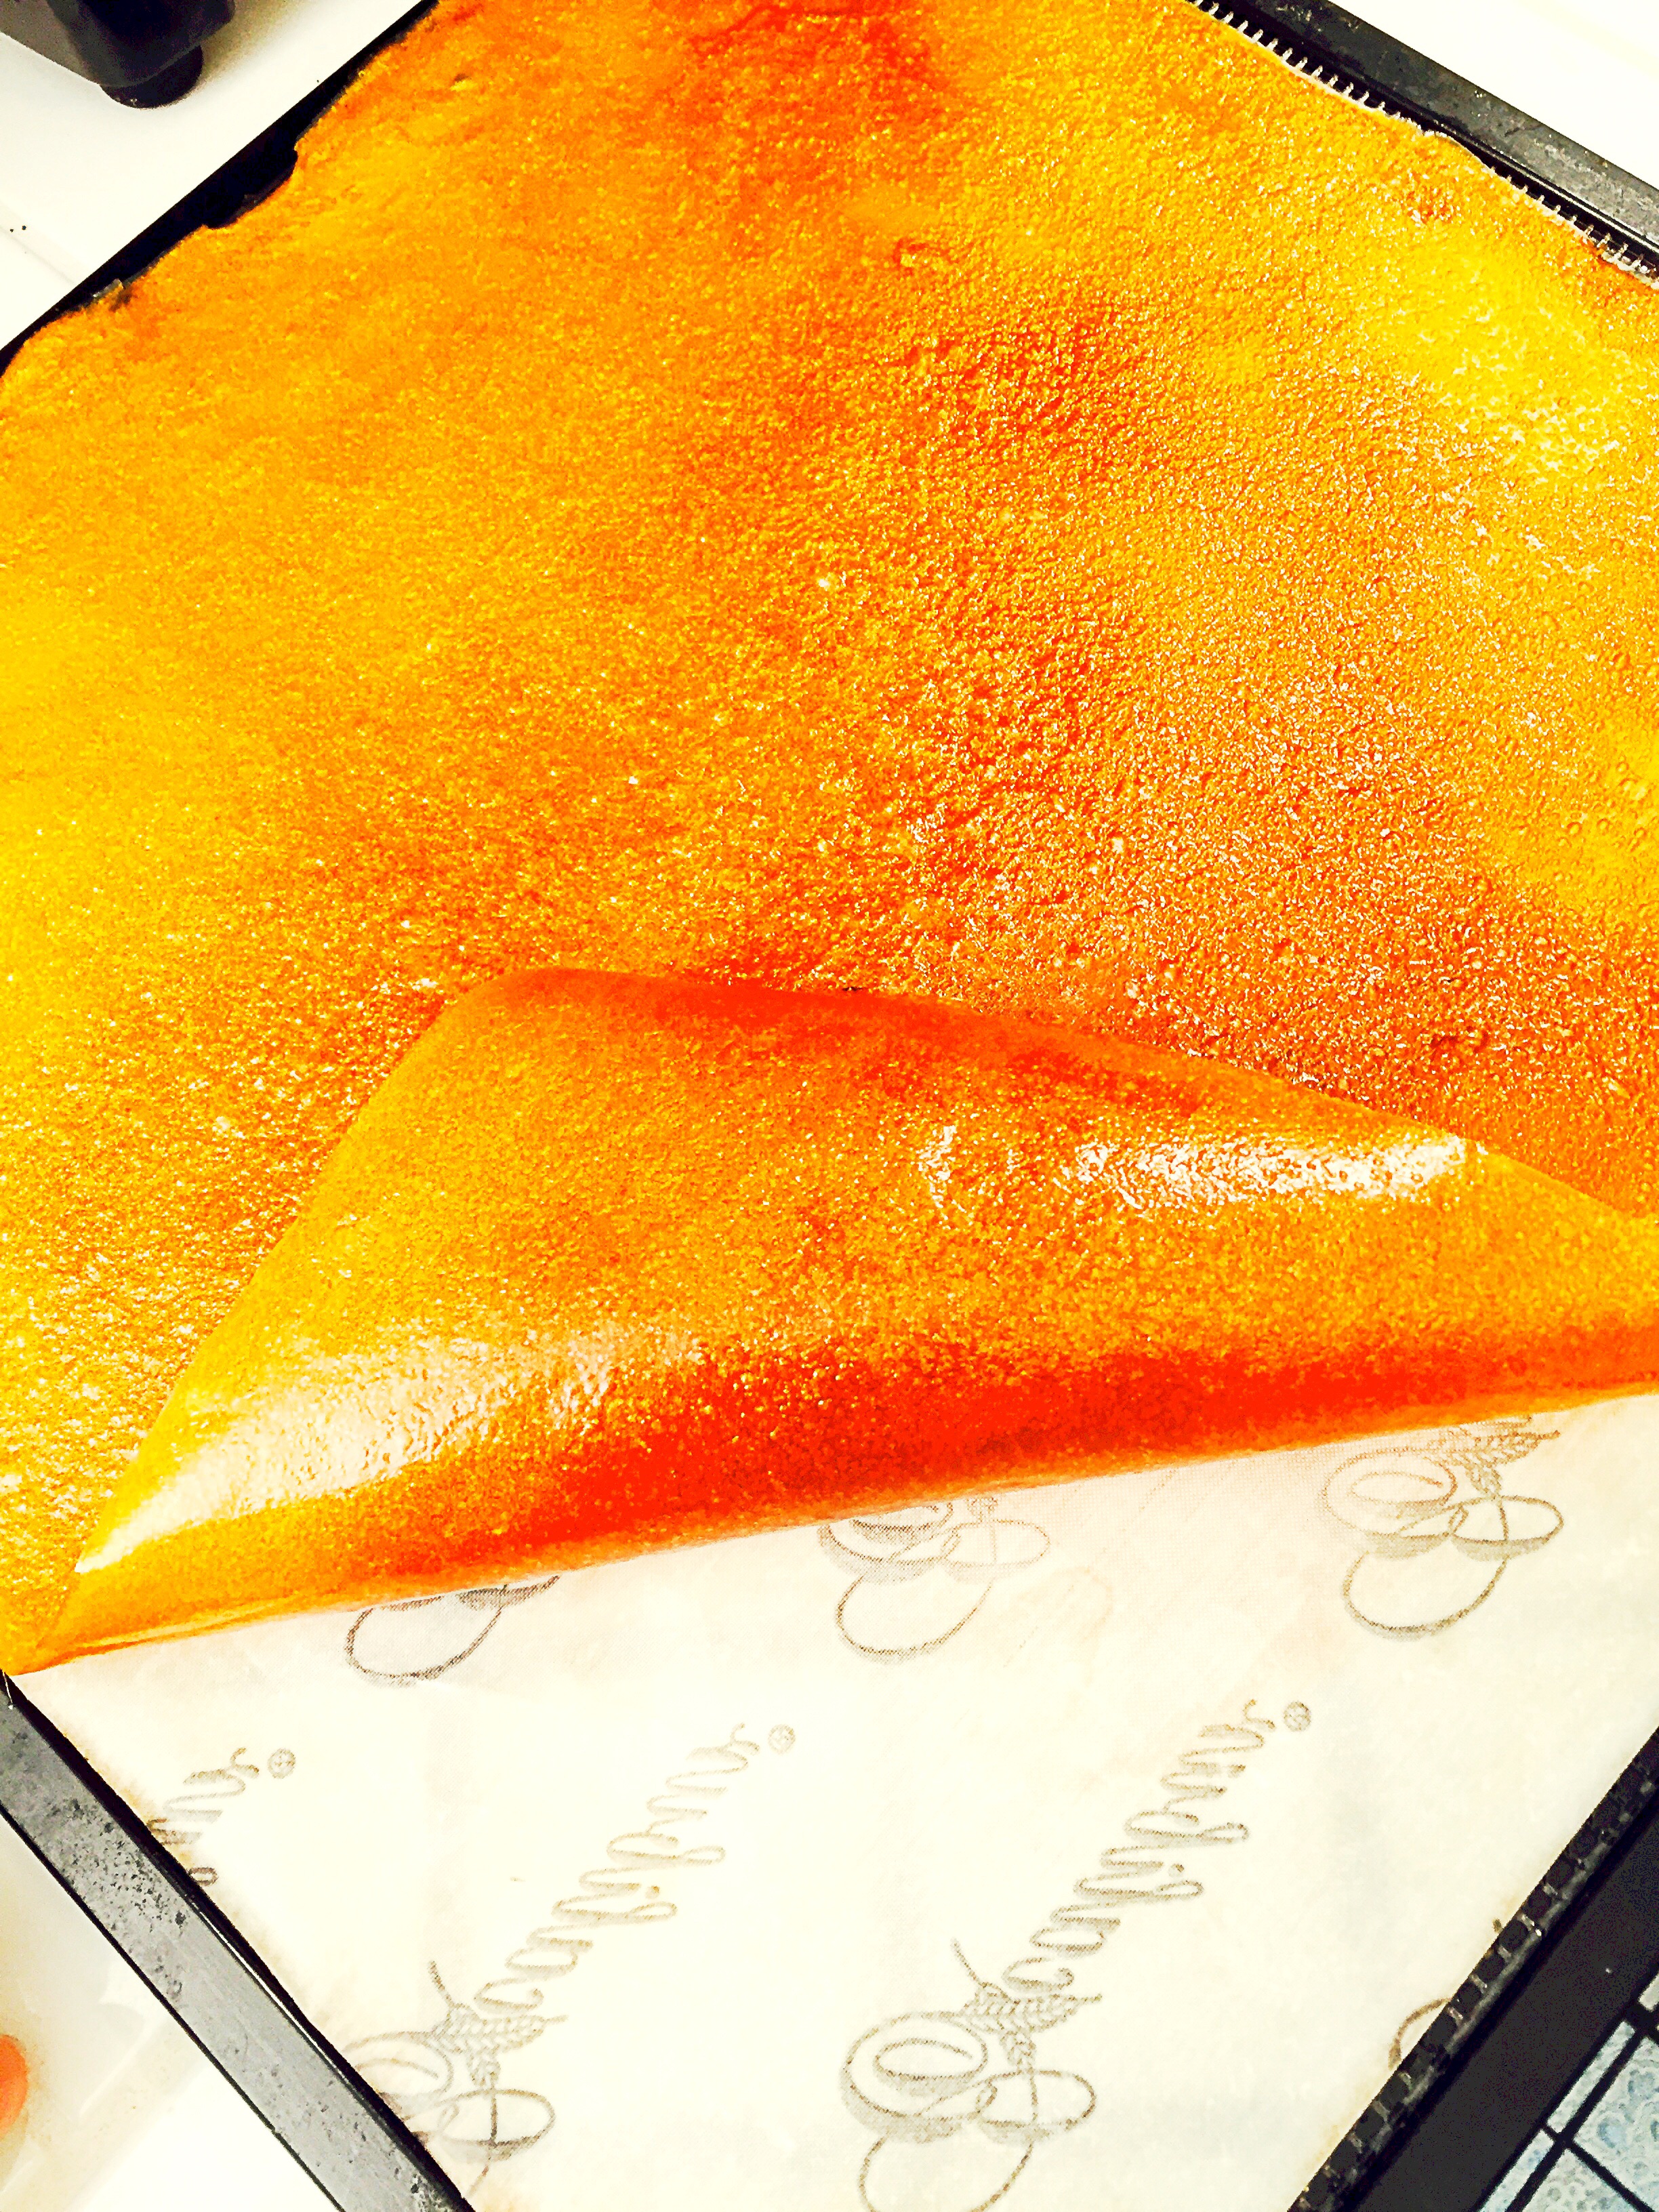
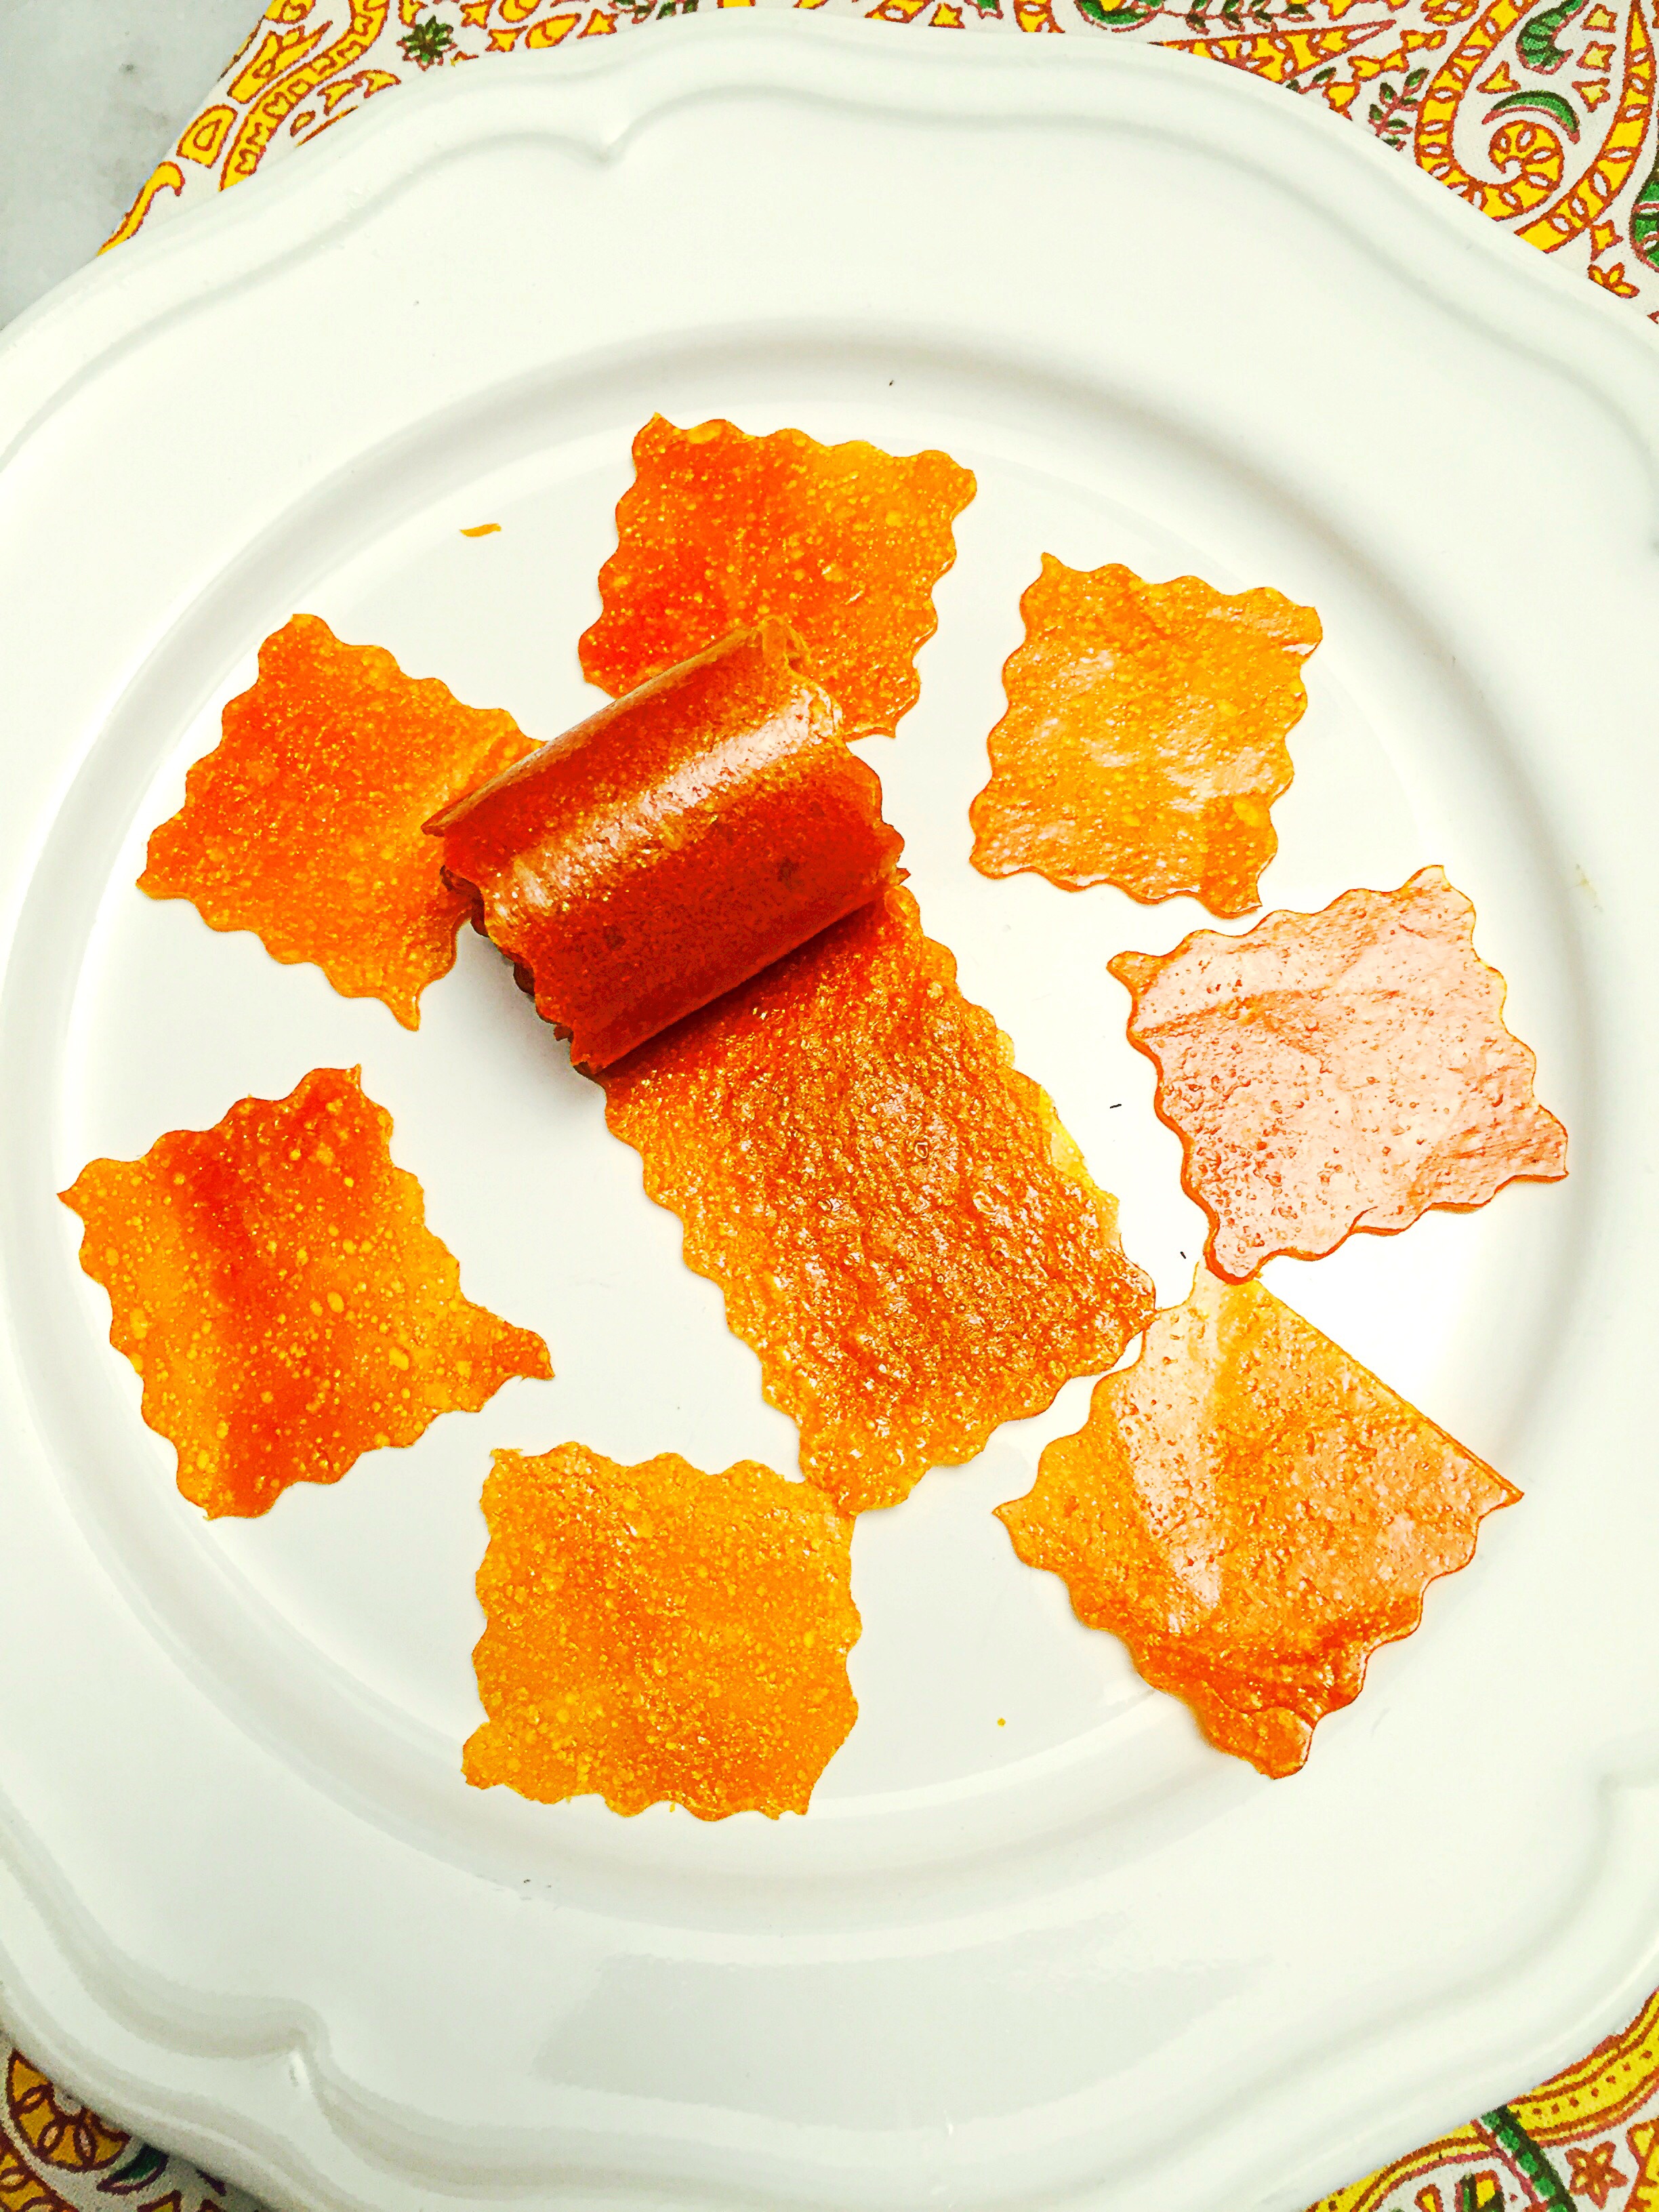
Remove from parchment paper, roll, and enjoy!

image


image

If you like this recipe you’ll love these: Pear Fruit Roll-ups, Strawberry-Apple Fruit Roll-ups, Pineapple Fruit Roll-ups, Tropical Punch Fruit Roll-ups, Strawberry Fruit Roll-ups

Pineapple Rings–How to make dehydrated Pineapple Rings

Dehydrated Pineapple Rings

Dehydrated Pineapple Rings

One of my go to snacks is dehydrated fruit.  I’m a particular fan of pineapple rings.  But, if you’ve ever purchased organic dehydrated pineapple rings, then you probably know that pineapple rings are a snack that can be out right expensive! I mean outlandishly expensive! On top of the expense, it’s pretty hard to find pineapple rings that haven’t been soaked in baths of sugar.  I’m not a fan of adding sugar to dehydrated fruit.  It’s sort of an oxymoron to me that sugar is added to dehydrated fruit at all, because if you know anything about dehydration–then you know that the sugar in fruits concentrate when dehydrated, so there really isn’t a need to add sugar–unless you’re dehydrating something really tart like cranberries then I could see the purpose of adding sugar. Last week I purchased a pineapple, I fully intended to eat it fresh. However,when I cut, and tasted it– it was pretty tasteless. Disappointing for sure. The pineapple clearly needed to ferment more.  Rather than chuck it, I sliced it and put it in the dehydrator and made pineapple rings. The resulting pineapple rings were not only flavorful, but they were sweet–everything you want would want in a fresh bite of pineapple–minus the juice of course.  The pineapple rings lasted all of 2 minutes, my sister in-law, my niece and Page, gobbled them right up–I’m pretty sure they would’ve passed on the fresh slices.

Pin It!


Prep time: 10 minutes

Cook time 6-8 hrs 10-12hr for thicker slices

Ingredients:

2 whole fair trade organic pineapple

Directions: Remove the stem from the pineapple, then slice off the top and bottom.  Slice off the skin, making sure to remove all the eyelets.

image

Now slice the pineapple thinly.

image

Keep in mind that the thicker you slice it, the longer it will take to dry.  If it’s too thin your pineapple rings will turn out crisp, if they are a bit thicker, they’ll be more leathery, so it’ just a matter of what you’re seeking in consistency.  After slicing, cut out the center core by carving a circular cut in the middle of the pineapple.

image

Remove the core and discard it.

image

Place the pineapple rings on your dehydrator sheet,

image

Set the dehydrator to 135F.  If you’re doing this in the oven, set the oven to 150F or the lowest possible setting.  Dehydrate for 6-8 hours, 10-12hrs if you cut thicker slices.

image

Once dry let cool, then enjoy!

image

Page could not wait for me to take a picture, she loves these so much!

image

image

if you like this recipe, try the recipe for my pineapple fruit roll-ups!

How to make Onion Powder–DIY Onion Powder

DIY Onion Powder--How to make Onion Powder

DIY Onion Powder–How to make Onion Powder

Recently I was chatting with some professional chefs online one of them was talking about using dried powders like garlic and onion in a recipe that he was playing with.  He wanted to know where he could find better quality powders.  The discussion quickly went from people being helpful, to people questioning whether any chef of good standing would ever use a dried product versus a fresh product. One person in particular, said absolutely not!  Others, said of course and then went on to make a case for when dried spices are needed, and in those cases how using dry spices make the dish better.  The discussion got me thinking about how often I use dried spices, and what dry ingredients I use.  The truth is that I am one of those cooks, who relies heavily on fresh ingredients.  The produce bin in my refrigerator is always stocked with, fresh thyme, parsley, mint, cilantro, basil, and whatever other herb is in season–ALWAYS.  I can’t imagine cooking without the use of fresh herbs.  At the same time, my cupboards are stocked with the dried version of all the fresh herbs that I just mentioned, and many, many other dry spices, like garlic powder, cumin, tarragon, onion powder…the list could literally fill this page!  If you’ve been following my blog, then you know that I make many of my own spices.   When the person in that forum asked about sourcing onion powder, my immediate thought was, why not just make it? So I did.  It’s a simple process, but the onion powder that you get from this process is the best that you will probably ever taste–or smell–the smell had me salivating–this is the stuff that great onion dips, and soups are built from!

Pin It!


Prep time: 10 minutes

Cook time: 6-8 hours–

Ingredients:

2 large onions sliced thinly

Directions: Evenly spread the sliced onions on a dehydrator sheet.

image

If using an oven, place the onions on a parchment lined bake sheet. Set the temperature on your dehydrator to 125F.  If using an oven, set it to the lowest possible setting 150F.  Let the onions dehydrate until brittle, then remove and let cool.

image

Once the onions have cooled, place them in a spice grinder/coffee grinder and blend into a powder.  Stop here if you want onion flakes,

image


image

Transfer to an airtight container until ready to use.


image


DIY Yogurt–How to Make Yogurt

image


I have been wanting to make my own yogurt for a long while now. I have put off making it because I rarely buy milk, unless I want to make ice cream.  The truth is that we don’t drink milk, so there is rarely a need for it in our home.  I was in Whole Food’s the other day and went to pick up a jar of my favorite Bulgarian yogurt, when I thought–now is the time to make my own.  The process is super simple.  I did it with my Sous-vide machine, but you could do this in your slow cooker on low,  in a dehydrator set to 110F, or with just the light of your oven door.

Pin It!


Prep time: 5 minutes

Cook time: 5 minutes Plus 6 hours of non cook time

Ingredients:

4 cups of full fat organic milk

4 tablespoons of full fat organic yogurt–make sure the yogurt that you choose has active live cultures.

Directions: Heat the milk in a stainless steel sauce pan,

image


When the temperature reaches 110F turn off the fire and whisk in the yogurt.

image


Transfer the mixture to a glass jar,

image

Lightly cap it,

image

If you aren’t using a slow cooker or a immersion circulator, place the jar in the oven and turn on the oven light and allow to culture over night.  If using a slow cooker, fill the cooker with water, place the jar inside and set the cooker to low–or 110F.

If using a circulator, fill a pan with enough water to cover the sides of the jar, set the circulator to 110F and add the jar–let sit for 4-6 hour’s or until the yogurt thickens to the consistency of store bought yogurt–the longer you let the yogurt sit the more tart and thick it becomes–so if you find that you like the consistency and taste at 4 hours then remove it from the heat then–if you like it more tart then let it go for longer–even over night–it’s really up to you, and your preference.

image

Remove from circulator and refrigerate.  Once refrigerated, the yogurt will thicken a bit more, and the whey will separate from the yogurt, you can pour it off or mix it back into the yogurt.

image

The yogurt will keep for up to 2 weeks.  If you plan on making another batch you can use this yogurt as a starter.

image

imageHow easy was that?! I can’t believe I didn’t try this sooner!  The yogurt is delicious!

Follow and Like me on Facebook: http://www.facebook.com/lazygirldinners


Preserved Lemon Salt–How to make Sour Salts

Preserved Lemon Sour Salt

Preserved Lemon Sour Salt

This blog has been a year in the making. Sour salts and the use of sour salts first caught my attention after reading an article in Bon Appetite Magazine about  how the chef at State Bird Provisions was using sour salts to brighten up dishes, and make use of an ingredients that would otherwise not get used.  His approach was simple, dehydrate something as simple as a preserved lemon, grind it into a powder, and boom you’ve created a flavorful salt without even trying.  After reading that article, I knew that I wanted to try making a preserved lemon salt.  I put it on my list of things to blog about, but never got around to it–it has been almost a year since I read that article! Of all the sour salts I have on my list to make, the preserved lemon sour salt has always intrigued me the most–that and a lime pickle salt–I love a good lime pickle! My first thought was to make my own preserved lemons and lime pickle.  But rather than make you all–and myself wait for me to make a preserved lemon, which would further prolong me making this sour salt, I thought  I’d just skip ahead a few steps and buy some preserved lemon’s from my local Whole Foods. Christmas is just a few weeks away, and since I’m giving these salts away as gifts I cant wait to make preserved lemons from scratch.

Pin It!

Makes about 4 ounces of sour salt.

Prep time: 5 minutes

Drying time: 2hrs

Ingredients:

4 preserved lemons (sliced thinly)

Directions: Pre-heat oven to 150F if using an oven.  If using a dehydrator set it to 135F. Place preserved lemon slices evenly onto your dehydrator sheets, if using a stove,  spread over a wire rack set inside of a bake sheet.

image

Bake or dehydrate  until hard and brittle, it took about 1.5 hours in my dehydrator. Once slices are hard and crisp, transfer to a spice mill/ blender and grind until powdery,

image

Transfer the powder to an air tight container.

image

You’ve just created a gourmet salt.  You can sprinkle this on chicken, and fish.  Add it to my North African Lamb Stew, or to some grilled lamb chops, the possibilities are endless.

image