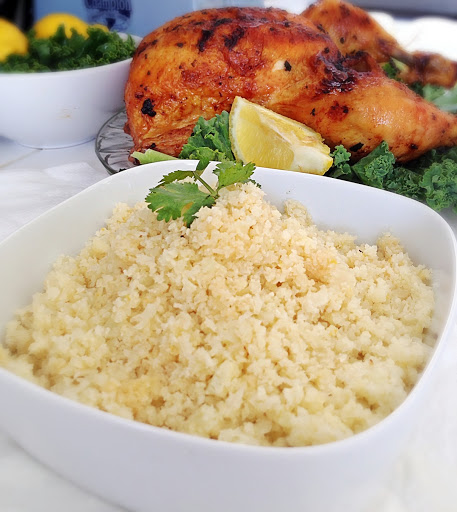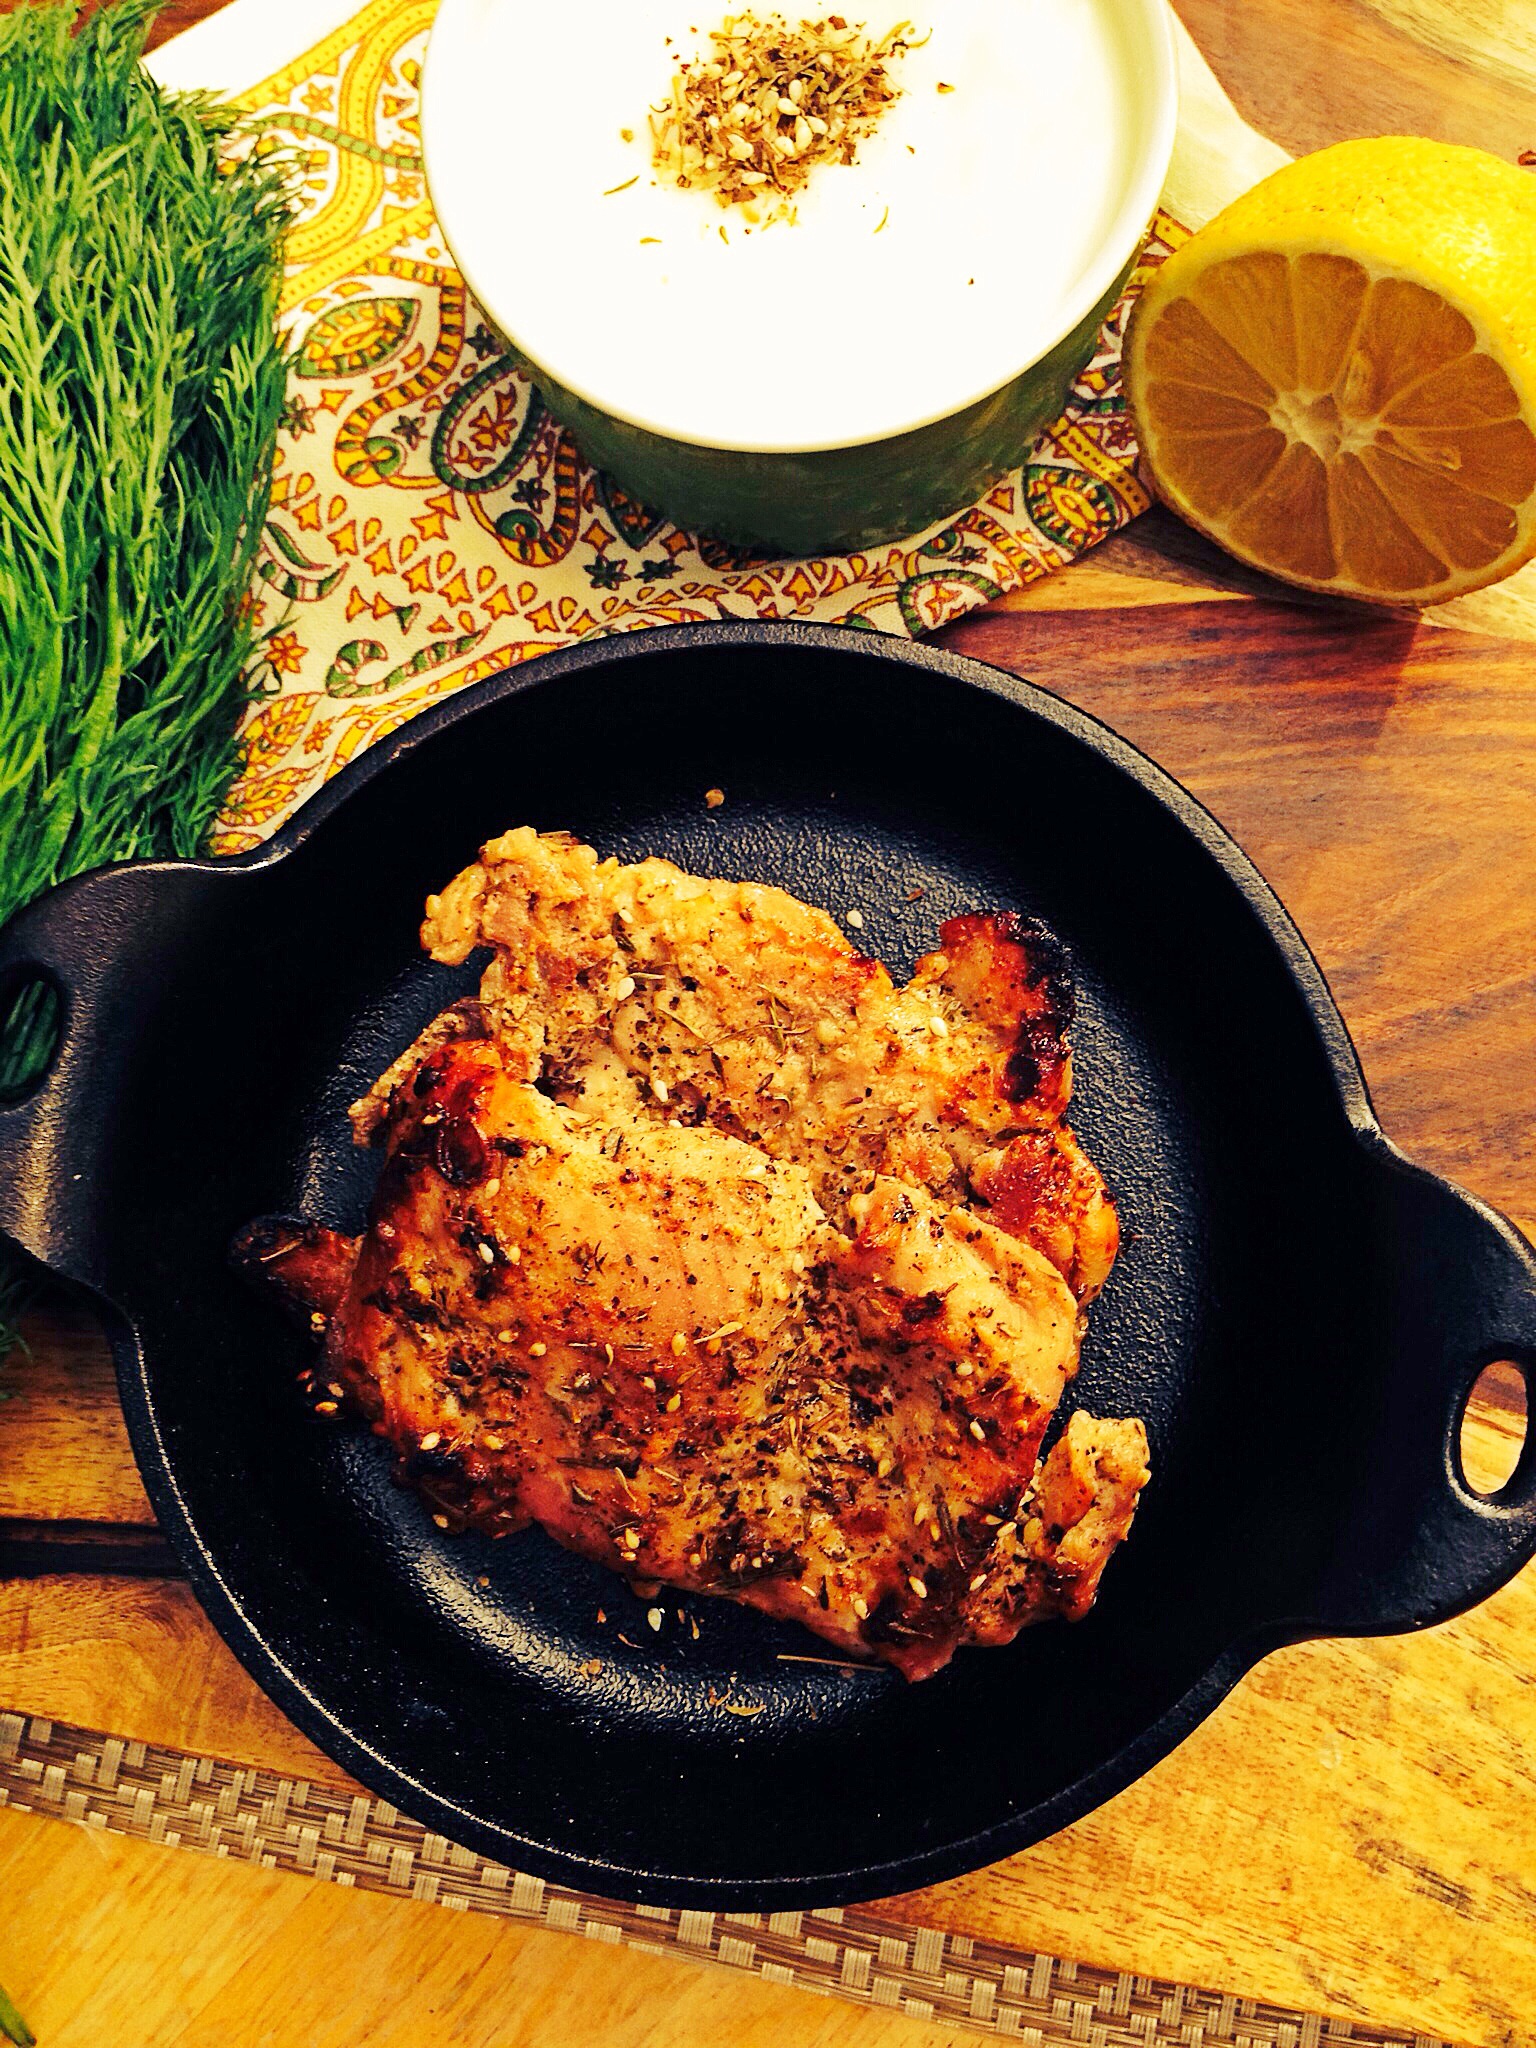
Za’atar Spiced Chicken
If you’ve been following my blog for awhile now, then you know that I’m enamored with Mediterranean spices, and food. One of my favorite things to have when I go out for dinner at a middle eastern restaurant is a naan bread with za’atar spices on it. What’s not to like? Piping hot crispy bread with a tangy spice, and hot olive oil…yum! I’m drooling at just the thought, it’s just so yummy. If you’re not familiar with za’atar you’ve been missing out. It’s simply a mixture of thyme, sesame seeds, marjoram, cumin, and sumac. With the exception of the sumac, you probably have all the ingredients to make it in your cabinet right now. You can’t make this without the sumac though, it’s tart and tangy flavor would be missed. The herbaceous smell of this spice is reason enough to use it. It pairs well with many meats, not just chicken, but on chicken it is amazing. I will share my recipe for my own homemade za’atar spice in a future blog, but for this, a store bought version will do. I got a packaged za’atar spice blend at Whole Foods in the spice aisle. While it’s not as good as my homemade version, it’s very close.
Prep time: 5 minutes
Cook time: 20 minutes
Total time: 25 minutes
Ingredients
1 tablespoon of za’atar spice
Juice of half a large lemon
1 tablespoon of olive oil
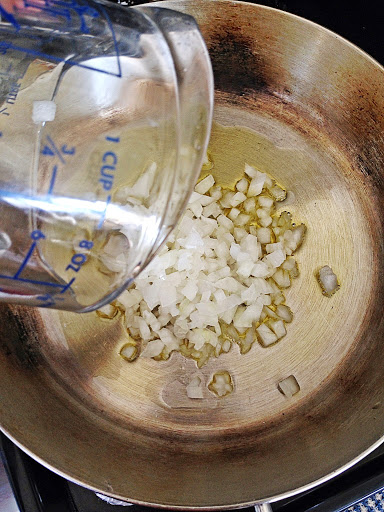
2 cloves of garlic grated
5-6 (1lb) boneless skinless chicken thighs
Sea salt and black pepper to taste
Directions: Pre-heat the oven to 425F. Mix the za’atar, lemon juice, garlic, and olive oil together in a medium bowl. Season the chicken with sea salt and black pepper, then toss in the bowl with the marinade and mix well. Line a baking sheet with foil, then add the chicken, and place in the oven, for 15-20 minutes, or until chicken is cooked through. Remove from the oven, serve and enjoy!