This past week Chipotle voluntarily listed on their website all the Genetically Modified Organisms that they serve at their restaurant. Of the 24 items on Chipotle’s menu 12 of them are GMO. I am torn about how I feel about this voluntary admittance of the use of GMO’s on Chipotles part. On the one hand, they are being honest and forthright. Chipotle, as far as I know, has been committed to providing customers with healthy, delicious food that is sourced locally, and that is organic and free range when possible. The admittance of the use of GMO ingredients by Chipotle is inline with the way the company has chosen to run its business, with a conscious effort to keep customers informed of how their meal got to the table. If only all fast food chains were as socially conscious! On the other hand, I am a bit put off that Chipotle is using GMO ingredients at all. Will this stop me from supporting Chipotle…probably not. My hope is that by releasing this list of GMO ingredients that Chipotle is on the road to eliminating GMO’s from their menu altogether. The truth is that we need more companies like Chipotle to set this kind of standard for us. Chipotle is doing what our government, and The Food and Drug Administration (FDA), has refused to do, which is to label these GMO ingredients. It’s not Chipotle’s fault that these GMO ingredients are in our food supply. That fault lies with our elected officials and the FDA. Both have continually put Corporations like Monsanto before the health and safety of the American public. Currently 62 Countries have mandatory GMO labeling laws, however the United States and Canada do not. That means many of the foods you currently eat, (about 80% of the food supply in North America), are probably genetically engineered, and you probably have no idea which ones are. Well the good news is that if you eat at Chipotle you will. The below is a list of the 12 items on their menu that have been genetically engineered. You can choose to leave these items off of your plate the next time you eat at Chipotle, or better still ask Chipotle to stop serving these genetically modified menu items altogether.
The list of GMO foods on Chipotle’s Menu
Barbacoa
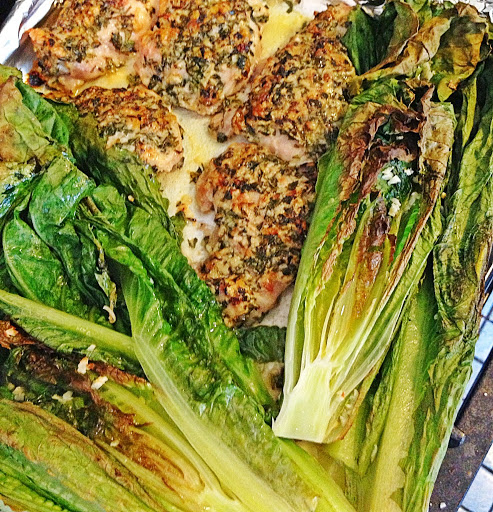
Chicken
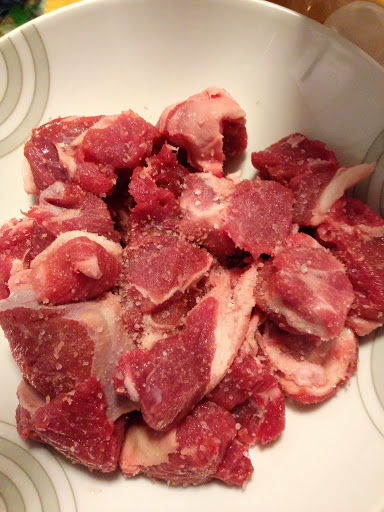
Steak
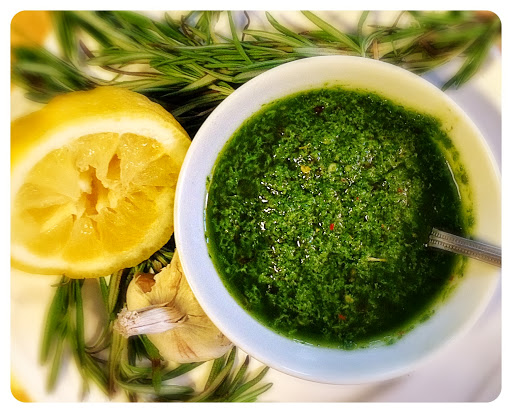
Chipotle Honey Vinaigrette
Fajita vegetables ( bell peppers, onion)
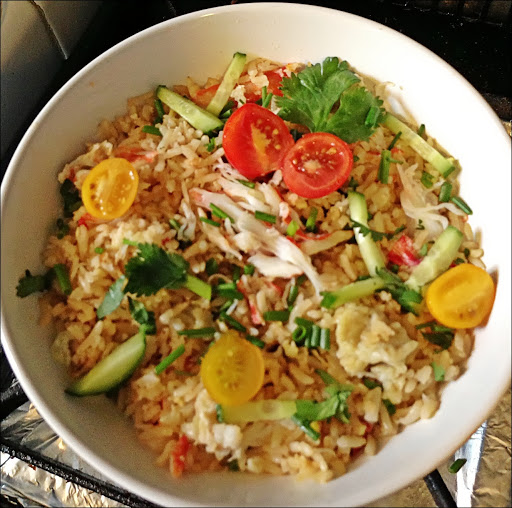
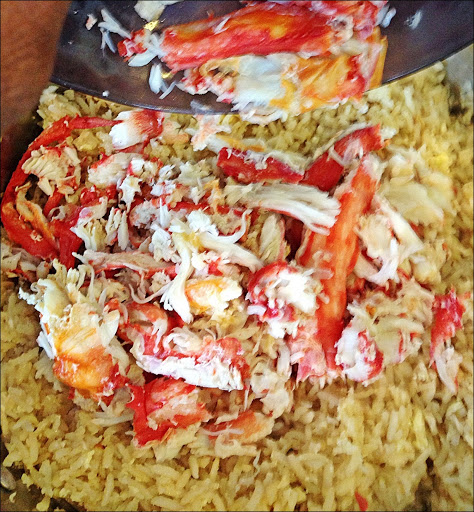
Brown Rice
White Rice
Tortilla flour for Burritos
Tortilla’s for corn chips
Tortilla’s soft corn tacos
Tortilla taco size flour
Tortilla’s tacos
Follow and like my Facebook page: http://www.facebook.com/lazygirldinners