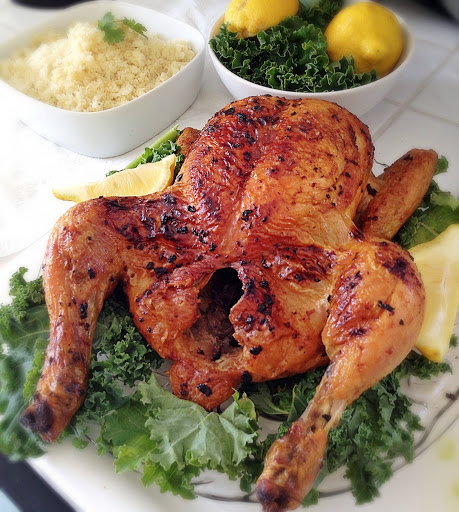
Sous Vide Chicken Thighs With Thyme and Garlic
OMG! When I tell you, that this preparation of chicken is the best that I’ve eaten in years, believe me! My husband ordered me the new Anova immersion circulator through a Kickstarter campaign back in May. I waited patiently, and it arrived last week. My first thought when it finally arrived was to make these chicken thighs. I had watched this you-tube video , (there are 3 parts watch them all part2, part 3), of Michael Voltaggio making these chicken thighs sometime ago. I was just in the early stages of learning about sous vide cooking, which means under vacuum cooking. All of the things that I had read about sous vide had seemed so complex–holding temperatures, the right temperatures for different meats, cooking times–but Michael made it seem so simple, and it was! Sous vide cooking is the ultimate in lazy girl cooking. It involves less effort than most slow cooker recipes, and the results are amazing! This particular recipe literally involved 8 minutes of active cooking time. If you add in the 5 minutes it took for me to salt, and bag the chicken for cooking, then it’s 13 whole minutes of your time. So super easy! Sous vide cooking is the future of the slow cooking movement. After using my immersion circulator, it’s not hard for me to see why. Unlike in conventional stove top and slow cooker cooking, in which flavor and nutrients cook out into the air, with sous vide cooking all of the flavor and nutrients stay in the food. Every single bite that I took of this chicken was infused with the flavor of thyme, the nuttiness of the butter and garlic, and the umami flavor of the truffle salt that I used. It was like eating the juiciest and most flavorful piece of fried chicken that I’ve ever eaten, only this chicken wasn’t fried. It was cooked slowly in a water bath at a low temperature. The best thing about immersion circulators is that they can free you from weekday cooking. You can cook these on Sunday with your immersion circulator, put them in an ice bath, and then refrigerate and “cook” or crisp the skin 3 or 4 days later. As a side note, if you’re wary about cooking foods in plastic, like I was, there are plenty of safe BPA and Phathalate free options for out there to assist you. Most food grade vacuum bags are both BPA and Phathalate free. Foodsaver is one brand, even ziplock bags are-yes you can even sous vide in a Ziploc , see how here–but it has to be Ziploc not an off brand. I use Vacmaster. Here is an article all about plastics and sous vide cooking. If you are still wary, here is a silicone option, or you can use mason jars to sous vide in–just note that cooking in a mason jar will require additional cook time.
![]()
Prep time: 5 minutes
Cook time: 1.5 hours
Ingredients:
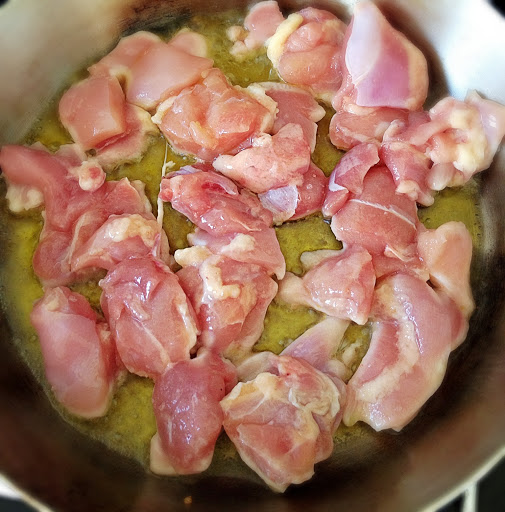
3 chicken thighs skin on
6 sprigs of fresh thyme
1 teaspoon of grassfed butter cut 3 ways
sea salt to taste — I used a truffle salt
3 cloves of garlic smashed
3- tablespoons of a high heat oil
Directions: Season the chicken with sea salt
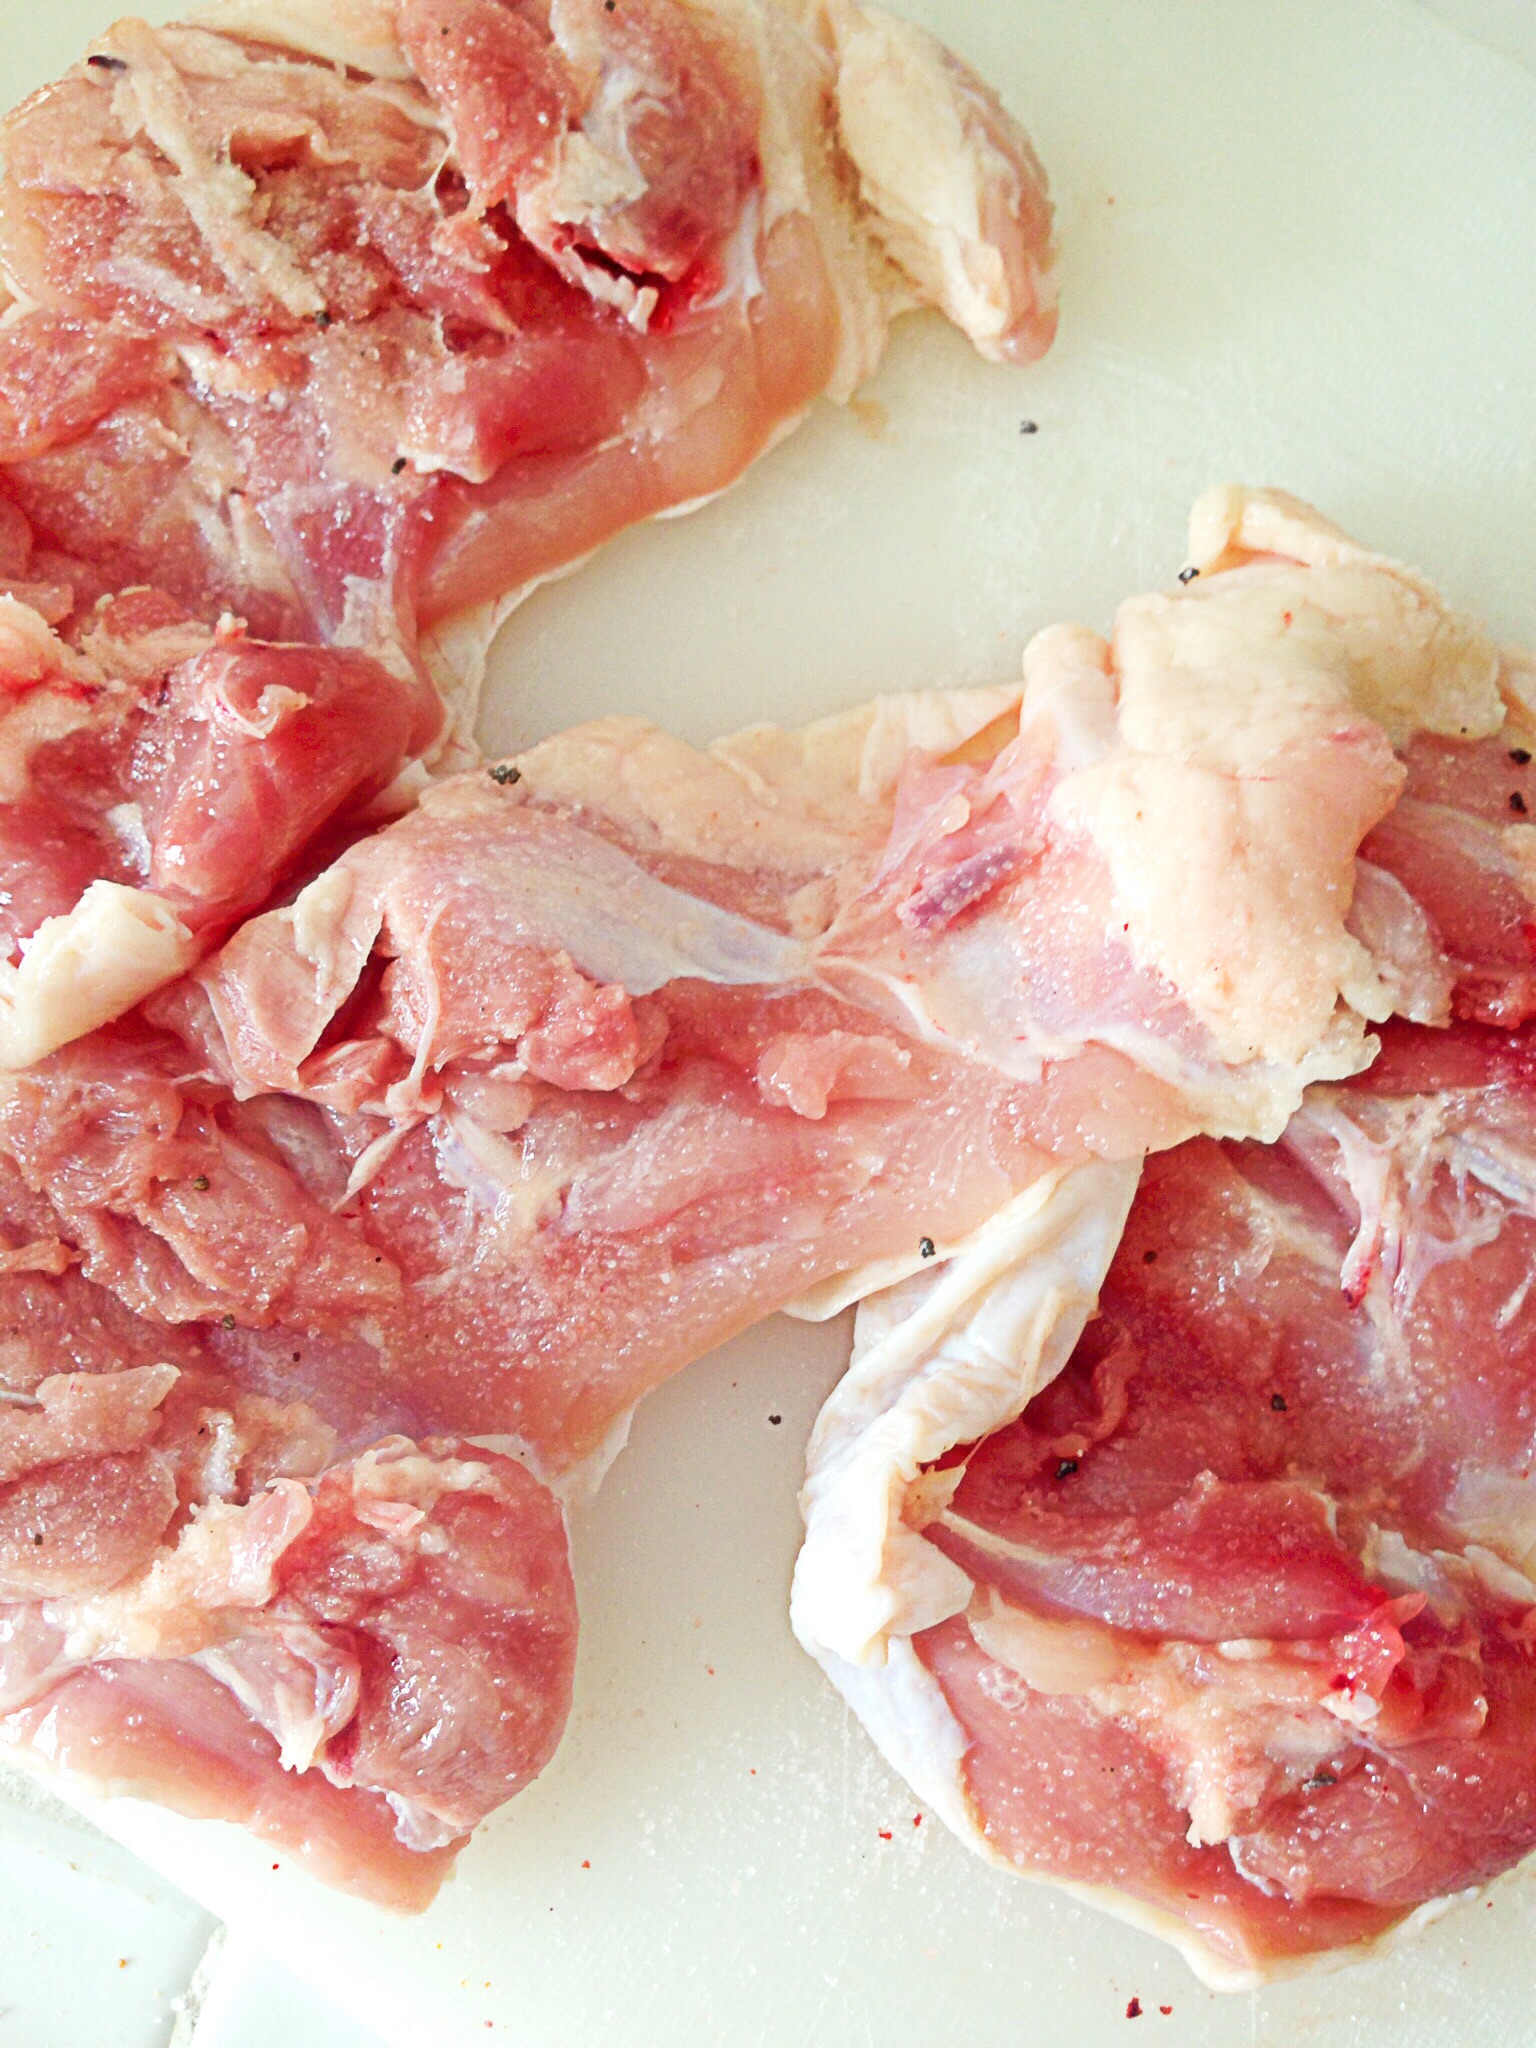
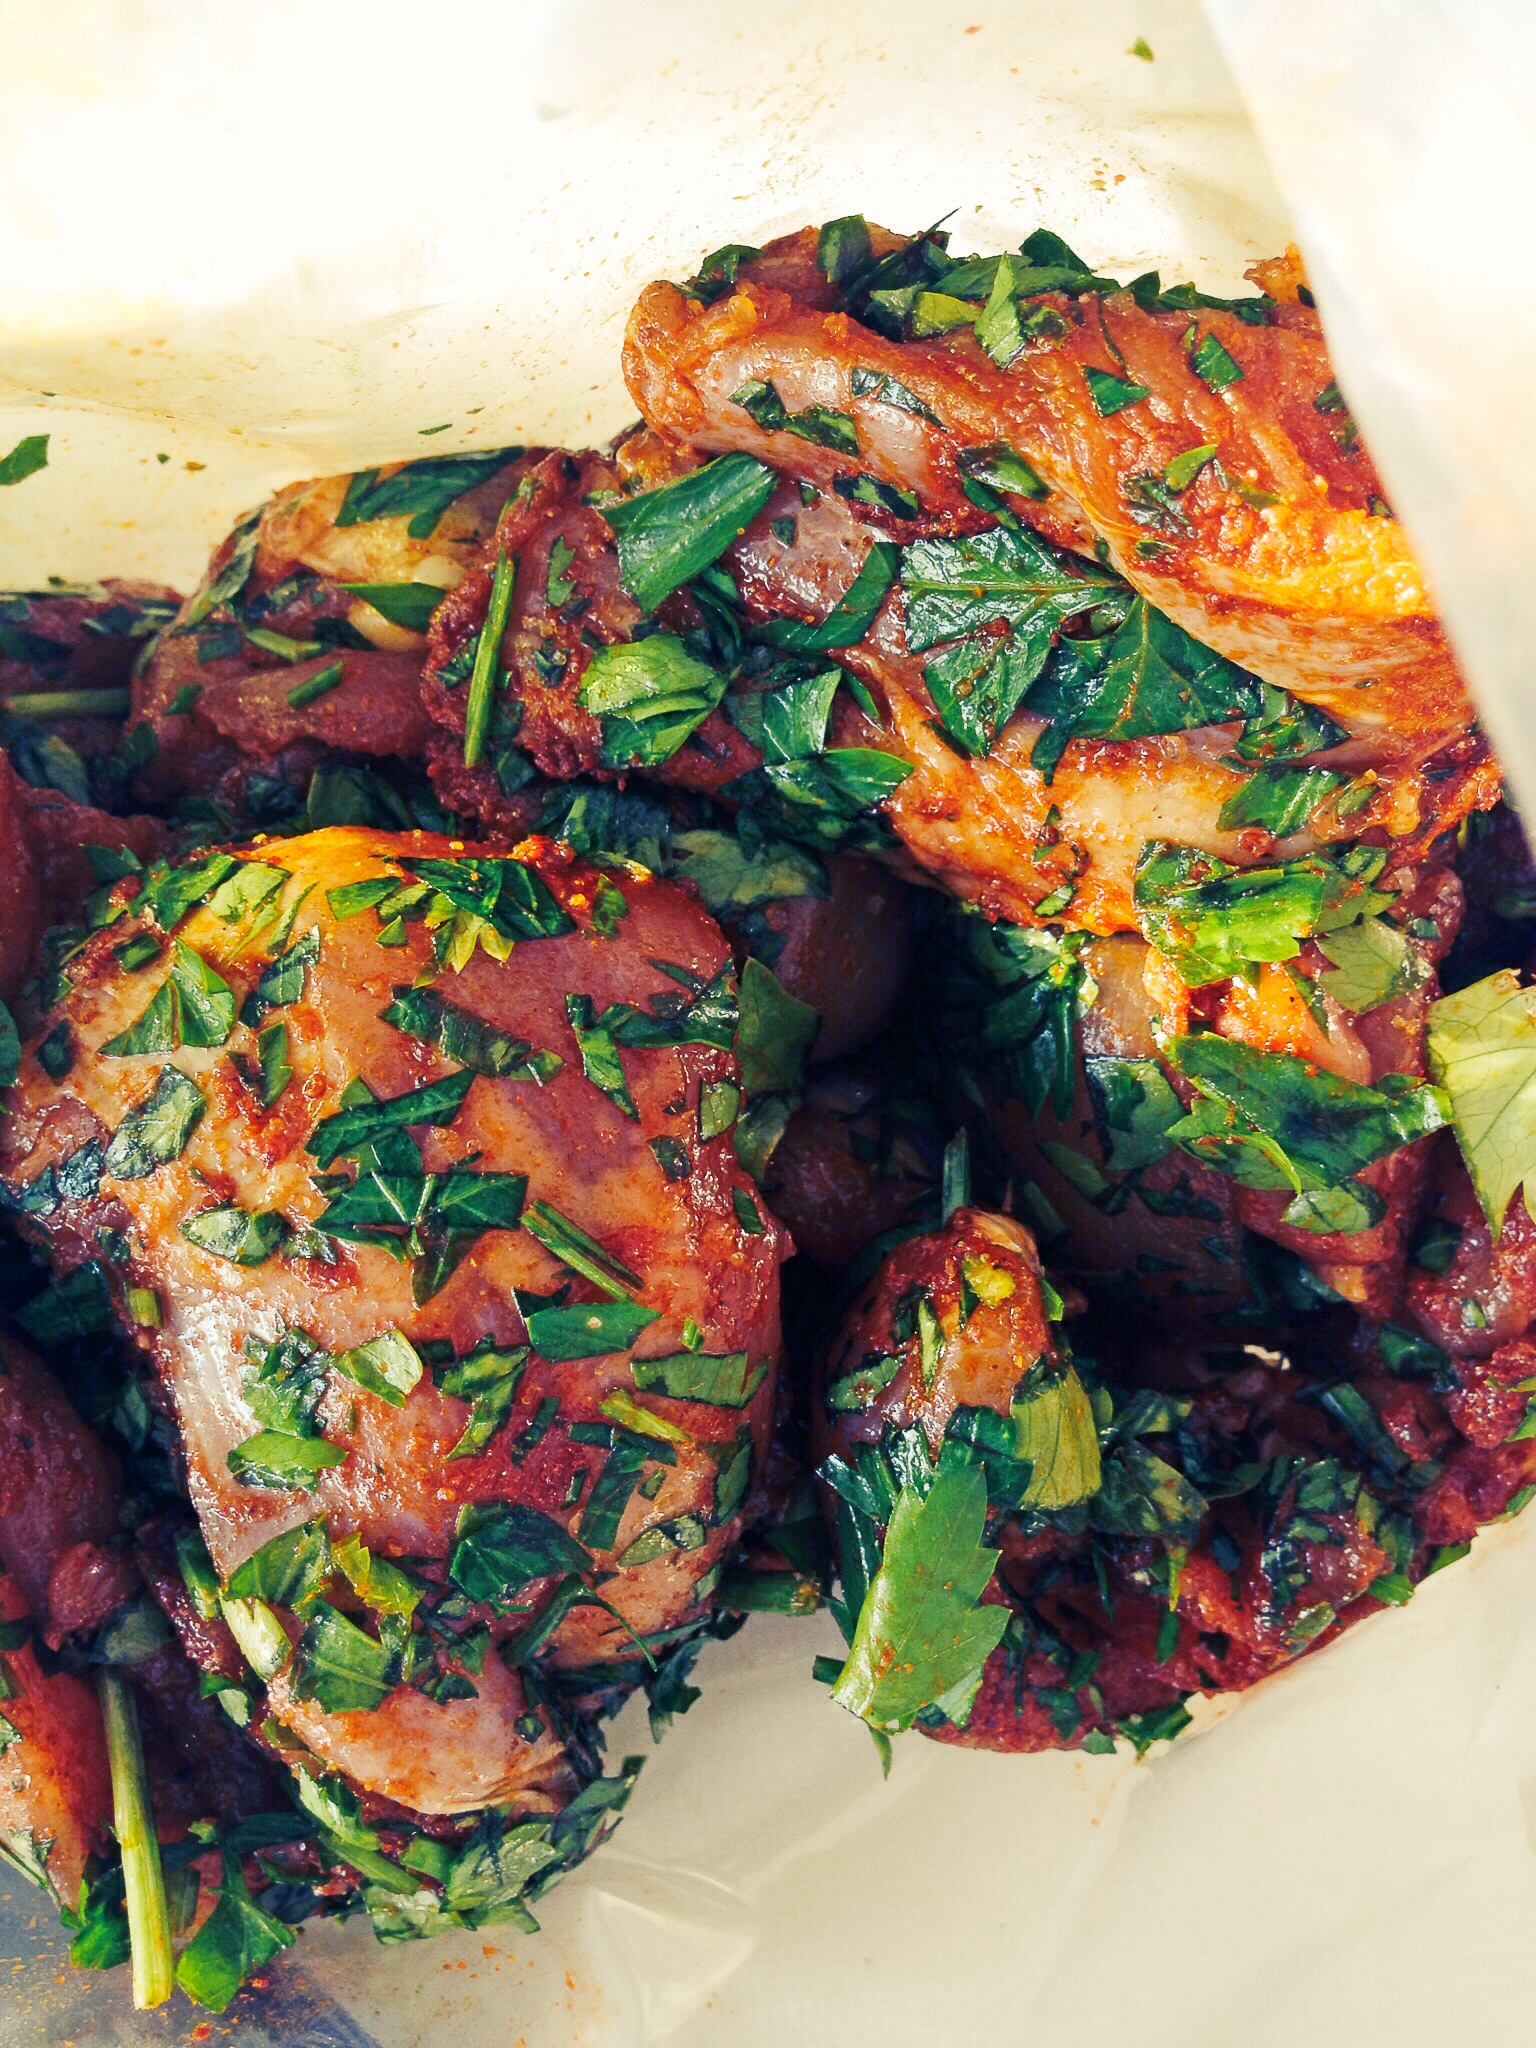
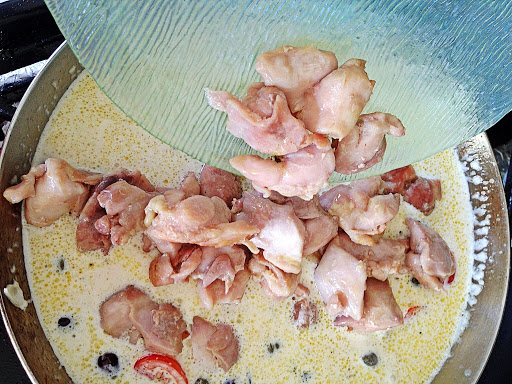
Place chicken- flat- into a food saver type bag–must be food grade-and hopefully bpa free–Food Savers are. Top each piece of chicken with one clove of garlic, and a tab of butter. Lastly add the thyme, then vacuum and seal, using a edge sealer like a food saver, or if you have a vacuum chamber sealer as I do, vacuum it for 25-30 seconds with a 1.6 second seal.

To a stock pot add enough water to fill half of your pot, or above the minimum water level of your immersion circulator. Turn on the circulator, and adjust the temperature to 149F.

Once your circulator has reached temperature, add the sealed bag and cook for 1.5 hours.

Make sure that your chicken is fully immersed.
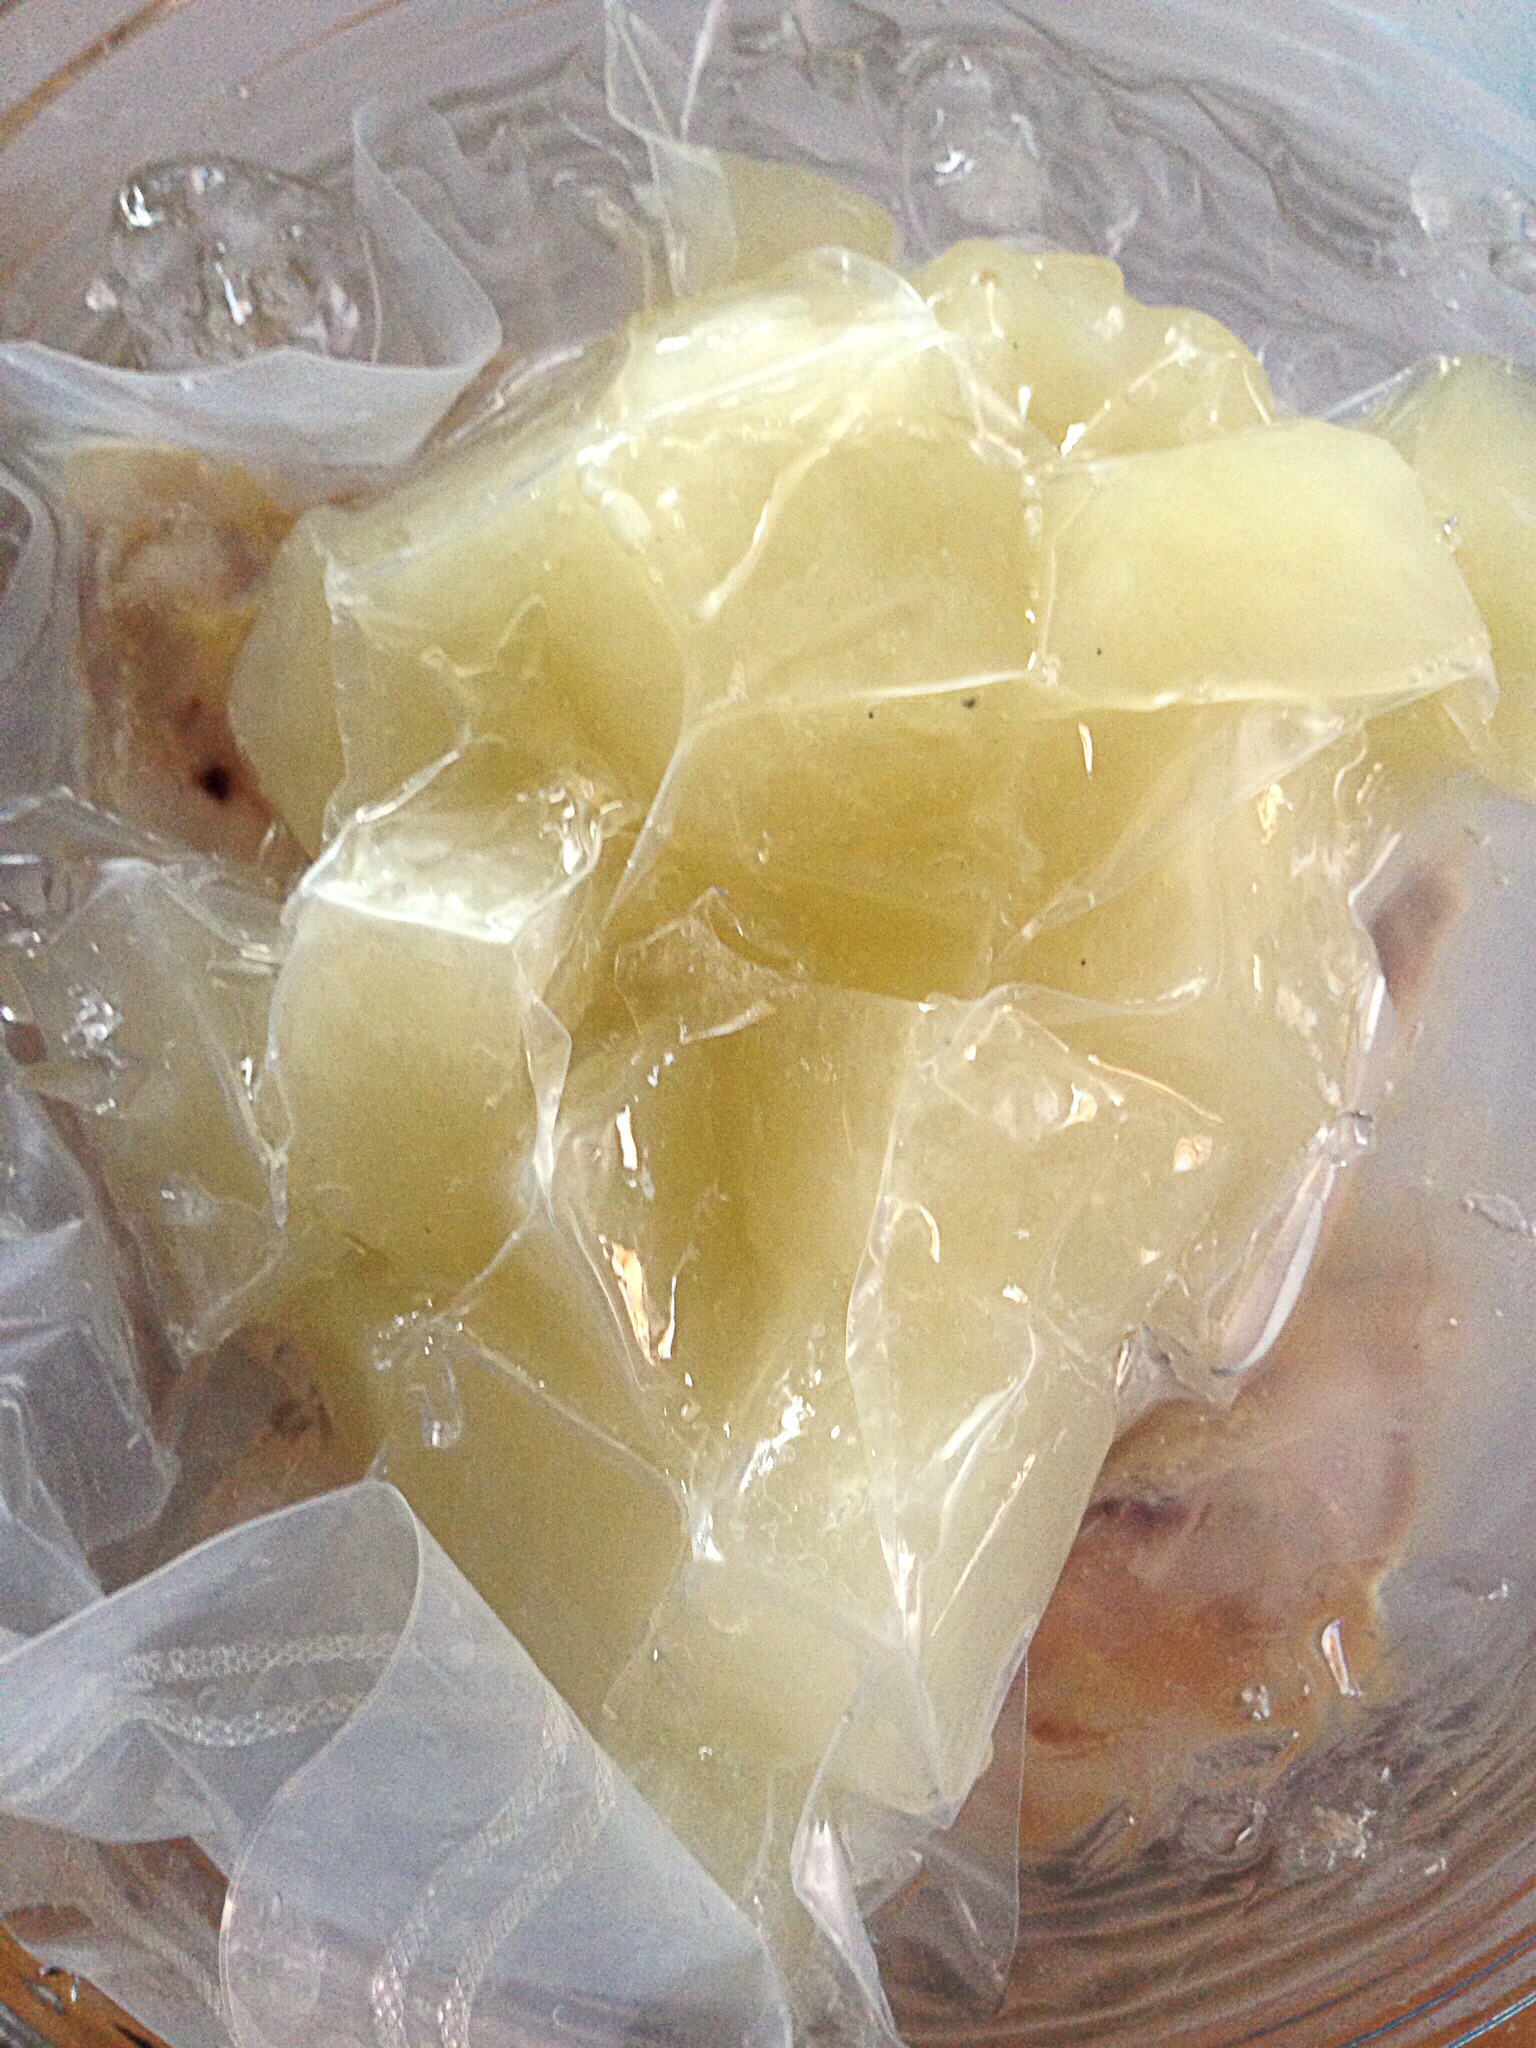
At the 1 hr and 20 minute mark, prepare an ice bath DO NOT SKIP THIS STEP, it’s a matter of food safety when cooking foods at low temps in an air free environment!–fill a bowl with ice and a little bit of water about 4 cups of ice to 1 cup of water–I added some frozen lime cubes as a weight. When the chicken has cooked for 1.5 hours turn off your circulator, and remove the bagged chicken from the water–be careful the water is hot–immediately immerse the bagged chicken into the ice bath and let sit for 1 hour undisturbed. After the 1 hour ice bath, place it in the refrigerator, until you’re ready to cook..
Once you’re ready to brown the skin, cut open the bag, and remove the chicken. It won’t look like it has been cooked, but it is fully cooked at this point–except for the skin. Discard the garlic and thyme.

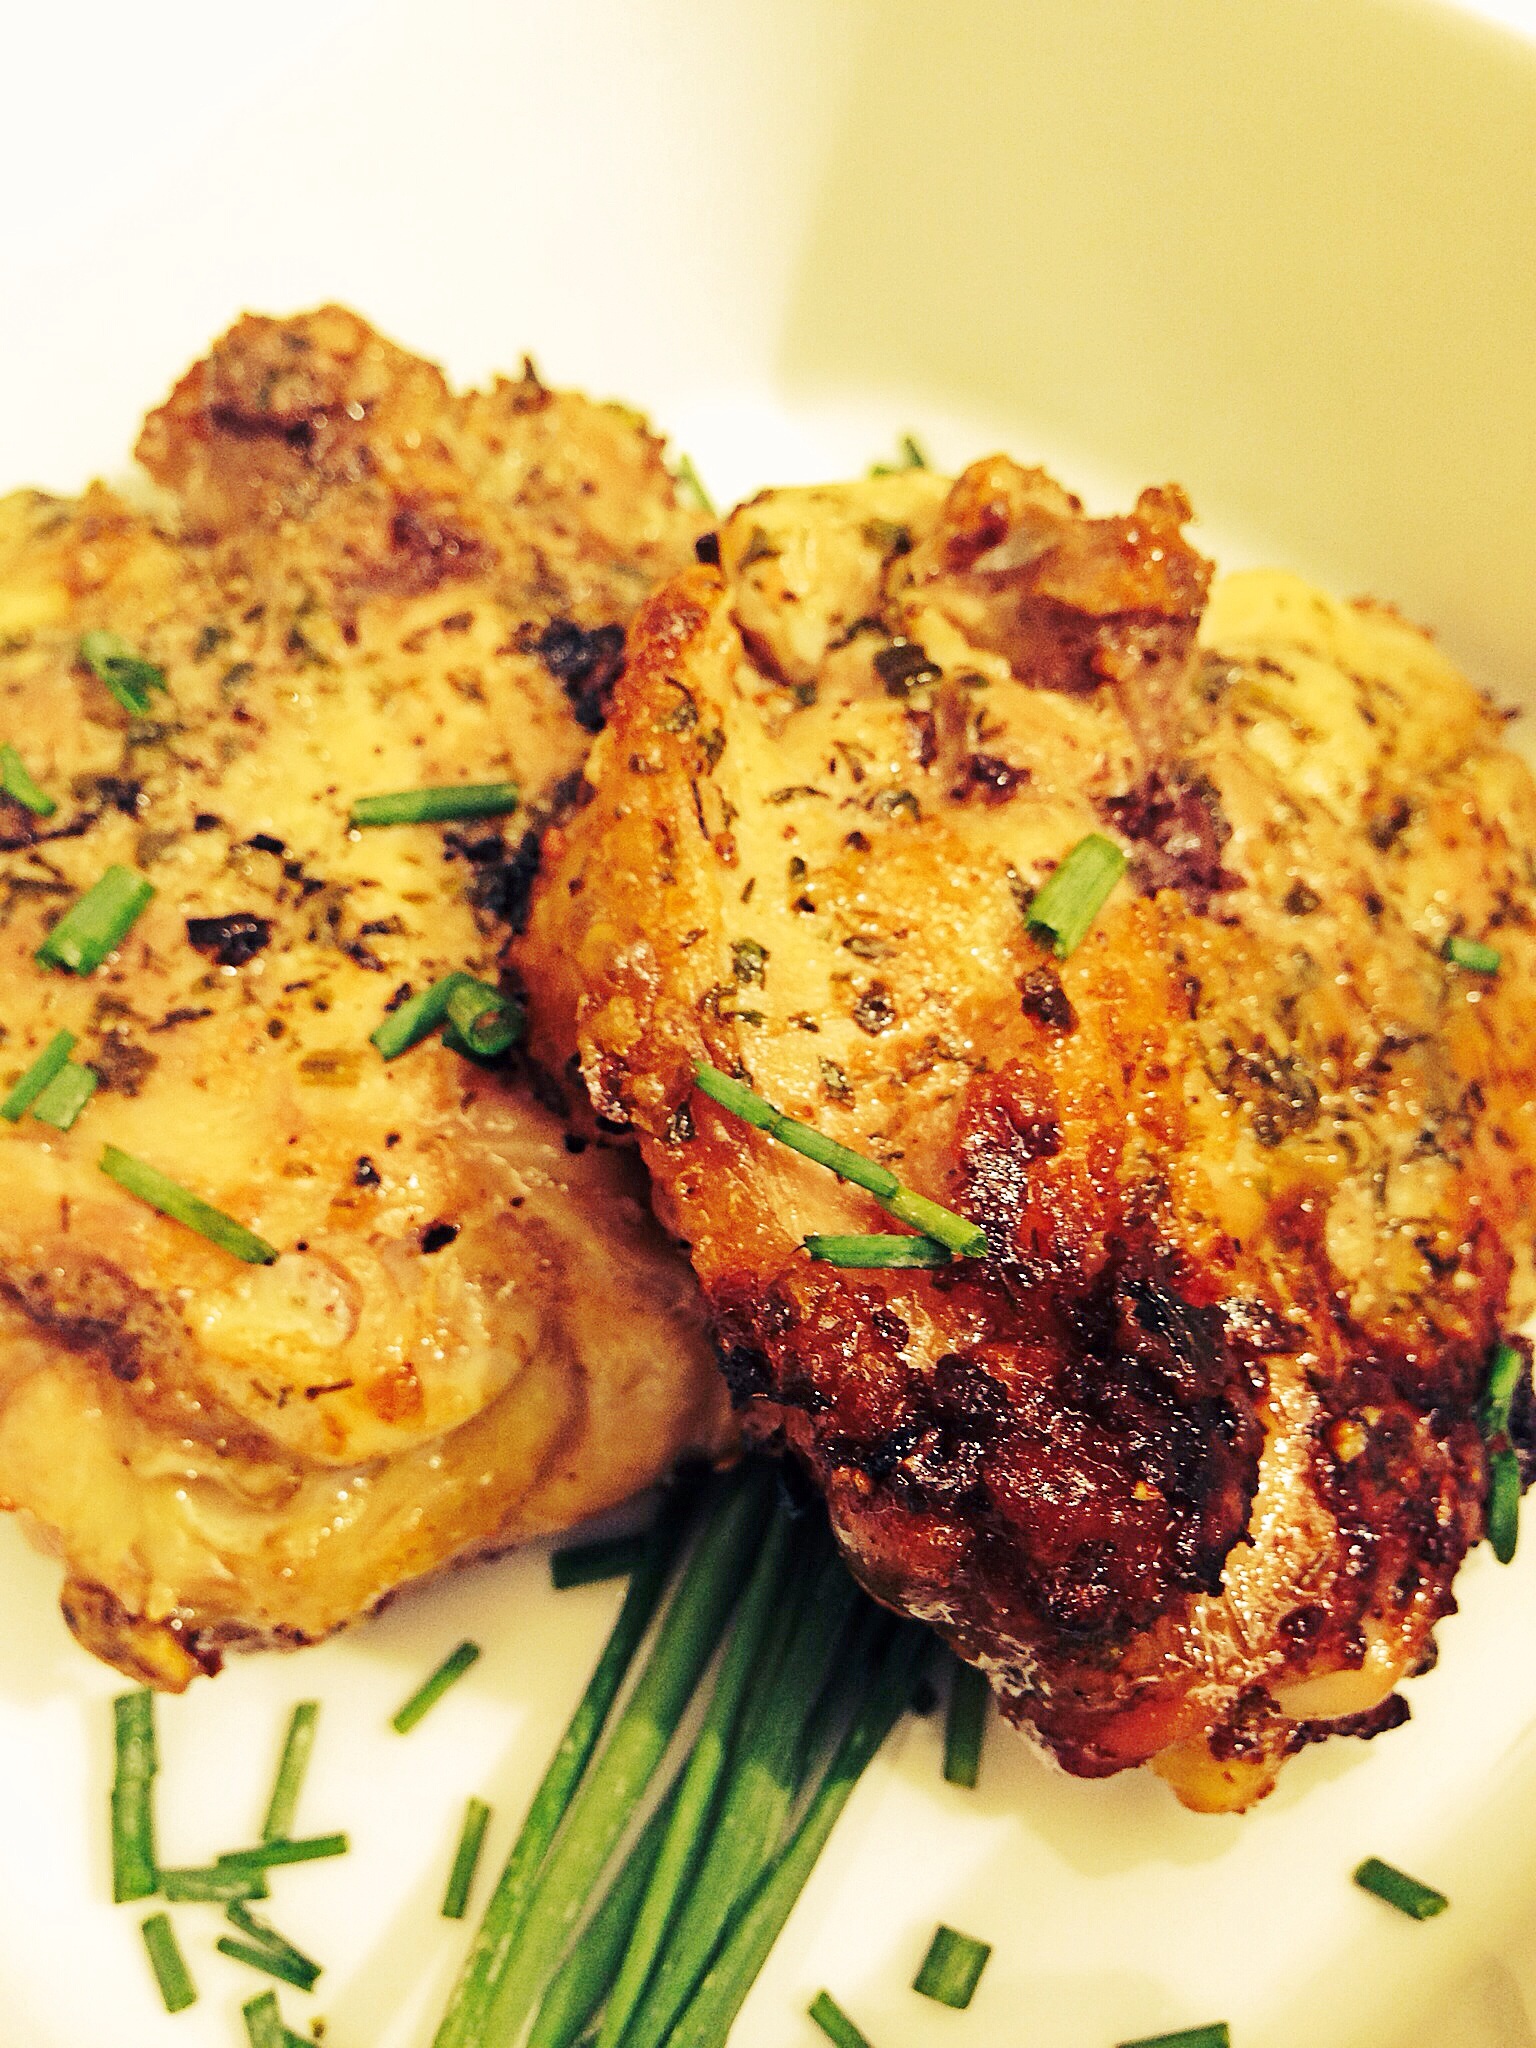
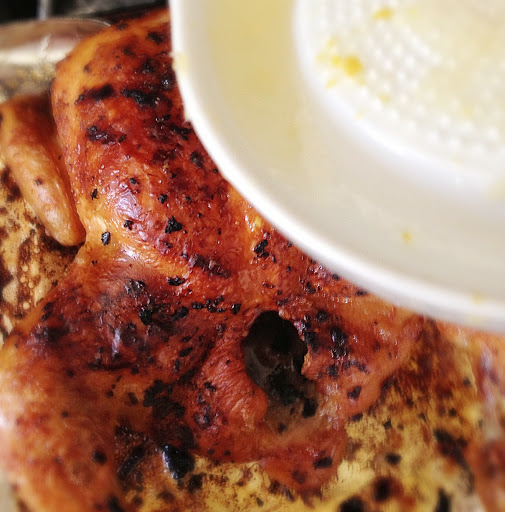
Add the oil to a skillet/frying pan, and bring to temperature. Once the oil is hot, add the chicken, skin side down, lower the heat to medium, and cook until skin is nice and crispy–about 6 minutes, flip the chicken over and cook on the other side for 1- 2 minutes. Remove from the pan and enjoy!!!!! This looks as amazing as it tastes!

Follow and like me on Facebook: http://www.facebook.com/lazygirldinners