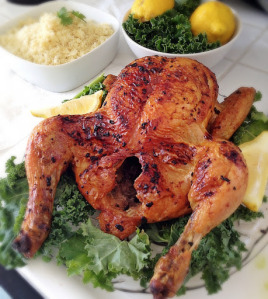
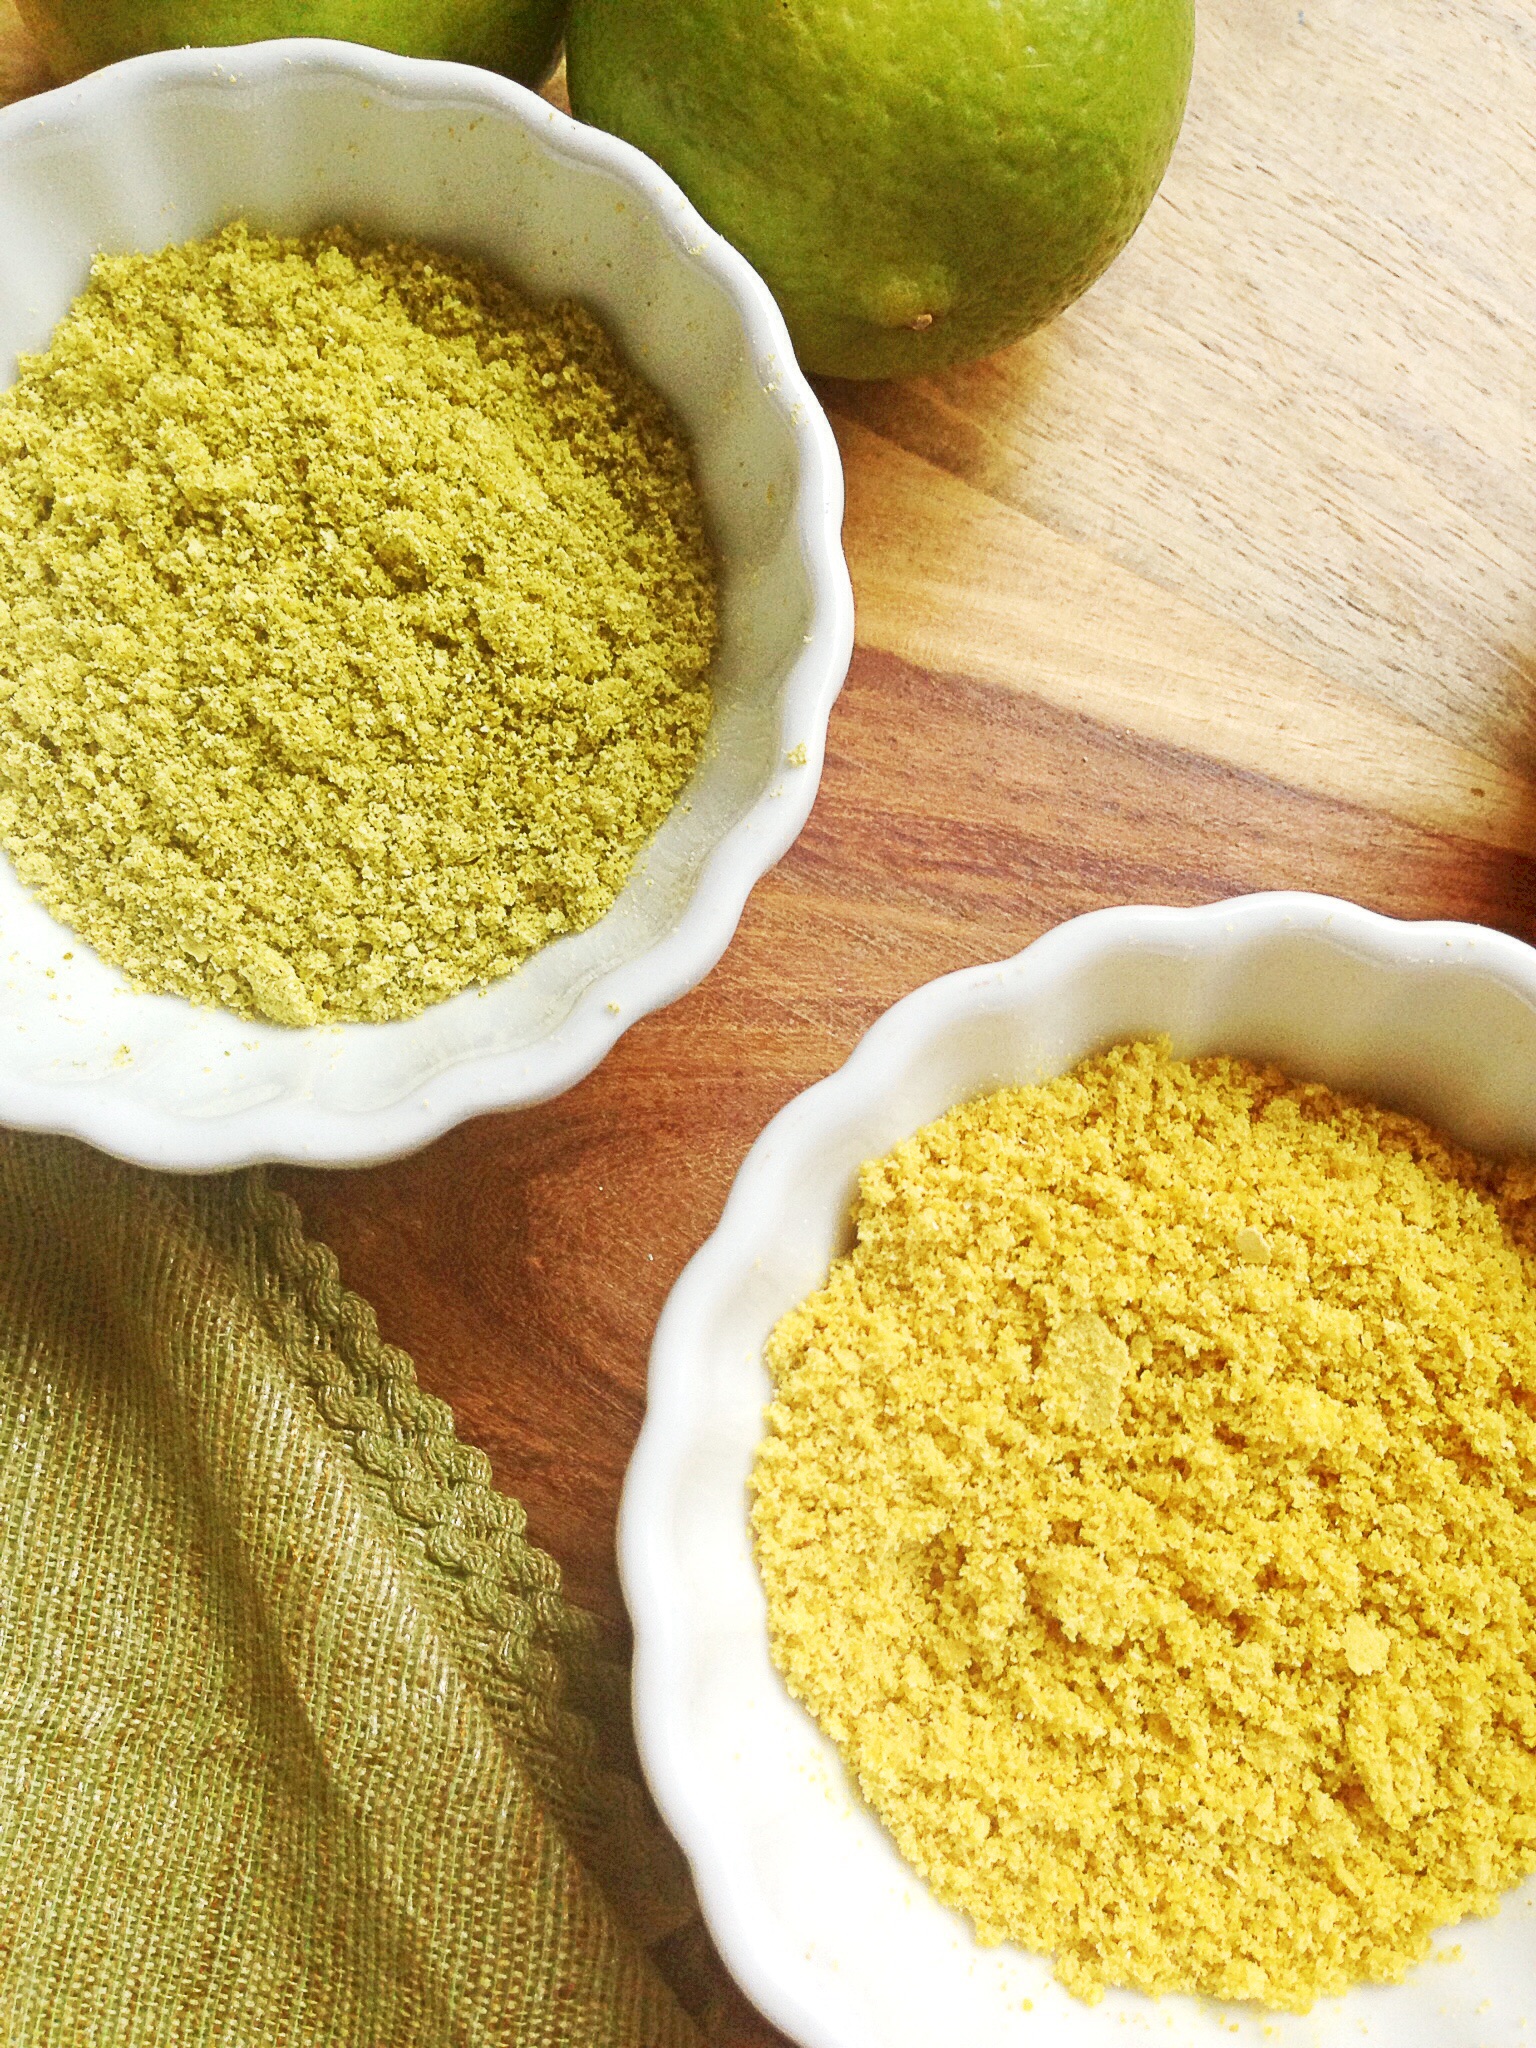
Lemon and Lime Citrus Powder
Several month’s ago I read an article in Bon Appetite Magazine about how the chef at State Bird Provisions was using sour salts to brighten up dishes, and make use of an ingredients that would otherwise not get used. His approach was simple, dehydrate something as simple as a preserved lemon, grind it into a powder, and boom you’ve created a flavorful salt without even trying. After reading that article, I knew that I wanted to try making a preserved lemon salt. I put it on my list of things to blog about, but never got around to it–it has been almost a year since I read that article! I had almost forgotten about wanting to do a preserved lemon salt until last week, my husband and I went out to eat. I ordered a Caesar salad, and when they brought it out, it looked completely under dressed, almost like they had forgotten to put the salad dressing on it. I took a bite thinking it was going to be a bland salad, but instead got this bright burst of flavor. The chef had dusted the salad with lemon zest. The salad was fantastic! Even better than my Caesar Salad. I knew then that I had to try this at home. It wasn’t until I read a review for the soon to be released cookbook Bar Tartine: Techniques and Recipes that I got the idea about exactly how I could do it, but even better. Lemon zest is great but it’s not exactly shelf stable. If you’re going to use it, you definitely have to use it right away. But if you take the peels of a lemon, lime, or even an orange, dry them in the dehydrator, and then blend them into a powder, what you get is something extremely flavorful, and shelf stable. You also have a way to use leftover peels! I don’t know about you, but I hate to waste, so anything that allows me to preserve, rather than waste, I love. So you’re probably wondering, besides a salad, what you use these powders on. The answer is almost anything! You can sprinkle the lemon, or lime powder on chicken, fish, pork or steak to give it a fresh and vibrant twist. You can add these citrus powders to baked goods, rim your tequila glasses with them, add them with some other dry spices to make a citrus rub, (stay tuned for that post), make citrus salts, the list goes on and on. If you make enough of these powders, you can even give them as gifts for Christmas. I for one am doing a lemon pepper for my friends. Bar Tartine: Techniques and Recipes hasn’t been release yet, but I’ve already pre-ordered a copy through Amazon. It’s full of recipes for dehydrating and powdering everything from herbs, to yogurt. Yes you can even dehydrate yogurt! I suppose it’s not such a leap to know that you can dry yogurt, especially given the fact that powdered milk and cheese are products that you can buy in most grocery stores. However, the thought of being able to use my dehydrator to make my own powdered yogurt and herbs excites me!

Pin It!
Prep time: 10 minutes
Drying time: 1.5 hours-2 hours
Ingredients:
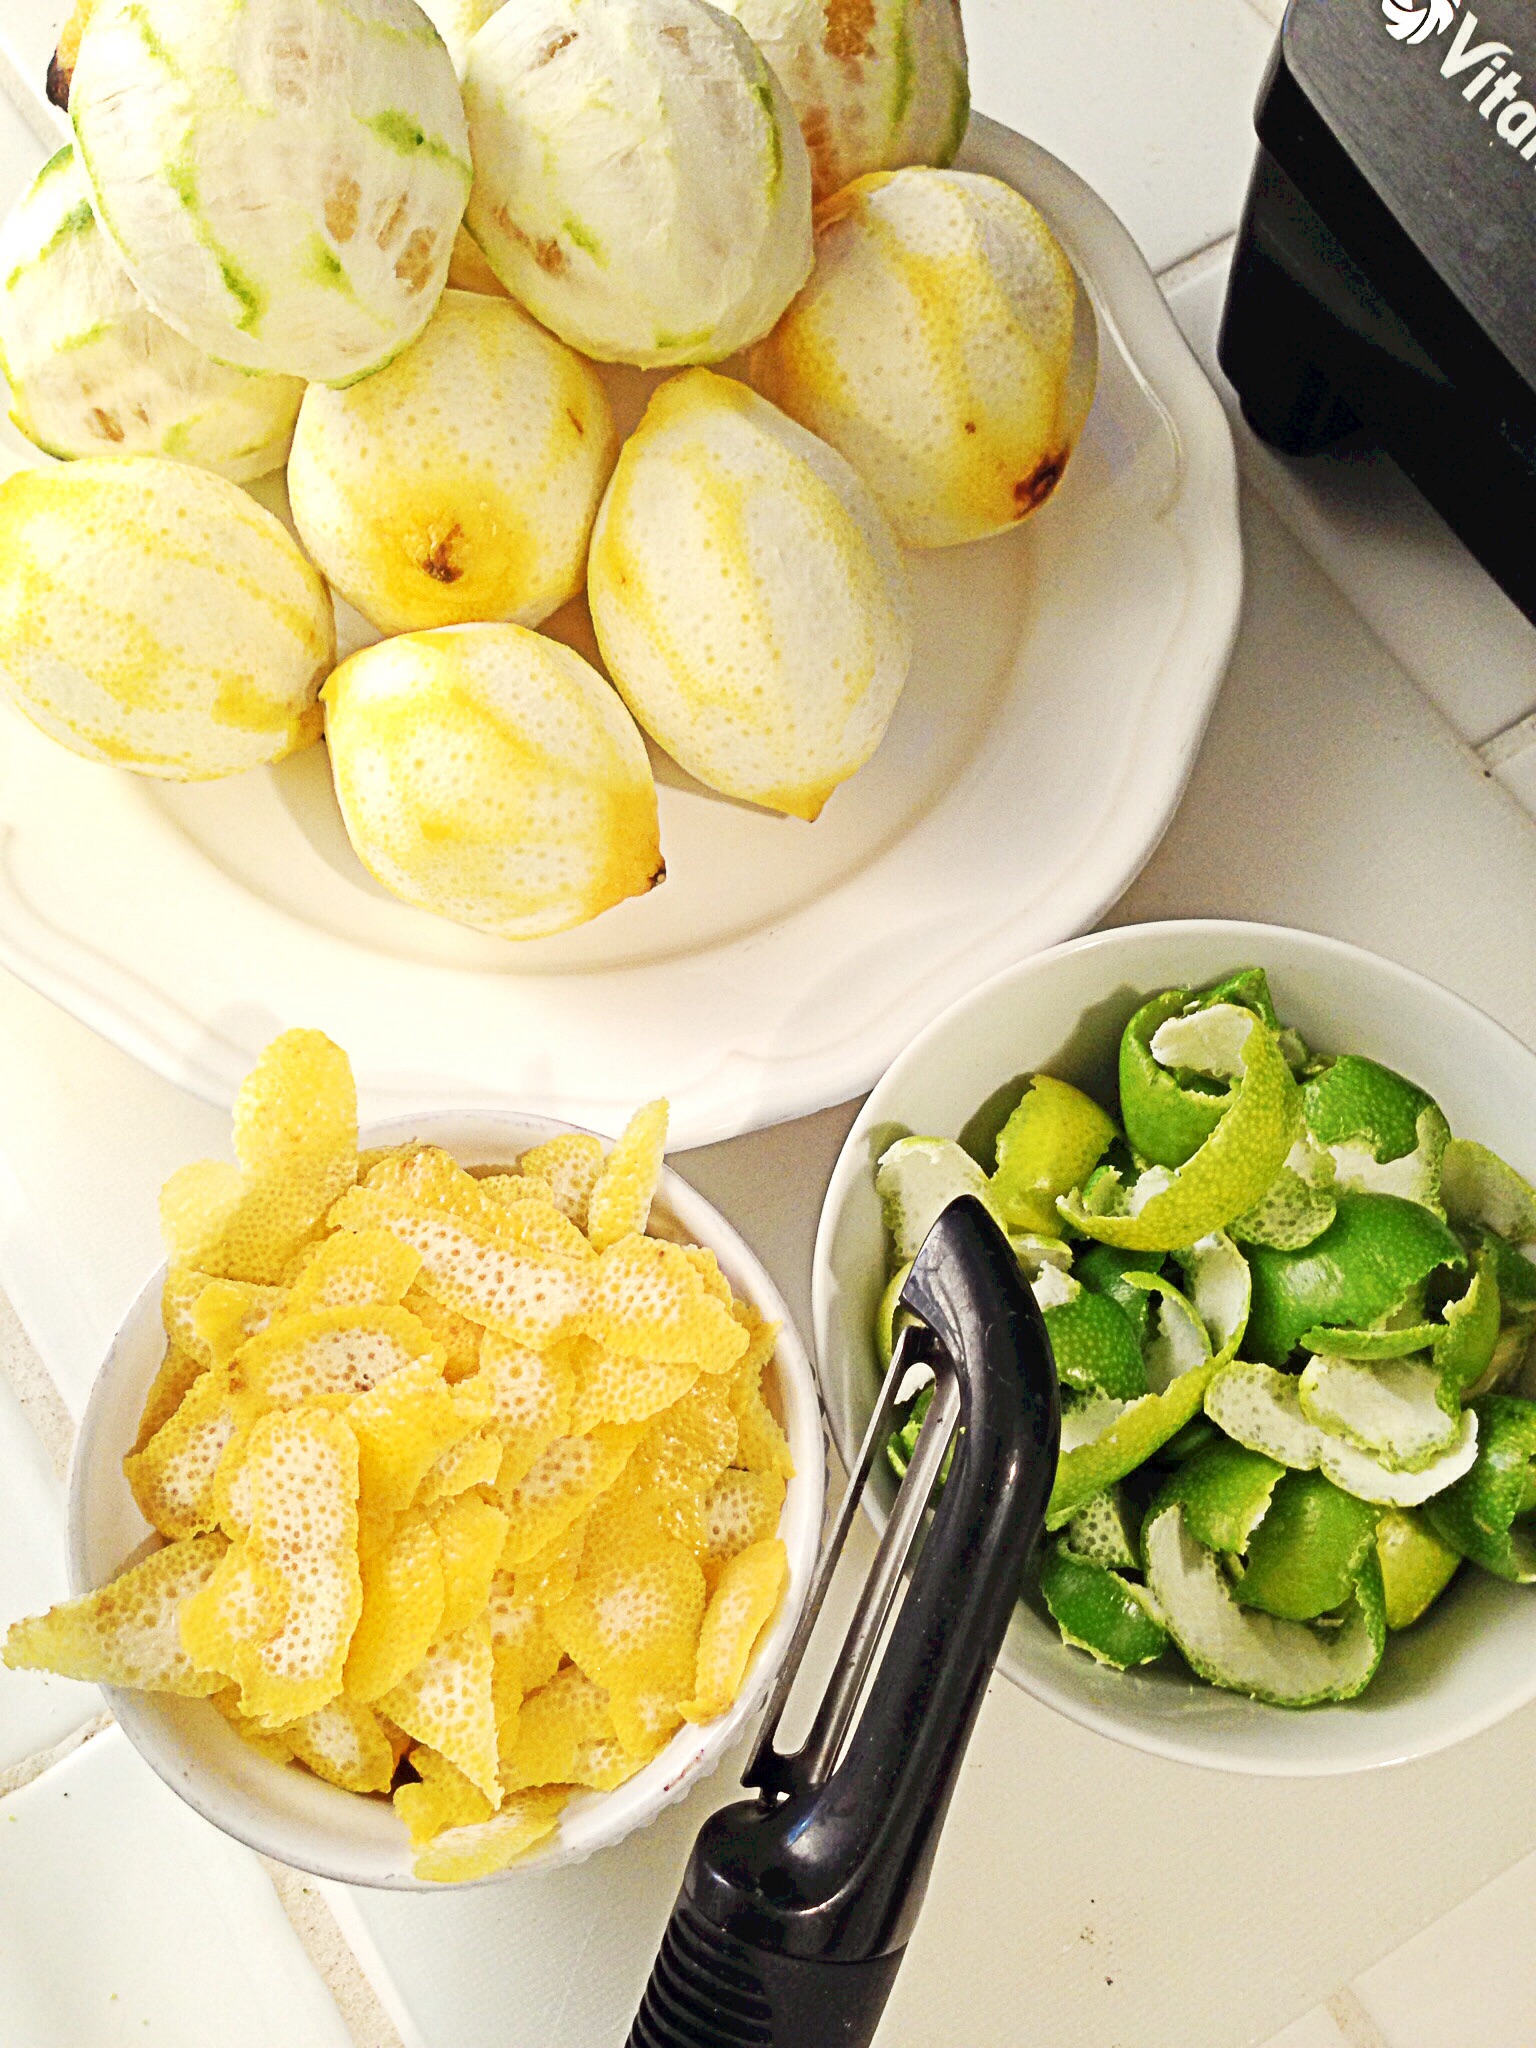
The peels from 2 lbs of organic citrus –I used lemon, lime
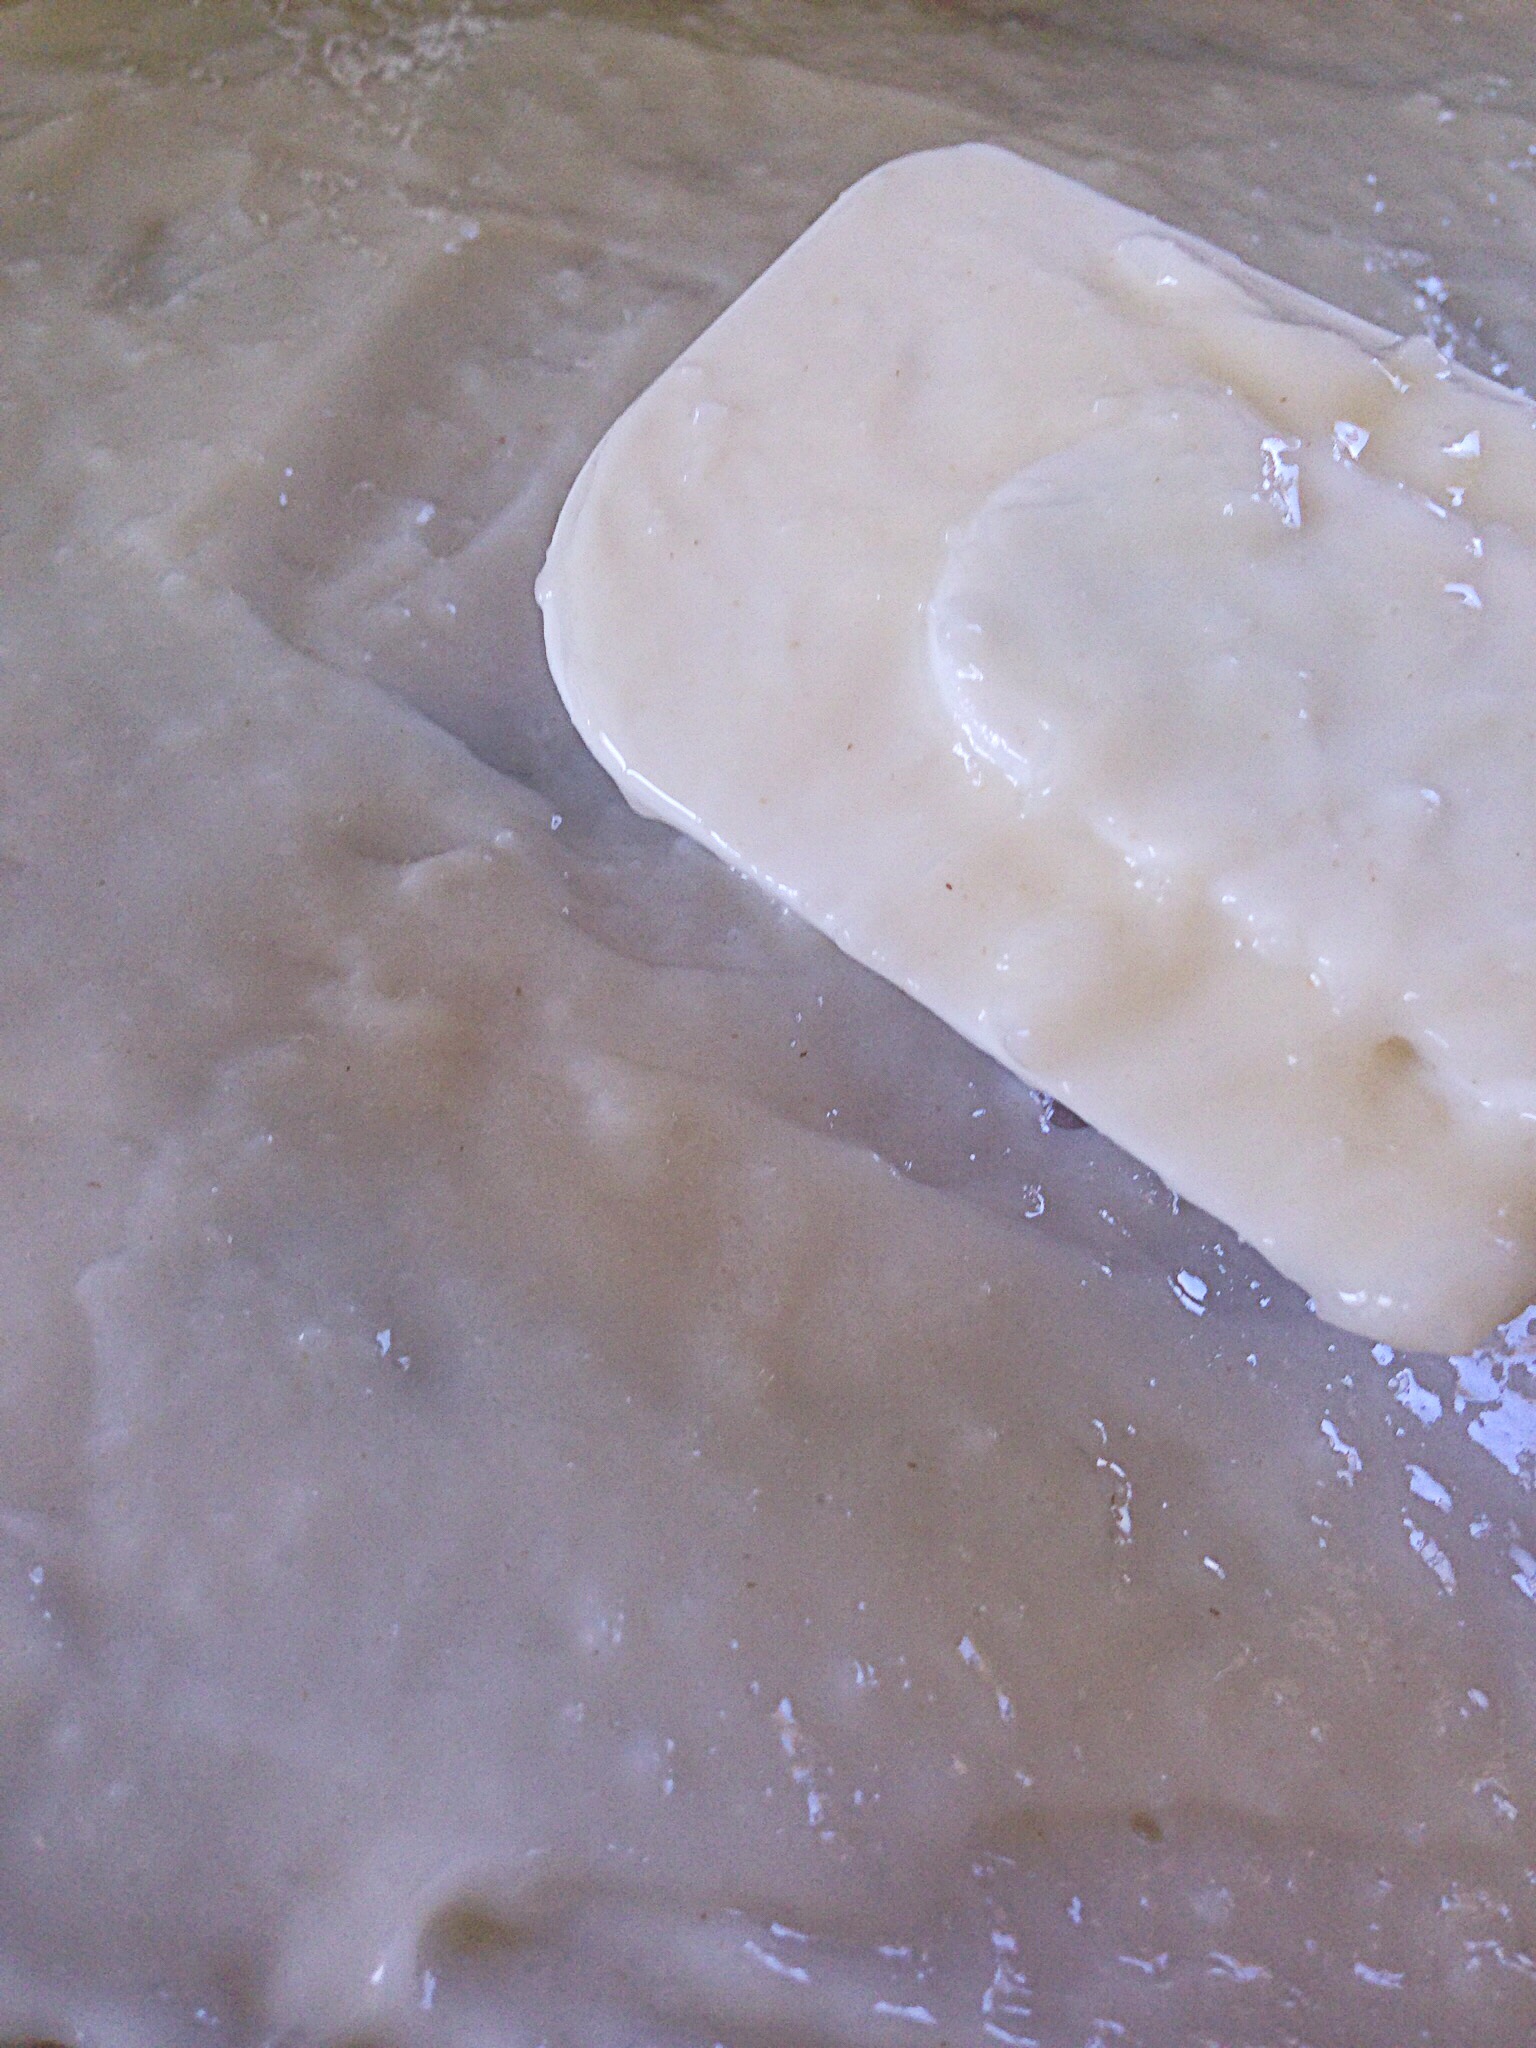
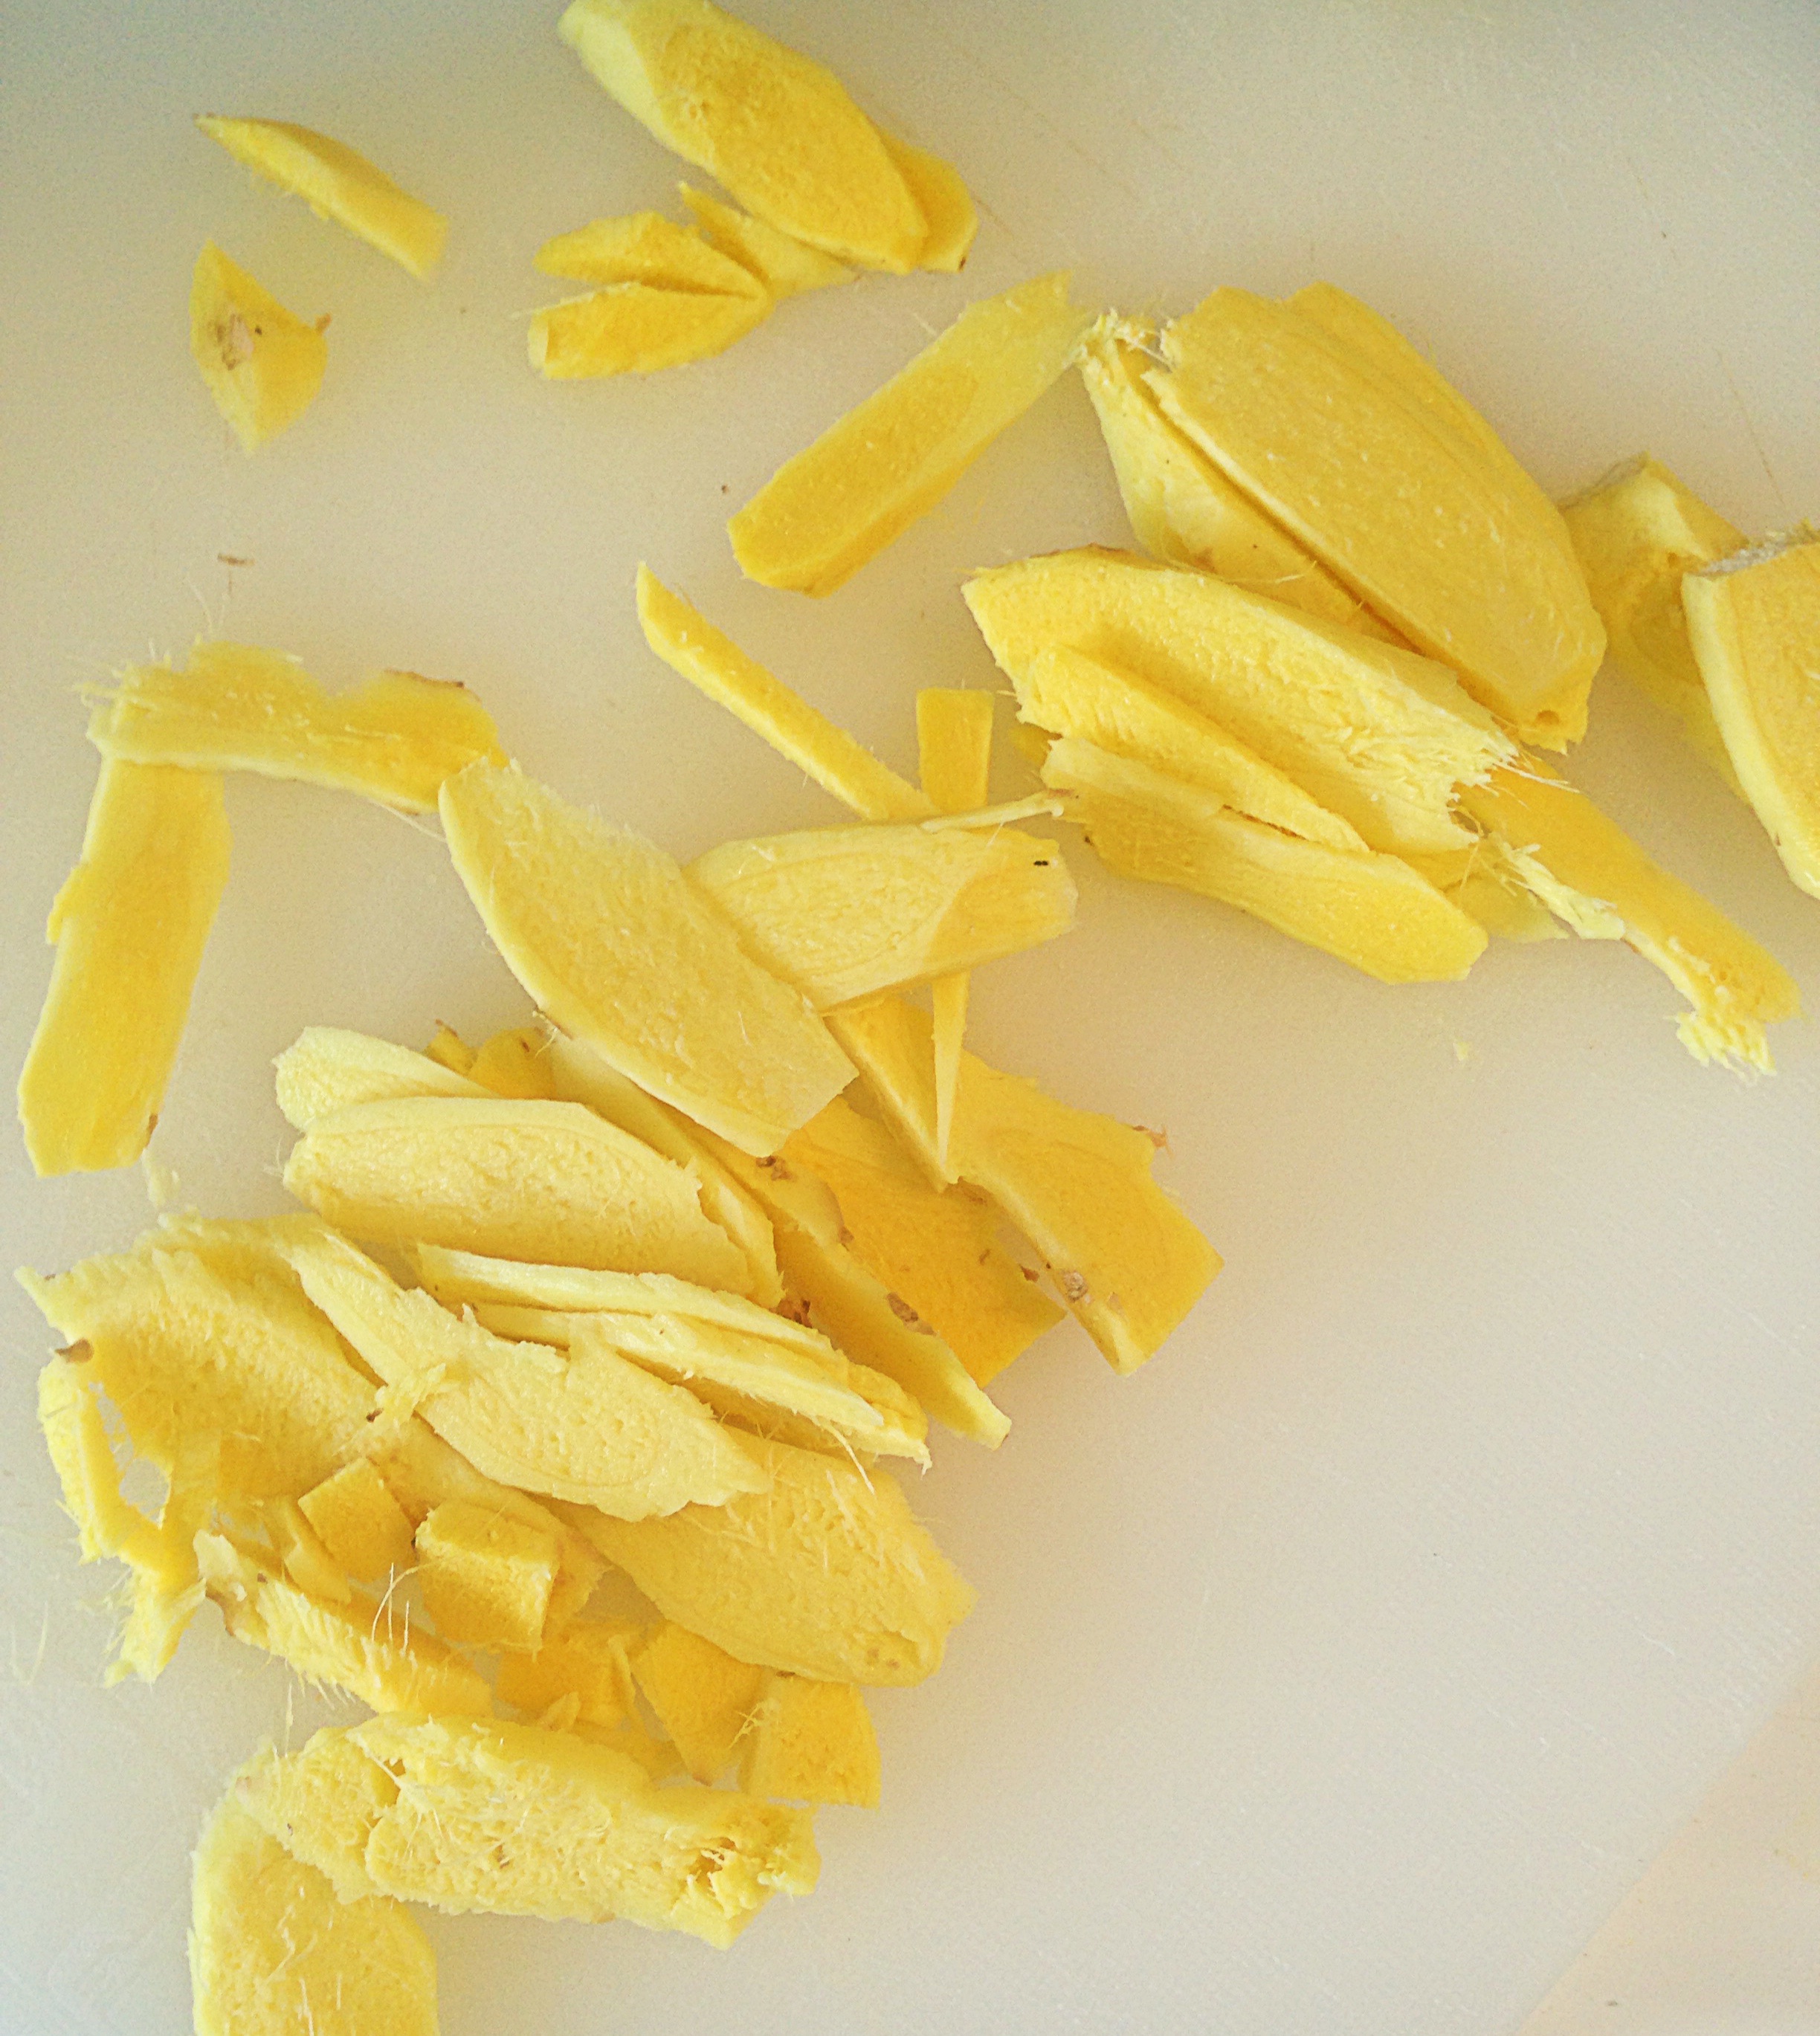
Directions: Pre-heat oven to 150F if using an oven. If using a dehydrator set it to 135F. Using a vegetable peeler peel the skin off of the citrus.

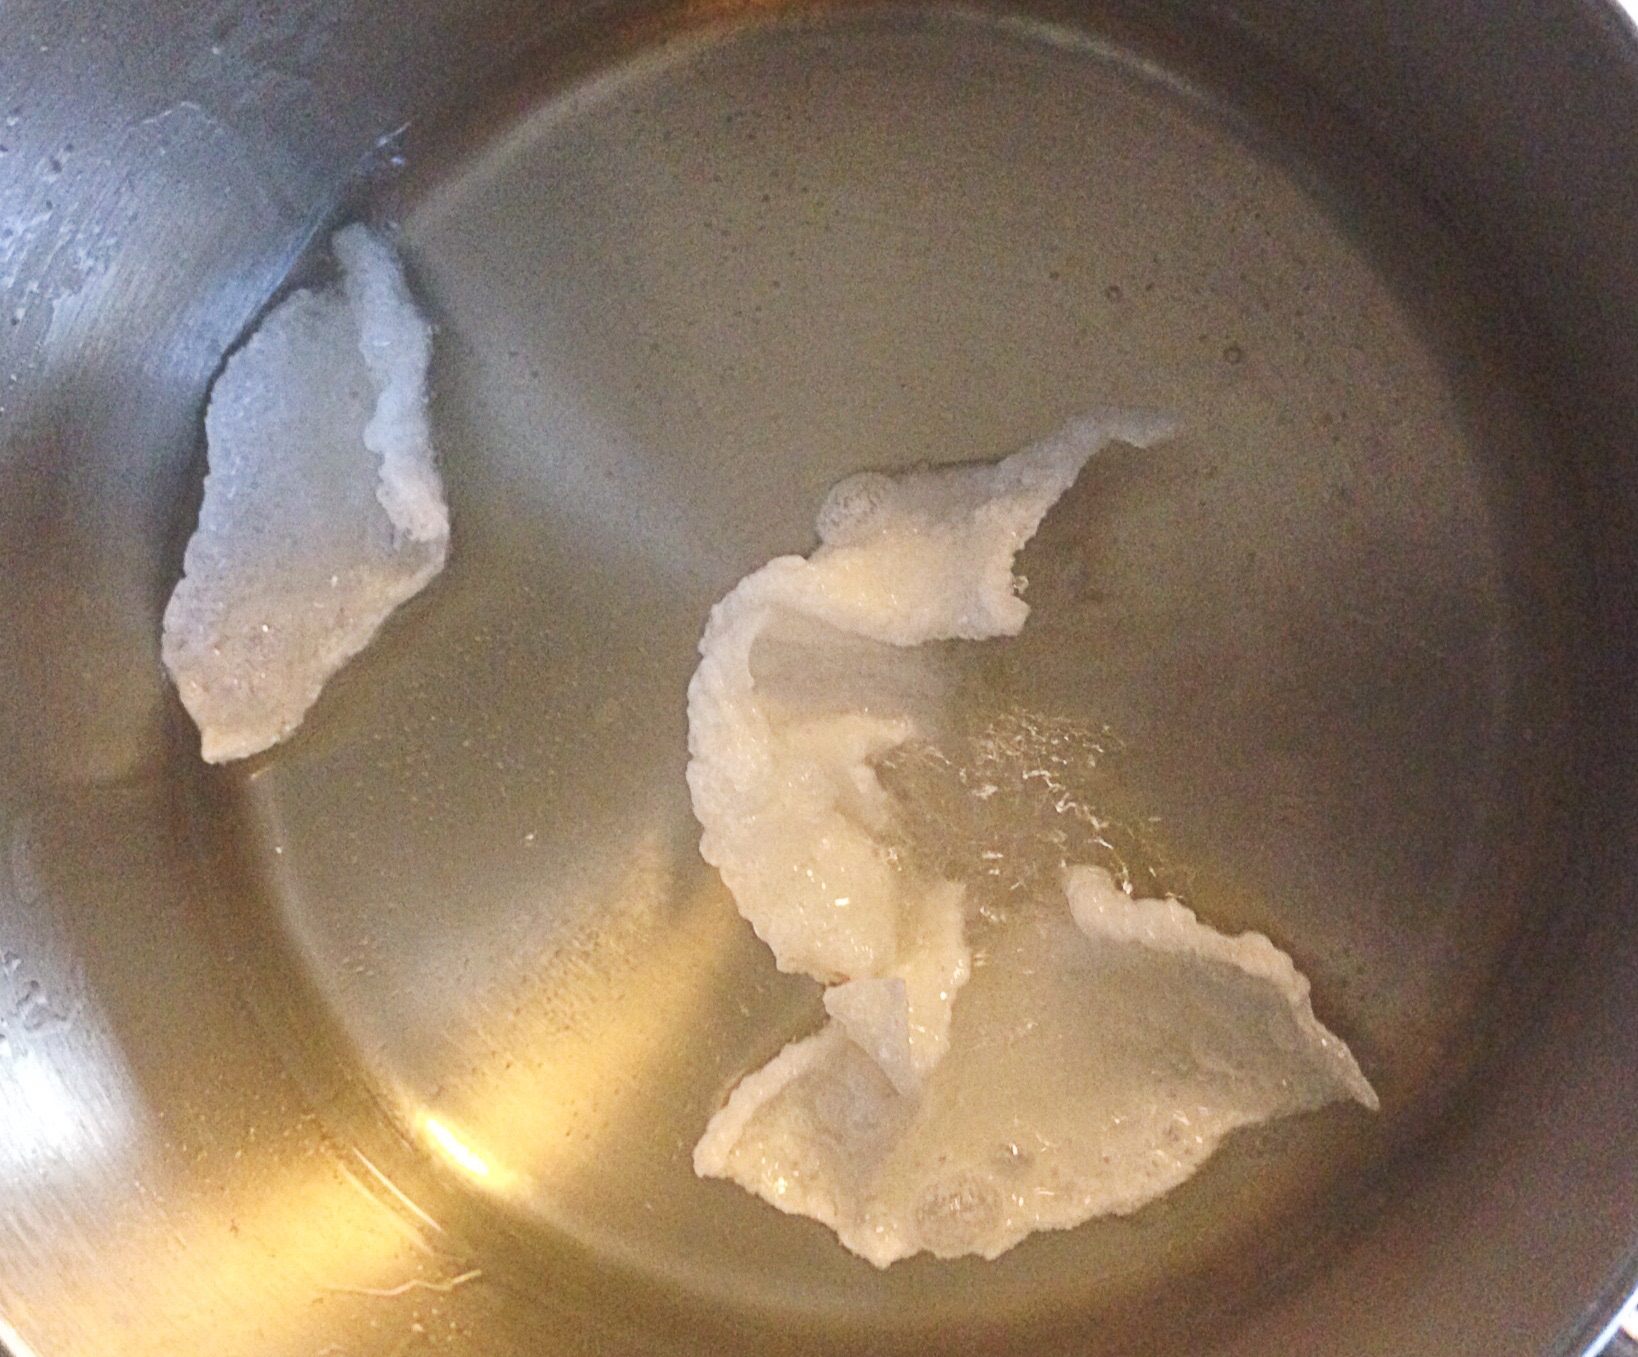
Add the citrus to a pot, add enough cold water to cover all of the citrus and bring to a boil—let boil for 1 minute. Drain peels into a sieve and rinse under cold water. Return back to the pot and repeat: boil ,drain, and rinse twice more.

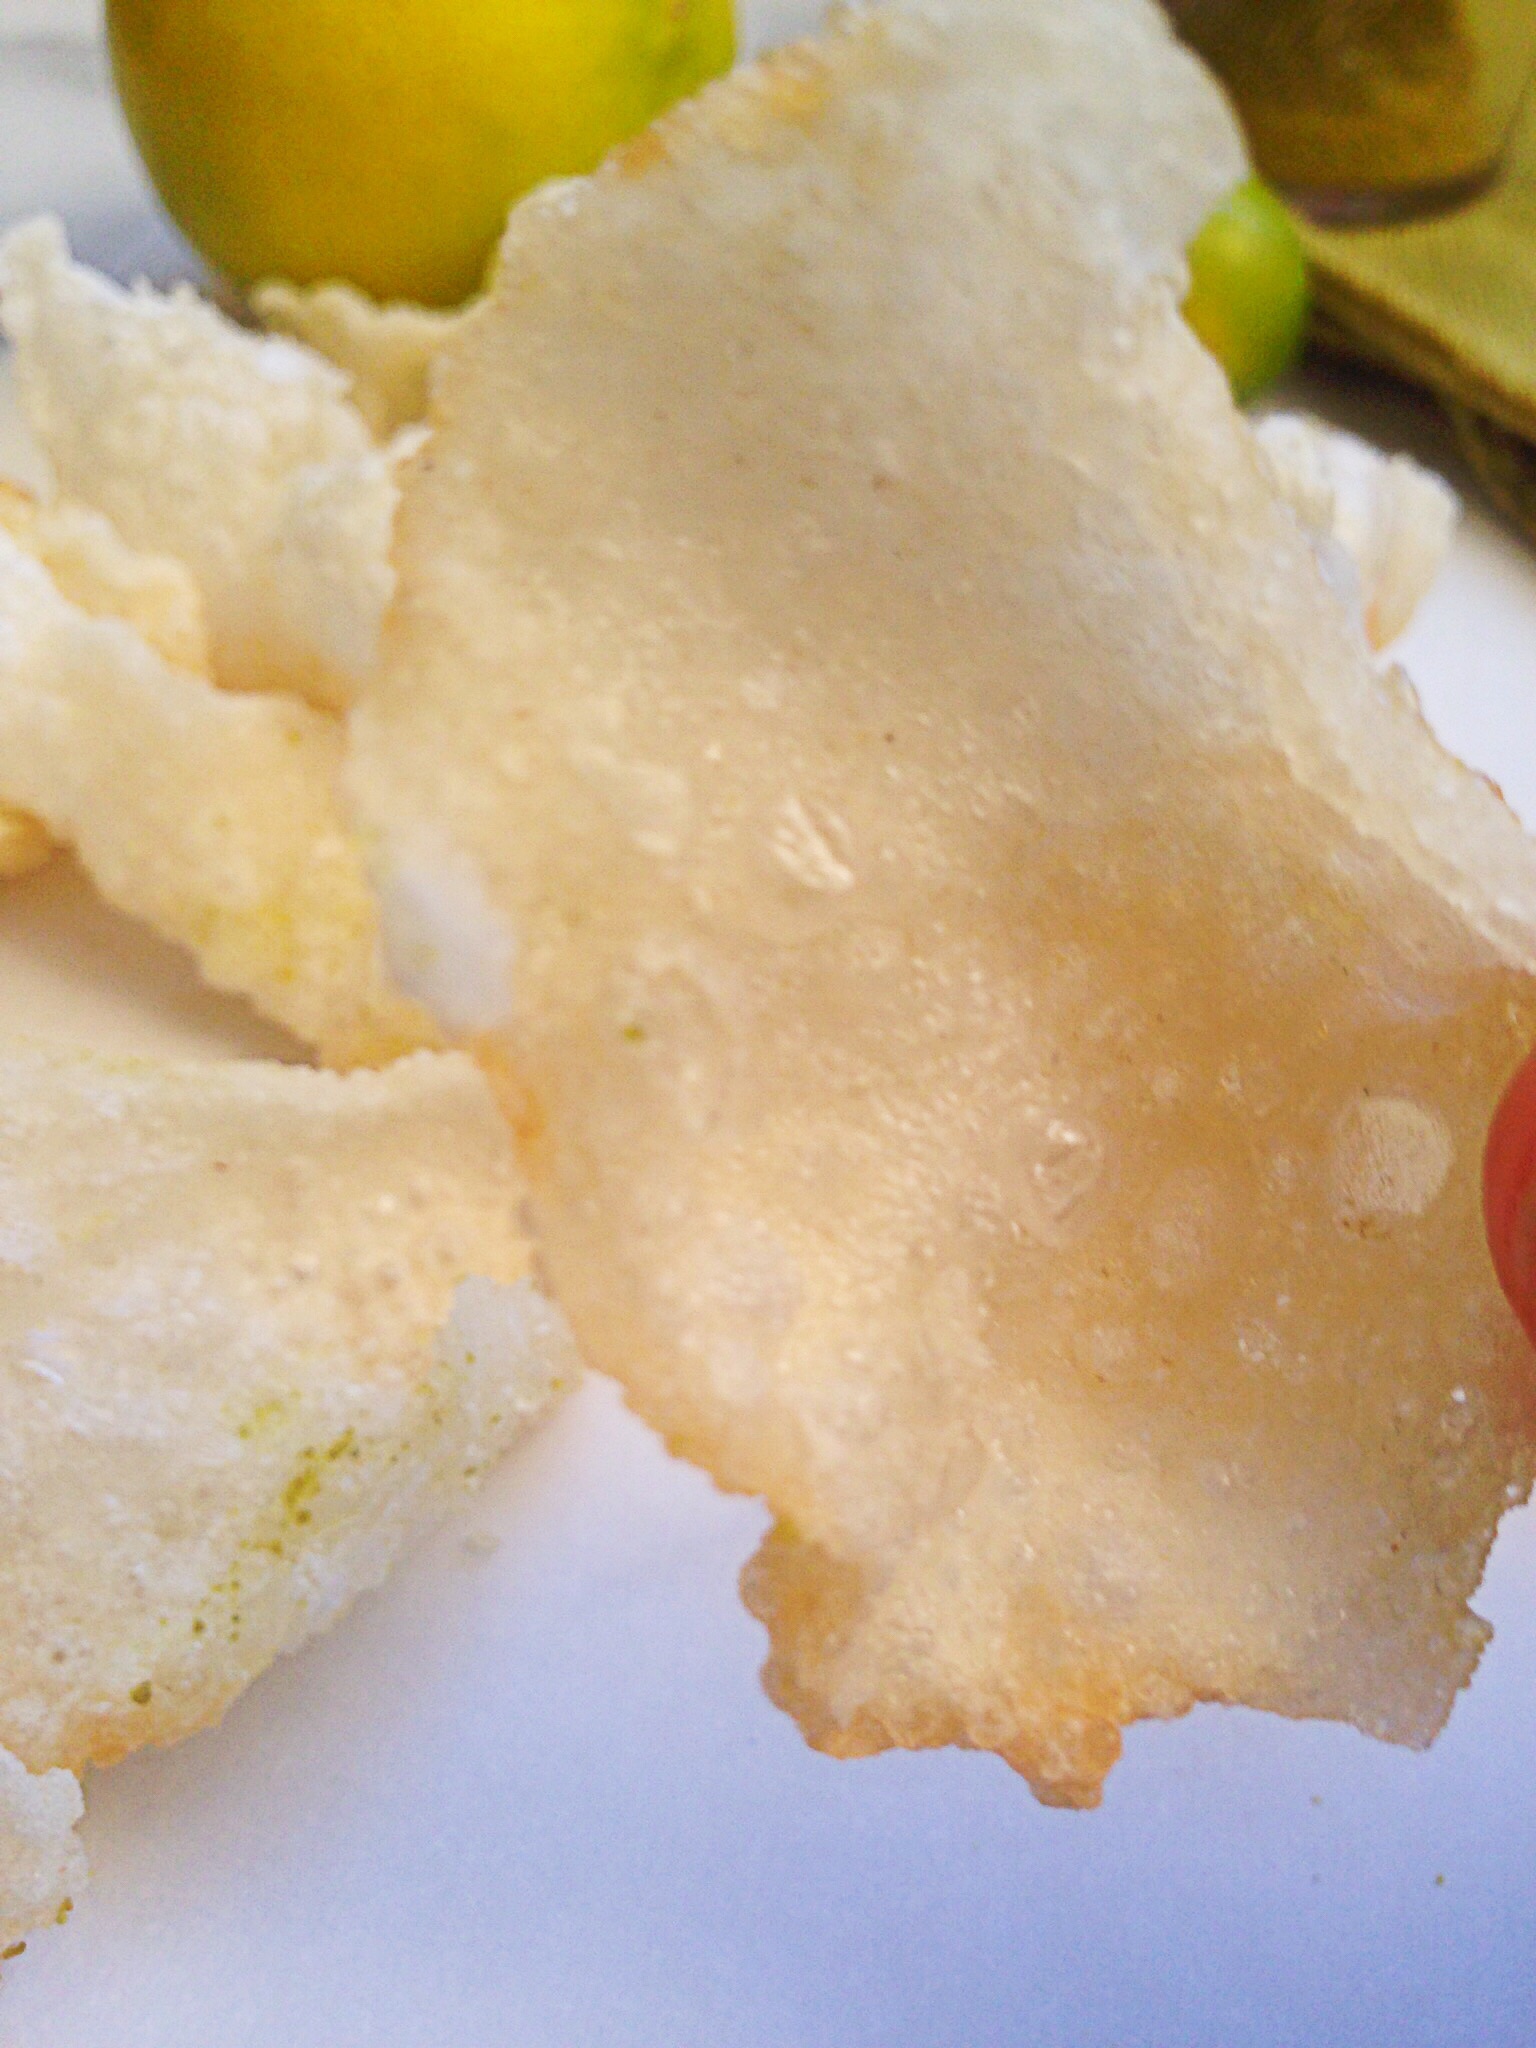
Spread the peels out evenly onto your dehydrator sheets. If using a stove, spread the peels over a wire rack set inside of a bake sheet.

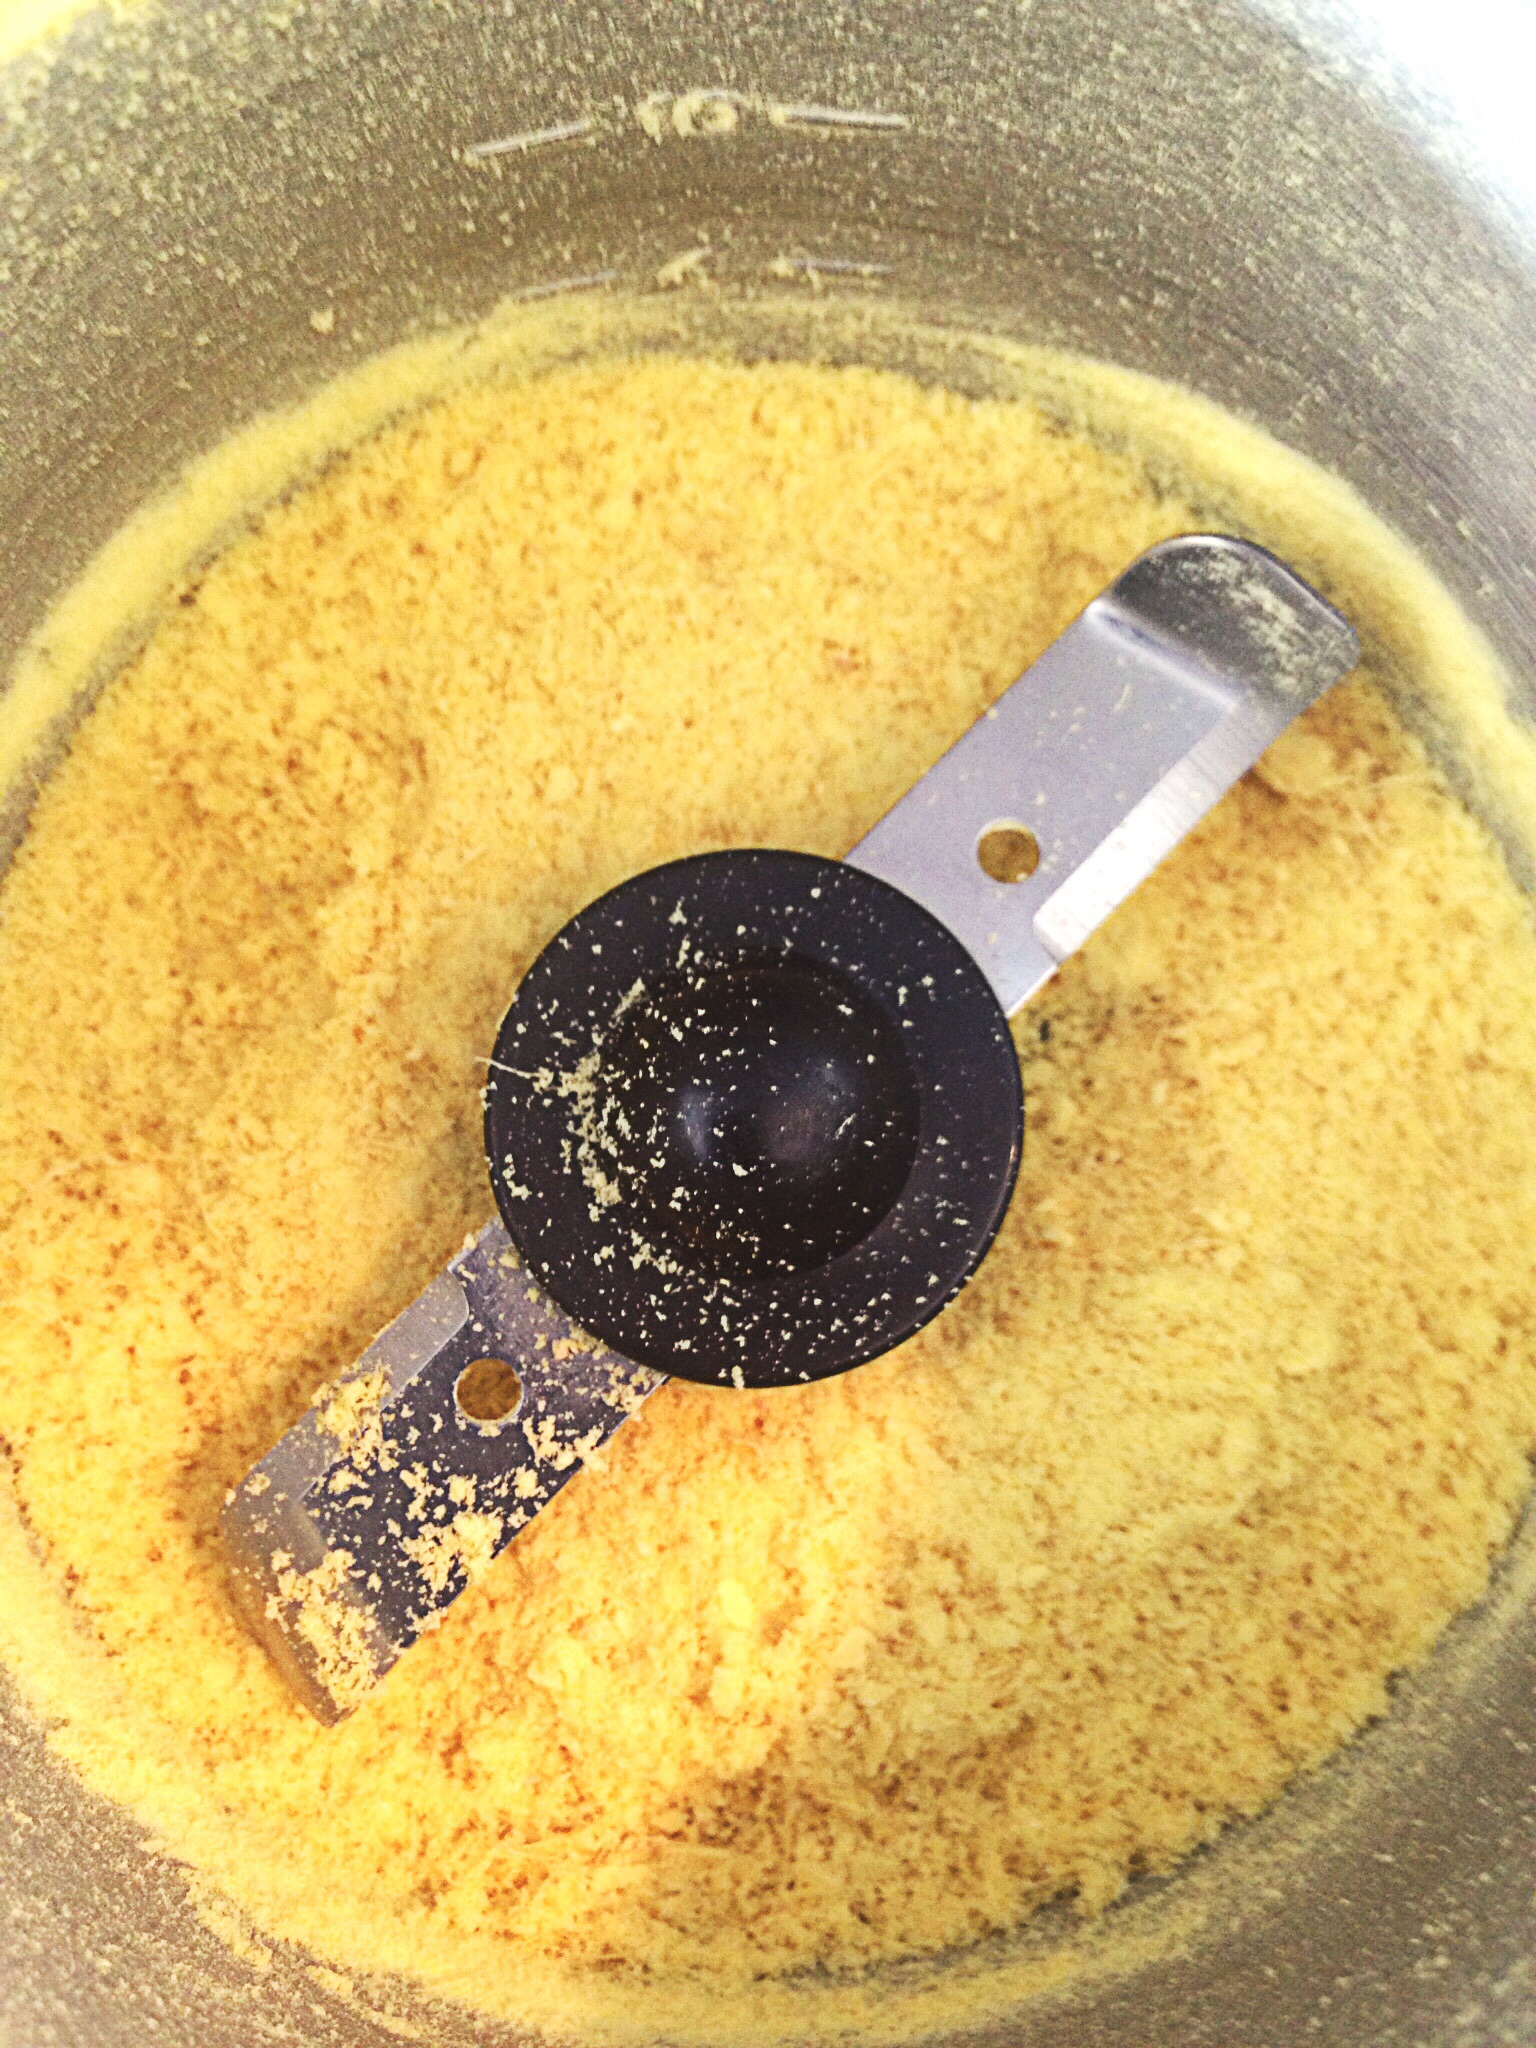
Bake or dehydrate until peels are hard and brittle, it took about 1.5 hours in my dehydrator. Once peels are hard and crisp, transfer to a spice mill

Grind until powdery, transfer the powder to an air tight container.

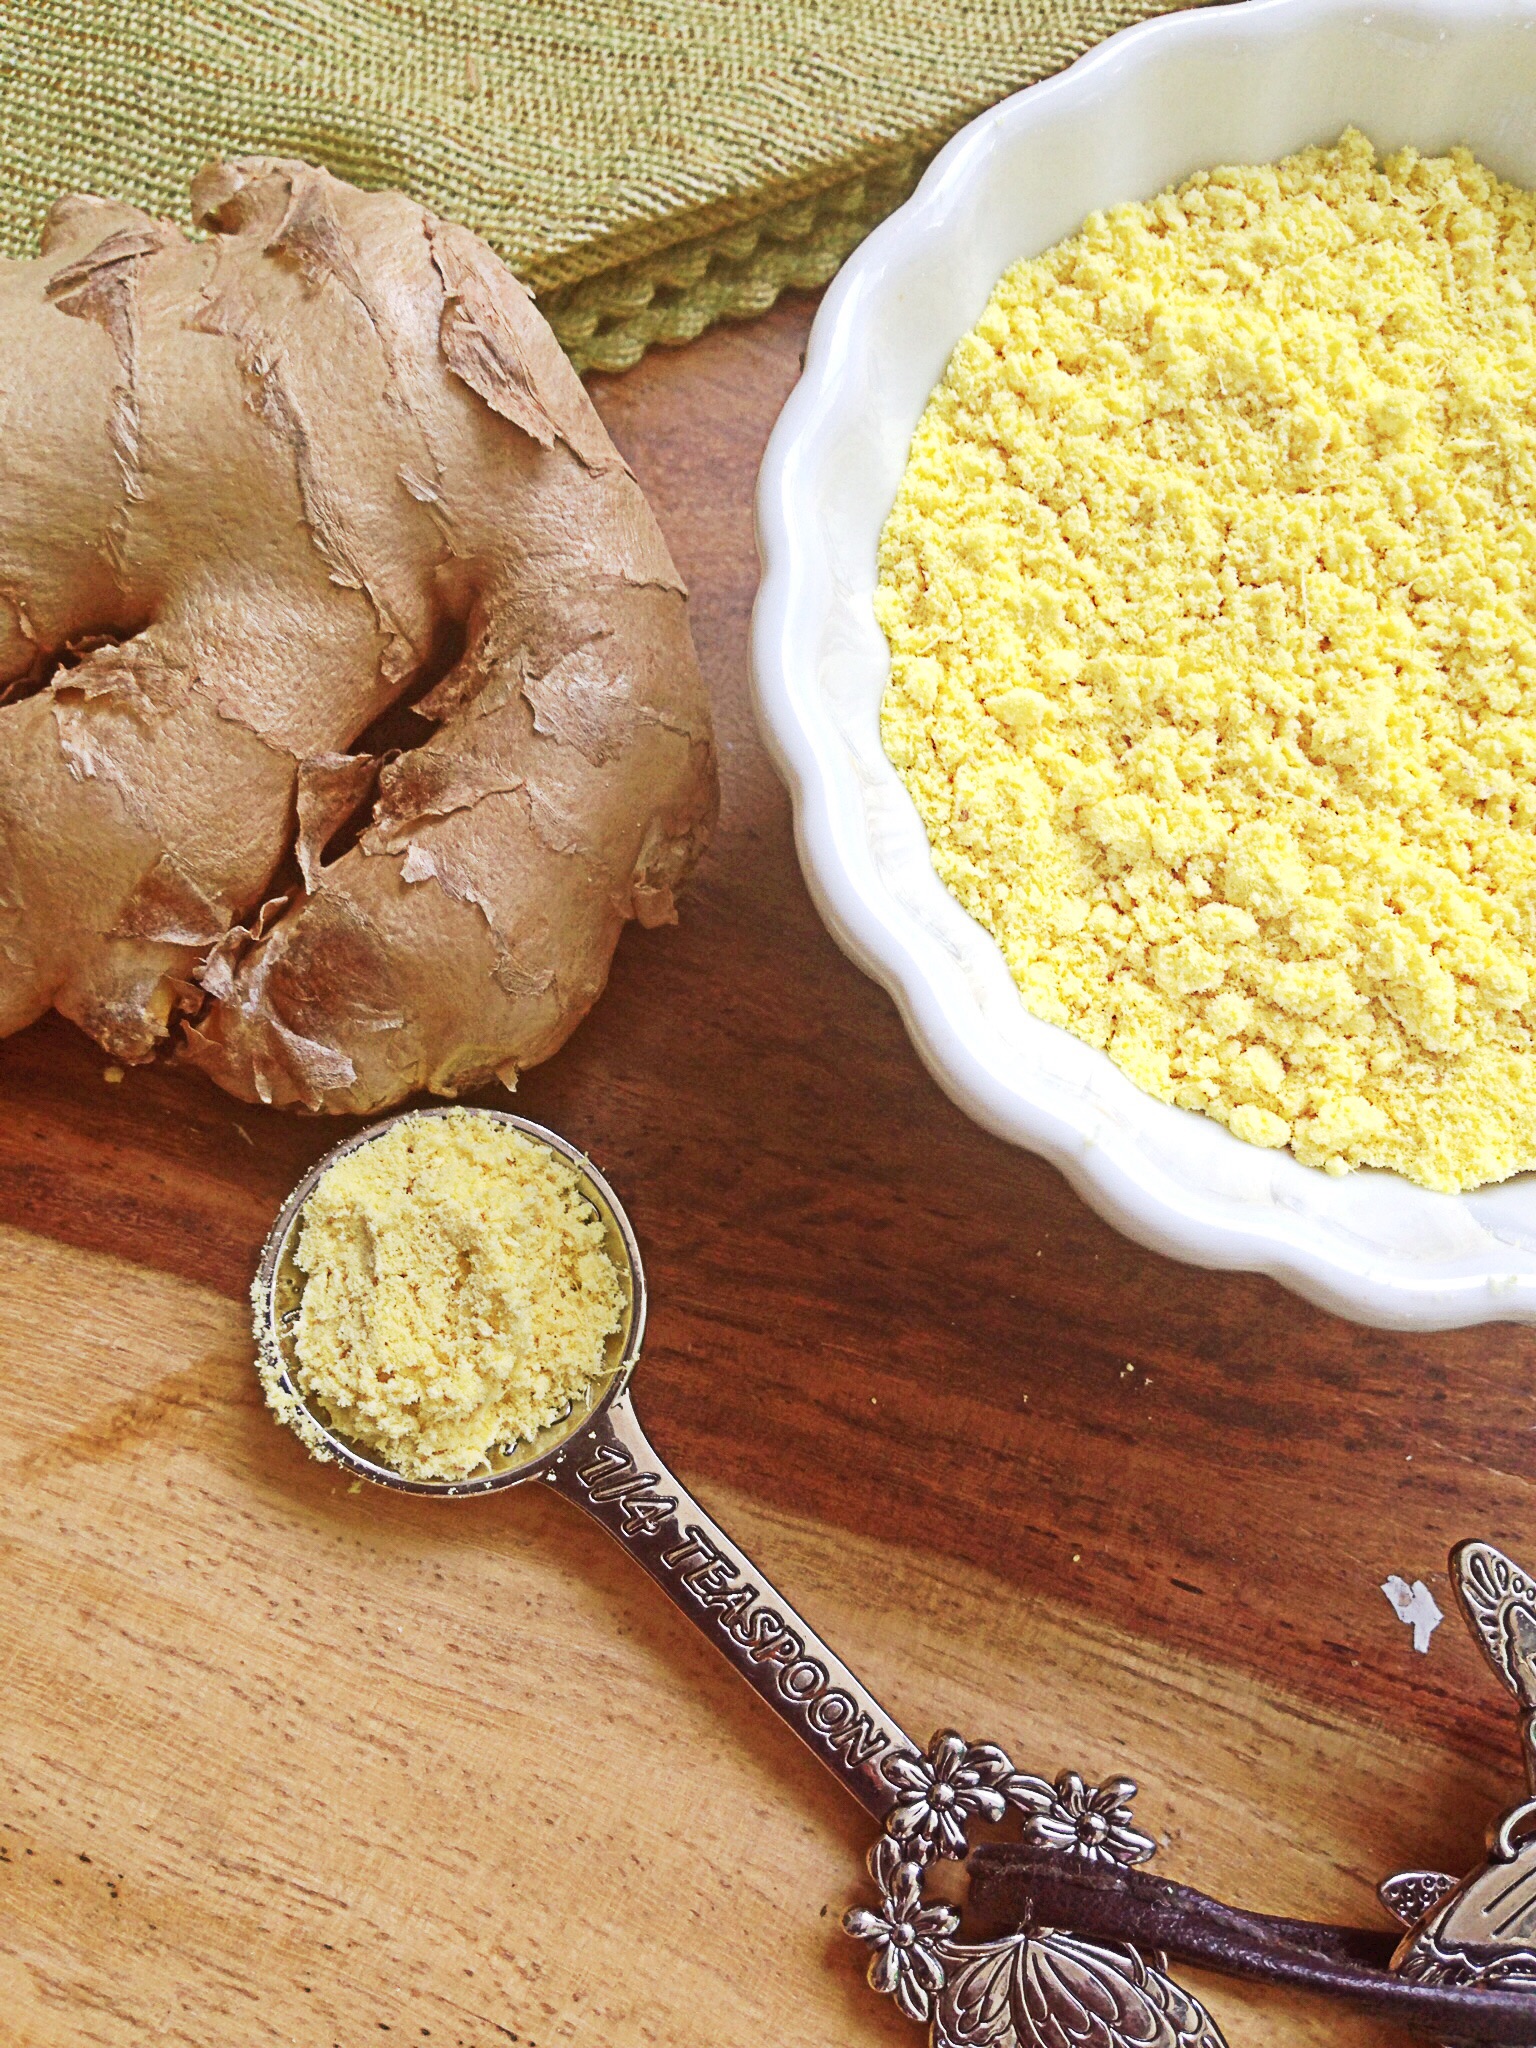
OMG! The smell of these powders while you are grinding –AMAZING!!!! If you like this recipe you will love my recipe for DIY Ground Ginger–How to make Powdered Ginger