If you’ve been following me on Instagram you know that I’ve been busy preparing for Thanksgiving and Page’s Birthday right after. We are hosting Thanksgiving , which means that I will be doing most of the cooking. I spent most of the day writing out my menu, dividing up tasks I can accomplish throughout the next few days. Today I tackled prepping my desserts which just means I weighed the dry ingredients put them in bags, labeled, and sealed them. Now all I have to do is add the wet ingredients and bake. As you can see I’ve learned over the years that cooking a large meal like this requires a lot of forethought and staggering of duties. So today one of the other things on my to do list was to make this cranberry sauce! It takes 10 minutes, you throw everything in one pot, a little bit of stirring and you’re done! So easy and super delicious and definitely an upgrade to the canned stuff. Trust me once you make this you will never go back to the canned stuff!
Here’s what you need:
Ingredients
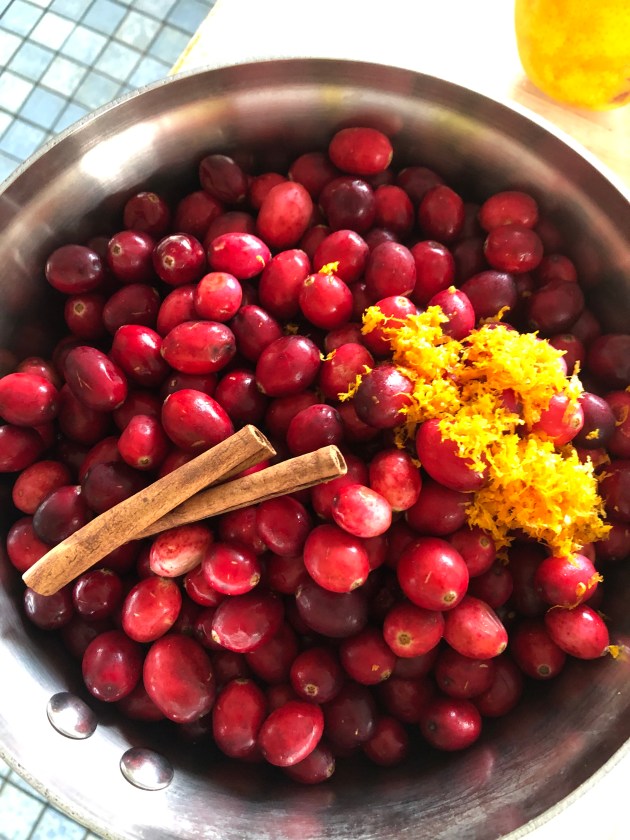
12oz organic cranberries fresh or frozen
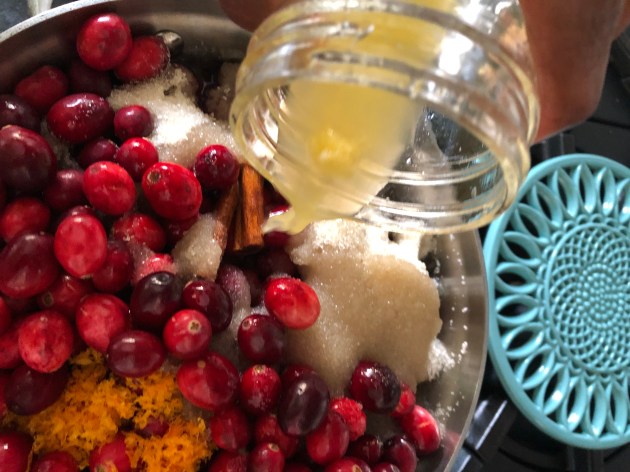
1 cup sugar
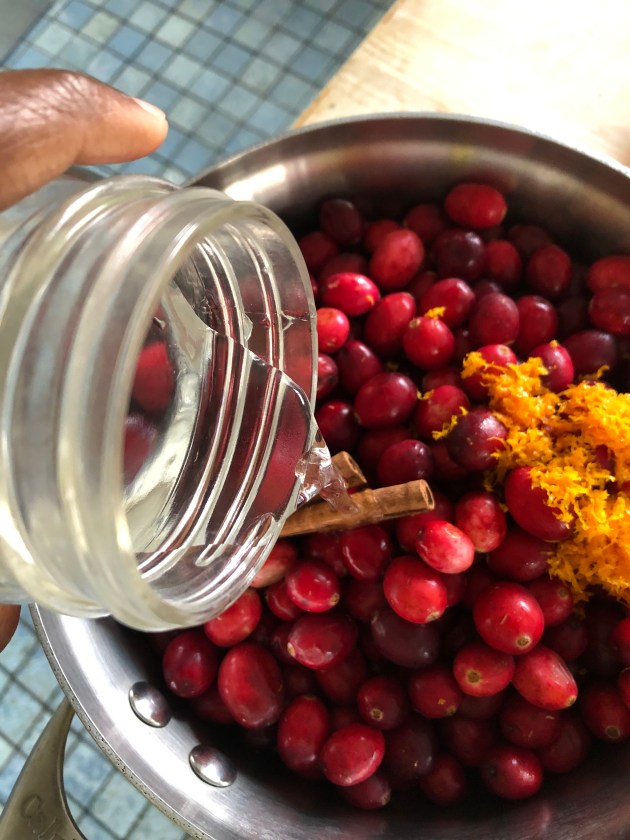
1/2 cup water
1 cinnamon stick
Zest of 1 organic orange
Juice of 1 organic orange
1/2 teaspoon of allspice (optional)
Directions:
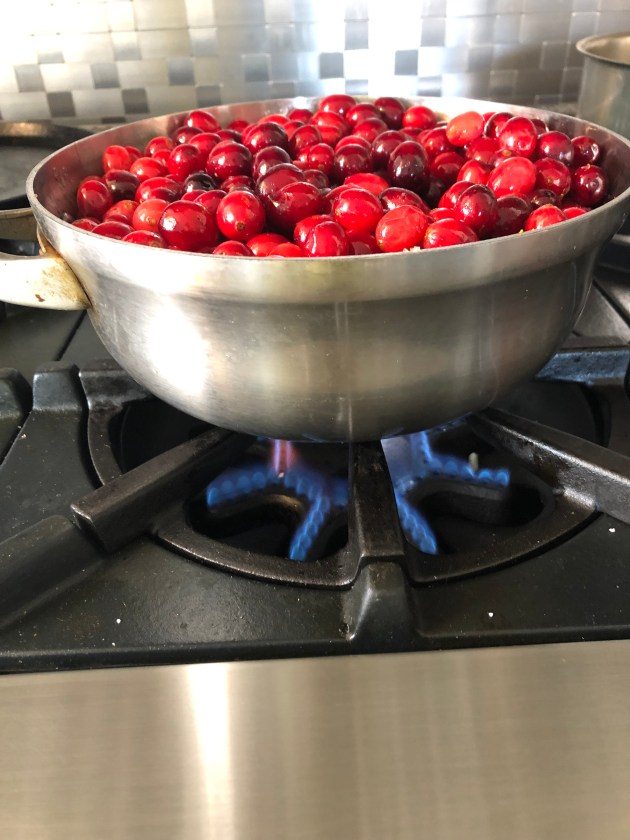
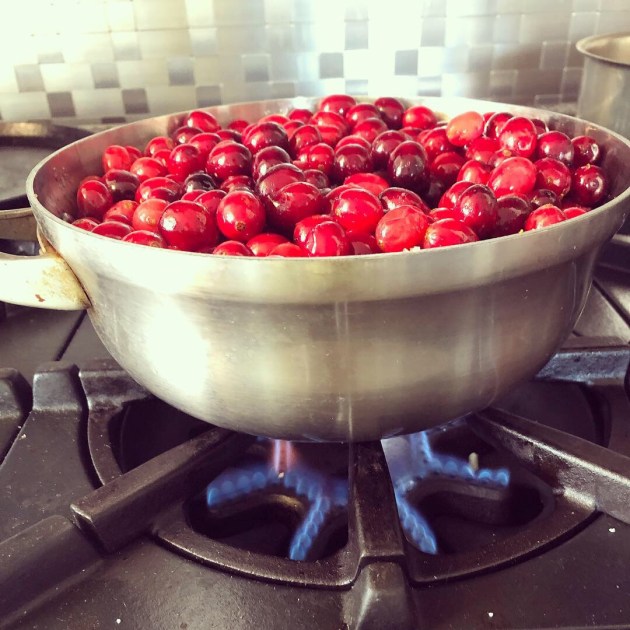
Place cranberries, cinnamon stick, orange zest, sugar, water, and juice in a medium sized saucepan. Bring to a boil, lower the heat and simmer, stirring as the cranberries begin to pop. The sauce is done once it thickens about