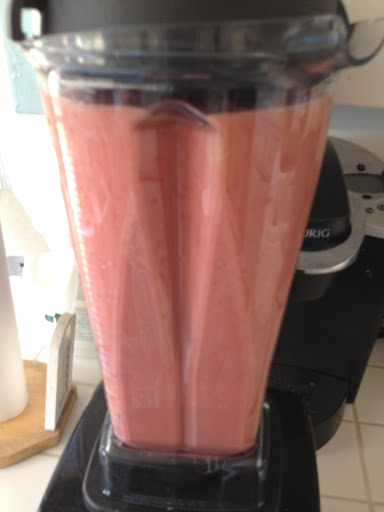
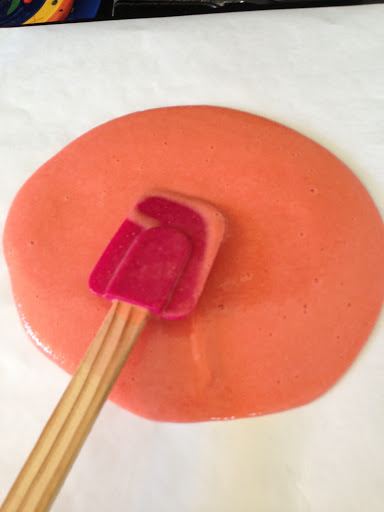
I am the Queen of kitchen gadgets! If they make it, then there is a 85 percent chance that I have it in my kitchen. As a matter of fact, I have so many kitchen gadgets that I placed a self imposed stop on buying any more kitchen gadget’s. As useful as kitchen gadgets are, I just don’t have any more room to store these things. I was doing pretty well with my self imposed moratorium, until Sunday! I have been trying to figure out what to buy with a gift card that I’ve had for months. For the life of me, I just could not make up my mind about what to buy! As I was perusing the humongous aisles in Costco on Sunday, it hit me! Why not an ice cream maker? When I placed the rather large ice cream maker into our cart, my husband said, “Sweetie why don’t you buy something for yourself with your gift card? I can buy this for us.” I looked at him and smiled. I love my husband, and in moments like these, I love him even more, but I shook my head and said, ” think about who you’re talking to, it’s ME, an ice cream maker IS personal to me!” He thought about it, laughed and said, ” I guess it is!” As we walked out of the store, I had a very clear idea of what I wanted to make first with my ice cream maker. I love, love, love lavender ice cream, but it’s near impossible to find in the grocery store. Lavender is not a typical ice cream flavor, I’ve only had it a couple of times in my life, and every time that I’ve had it, I wanted more… it is delish!!! You can leave out the lavender in this recipe if it’s not your thing, and you’ll still have the best vanilla bean ice cream that you’ve ever tasted. I used eggs and made a custard, this makes the ice cream really creamy and rich. You cannot get this level of creaminess without making the custard, so do it! You will not be disappointed, I promise! I used maple syrup to sweeten this, but you can use your sweetener of choice. Don’t worry if you don’t own an ice cream maker you can still make this. You’ll just need some..well a lot of arm power! By the way, I am happy that I have an ice cream maker, but storing this thing is going to be a real problem!

Pin It!
Ingredients:
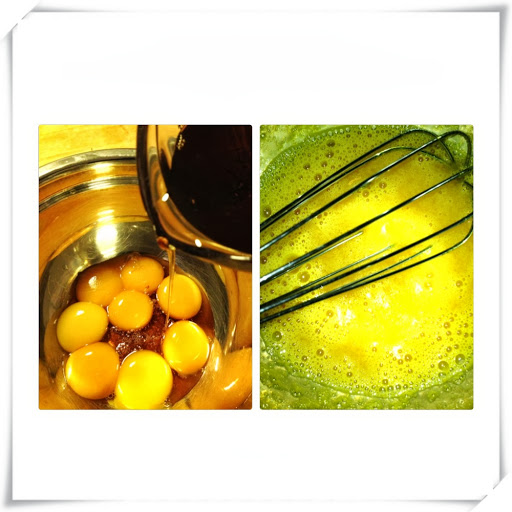
8 egg yolks
3/4 cups of maple syrup or sweetener of your choice
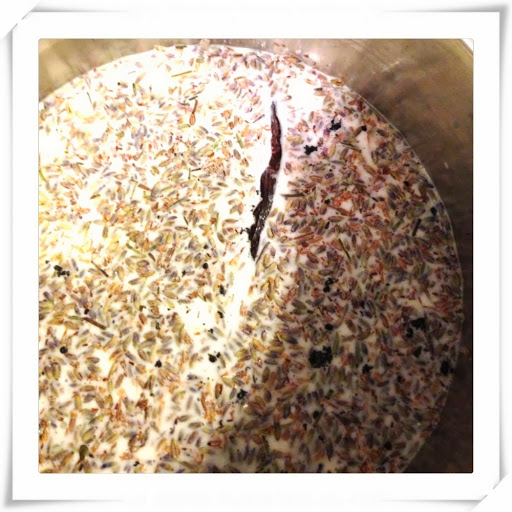
1 vanilla bean split down the middle
2-3 Tablespoons of lavender dried
1 1/2 cups of whole milk
2 cups of heavy whipping cream
1/4 teaspoon of salt
Equipment
Ice cream maker
Or
1 quart size Ziploc bag
1 one gallon Ziploc bag
2 1/2 cups of ice
1/2 cup of salt
Directions:
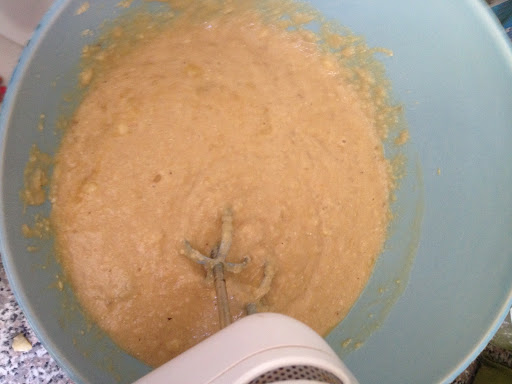
In a medium bowl, beat together the yolks, and your sweetener of choice. You can beat by hand using a whisk, or use a hand mixer. Beat until thoroughly smooth and creamy. (A couple of minutes by hand.) If you’re using maple syrup, or agave, the mixture comes together quite quickly.
Put 1 cup of the cream, all of the milk, lavender, and salt into a medium saucepan over medium heat. Scrape the vanilla seeds from the beans with the tip of a small knife, and place into the pan; add the pod too. Heat the mixture until just before it starts to simmer (DO NOT LET IT SIMMER). Remove mixture from heat and let it steep for 5 minutes.
Strain the hot mixture, reserving the milk and discarding lavender andvanilla bean pod.
Add half of the hot mixture to the egg-yolk mixture, and whisk until blended. Be careful when adding the hot mixture to the egg mixture, go slowly you don’t want scrambled eggs. Stir this mixture into remaining hot mixture in the sauce pan, and cook over low heat, stirring constantly, until mixture is thick enough to coat the back of a wooden spoon. or wooden fork in my case.
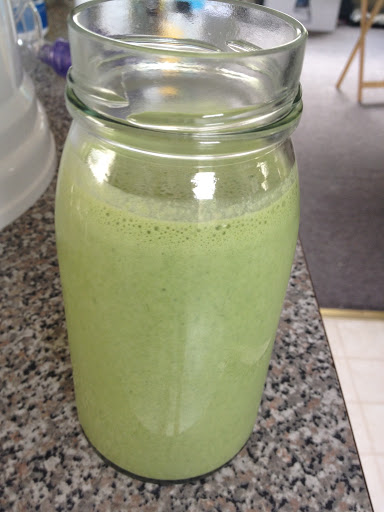
Remove from heat, and immediately stir in the remaining cream. Let the mixture cool for at least 30 minutes. If you want all the flavors to meld, let it cool to room temperature, then place in an air tight container, and refrigerate for 8 hours, or overnight, as I did. Once the cream has cooled sufficiently, freeze in an ice-cream maker according to manufacturer’s instructions.
If you don’t have an ice cream maker, then place 1 cup of your cooled mixture into one of the 1 quart zip lock bag and seal it. It is very important that the cream mixture is cold when using this method, so try to let it cool for at least 3 hours before trying this method. Next pour the ice and salt into the 1 gallon ziplock bag. Place the bag with the cream mixture into the bag with ice and salt and seal. Make sure neither bag has any excess air. Now here comes the work. Shake the bag until the mixture becomes solid, at least 5-10 minutes, serve and enjoy!
Here is a really cute way to do this in an old coffee can. Your kids can do this, and save you a lot of arm work…that or just run out and buy an ice cream maker, but, then, like me, you’ll have to find some where to store it.
Follow me and like me on Facebook: https://www.facebook.com/Lazygirldinners