Pineapple Rings–How to make dehydrated Pineapple Rings

Dehydrated Pineapple Rings

Dehydrated Pineapple Rings

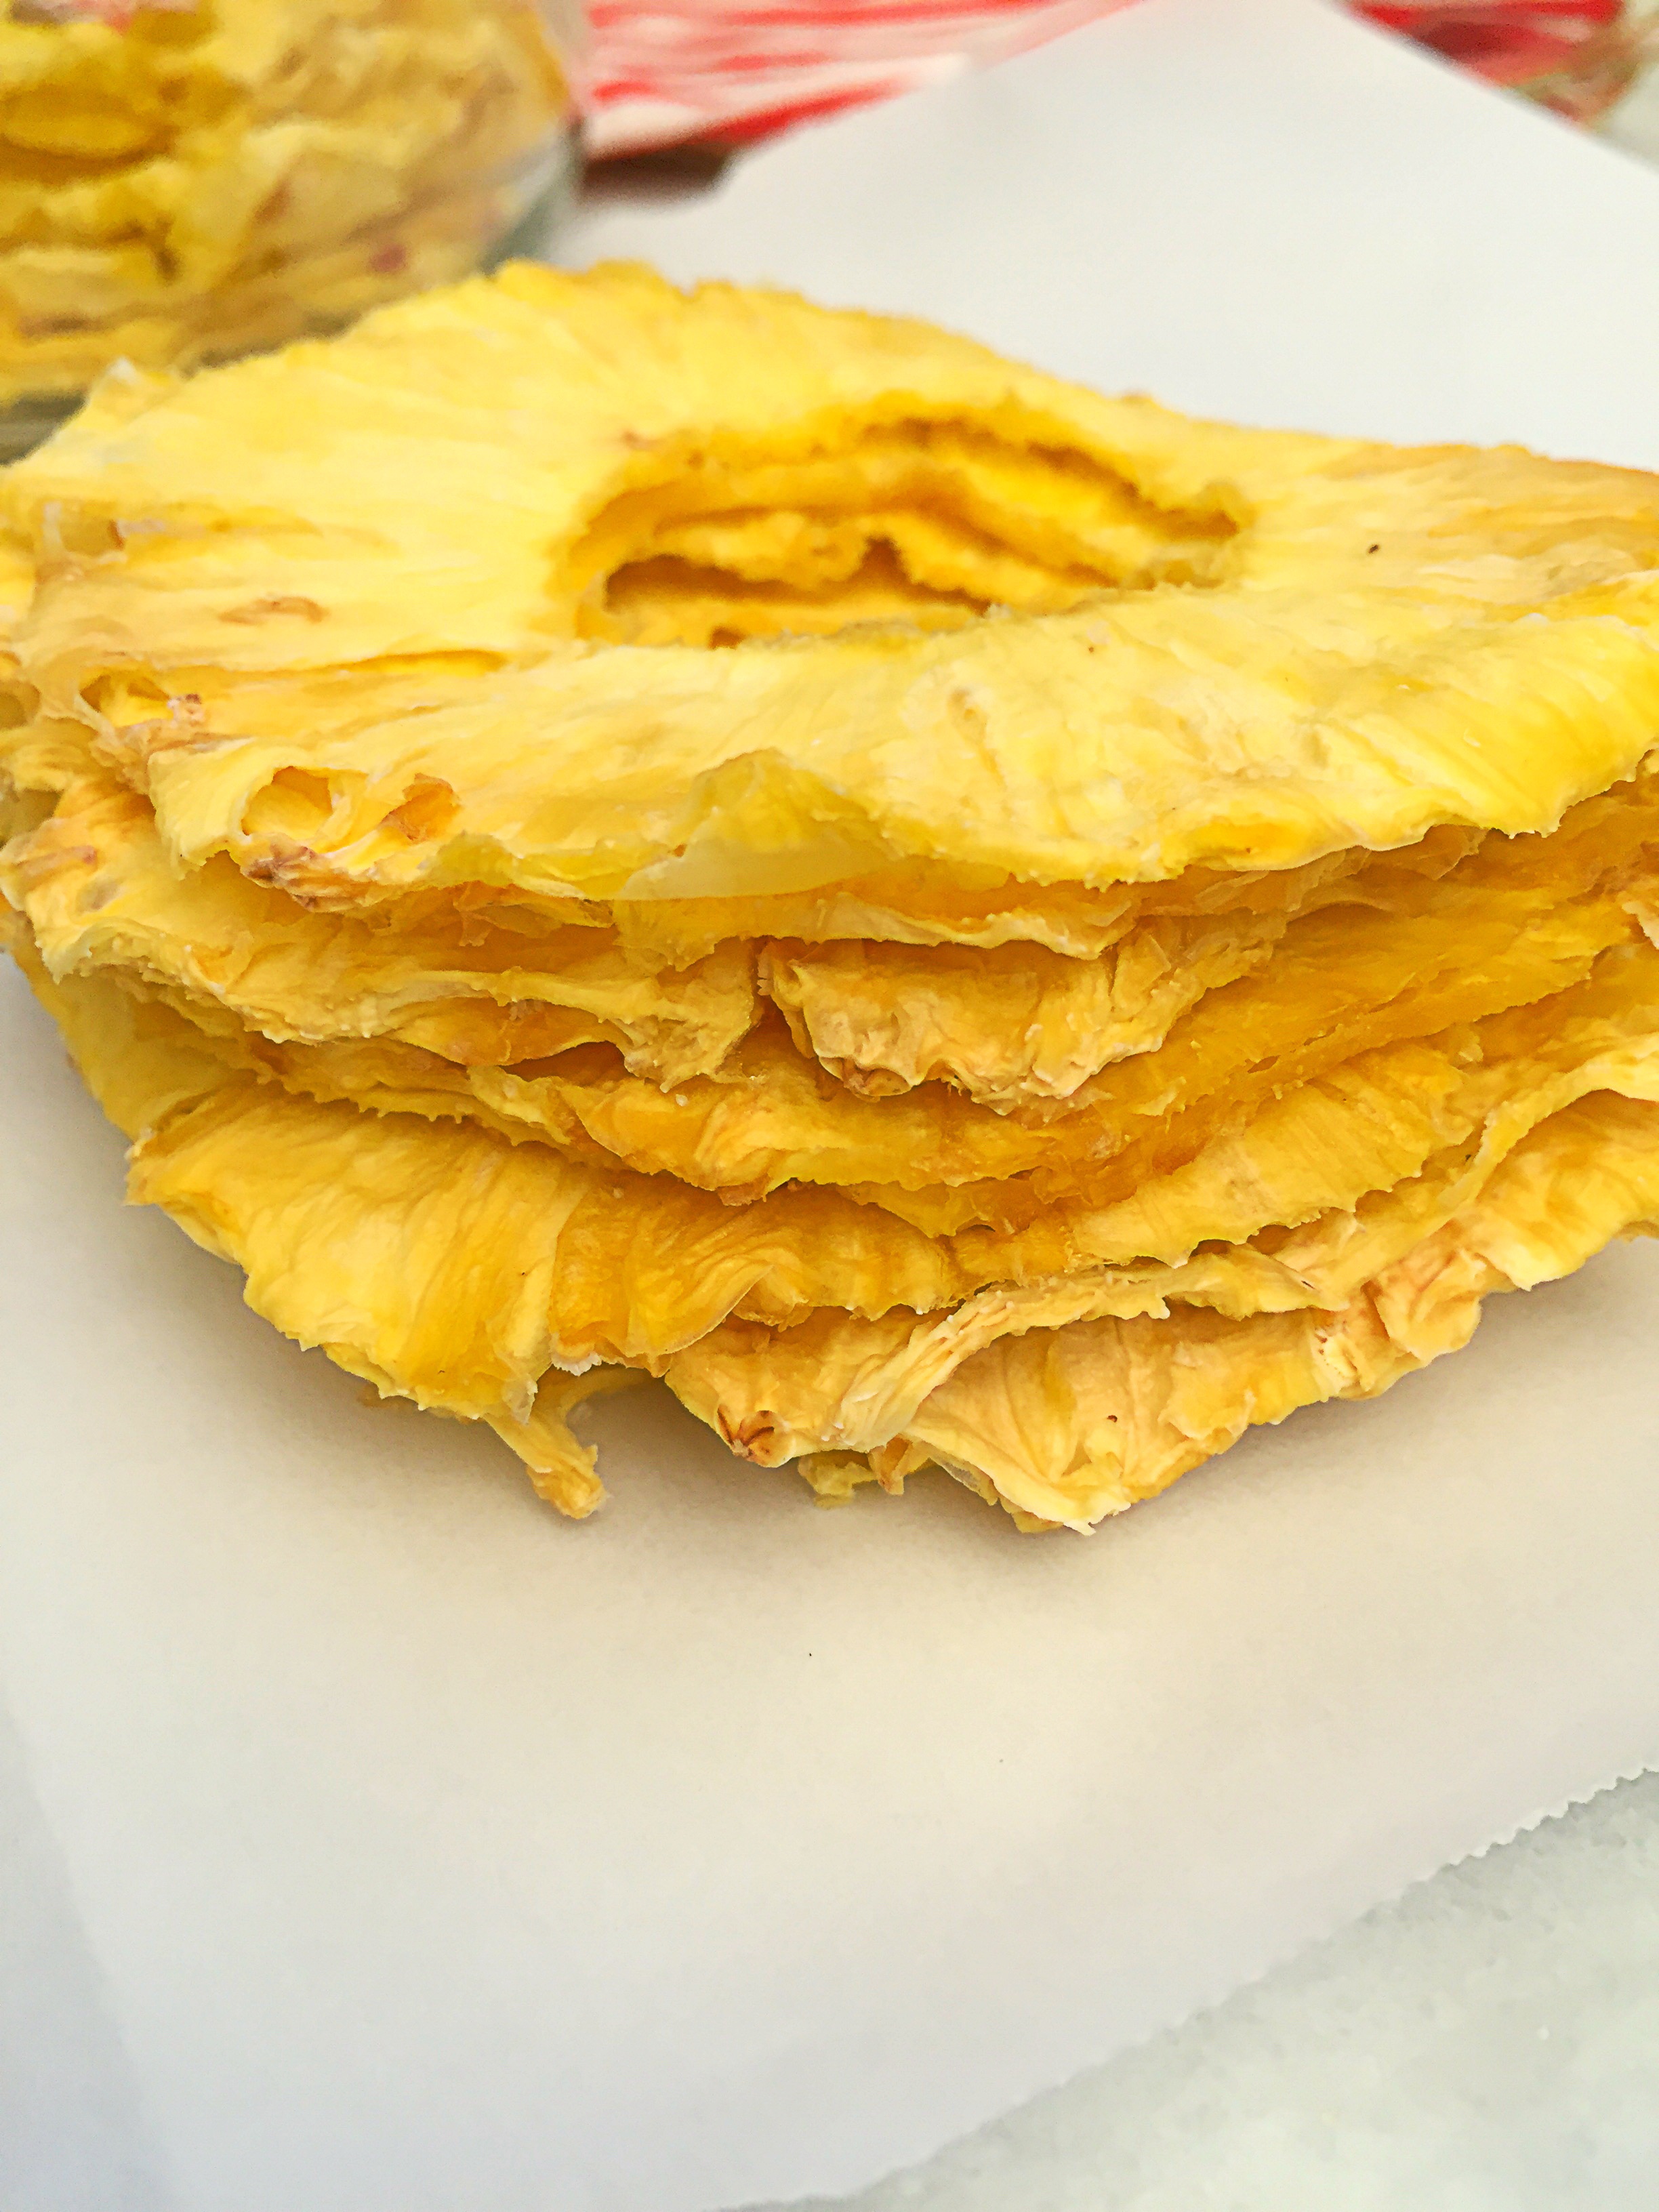
One of my go to snacks is dehydrated fruit.  I’m a particular fan of pineapple rings.  But, if you’ve ever purchased organic dehydrated pineapple rings, then you probably know that pineapple rings are a snack that can be out right expensive! I mean outlandishly expensive! On top of the expense, it’s pretty hard to find pineapple rings that haven’t been soaked in baths of sugar.  I’m not a fan of adding sugar to dehydrated fruit.  It’s sort of an oxymoron to me that sugar is added to dehydrated fruit at all, because if you know anything about dehydration–then you know that the sugar in fruits concentrate when dehydrated, so there really isn’t a need to add sugar–unless you’re dehydrating something really tart like cranberries then I could see the purpose of adding sugar. Last week I purchased a pineapple, I fully intended to eat it fresh. However,when I cut, and tasted it– it was pretty tasteless. Disappointing for sure. The pineapple clearly needed to ferment more.  Rather than chuck it, I sliced it and put it in the dehydrator and made pineapple rings. The resulting pineapple rings were not only flavorful, but they were sweet–everything you want would want in a fresh bite of pineapple–minus the juice of course.  The pineapple rings lasted all of 2 minutes, my sister in-law, my niece and Page, gobbled them right up–I’m pretty sure they would’ve passed on the fresh slices.

Pin It!


Prep time: 10 minutes

Cook time 6-8 hrs 10-12hr for thicker slices

Ingredients:

2 whole fair trade organic pineapple

Directions: Remove the stem from the pineapple, then slice off the top and bottom.  Slice off the skin, making sure to remove all the eyelets.

image

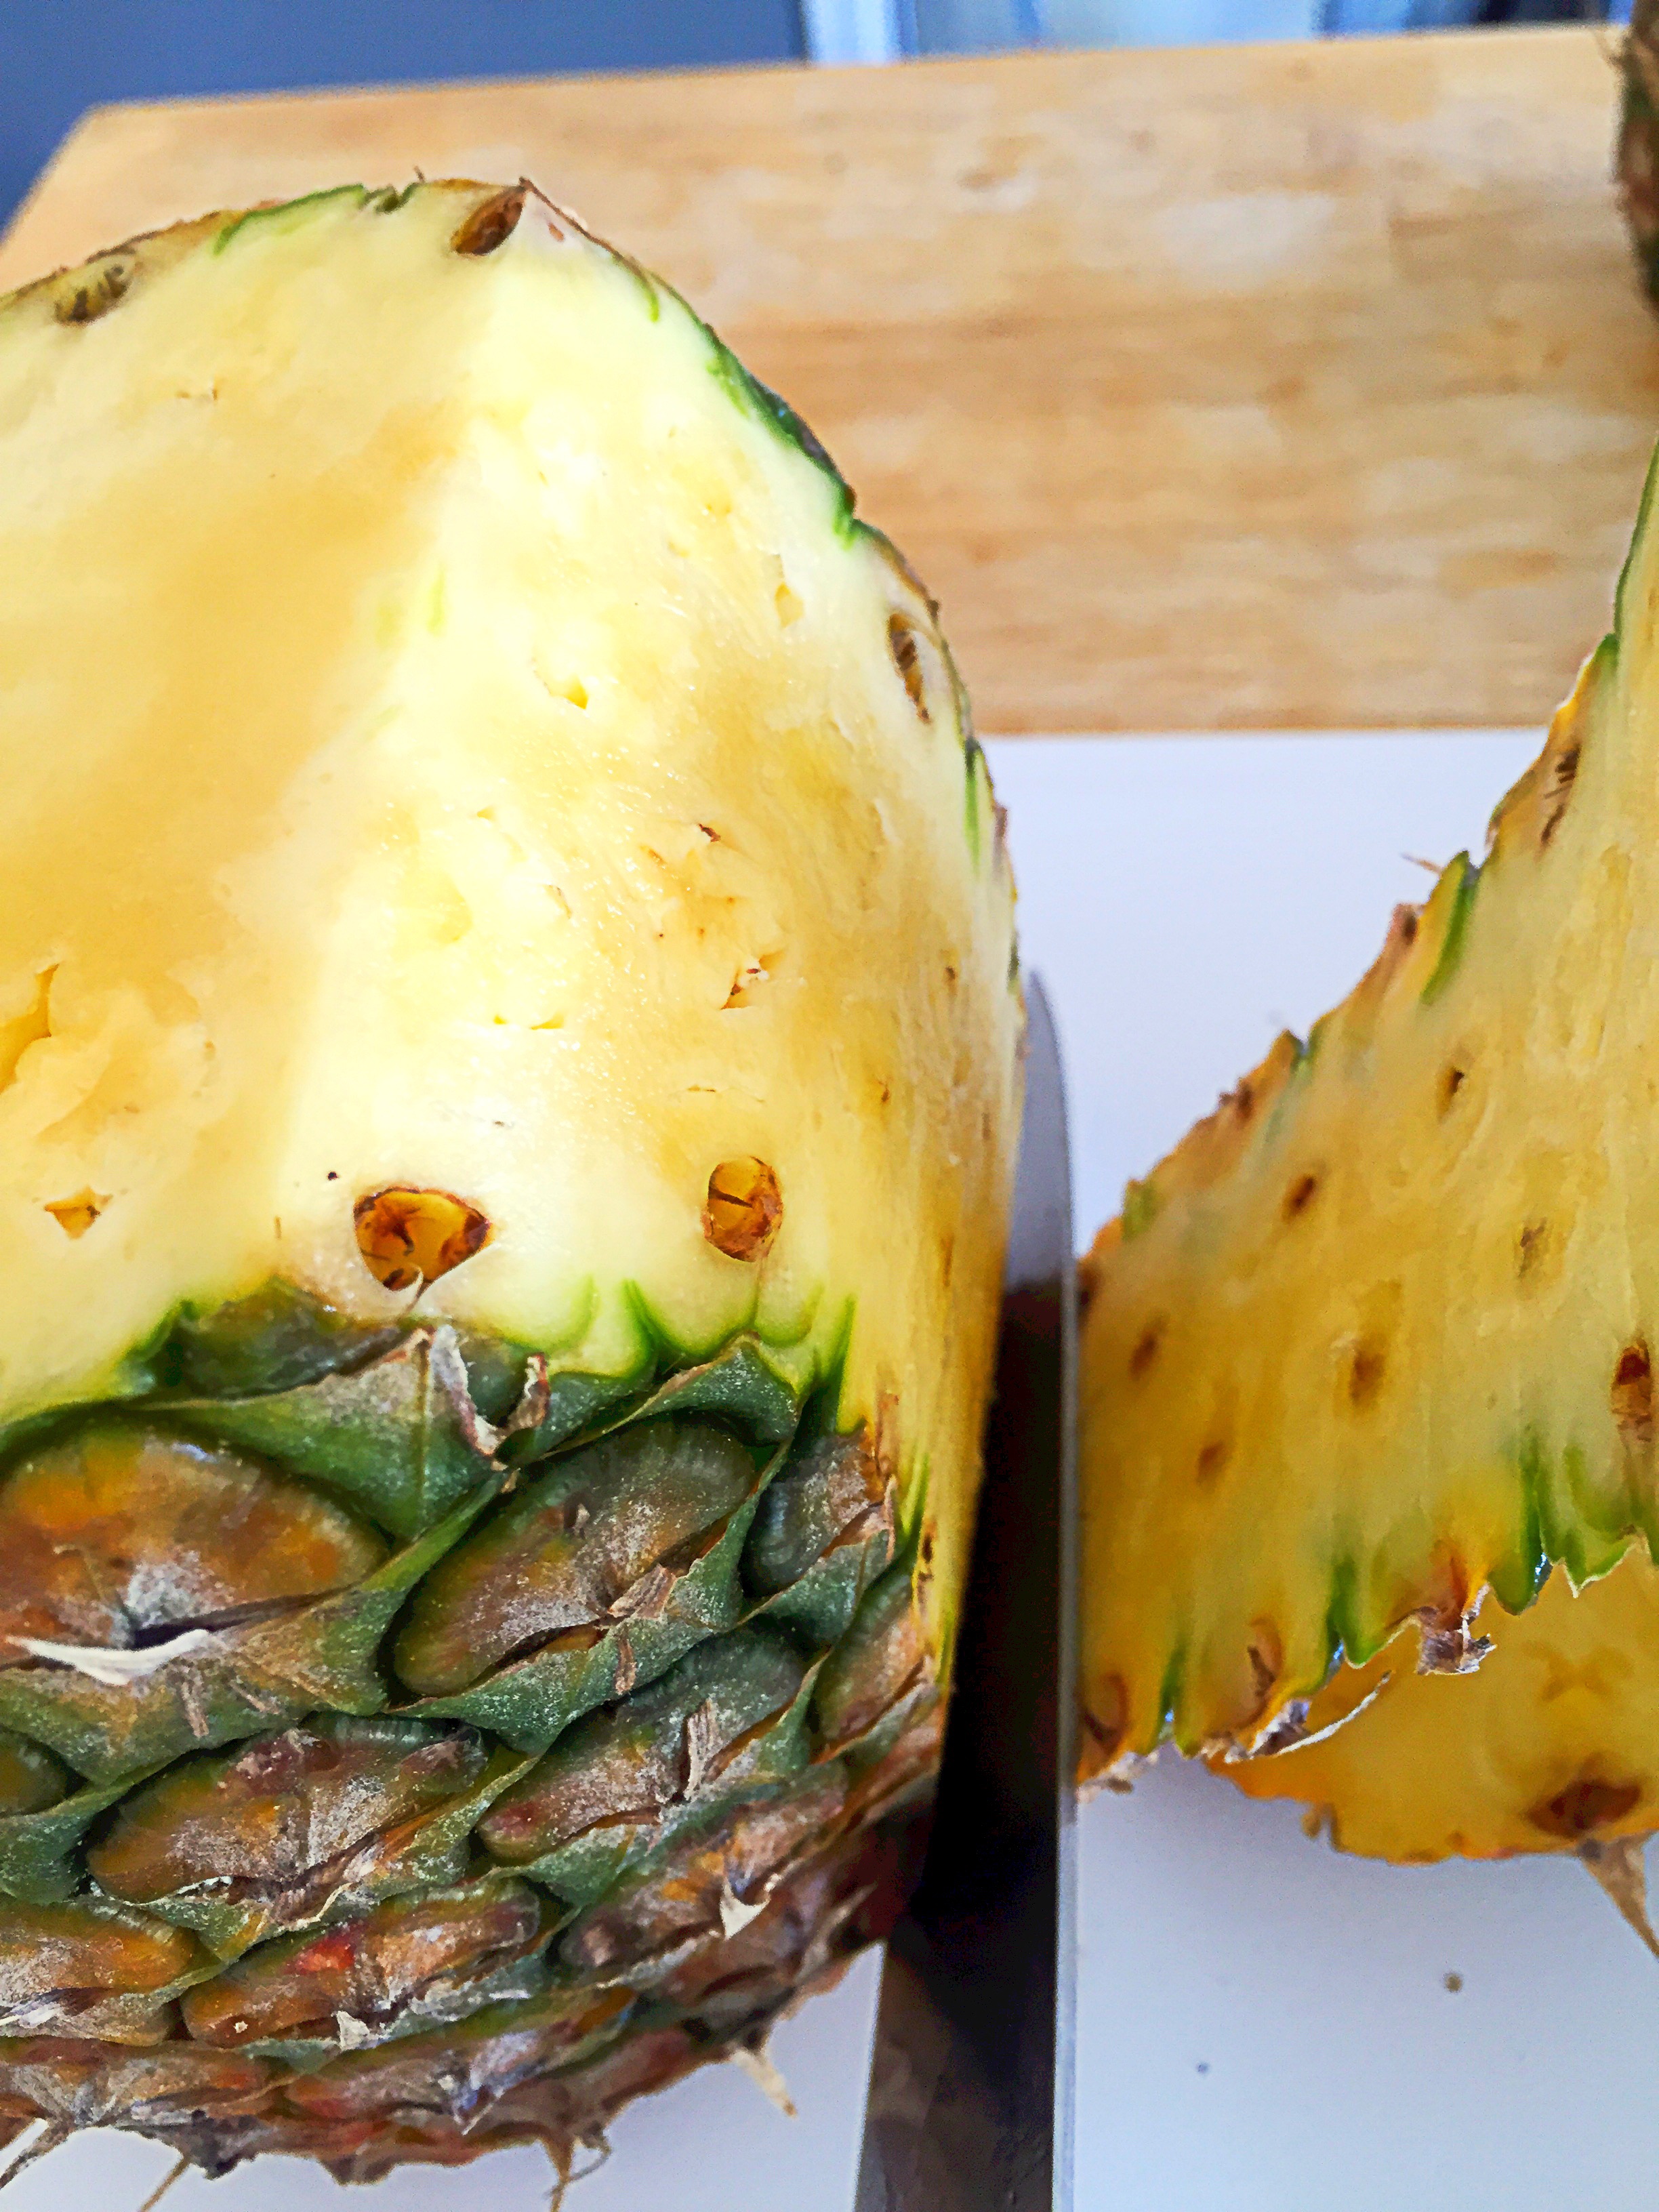
Now slice the pineapple thinly.

image

Keep in mind that the thicker you slice it, the longer it will take to dry.  If it’s too thin your pineapple rings will turn out crisp, if they are a bit thicker, they’ll be more leathery, so it’ just a matter of what you’re seeking in consistency.  After slicing, cut out the center core by carving a circular cut in the middle of the pineapple.

image

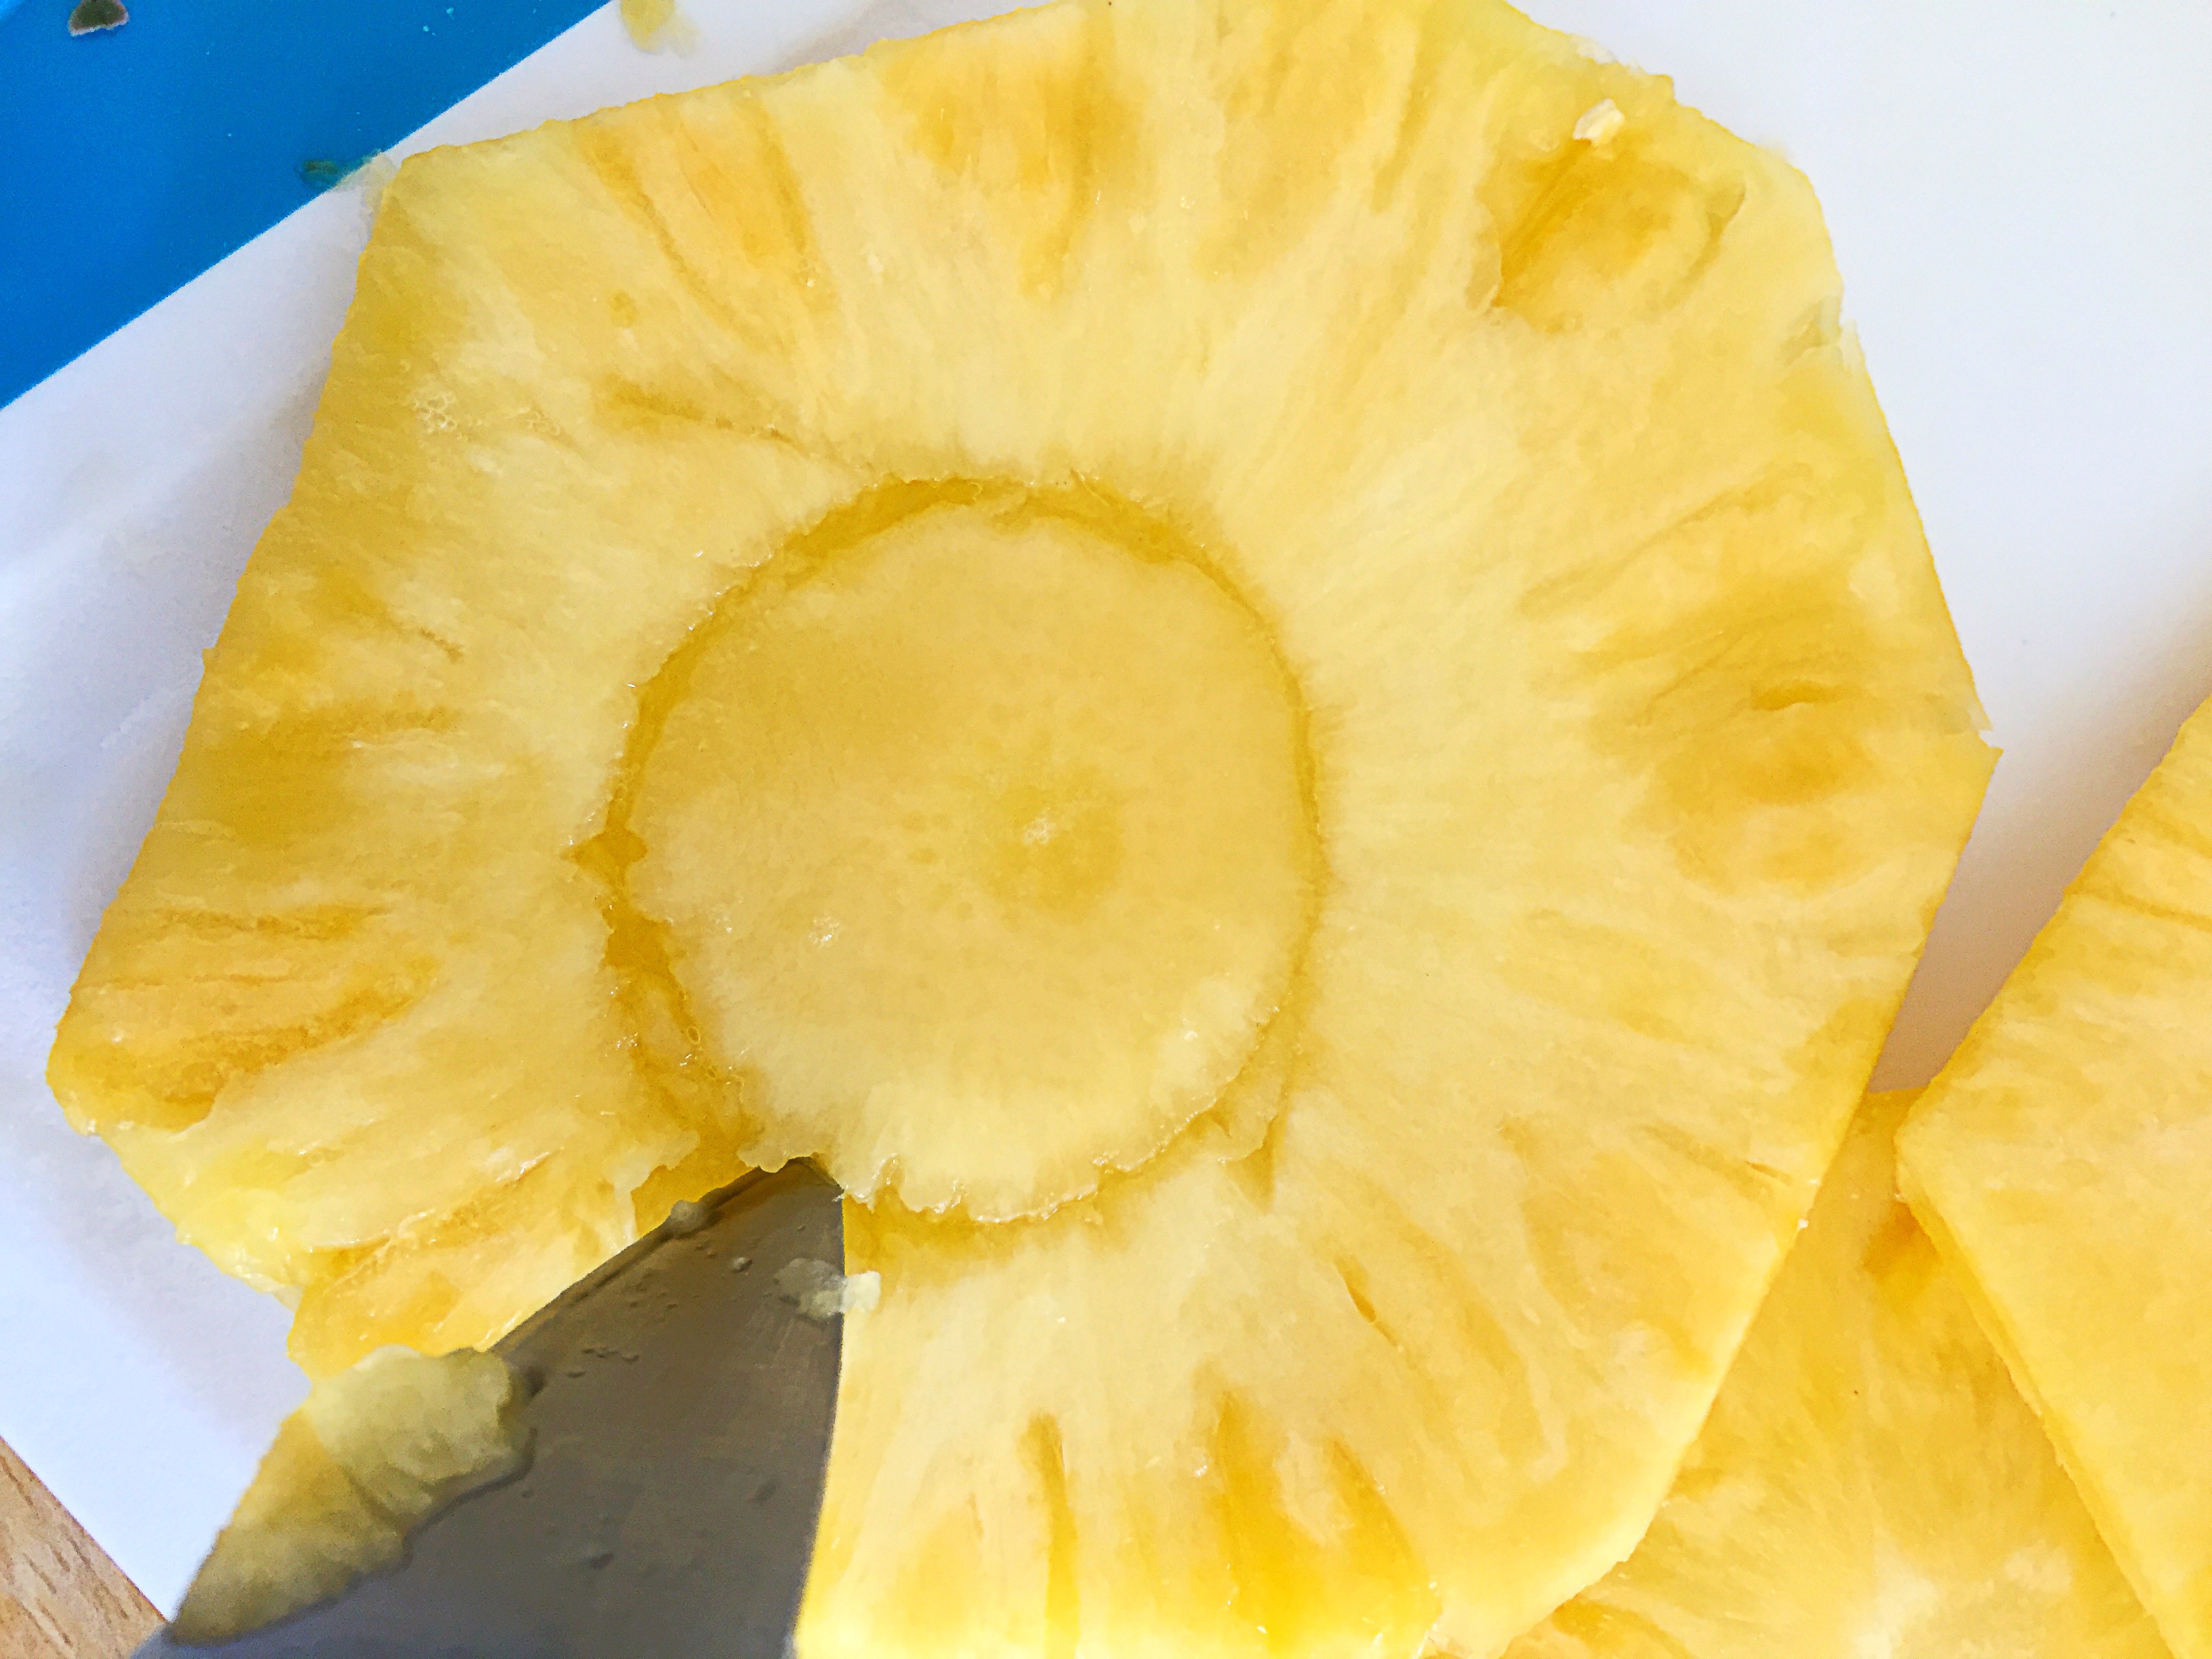
Remove the core and discard it.

image

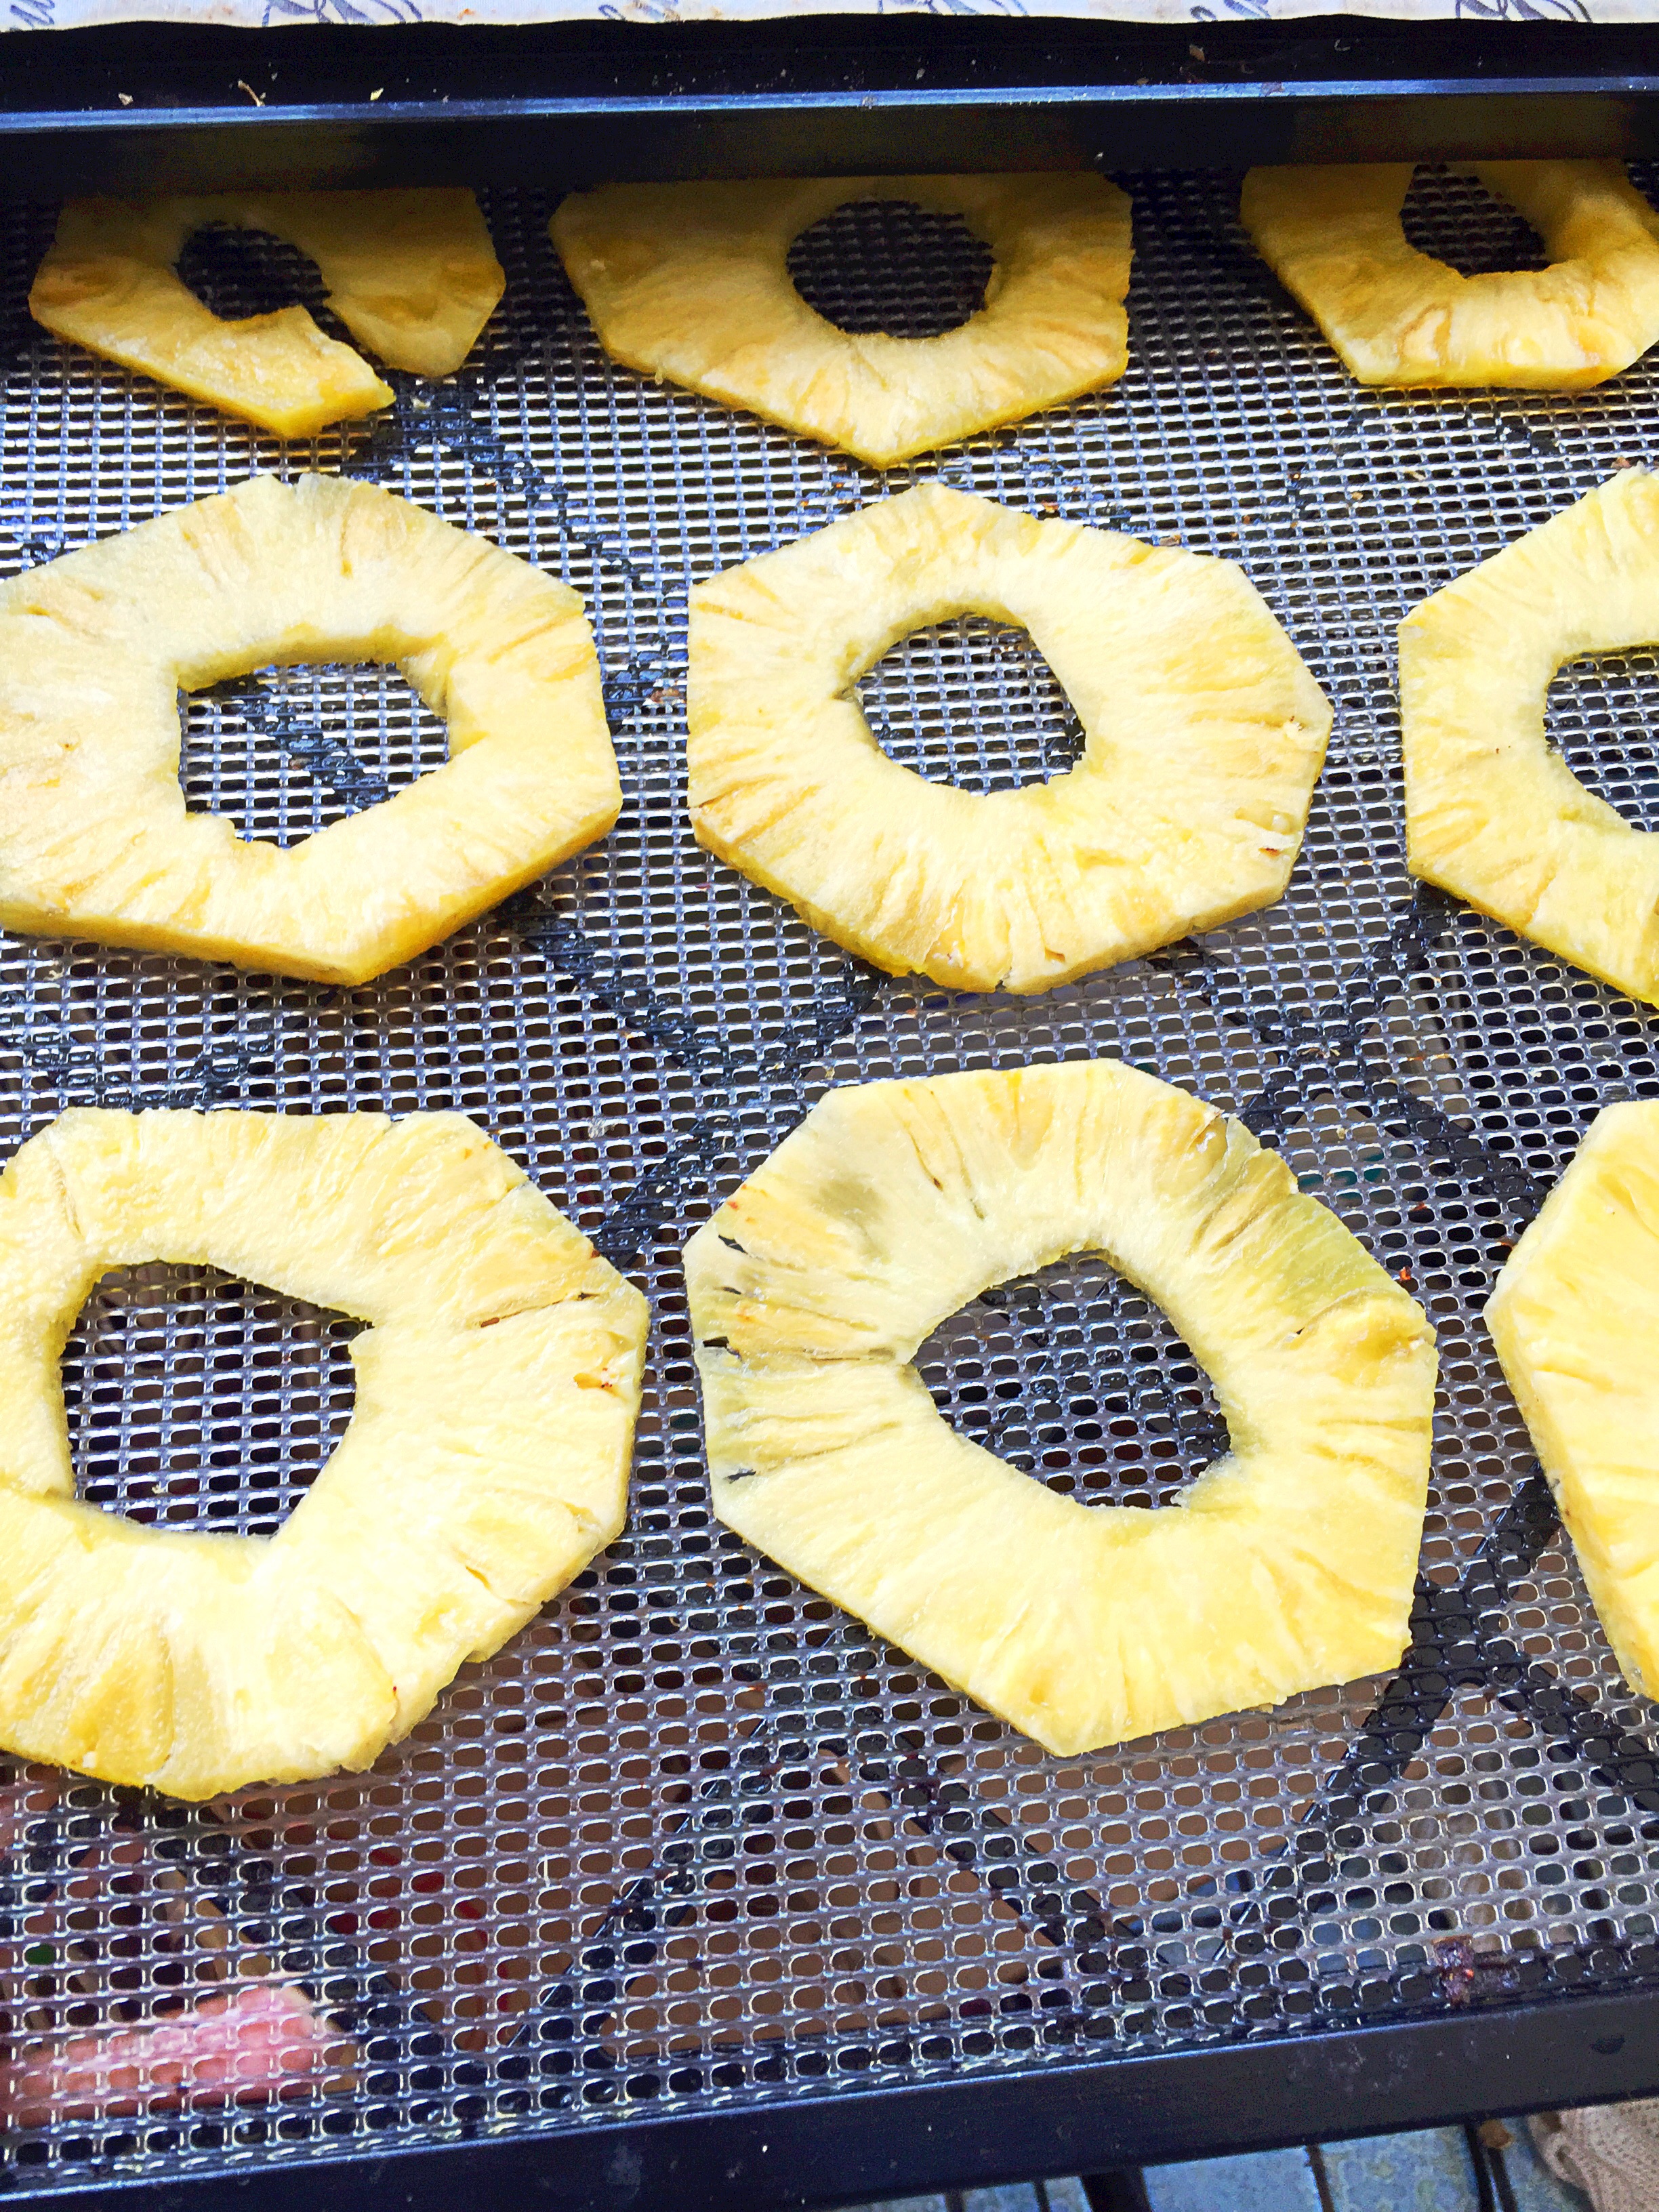
Place the pineapple rings on your dehydrator sheet,

image

Set the dehydrator to 135F.  If you’re doing this in the oven, set the oven to 150F or the lowest possible setting.  Dehydrate for 6-8 hours, 10-12hrs if you cut thicker slices.

image

Once dry let cool, then enjoy!

image

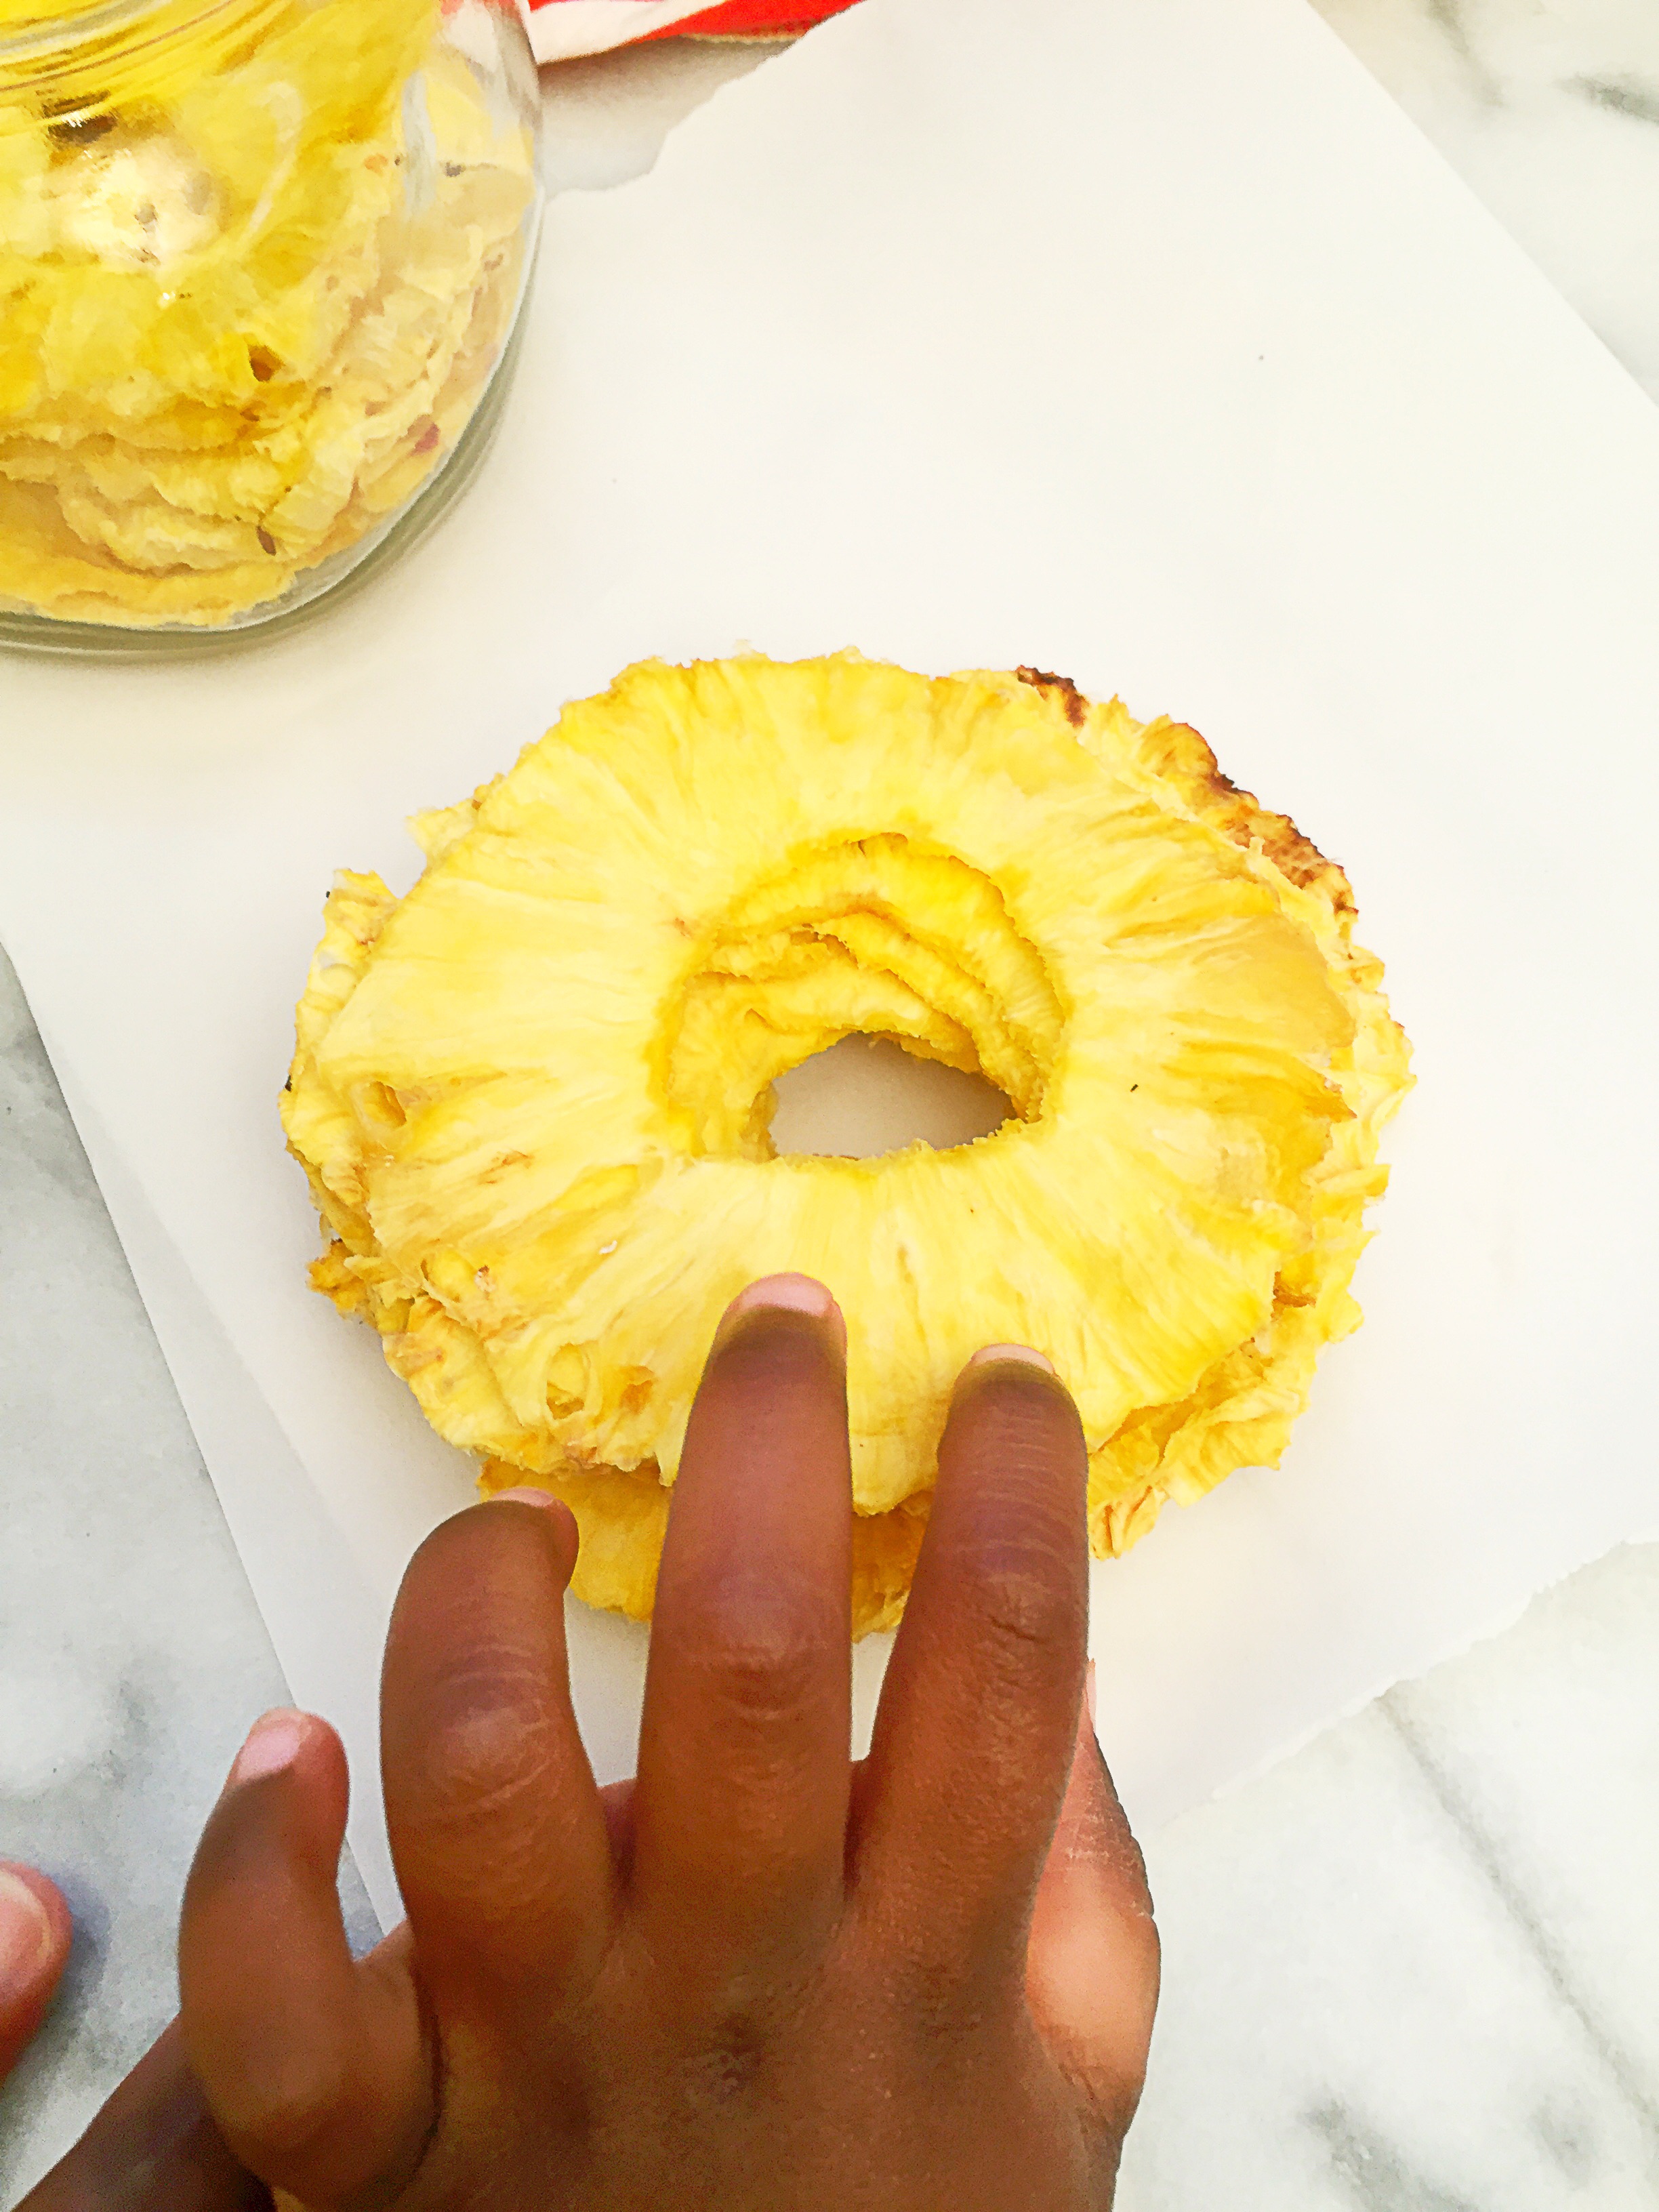
Page could not wait for me to take a picture, she loves these so much!

image

image

if you like this recipe, try the recipe for my pineapple fruit roll-ups!

Pear Fruit Roll-Ups-How to make fruit roll-ups at home


Pear Fruit Roll-Ups

Pear Fruit Roll-Ups

One of my favorite ways to use ripe fruit is by making fruit roll-ups.  In my opinion it’s the best way to use fully ripe fruit, because the fruit is ripe, it’s very sweet, and that means that you don’t have to add sugar to make these fruit roll-ups great.  Additionally fruit roll-ups are so super easy to make and a great way to reinvent a fruit that you have an abundance of.  I have dehydrator, but these can be done in an oven.  Just set your oven to 150 or the lowest possible setting. If you don’t own a dehydrator yet, I suggest that you get one, they are really inexpensive around $40-$50 on the lower end–these work fine, and $299 on the higher end.  But they are so useful! At the least you’ll be able to make some of my favorite fruit roll-up recipes like: Tropical punch fruit roll-ups, pineapple fruit roll-up, Strawberry-apple fruit roll-ups or strawberry fruit roll-ups.

Pin It!

Pin It!


Prep time: 5 minutes

Cook time: 4-6 hours

Ingredients:

5 ripe pears

Directions:  Quarter the pairs and remove the core.  Add cored pears to a blender,

image

Blend until smooth.

image

Pour the pear puree out onto a piece of parchment paper or a silpat, and smooth out into a thin layer.

image

Place in a dehydrator on 134F for 4-6 hours.

image

Alternatively you can place the parchment paper or silpat on a cookie sheet and place in the oven on the lowest setting for 4-6 hours.

image

Pineapple fruit roll-ups

Pineapple Fruit Roll-Ups

Dried pineapple is one of my favorite low fat snacks. It’s sweet, tangy, and addicting. Like a potato chip you can’t eat just one. My daughter shares my love of dried pineapple, but dried pineapple rings are a bit harder for her to chew on her own. These fruit roll-ups are super easy for her to eat, and at the same time healthy. The added bonus of making these fruit roll-ups yourself, is that they do not contain any added sugar, additives, or preservatives, unlike the fruit leather you buy in the grocery store. This pineapple fruit roll-up is 100 percent fruit and nothing else, so they definitely are a snack that you can feel okay about giving your little ones. Start with a ripe pineapple and let your oven or dehydrator do the rest!

Here’s what you need:
1 ripe pineapple, skin removed and core disposed of. Note if you have a high powered blender like a Vitamix, you can leave the core in.

Equipment:
Blender
Parchment paper

Place pineapple in the blender, and blend until smooth:

Pour out onto parchment paper and smooth out evenly:


Place in oven on 135 degrees Fahrenheit, or the lowest setting on your oven. Let bake for 4-6 hours.

Remove from parchment paper,


 Roll, and enjoy!! If you like these try my recipe for Strawberry Fruit Roll-Up or my recipe for Tropical Punch Fruit Roll-Ups! Both are great low-fat, and low calorie snack options.

Tropical punch fruit roll-ups


     My daughter is a huge fan of this particular fruit leather. Although, I should say that she loves all of the fruit roll- ups I make. But she is extremely partial to anything that has pineapple in it. Can you blame her? I love these myself, but I especially love the smell of the house when these are in the dehydrator. If I close my eyes hard enough, and drown out the sound of her squealing or screaming in the background, I can almost picture myself in a tropical paradise. I use banana in this recipe, but only one, it gives the fruit leather a better more pliable texture. Banana tends to overpower other flavors, so use a banana that is not fully ripe. This will give your fruit roll-up the texture you need, without it tasting like a banana with a splash of pineapple and strawberry fruit roll-up. Much like my recipe for Strawberry fruit roll-ups this recipe doesn’t require anything other than fruit. The flavor of these roll-ups remind me of tropical punch Now and Later’s. Do they still make those? I haven’t had one since they were 5 cents a pack! This fruit roll up is much better for you. It doesn’t contain any high fructose corn starch, or artificial flavors and coloring. It’s fruit, plain and simple!

Here is what you need:
25-30 strawberries, with tops removed
1 whole pineapple, skin off, and unless you have a high powered blender like a vitamix, core removed
1banana

Equipment:
Blender
Parchment paper

Place strawberries, pineapple, and banana in the blender, and blend until smooth:


Pour out onto parchment paper and smooth out evenly:


Place in oven on 135 degrees Fahrenheit, or the lowest setting on your oven. Let bake for 4-6 hours.


Remove from parchment paper, roll, and enjoy!!

Follow me and like me on Facebook: https://www.facebook.com/Lazygirldinners

Fruit roll-up’s it is!

We’ve managed to eat most of the strawberries I got from the farmers market. However, we still have 2 baskets left. My daughter loves all things that involve fruit leather, and I haven’t made her any for quite some time. I normally dry really ripe pears and pineapples for her, but these strawberries will be a nice change! Strawberry fruit roll up’s are so simple to make. You only need one ingredient strawberries! Equipment you’ll need for this recipe: A blender, parchment paper, and an oven.

Slice the tops off the strawberries and place them in the blender:

Blend until smooth:
Pour out onto a piece of parchment paper
 Smooth out with a spatula
Make sure that the mixture is spread out evenly
Place in a dehydrator, or in your oven at 130 degrees F, or the lowest setting on your oven for 4-6 hours. Be careful not to let this over cook or you’ll give a whole new meaning to the term fruit leather!
Once it’s done remove from the parchment paper roll, cut, and enjoy!!
                                                             
What is your favorite fruit to dry? 

Follow me and like me on Facebook: https://www.facebook.com/Lazygirldinners