Homemade Hot Chocolate Mix–DIY Hot Chocolate Mix

DIY Hot Chocolate Mix-How to make Homemade Hot Chocolate Mix

DIY Hot Chocolate Mix-How to make Homemade Hot Chocolate Mix


I have been so busy these past few weeks, too busy to even think about putting up a blog.  That is not to say that I have not been thinking about you guys. I have so many great recipes that I want to share with you, but they will have to wait until the new year.  I wanted to share a few Holiday recipes with you as I prepare them for my family and friends.  This recipe for hot chocolate is one such recipe.  It makes a great gift and it’s not overly complicated to make.  I added the mix to some mason jars and purchased some white tops  to replace the metal lids to give them a more elegant look.  Add a ribbon, and you’ve got a perfect food gift for a loved one, not to mention some fantastic hot chocolate mix for yourself!


Pin It!

Pin It!


Ingredients

8 oz semi-sweet organic chocolate  bar ( 70%-100%)

1 cup of unsweetened baking chocolate powder

1 cup of  organic sugar can sub with maple sugar

2 tablespoons of cornstarch


Directions: Place the chocolate bar into the freezer so that it’s frozen solid before you process this mix.  It Should not take longer than 10 minutes for it to freeze.  Roughly chop the frozen chocolate bar,

Place it and all of the other ingredients into a food processor,

Blend until the ingredients are completely powdered–about 2 minutes.

Once powdered, transfer to an air tight container.

When ready to use, add 2-3 tablespoons of the hot chocolate mix to 1 cup of milk– You can use any kind of milk you like, you can also use water.  Bring the milk/water and hot chocolate mix to a boil in a sauce pan.

Top hot chocolate with marshmallows–get my recipe here-– and enjoy! So easy, and so delicious!  Page is in love with hot chocolate now thanks to this recipe!  Happy Holiday’s everyone!!!


Lemon Infused Oil-How to Make Infused Cooking oil with a Slow cooker or Sous Vide circulator


Sous Vide/Slow cooker Lemon  Infused Oil

Sous Vide/Slow cooker Lemon Infused Oil

I’ve always wanted to try my hand at making infused oils.  I buy them all the time, but they are a little on the expensive side, so making my own seems like the better value.  Infused oils are a great way to layer flavor in almost anything, be it  a salad, warm or cold, or as a highlight to fish,  potatoes or a finish to a hummus.  The process is super simple–especially if you use a slow cooker or a immersion circulator.  I had originally planned to make this with my immersion circulator, but I didn’t want to exclude a lot of you from making it.  So I borrowed my mom’s crock pot, so that I could adapt this recipe to fit the needs of a slow cooker.  Sous vide and slower cookers have a lot in common, both cook food at low temperatures.  Immersion circulators offer the option of cooking at even lower temperatures than slow cookers.  If you have a slow cooker that has the option of allowing you to set exact temperatures then you’re ahead of the game.  If your slow cooker only has a low, medium, high, or warming settings, don’t fret, you can make this.  My mom’s slow cooker has a high, low and warm setting.  I went online and did some research on what exactly those setting are and found out that the low temperature setting on slow cookers is 200F, the high is 300F and warm is 145-165F.  I planned to set my circulator to 131F for 3 hours for this recipe, so the warm setting on my mom’s slow cooker was more than sufficient to match that. In fact it was sufficient enough to allow me to shave off a few minutes from the 3 hour cook time.  I did not, because I was busy doing other things while the oil was in the slow cooker, but if you’re anxious, you could take 15 minutes off of the cook time.  I made this lemon infused oil in both my immersion circulator and my moms slow cooker–set a timer for 3 hours for both.  The results were identical.  The lemon was nicely infused in both oils.  I used avocado oil, but this can be done with olive oil, grape seed oil, or any oil that you choose.

Pin It!


Prep time: 5 minutes

Cook time: 3 hours

Ingredients:

1 cup of avocado oil–or oil of your choice

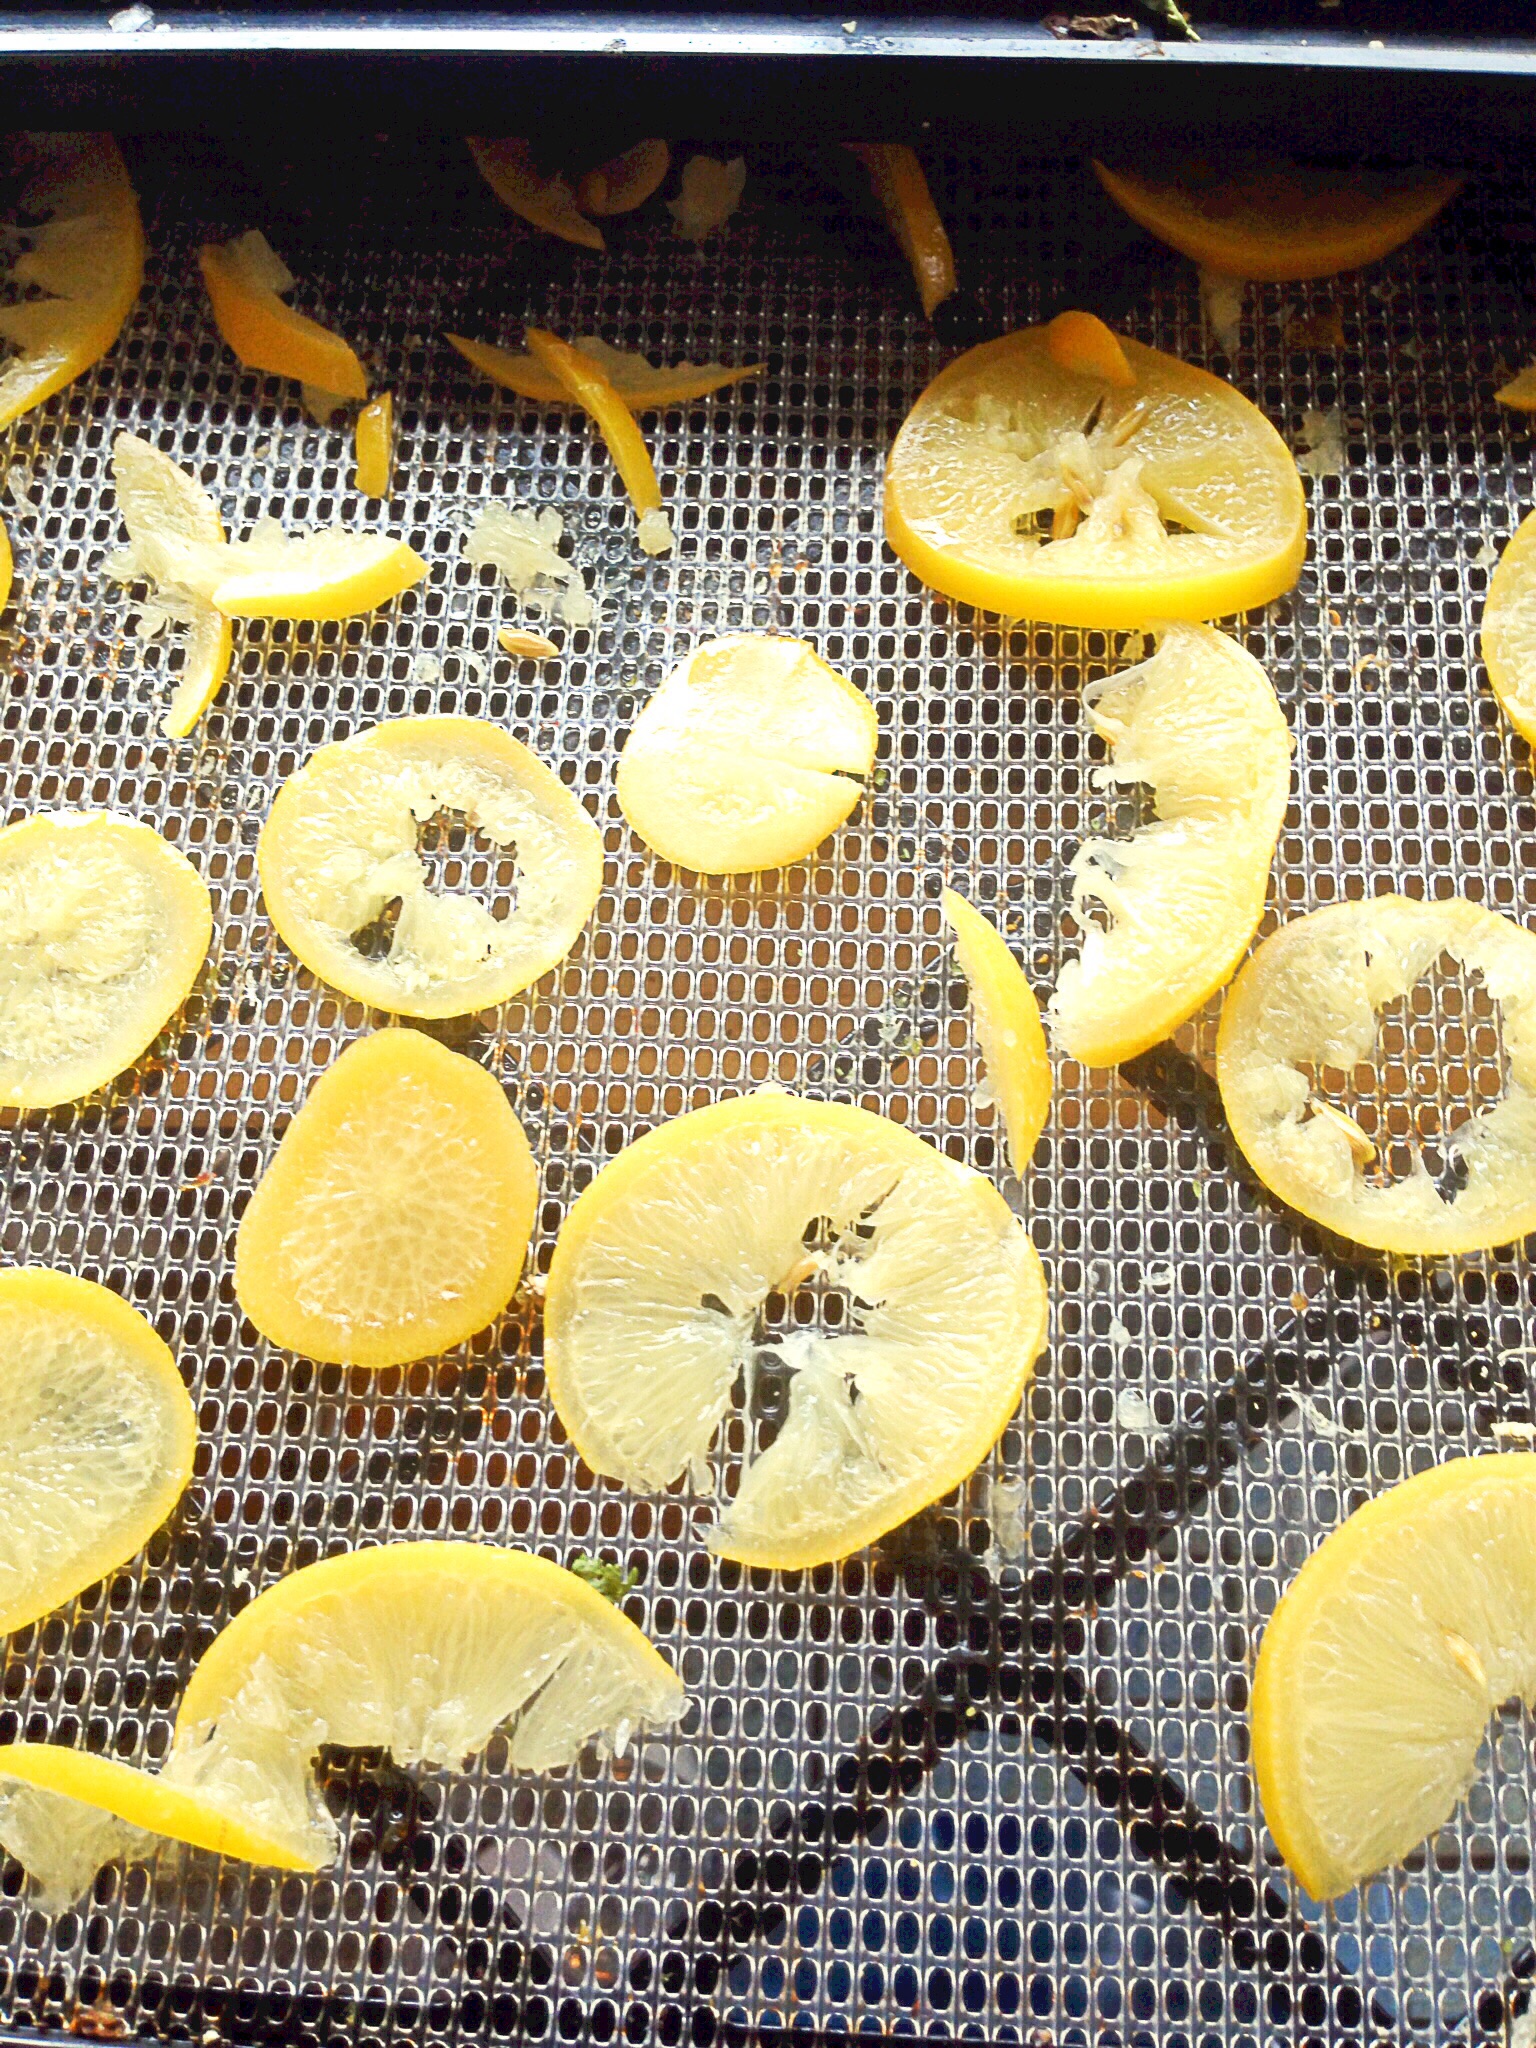
peel of 2 medium sized lemons

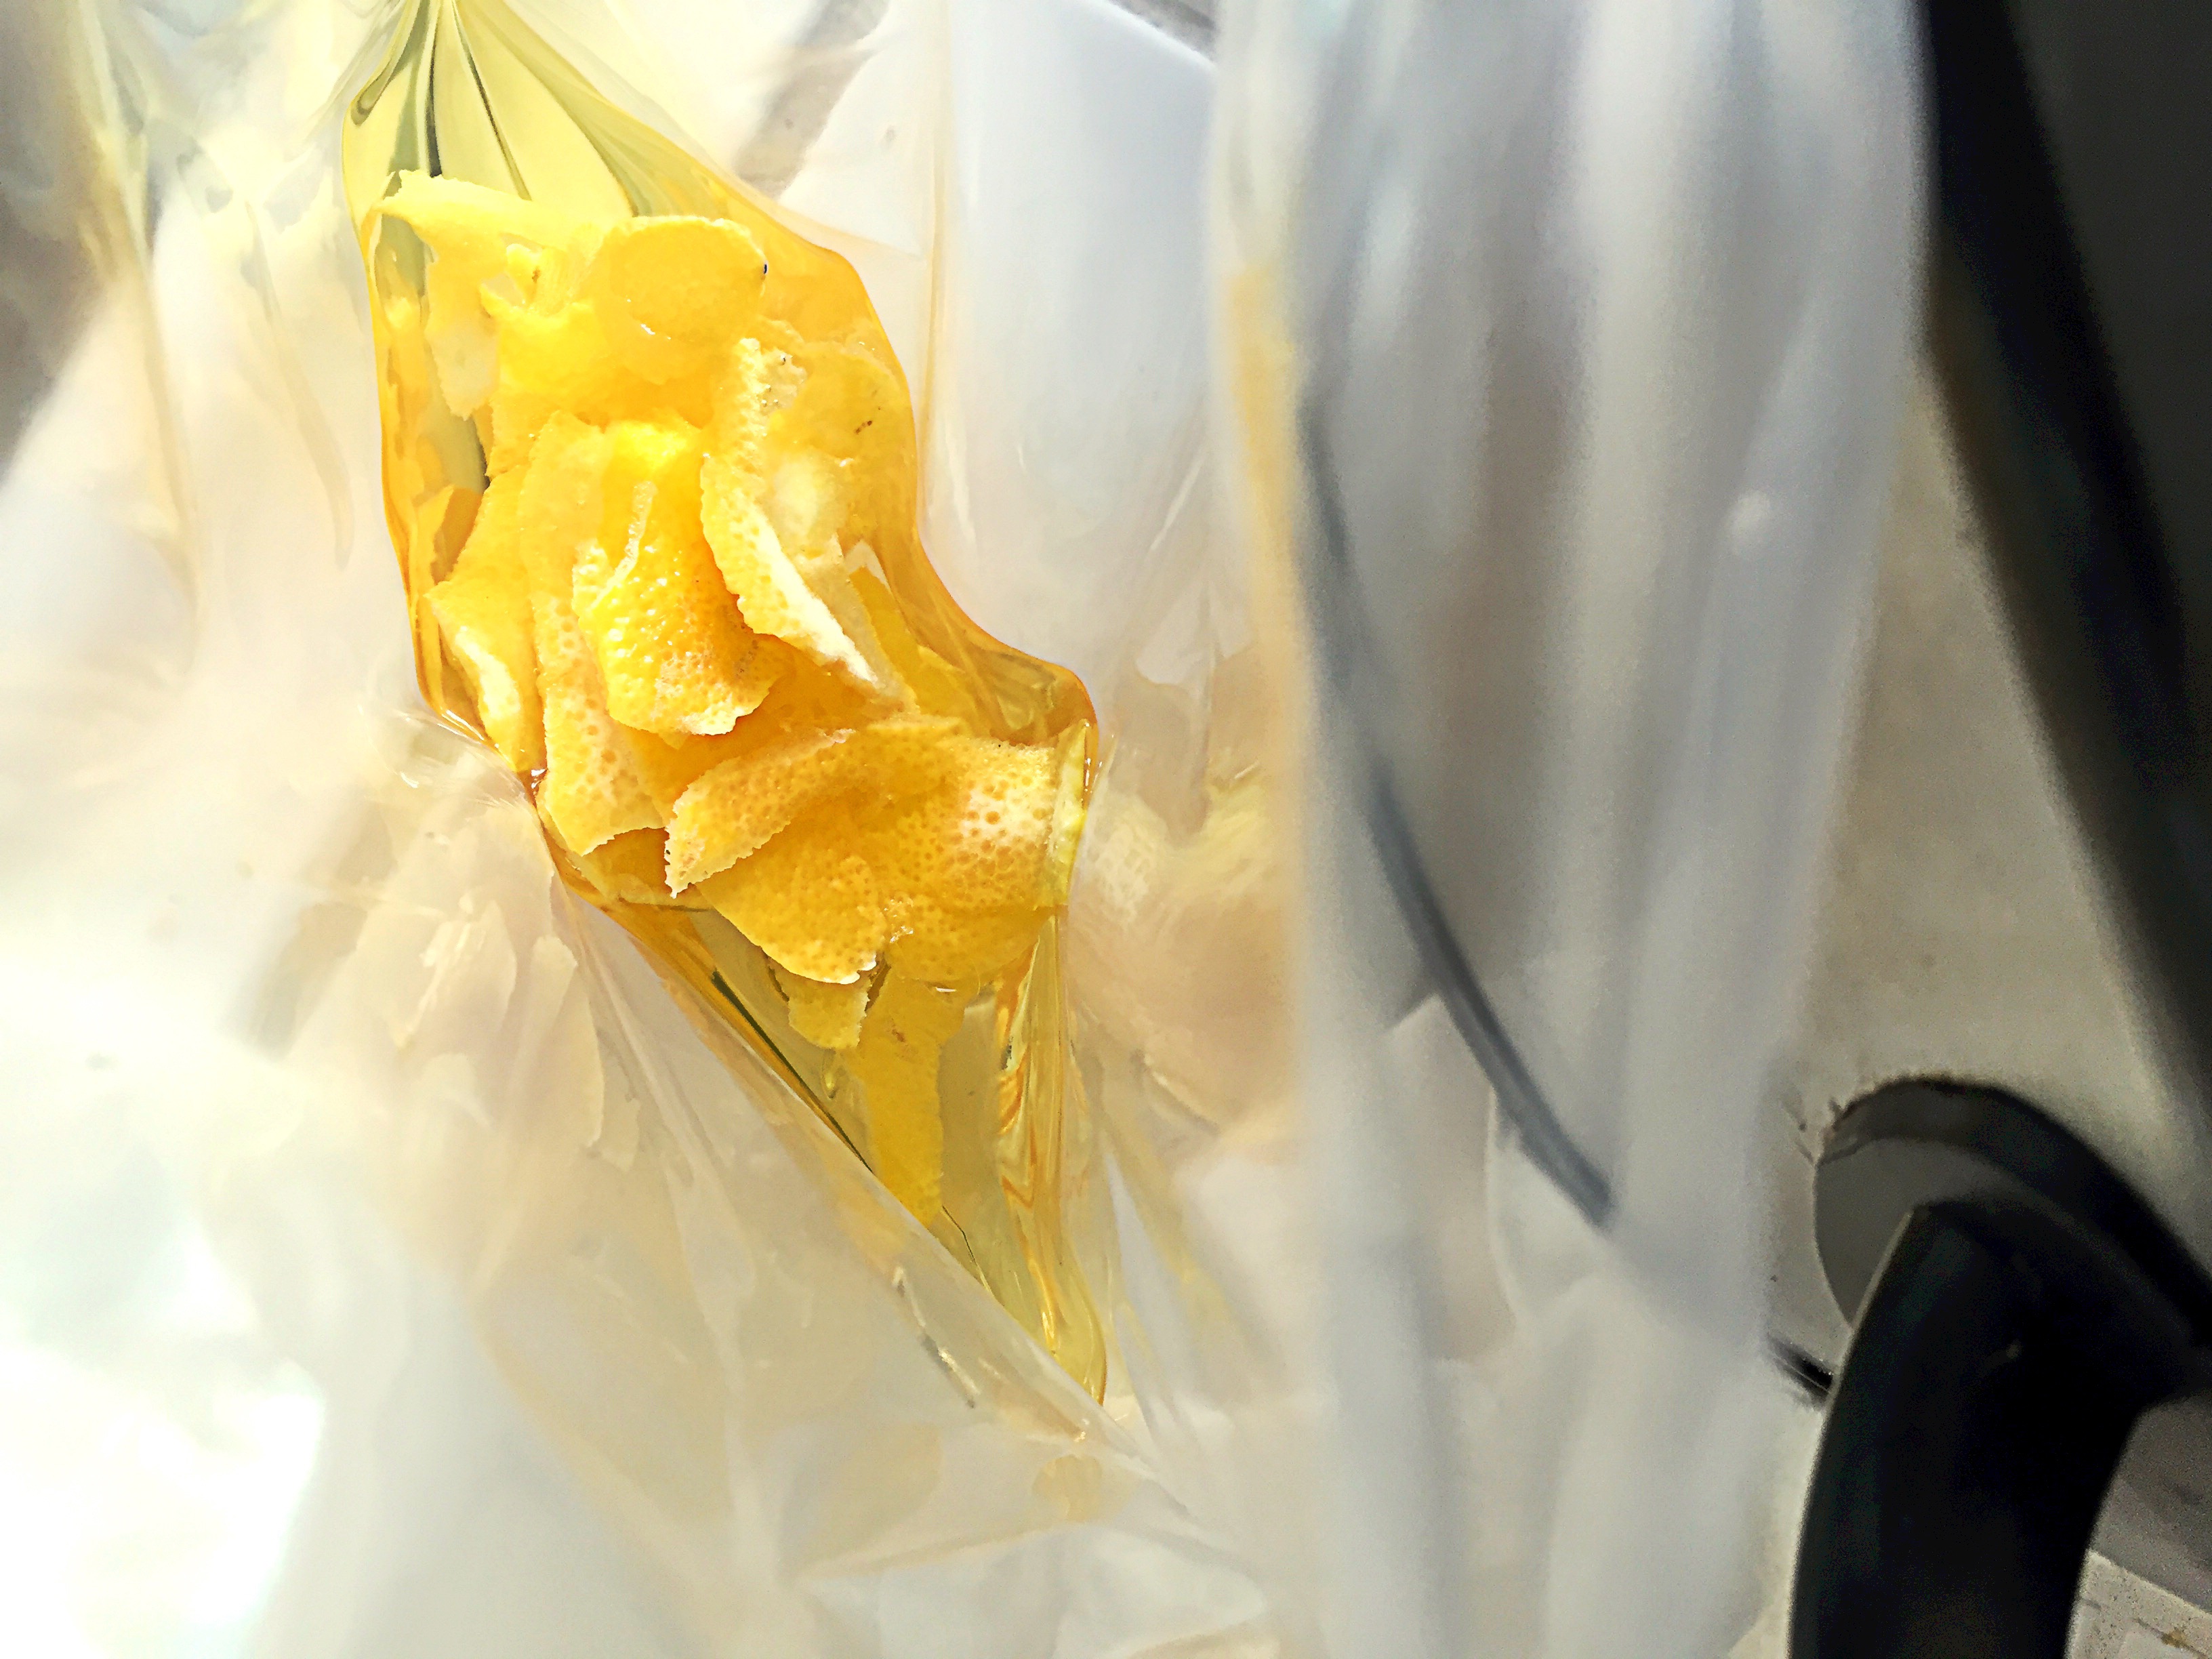
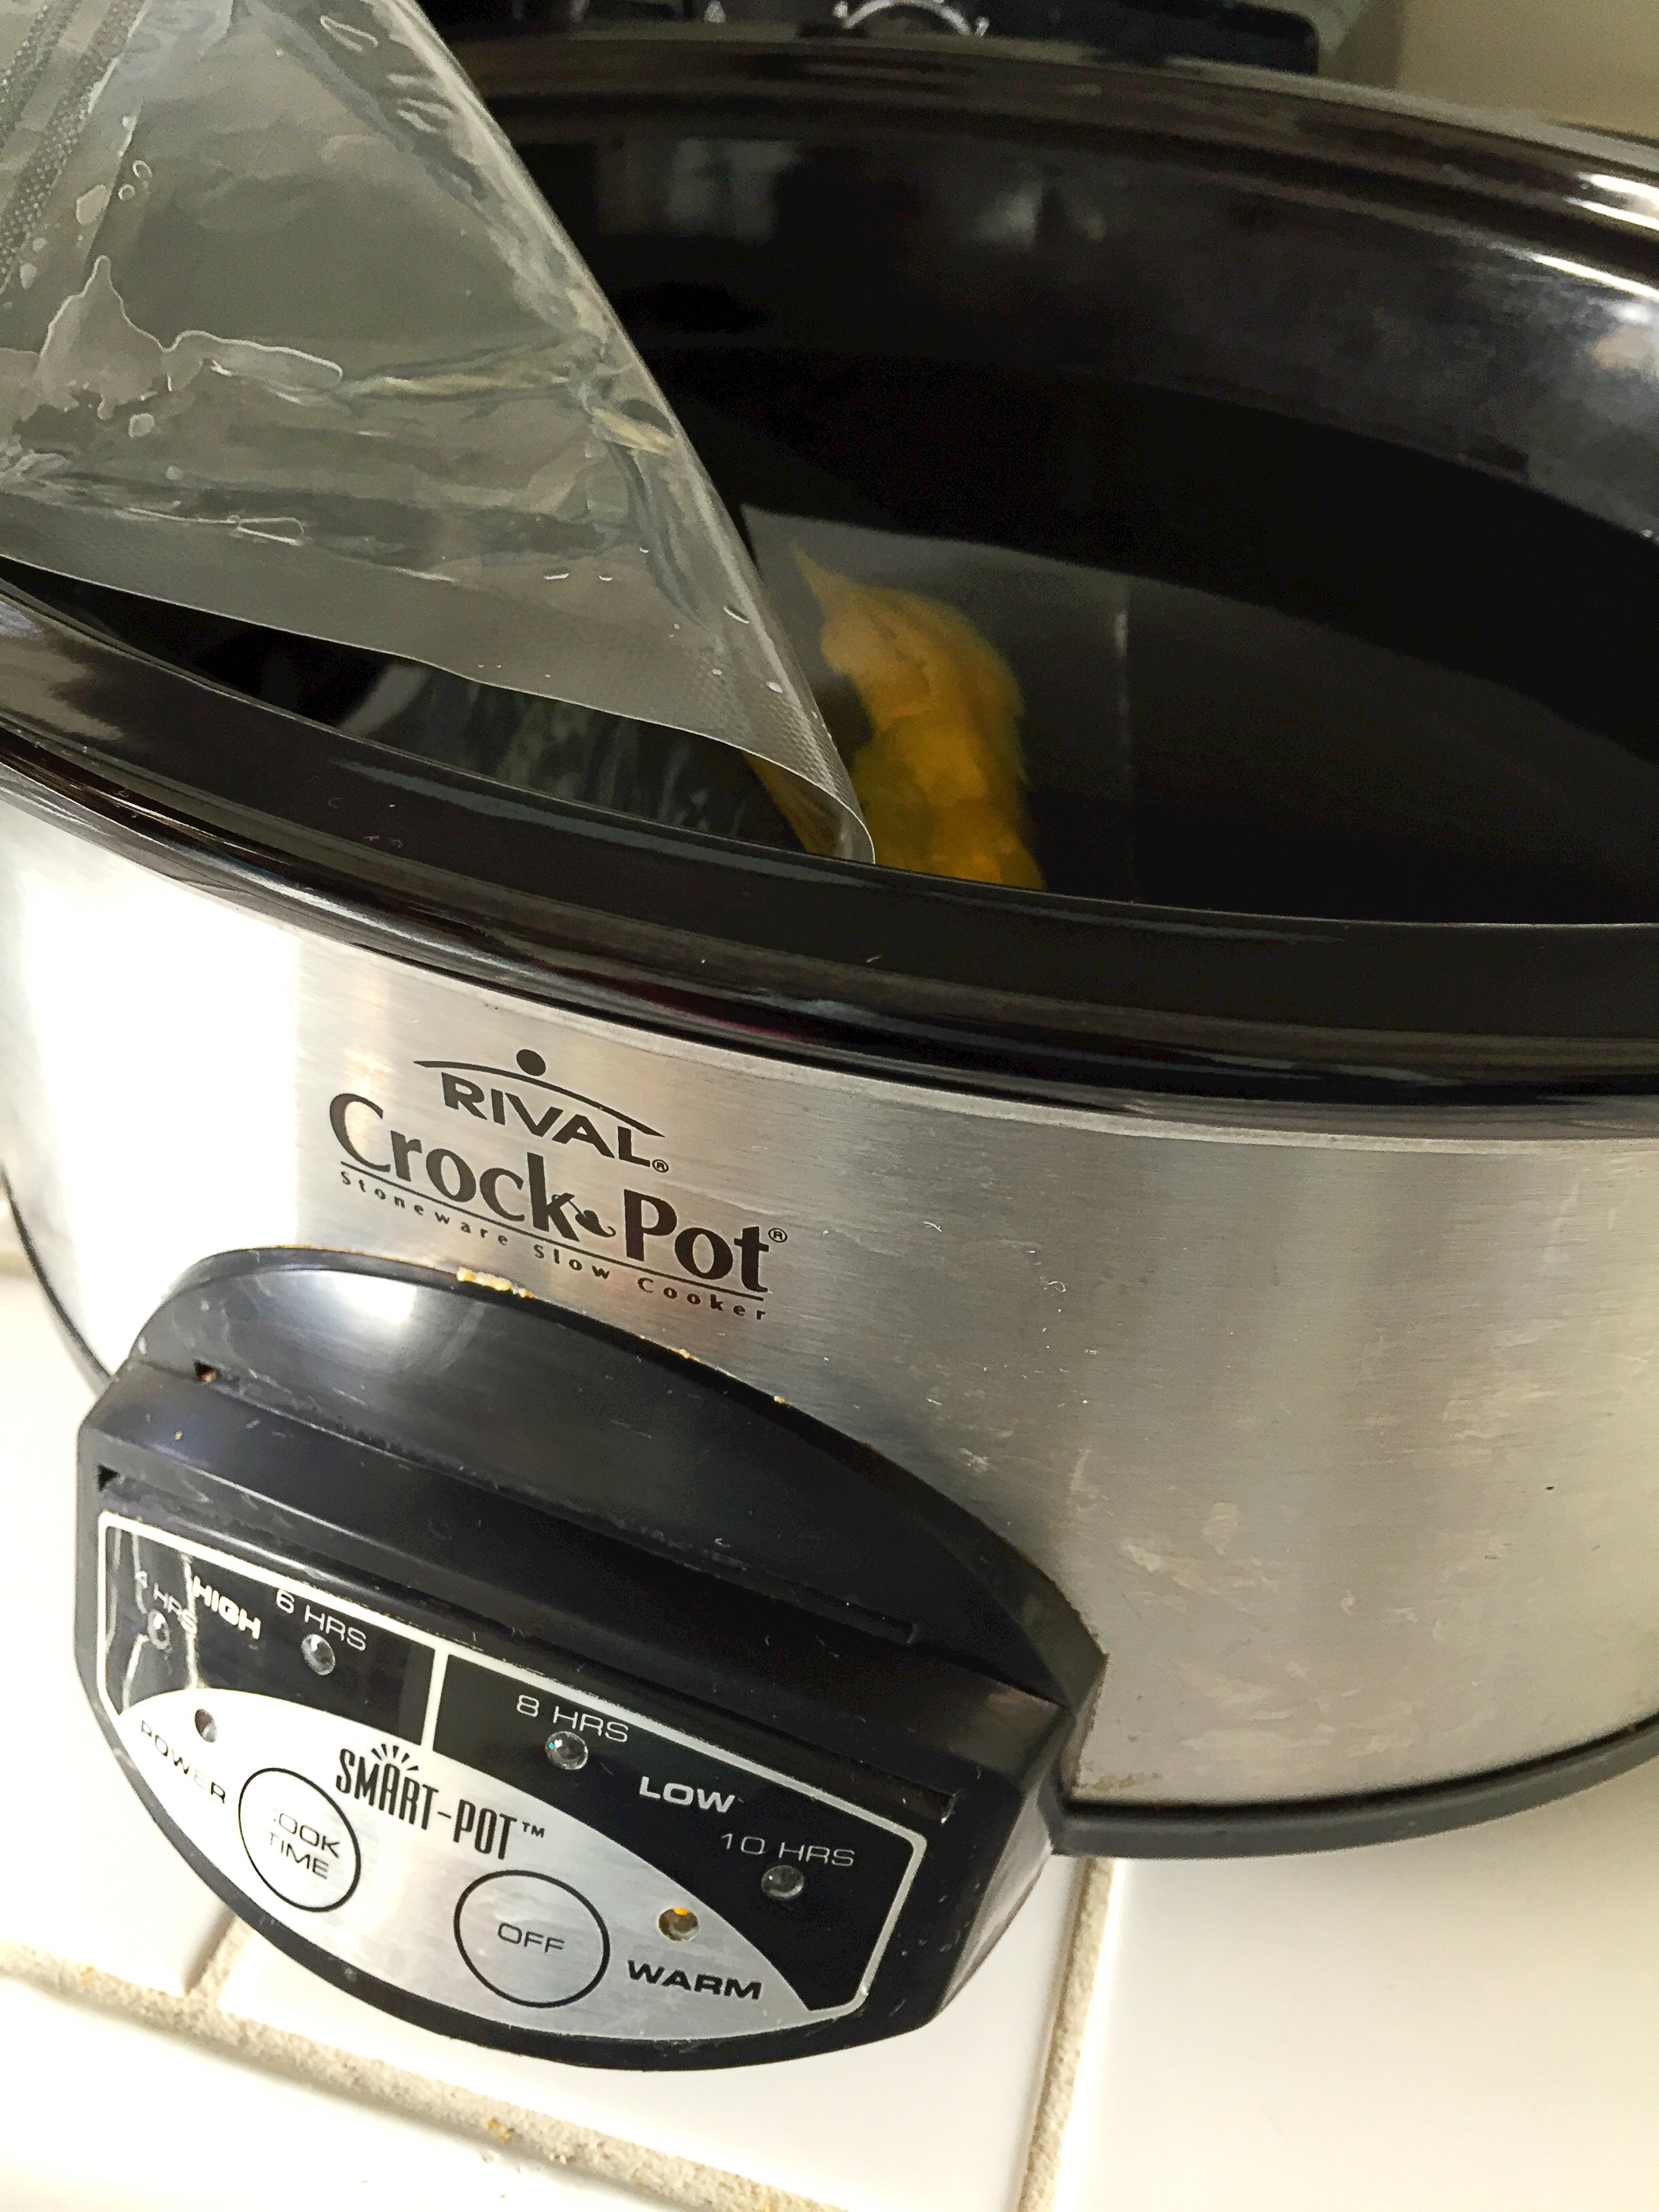
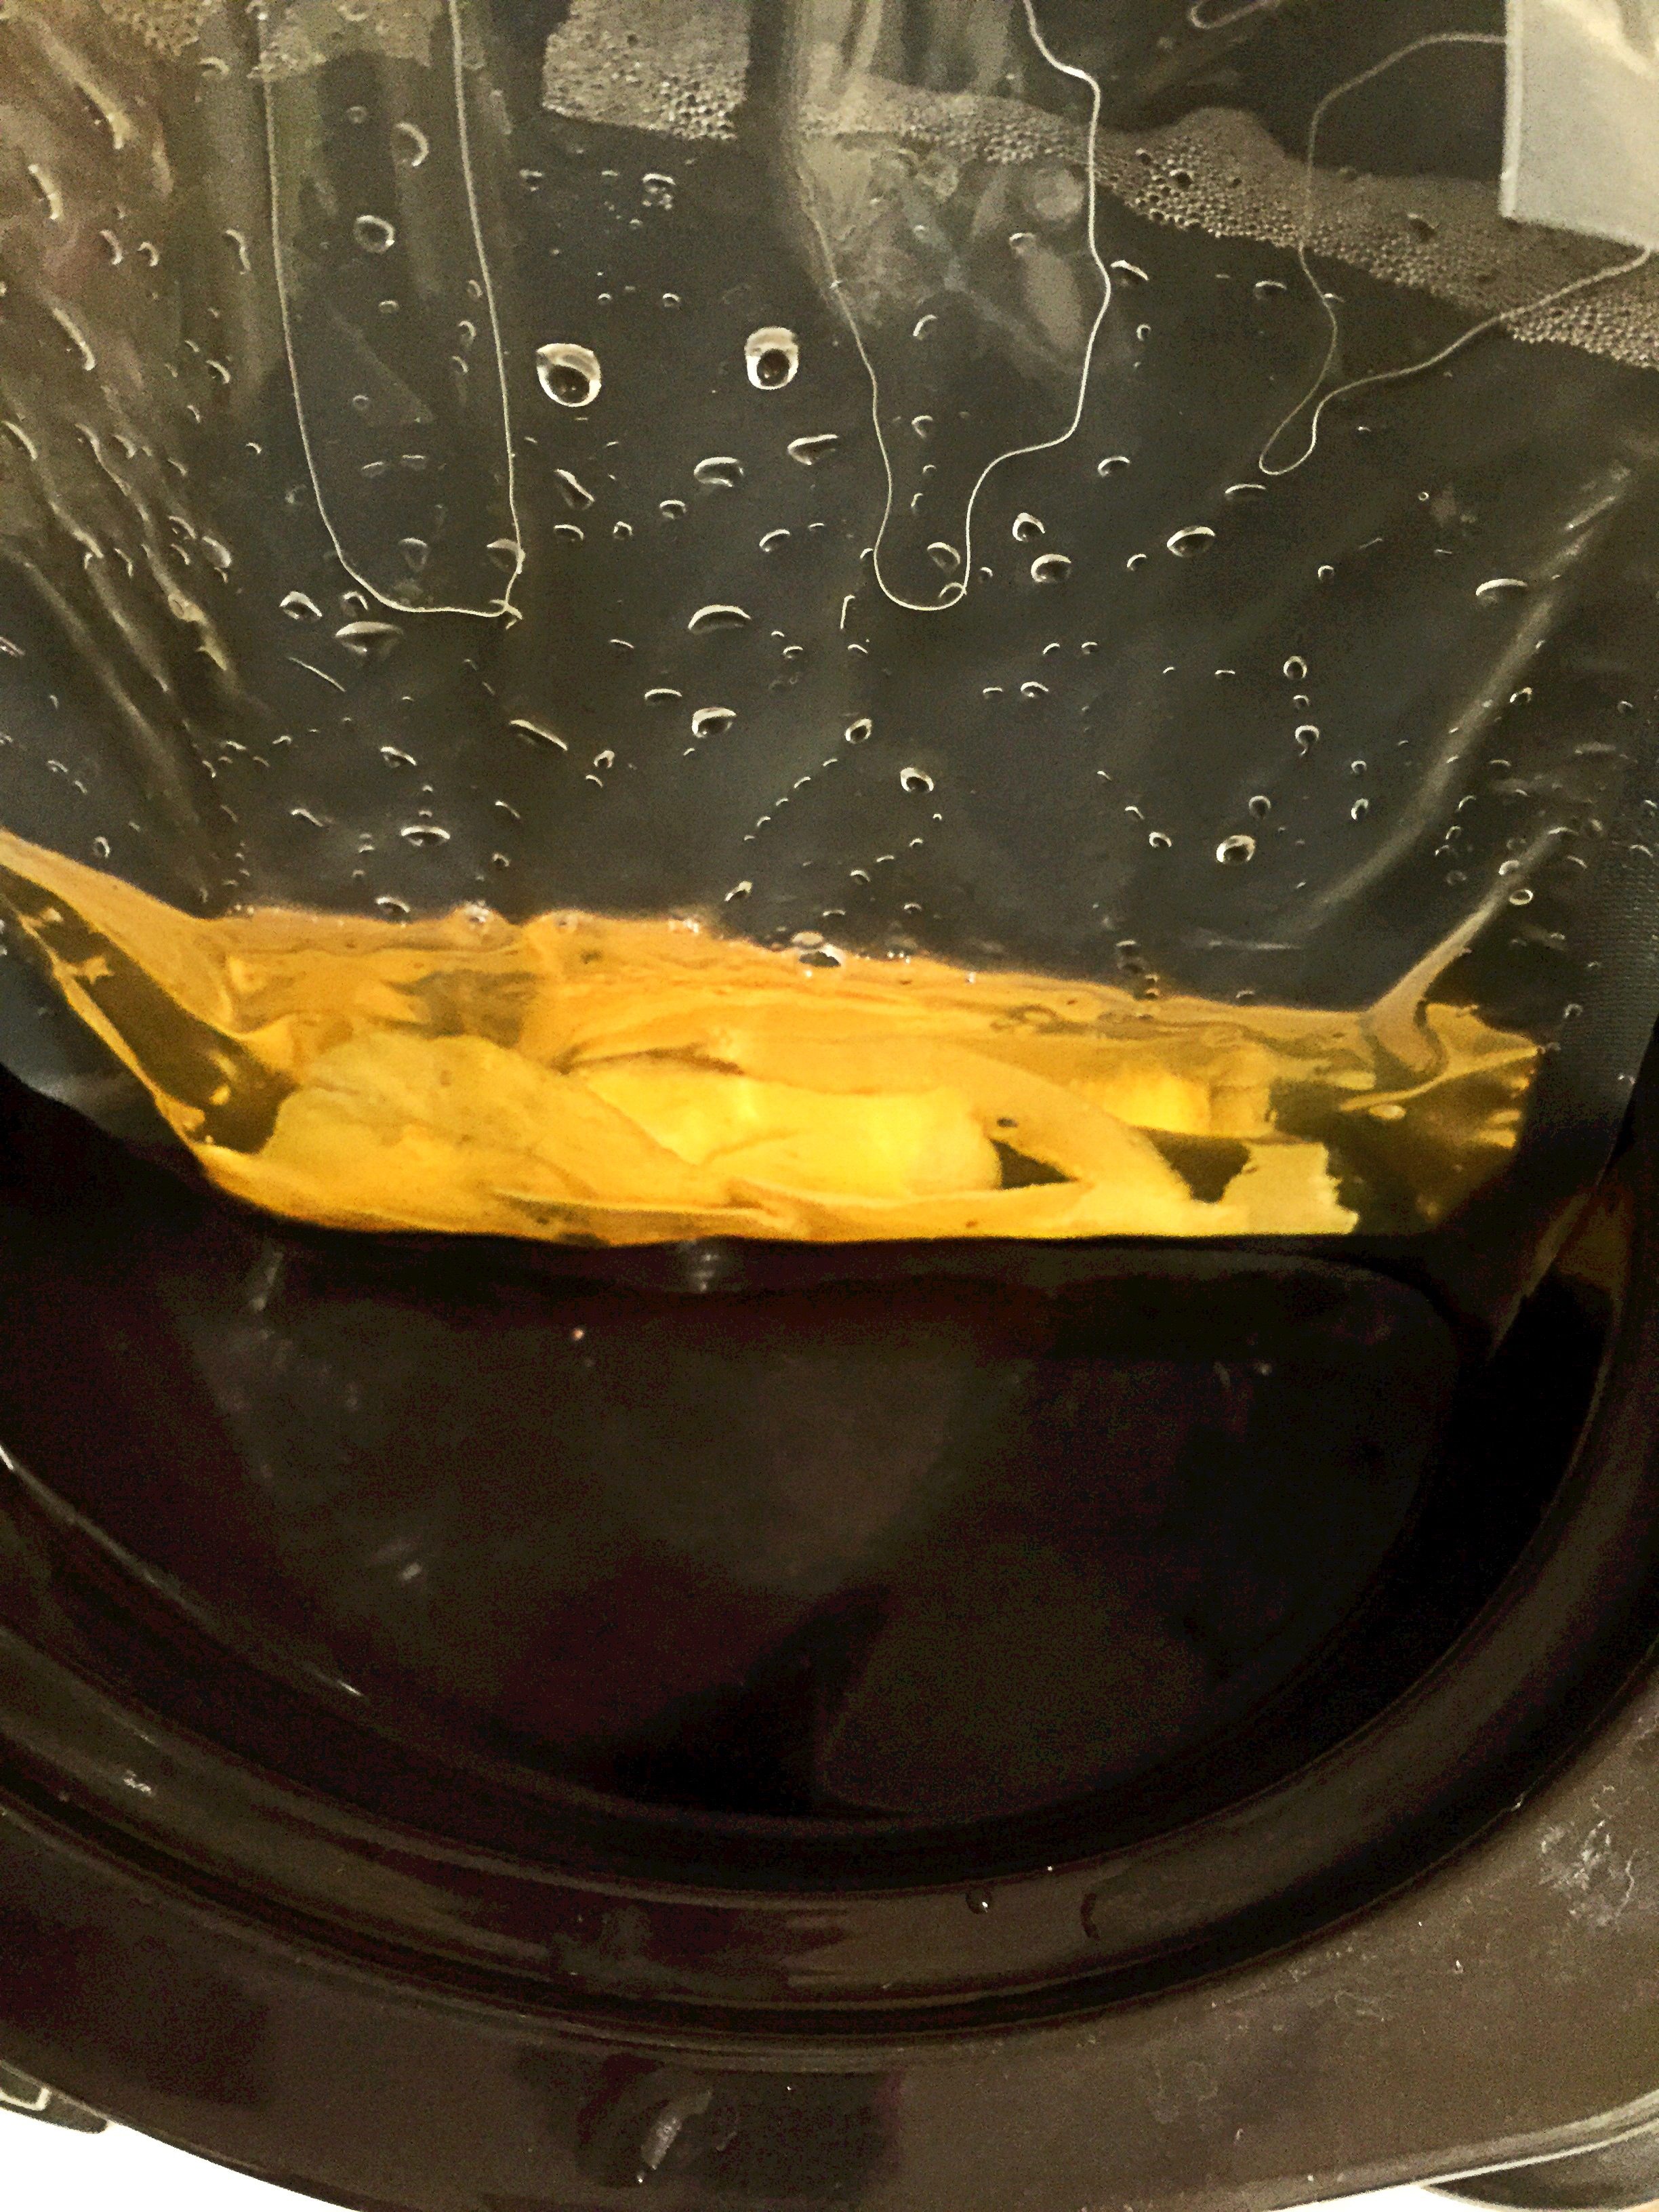
Directions for slow cooker:  fill slow cooker with water and set to 131F,–if your slow cooker has an exact temperature setting– or set it on the warm setting–low if your pot doesn’t have a keep warm setting. Place oil in a bag, then add lemon peels–making sure to bend and twist them to release oils.

image

If you’re using a ziploc bag place the bag in the slow cooker and seal using the water displacement method, then cook for 3 hours.  If you have a vacuum chamber sealer that allows you to seal liquids like I do, then seal the oil and lemon mixture in a bag for 10 seconds with a 1.5 second seal.

image

image

image

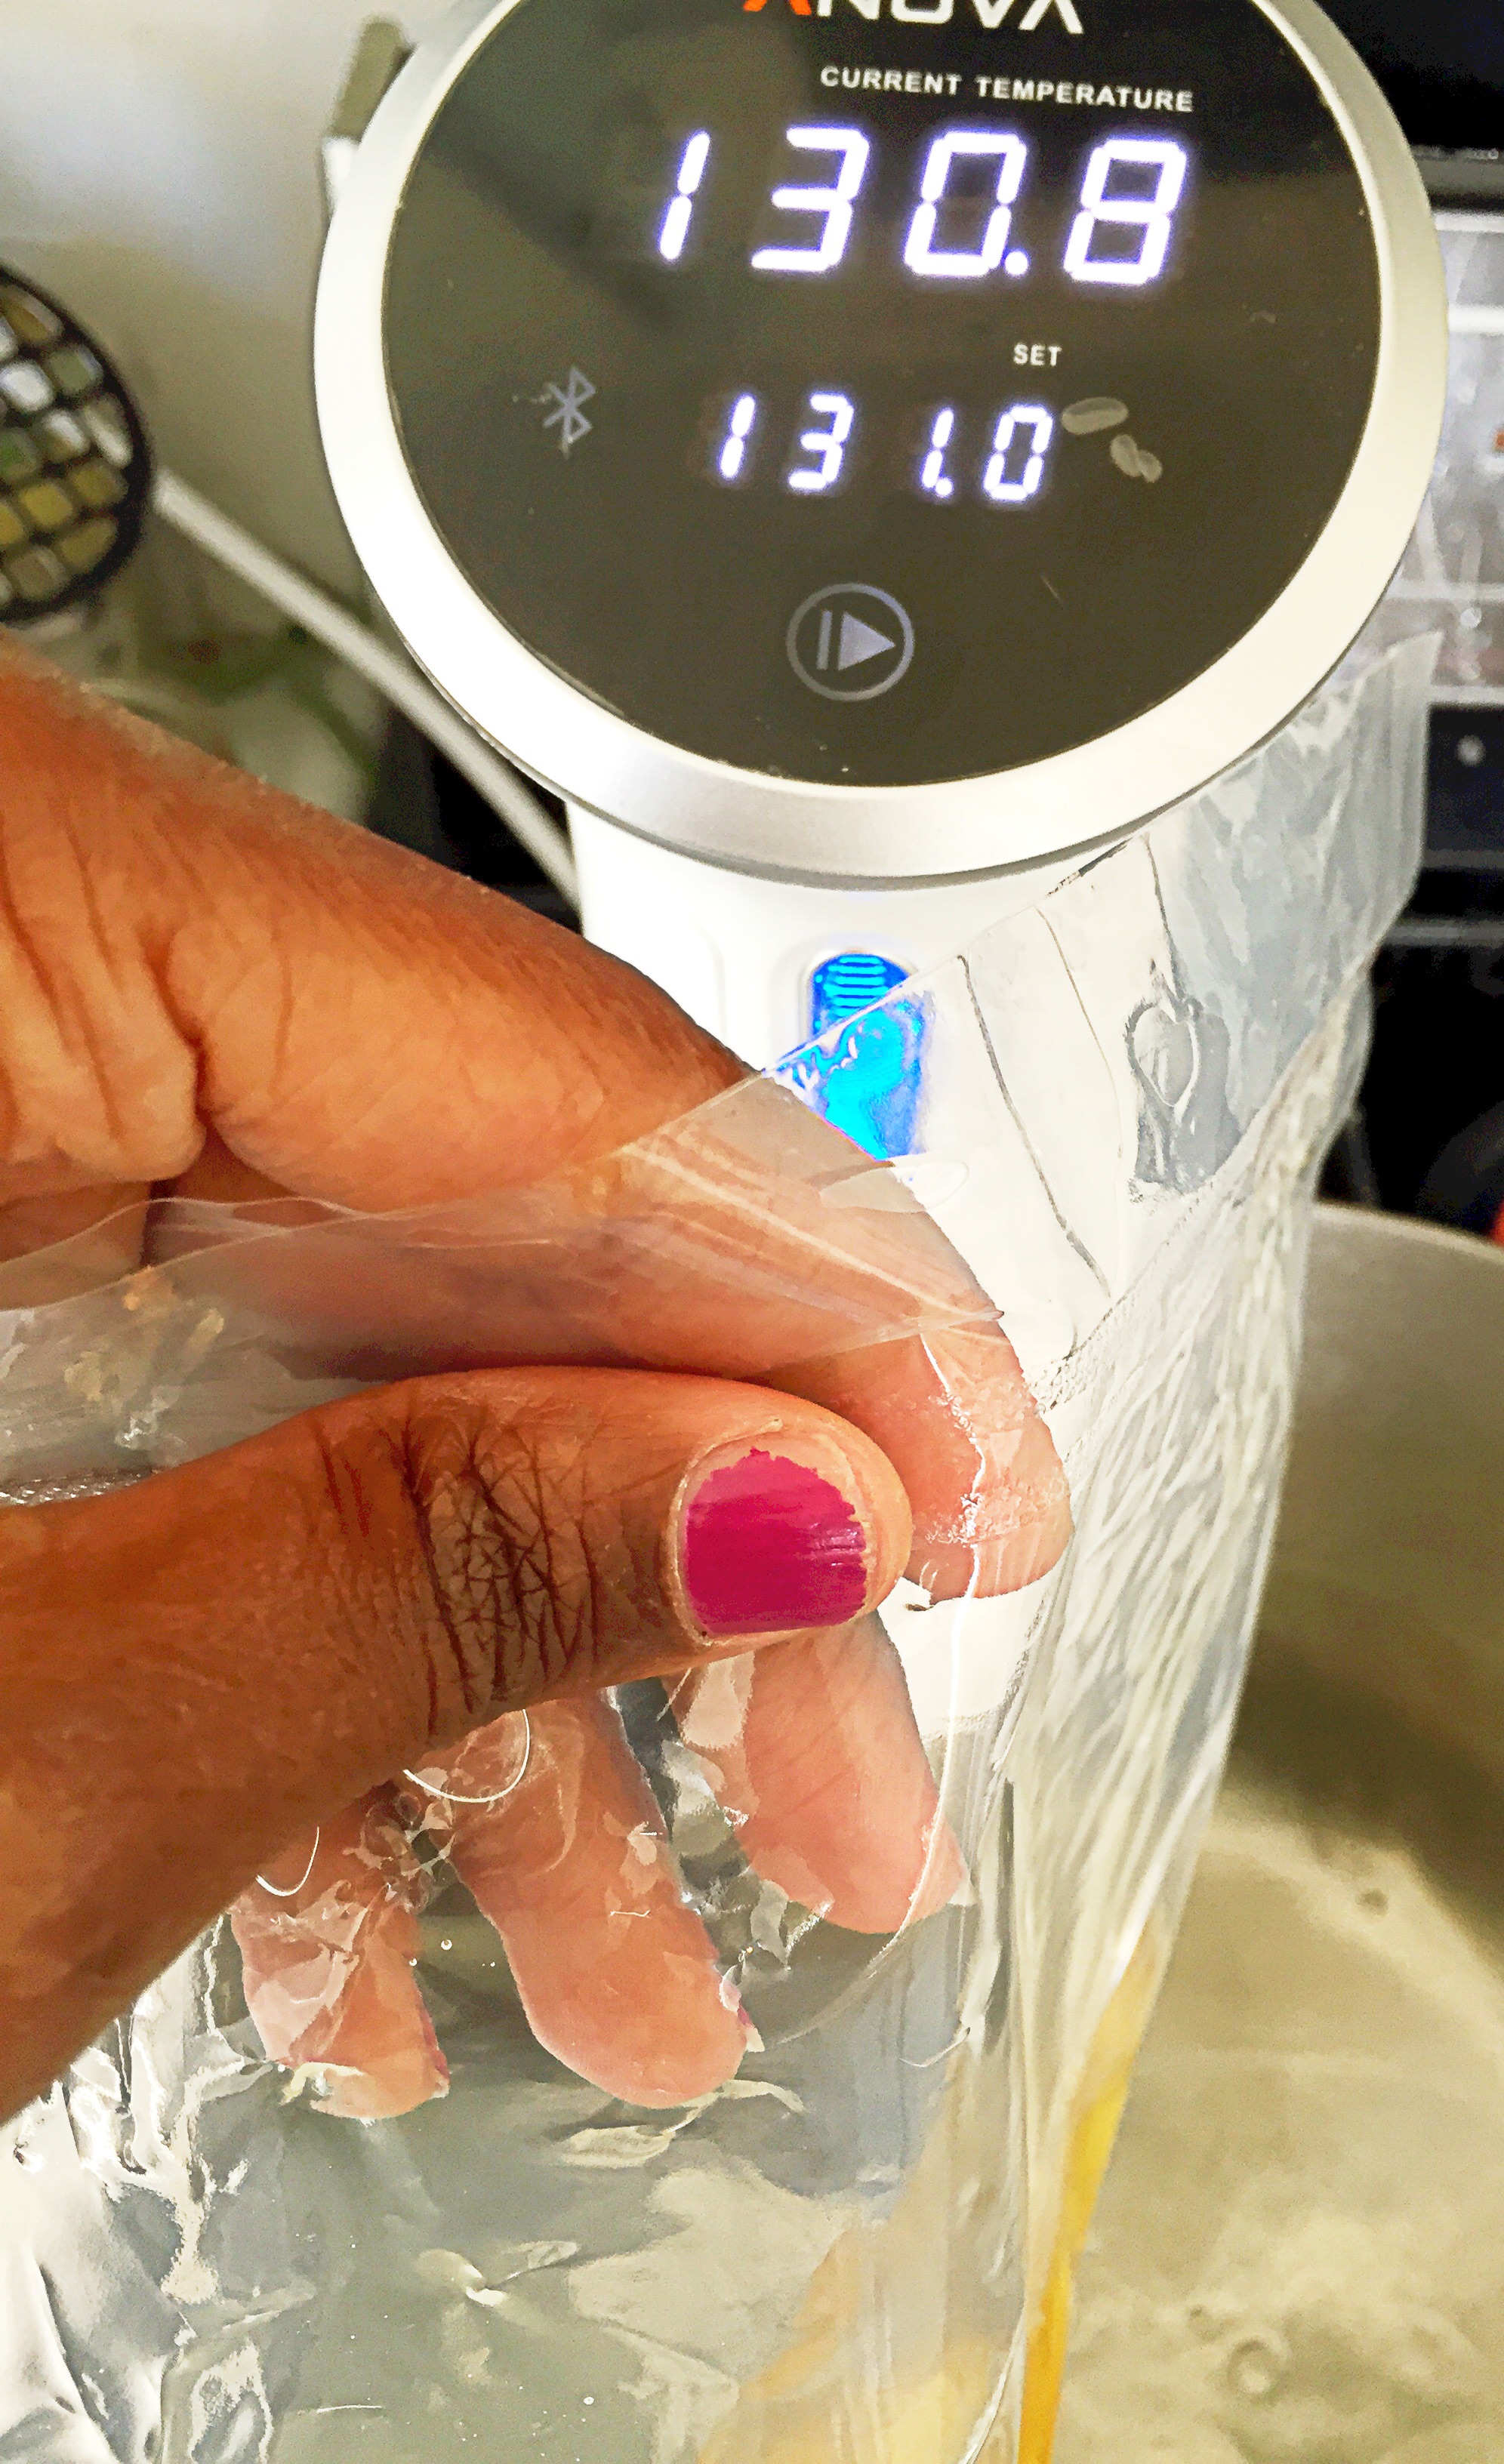
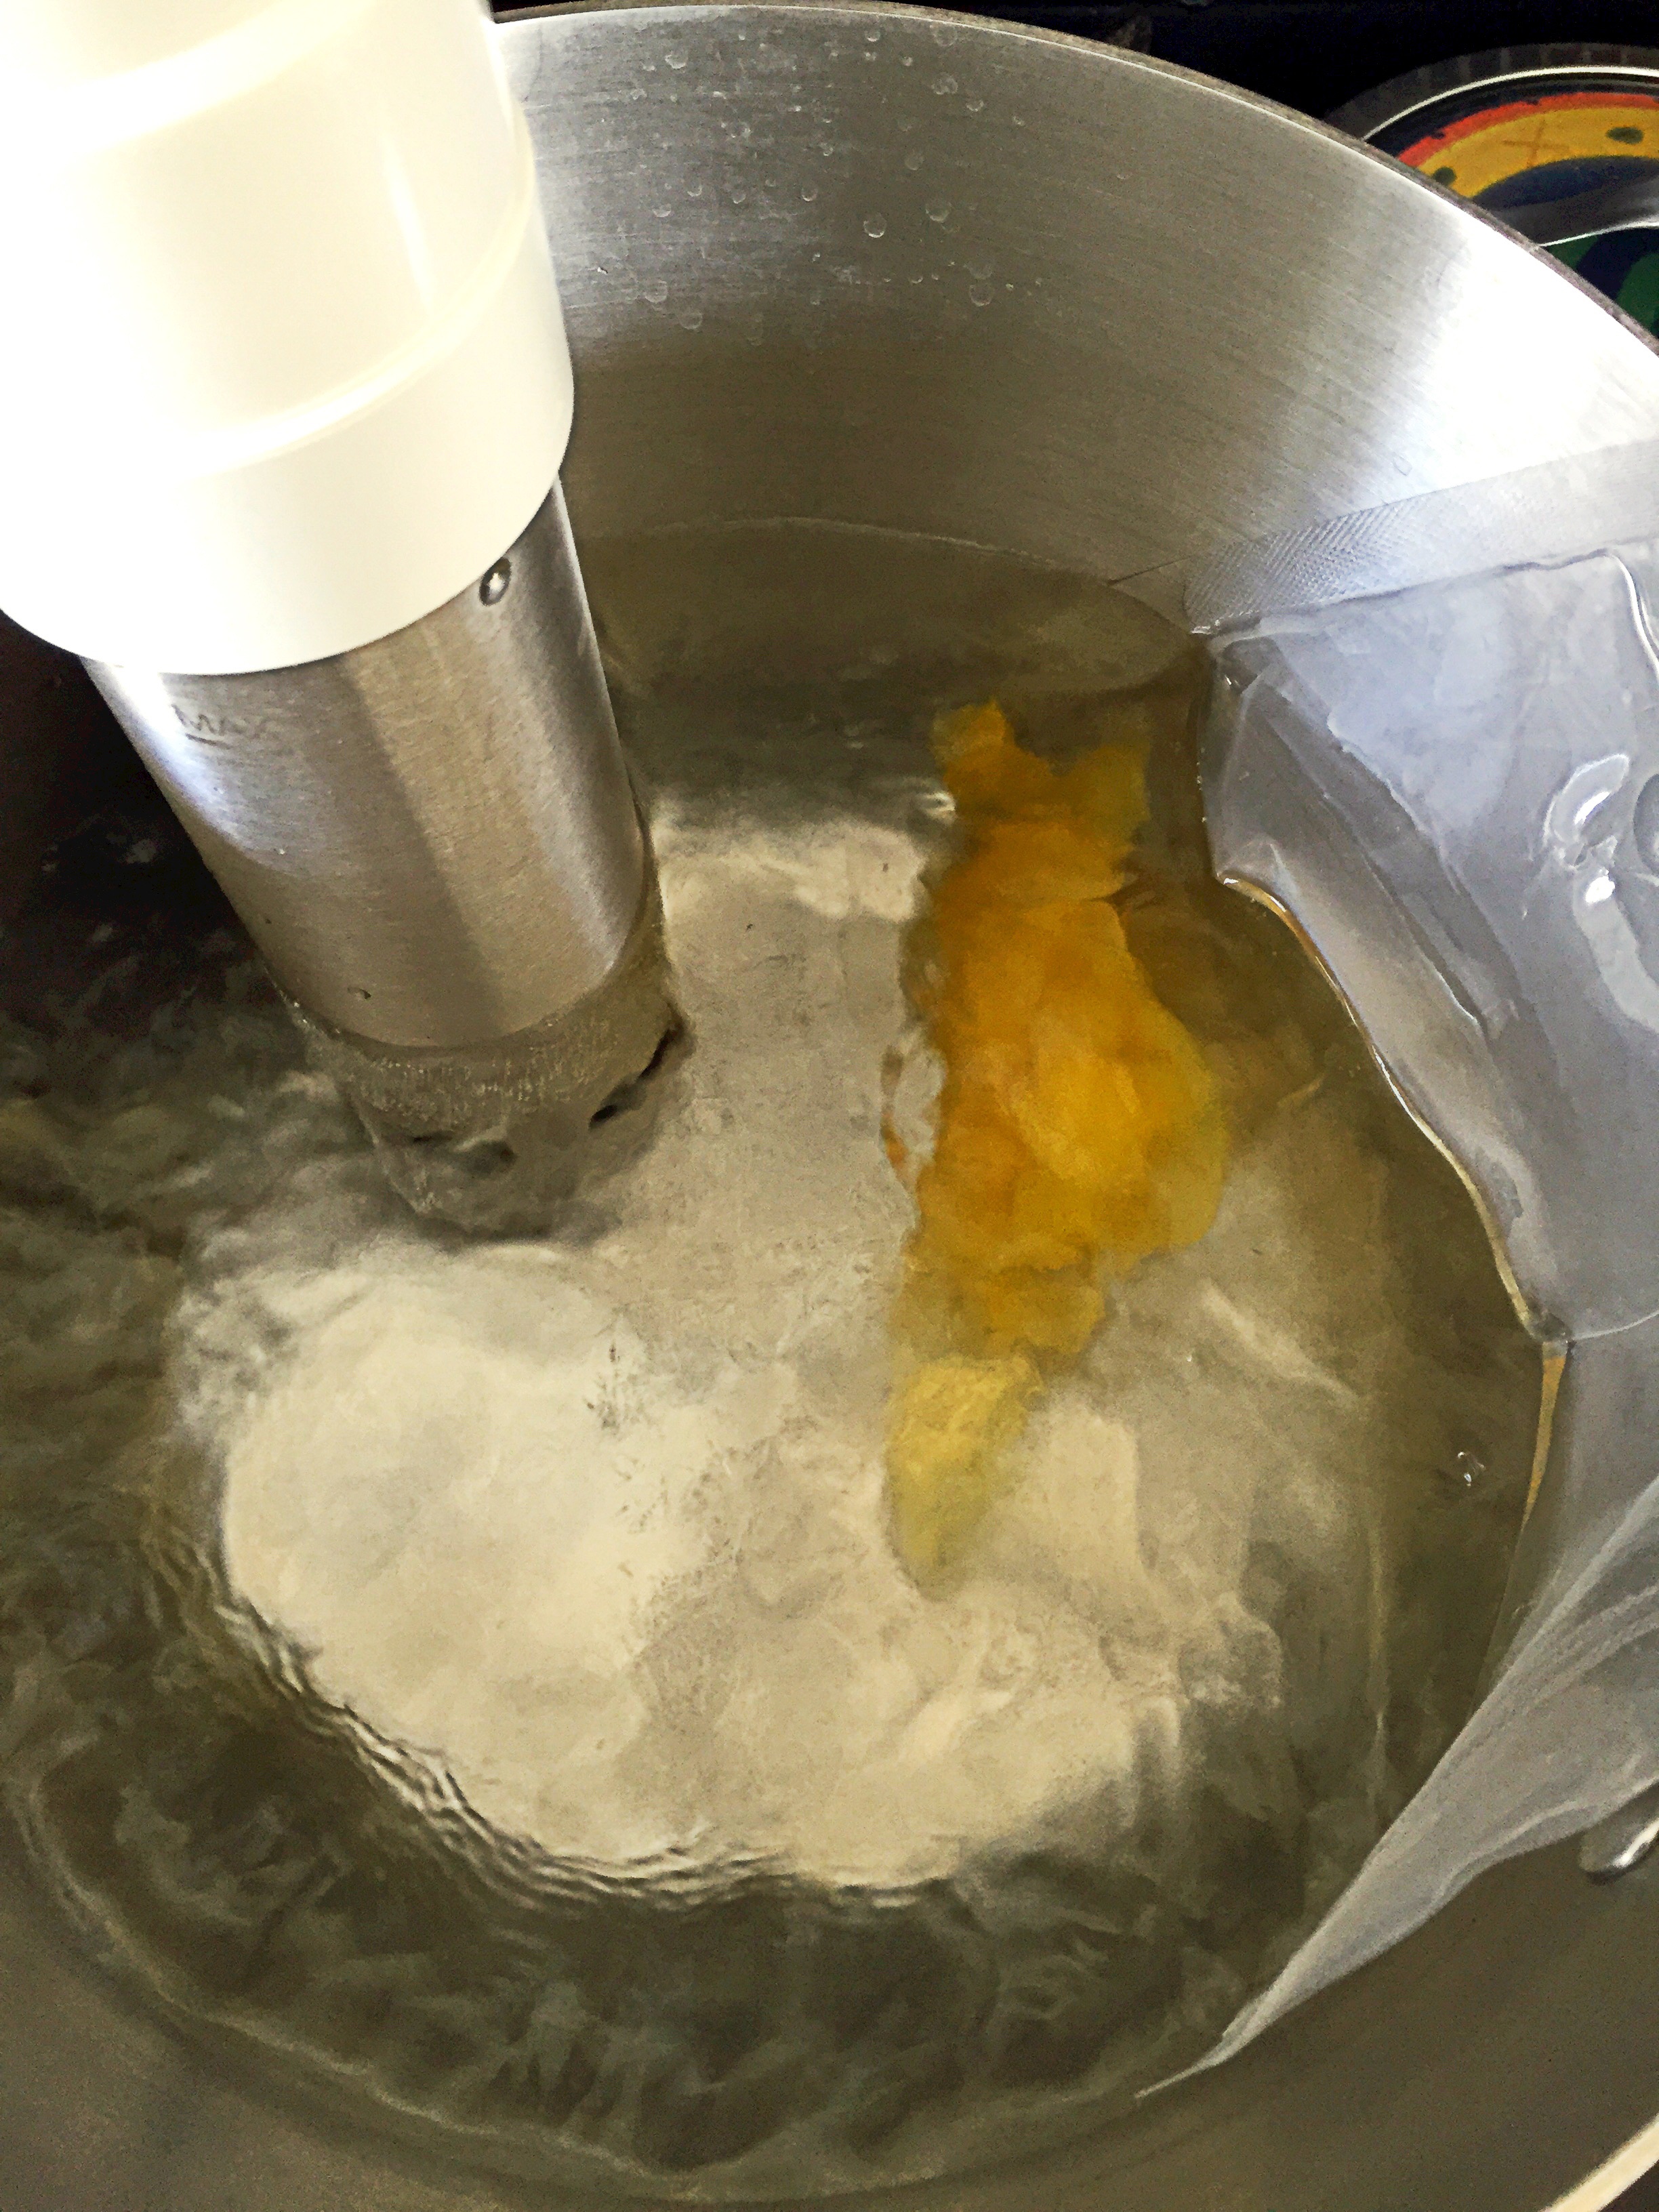
Directions for Sous vide:  Fill a pot or container with water, then set the circulator to 131F and wait for the water to come to temperature. Meanwhile add the oil and lemon peels to a bag–making sure to bend and twist them to release oils.

image

If you’re using a ziploc bag place the bag in the water bath and seal using the water displacement method, then cook for 3 hours.  If you have a vacuum chamber sealer that allows you to seal liquids like I do, then seal the oil and lemon mixture in a bag for 10 seconds with a 1.5 second seal.

image

At the 3 hour mark, carefully remove the oil from the water–remembering that even at 131F-165F water is very hot.

image

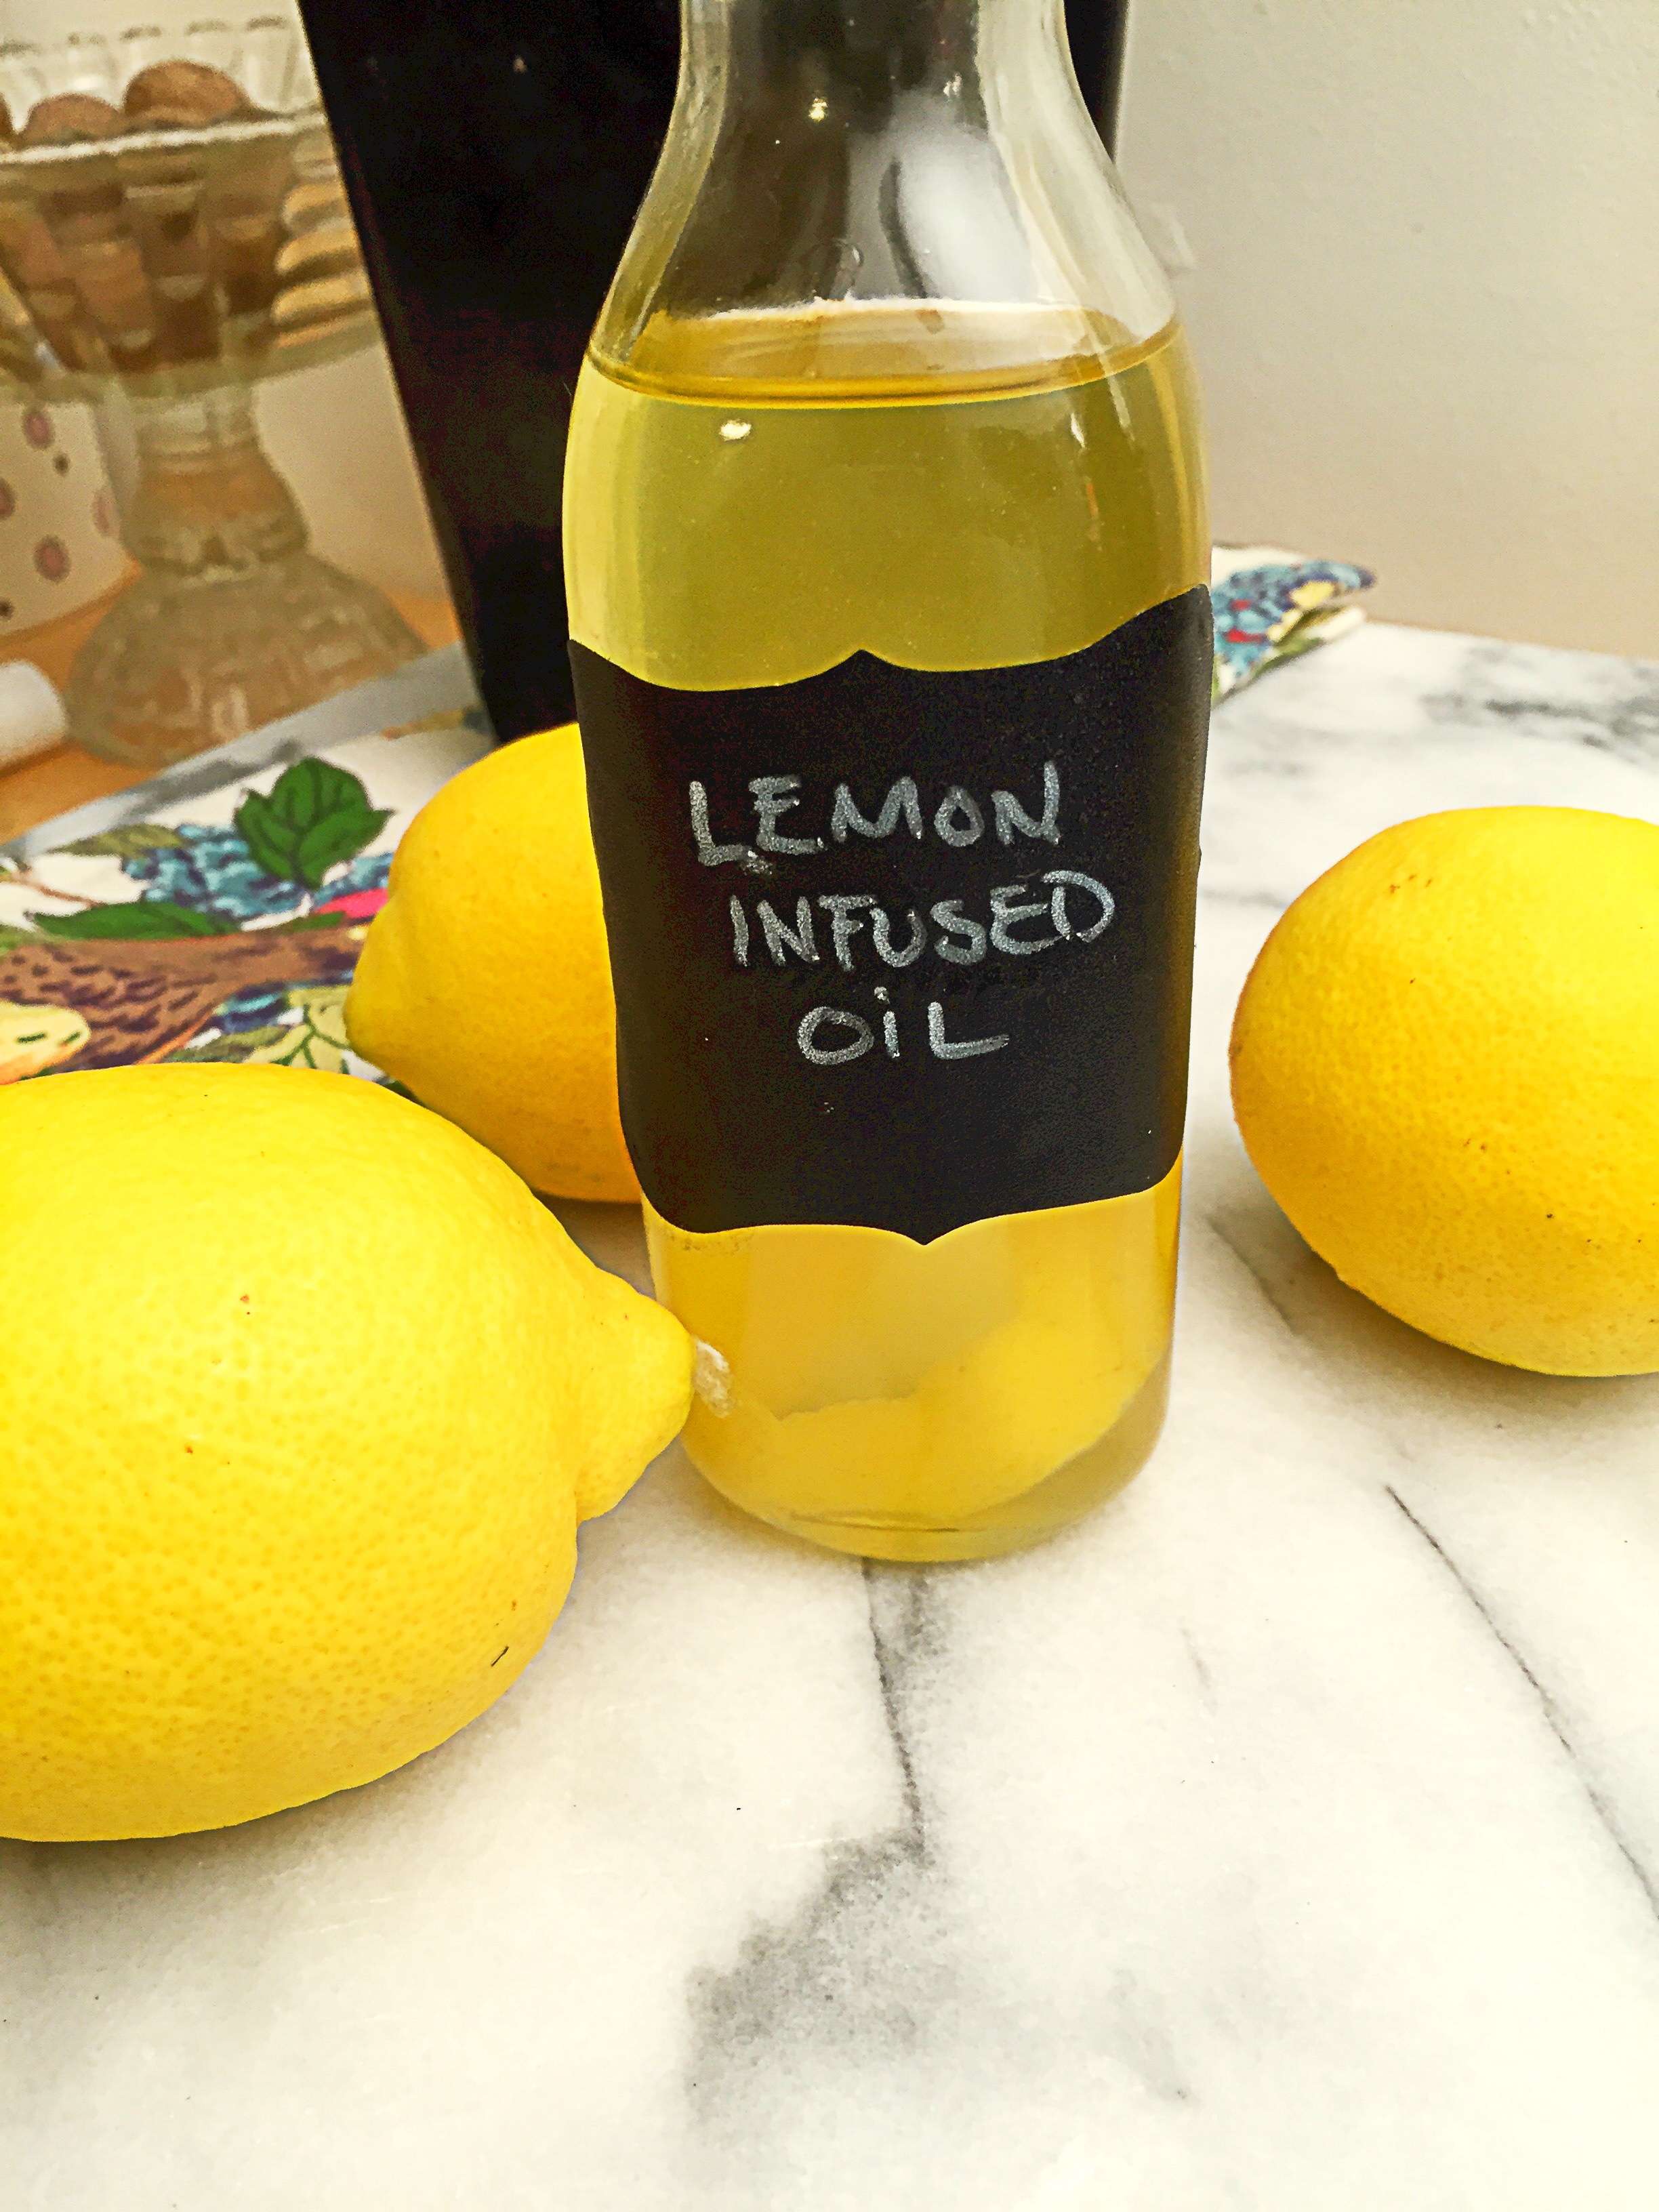
Transfer the oil to a clean container–removing all of the peels–you can leave one or two for decoration if you’d like.

image

The lemon oil is ready to use. There are so many uses for this oil.  Drizzle a little on avocado toast, or on roast chicken–the uses are endless and always delicious!

image


image


Five DIY Food Gifts For Under $5

Gourmet Popcorn -- Homemade gift giving

‘Tis the season for giving! I am one of those people who loves to give.  It makes my heart happy to give.  One of my favorite gifts to give as well as receive is food.  Unlike most gifts food is useful, so you don’t have to worry that your money will be wasted on a gift that will not get used.  If you make these you can avoid the chaos that is the mall, and spend a lovely stress free 20-30 minutes in an uncrowded grocery store.  Did I mention that you could skip going to the mall? Best of all, these gifts are delicious, but inexpensive, at about $5 per person or family they won’t break the bank.

Pin It!

Caramel Popcorn with Almonds and Coconut Flakes

This popcorn is AMAZING!!! Every time that I make it, the people lucky enough to taste receive it, tell me that I should quit my day job, and package this for mass production asap!  They’re probably right too.  But I just could never do it.  Lucky for you;-)

Caramel Popcorn

Coconut Kettle corn

This stuff is like inhaling air, it’s light, salty, and sweet in all the right places!

Coconut Kettle Popcorn

Citrus powder

This can be sprinkled on fish, chicken, steak, veggies and rice, it will be the gift that keeps on giving months down the line.

image

Sour salts

Sour salts are in the pantries of some of the best chef’s in the world, why not add one to your favorite chefs arsenal?

image

Marshmallows

‘Tis the season for gifts and marshmallows.  These are way better than the high fructose laden, store bought version.  They’re made with maple syrup, and lots of love!

98244-image

Preserved Lemon Salt–How to make Sour Salts

Preserved Lemon Sour Salt

Preserved Lemon Sour Salt

This blog has been a year in the making. Sour salts and the use of sour salts first caught my attention after reading an article in Bon Appetite Magazine about  how the chef at State Bird Provisions was using sour salts to brighten up dishes, and make use of an ingredients that would otherwise not get used.  His approach was simple, dehydrate something as simple as a preserved lemon, grind it into a powder, and boom you’ve created a flavorful salt without even trying.  After reading that article, I knew that I wanted to try making a preserved lemon salt.  I put it on my list of things to blog about, but never got around to it–it has been almost a year since I read that article! Of all the sour salts I have on my list to make, the preserved lemon sour salt has always intrigued me the most–that and a lime pickle salt–I love a good lime pickle! My first thought was to make my own preserved lemons and lime pickle.  But rather than make you all–and myself wait for me to make a preserved lemon, which would further prolong me making this sour salt, I thought  I’d just skip ahead a few steps and buy some preserved lemon’s from my local Whole Foods. Christmas is just a few weeks away, and since I’m giving these salts away as gifts I cant wait to make preserved lemons from scratch.

Pin It!

Makes about 4 ounces of sour salt.

Prep time: 5 minutes

Drying time: 2hrs

Ingredients:

4 preserved lemons (sliced thinly)

Directions: Pre-heat oven to 150F if using an oven.  If using a dehydrator set it to 135F. Place preserved lemon slices evenly onto your dehydrator sheets, if using a stove,  spread over a wire rack set inside of a bake sheet.

image

Bake or dehydrate  until hard and brittle, it took about 1.5 hours in my dehydrator. Once slices are hard and crisp, transfer to a spice mill/ blender and grind until powdery,

image

Transfer the powder to an air tight container.

image

You’ve just created a gourmet salt.  You can sprinkle this on chicken, and fish.  Add it to my North African Lamb Stew, or to some grilled lamb chops, the possibilities are endless.

image