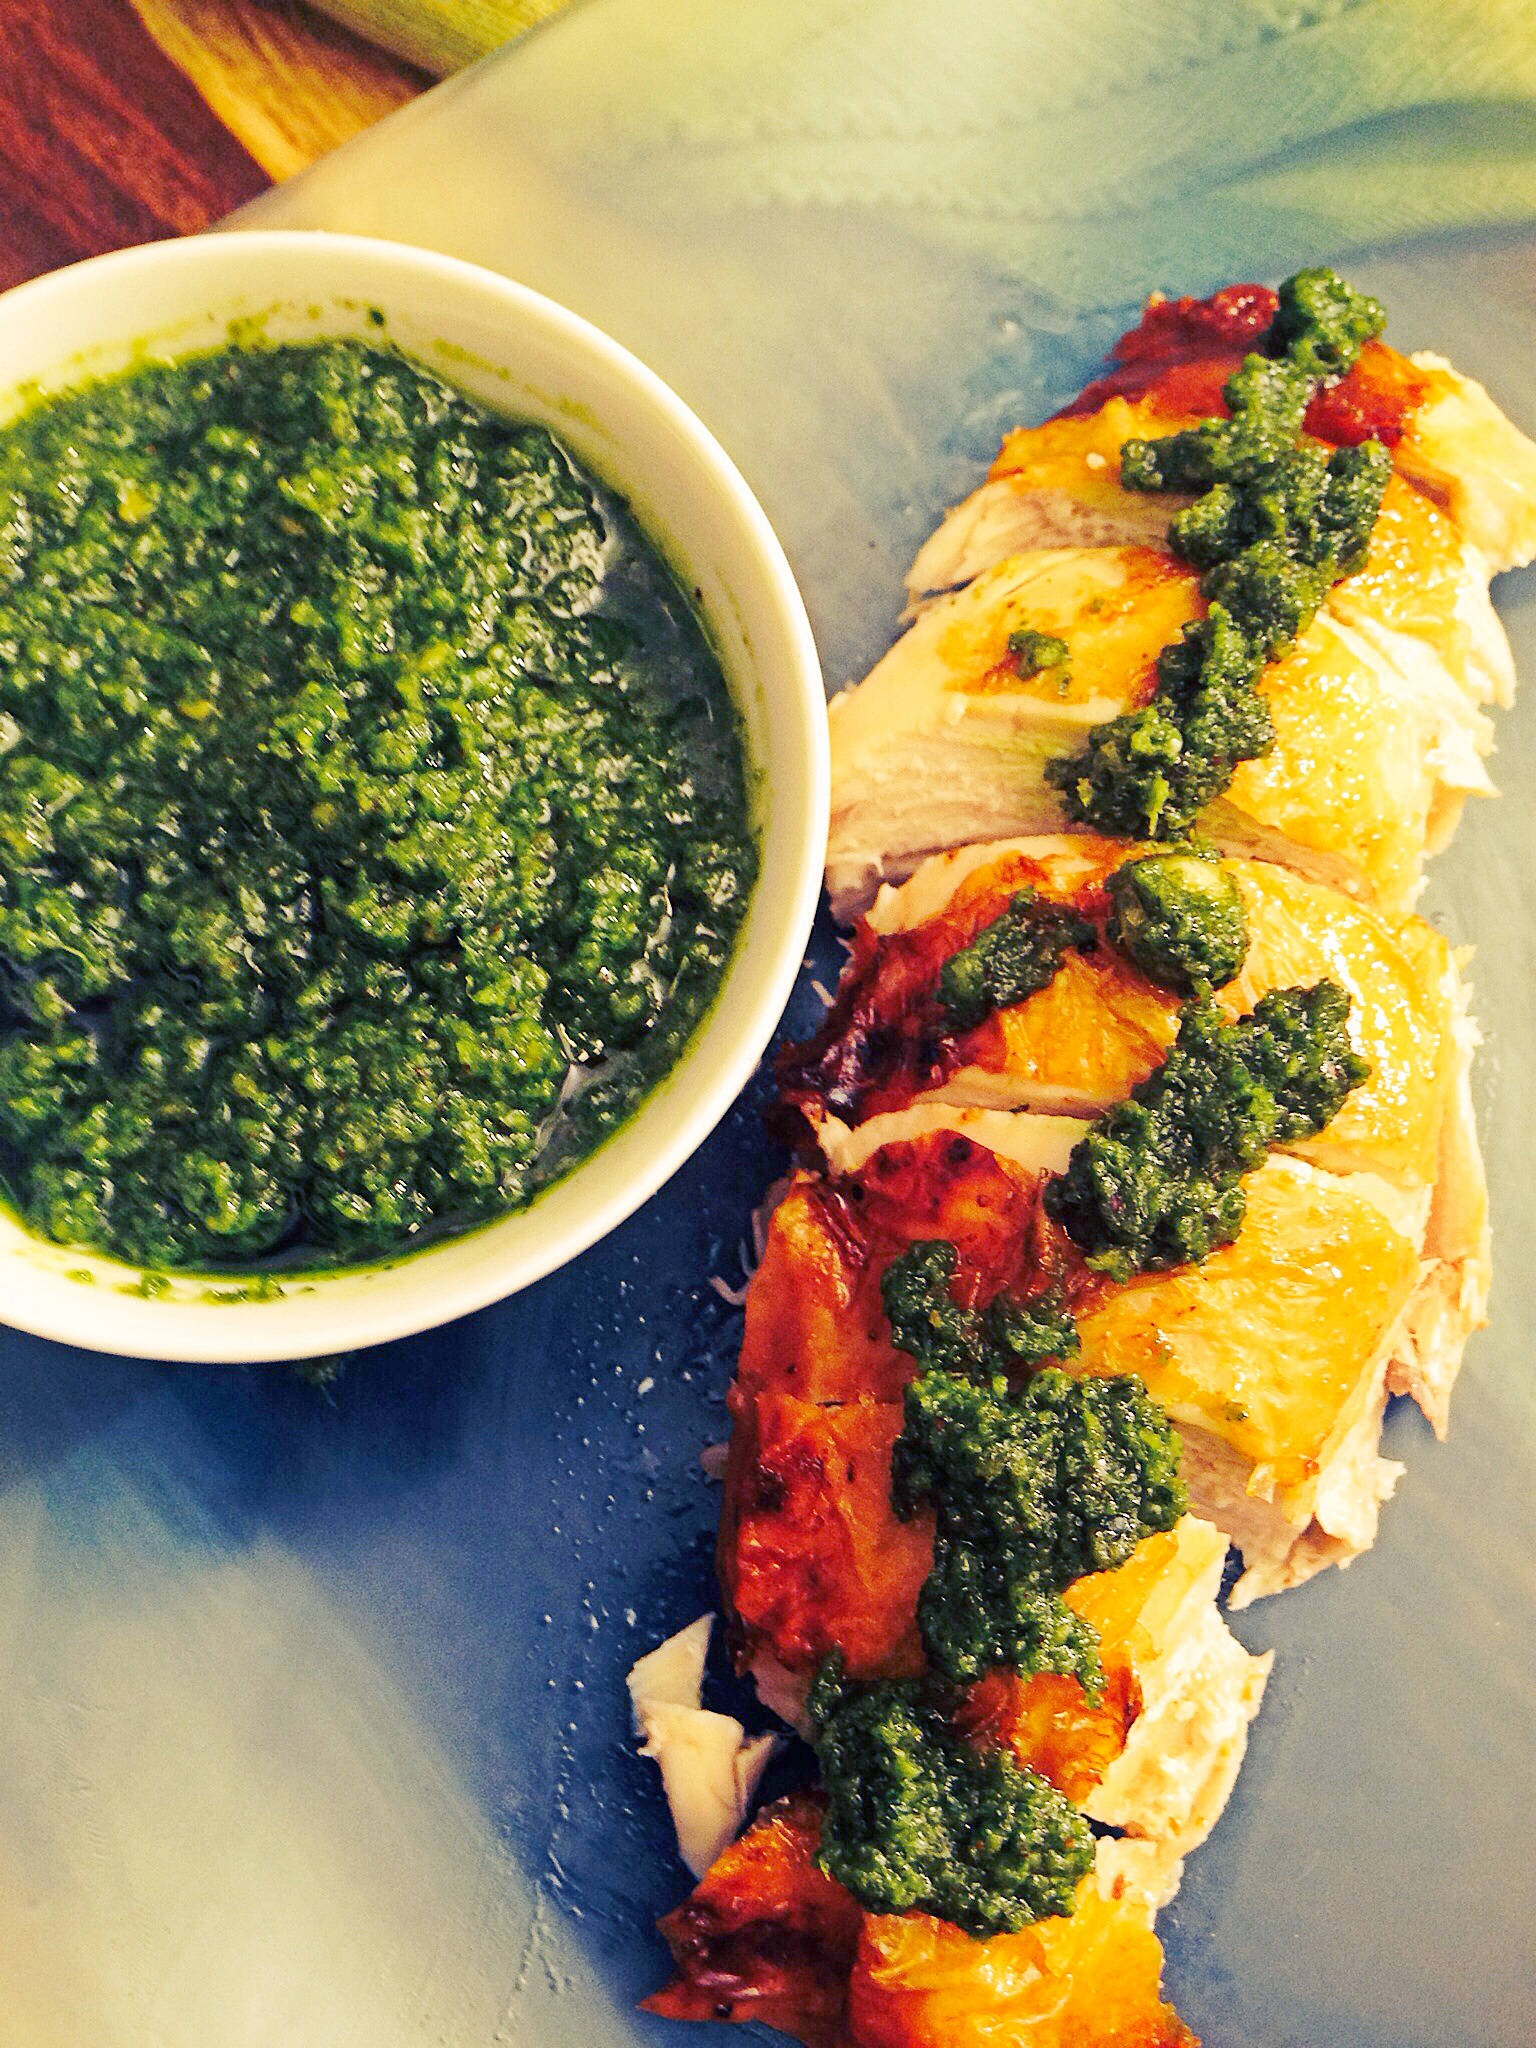
Roast Chicken with Cilantro Pes
I make roast chicken a lot for my family. Mainly because it’s easy, and I know everyone will enjoy it. However, because I make it so often, I am always trying to come up with ways to make it differently, ways in which I can add flavor, this pesto does exactly that. It adds a ton of flavor, but requires minimal extra work. You throw all the ingredients in the blender or a food processor, push a button and it’s done! Leftover, pesto, if you have any, can be spread on bread as the condiment to leftover chicken salad sandwiches…talk about yum! If you don’t want to roast an entire chicken, you can scale this down and use just 2 chicken breasts, it doesn’t matter. I find that buying a whole organic chicken is often less expensive than buying just 2 organic chicken breasts. So I always prefer to save money and buy the whole chicken. I reinvent the leftover chicken into tacos, salad, soup or tostadas.
Prep time: 10 minutes
Cook time: 45 minutes
Total time: 55 minutes
Ingredients:
1 whole Organic Nongmo Air-chilled Chicken
2 cloves of garlic
2-3 Tablespoons of Olive oil
1/2 teaspoon of thyme
Sea salt and black pepper to taste
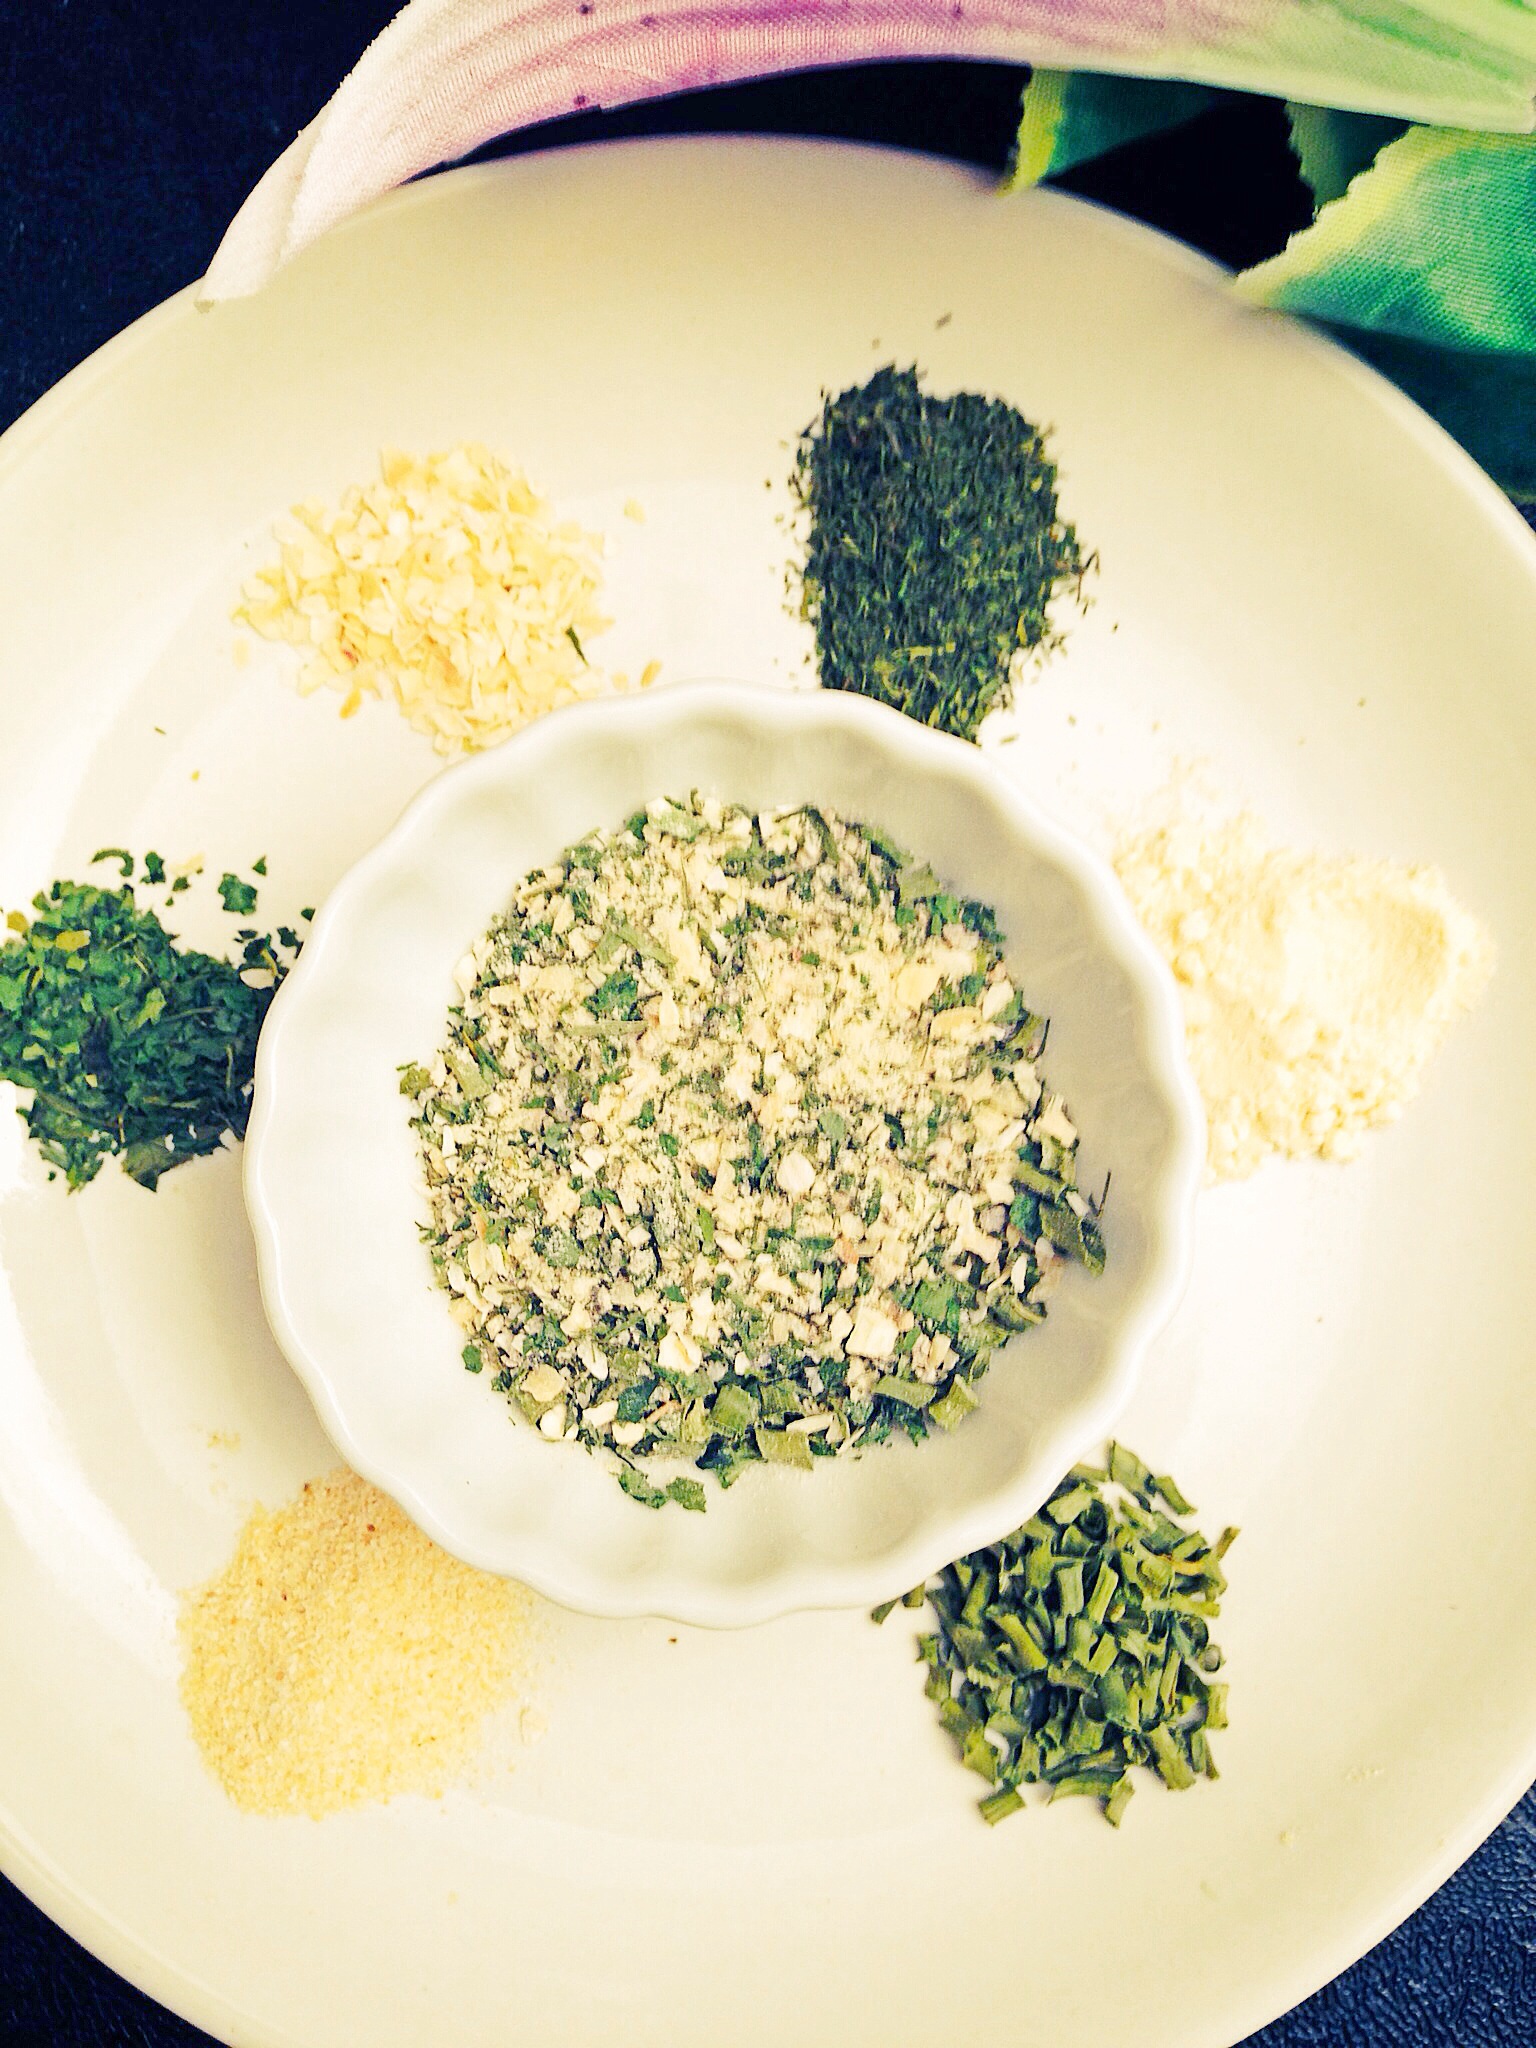
Ingredients for Cilantro Pesto:
2 cups of cilantro
1/2 cup of olive oil
1/2 cup of freshly grated Parmesan cheese
1/4 cup of toasted hazelnuts
Sea salt and black pepper to taste
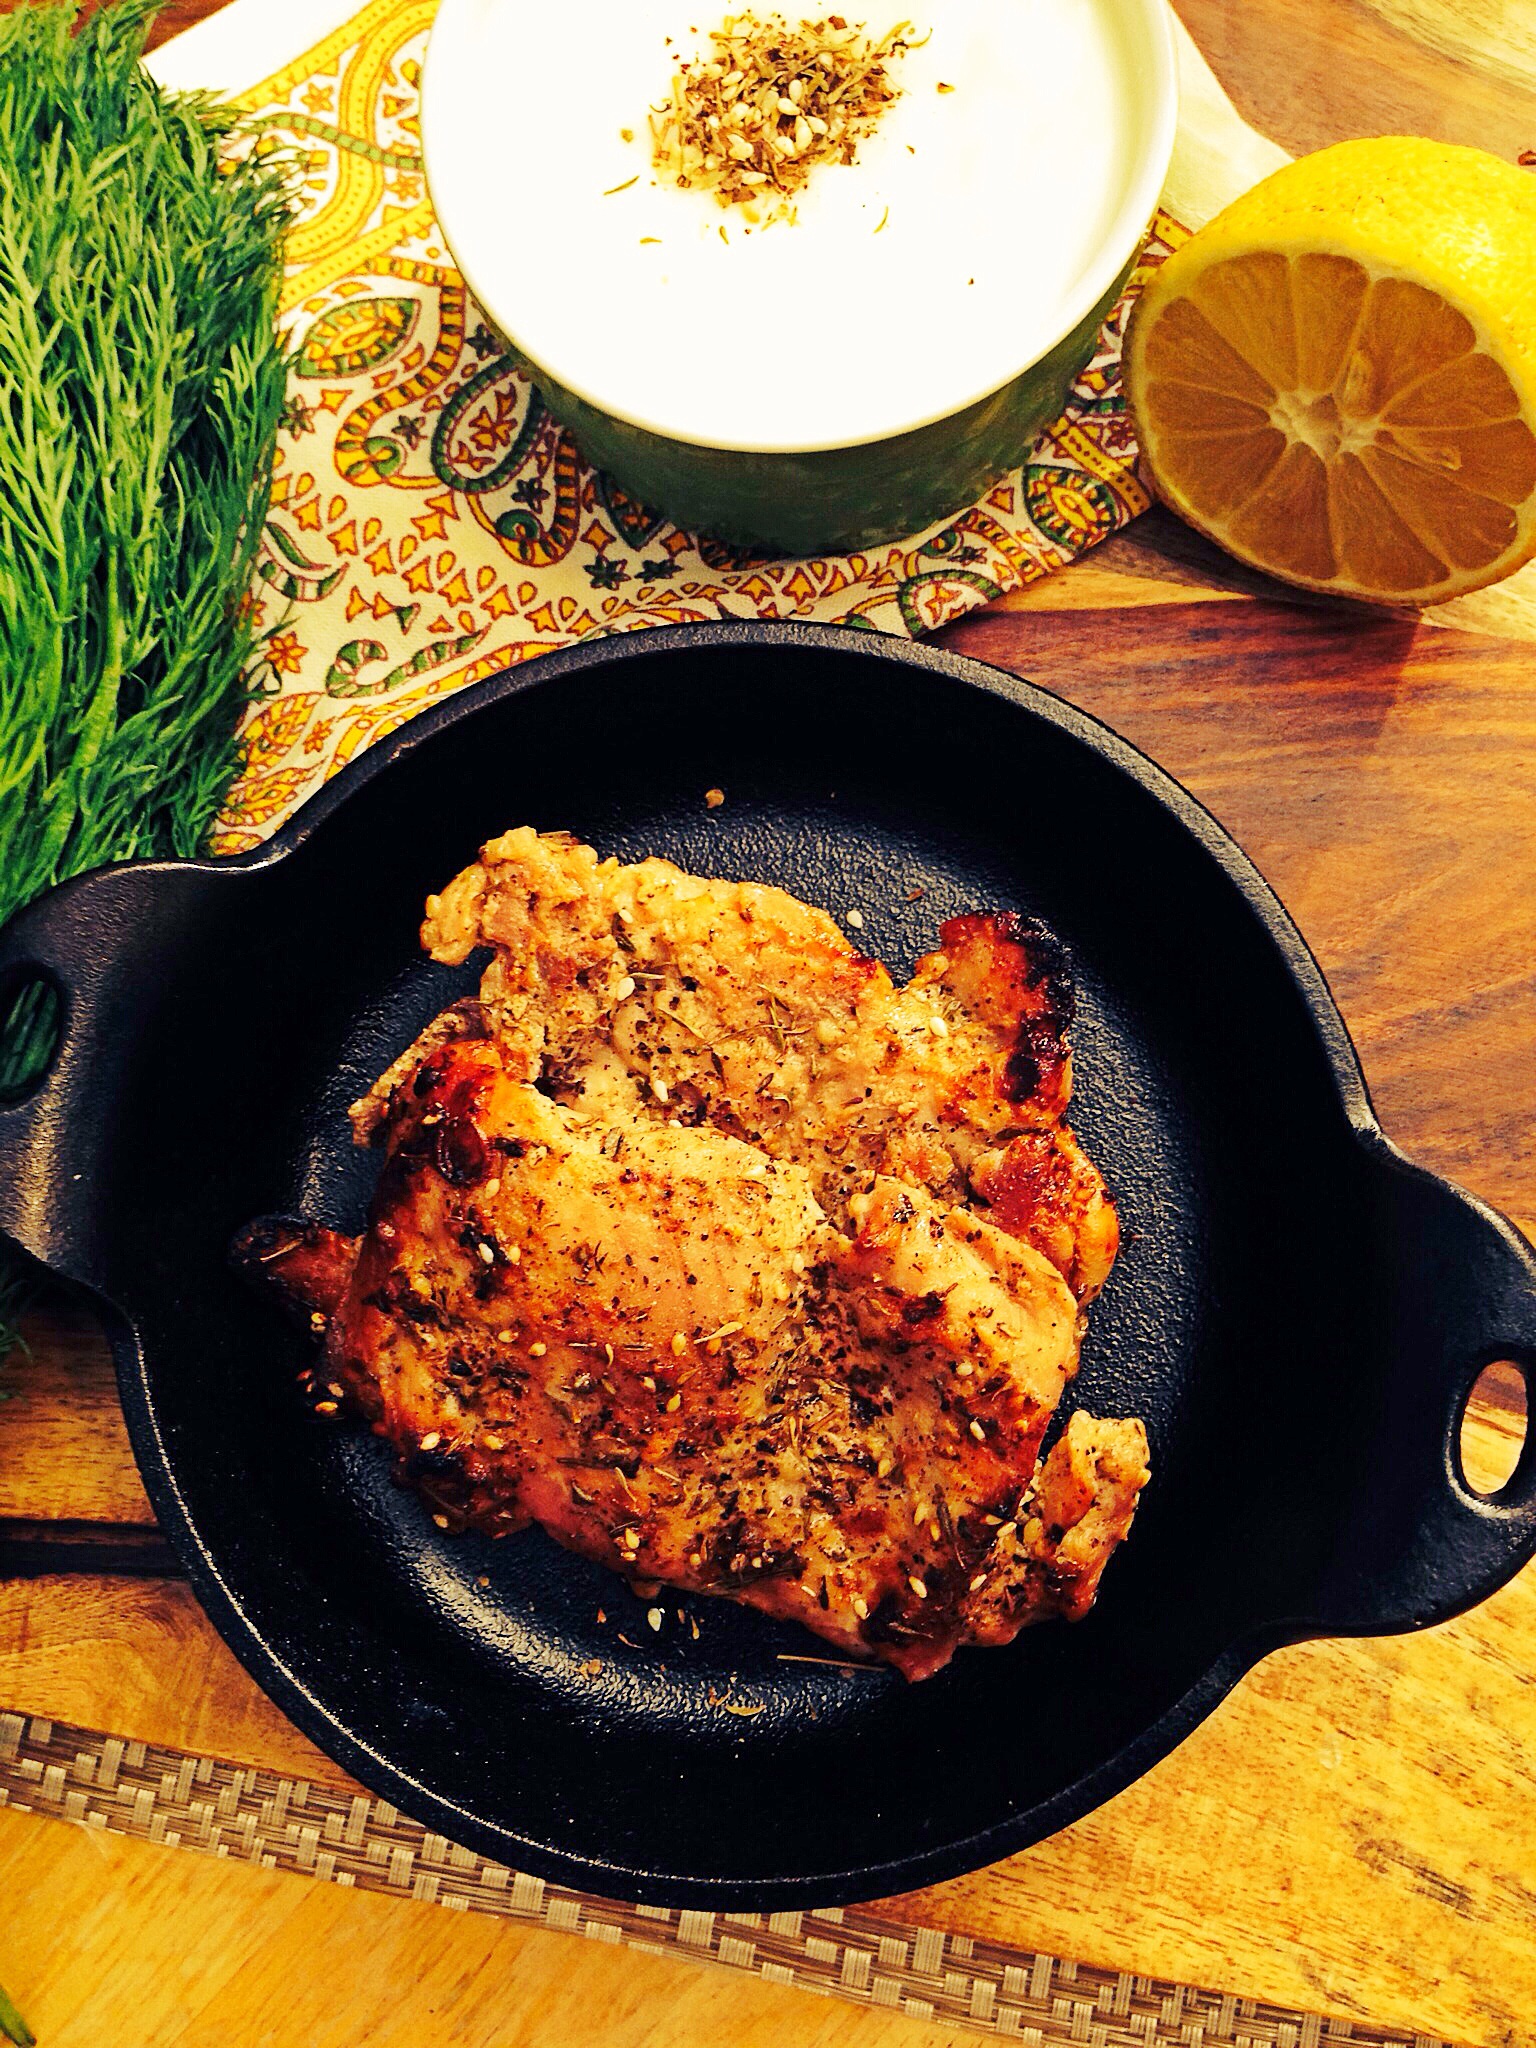
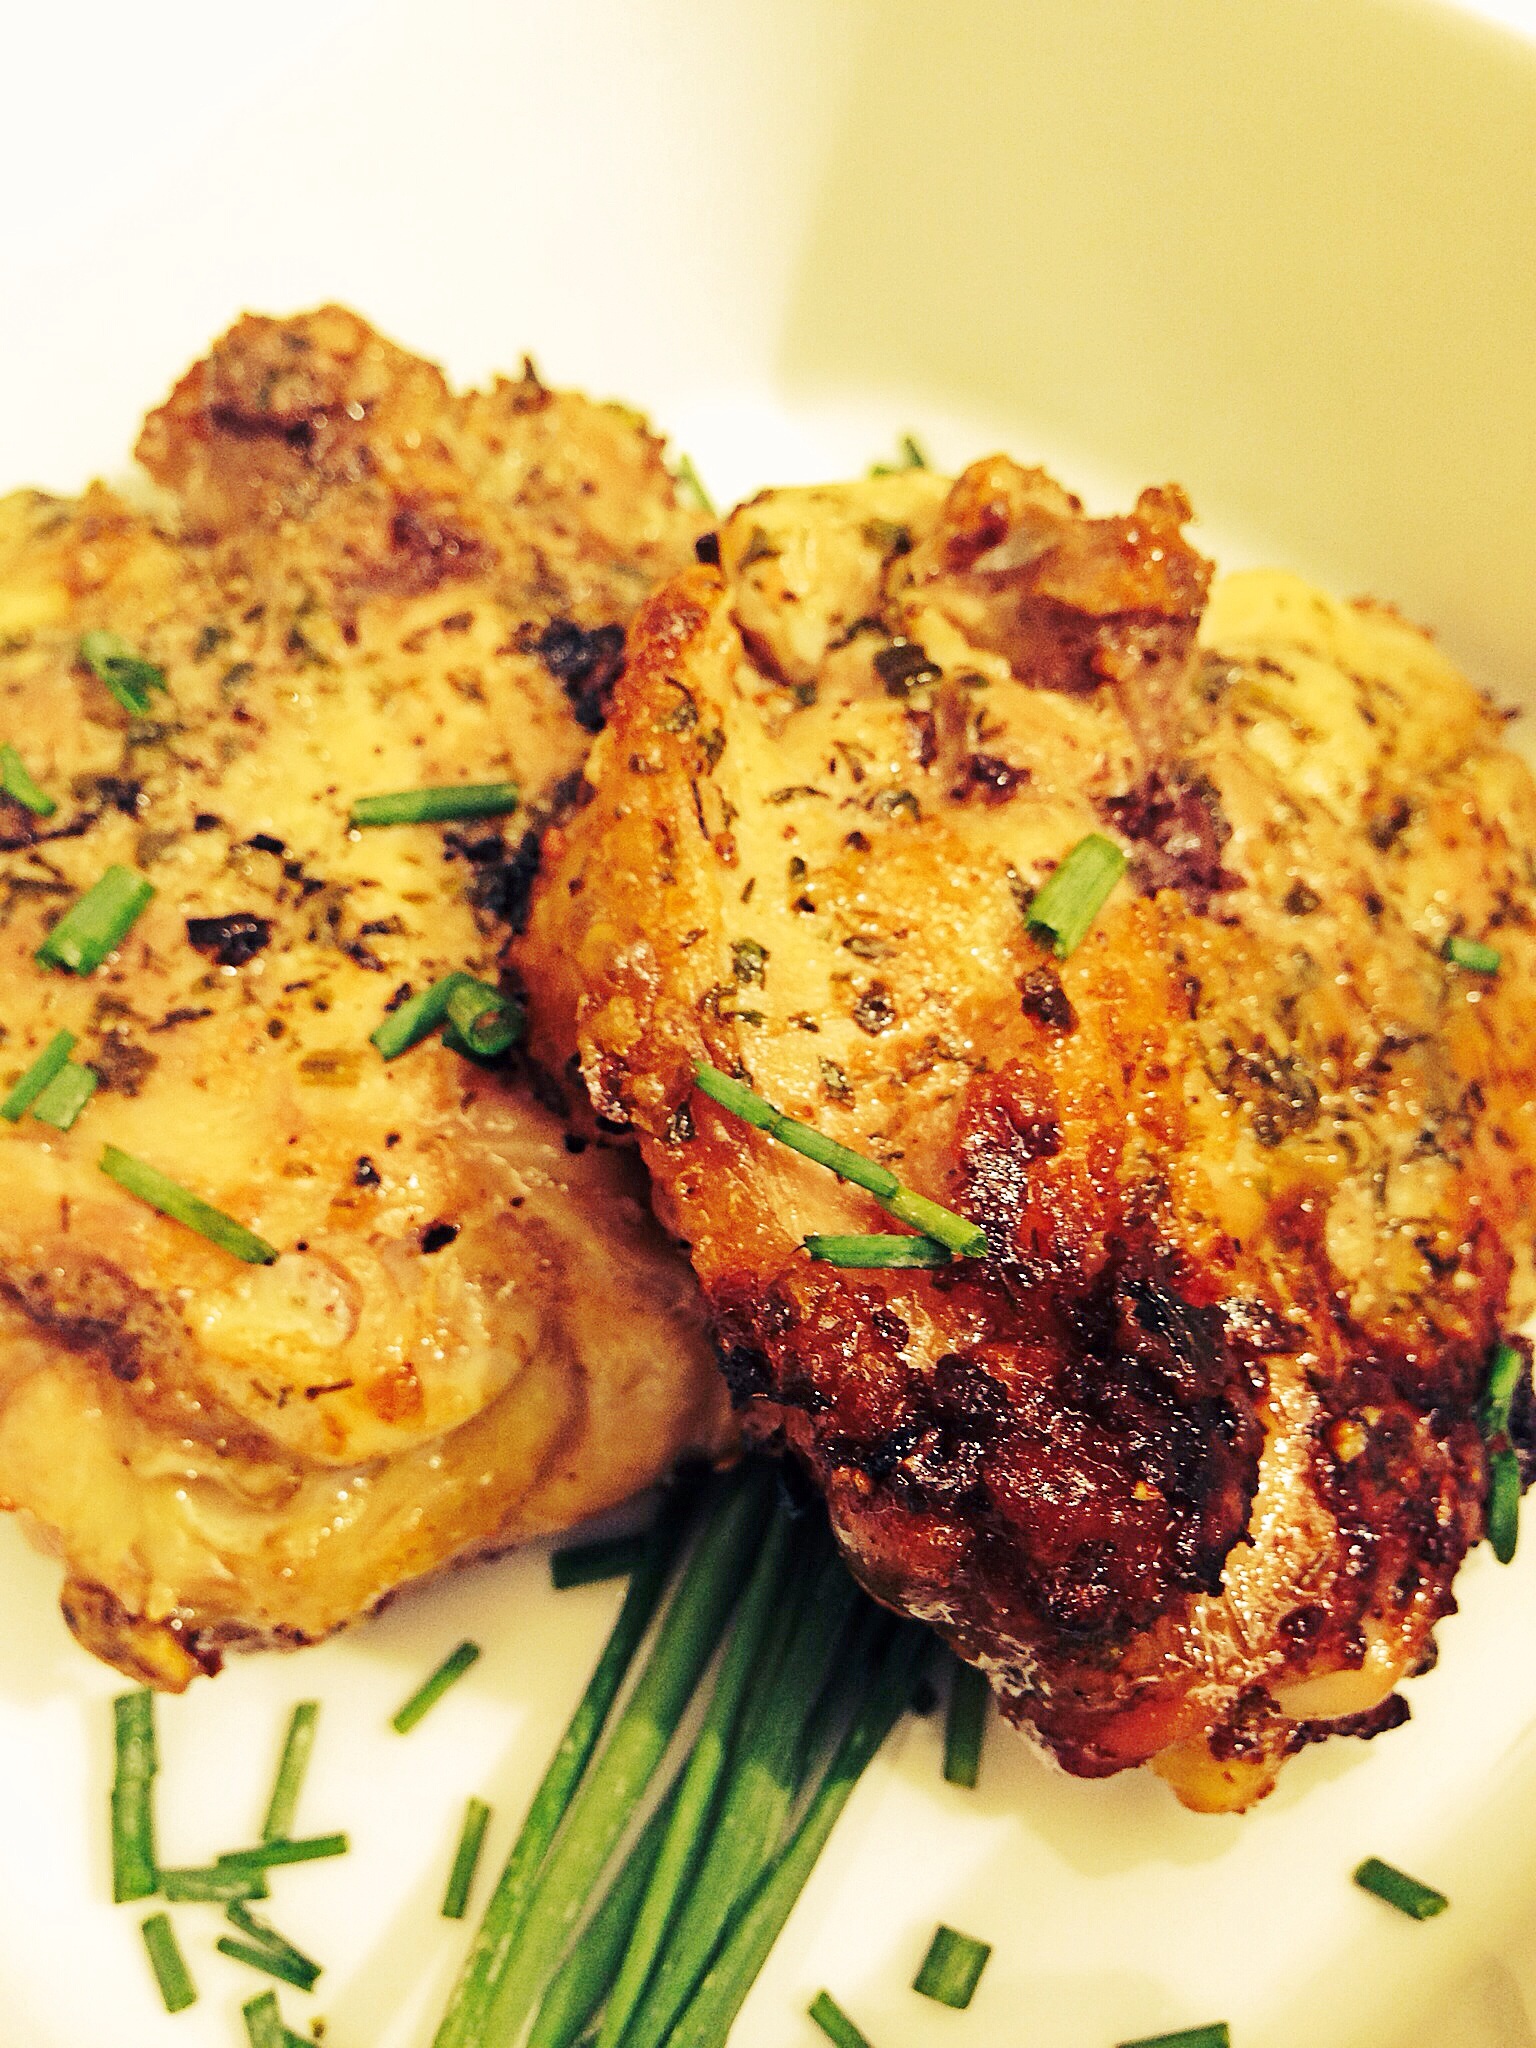
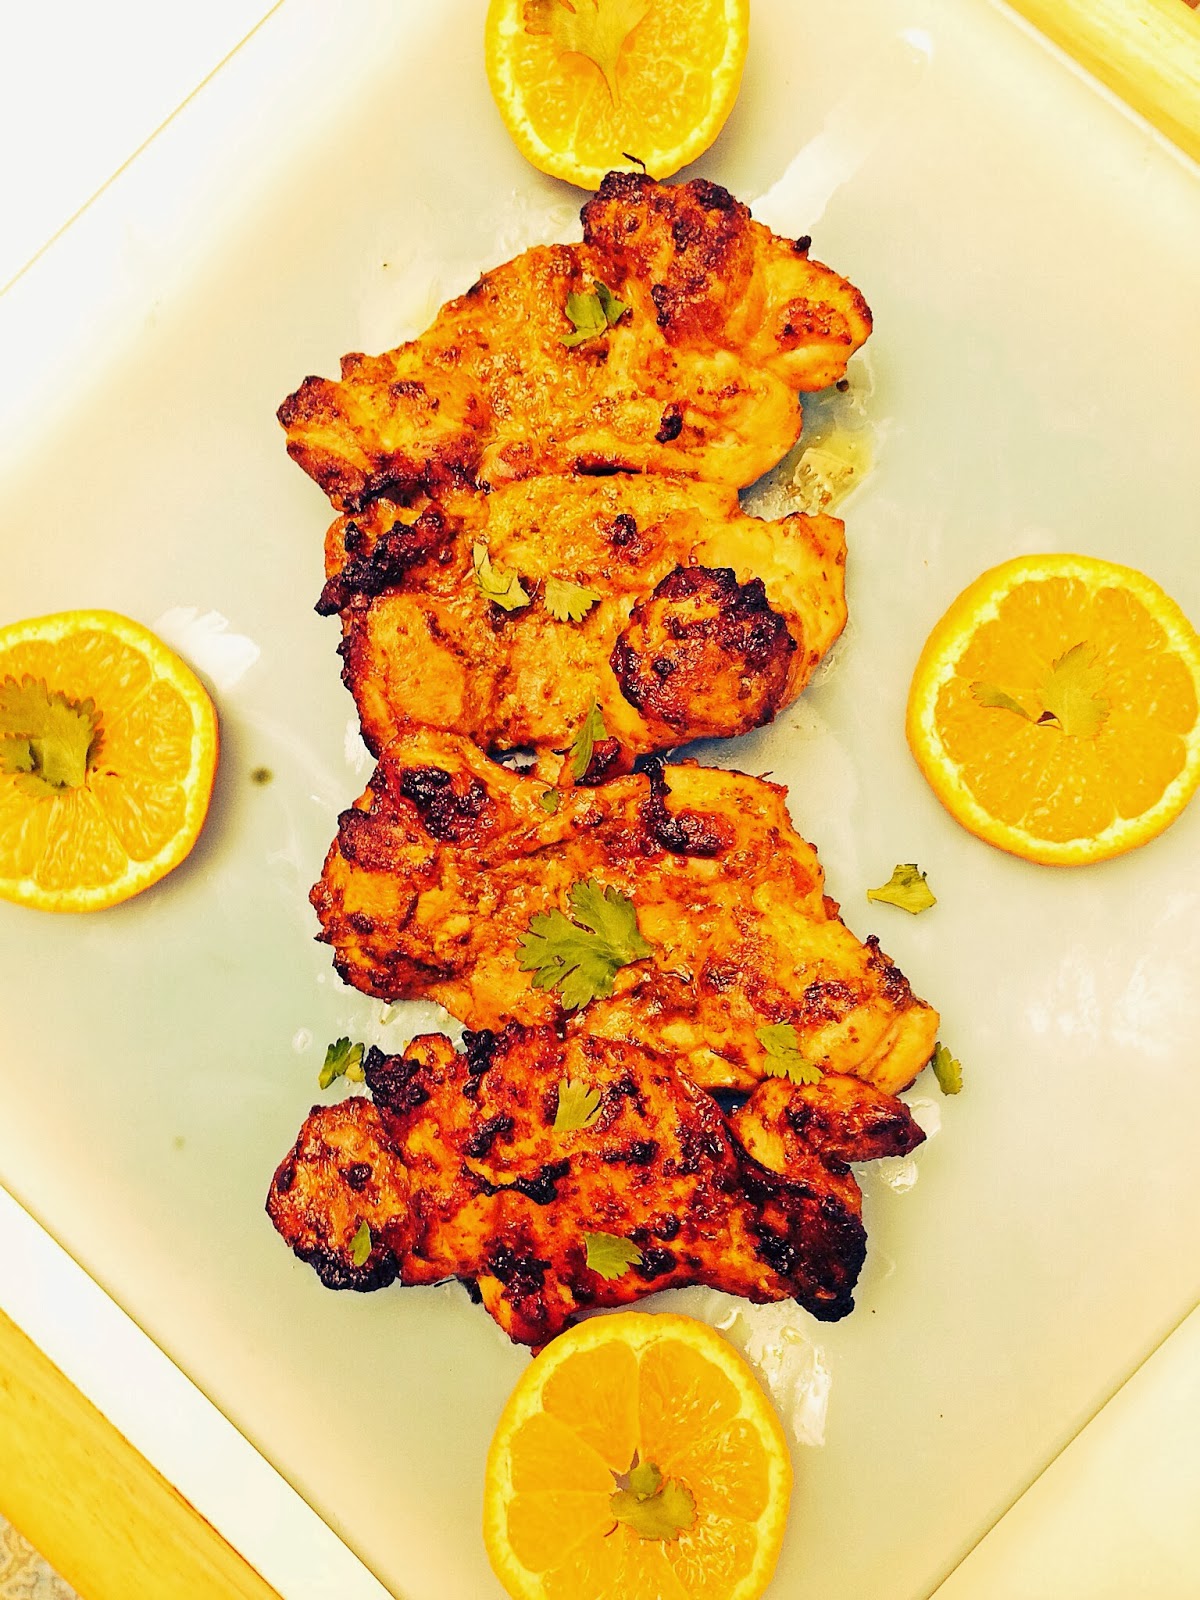
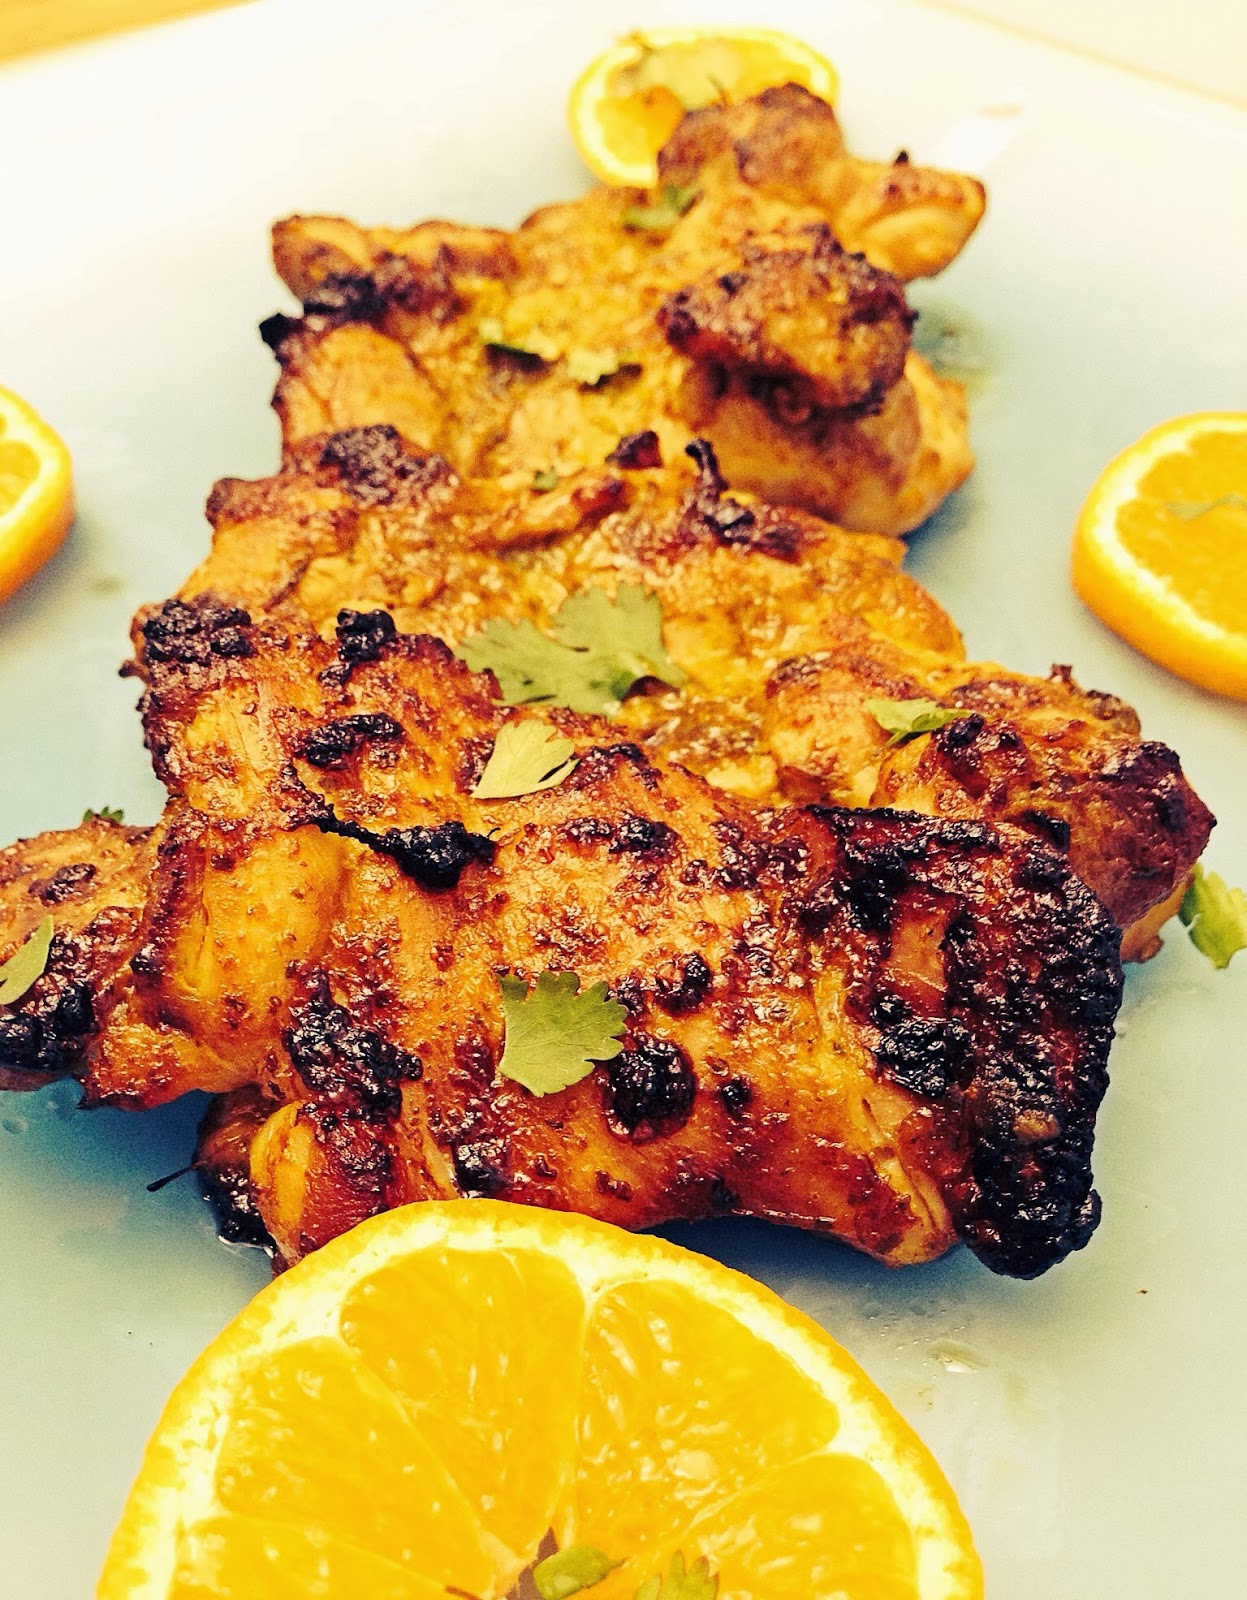
Directions: Pre-heat the oven to 425F. Season the chicken generously with sea salt and black pepper, then rub it with the garlic and oil. Line a baking dish with foil, place the chicken on it and place it in the oven and cook for 45 minutes or until the chicken is cooked through. Meanwhile, place all the ingredients for the pesto in a blender or processor, and blend until smooth. Serve the pesto however you’d like, I smear it on the chicken, with an additional spoonful or two, so that I can dip as I go. It’s so delicious!!!! If you haven’t read my blog on How to roast Chicken, Steps to making the perfect roast chicken now would be a great time. My recipe for Roast Chicken with Lemon and Garlic works the pesto as well.
Roast Chicken with Cilantro Pesto