D.I.Y. Poultry Seasoning


Poultry Seasoning--D.I.Y. Poultry Seasoning

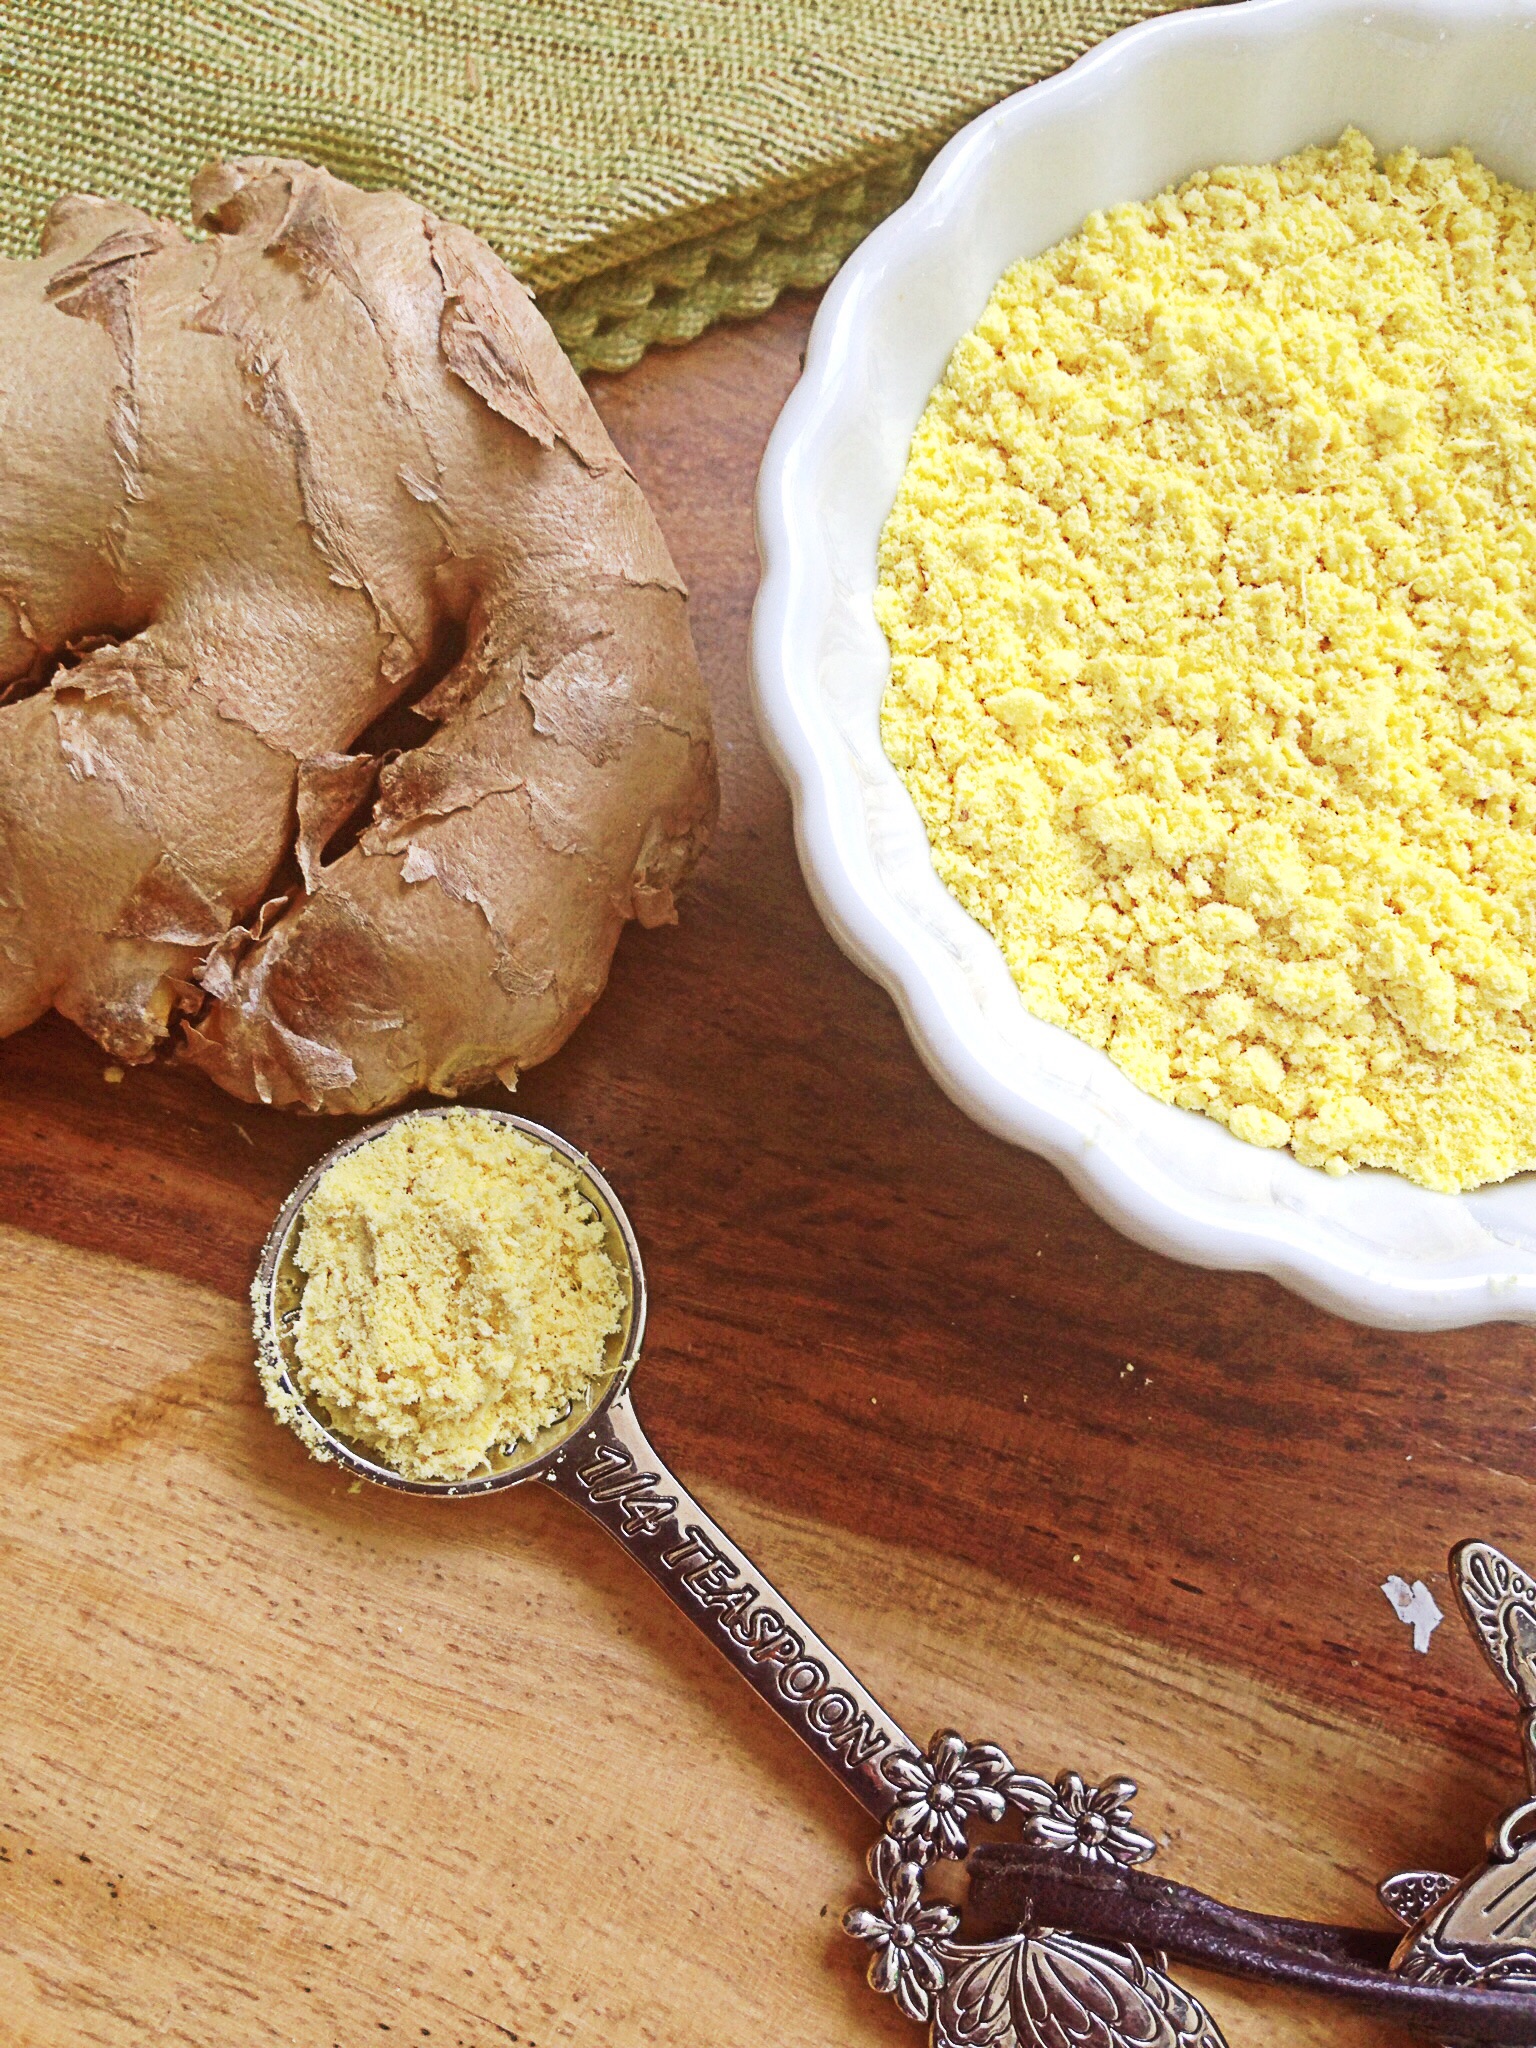
Poultry Seasoning–D.I.Y. Poultry Seasoning

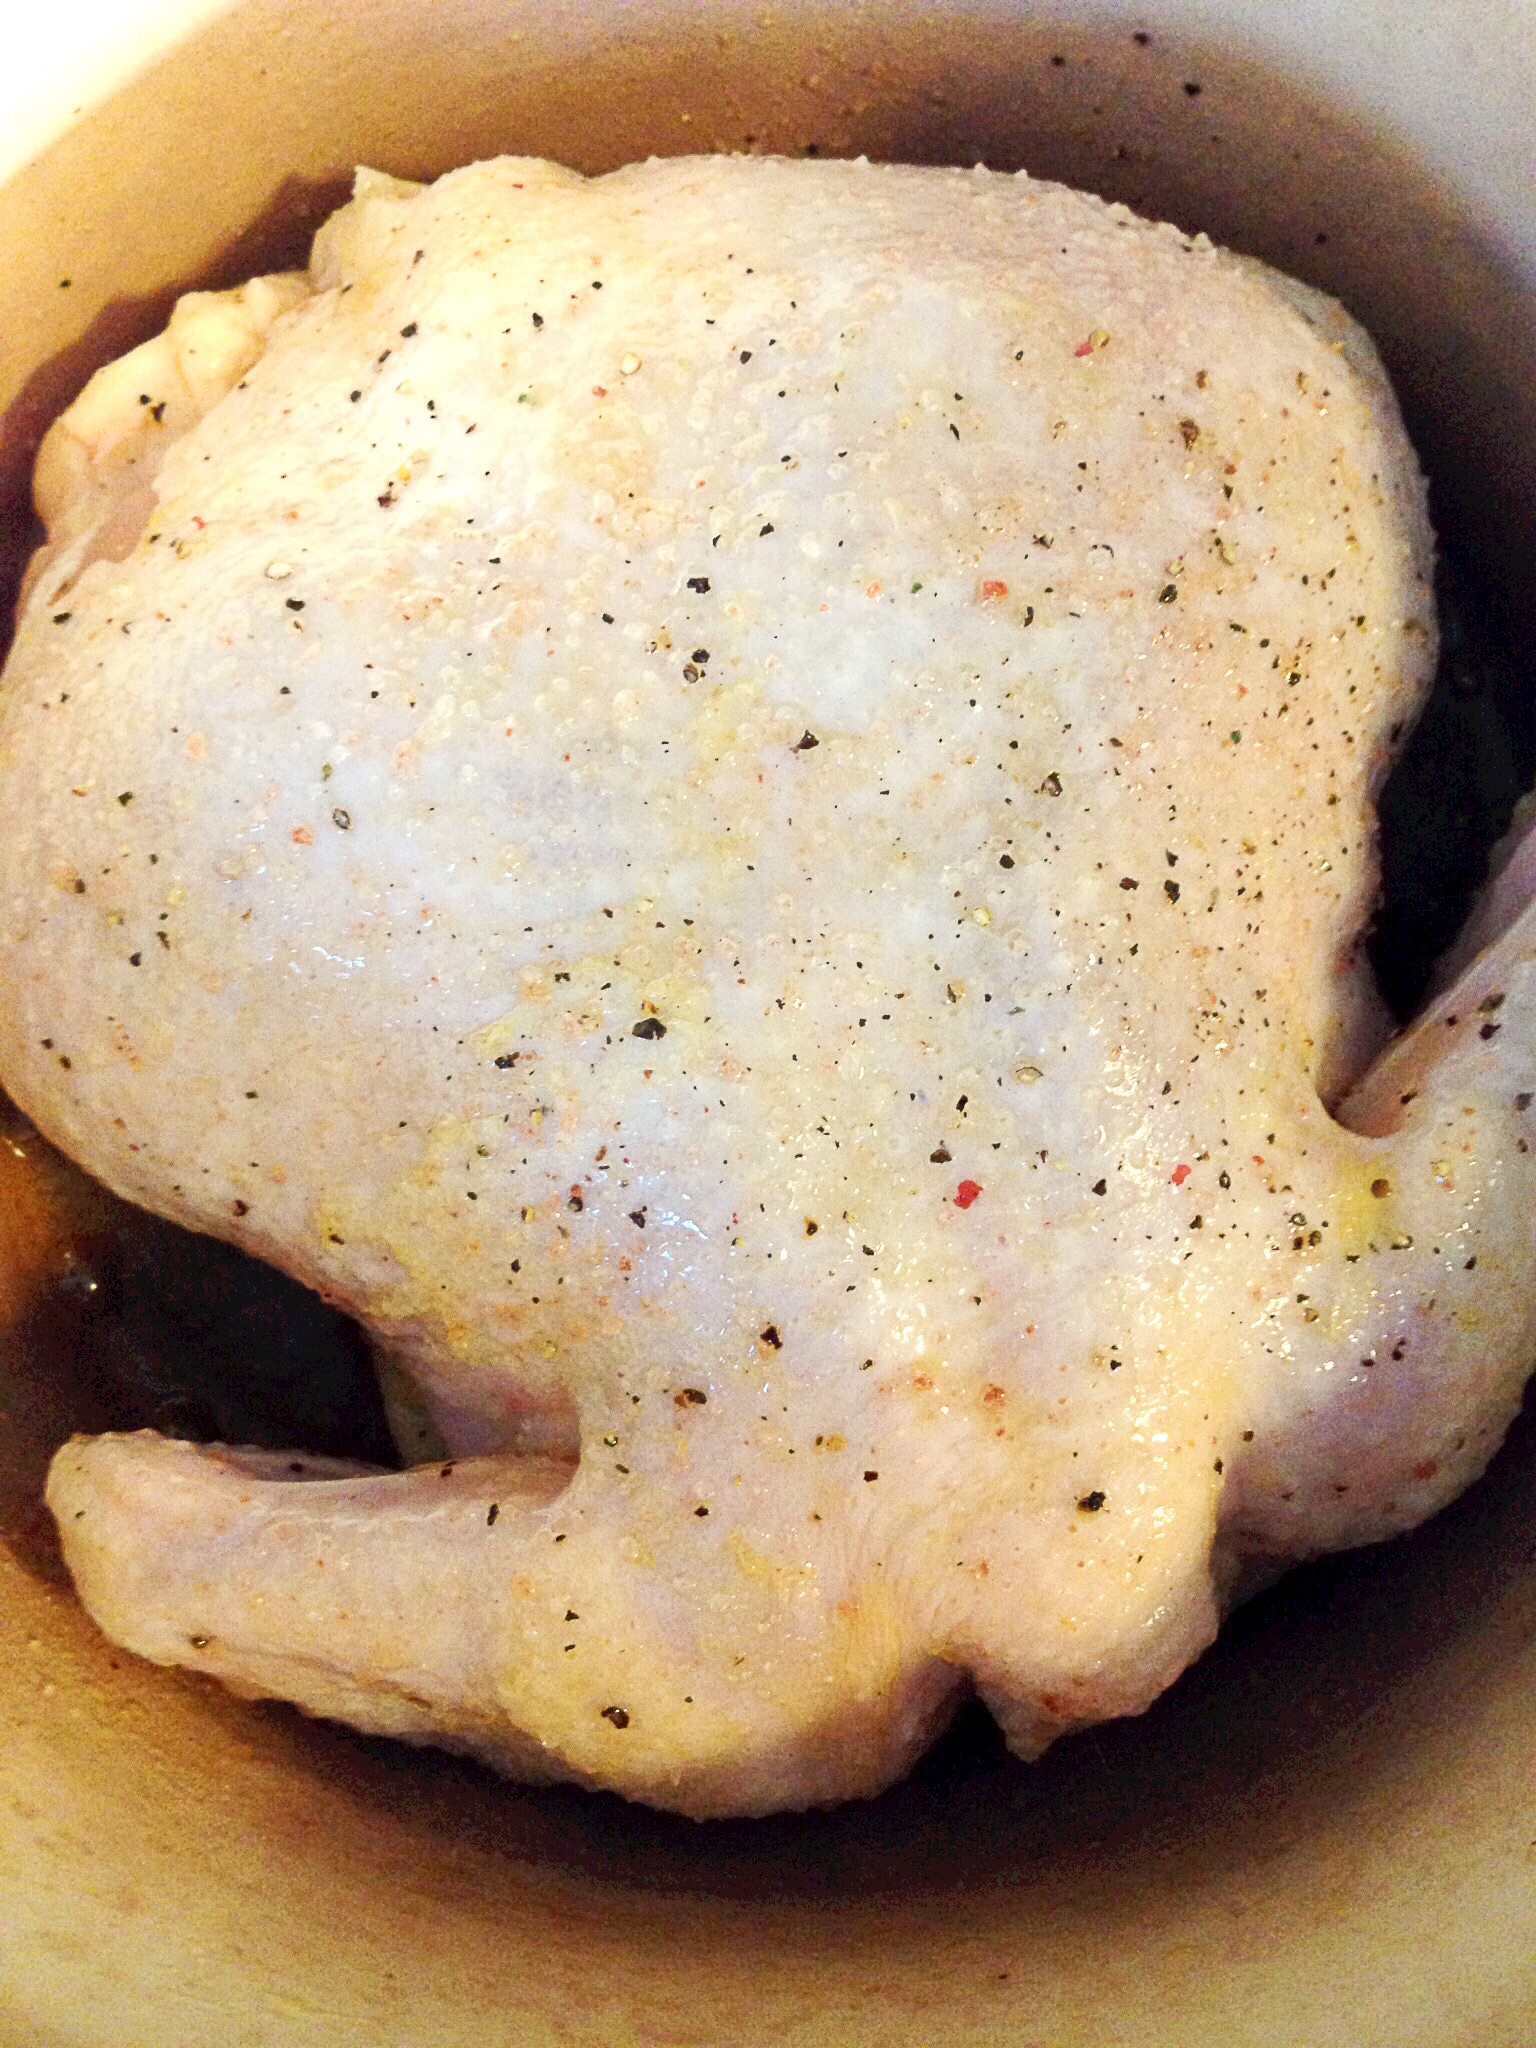
So we are just a few weeks away from Thanksgiving.  I don’t know about you, but I have been thinking about and planning what I am going to make since September.  We are visiting family out of town, so I doubt that I’ll blog anything once we leave.  I always try, but the kitchen gets pretty busy as we cook our Thanksgiving meal, and since this is the one time a year that we see my husbands family, I prefer to be focused on them.  My daughter’s birthday is also on Thanksgiving so, we try to make it a special day for her.  Poultry seasoning is one of those things that most people pull out just once or twice a year to season their turkey and stuffing/dressing.  I used it a few weeks ago for Chicken in Milk Most people buy it only once a year for just that purpose.  My mom is one of those people.  I remember shopping for Thanksgiving dinner with her when I was little, she always made her way down the dry seasoning aisle to pick up poultry seasoning.  If by some chance we got home and she had  she forgotten it, she would stop what she was doing in the kitchen, and drive to the store to get it.  Besides sage–which I’m blogging about tomorrow–it’s one of the must have’s for most thanksgiving meals.  I LOVE making my own dry seasonings so of course I had to give this a try.  I must say that this poultry seasoning is spot on to the one my mom loves to use.  If you find yourself in a bind on Thanksgiving and desperately need poultry seasoning,  pull out these spices and make your own poultry seasoning. If you have these spices but they’re fresh, even better, just chop them up and give your turkey a good rub down with them and some butter.

Pin It!

Pin It!


Prep time: 5 minutes

Ingredients

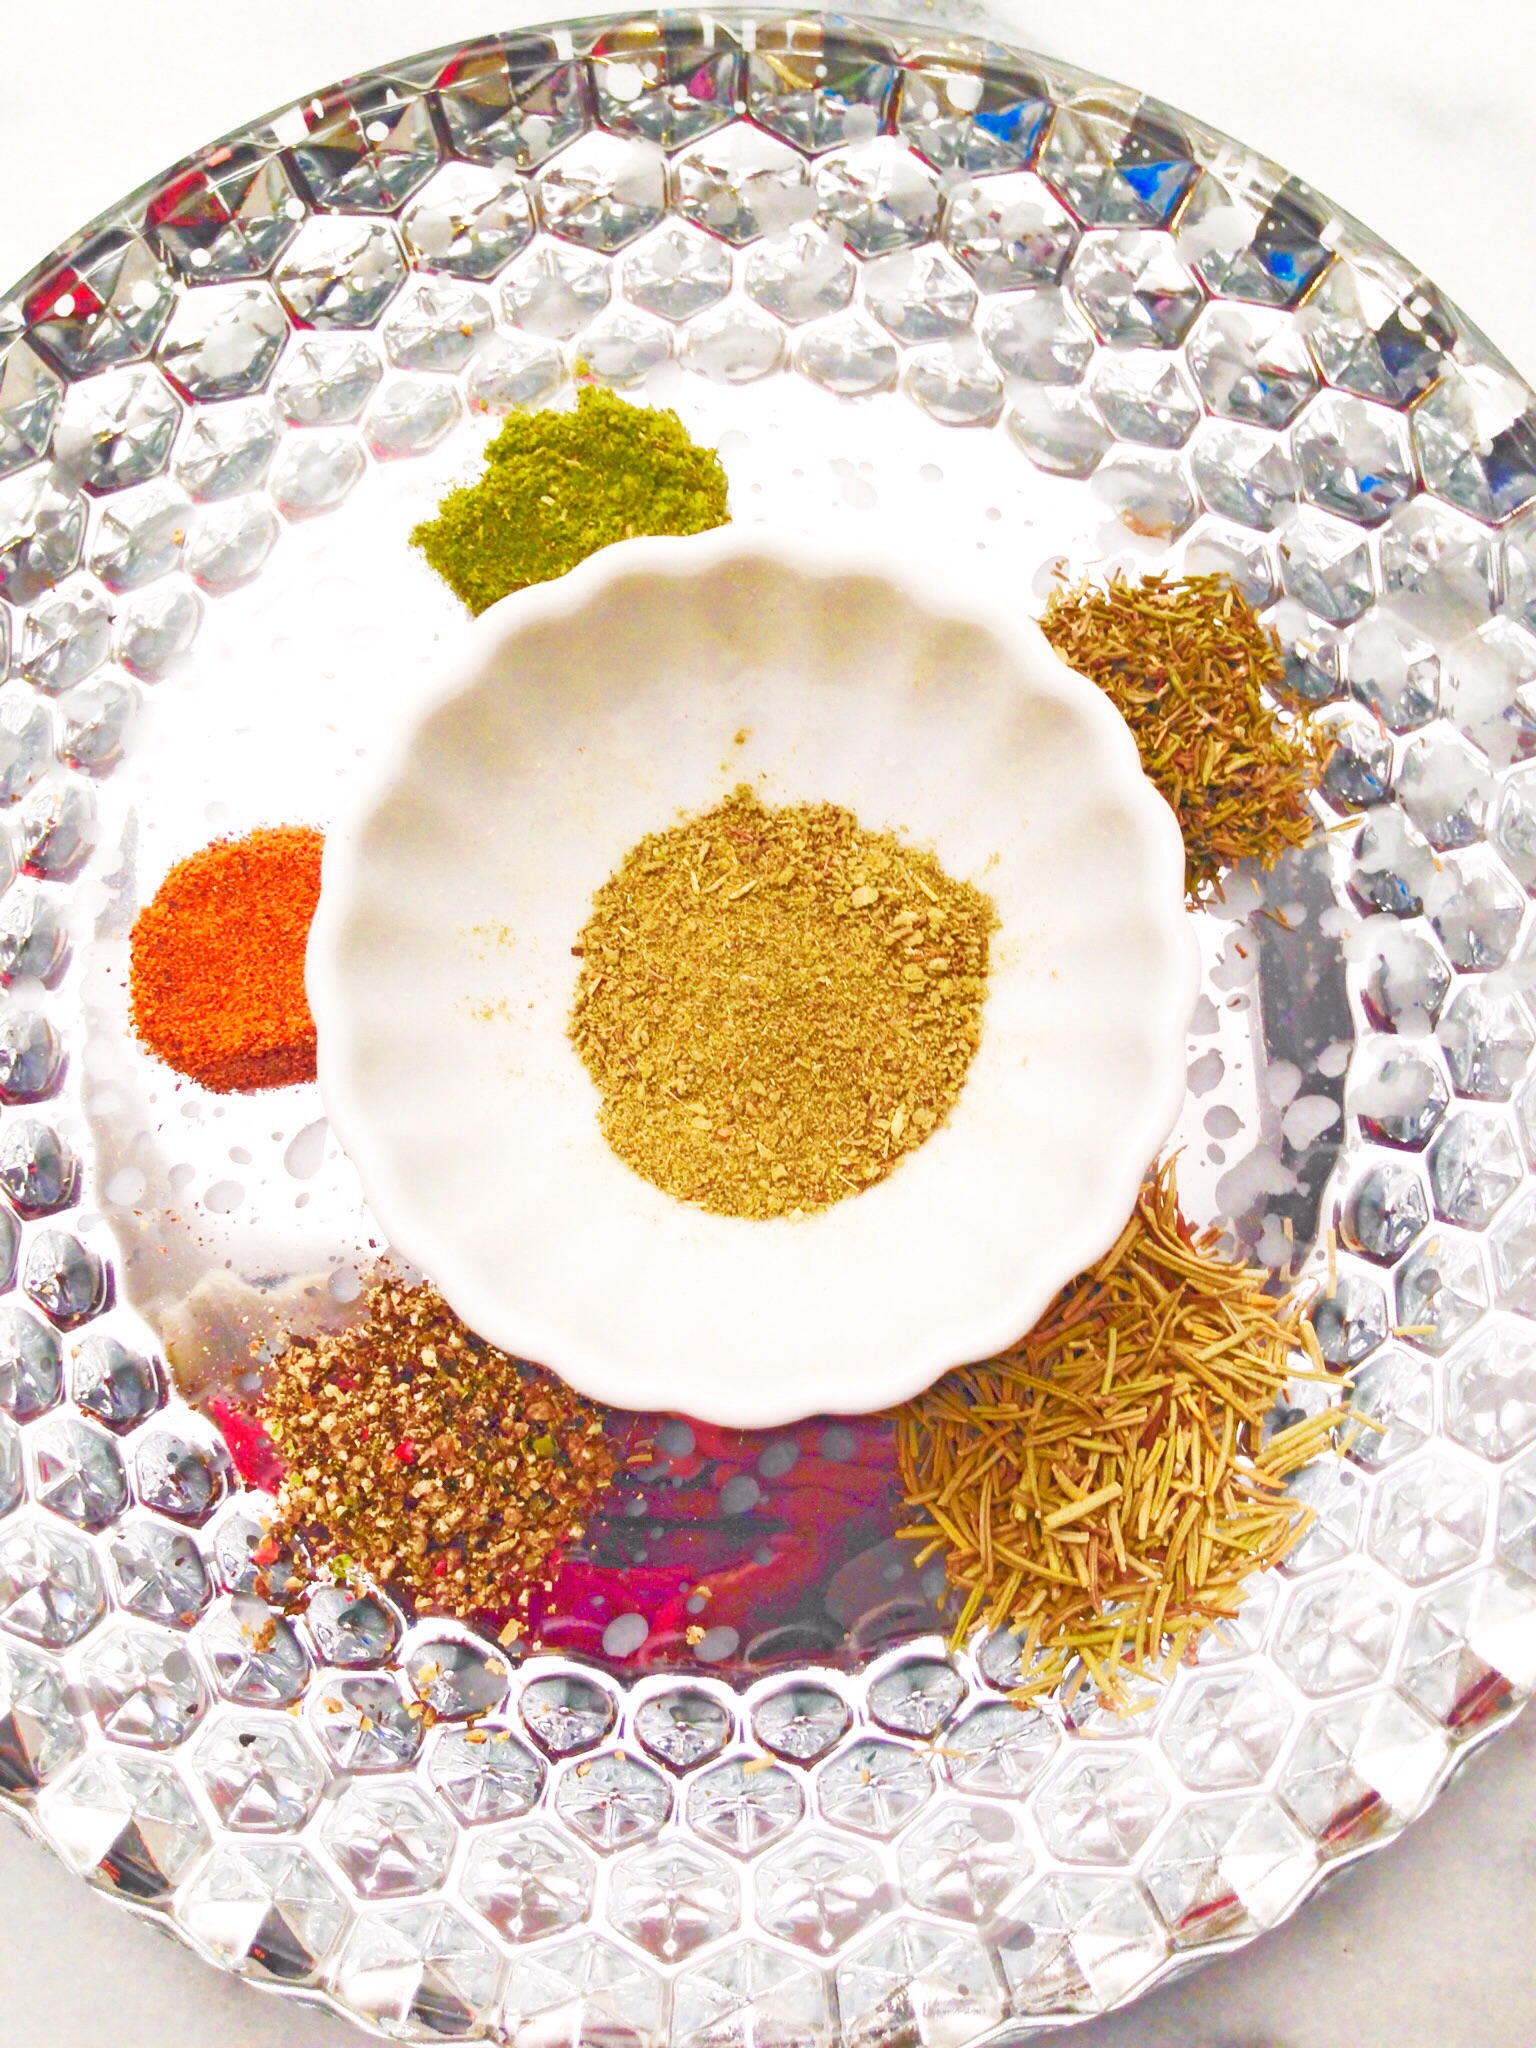
1 tablespoon of ground sage

2 teaspoons of dried thyme

1/2 teaspoon of ground nutmeg

1 teaspoon of dried rosemary

1 teaspoon of dried marjoram

1/4 teaspoon of black pepper

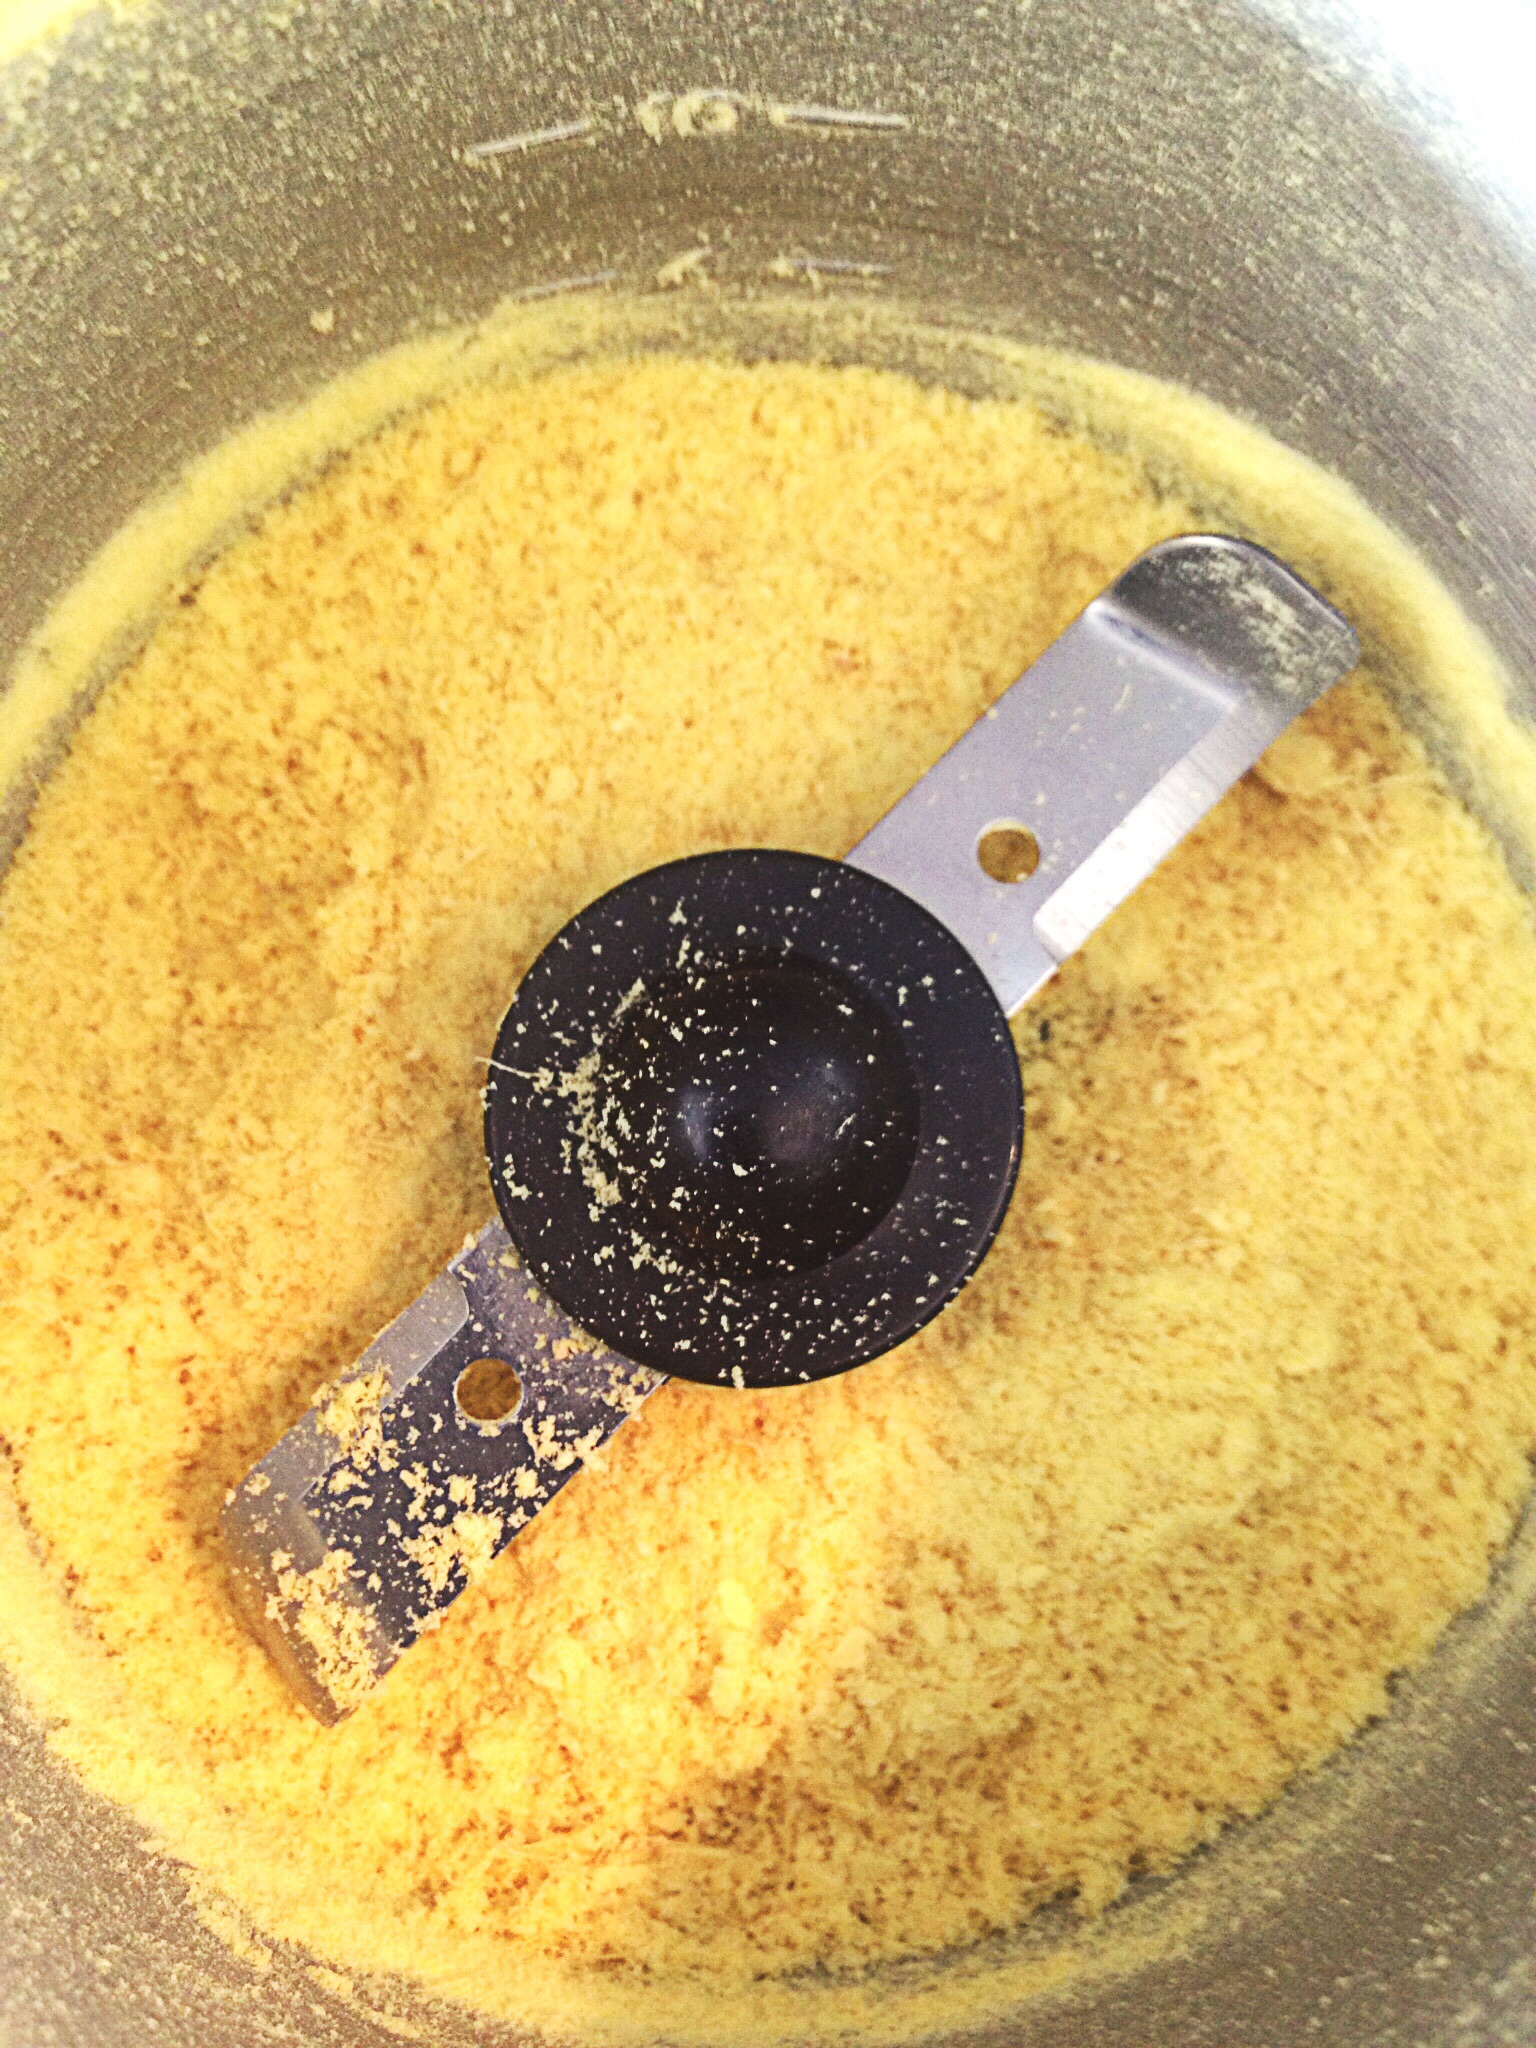
Directions:  Place all of the spices into a spice grinder and grind into a powder.  Store in an airtight container until ready to use.


image


When do you start planning your Thanksgiving meal?  Do you make the same thing every year?

Coconut Flour–How to Make Coconut Flour

Coconut Flour- How to Make Coconut Flour

Coconut Flour- How to Make Coconut Flour


I love the taste and smell of coconut flour, but anyone who has ever cooked or baked with coconut flour knows that it can be a real pita to work with. Mainly because coconut flour is super absorbent. It soaks up every ounce of moisture that you put into it.  It’s so absorbent that when I cook with it,  I add it to mixtures one  tablespoon at a time, and I wait in between tablespoons to see if I need to add more moisture back in.  I don’t know of any other alternative flour that requires that much attention.  But I’m not really a baker.  The issue is not necessarily the coconut flour, it’s the processing of coconut flour, which makes it so absorbent.  During processing, the coconut looses much of its fat and oil.  Making coconut flour in this way retains most of the oil, which makes it easier to bake and cook with.  If you make coconut flour this way, you will not have to add extra moisture, the moisture will already be there in the form of coconut oil. which makes it less drying.


Pin It!

Pin It!


Ingredients:

The meat from 2 large coconuts (about 1cup)

Directions:  Pre-heat the oven to 150F. Spread the coconut meat evenly out on bake sheet or a dehydrator sheet.

image

Place the sheet in the oven and allow to dehydrate for 6 hours or until the coconut is dry and crisp.  Transfer dehydrated coconut flakes to a spice grinder or blender and blend until it reaches the consistency that you like.

image

Transfer the flour to an airtight container until ready to use.

image


Rice Puffs–How to Make Rice Puff Snacks

Rice Puffs

Rice Puffs

Today I’m giving you a recipe for ultra crispy, and delicious homemade rice puffs. I’m not a huge fan of rice, but my daughter and my husband are.  They are especially fond of Basmati rice. I love the way that Basmati rice smells.  It has it’s own unique aroma, no other rice smells as good cooking as Basmati does.  I buy Basmati in  area close by called Little India.  I go there every so often to stock up on Indian spices as well.  The only problem with that is that I always leave with a 20 pound bag of GMO free Basmati rice!  It’s enough rice to feed my family for a year—we don’t eat rice that often.  I almost always end of giving most of it away, it’s just too much, but they don’t sell it in smaller quantities.  I have had this recipe for rice puffs in my que for a long while now, just haven’t had the rice to make it. I got the idea from a recipe in Modernist Cuisine,  but found a simpler more home cook friendly version of it on Chef Steps.  I’ve added my own spin on it with the addition of the lime salt, but if you haven’t gotten around to making my Lime powder, then  plain sea salt will do, and these will still be amazing! You don’t have to use Basmati to make these, you can use any rice. Still don’t have a dehydrator?  Buy one it will be the best $40 bucks you’ve spent in a long while.  The alternative is to put the rice puree in the oven set to the lowest setting 150F leave the oven door just a bit ajar, and check it before it reaches the 2 hour mark.  Check at 1.5 hour mark, you don’t want this to crisp up and burn.

Pin It!

Pin It!


Prep time: 20 minutes

Cook time: 10 minutes

Drying time: 2 hrs


Ingredients:

3/4 cup of rice

3 and 1/4 cups of water

1/2 cup 0f safflower oil

3 teaspoons of lime powder

1 teaspoon of sea salt (powdered–just add sea salt to a spice mill and blend until powdered)

Directions: Add the lime powder sea salt to a bowl mix well and set aside.  Add rice and water to a pot, cook until rice is tender and falling apart–there will still be water in the pot.

image


Transfer the cooked rice along with any left over water to a blender and blend until smooth.

image


Pour the rice puree out onto silpat’s smooth out into thin layers.

image

Place in the dehydrator on 122F and allow to dehydrate for 2 hours.  The dehydrated rice puree should be pliable but also have a snap to it.

image

Note: If you dehydrate for too long, the rice puffs will not puff, if you dehydrate for too short a period, they will not puff either.  When you place your rice puffs in the hot oil they should sink  to the bottom of the pot and then immediately rise and puff.


Once your puree has been dehydrated, heat the oil to 374F, while the oil is heating break the rice sheet into bite size pieces.  When the oil reaches temperature, drop the rice sheet pieces into the oil, they should drop to the bottom and rise and puff up immediately, fry for 2-3 seconds then remove from oil and season with lime salt immediately,

image


let the rice puff’s cool, then enjoy!


image


Citrus Powder–How to make Citrus Powder

Lemon and Lime Citrus Powder

Lemon and Lime Citrus Powder


Several  month’s ago I read an article in Bon Appetite Magazine about  how the chef at State Bird Provisions was using sour salts to brighten up dishes, and make use of an ingredients that would otherwise not get used.  His approach was simple, dehydrate something as simple as a preserved lemon, grind it into a powder, and boom you’ve created a flavorful salt without even trying.  After reading that article, I knew that I wanted to try making a preserved lemon salt.  I put it on my list of things to blog about, but never got around to it–it has been almost a year since I read that article!  I had almost forgotten about wanting to do a preserved lemon salt until last week, my husband and I went out to eat.  I ordered a Caesar salad, and when they brought it out, it looked completely under dressed, almost like they had forgotten to put the salad dressing on it.  I took a bite thinking it was going to be a bland salad, but instead  got this bright  burst of flavor.  The chef had dusted the salad with lemon zest.  The salad was fantastic! Even better than my Caesar Salad.  I  knew then that I had to try this at home.   It wasn’t until I read a review for the soon to be released cookbook Bar Tartine: Techniques and Recipes that I got the idea about exactly how I could do it, but even better.  Lemon zest is great but it’s not exactly shelf stable.  If you’re going to use it, you definitely have to use it right away.  But if you take the peels of a lemon, lime, or even an orange, dry them in the dehydrator, and then blend them into a powder, what you get is something extremely flavorful, and shelf stable.  You also have a way to use leftover peels! I don’t know about you, but I hate to waste, so anything that allows me to preserve, rather than waste, I love.   So you’re probably wondering, besides a salad, what you use these powders on.  The answer is almost anything!  You can sprinkle the lemon, or lime powder on chicken, fish, pork or steak to give it a fresh and vibrant twist.  You can add these citrus powders to baked goods, rim your tequila glasses with them, add them with some other dry spices to make a citrus rub, (stay tuned for that post), make citrus salts, the list goes on and on.  If you make enough of these powders, you can even give them as gifts for Christmas.  I for one am doing a lemon pepper for my friends.   Bar Tartine: Techniques and Recipes hasn’t been release yet, but I’ve already pre-ordered a copy through Amazon.  It’s full of recipes for dehydrating and powdering everything from herbs, to yogurt.   Yes you can even dehydrate yogurt! I suppose it’s not such a leap to know that you can dry yogurt, especially given the fact that powdered milk and cheese are products that you can buy in most grocery stores. However, the thought of being able to use my dehydrator to make my own powdered yogurt and herbs excites me!

Pin It!

Pin It!


Prep time: 10 minutes

Drying time: 1.5 hours-2 hours

Ingredients:

The peels from 2 lbs of organic citrus –I used lemon, lime

Directions: Pre-heat oven to 150F if using an oven.  If using a dehydrator set it to 135F.  Using a vegetable peeler peel the skin off of the citrus.

image

Add the citrus to a pot, add enough  cold water to cover all of the citrus and bring to a boil—let boil for 1 minute.  Drain peels into a sieve and rinse under cold water.  Return back to the pot and repeat: boil ,drain, and rinse twice more.

image

Spread the peels out evenly onto your dehydrator sheets. If using a stove,  spread the peels over a wire rack set inside of a bake sheet.

image

Bake or dehydrate  until peels are hard and brittle, it took about 1.5 hours in my dehydrator. Once peels are hard and crisp, transfer to a spice mill

image

Grind until powdery, transfer the powder to an air tight container.

image

OMG! The smell of these powders while  you are grinding –AMAZING!!!! If you like this recipe you will love my  recipe for DIY Ground Ginger–How to make Powdered Ginger


image

D.I.Y. Ground Ginger-How to Make Powdered Ginger

How to make Powdered Ginger

How to make Powdered Ginger


If you’ve been on the fence about whether or not to purchase a dehydrator, my blogs this week may just get you off of the fence.  This week you may find yourself ordering  a dehydrator, or at the least adding one to your Christmas wish list. My dehydrator has been in constant use, and I can’t wait to share what I’ve been doing. So let’s get started! I’ve purchased fresh ginger so many times, and only used a fraction of it, the rest goes bad and then in the trash–a total waste! I was reading about drying in one of the books in my Modernist Cuisine set, and then I read a blurb in “Bon Appetite  Magazine”about powdering herbs and boom–light bulb–I thought to myself, why not powder your own ginger? So I did.  You’re probably asking yourself, “do I really need a dehydrator to do this?” The answer is no! You can do this in the oven set to 150F but you have to stay home to watch it! If you had a dehydrator you could set it and forget it–well not completely, but you wouldn’t have to worry about it burning.

Pin It!

Pin It!


Prep time:5 minutes

drying time: 1.5-2 hours

Ingredients:

1 large bulb of fresh ginger

tools: spice grinder

Directions: remove the skin from the ginger, then slice the ginger thinly.

image

Place the sliced ginger pieces on a piece of parchment paper, or on the sheets of your dehydrator and place in the dehydrator or oven, then set the temperature to 135 on the dehydrator, or 150F in the oven.

image

Allow the ginger to dry until it become crisp. Transfer to the spice/coffee grinder

image

and blend until nice and powdery.

image


image


Store in an airtight container, it will be good for 8-12wks. Use this in any recipe that calls for ginger.  Add this to your favorite gingersnap recipe, and you will have some of the best gingersnaps that you’ve ever eaten!

image


Chicken in Milk

Chicken in milk

Chicken in milk


A few weeks a go I came across a recipe for Chicken and Milk by Jaime Oliver.  The recipe used one of my favorite ingredients–a whole chicken.  It seemed simple (code:Lazy) enough for me to try.   It didn’t require much more than adding the ingredients to a pot and letting it braise for an hour or so.  It also featured another one of my favorite ingredients-lemon with the addition of the milk– my taste buds were anticipating  chicken stewed in a creamy lemon sauce. The sauce was not as creamy as I had anticipated and hoped for, but it was still a great sauce none the less.  While Jaime Oliver’s recipe looked amazing, I did add a few of my own touches to the recipe.  I have been reading about the use of lemon leaves, (from a lemon tree), in cooking.  The leaves are usually used in the same way that bay leaves are used. You use them to impart flavor, but you never eat them.  If you have a lemon tree, pick two of the most beautiful leaves that you can find, wash them, and add them to this dish.  Also be grateful that the next time you trim your lemon tree, you will have an alternative way to use the leaves–you can dry them just like bay leaves! If you don’t have a lemon tree call a friend or neighbor who does and ask for a few! Just make sure to ask if they use any pesticides on their tree.   If that attempt fails, just cook this without the lemon leaves. I also added poultry seasoning, I didn’t have any fresh sage, which Jaimie’s recipe calls for.  The poultry seasoning has sage, so I used it.


Pin It!

Pin It!


Prep time: 5 minutes

Cook time: 1.5 hours mostly non active


Ingredients:

5 pound Whole Organic Chicken

10 cloves of garlic (whole no need to remove the skin)

Zest of two lemons (1 Tablespoon of lemon zest)

2 Leaves from a Lemon Tree

3-4 Tablespoons of olive oil

1/2 teaspoon of poultry seasoning

1/2 stick of cinnamon

Sea Salt and Black Pepper to taste


Directions: Pre-heat the oven to 375F  Rub the chicken generously with the olive oil, and season with a good amount of sea salt and black pepper.

image


Then Brown both sides of the chicken over medium high heat. Once brown add in the Lemon zest, garlic, poultry seasoning, cinnamon, and milk.  image

image


Cover the pot with a secure lid, then transfer the pot to the oven and cook for 1.5 hours   Remove from oven. serve and enjoy!


Lazy Girl Stove-top Lasagna

Lazy Girl Stove Top Lasagna

Lazy Girl Stove Top Lasagna


These last few weeks have been a whirlwind, I have been burning both ends of the candle wick for some time now, and it finally caught up with me.  But even when mom is sick, our kiddies still need to eat! I normally use all of these ingredients to make my lasagna, but I make the meat sauce on the stove, then transfer the sauce to a bake pan and layer it over the noodles, top with cheese and finish this in the oven.  However, because I was sick, I thought why not just try this on the stove top.  Surprisingly it worked! This lasagna is the ultimate in lazy cooking, but it yielded the best lasagna that I’ve ever made, and the easiest!


Pin It!

Pin It!


Prep time: 2 minutes

Cook time: 25-30 minutes

Ingredients:

1 lb of grass fed ground beef

1 small brown onion (chopped)

3 cloves of garlic (chopped)

1 teaspoon of dried basil

15 ounces of organic tomato sauce

1 cup of organic mozzarella cheese

5 tablespoons of organic whole fat cottage cheese

2  lasagna noodles I used brown rice lasagna noodles

1 tablespoon of olive oil

sea salt to taste


Directions: Heat olive oil in a saute pan, add in onion and garlic and cook until onion turns translucent.

image

Add in ground meat, season generously with sea salt and cook until brown.  Drain any excess fat.

image

Add basil, cottage cheese and half of the tomato sauce,. stir until all ingredients are combined,

image

Top with the lasagna noodles–I broke them and spread them out over the the entire pan–

image

Top with the remaining sauce, making sure that all the noodles are completely covered and submerged in the sauce. Cook on medium low heat until the noodles are cooked through.

image

Once noodle are done, top with cheese, cover and cook for an additional 2-3 minutes, and the cheese has melted.

image

Serve and enjoy!

image

Sauteed Zucchini and Mushrooms

Sauteed Zucchini and Mushrooms

Sauteed Zucchini and Mushrooms


My garden is overflowing with zucchini right now, zucchini and tomatoes!  The great thing about planting zucchini is that it yields a large bounty.  The not so great thing about planting zucchini is that it yields a large bounty.  This is particularly troublesome when you’re neighbors also plant zucchini in their own gardens, then giving the zucchini away becomes burdensome. The only solutions in such cases is to come up with new zucchini recipes nightly, or to freeze them.  At the moment, I’m trying to use my zucchini in any way that I can that doesn’t include freezing them–at least not yet.  This dish is so delicious and simple to make, it  makes a great addition as a side to any meal. If you’re Vegan Paleo, or on the Whole 30 diet, you can do this without the butter, it’s stilla delicious side.

Pin It!

Pin It!


Prep time: 5 minutes

Cook time:20 minutes

Total time: 25 minutes

Ingredients:

10 ounces of Crimini mushrooms sliced

2.5 cups of zucchini cubed

2 cloves of garlic

2 tablespoons of butter

1 tablespoon of olive oil

sea salt to taste


Directions: Heat the oil and 1 tablespoon of butter in a saute pan.  Add in the mushrooms and garlic. Season the mushrooms with sea salt, they will begin to release water.

IMG_5024

Season the mushrooms with sea salt, they will begin to release water. Cook the mushrooms until the water completely evaporates (about 10 minutes) add in the rest of the butter, and cook the mushrooms until they begin to brown (about 5 minutes).

IMG_5025


Once the mushrooms begin to brown, add in the zucchini and saute until the zucchini becomes fork tender (about 5 minutes)

IMG_5026

Remove from heat, serve and enjoy!

Image (1)


Roasted Brussels Sprouts with Parmesan, Lemon and Red Pepper Flakes

Roasted Brussels Sprouts With Parmesan, Lemon, and Red Pepper Flakes

Roasted Brussels Sprouts With Parmesan, Lemon, and Red Pepper Flakes


I was at the farmers market this past Sunday, doing my usual weekly shopping.  One of my favorite vendor’s had these beautiful stalks of brussels sprouts.  I got so excited about them that a woman, who was also shopping, pulled me aside and whispered : “How do you cook those?” This isn’t the first time this has happened to me,  believe it or not, people stop me all the time, either at the farmers market, or at Whole Foods, to ask how to cook a variety of vegetables. The funny thing about people asking me cooking questions is that they almost always whisper the question?  I don’t understand why they whisper the question! I want to tell them, “you know you’re not the only person on the planet who has no idea what to do with ((insert name of vegetable here)).”   I shared this recipe for roasted brussels sprouts with the  the lady at the farmer’s market. It’s simple, easy and so delicious.  It’s one of my absolute favorite ways to cook and eat brussels sprouts.


Pin It!

Pin It!


Prep time: 10 minutes

Cook Time: 10-15 minutes

Total time: 25 minutes

Ingredients:

1 pound of brussels sprouts halved

2 Tablespoons of lemon juice

3 tablespoons of olive oil ( or ghee or coconut oil)

Sea salt to taste

1/2 teaspoon of red pepper flakes

2 tablespoons of freshly grated parmesan cheese


Directions: Pre-heat the oven to 425F. Add the lemon juice and red pepper flakes to a medium sized bowl and set aside.  In a medium bowl add the brussels sprouts, oil and sea salt, toss well making sure that all the brussels sprouts are evenly covered with oil.

image

Place on a foil lined baking sheet and put in the oven.

image

Cook  for 10-15 minute, or until the brussels sprouts take on a significant amount of color and they become crisp and tender. Sprinkle the sprouts with  half the cheese and cook for another minute or two, just until cheese melts and becomes crisp, remove the sprouts from the oven, transfer them to the bowl with the lemon juice and the red pepper flakes, toss well to coat the brussels sprouts with the lemon juice, sprinkle with the remaining cheese, serve immediately and enjoy! These are crispy, tangy with a little kick! They are the perfect side dish for almost any meal!

image

image

Roasted Garlic Cauliflower Mashed Potatoes!

Roasted Garlic Cauliflower Mash

Roasted Garlic Cauliflower Mash


From time to time, I crave a meal with a deep rich wine sauce. When that happens I turn to Julia Child’s beef bourguignon recipe, or my version of it.  If you have ever made beef bourguignon, then you know the sauce that accompanies the beef is everything for that particular dish! The beef, as succulent as it is, is nothing without that sauce, and that sauce was made to adorn a potato mash! The year that I had Page I decided rather than running from house to house to celebrate Thanksgiving with friends and family, it would be easier on her, and my husband and I,  if we just stayed home and made dinner ourselves. My best friend agreed and we divided the dinner duties. Instead of a massive turkey, I roasted a chicken, she made a few sides, and I baked a cake. One of the sides she made was a potato and cauliflower mash. It was delicious, and Page loved it! It was hearty and everything you’d expect when eating mash potatoes and at the same time it had the added bonus of cauliflower. When I was making my beef bourguignon, and anticipating the yumminess of the sauce, I knew that this cauliflower mash would go perfectly with the sauce. If you’re on a low carb diet, you can omit the potatoes, and whip the cauliflower in a blender. For this recipe, I opted to not whip the mash, I wanted the hearty texture, so I used a potato masher instead. If you want a more creamy texture, just throw all the ingredients in a blender after cooking them.

Pin It!

Pin It!


Prep time: 5 minutes

Cook time: 10-15 minutes

Total time: 20 minutes

Ingredients:

1 small head of cauliflower (about 5 cups)

2 medium potatoes (2 cups cubed)

4 tablespoons of grassfed butter

2 tablespoons of half and half (optional)

1 head of roasted garlic

sea salt and black pepper to taste

Directions:  Add the cauliflower and potatoes to a pot and fill with enough water to cover. Bring to a boil over medium high heat, and cook until potatoes and cauliflower are fork tender.  Immediately drain the water from the cauliflower and potatoes, then add in, butter, half and half, roasted garlic, sea salt and pepper.

image

Mash with a potato masher until well incorporated, or add all the ingredients to a blender and blend until smooth, then enjoy!

image