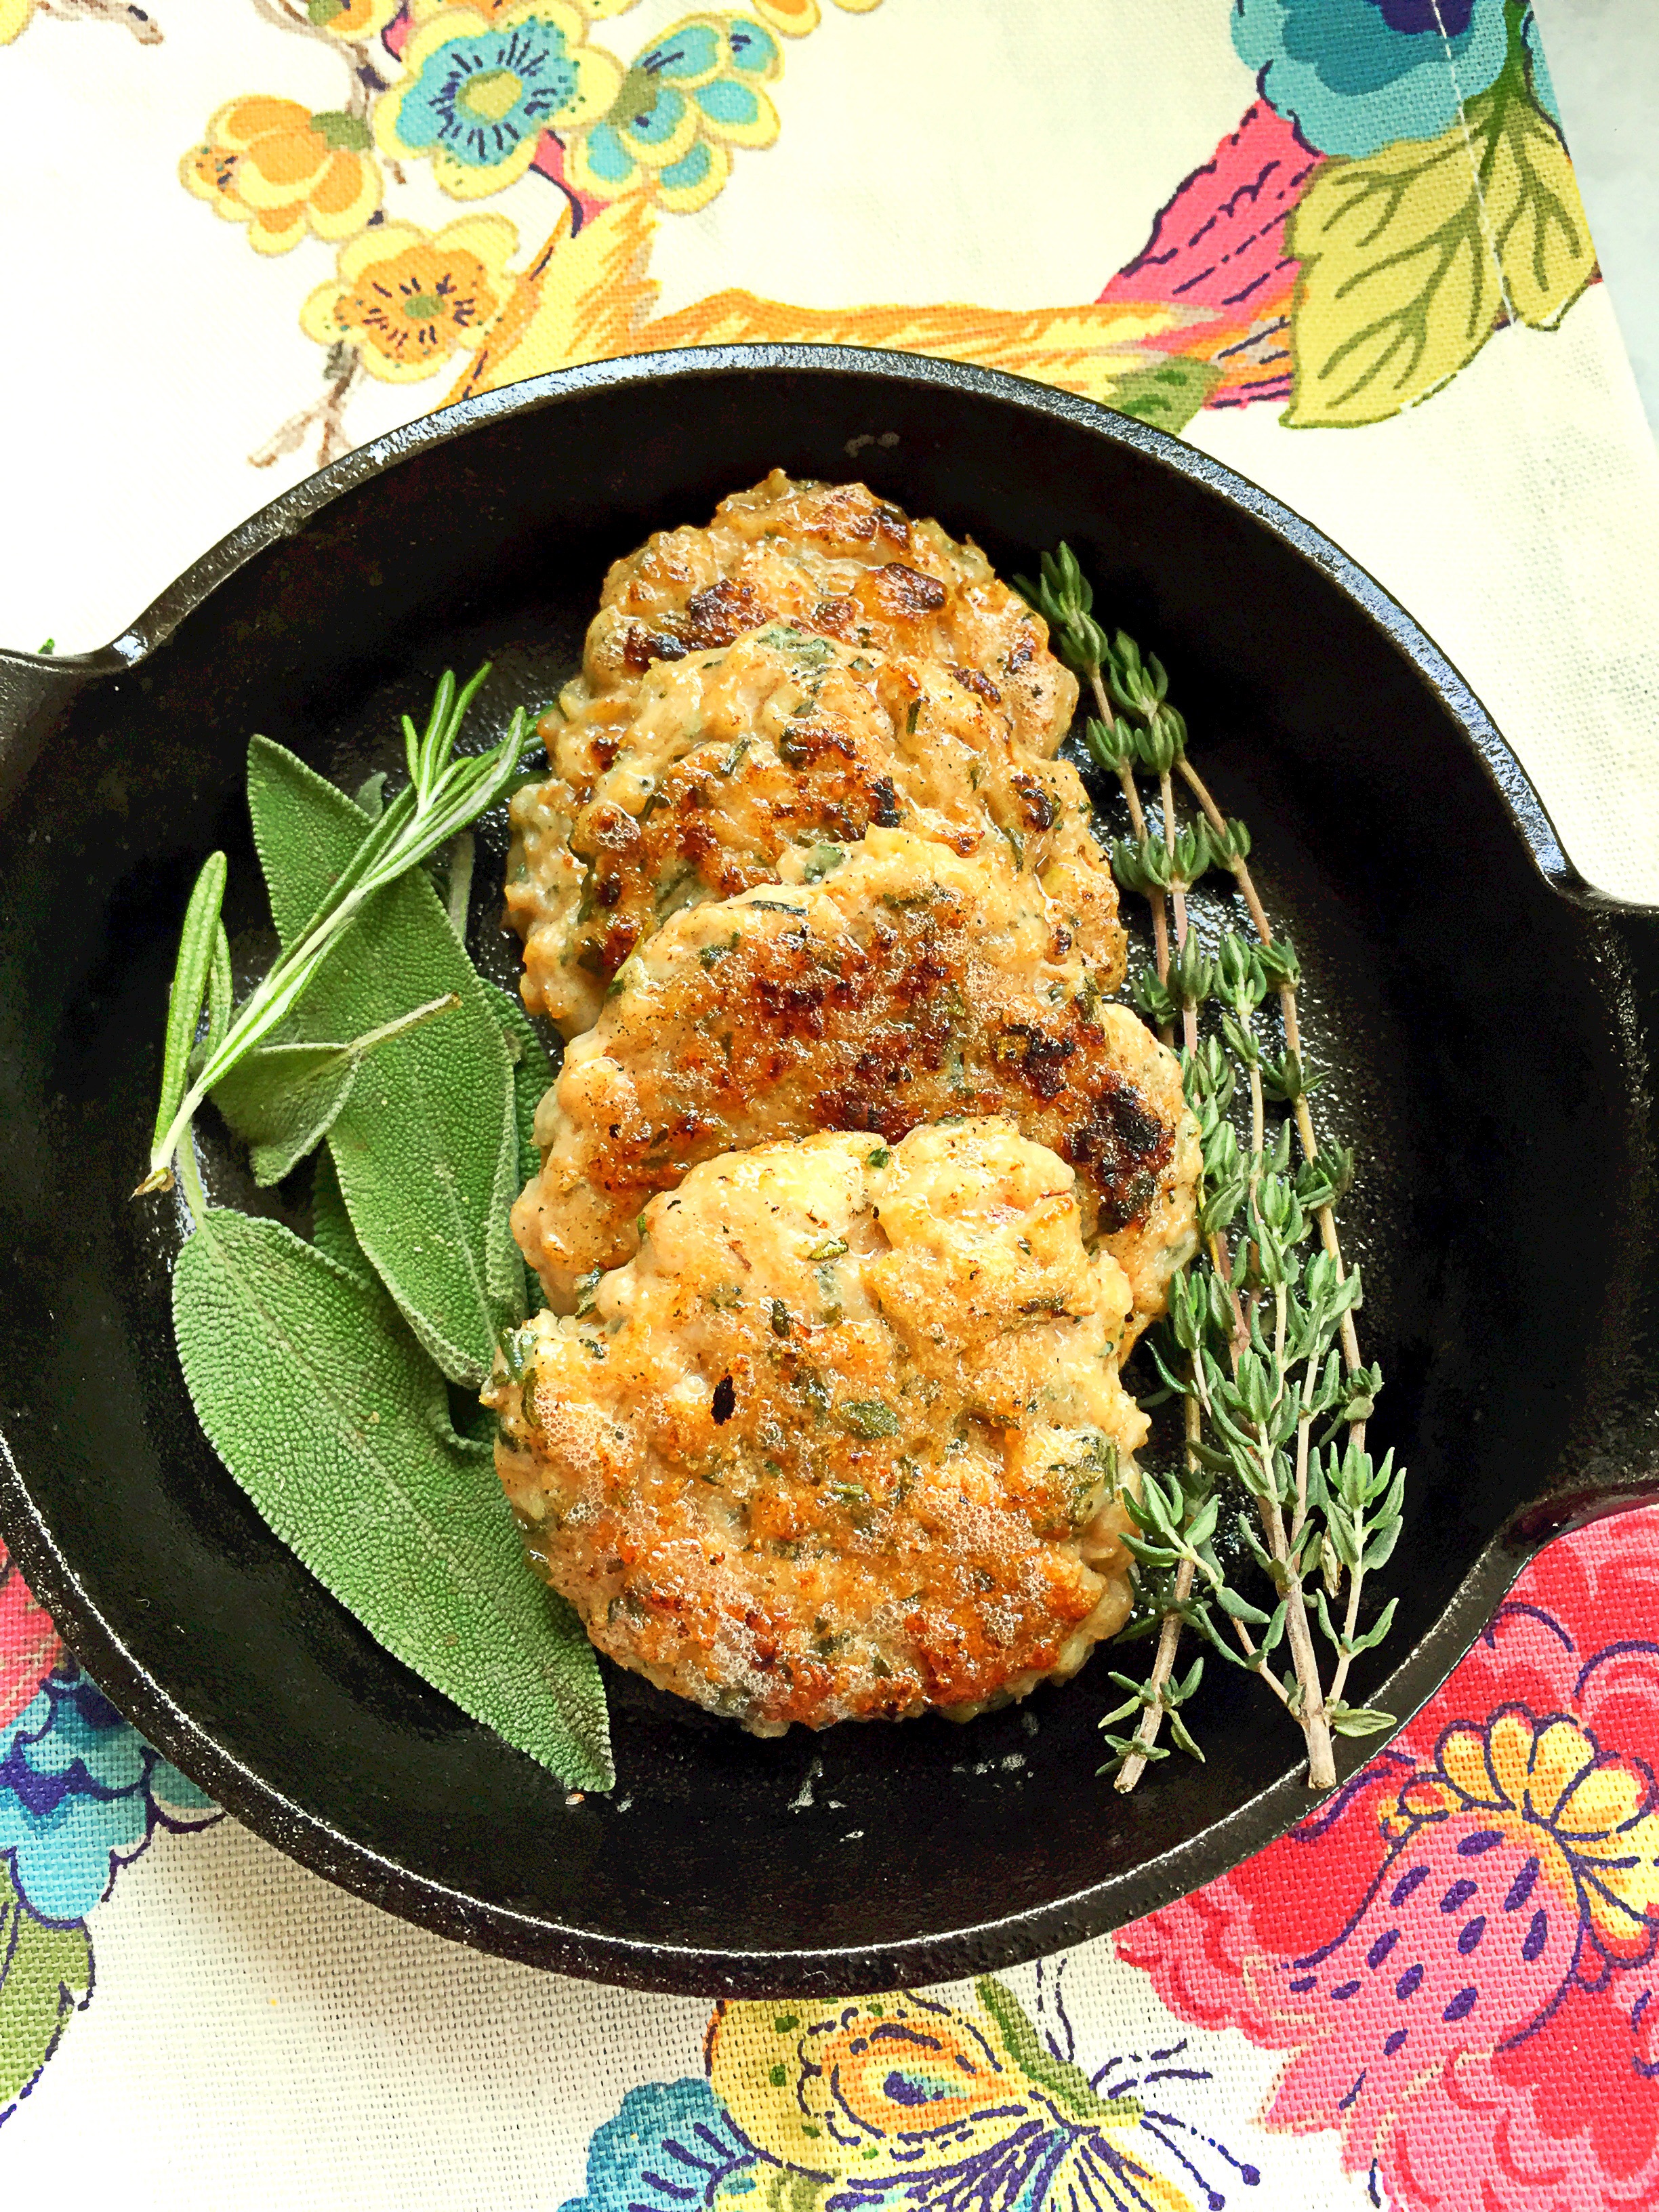
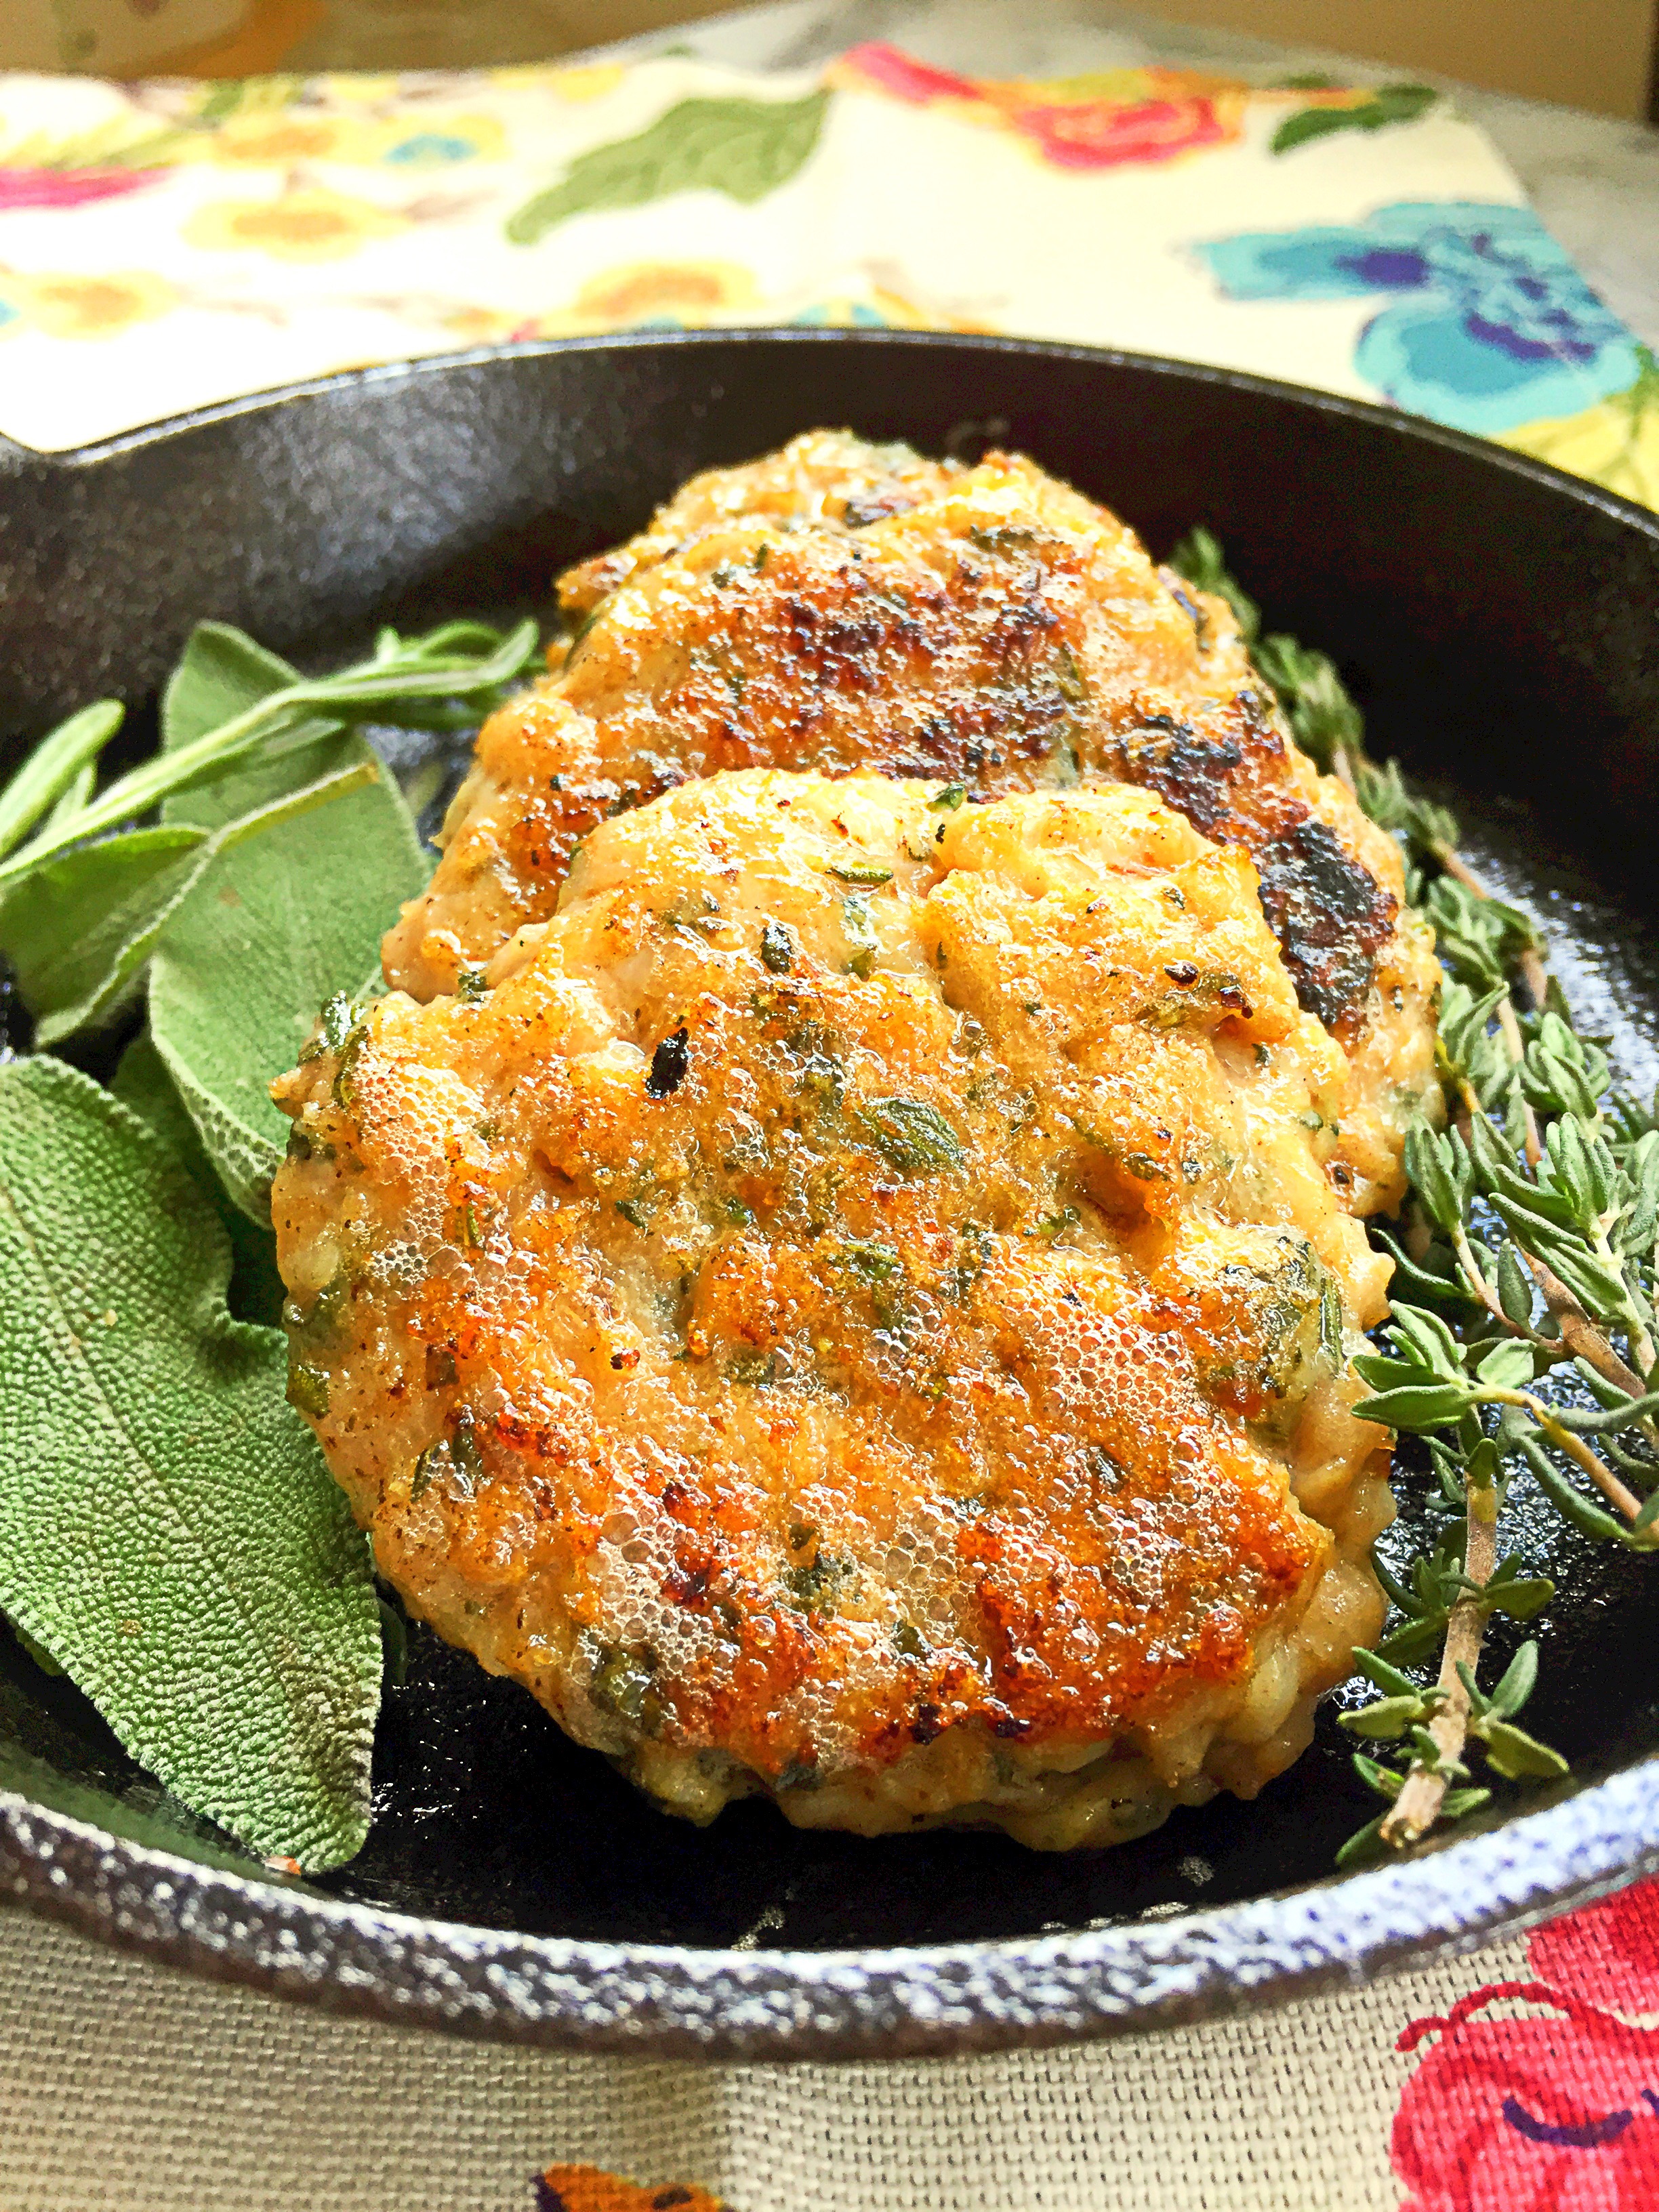
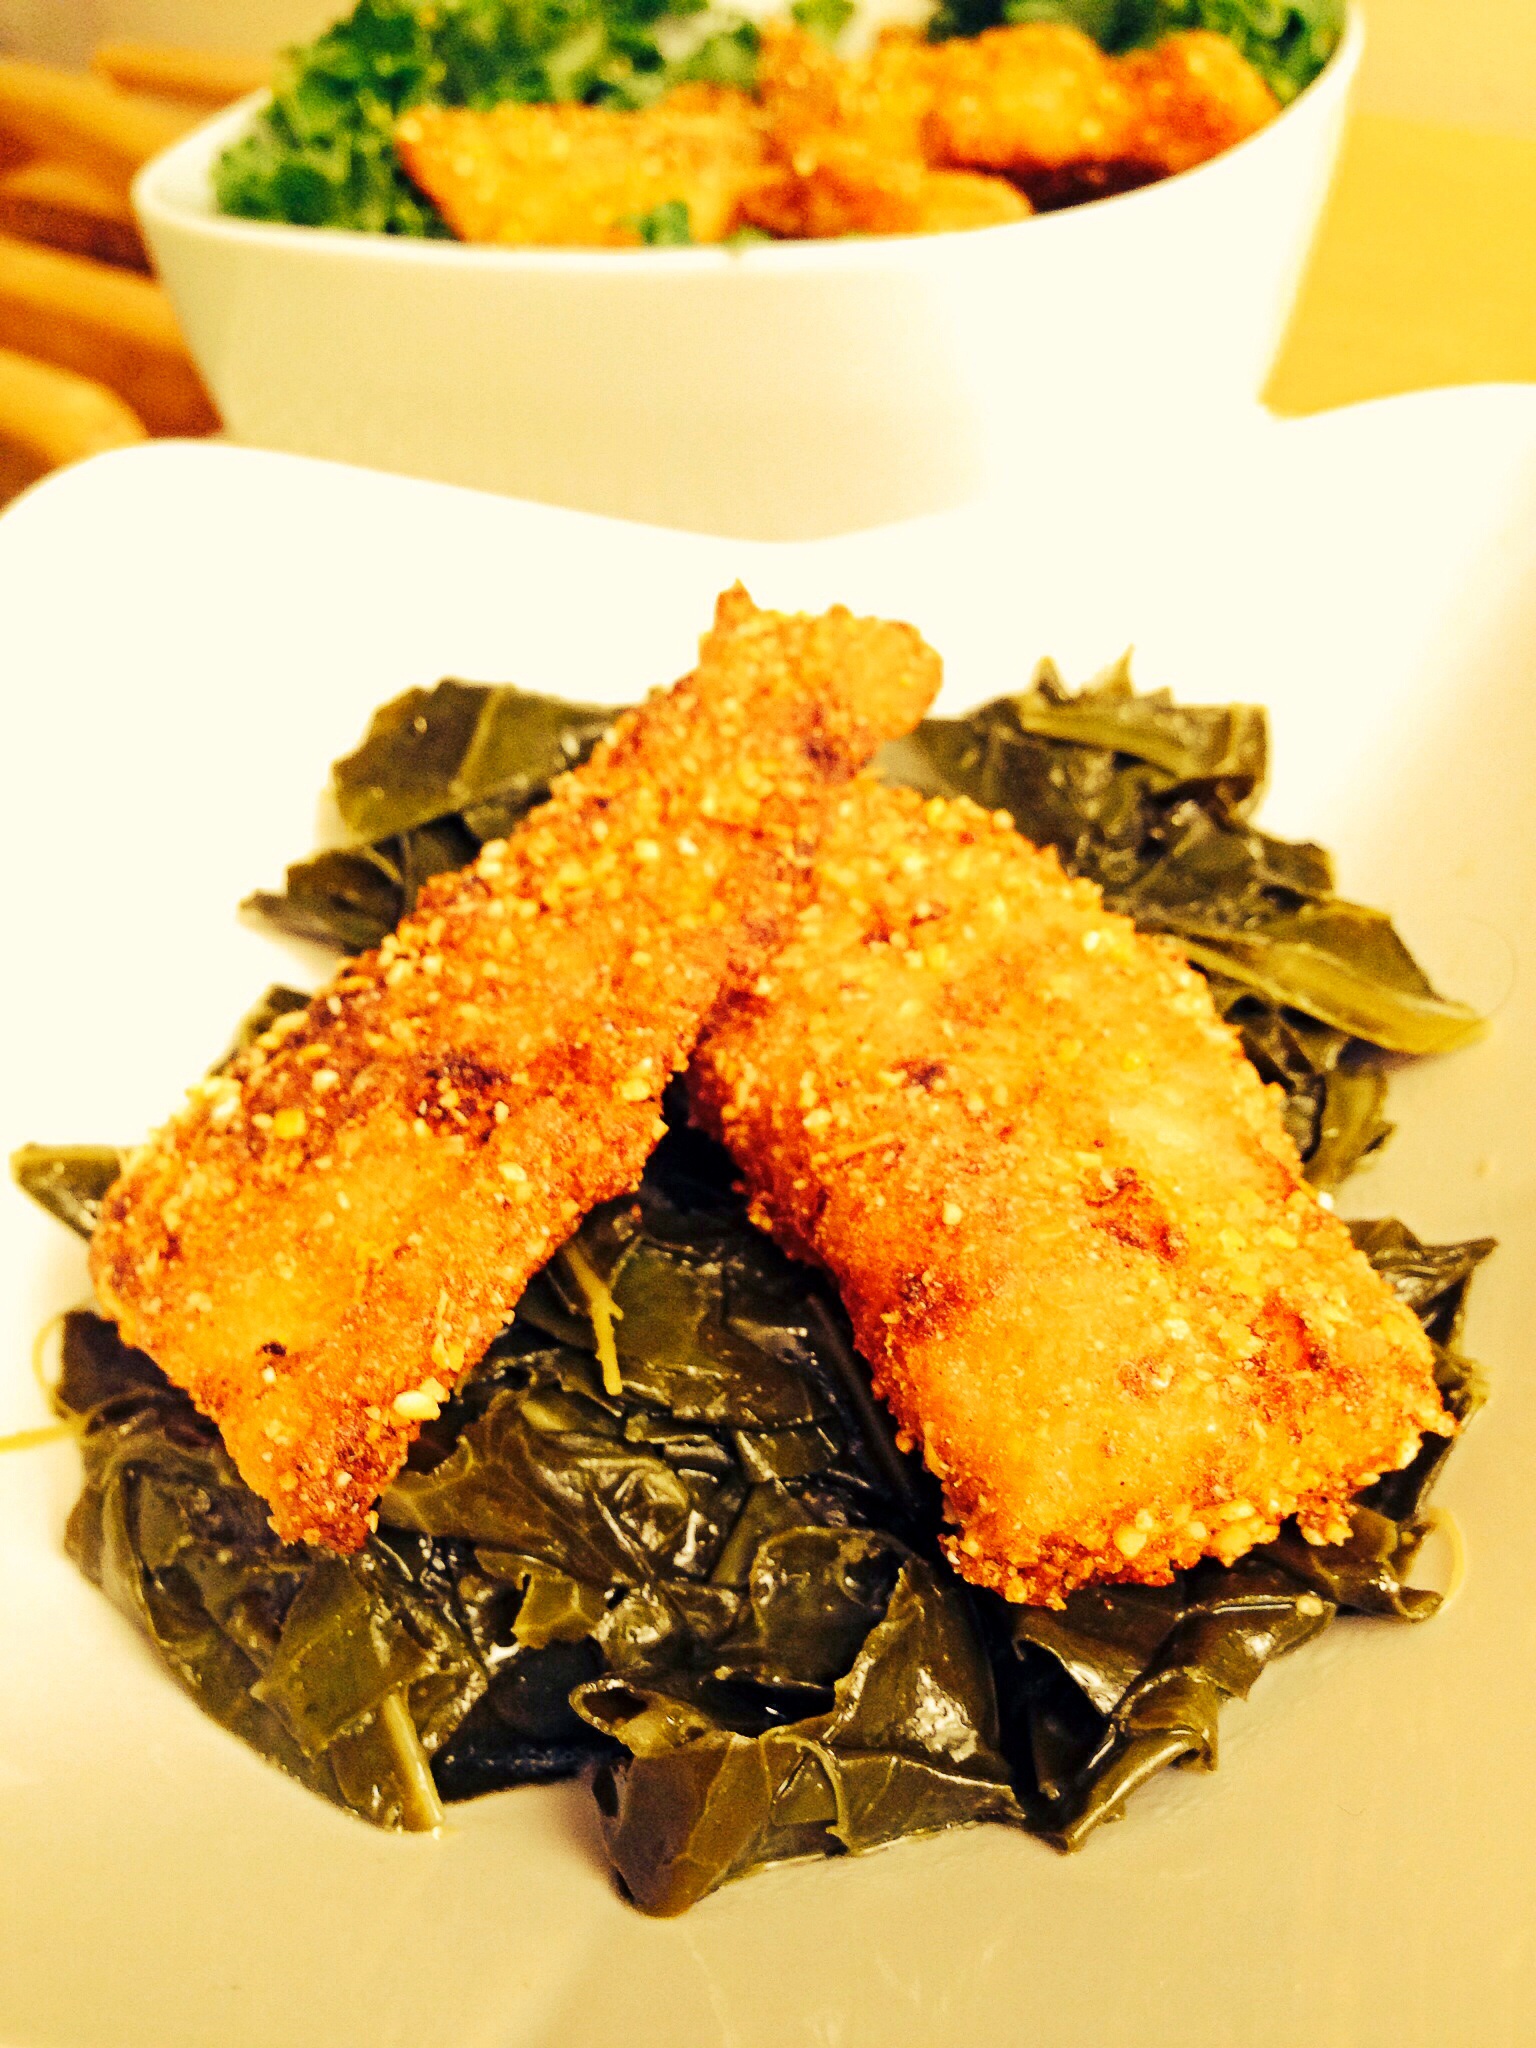
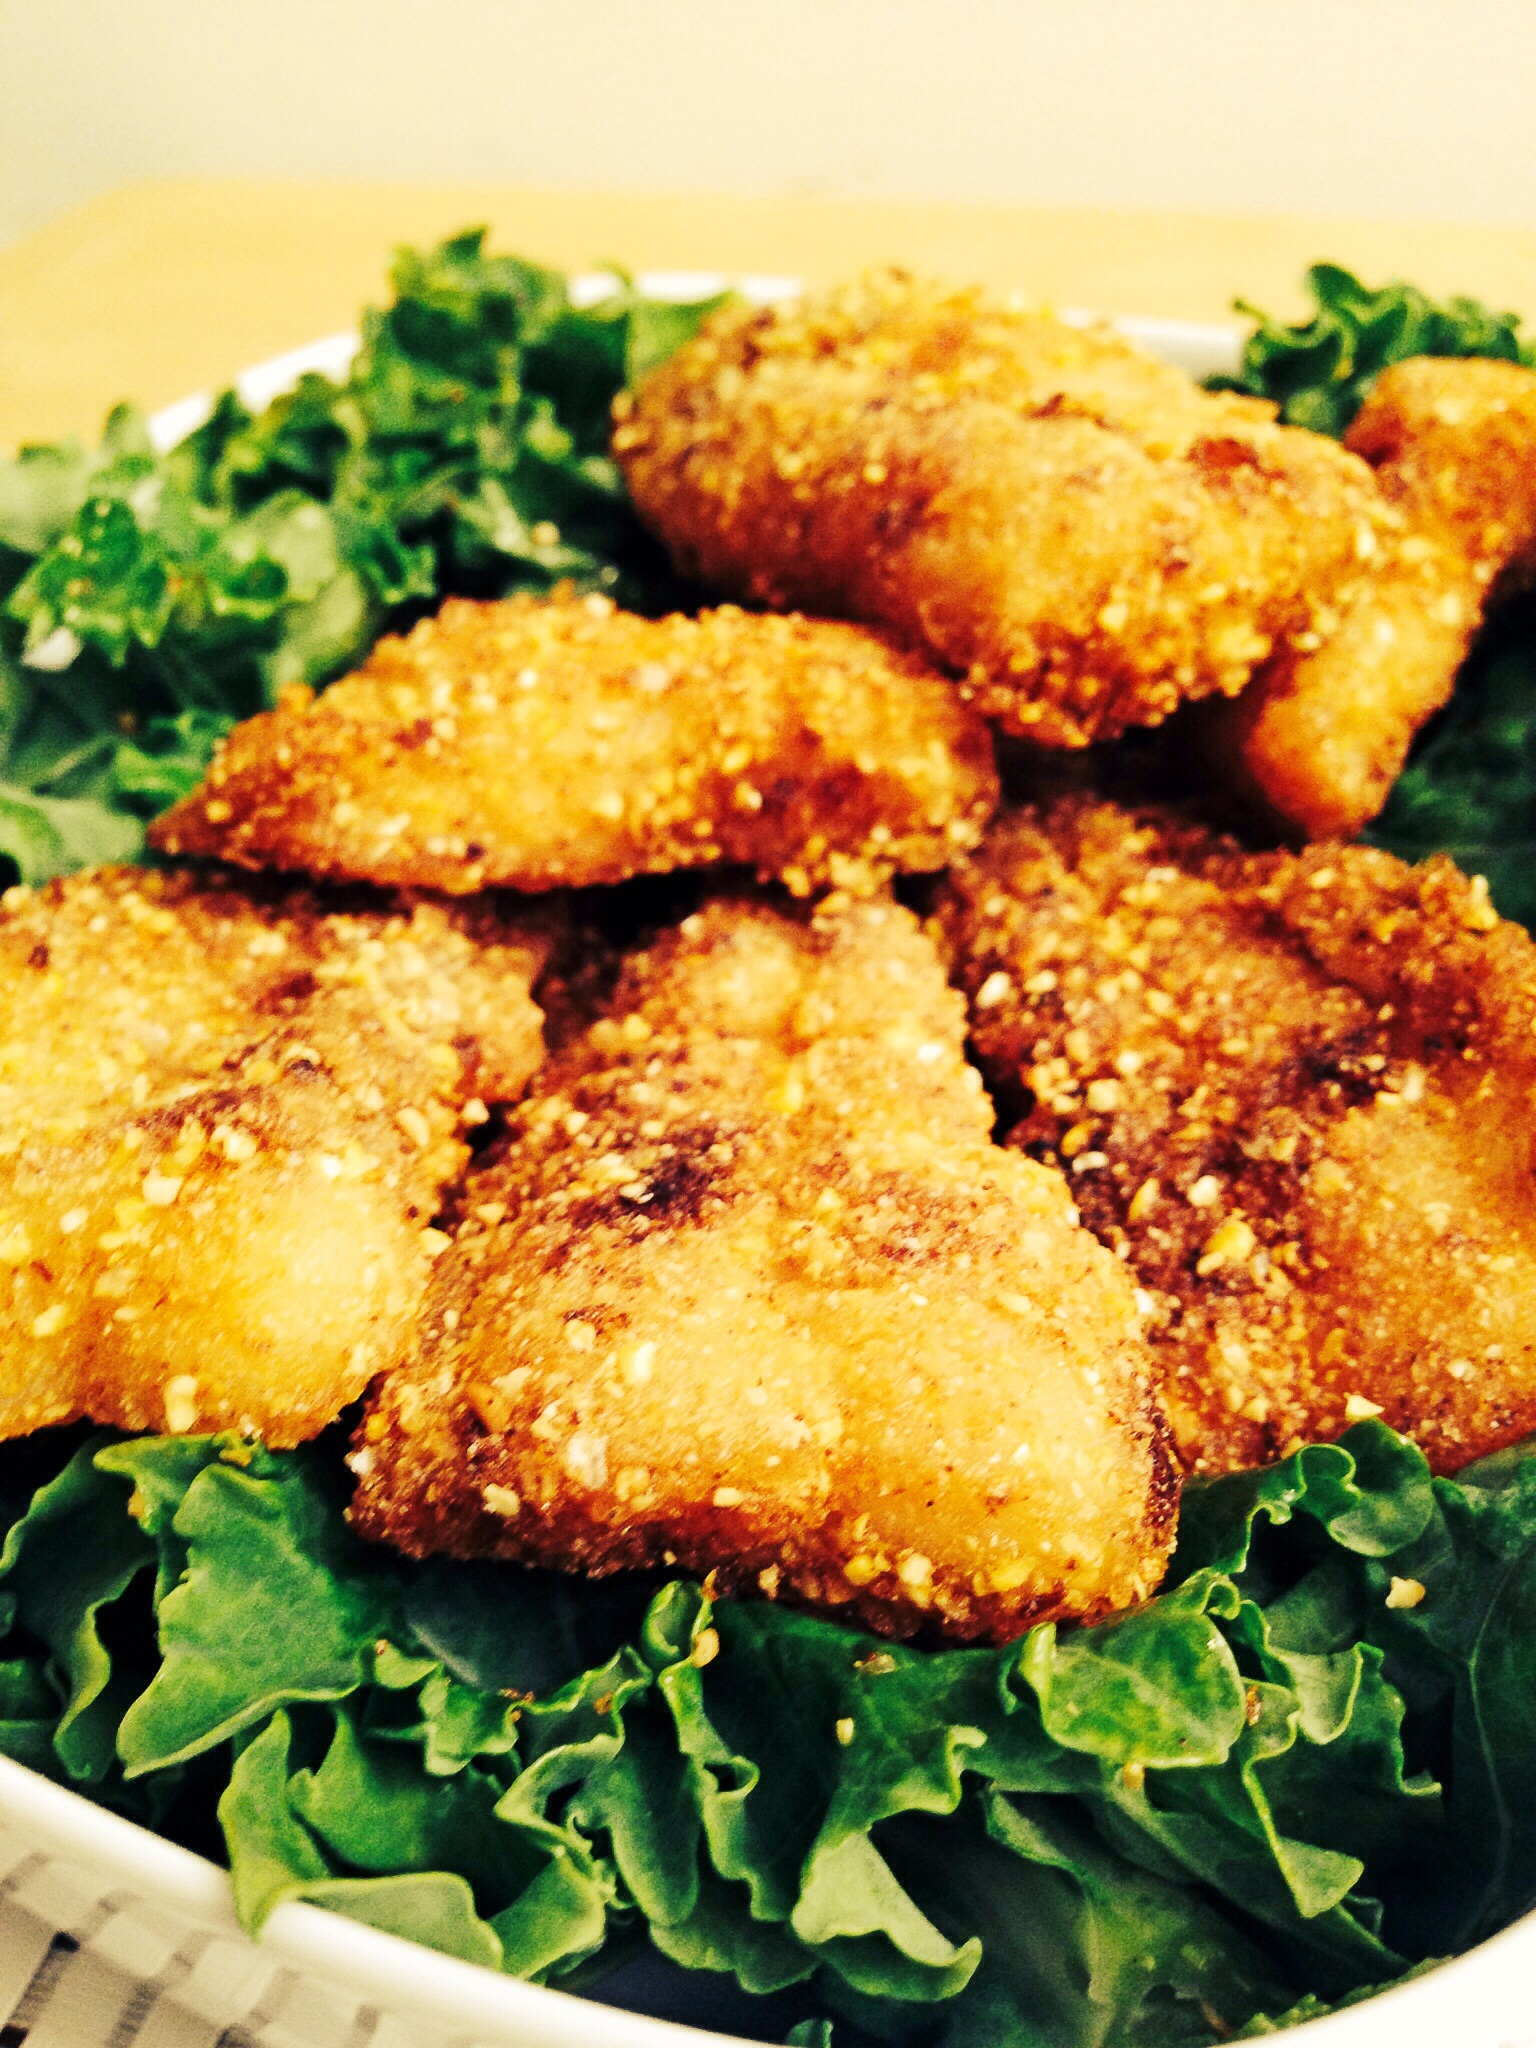
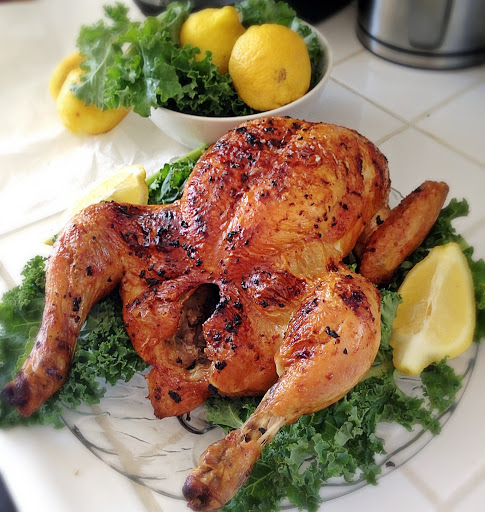
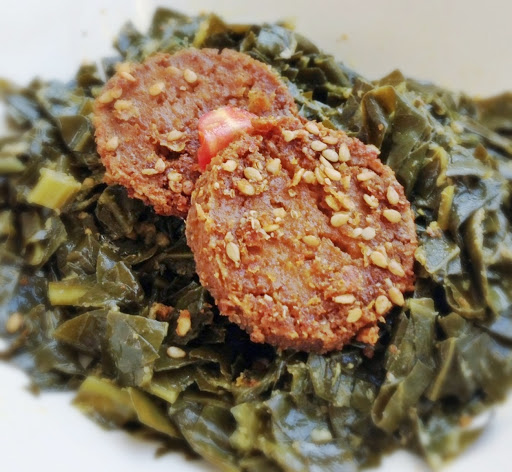
Herbaceous Grilled Lamp Chops

Herbaceous Grilled Lamb Chops

Herbaceous Grilled Lamb Chops

Last weekend I visited a Persian market.  The market filled me with all sorts of food inspiration, but it mostly left me with a strong desire to eat lamb.  I guessing that desire came from the cooked foods section, which had fresh lamb kabobs and shawarma. The market also housed a rather large meat department, it had lamb in every form, hooves, hearts, livers, basically every part of the lamb that a better cook than I am could possibly want to cook. A far cry from the selection at my local Whole Foods! I feel like I hit the lottery if they have stewed lamb meat once every 4 months.  Wouldn’t it be fabulous to be able to walk into your local market and find, um..choices?  Like ramps in the spring time, in California–but I digress.  Let’s just say, I left the Persian market with market envy.   I shop at Whole Foods so often that when I go into a conventional grocery store, I’m always amazed at how inexpensive things are.  Haha..call it reverse sticker shock! Thank you Whole Foods!  Surprisingly, I did not leave the Persian market with lamb.  I did find some great spices, some pomegranate molasses, and a few other great items.  I left with my new finds and a mission to cook these lamb chops.

Pin It!

Pin It!


Ingredients:

1 lb lamb chops

2 tablespoons of fresh rosemary, finely chopped

4-5 cloves of garlic minced

1 teaspoon lemon powder, can sub with lemon zest

1/2 teaspoon of olive oil

Directions: To a small bowl add garlic, rosemary, lemon zest and oil, mix well.

image

Dry lamb chops, season generously with sea salt. Rub the lamb chops with the herbaceous garlic paste.

image

Place lamb chops on a hot grill, and cook for 5-7 minutes on each side, or until lamb chops are cooked to your liking.  Remove from grill, serve with a fresh squeeze of lemon and enjoy!

image

D.I.Y. Chicken Breakfast Sausage-How to Make Breakfast Sausage

Chicken Breakfast Sausage

Chicken Breakfast Sausage


One of the most difficult parts of the day for me is deciding what to feed Page for breakfast.  Like any child, she’s opinionated about what she’ll eat, but she seems to be more obstinate in her choices during breakfast.  She doesn’t eat what I imagine most kids do in the morning, no breakfast cereals, or breakfast bars.  She is more into things that take more time, like eggs, bacon, quesadillas! She loves a hot meal to start her day off, so this week when I went shopping, I thought I’d switch things up a bit and make some homemade breakfast sausage for her.  I’m using ground chicken for this recipe, but feel free to use pork, if you’re so inclined.  The fresh herbs in this recipe are what make these sausages amazing! What’s more amazing is that you don’t need to grind the meat yourself.  Order a pound or two of ground chicken from your  meat guy/gal add some fresh herbs and BAM–Jimmy Dean style sausages for you and your loved ones.  These would be perfect for Sunday Brunch, or for your Mother’s day breakfast–point your husbands right to this site.  One pound of ground chicken made about 12 sausage patties.  I put 5 in the refrigerator, and froze the rest for later use.  If you don’t plan on cooking these within 5 days of making them, then I suggest you freeze them right away.

Pin It!

Pin It!


Prep time: 10 minutes

Cook time: 8 minutes


Ingredients:

1 lb of Organic air chilled ground chicken (dark meat)

2 tablespoon of fresh sage (finely chopped)

2 tablespoons of fresh thyme (finely chopped)

1 teaspoon of fresh rosemary (finely chopped)

1 tablespoon of maple sugar (can substitute with maple syrup or brown sugar) Omit if you’re on Whole 30

1 teaspoon of sea salt

1 teaspoon of red pepper flakes (more if you want)


Directions:  Add the ground chicken and spices to a medium sized bowl,

imageMix until combined.

image

Form patties, and either refrigerate for up to 1 week, or freeze in an air tight container for up to 3 months.


When ready to cook, spray a cast iron skillet with coconut oil, bring pan to temperature, then add patties, cook for 3-4 minutes on each side,

image

or until golden brown, and meat is cooked through in the center.

image

Remove from pan, serve and enjoy!!!

image

Cherry hand pies

Cherry Hand Pies

Cherry Hand Pies


I am not a fan of baking, but every now and then I get a craving and I drag myself into the kitchen and have a go at it. Baking involves a lot of science, and only after one has mastered the science, can one move onto the artistry of it. In cooking you can add a little here and there and the final result will not be drastically altered, with baking, well let’s just say, baking is much less forgiving, and that my friends is why I avoid it if I can. There is a reason why chefs on top chef avoid doing desserts–sooo many things can go wrong. This recipe took me several tries before I was happy with the final product. I tried this with puff pastry and I was less than impressed. I moved on to a gluten free, do-it-yourself pie crust, and was highly disappointed. It was my fault really, the dough was good, but I used way too much butter, and the dough spread and wouldn’t stop spreading.  Finally I gave in and bought ready made pie crusts, the kind you roll out–not the kind already in a pie tin–and I was very pleased with the result.  These little hand pies make a great addition to a picnic, they’re small, mess free, and you don’t have to worry about having a knife to cut the pie because these are single serving.

Logo Pinterest-01

Pin it!


Prep time:10 minutes

cook time: 30 minutes

Makes 6 pies

Ingredients:

2 cups of fresh cherries, halved and  puts removed

1/2 cup of maple sugar (cand use maple syrup, cane sugar, or sweetener of your choice)

1 tablespoon of lemon juice

1  teaspoon of vanilla extract

1 tablespoon of arrowroot powder (can sub with xantham gum, cornstarch or flour)

1/8 teaspoon of sea salt

1/8 teaspoon of cinnamon

1 package of ready made pie crusts–the kind you can roll not the ones in a pie tin.

directions: add the cherries, lemon juice, sea salt and sugar to a sauce pan over medium heat.

image

Cook until cherries begin to release juices, about 5-7 minutes.

image

In a small bowl mix together arrowroot and 1 teaspoon of water, add it to the cherry mixture, stir and cook until mixture thickens.

image

Remove from heat and allow to cool to room temperature. Once mixture has cooled. Pre-heat oven to the recommended temperature on the box for the pie crust you are using. Roll out your pie crusts, then cuts out your desired pie shape. I used a tarlet tin to cut out tarlet pie shapes, two circles for each pie. Fill one of the shapes for each pie with 2-3 tablespoons of the cherry filling, top it with the other pie shape, seal it by pressing the borders with a fork. Use a knife to cut a few slits on the top of the pies for ventilation. Place the pies on a silicone/parchment lined baking sheet and bake until golden brown– about 20-30 minutes.


image

Southern Style Fried Catfish

Southern style Catfish

Southern style Catfish


Last week I was watching a documentary called,  Soul Food Junkies, it was about the history and resulting health consequences of eating too much soul food. It was a great  documentary, informative, and inspiring in all the right places. However, I left viewing it with a strong desire to eat collard greens and catfish. My grandmother fried fish, and cooked greens like no one else on this planet, I miss her cooking so much!  I guess one could say that my craving was one more of emotional comfort rather than hunger. Whatever, the reason for my craving, it was one that I had to fulfill. It worked out perfectly, as things go, my Whole Foods had 4 catfish fillets on hand, they rarely if ever have catfish, so I took it as a sign that my grandmother was looking out for me and wanted me to have the comfort of the meal I had set out to make. I rarely cook fried fish, but when I do, I love to have it with collard greens. So I picked up a few bushels from my local farmers market and set out to make this meal. This is not my grandmothers recipe, but it’s pretty great on its own. Her recipe involved much more detail than this one does, and that required more time than I had on that Sunday. If you want, and have the time, you can crack an egg and whisk it to use as a wash to dip the fish into before putting it into the corn meal. I skipped that option and the fish was still crispy and juicy.

Pin It!

Pin It!


Ingredients:

1 lb of cat fish fillets, quartered

1/2 teaspoon of paprika

1/2 teaspoon of garlic powder

1/2 teaspoon of onion powder

sea salt and black pepper to taste

1/2 cup of corn meal

1/2 cup of grapeseed oil, or safflower oil

Directions: Heat the oil in a cast iron skillet. season the cat fish fillets with sea salt and black pepper. Mix the paprika, onion powder, and garlic powder together in a small bowl, then sprinkle the mixture evenly over both sides of the fish.

image

Coat the fish with the corn meal then add it to the hot oil, and fry until golden brown, and cooked through…about 7-10 minutes. Transfer to a paper towel lined plate, and enjoy!

image

Smashed Potatoes

Smashed Potaoes

Smashed Potaoes

I love potatoes! Love them!!! Any diet that excludes potatoes isn’t a diet I’d ever be on. When my friends even mention going on a low carb diet, I tell them “good luck with that, I’ll be over here with my potatoes and apples! Not going to happen for me, but I wish you the best of luck!” I subscribe to the eat a little of everything and nothing will become a problem diet. The only thing I restrict from my diet are processed foods. If it’s not a real, whole food, then I don’t eat it. This system has worked for me all of my life, so I think I will stick to it. With that said, I love this particular recipe for potatoes, they’re the perfect combination of a fried potato and a baked potato, just delish! I used an Italian dried spice blend, but you can use any spices that you like. I also used multi-color potatoes. Purple, blue and red potatoes are great for you, they have more antioxidants than white potatoes!

Cook time: 30 minutes

Ingredients:
15-20 small organic fingerling potatoes or small Yukon gold potatoes
3-4 tablespoons of olive oil
1/2 teaspoon of Sea salt and more to taste
1 teaspoon of Italian seasoning

Directions:
Pre heat your oven to 425F. Line a cookie sheet with foil and set aside. To a medium pot add potatoes, sea salt and enough water to cover the potatoes, bring to a boil over medium heat. Boil the potatoes until they are fork tender about 10 minutes. Drain the water from the potatoes then place them on the foil lined cookie sheet. Smash each potato with the back of a spoon, you want to expose the flesh. Season each potato with sea salt, and Italian seasoning, then drizzle olive oil over each potato.

image

Place the cookie sheet in the oven, and cook until the potatoes take on a golden brown color, about 10-15 minutes. Remove from oven and serve immediately!

image

Artisan Prosciutto Tomato and Basil Pizza

Okay I admit it, I’m lazy and don’t feel like cooking most days. But if I gave into my impulses to not cook, I’d likely starve. When I’m feeling especially lazy I take out a pre made pizza dough and  the most basic jar of tomato sauce I can find and make pizza. I love pizza and I feel like it gets a bad wrap because of all the frozen pizzas out there. Rightfully so too. Frozen pizzas lack the flavor of fresh ones, and no matter what you add to them, they just cannot compete with a fresh hot  homemade pizza. Pizza also doesn’t have to be just for kids, with the right toppings you can take a plain pizza dough and turn it into something that is sophisticated and grown up without too much effort. This recipe is a great example of that. Start with a great Proscuitto, I get mine at my Whole Foods deli. They slice it fresh, on the spot. The fresh basil in this is also a must, dried just doesn’t bring the flavor you need for this, so don’t take the shortcut unless you absolutely have to.

Prep Time: 3 minutes
Cook Time: 12 minutes
Total Time: 15 minutes

Ingredients:
1 whole wheat Pizza dough,
1/2 cup of organic tomato sauce
Proscuitto 1/4 of a pound
1/2  cup of fresh basil leaves
1 cup mozzarella cheese grated
1 tomato sliced

Directions:
Preheat your oven according to the instructions on your pizza dough. Dust a working surface with flour, and roll out your pizza dough. Try to get an even thickness, shape doesn’t really matter. Top with a generous amount of tomato sauce, then add cheese, tomato slices, basil and lastly the Proscuitto .

Put it in the oven on either a pizza stone or a foil lined cookie sheet (make sure you spray it with a little oil) until the dough is golden brown, about 10-12 minutes. Slice and enjoy!

What are some of your favorite pizza toppings?  Follow and like me on Facebook: http://www.facebook.com/lazygirldinners 

Roasted Chicken with Lemon and Garlic

Lemon and Garlic Roast Chicken

I love to roast chicken whole.  It is the epitomy of lazy cooking in my opinion, however, the payoff is amazing! You marinate the chicken, stick it in the oven for an hour, and you’re done.  I’ve mastered the art of roast chicken.  My roast chicken is famous among my friends and family. Brining is the secret to perfectly roasted chicken, but I’ll save that for a another post.  For now I’ll just give you a recipe for perfectly roasted chicken.

Here’s what you need:
Ingredients
1 Whole Organic non-GMO Chicken
4 cloves of garlic, pasted
The juice of 1 lemon
The zest of 1 lemon
Sea salt
Black pepper
2 Tablespoons of olive oil

Servings: 4-6

Directions:
In a small bowl add the pasted garlic, lemon zest and oil.

 Rub the the olive oil  mixture all over the Chicken, and season it generously with sea salt and pepper.

Place the chicken in a 450F degree oven and bake for 45 minutes to an hour. Remove once the chicken has cooked through and the skin is crispy and golden brown. Pour the the lemon juice over the chicken, let rest for 10 minutes and serve.

Do you have any tips for roasting chicken? 
Follow and Like me on Facebook: http://www.facebook.com/lazygirldinners

Lemon Herb Cauliflower "rice"

Lemon Cauliflower Herb “Rice” It Paleo, Gluten free, and Low-carb

As adventurous as my daughter is when it comes to food, she still struggles with textures. A meal for her can be made, or broken, if something is not the right texture for her. I’m constantly trying to introduce her to new foods, but at the same time give them to her in a way that she will except. Many foods that I give her end up on the floor if I get it wrong. I read somewhere that people on a low carb diet substitute cauliflower for grains and potatoes. I myself have had cauliflower mash and loved it. I decided to try to do a cauliflower rice to go along with a roast chicken I was making for dinner. It turned out to be a hit with her, and my husband loved it too. I added lemon and cilantro, but just like any rice, you can add what ever flavorings suit your fancy. This is both Cauliflower rice is Paleo, Gluten free, and low carb.

Here’s what you need:
1 large cauliflower head, stems removed
1/4 cup of finely chopped onion
Zest of a lemon
 Juice of half a large lemon
1 Tablespoon of olive oil
Sea salt to taste
Tablespoon of chopped cilantro

Equipment needed:
Food processor

Directions:

Add the cauliflower florets to you’re food processor and pulse until the cauliflower looks like this:

Heat the olive oil in a sauté pan, add the onion and cook until translucent.

Add in the cauliflower and lemon juice and zest, mix well.

Cover the pan and let cook for 3 minutes. Uncover the pan and cook an additional 2-3 minutes, stirring to prevent sticking, but allowing a little browning. Turn fire off, and add the chopped cilantro and serve. I didn’t add the cilantro to her portion, again, textures.

Follow and like me on Facebook: http://www.facebook.com/lazygirldinners

Tofu fried chicken–It tastes just like Chicken!!!

Tofu Fried Chicken

I am a southern girl through and through. My family is from Louisiana, and a Sunday dinner that did not involve fried chicken was not a Sunday dinner at our house. When I decided several years ago that I would switch to a more healthy diet, I eliminated fried chicken from my diet all together. The problem with that was that I really missed it! Enter this recipe for Tofu fried chicken. The saying, “it tastes just like chicken,” is spot on here! Not only does this tofu fried chicken taste just like chicken, but it smells just like fried chicken when you are cooking it too! Vegetarians, Vegan’s, and carnivores alike will love this! Your kiddies will love this tofu fried chicken too! Use cookie cutters to cut out fun shapes, and these become the perfect healthy alternative to fried chicken nuggets. I say fried chicken, but the truth is that this is a very shallow fry. You really only need enough oil to coat the bottom of your pan. After a lot of trial and error with this recipe, I learned that the best results come by freezing the tofu. The texture of the tofu becomes more meat like, and it is a lot easier to expel all of the excess water in the tofu after it has been frozen and defrosted. The more water the tofu has in it, the harder it is to get a crispy crust on the “fried chicken.” It is possible, but it takes much longer than I want to be in the kitchen. Freezing the tofu and defrosting it on the day you want to cook it saves you about 20 minutes of cooking time with this dish.  I slice the tofu before i freeze it, which makes it easier to press out the excess water. I also use nutritional yeast, which you can find at Whole Foods, a health food store, at this Link on Amazon, or at your local vitamin shop since it is a nutritional supplement. I also use Garlic Gomasio, which is simply sesame seeds, garlic powder, and sea salt in one bottle. If you have these ingredients separately then just use 2 teaspoons of sesame seeds, 1 teaspoon of garlic powder, and 1/4 teaspoon of sea salt, and you’ll have a home made Gomasio.

Pin It!

Pin It!


Ingredients:
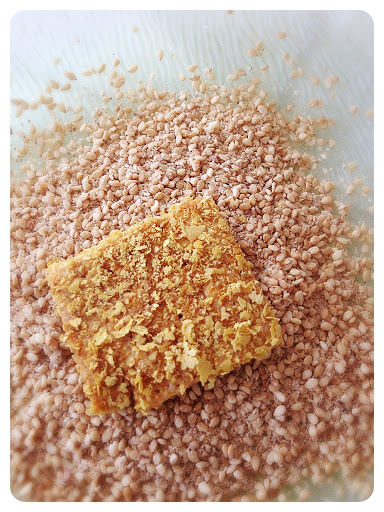
1/4 cup of Garlic  Gomasio and 2 additional teaspoons set aside
1/4 cup of nutritional yeast add more if you need to
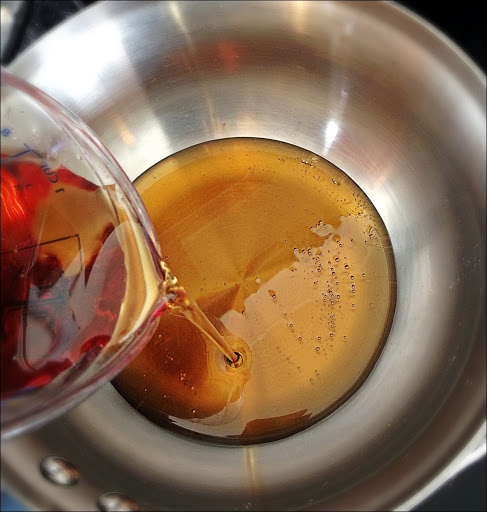
3-4 Tablespoons of a low sodium soy sauce
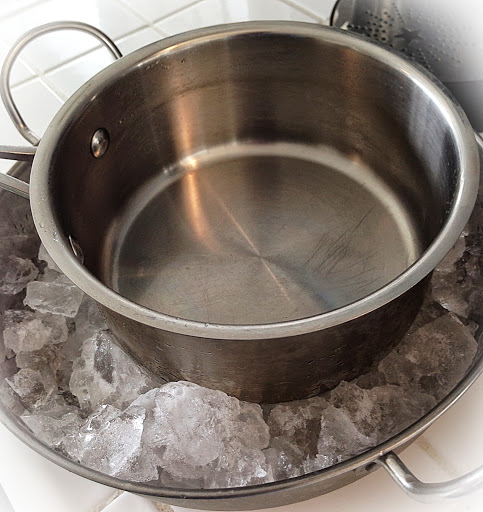
1 lbs of extra firm tofu (sliced, frozen in a ziplock bag and then defrosted)
4-5 Tablespoons of grape seed oil or another high temperature oil (canola, safflower) for frying.

Directions for expelling excess water from the tofu:
After the tofu is defrosted, drain the liquid from the bag. Then place each slice of tofu between paper towels and press out all of the remaining water. Be careful not to press too hard, the tofu breaks easily.

Directions:
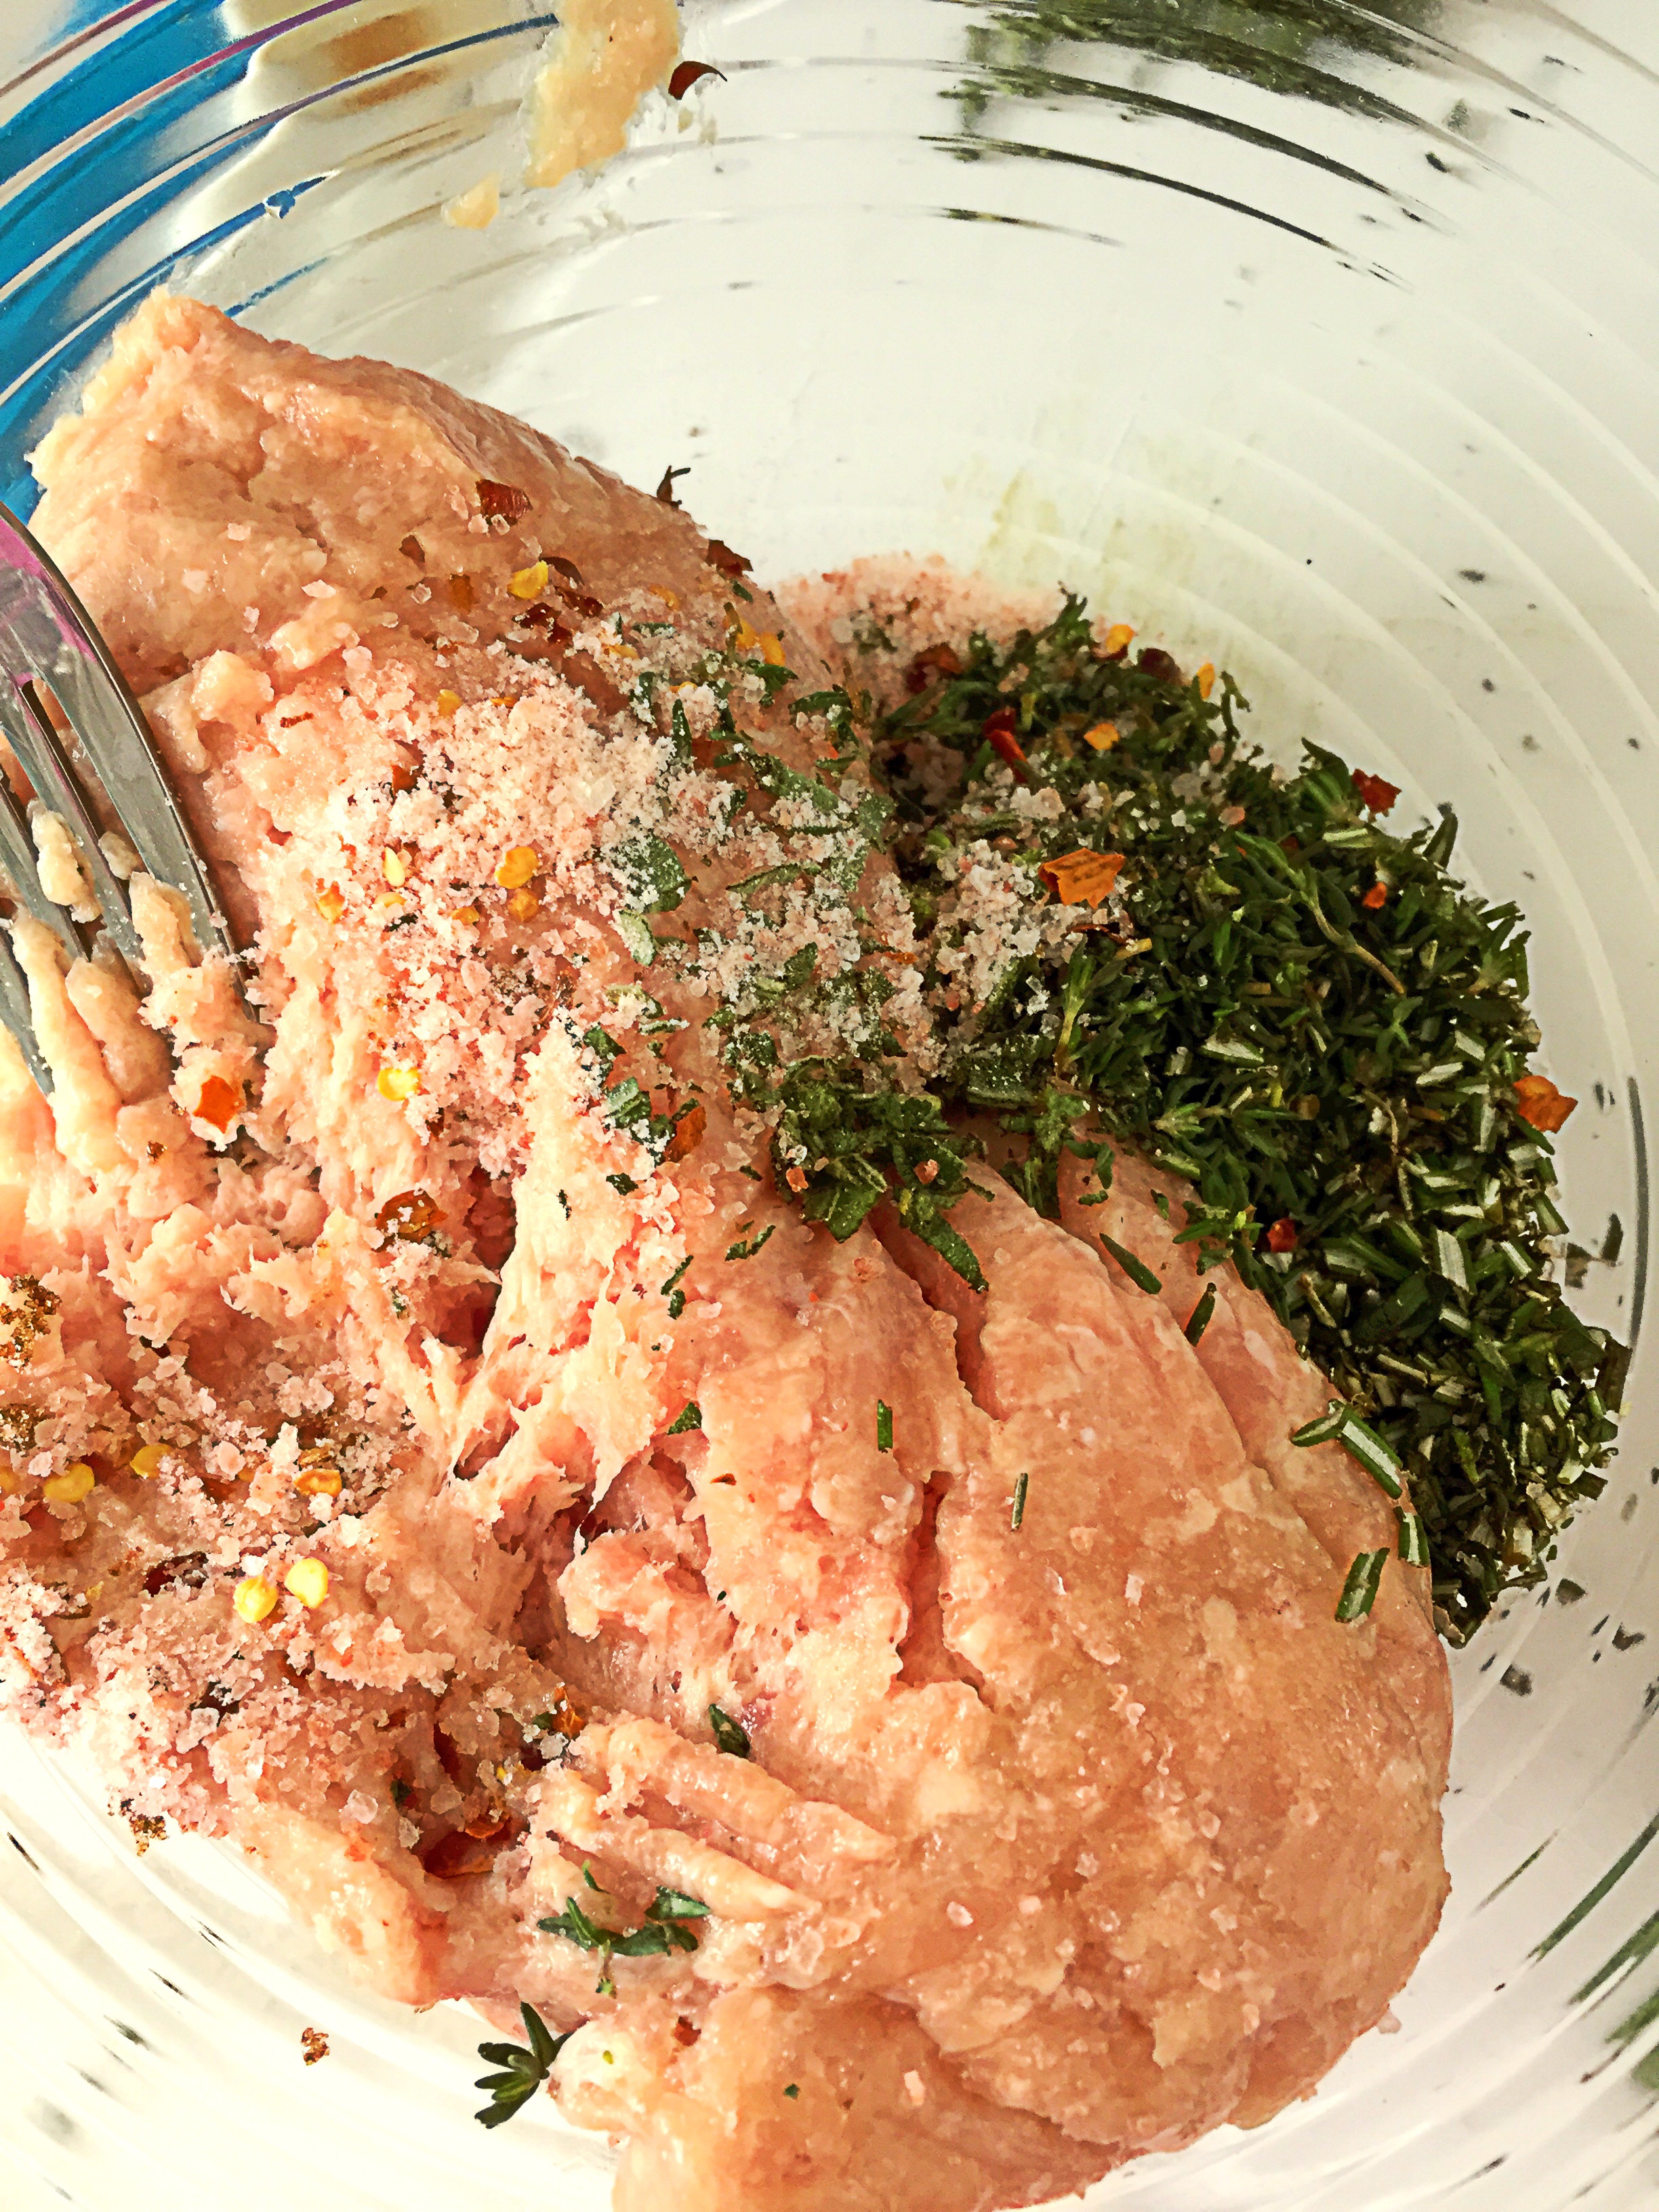
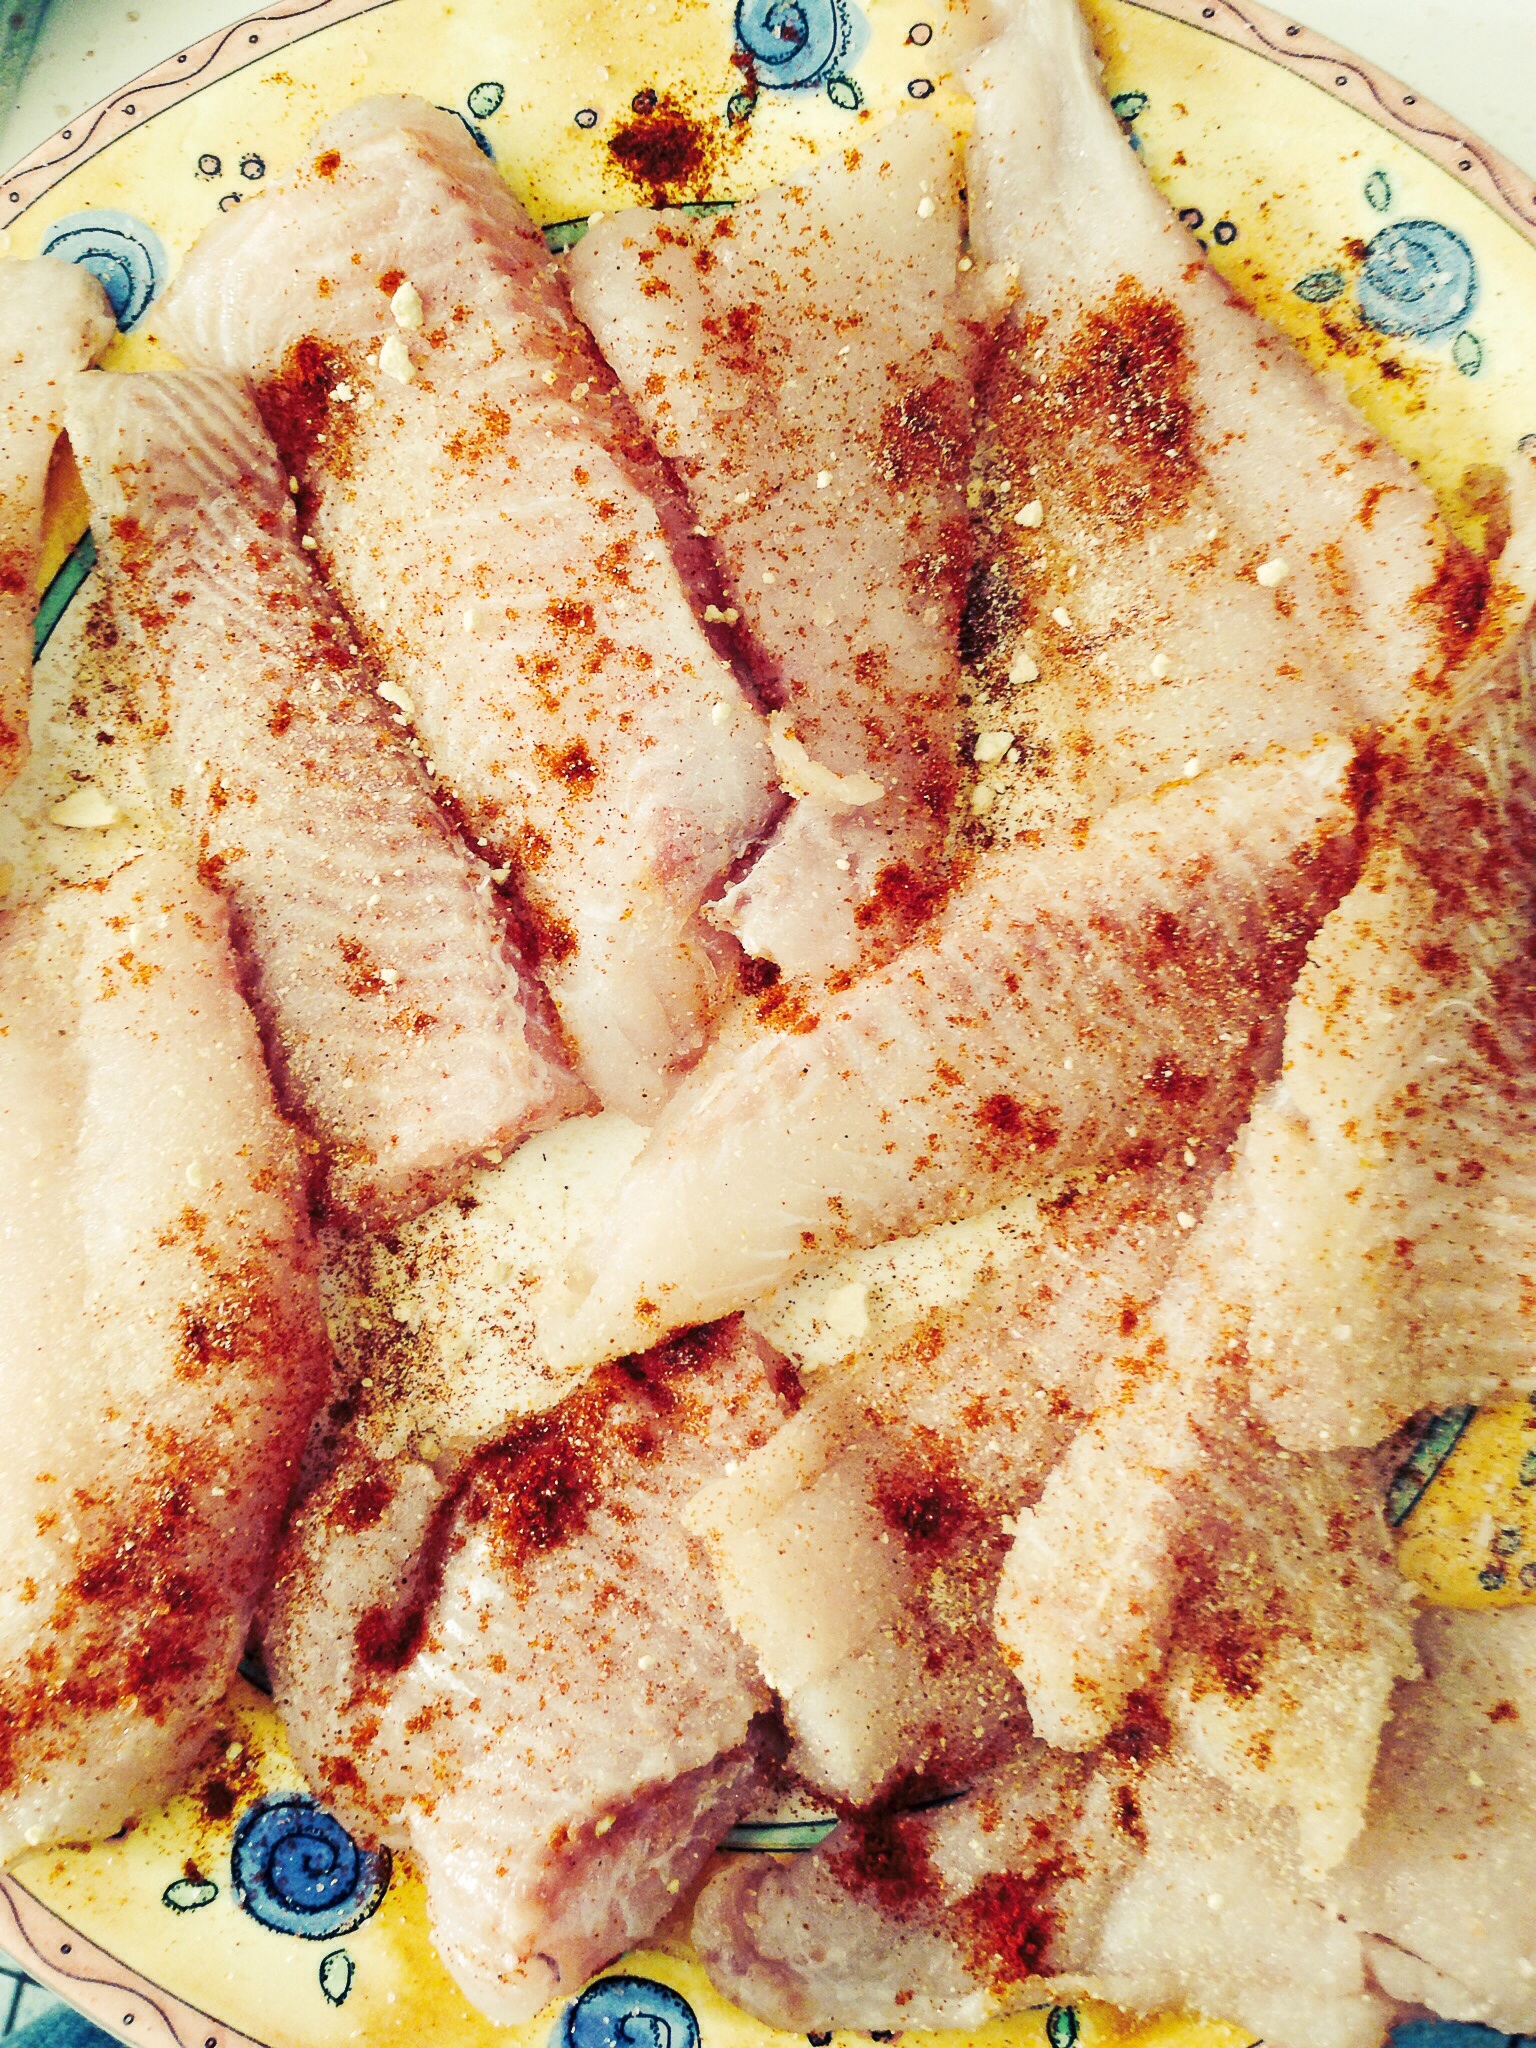
Set up a work station, with a plate for each of the ingredients(except the oil). After you have removed the excess water from the tofu. Dredge the tofu slices through each plate, beginning with the soy sauce, then the nutritional yeast, and finally the Gomasio.

Be careful not to let the tofu soak in the soy sauce. You just want to coat both sides of the tofu with the soy sauce, don’t leave it to soak otherwise you’ll have one salty piece of fake chicken. Repeat this process until you’ve coated all the tofu.

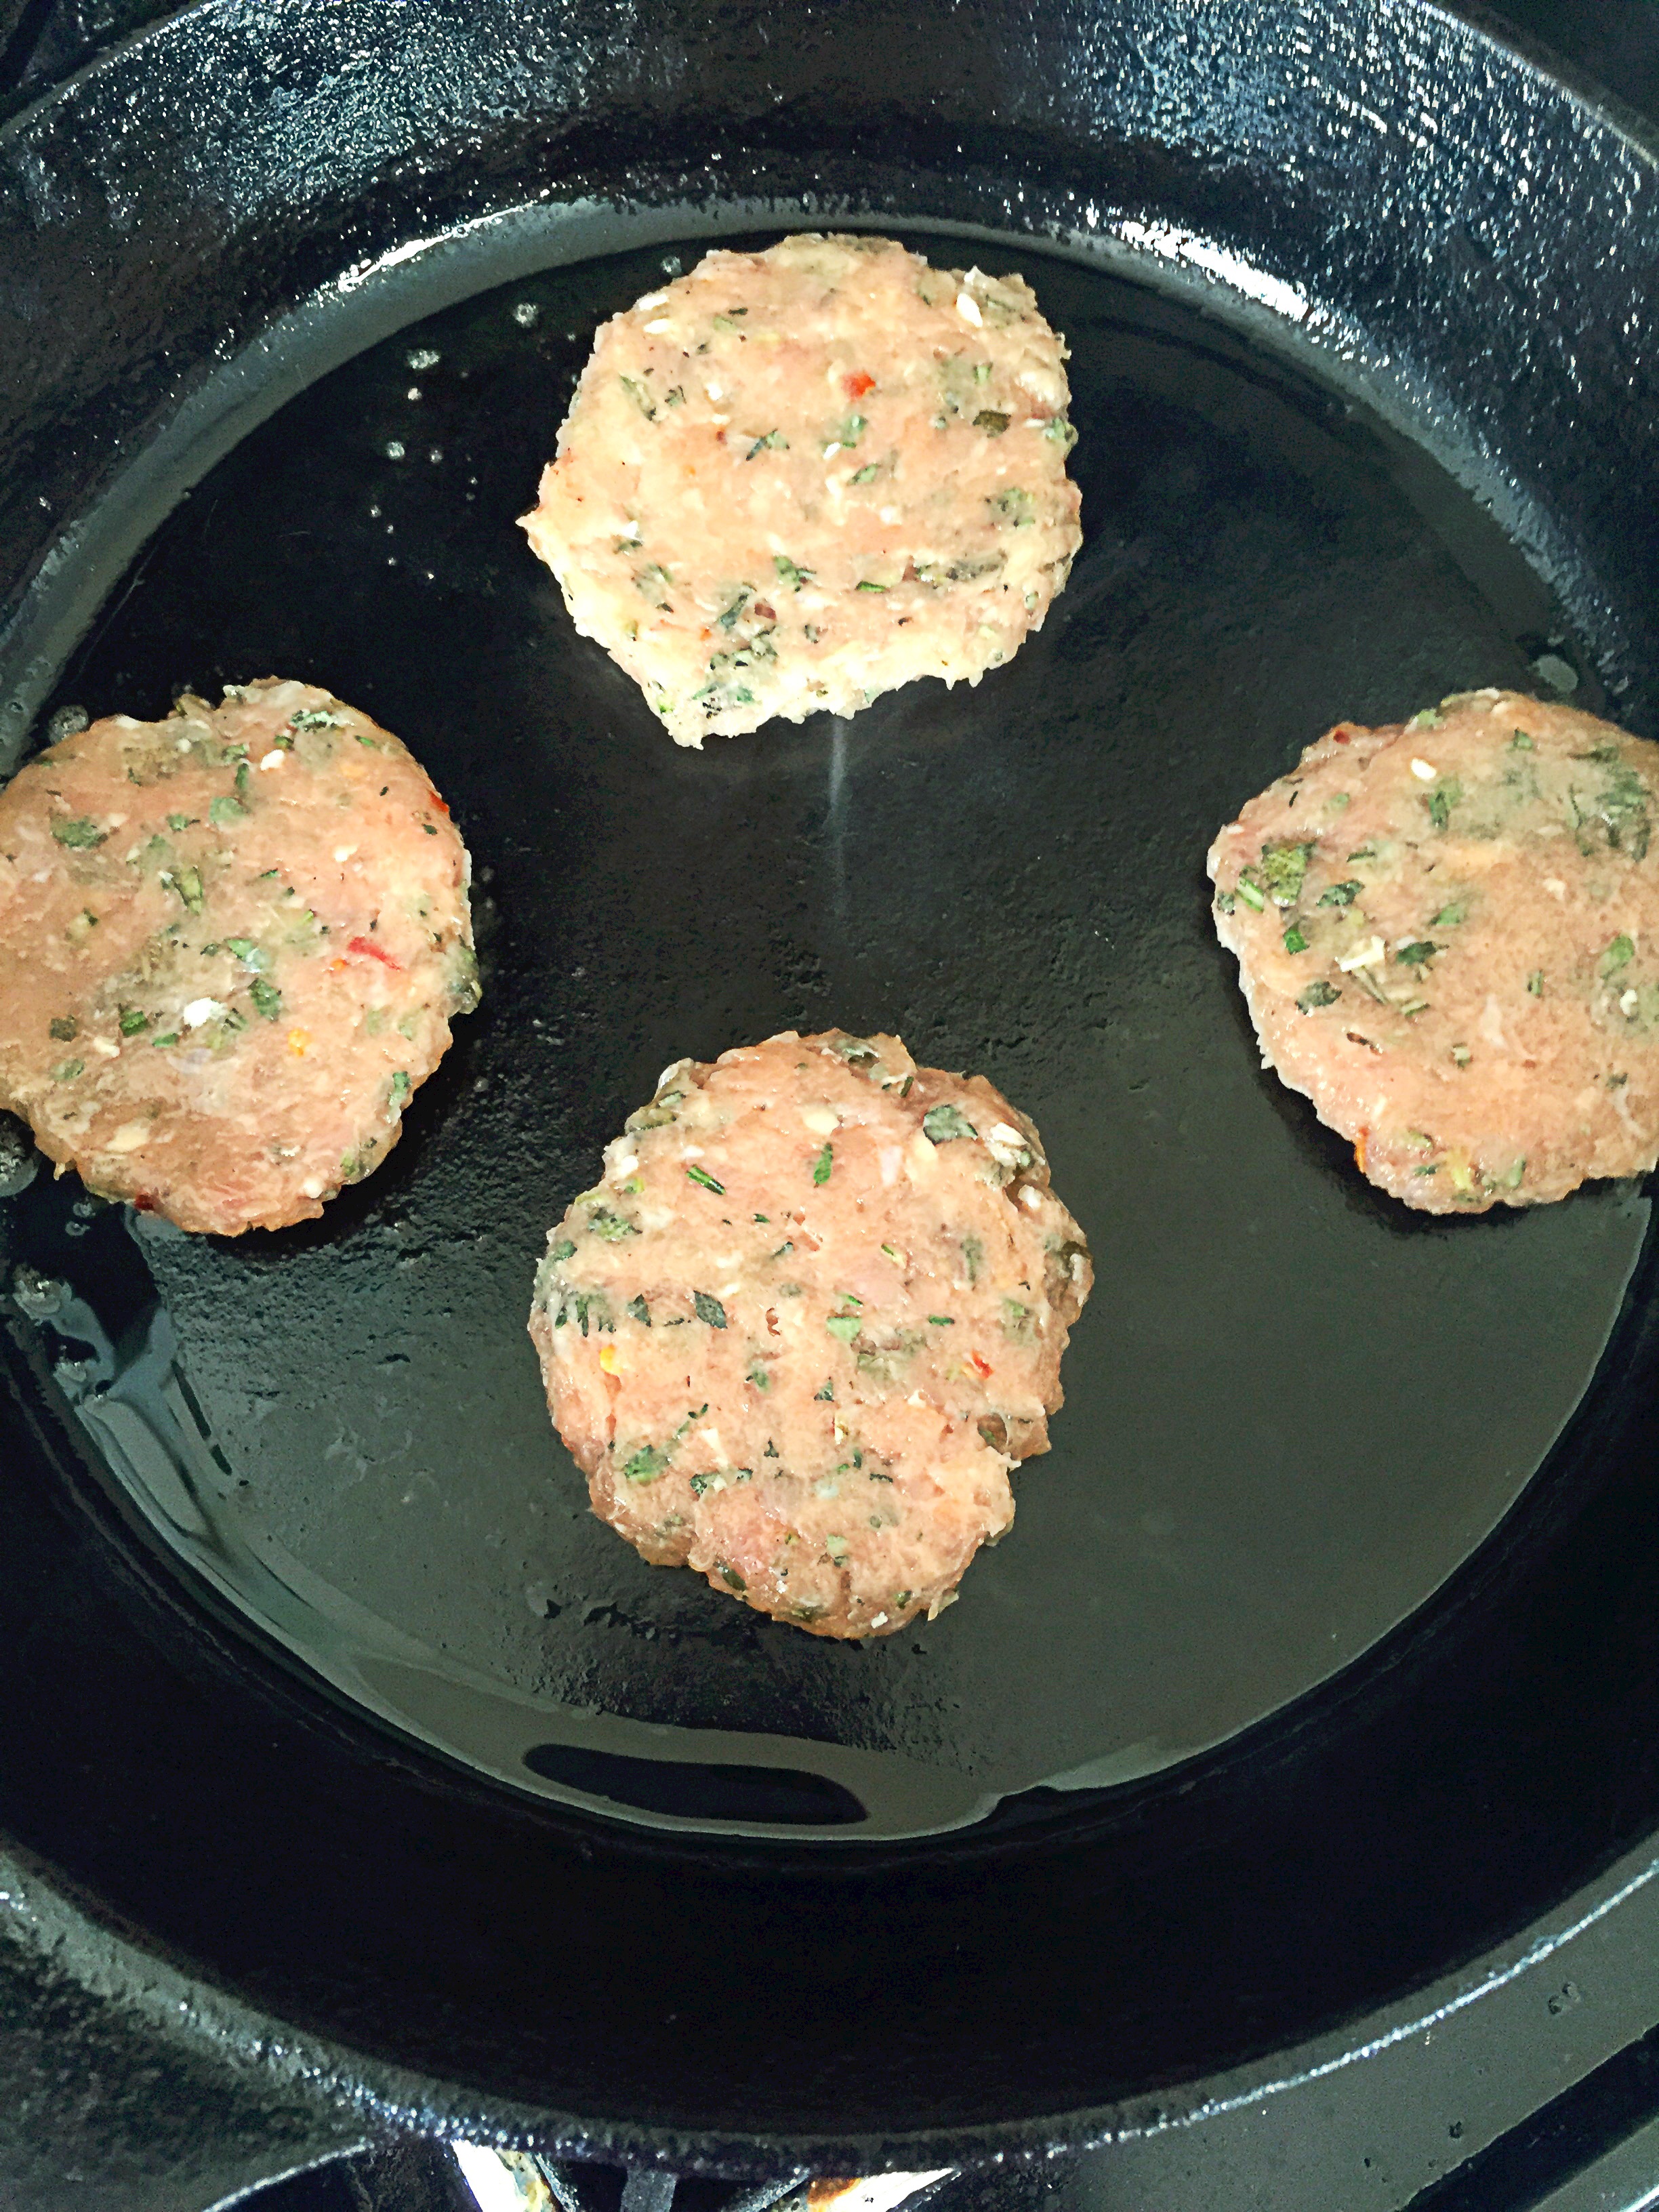
In a skillet heat your oil. Add in the 2 teaspoons of Gomasio. once the seeds begin to pop add in your tofu. IMPORTANT: make sure that your oil is hot before you put your tofu in, otherwise you’ll have a grease laden piece of fake chicken.

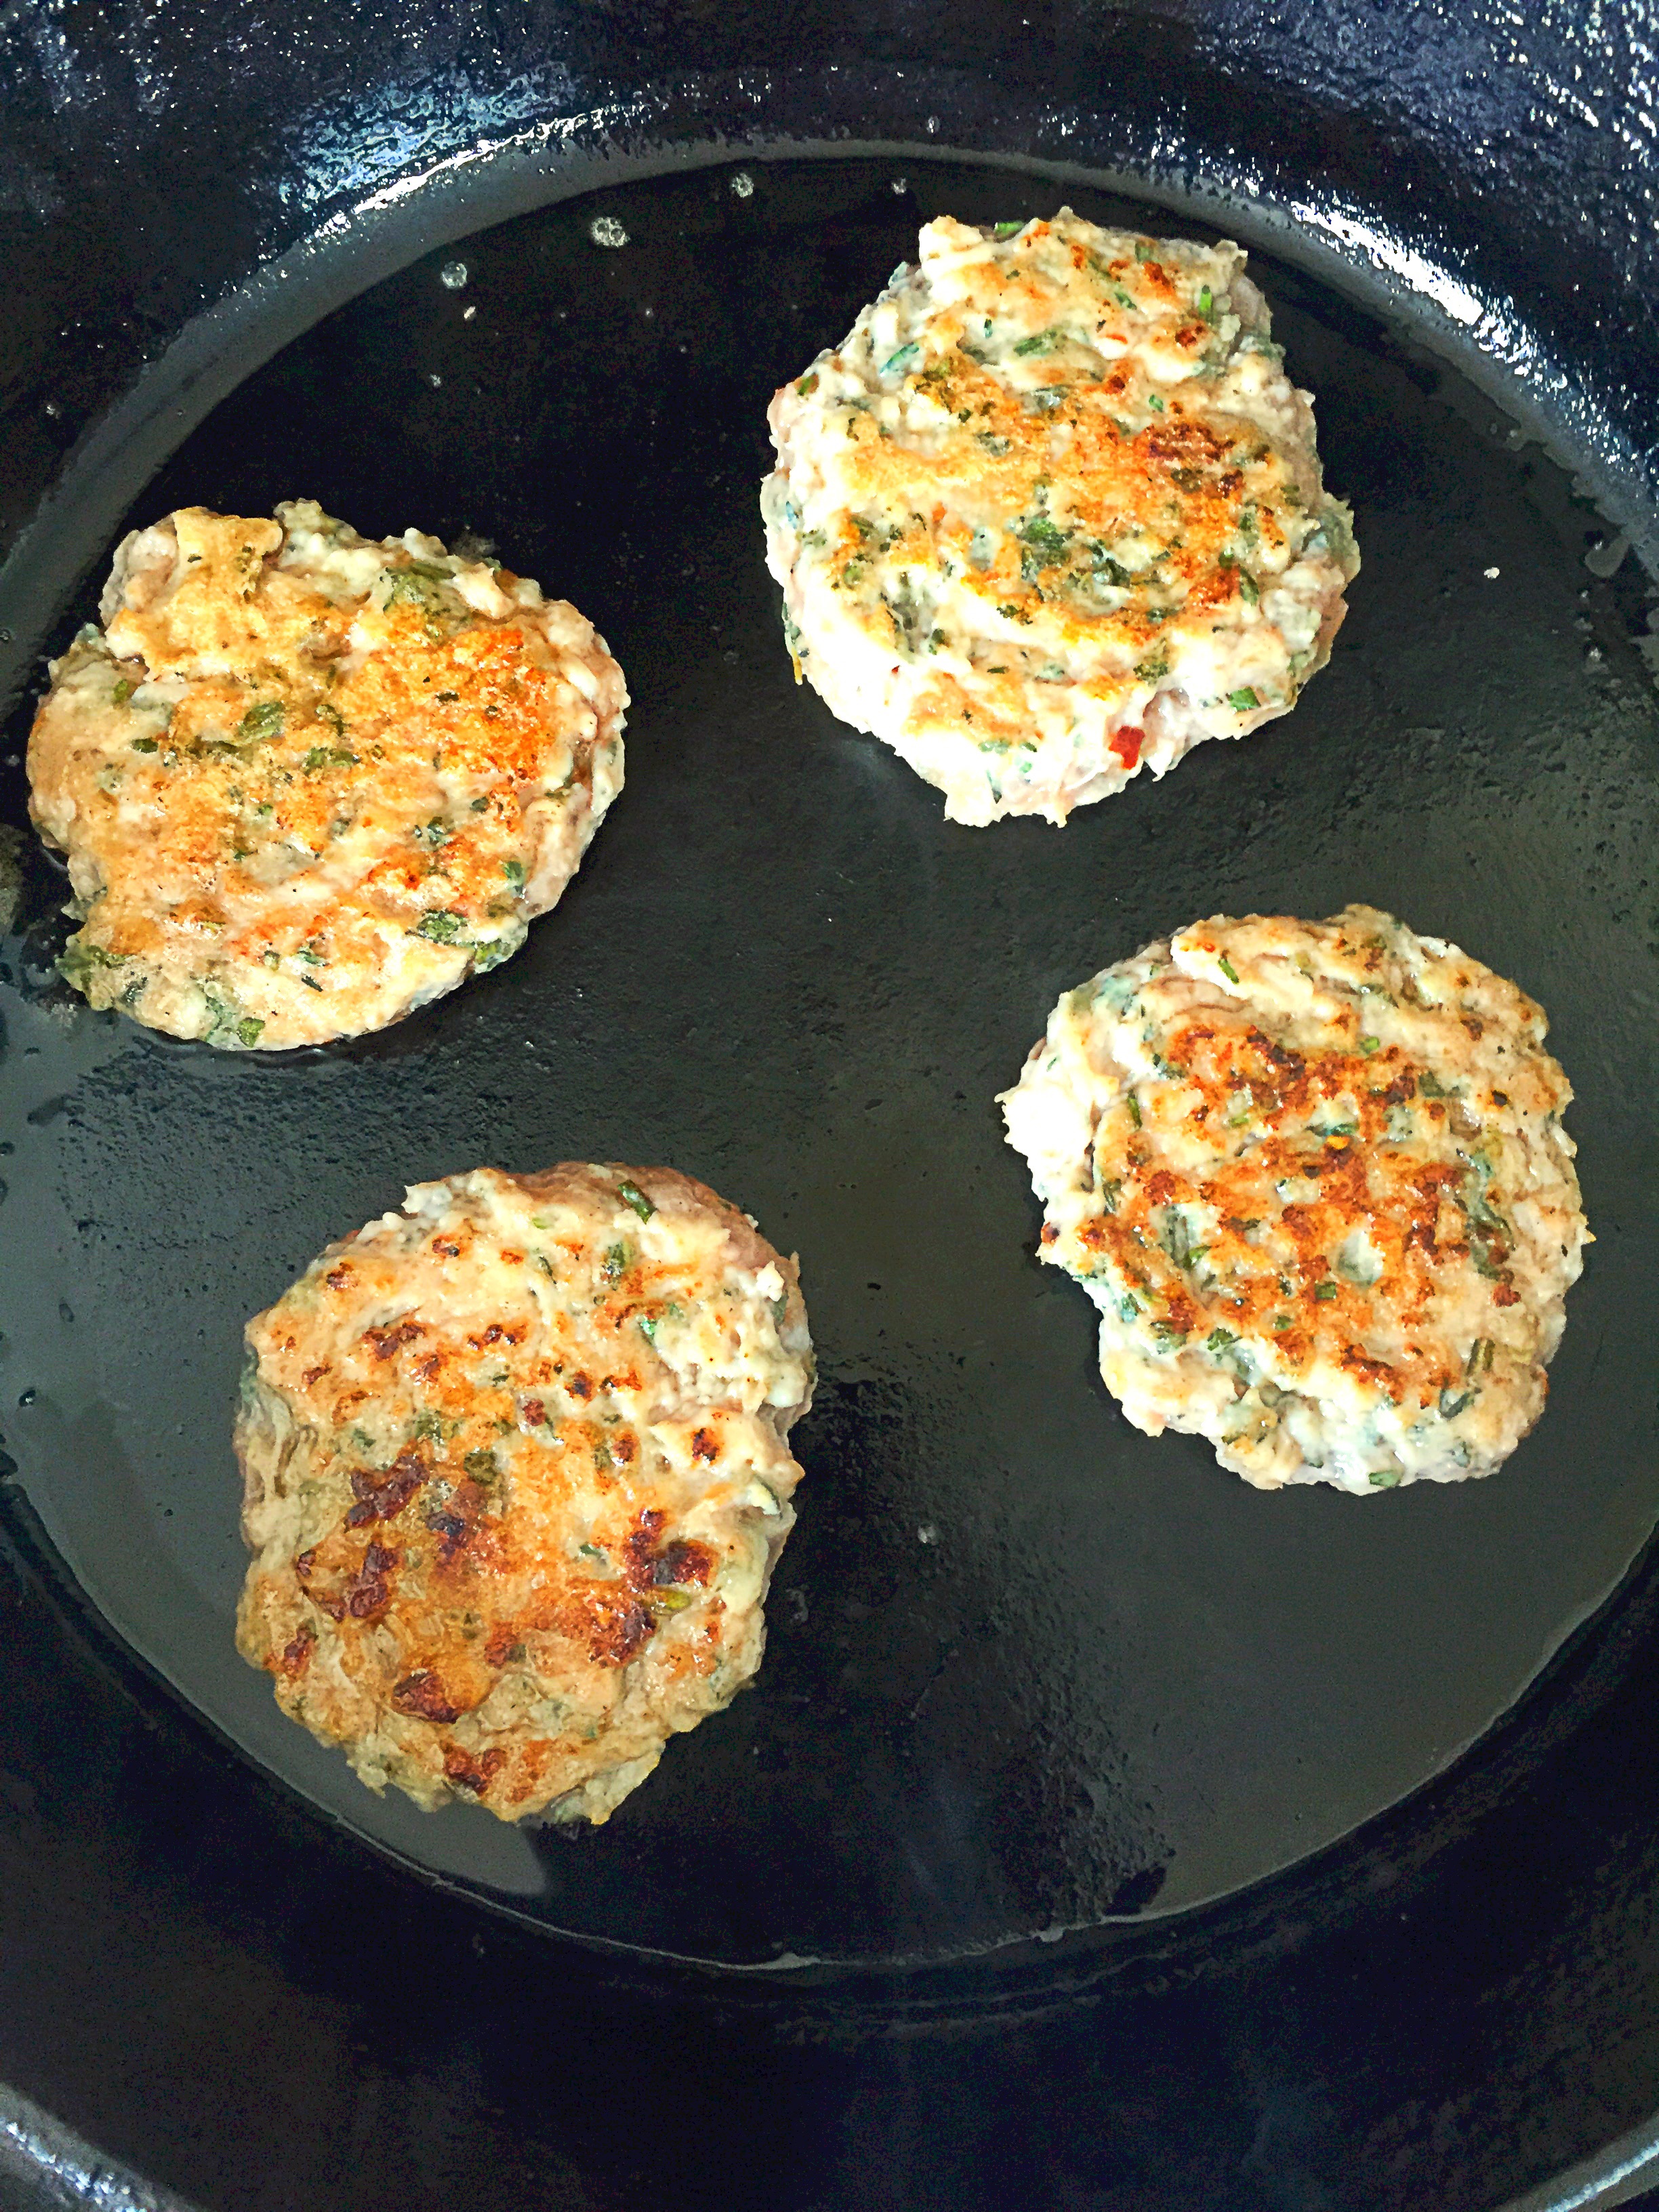
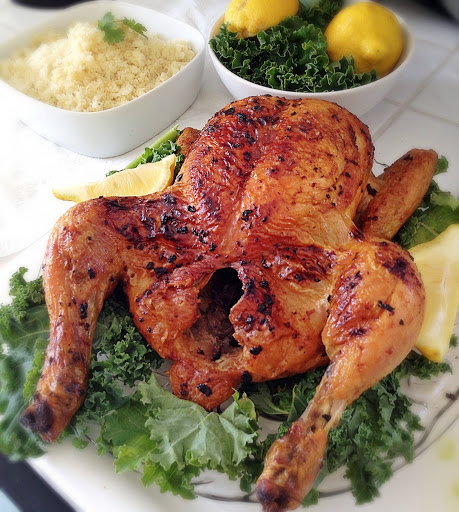
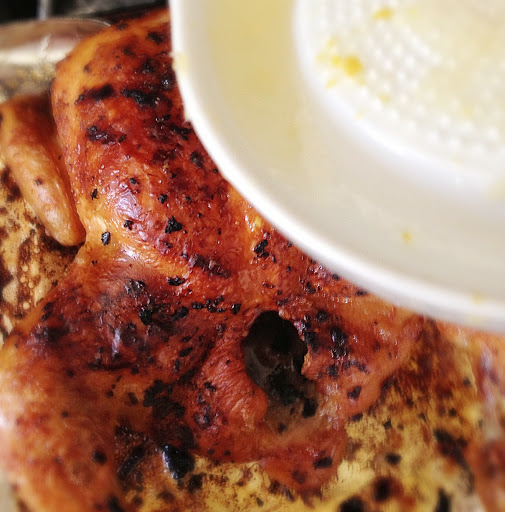
Cook until both sides are brown and crispy, should only take 3-4 minutes. Place onto paper towels to remove excess oil, serve and enjoy!

Do you have any Tofu recipes? What’s your favorite tofu recipe?
Follow and like us on Facebook: http://www.facebook.com/lazygirldinners