Tahini Salad Dressing — Tahini Vegetable Dip


Mother's Market Inspired-Tahini Salad Dressing

Mother’s Market Inspired-Tahini Salad Dressing

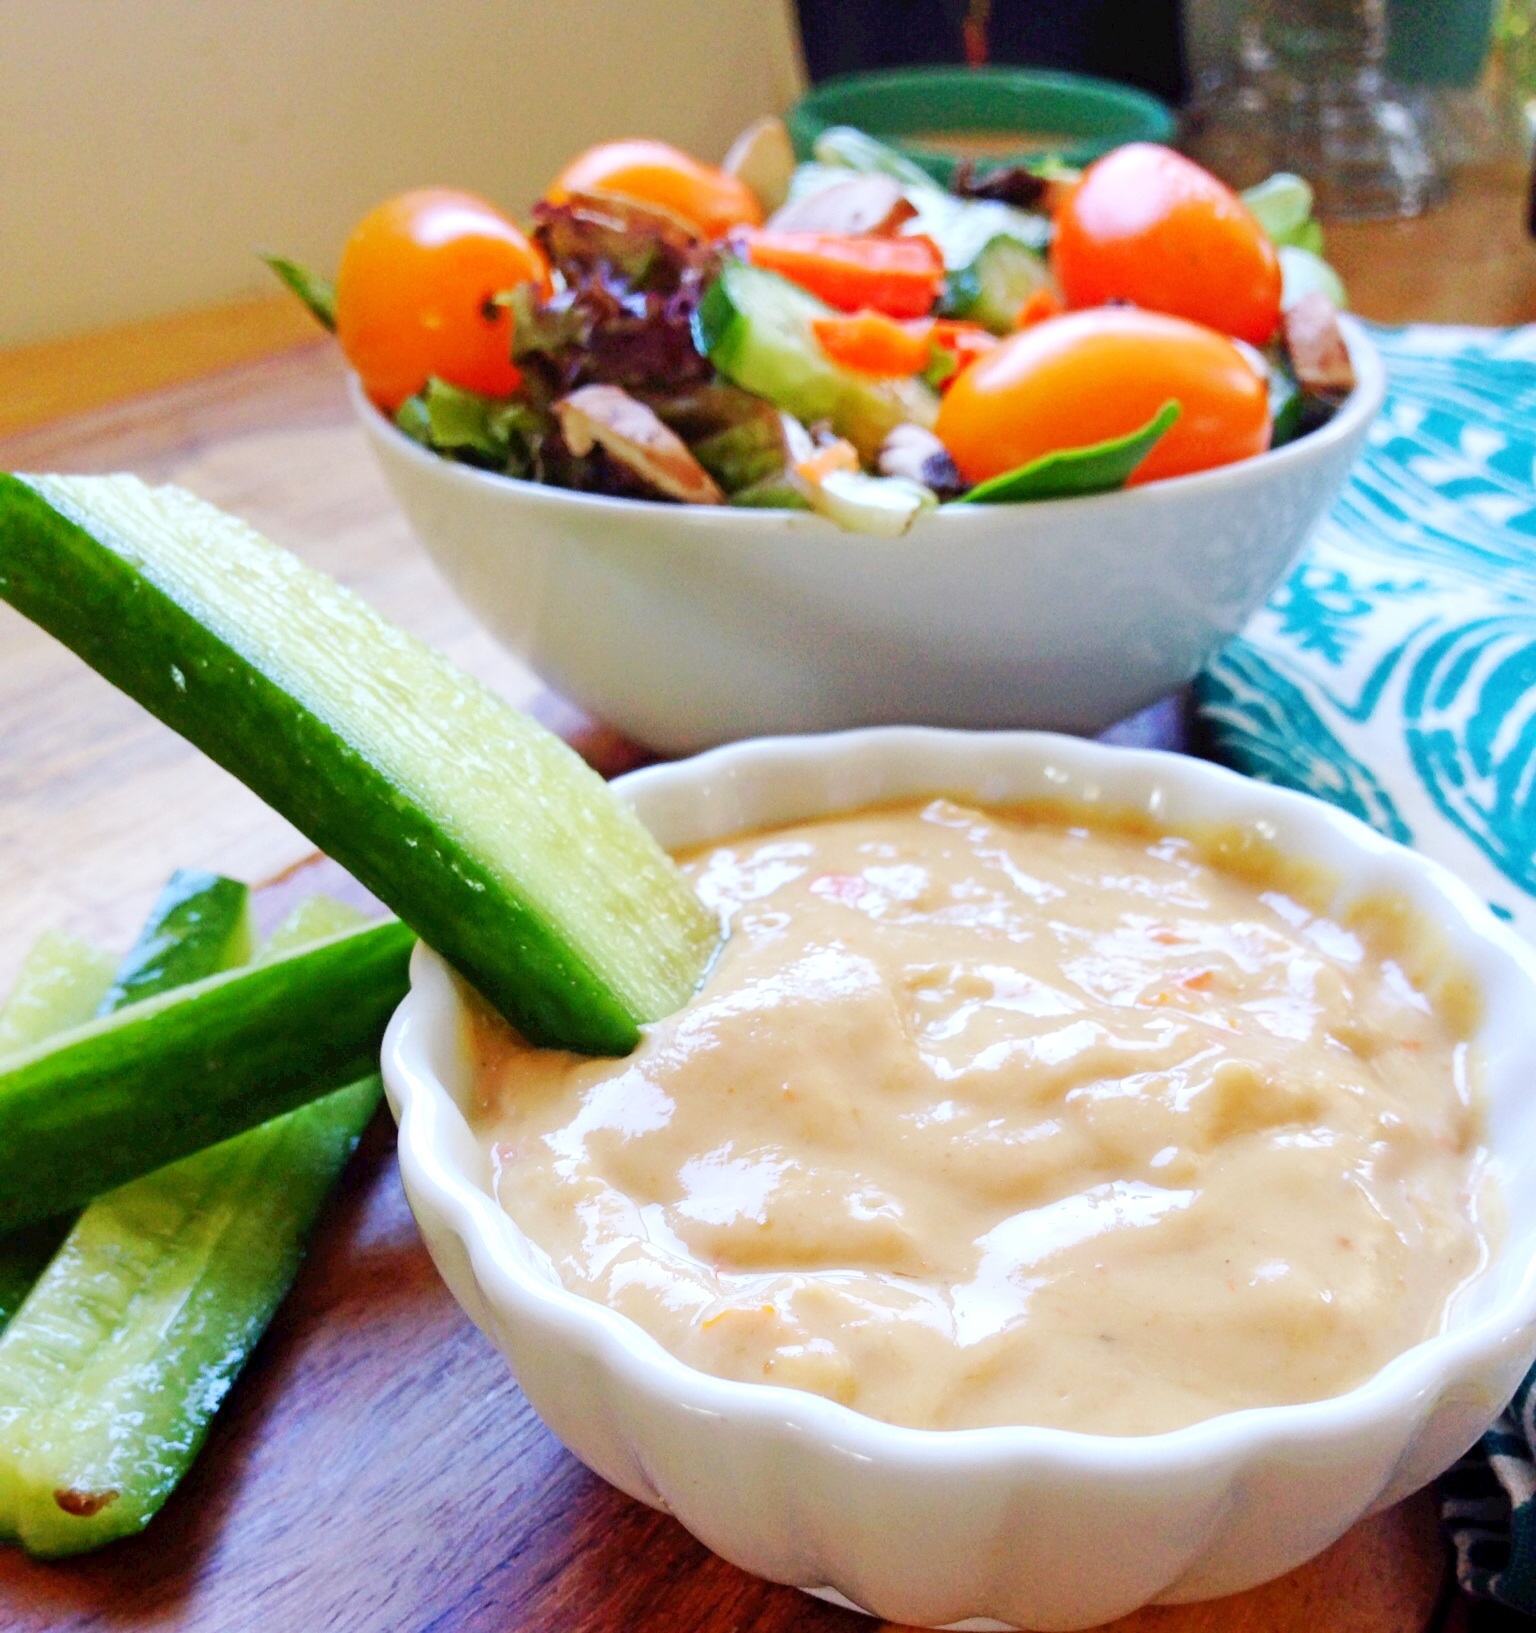
I love a great salad. One of my favorite salads to eat when I eat out is a simple garden salad that I get at a local health food market that I frequent.  The salad is simple in every way,  fresh mixed greens, topped with fresh mushrooms, carrots, and beets.  What makes this salad better than other salads?  That’s simple, the tahini dressing that accompanies it. The dressing is one of the best salad dressings that I have ever tasted.  The only problem is that the restaurant doesn’t sell it in a bottle, so I can’t take it home to use at a later time, and the restaurant is very secretive about what exactly is in the dressing.  I’ve asked a thousand and one times, but they won’t give me the recipe. Sort of like they wouldn’t give me the recipe for their gingered greens, which I also love.  So as usual, I had to experiment, and come up with my own version, and it is amazingly close to their tahini dressing– exact actually.  It is so good!  You can use it to dress a salad, but it’s equally good as a dip for cucumber, carrot, and celery sticks. My daughter loves it, with a capital L, and the best part is that nothing in it is bad for you.  It’s high in protein, because it contains both sesame and cashew butters.

Pin It!

Pin It!


Prep time: 5 minutes

Cook time: none

Total time: 5 minutes

Ingredients:

2 tablespoons of tahini paste

2 teaspoons of cashew butter (about 20-30 whole cashews)

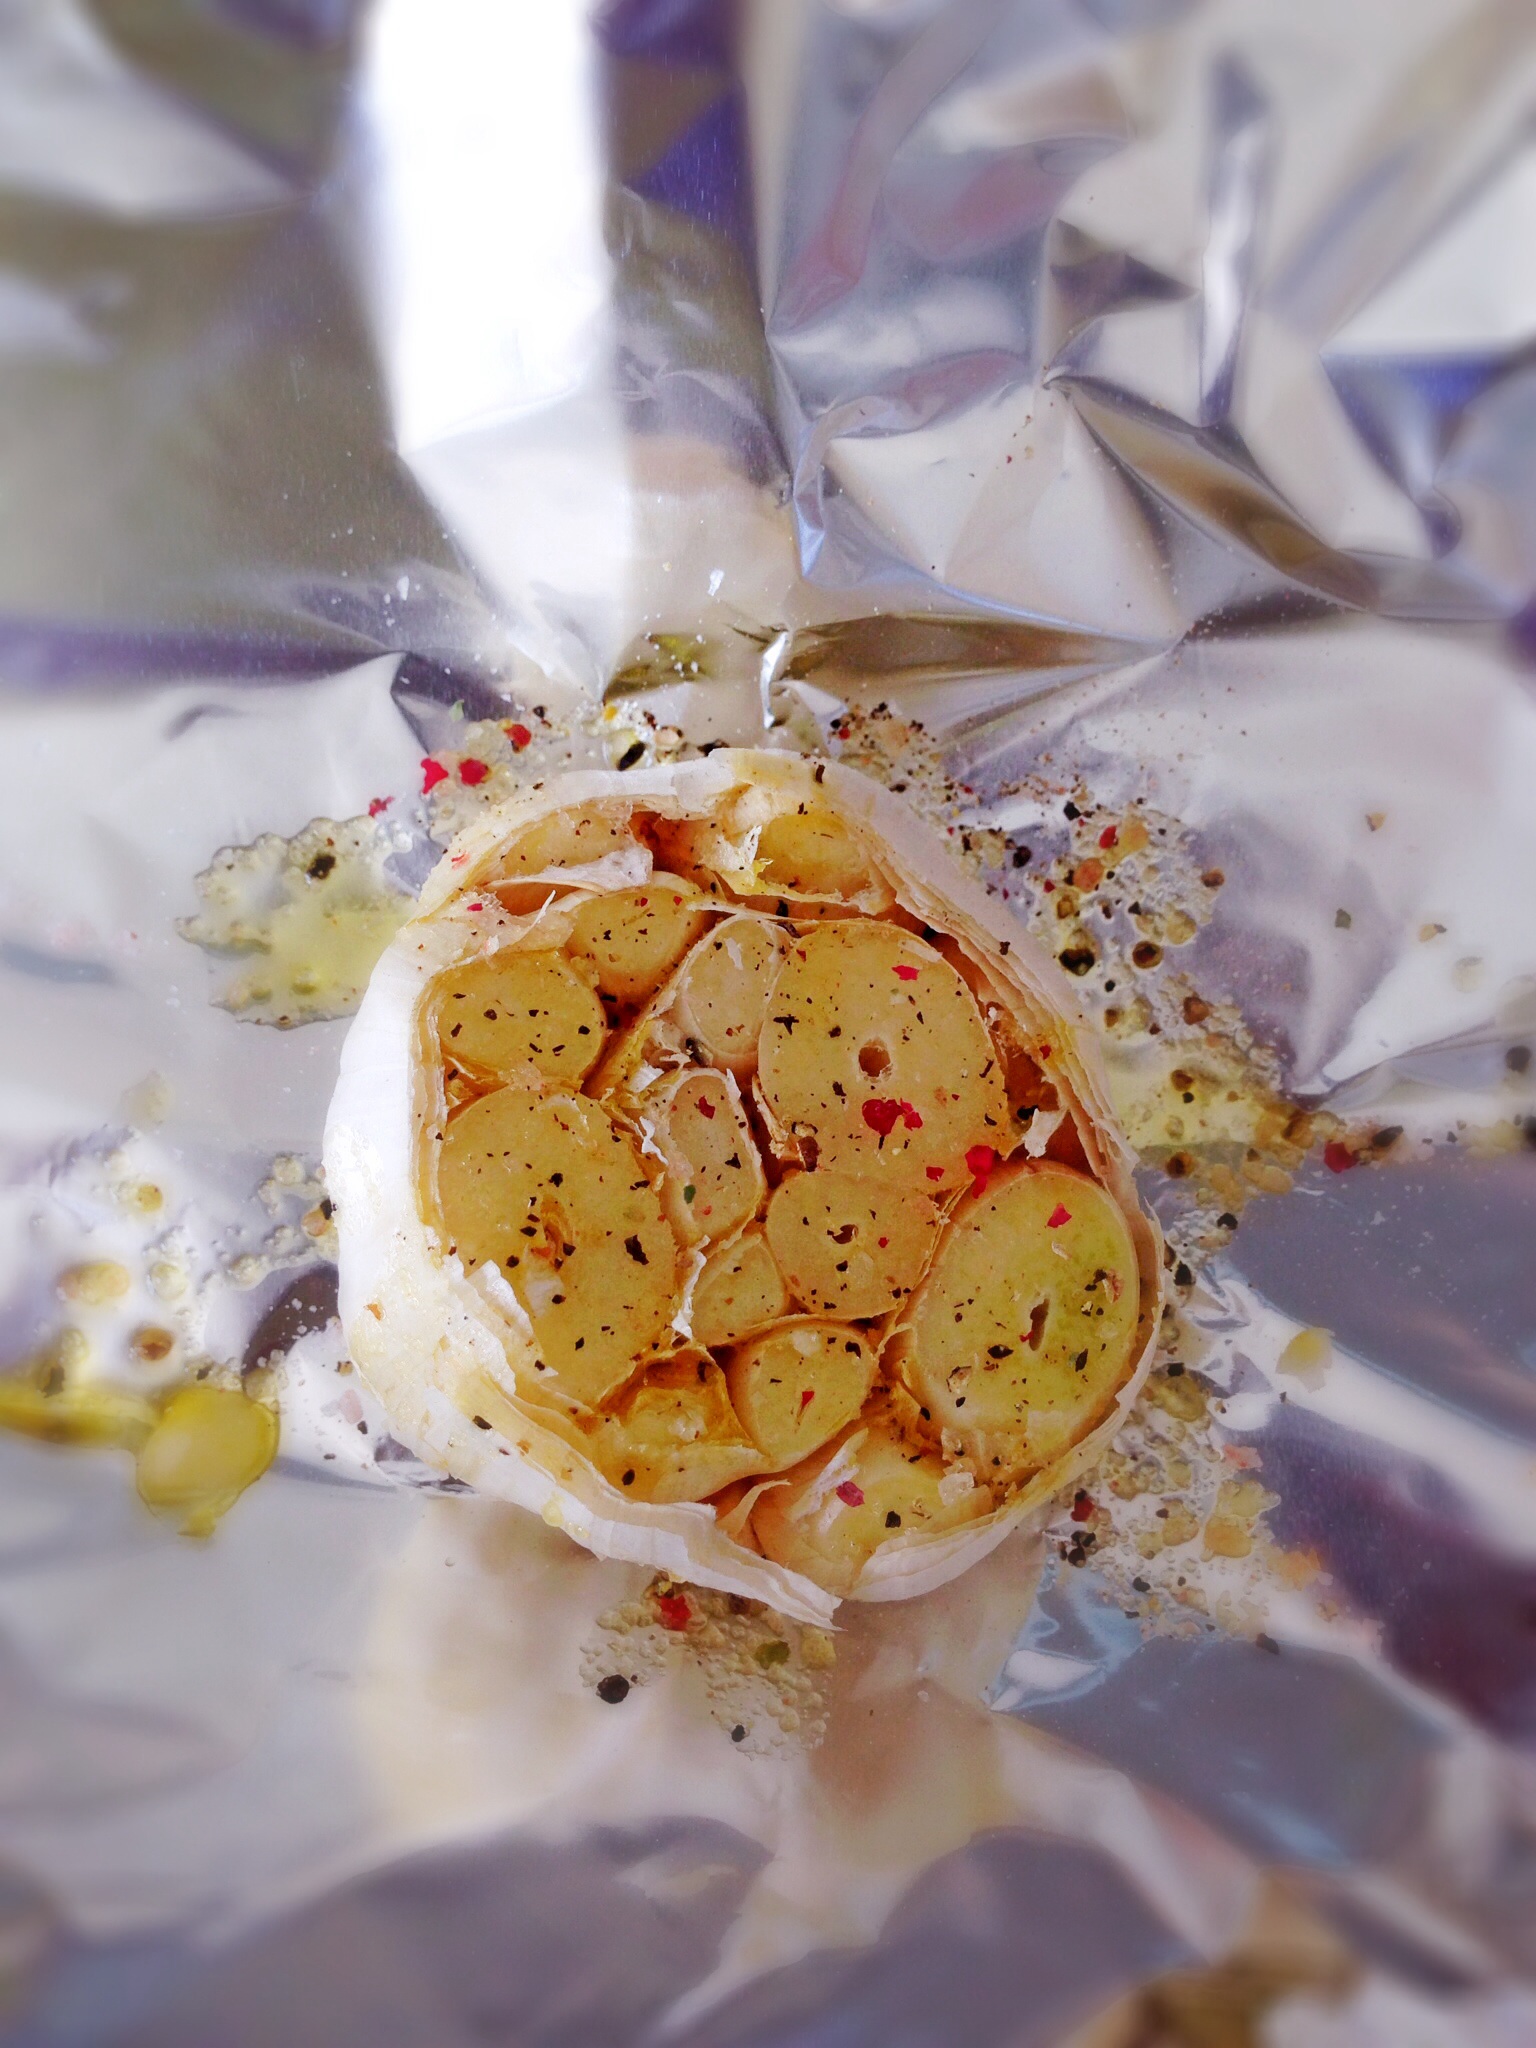
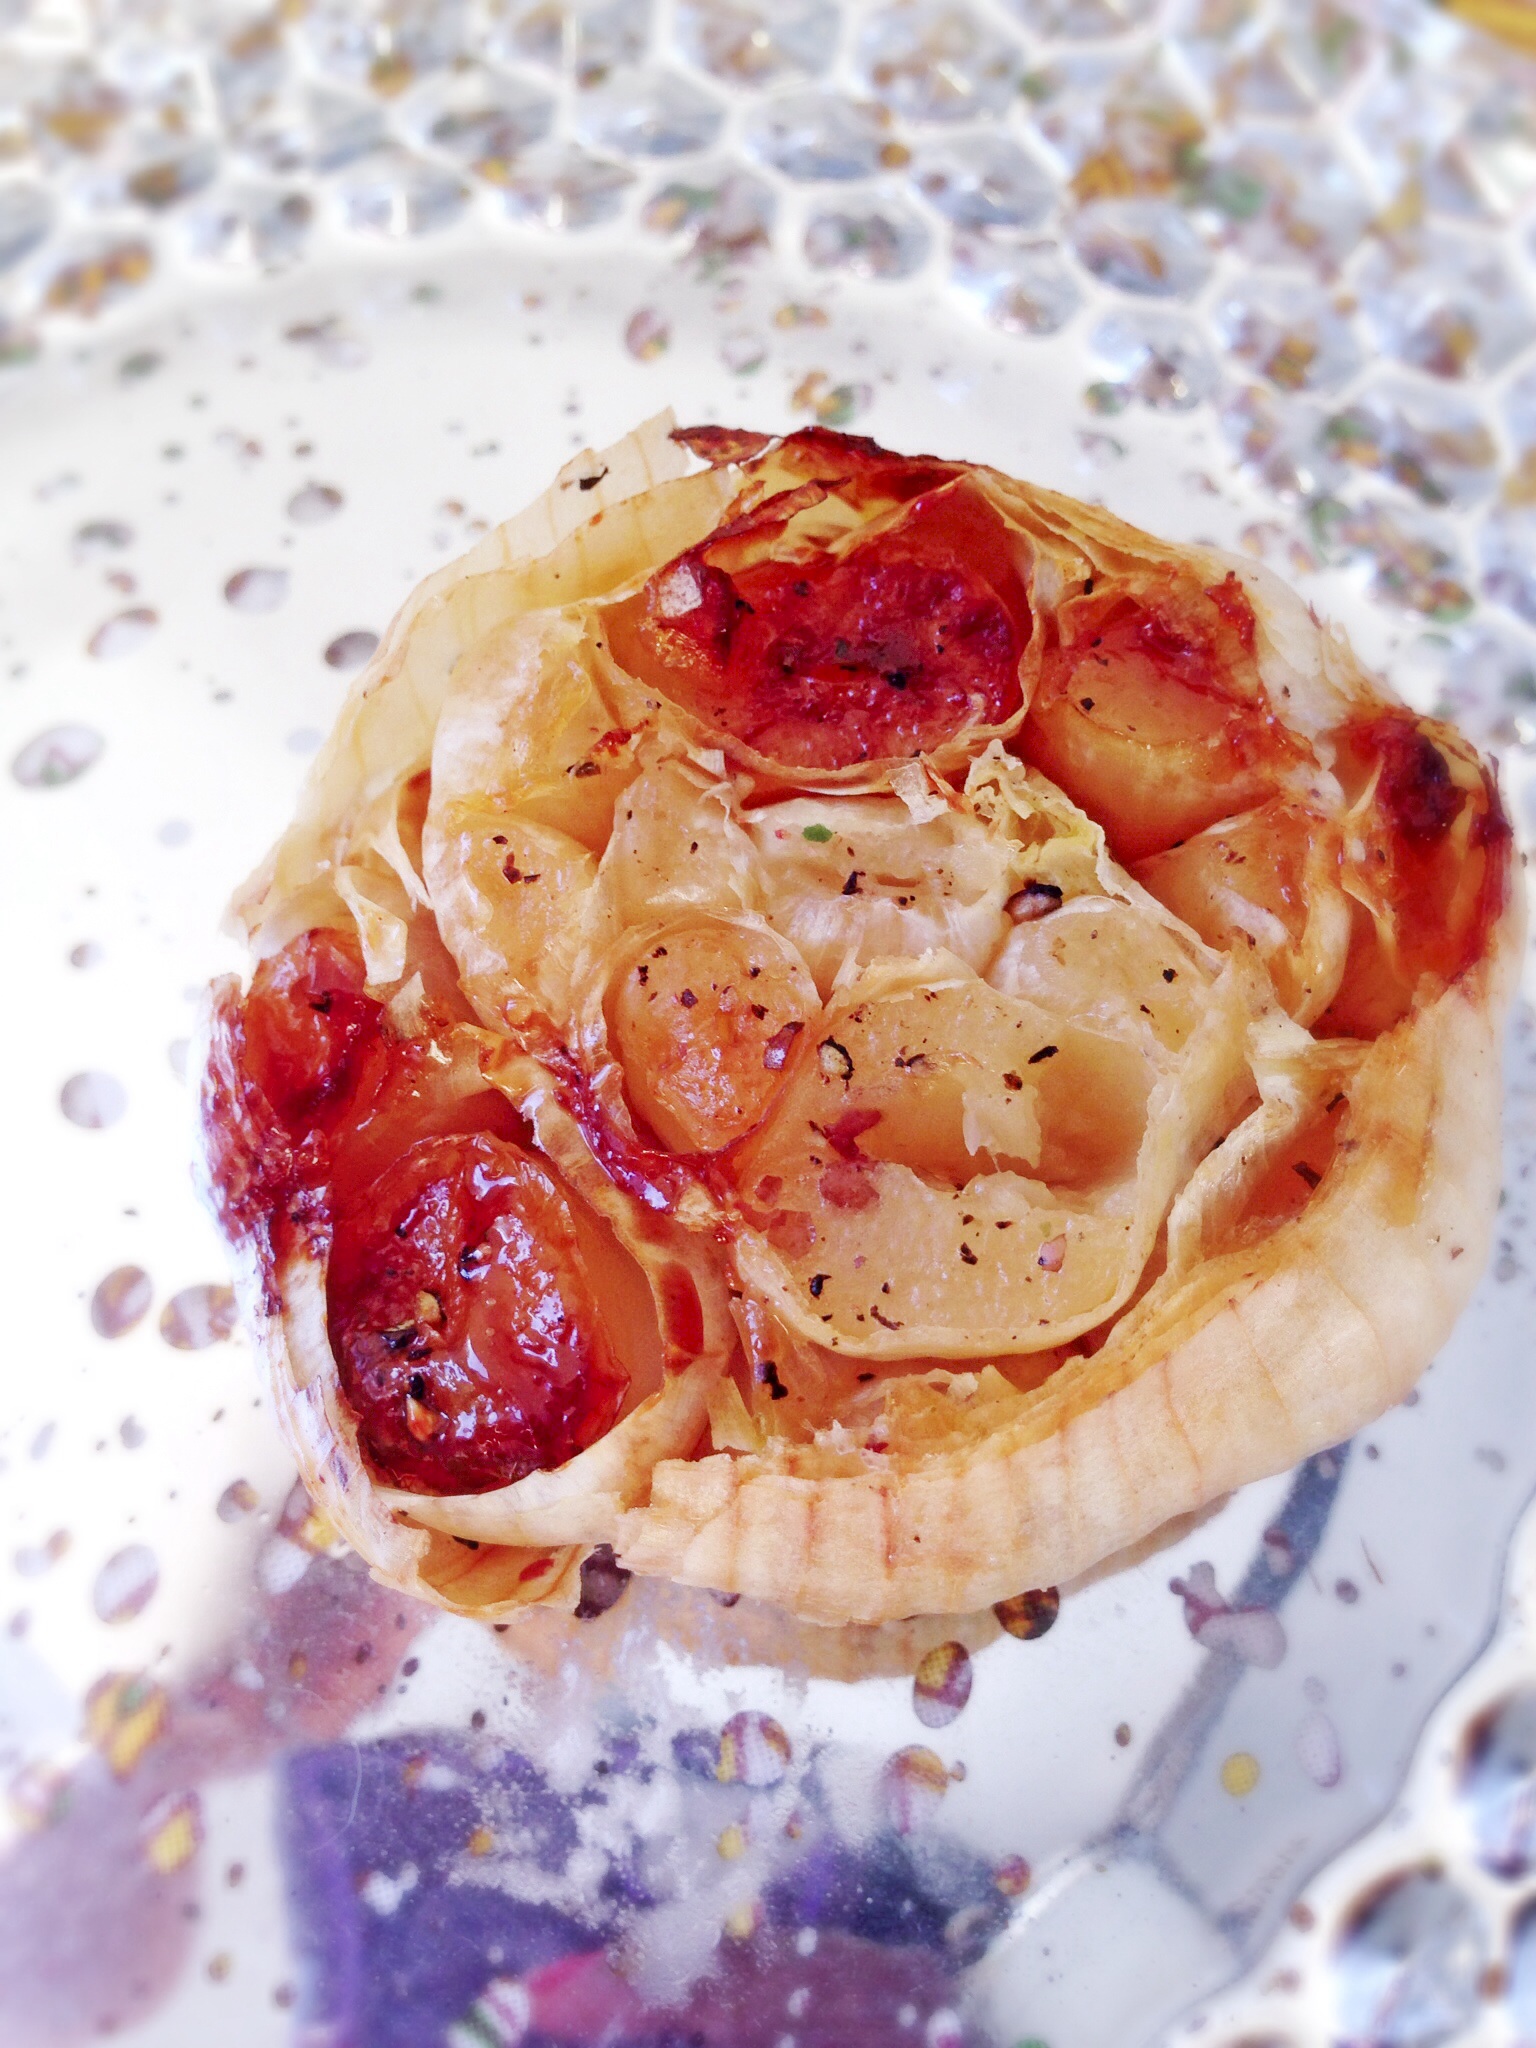
4 medium sized cherry tomatoes (about 2 tablespoons chopped)

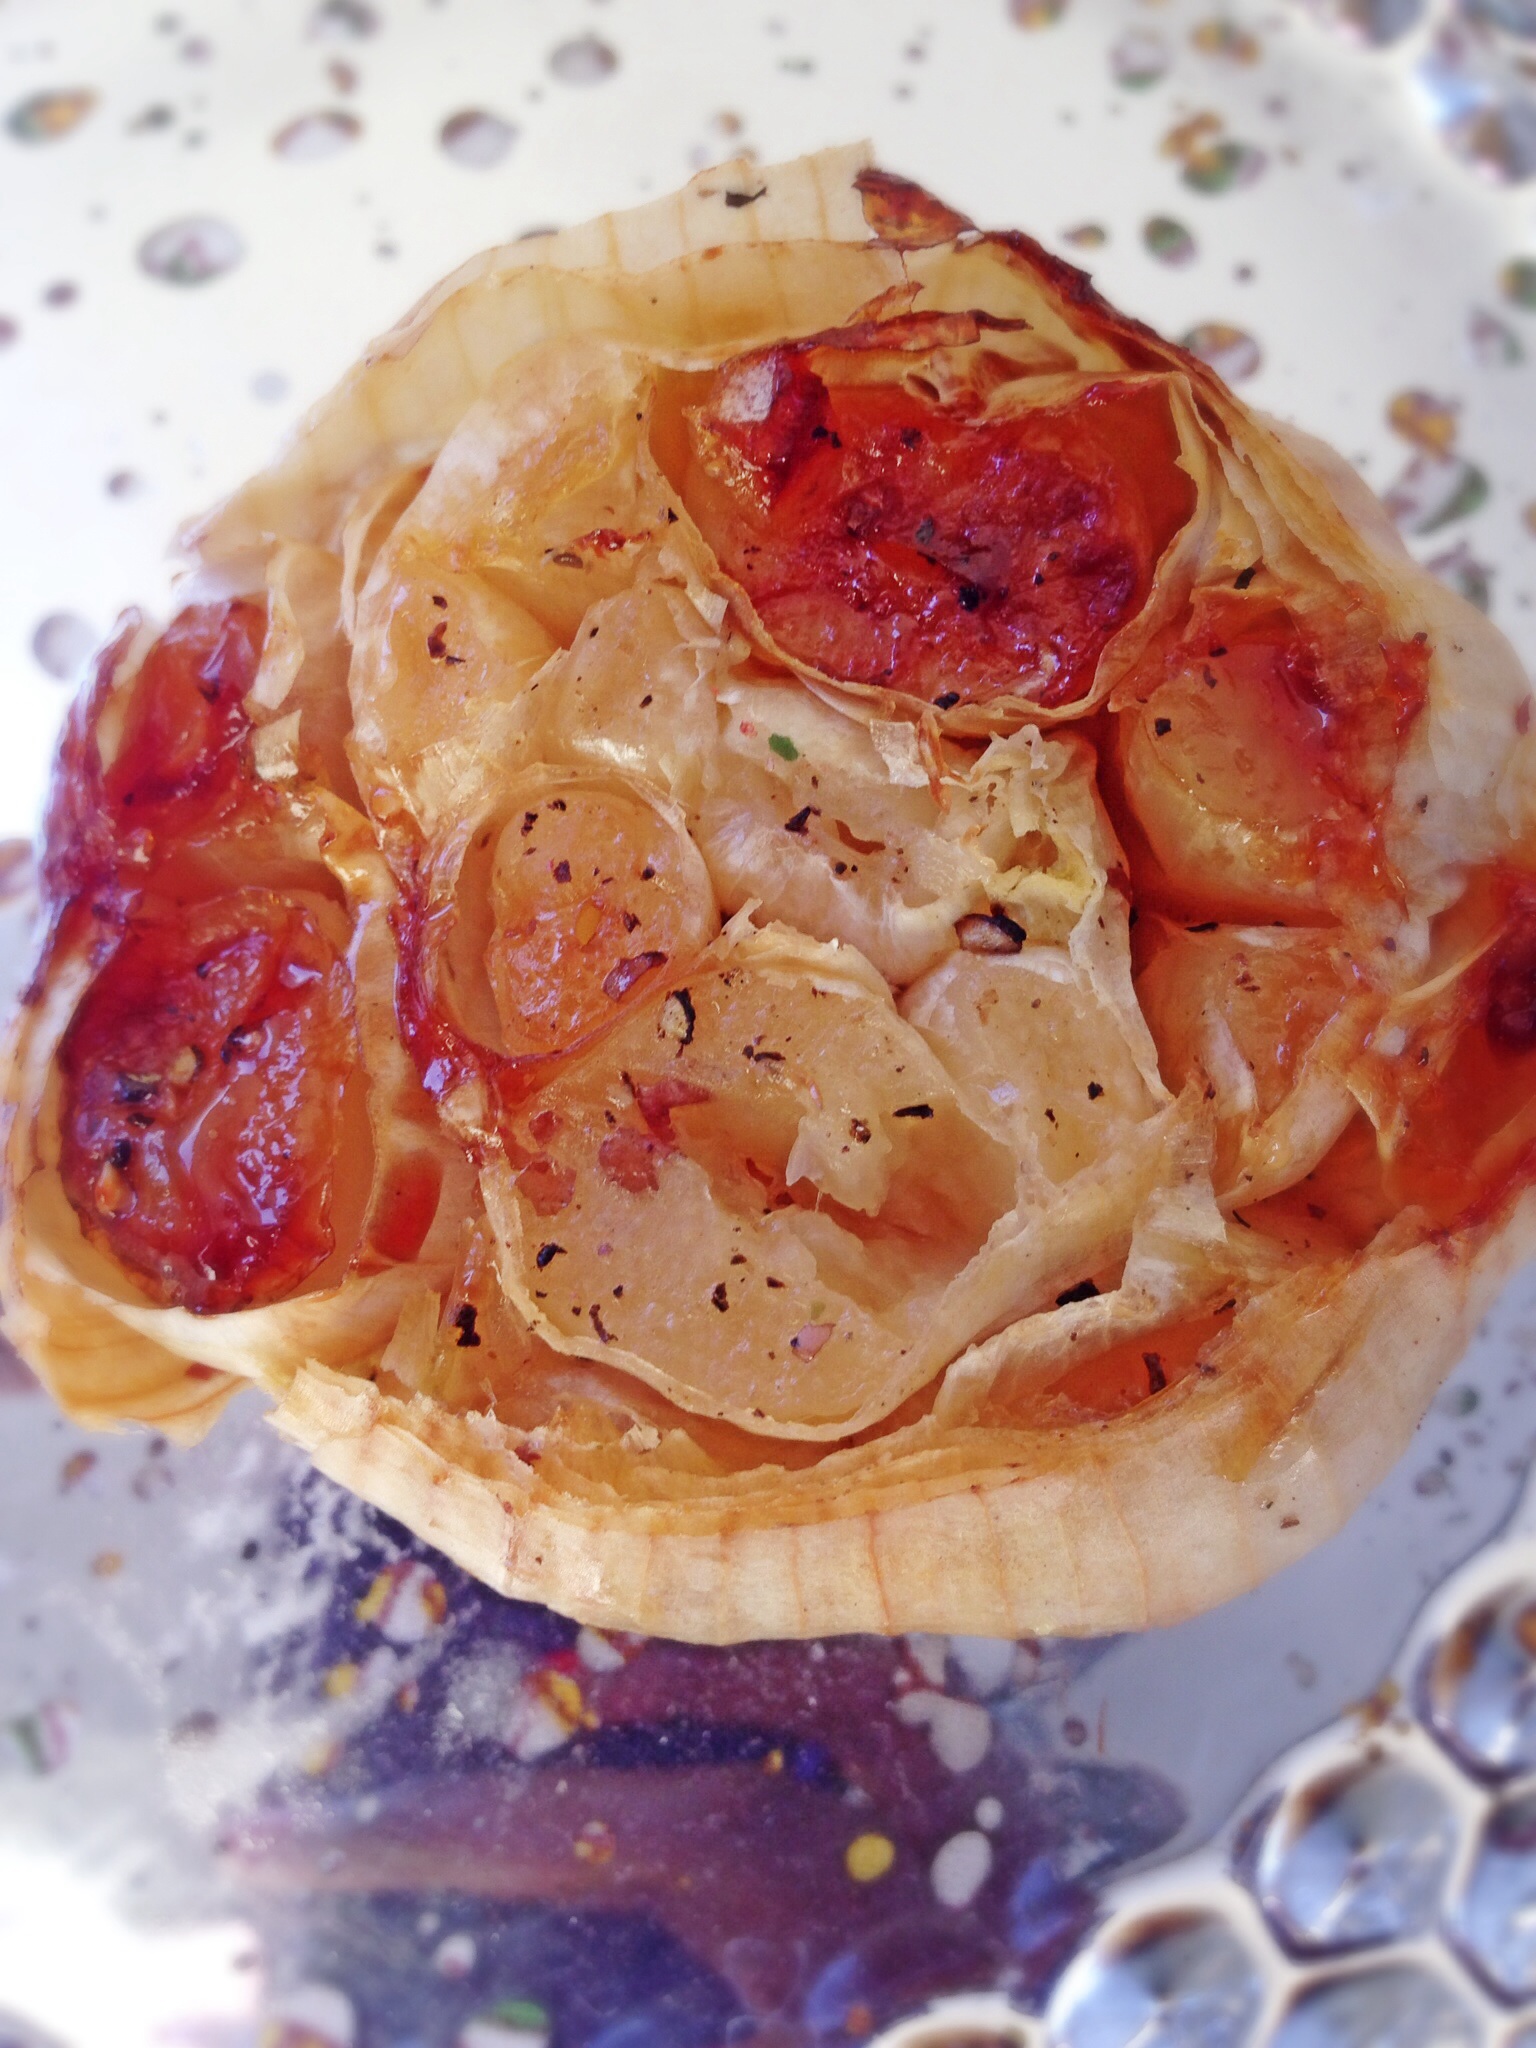
1 large clove of garlic

1 teaspoon of Tamari soy sauce

3 tablespoons of a neutral oil like safflower

2 teaspoons of lemon juice

Directions:  Place all of the ingredients in a blender or processor and blend until smooth.  Pour into a serving container and enjoy! This would be awesome on grilled veggies as well!!

image

image

Roasted Garlic Cauliflower Mashed Potatoes!

Roasted Garlic Cauliflower Mash

Roasted Garlic Cauliflower Mash


From time to time, I crave a meal with a deep rich wine sauce. When that happens I turn to Julia Child’s beef bourguignon recipe, or my version of it.  If you have ever made beef bourguignon, then you know the sauce that accompanies the beef is everything for that particular dish! The beef, as succulent as it is, is nothing without that sauce, and that sauce was made to adorn a potato mash! The year that I had Page I decided rather than running from house to house to celebrate Thanksgiving with friends and family, it would be easier on her, and my husband and I,  if we just stayed home and made dinner ourselves. My best friend agreed and we divided the dinner duties. Instead of a massive turkey, I roasted a chicken, she made a few sides, and I baked a cake. One of the sides she made was a potato and cauliflower mash. It was delicious, and Page loved it! It was hearty and everything you’d expect when eating mash potatoes and at the same time it had the added bonus of cauliflower. When I was making my beef bourguignon, and anticipating the yumminess of the sauce, I knew that this cauliflower mash would go perfectly with the sauce. If you’re on a low carb diet, you can omit the potatoes, and whip the cauliflower in a blender. For this recipe, I opted to not whip the mash, I wanted the hearty texture, so I used a potato masher instead. If you want a more creamy texture, just throw all the ingredients in a blender after cooking them.

Pin It!

Pin It!


Prep time: 5 minutes

Cook time: 10-15 minutes

Total time: 20 minutes

Ingredients:

1 small head of cauliflower (about 5 cups)

2 medium potatoes (2 cups cubed)

4 tablespoons of grassfed butter

2 tablespoons of half and half (optional)

1 head of roasted garlic

sea salt and black pepper to taste

Directions:  Add the cauliflower and potatoes to a pot and fill with enough water to cover. Bring to a boil over medium high heat, and cook until potatoes and cauliflower are fork tender.  Immediately drain the water from the cauliflower and potatoes, then add in, butter, half and half, roasted garlic, sea salt and pepper.

image

Mash with a potato masher until well incorporated, or add all the ingredients to a blender and blend until smooth, then enjoy!

image

Roasted Garlic-How to Roast Garlic

How to Roast Garlic

How to Roast Garlic

Can you image cooking without garlic? I can’t! I love it! Garlic lends so much flavor to a savory dish, it’s hard to imagine not having it to use. I love garlic in every state, raw, blanched, powdered, and roasted.  Each has it’s own unique flavor. Roasted garlic is so delicious, and there are so many uses for it. I add roasted garlic to a plain tomato sauce to instantly take it from bland to fantastic! I add roasted garlic to one of my favorite roasted eggplant dishes. I spread roasted garlic on a good piece of crusty bread and dip it into a balsamic, red pepper, and olive oil vinaigrette, and of course, I add roasted garlic to mashed potatoes, or my cauliflower potato mash! There are a plethora of uses for roasted garlic, (like using it for my Roasted Garlic and Lemon Chicken recipe), once you learn how to roast garlic, you will wonder why you’ve been cooking without it!

Pin It!

Pin It!


Prep time: 2 minutes

Cook time:30-45 minutes

Ingredients:

1 large bulb of garlic

1 teaspoon of olive oil

sea salt and black pepper to taste (optional)

1 sheet of foil–must be big enough to fully enclose the garlic

Directions: Pre heat the oven to 400F. With a knife slice the top off of the garlic. Place the garlic inside of the foil, pour the oil over the top of the garlic, making sure to cover all exposed garlic. add sea salt and black pepper if using:

image

Fold all sides of the foil, making sure that the garlic is fully enclosed. Place the garlic bulb in your oven:

image

Cook  for 45 minutes, or until garlic is beautifully golden brown:

image

Allow to cool for 10-15 minutes, then remove by squeezing, or by removing each individual clove of garlic with a pairing knife, and enjoy!

Coconut Cream Banana Pudding

Coconut Cream Banana Pudding

Coconut Cream Banana Pudding


I love dessert, but I’m one of those rare people who can consume just a few bites and be completely satisfied with a dessert.  I don’t like to make whole cakes, pies, or a complete pan of any type of dessert unless I’m taking it to a party.  At home it will just get thrown in the trash.  I’m a single serving dessert kind of gal.  One serving desserts make me happy, their super delicious, quick and easy to make, and always satisfying without the guilt and temptation to eat more. This Banana Coconut Cream dessert is exactly that.  It’s light, takes minutes to make, and is gone just as quickly.  The key to this dessert is refrigeration. Unlike whole milk cream, you don’t need to whip coconut cream for it to set into pillow like mountains, just put it into the refrigerator and  The coconut cream will set up nicely. If you want to make this for an after dinner snack, put the cream into the refrigerator at least an hour before you want to make this.  The best part of this dessert–besides the fact that it’s out of this world delicious–is that it only requires four ingredients, and you don’t have to cook any of them!


Pin It!

Pin It!


Prep time: 5 minutes

Cook time: none

Makes 2 servings

Ingredients:

1 cup of coconut cream

1 teaspoon of vanilla extract

2 tablespoons of maple syrup–can sub agave

2 bananas( one smashed with a fork, the other sliced)

5  ginger snaps roughly crumbled (can sub with graham crackers, or granola, or vanilla wafers, or nuts)


Directions: Smash banana, with a fork and set aside.  To a small bowl add the coconut cream, vanilla extract, and maple syrup, mix well, cover and refrigerate  until coconut cream has set–meaning it’s firm like a custard.  Once set, remove from the refrigerator, and fold in the mashed banana. If you’re short on time, you can fold the mashed banana into the cream when you add the vanilla and the sweetener.  Check out the video below  to see exactly how I put it together.  If you like this dessert then you’ll love my Banana Marshmallow Split, it’s also a single serving dessert, super easy and delicious!

Click on the link to see how I put this dessert together: https://www.youtube.com/edit?video_id=6LHcyfEoQg8

While you’re at it  click here to subscribe to my channel.

image

Orange Creamsicles

How to make Homemade Orange Creamsicles–How to make Half and Half bars

Watch my How to Video above, there is a cameo appearance by my daughter Page

Pin It!

Pin It!


Another favorite frozen treat of mine when I was a little girl was orange creamsicles. We used to call them half and half bars, because that’s exactly what they were, half juice pop and half cream center.  Whatever you call them, I think we can all agree that they are super delicious. Unfortunately creamsicles are not made the way they used to be made, they have a ton of ingredients in the boxed versions in the store, none of which contain real juice or cream. This recipe takes care of that.  I used freshly squeezed orange juice for these, but if you can find some fresh juice in the store that does not have added sugar and preservatives, then go for it.  If you decide to squeeze the juice yourself, just make sure that the oranges that you’re using are very sweet, that way you don’t have to add sugar to sweeten the juice.  If heavy cream isn’t your thing (my vegan friends) don’t fret, I’ve done these with coconut cream, and they are just as yummy if not more.  Lastly, I purchased the Zoku Quick Pop Maker to make these, it’s the only way to get a true half and half bar, with that creamy center filling, but if you don’t want to spend the $25 (for a single), $38( for the duo), or $50 (for the triple) pop maker, you can still make these, but you’ll have to blend the mixture, or just pour half juice and half cream into regular molds, ( I used Zoku Classic pop molds), you’ll get a verticle half and half bar–still delicious.

Prep time: 10 minutes
Ingredients:
1 cup of freshly squeezed organic orange juice
1 cup of heavy cream or coconut cream
1/2 teaspoon of vanilla extract
2 tablespoons of maple syrup
Directions: Add the cream, vanilla extract and maple syrup to a cup, mix well and set aside.  If using classic pop molds, place all ingredients in a blender and blend until well combined.  Divide mixture evenly among molds and freeze for 6-8 hours or until frozen solid.
If you are using the Quick pop maker, Pour the orange juice into the molds and allow to set for 2-3 minutes.  At the 3 minute mark siphon out the remaining unfrozen juice with a straw or a unused infant aspirator–I purchased one just for this.  Zoku sells a tool kit for $20 which includes a siphon tool, but the aspirator is $3 and does the job equally as well.  After you have removed all of the juice, pour cream into the molds, and allow to set for another 4-5 minutes, then follow the directions for removing the pops.
Orange Creamsicle

Orange Creamsicle

image If you aren’t going to eat the pops right away, you can store them in sandwich size zip lock bags and place them in the freezer until you’re ready to eat them.  These never last longer than a few hours in our house, so I can’t say how long you could store them that way. These are the Orange and Coconut Creamsicles that I made using the classic Zoku popsicle molds:  

Marinated Mushroom Steaks

Marinated Mushroom Steaks

Marinated Mushroom Steaks


I make an entire meatless meal at least once a week.  Going vegetarian, or vegan, even once a week is great for your health, excellent for your pocket book, and a very environmentally friendly thing to do.  One of my favorite and I mean FAVORITE vegetarian meals is faux steak, with beans, rice, salsa, and plantains.  It’s simple–yes! But so delicious, and it reminds me of the delicious dinners I had while in Puerto Rico.  I switch out the steaks for marinated, grilled mushrooms, and the result is perfection!


Logo Pinterest-01

Pin it!


Prep time: 30 minutes

Cook time: 7-10 minutes


Ingredients:

2 large Portabello mushrooms, undersides and stem removed

1/2 teaspoon of worcestershire sauce (optional)

1 large garlic clove sliced thinly

1 tablespoons of olive oil

1 tablespoon of white wine vinegar

sea salt and black pepper to taste


Directions: Mix together all the ingredients for the marinade in a small bowl.  Pour over Mushrooms and let marinade for 30 minutes.


Grill on a hot grill for 3-4 minutes on each side, remove from grill and serve!

Marinated Mushroom Steaks

Marinated Mushroom Steaks

Sauteed Beet Greens with Garlic and Feta Cheese

Sautéed Beet Greens With Garlic and Feta Cheese

Sautéed Beet Greens With Garlic and Feta Cheese


I planted a garden about four months ago, the first thing to sprout from my garden were these lovely beet greens stalks. They were so beautiful and perfectly green that I found myself fighting the urge to pick them too soon.   For the longest time I had no idea that I could actually eat the tops of the beets, which means many, many, beet greens have been thrown in the trash by me without a thought. When it finally hit me that these beautiful greens were actually edible and that I could cook and eat them, I wondered why it had taken me so long to do so!  My husband is not a fan of beets at all. However, he is an ultra fan of the stalks on this vegetable.  I can’t blame him, the greens produced from the beets are delicious and tender, and when cooked, they are reminiscent of tender spinach.

Pin It!

Pin It!


Prep time: 5 minutes

Cook time: 10 minutes

Total time: 15 minutes


Ingredients:

5 cups of beet greens chopped

2 large garlic clove (sliced thinly)

1 teaspoon of balsamic vinegar

1/4 cup of crumbled feta cheese

2 tablespoons of olive oil

sea salt to taste

Directions:  Add the oil and garlic to a saute pan over medium heat.  Cook until you smell the garlic, about 20 seconds.


image

Add in the beet green and saute until they begin to wilt.

image

Add in the balsamic, and cook for another 3-4 minutes.  Transfer the greens to a bowl, top with feta cheese, and enjoy!

image

Roasted Broccoli and Garlic

Roasted Broccoli and Garlic

Roasted Broccoli and Garlic


Trying to get my daughter to eat and love broccoli has not been easy.  This whole food texture thing she has is more trouble than I initially thought.  I mistakenly thought that since she loves roasted cauliflower then roasted broccoli would be a no-brainer—apparently not so with her.  Despite her refusal, this roasted broccoli and garlic dish has become a new favorite for my husband and I.  We both love it! Not only do we love it, but I served it to some friends, and they loved it too!  I’m just going to have to keep trying with my daughter, she has not been won over by a love of broccoli–yet!

Pin It!

Pin It!


Prep time: 5 minutes

Cook time: 15 minutes

Total time: 20 minutes


Ingredients:

2.5 cups of broccoli sliced

3 large cloves of garlic sliced thinly

Coconut oil spray or 3 tablespoons of olive oil

Sea salt and black pepper to taste


Directions: Pre-heat oven to 400F degrees. Line a sheet pan with foil and spray it with coconut oil. Add broccoli, and sprinkle with sliced garlic.  Season with sea salt and black pepper then spray the broccoli generously with coconut oil spray.  If using olive oil, add broccoli to a bowl with olive oil and toss until broccoli is coated, then add it to the sheet pan, sprinkle sliced garlic, season with sea salt and black pepper.

image

Place in the oven and cook for 10-15 minutes or until broccoli starts to brown a bit.  Remove from oven, serve and enjoy.

image

How to make Cherry Lemonade–Made with Real Cherries

Pin It!

Pin It!


Lemonade is as American–especially Southern American–as cherry pie–see my upcoming blog about that–and I’d be remiss if I didn’t share one of my favorite summertime drinks–Cherry Lemonade. Cherry season is almost at an end here, so I thought I’d give the last of my cherries a brilliant send off, by highlighting them in two recipes. If it’s too late in the season and you can’t find a fresh cherry anywhere–then use frozen cherries–skip thawing them, and blend them frozen with the lemon and the sugar. Doing so will allow you to omit the use of ice cubes.

Ingredients:
1 cup of fresh cherries (pits and stems removed)
1 cup of fresh lemon juice
1/2 cup of maple sugar (can sub other sugars, and if you like your lemonade on the sweet side use more sugar)
3 cups of water
ice for chilling

Directions: To a blender add the cherries, lemon juice, and sugar and blend until well combined. Add this mixture to a pitcher, with the water and some ice, mix well, serve and enjoy.

image

Grilled Asparagus

Grilled Asparagus


Asparagus season is almost over here. If you are not paying attention the season can pass in the blink of an eye.  One of my favorite ways to make asparagus is on the grill.  The smokey flavor from the grill pairs well with the fresh crispness of this stalk green. Grilled asparagus has many fans in my house.

Pin It!

Pin It!


Prep time: 2 minutes

Cook time: 8 minutes

Total time: 10 minutes


Ingredients:

1lb of asparagus bottom stalk portion removed

1 tablespoon of coconut oil

sea salt and black pepper to taste

1 Tablespoon of fresh lemon juice


Directions:  Lay asparagus on a flat plate, drizzle with coconut oil, season with sea salt and black pepper, and roll to spread seasoning.  Place asparagus on a hot grill, and grill until done about 8 minutes. Remove from grill, drizzle with a little bit of lemon juice, or with my spicy mustard vinaigrette and enjoy!

image