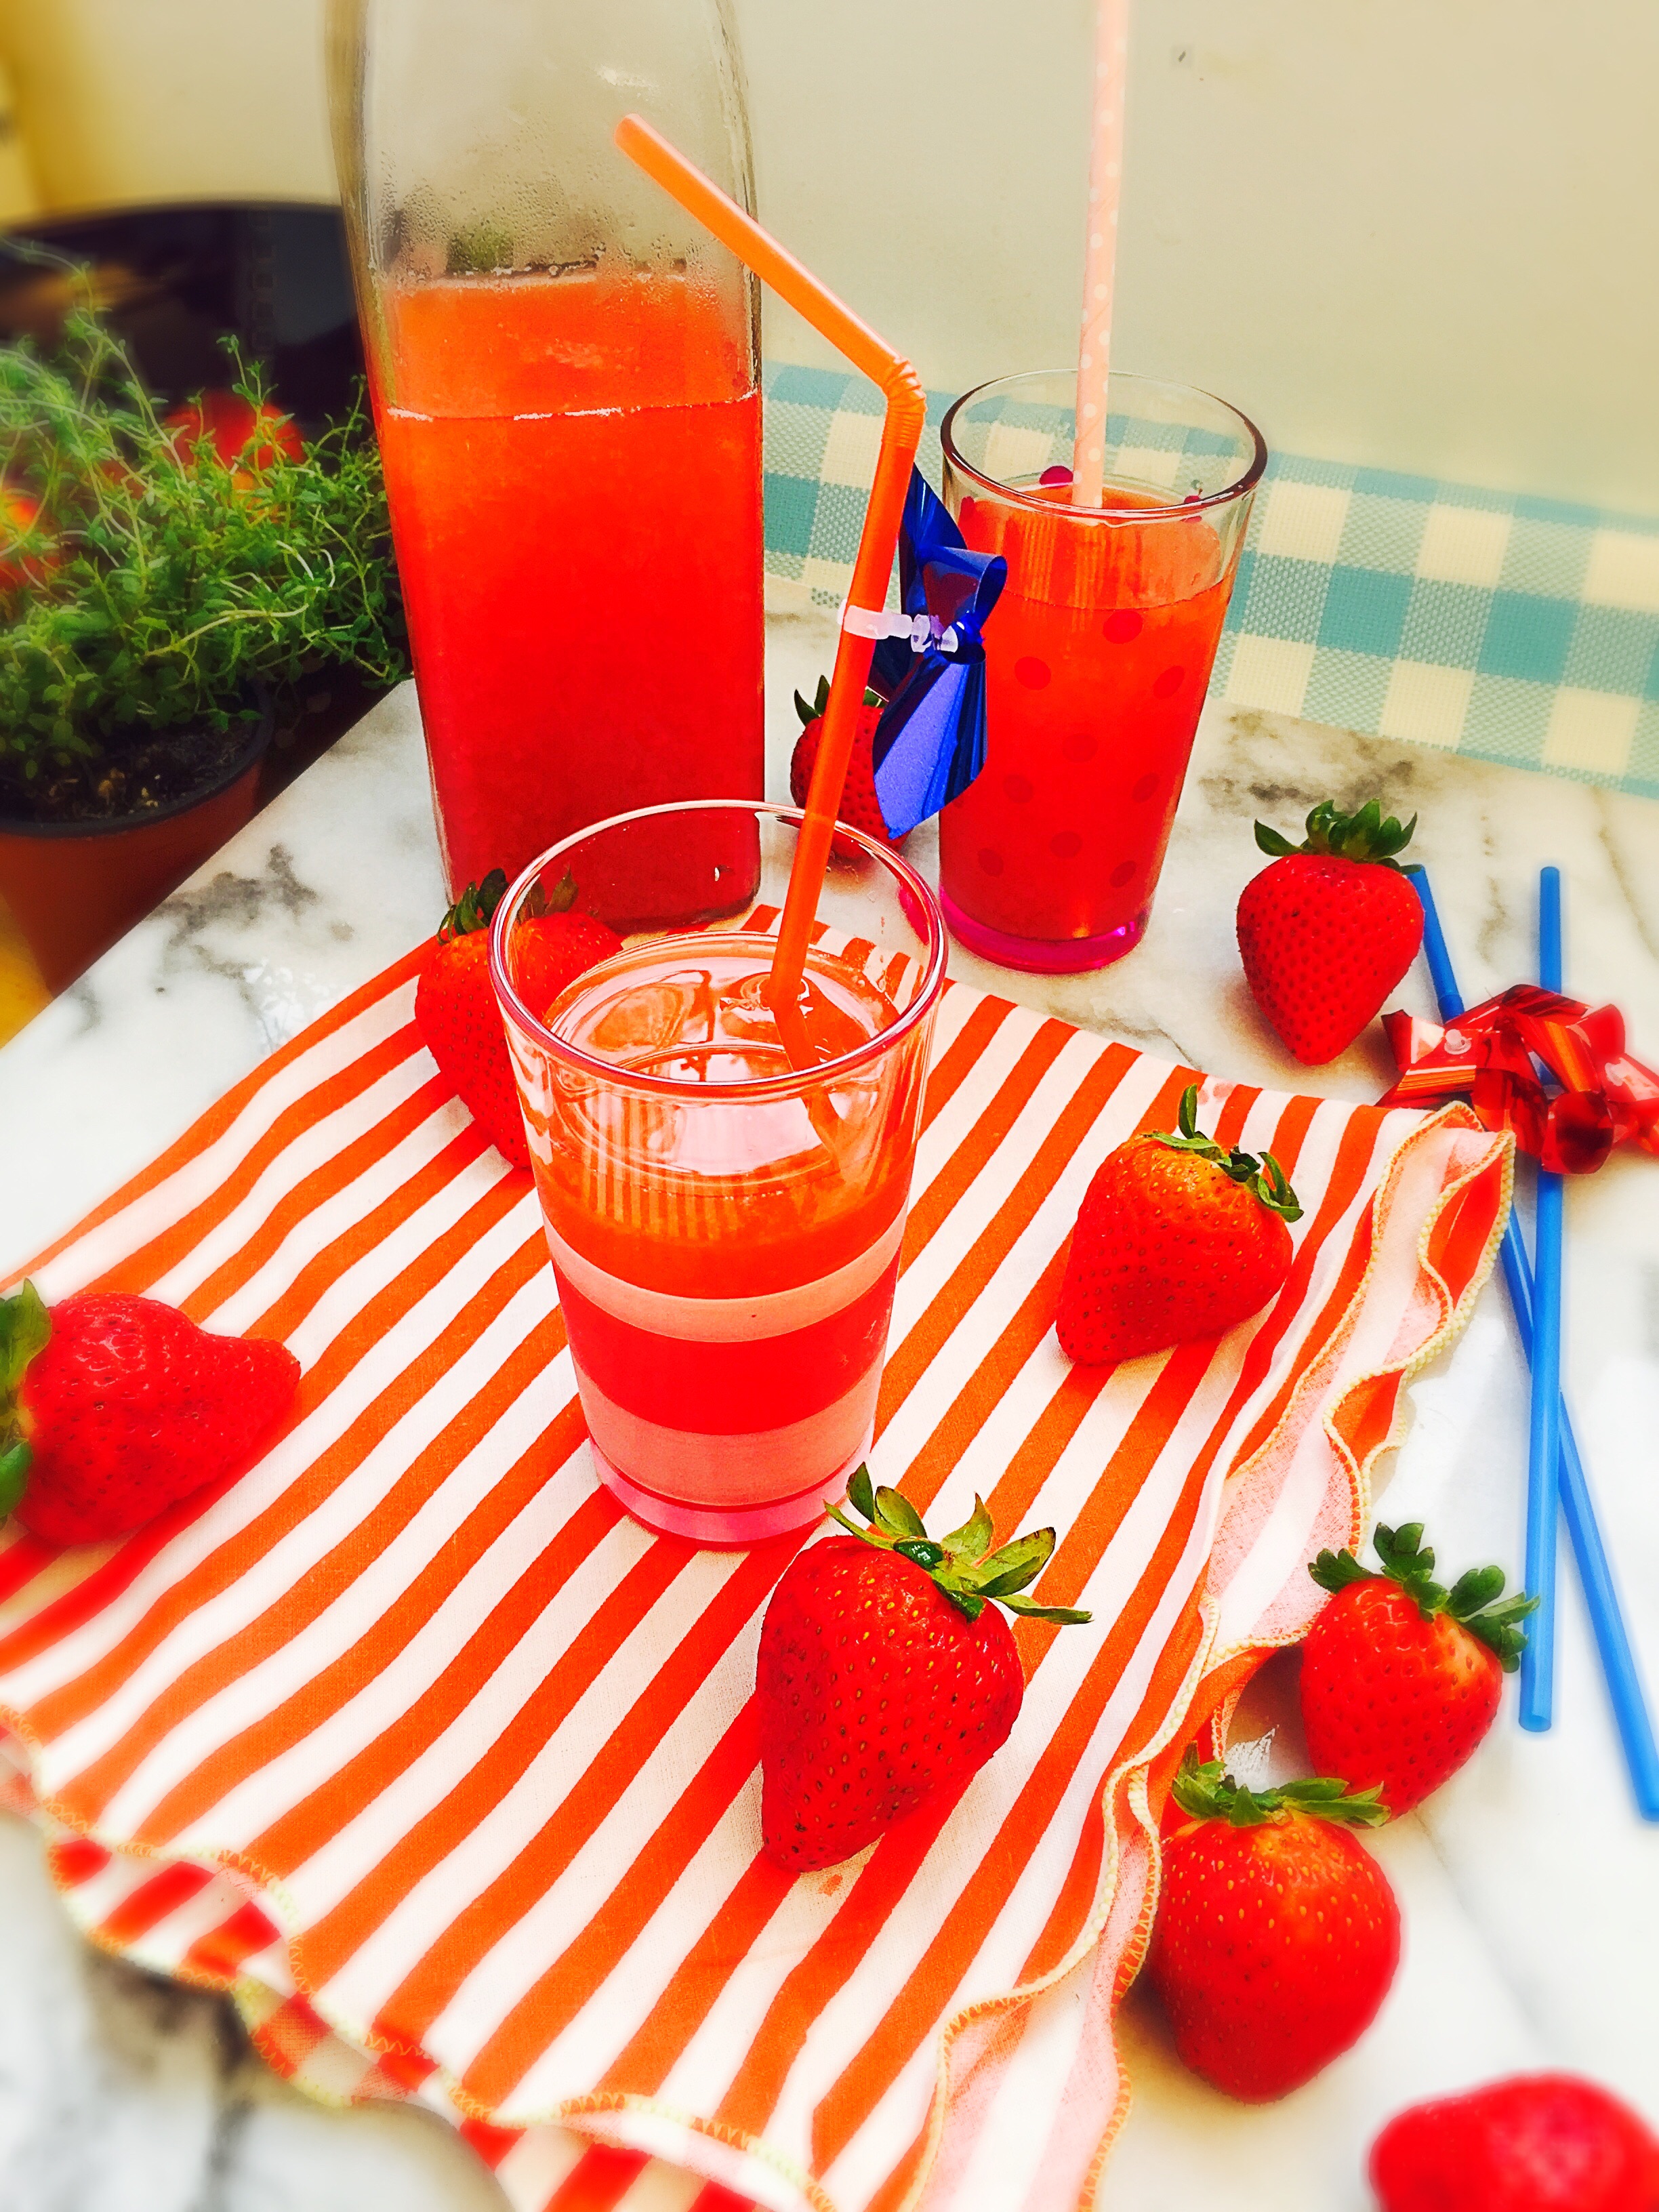
DIY Strawberry Soda–Lacto Fermented Strawberry Soda
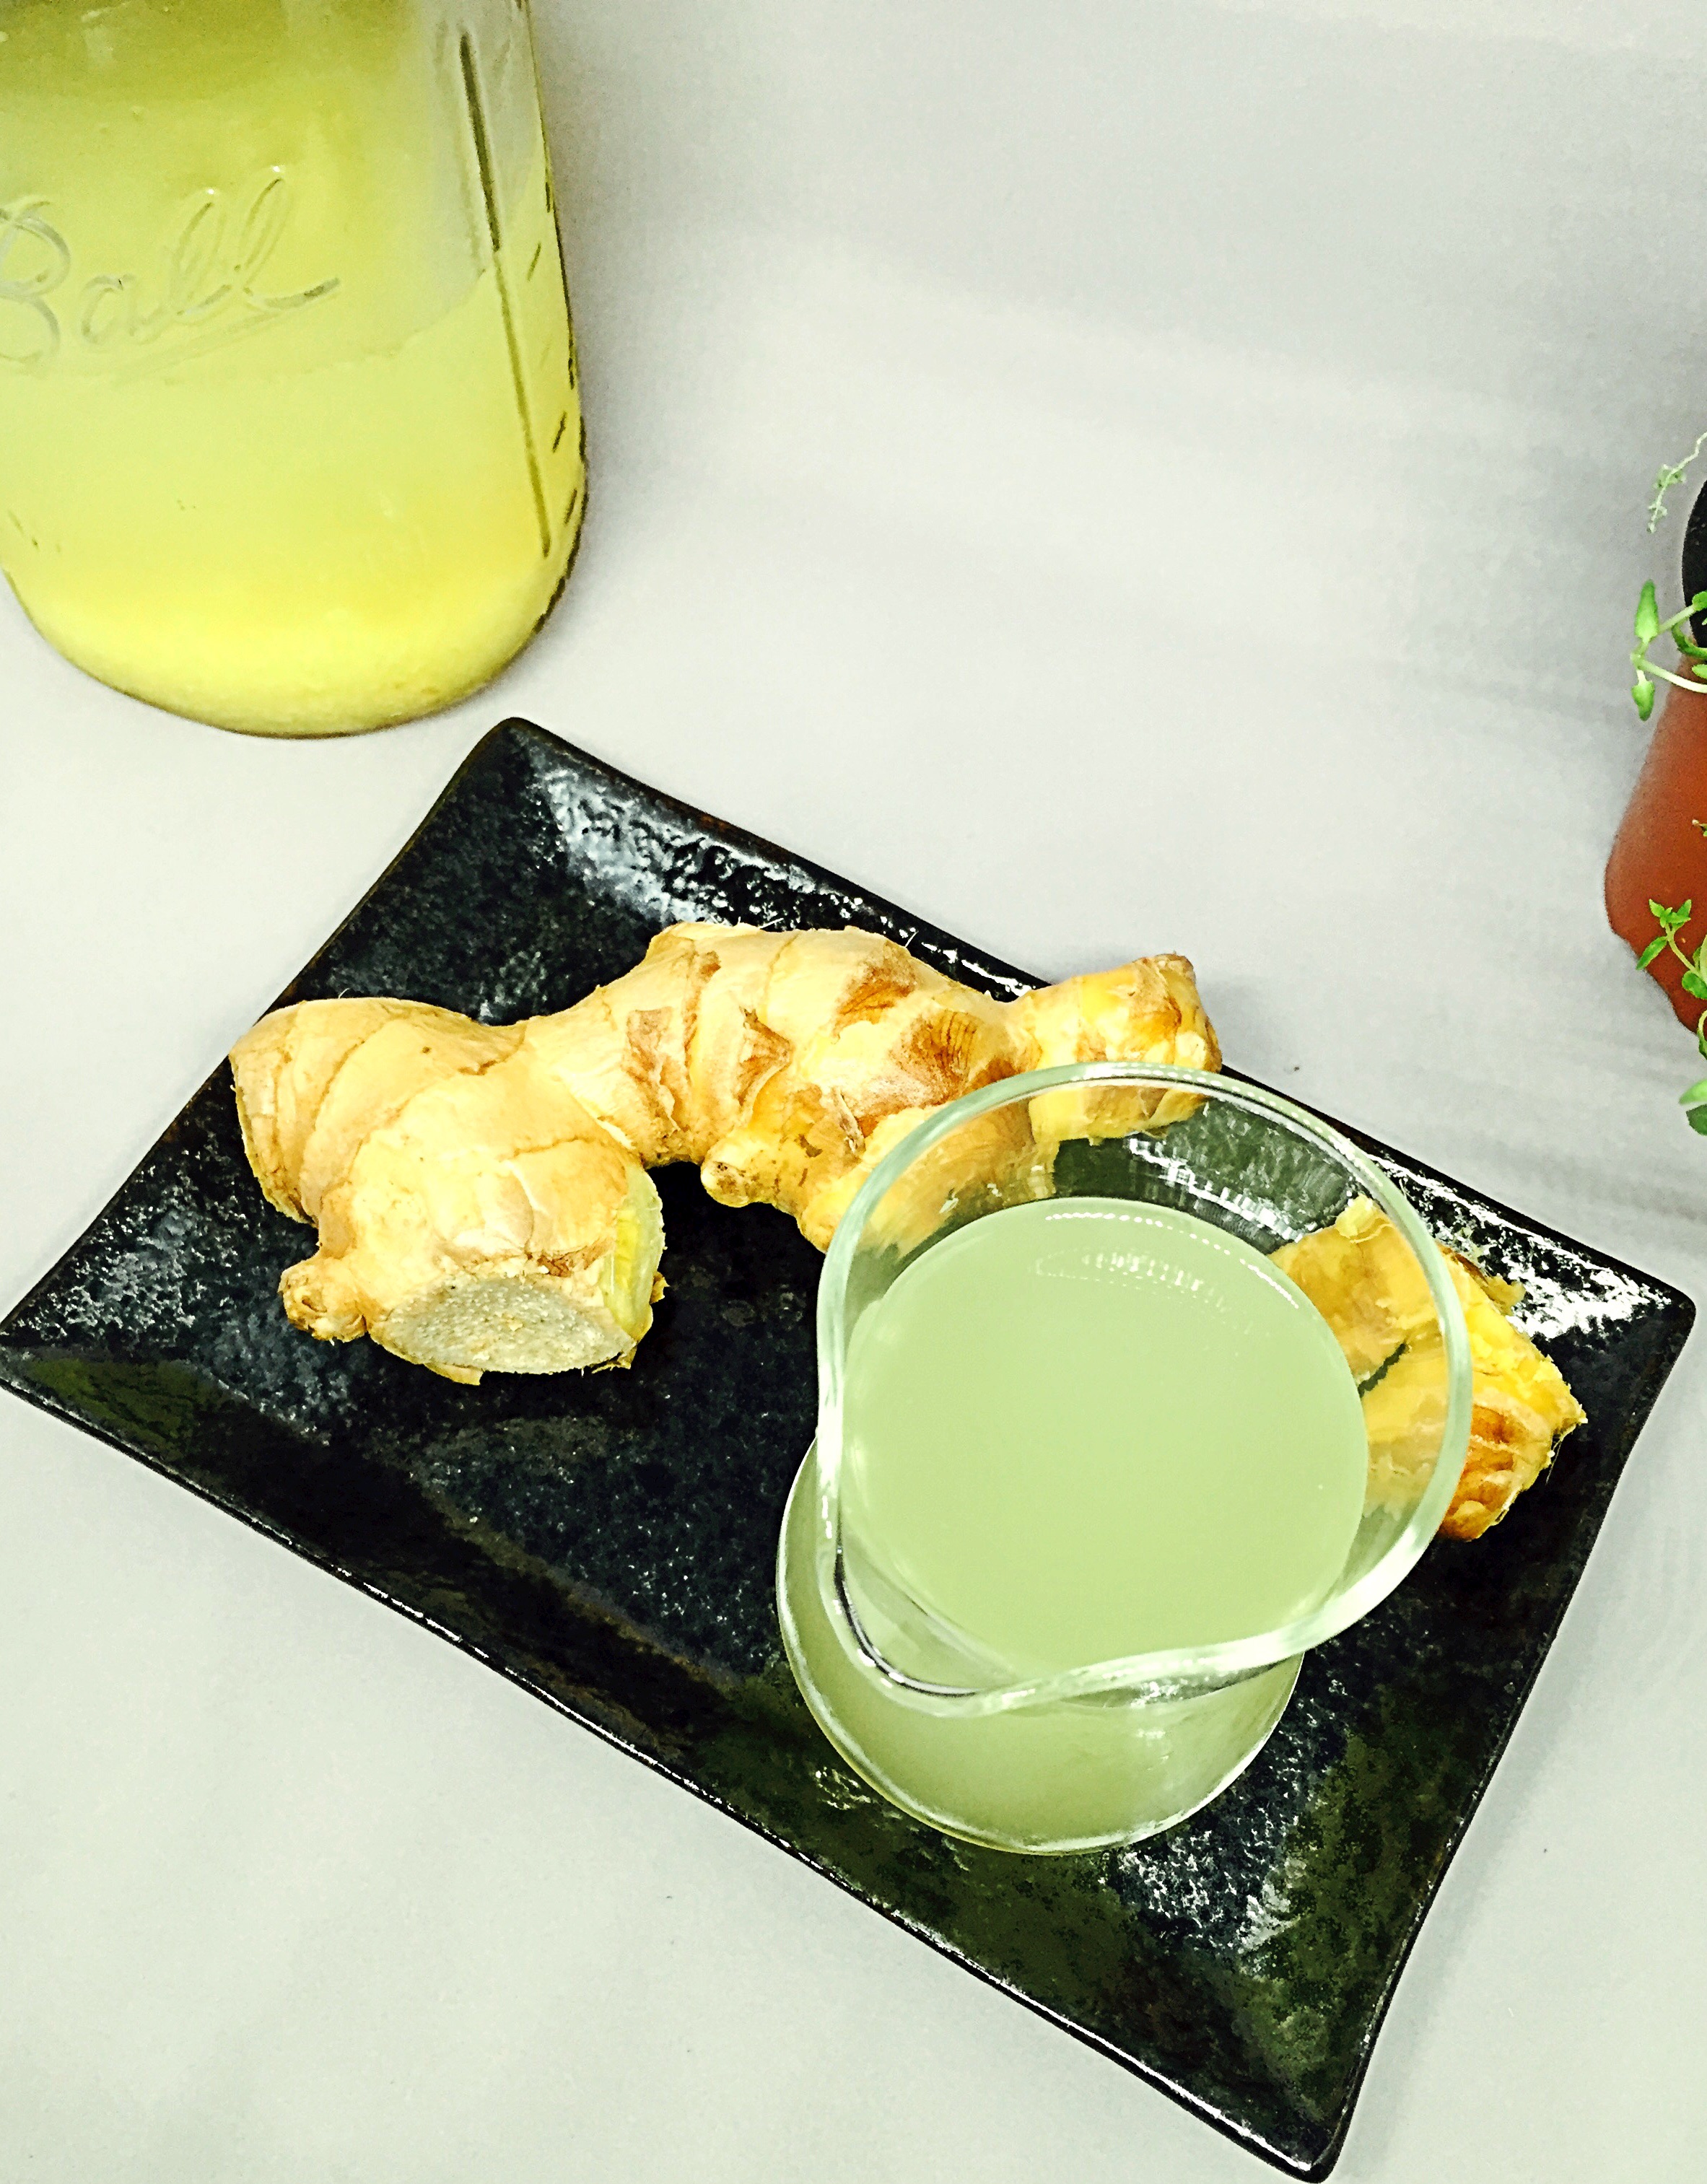
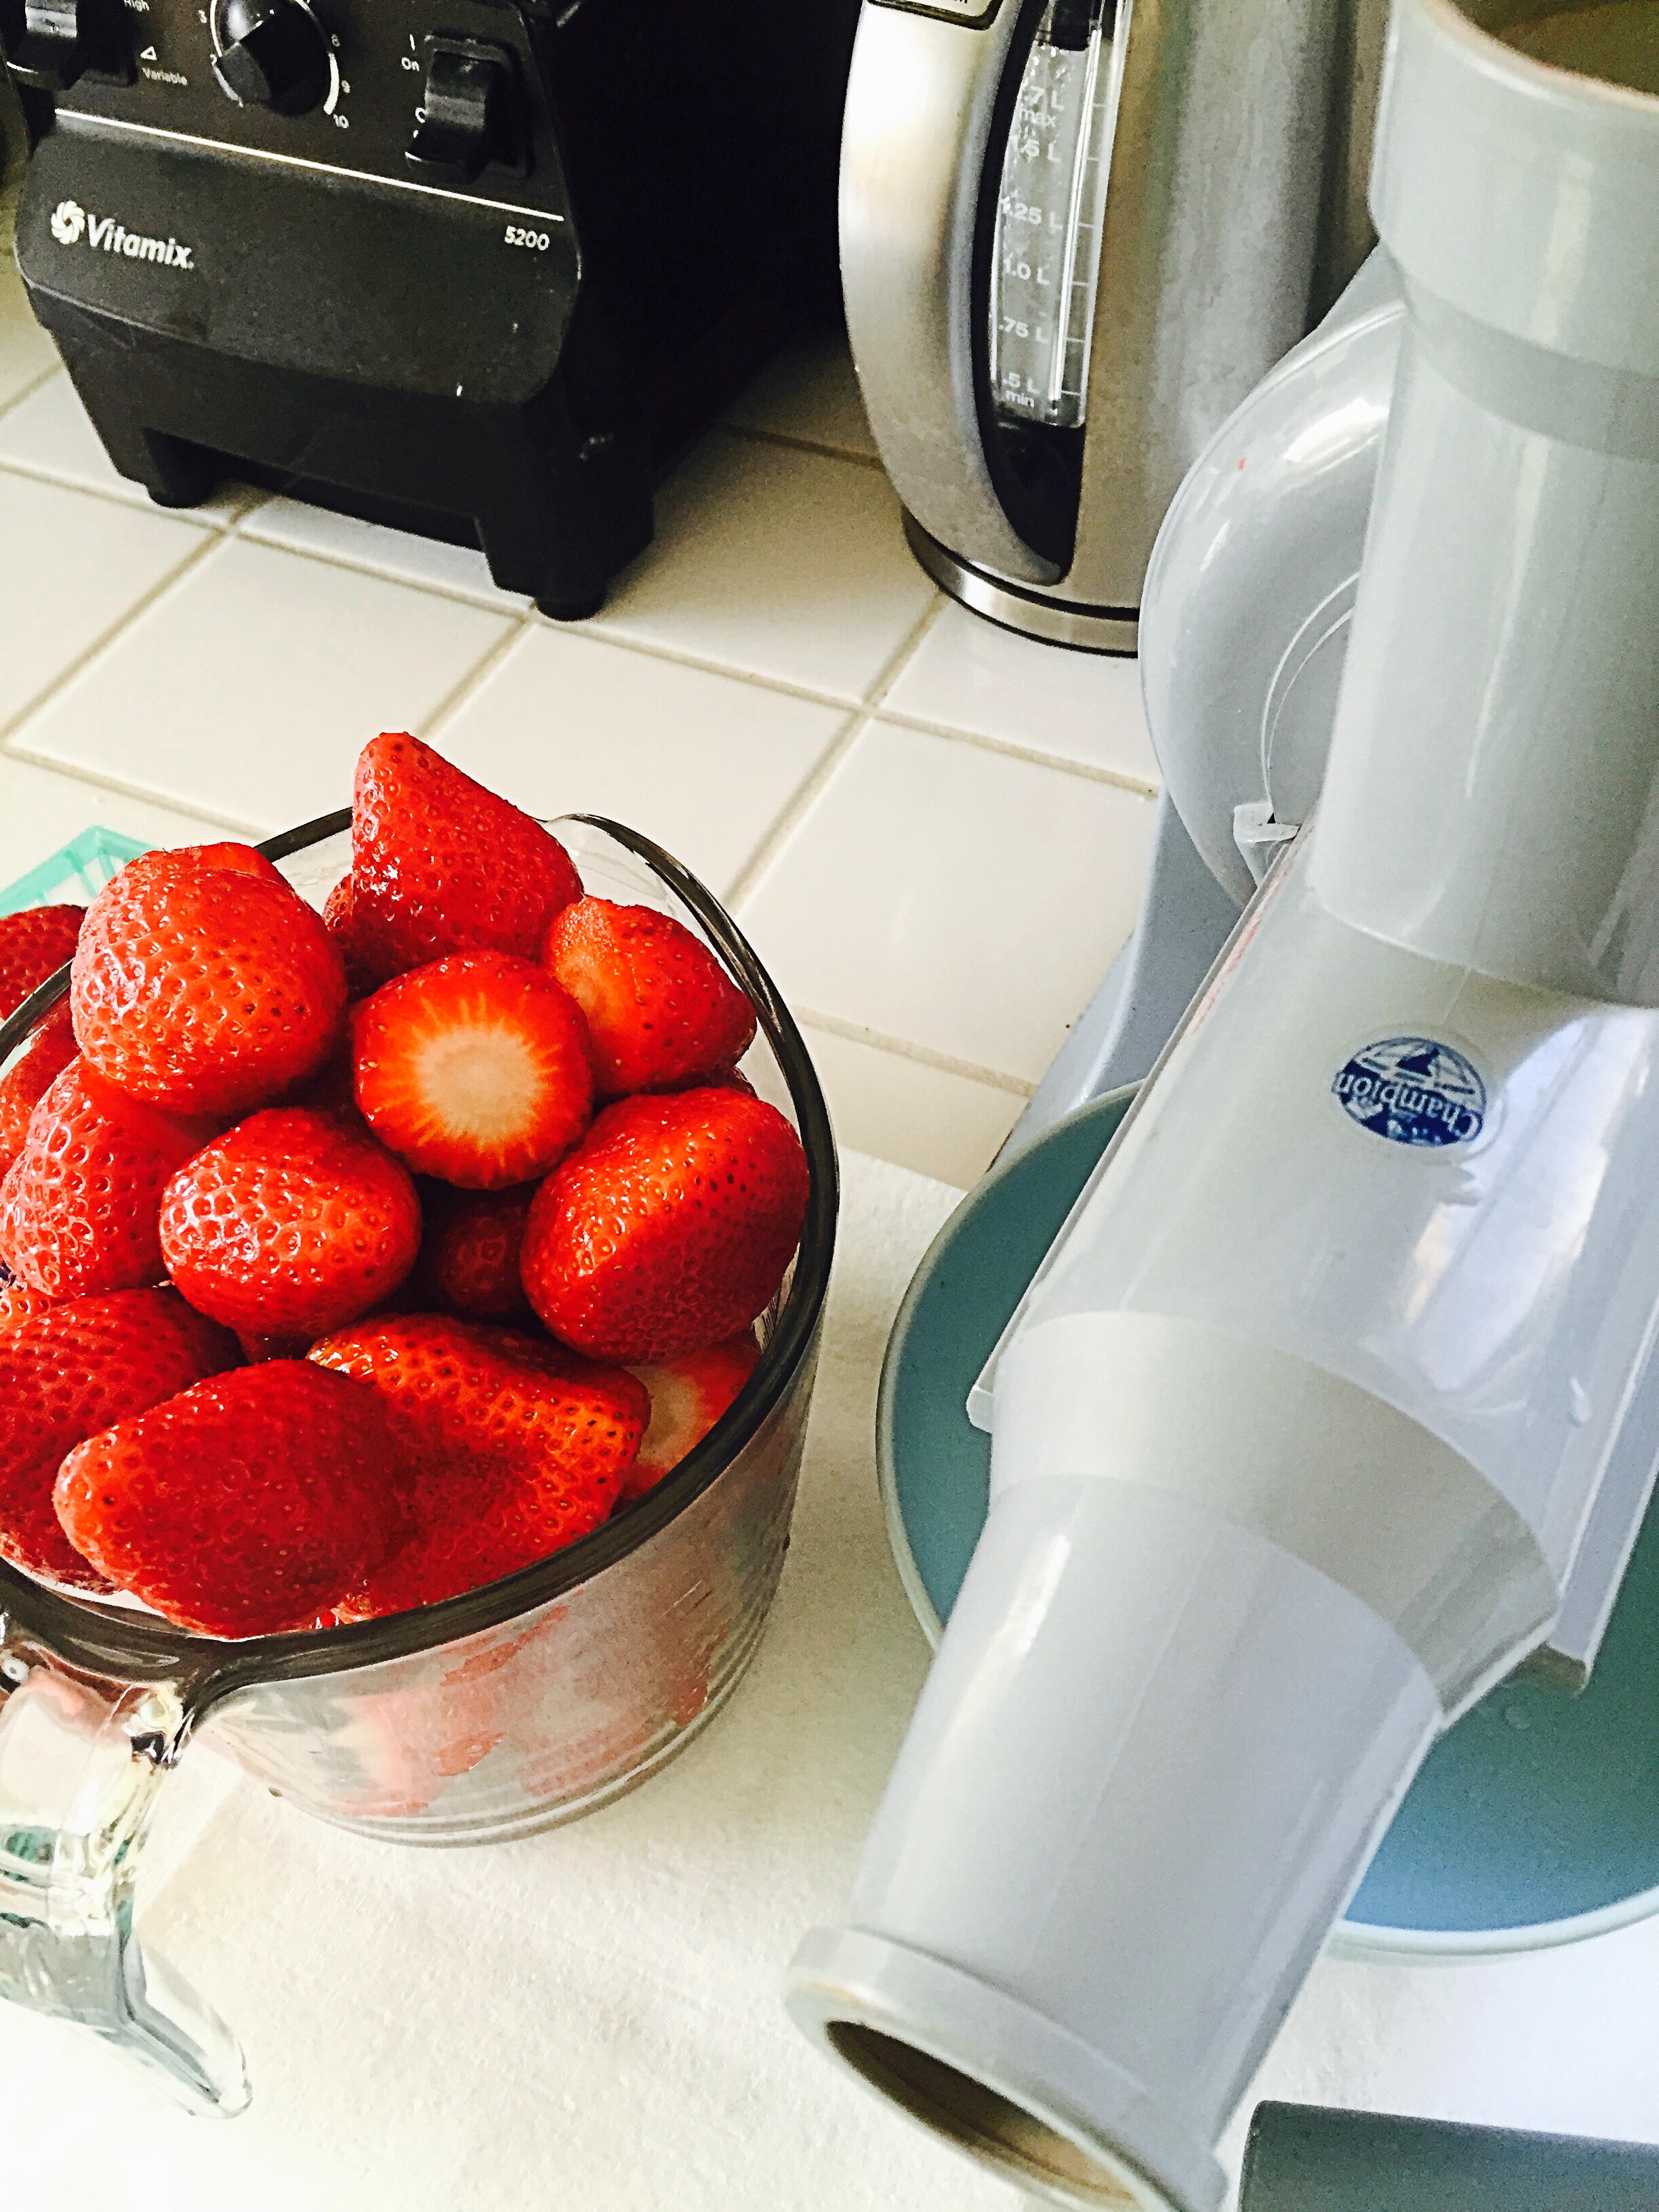
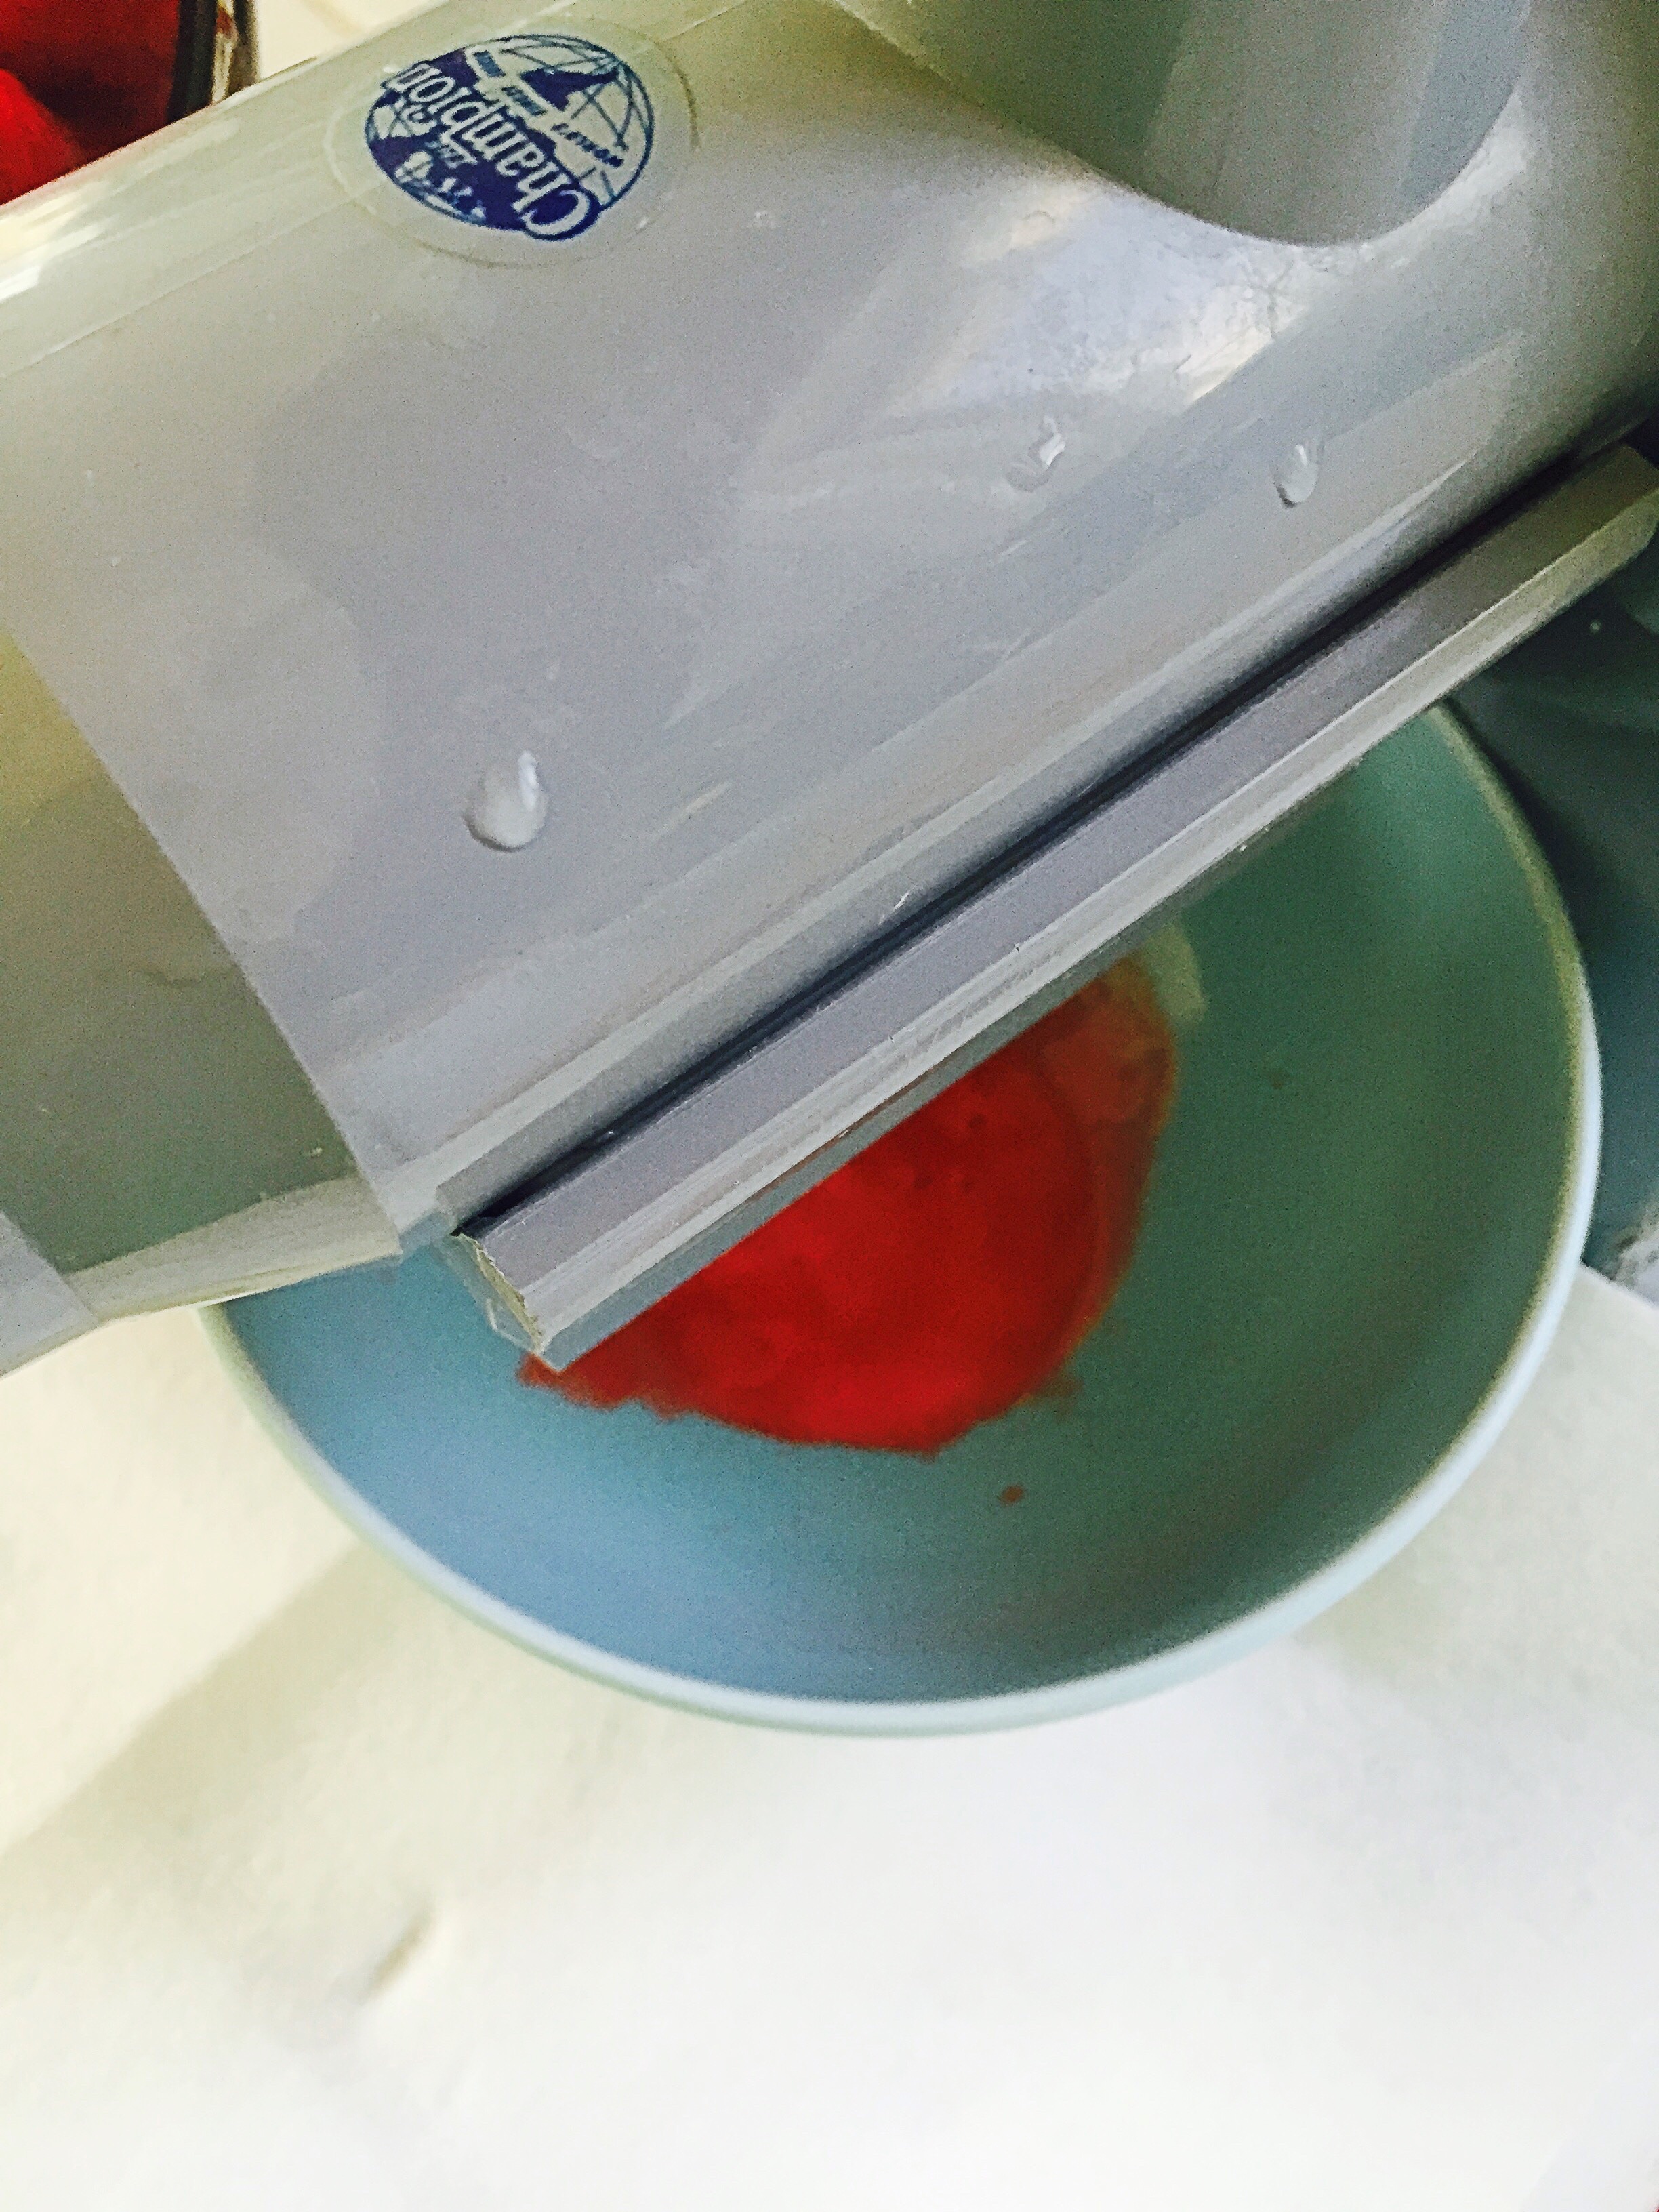
So now that you know how to make a ginger bug, let’s put it to use. I’ve been wanting to make this soda specifically for Page for a long while now. The great thing about this soda is that it is full of beneficial bacteria, so it’s a soda that is actually good for you. The directions I had for making this soda said to leave it out of direct sun light for 24 hours, so that it naturally carbonates and then move it to the refrigerator to chill and slow the process down. I put the soda in a corner and left it to sit, about 15 hours later, I hear a loud explosion in my kitchen. The bottle had exploded and my entire bottle of soda was lost. There was glass everywhere! It made me so sad. So the moral of the story is, don’t leave this out to carbonate more than 12 hours. If you plan on doing that, then put this in a cabinet, close it so that the explosion is confined, and no one gets hurt. Or place this in a plastic sterilized water bottle, that way you can clearly tell when the soda has carbonated, the bottle will expand and harden once the soda has been carbonated. In the book The Art of Fermentation’ the author suggest placing a raisin in the bottle, once the raisin rises to the top that is a sign that the soda has been carbonated, and you can transfer it to the refrigerator. I juiced fresh strawberries in my juicer for this recipe. There are many recipes out there that boil the berries with sugar to make a syrup, and then use the syrup as a base to make this soda. I preferred to just use fresh juice–delicious! Also the sugar is an optional ingredient, if the strawberries you’re using are already sweet then you don’t really need to add more sugar.
Pin It!
Ingredients:
2 cups of strawberry juice
2 cups of water
1/2 cup of ginger bug
1/4 cup -1/2 cup of organic raw sugar –optional
Equipment:
Close top bottles
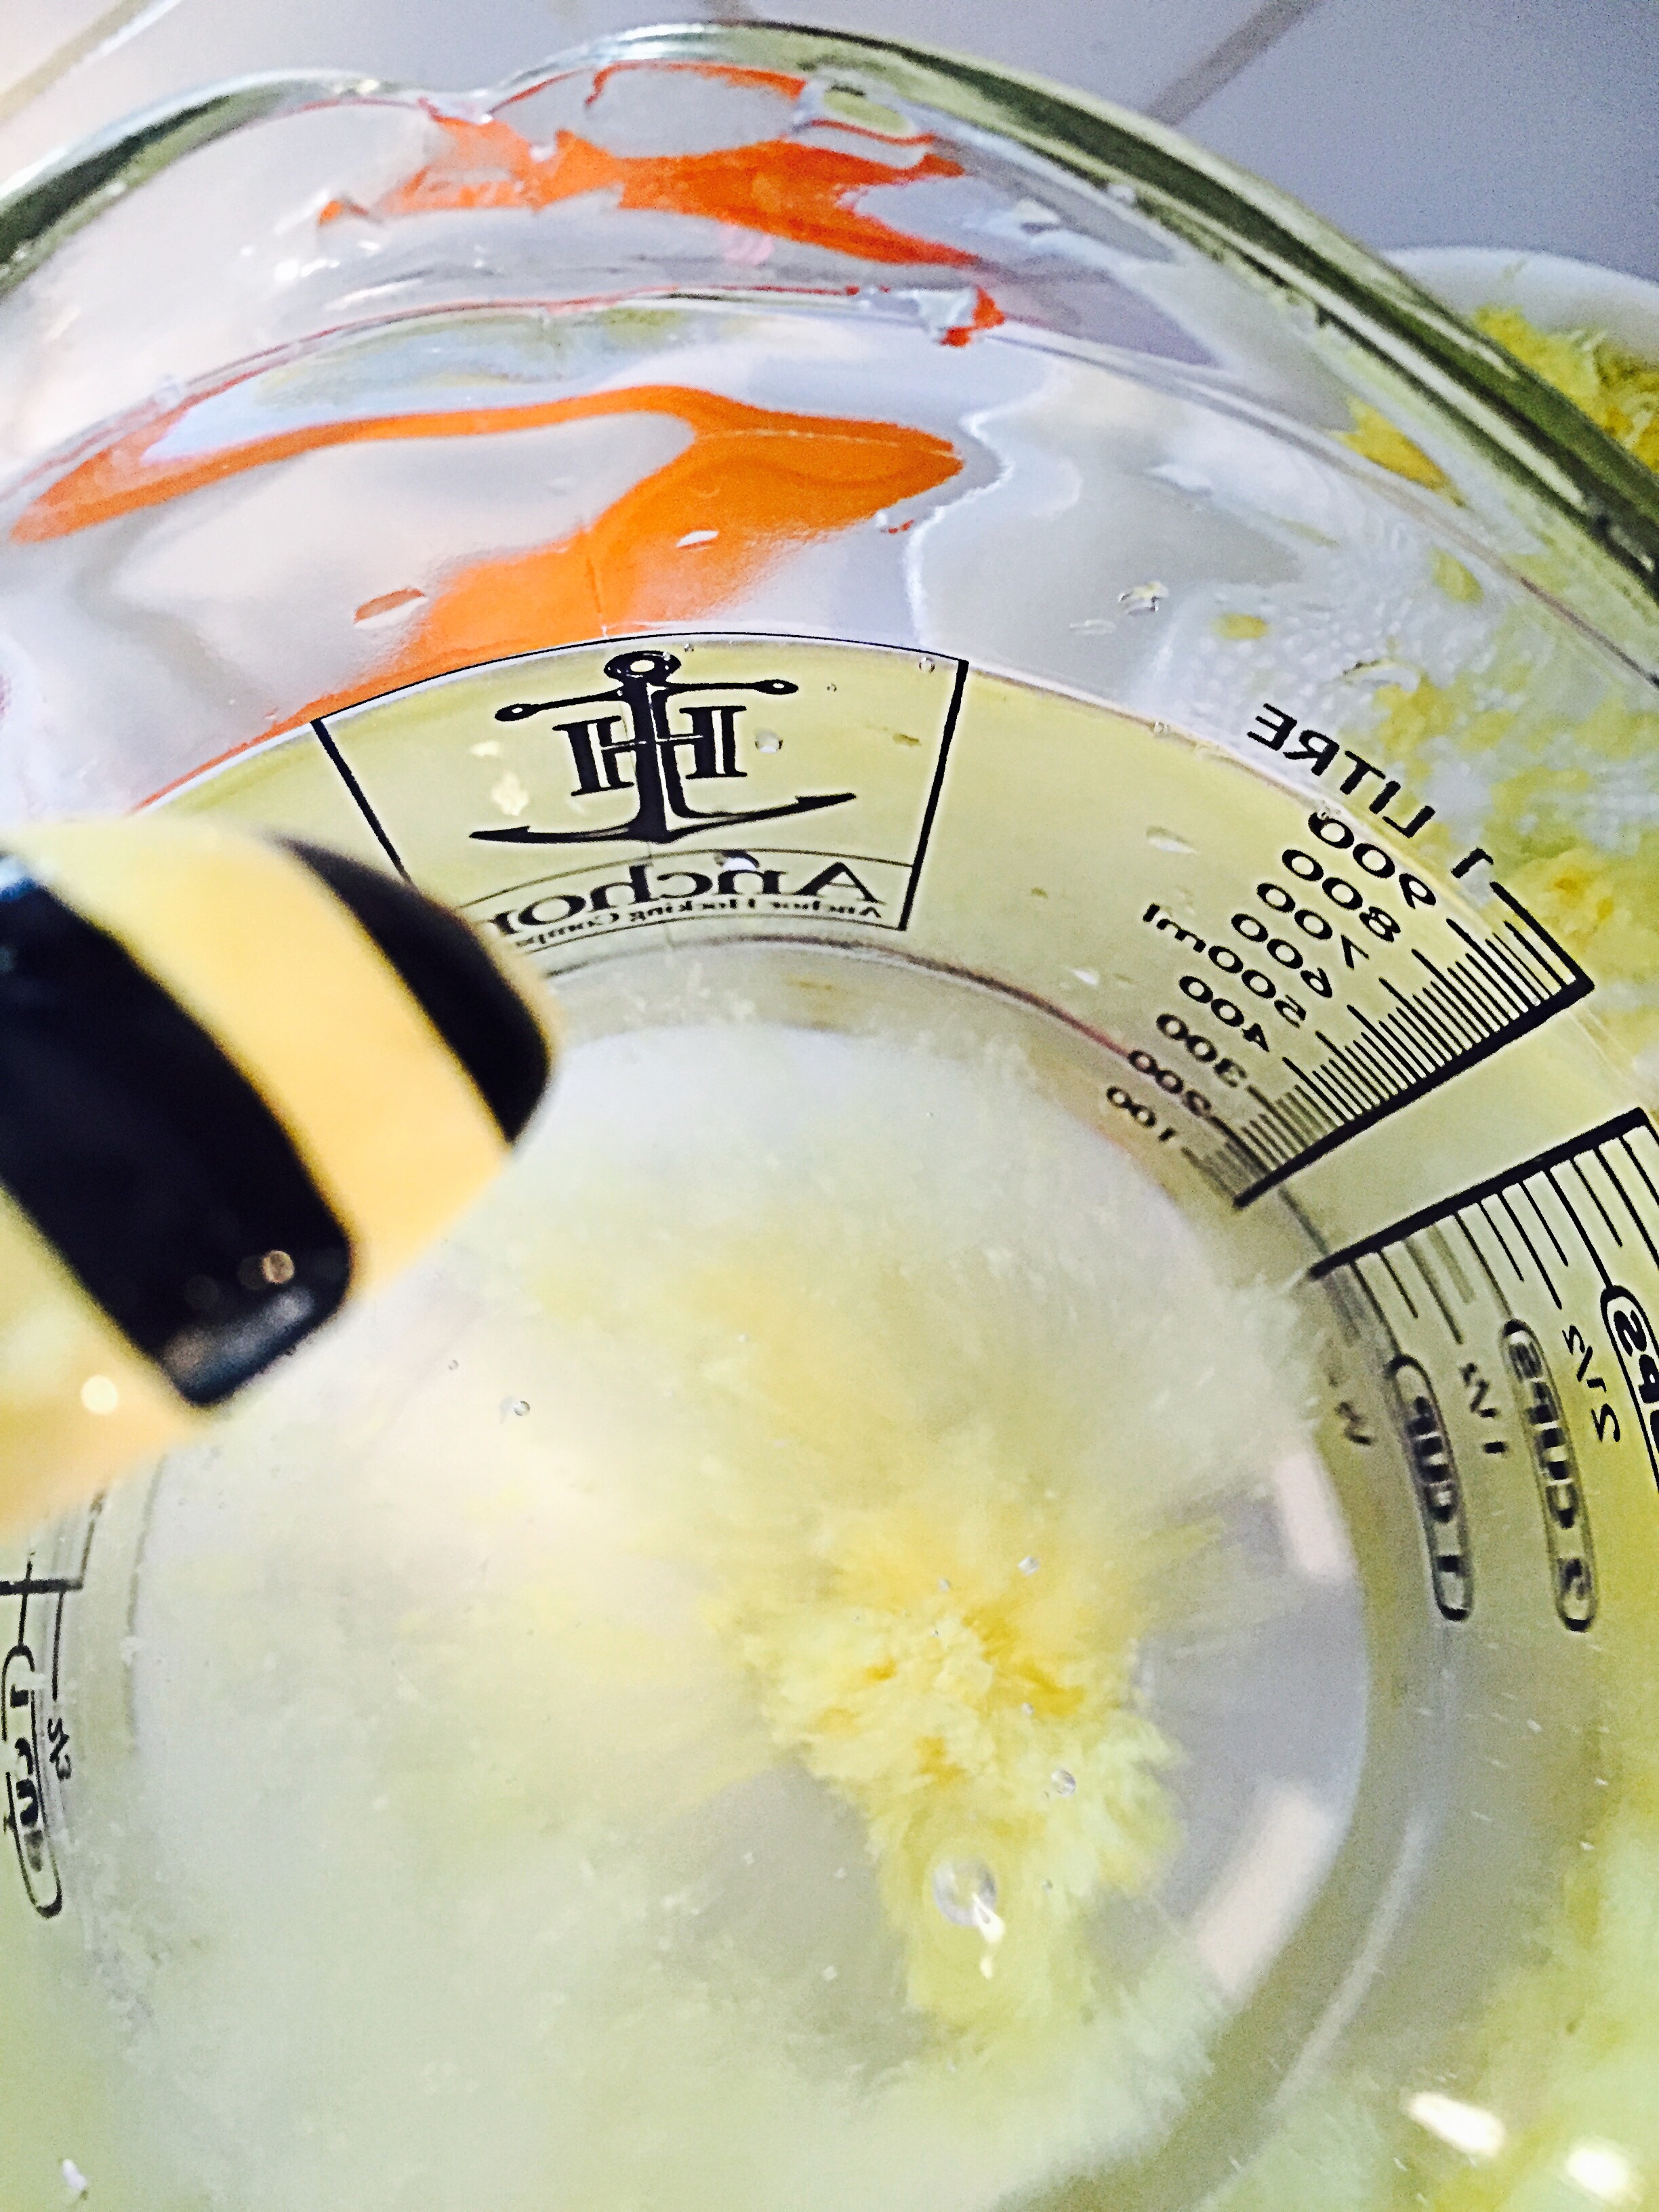
Directions: Remove the stems from the strawberries–about 3 pints and juice them.

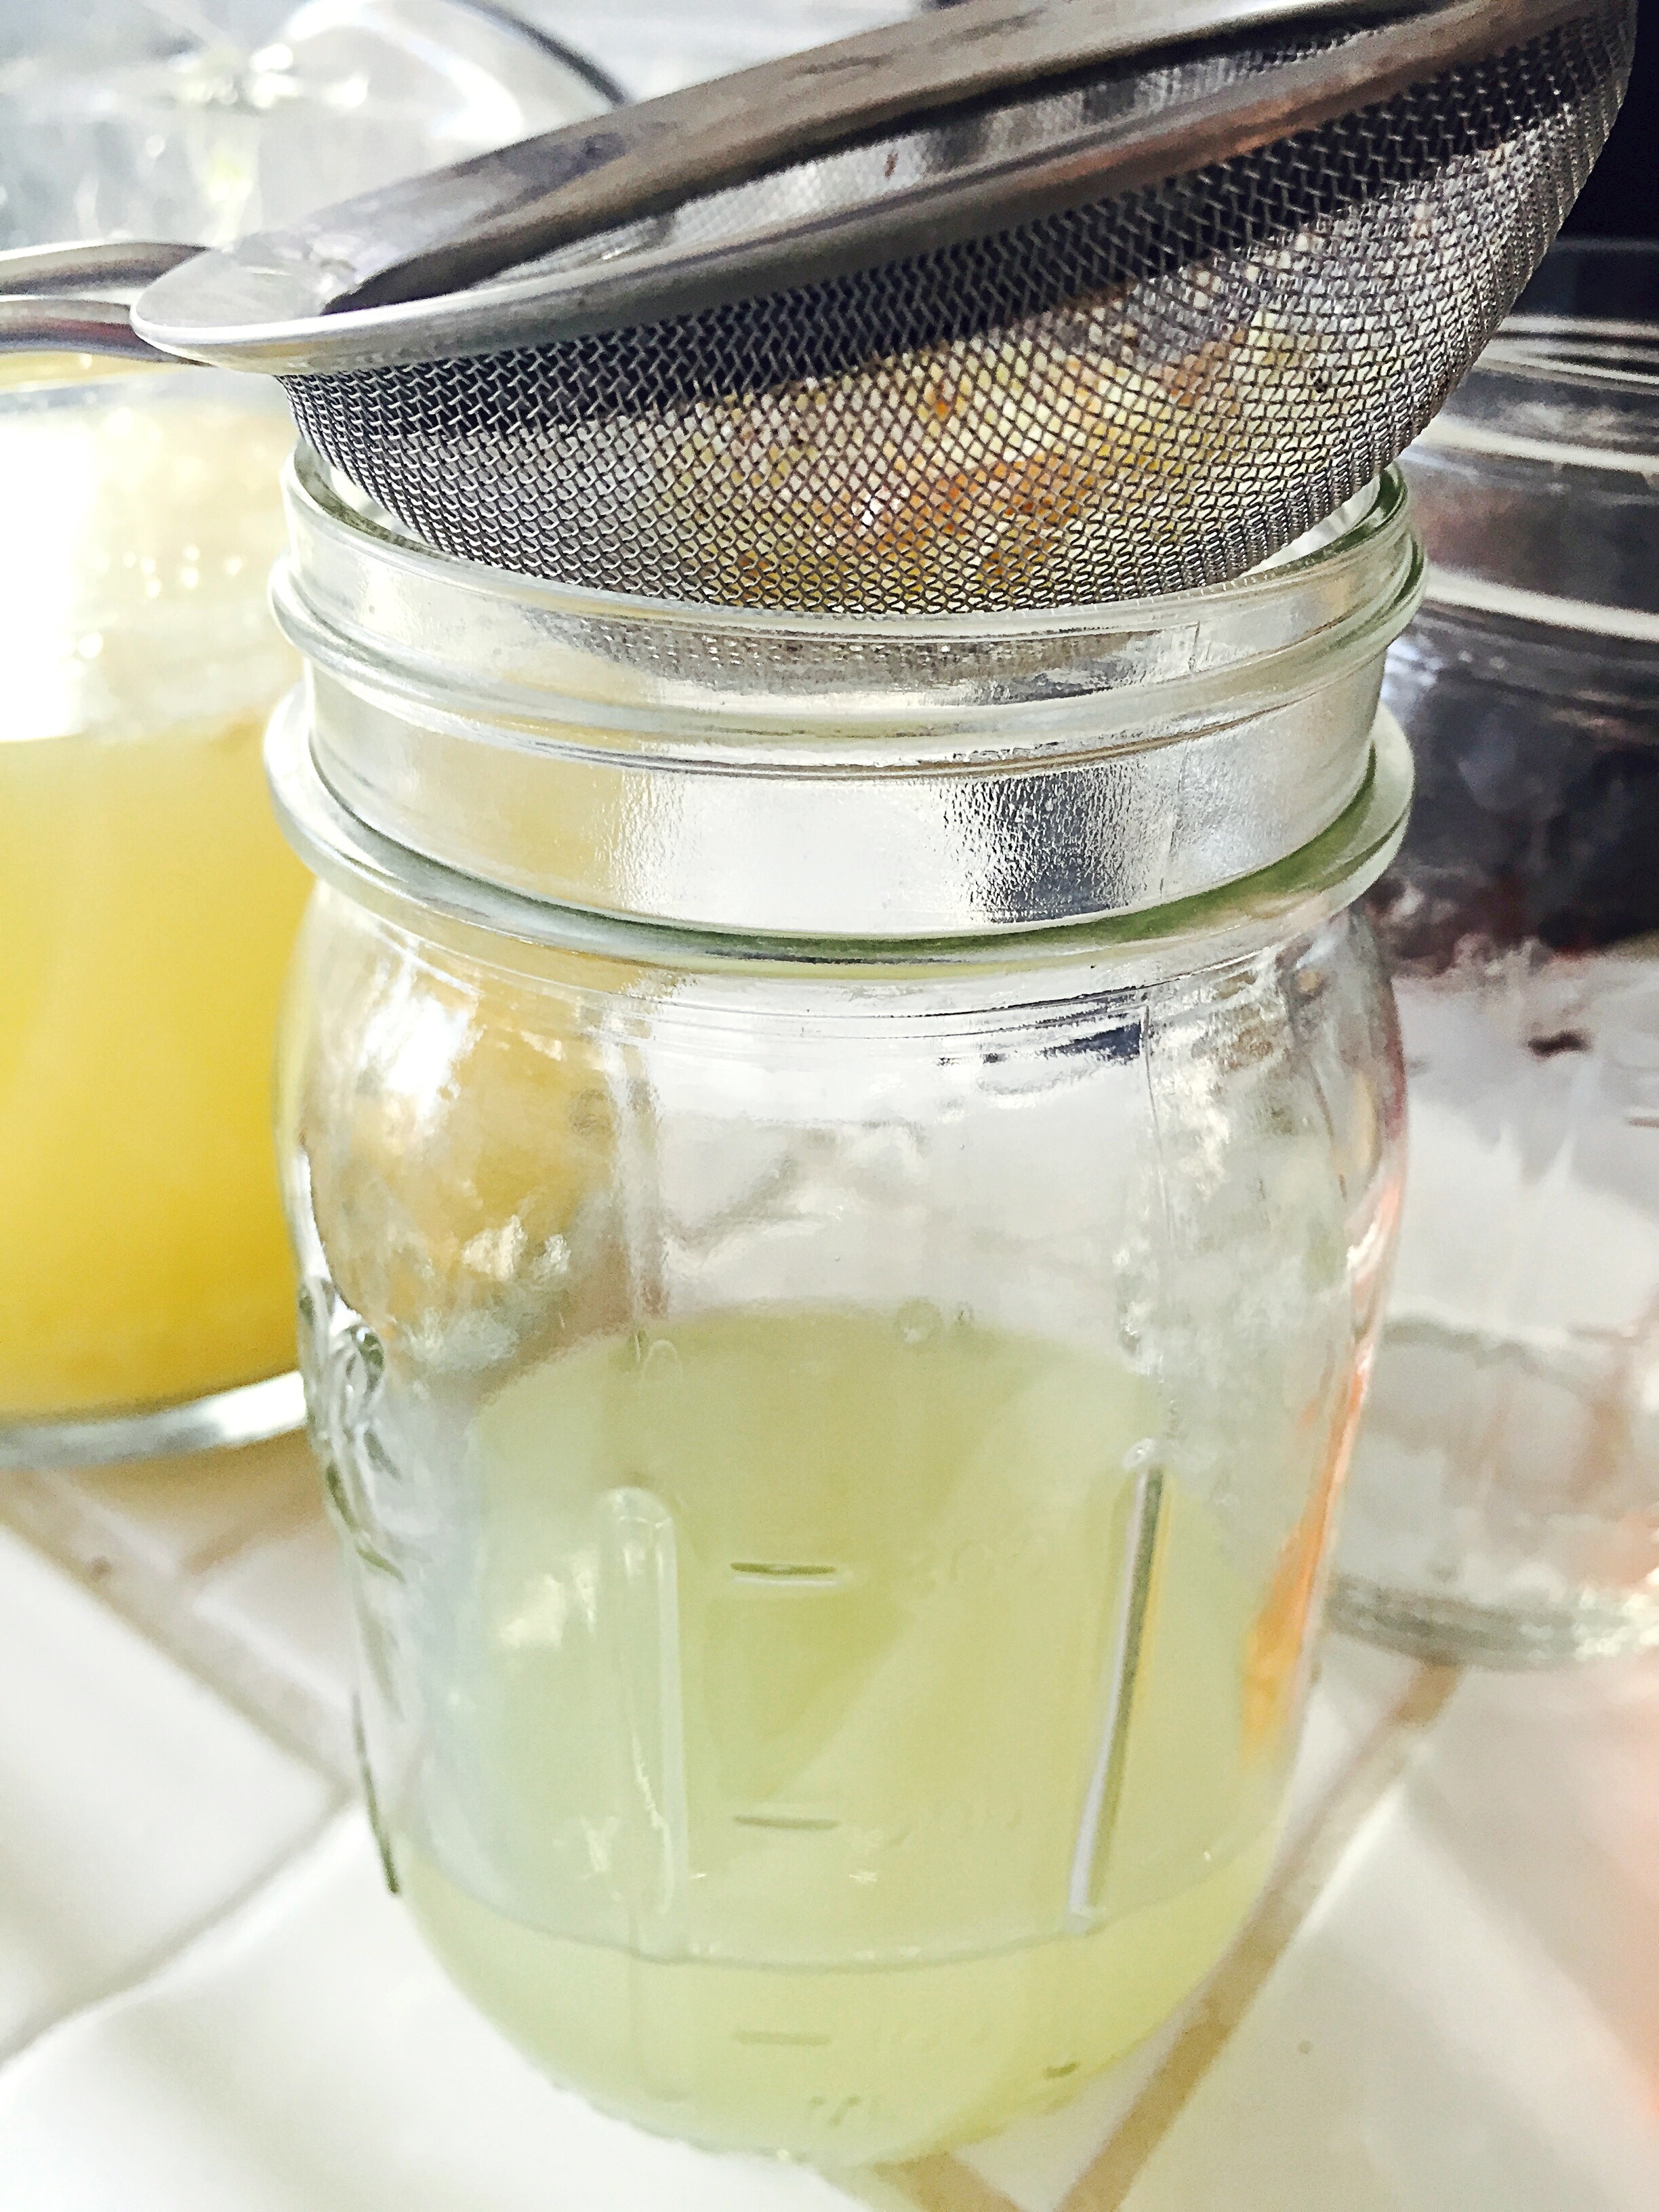
Strain 1/2 cup of the ginger bug.
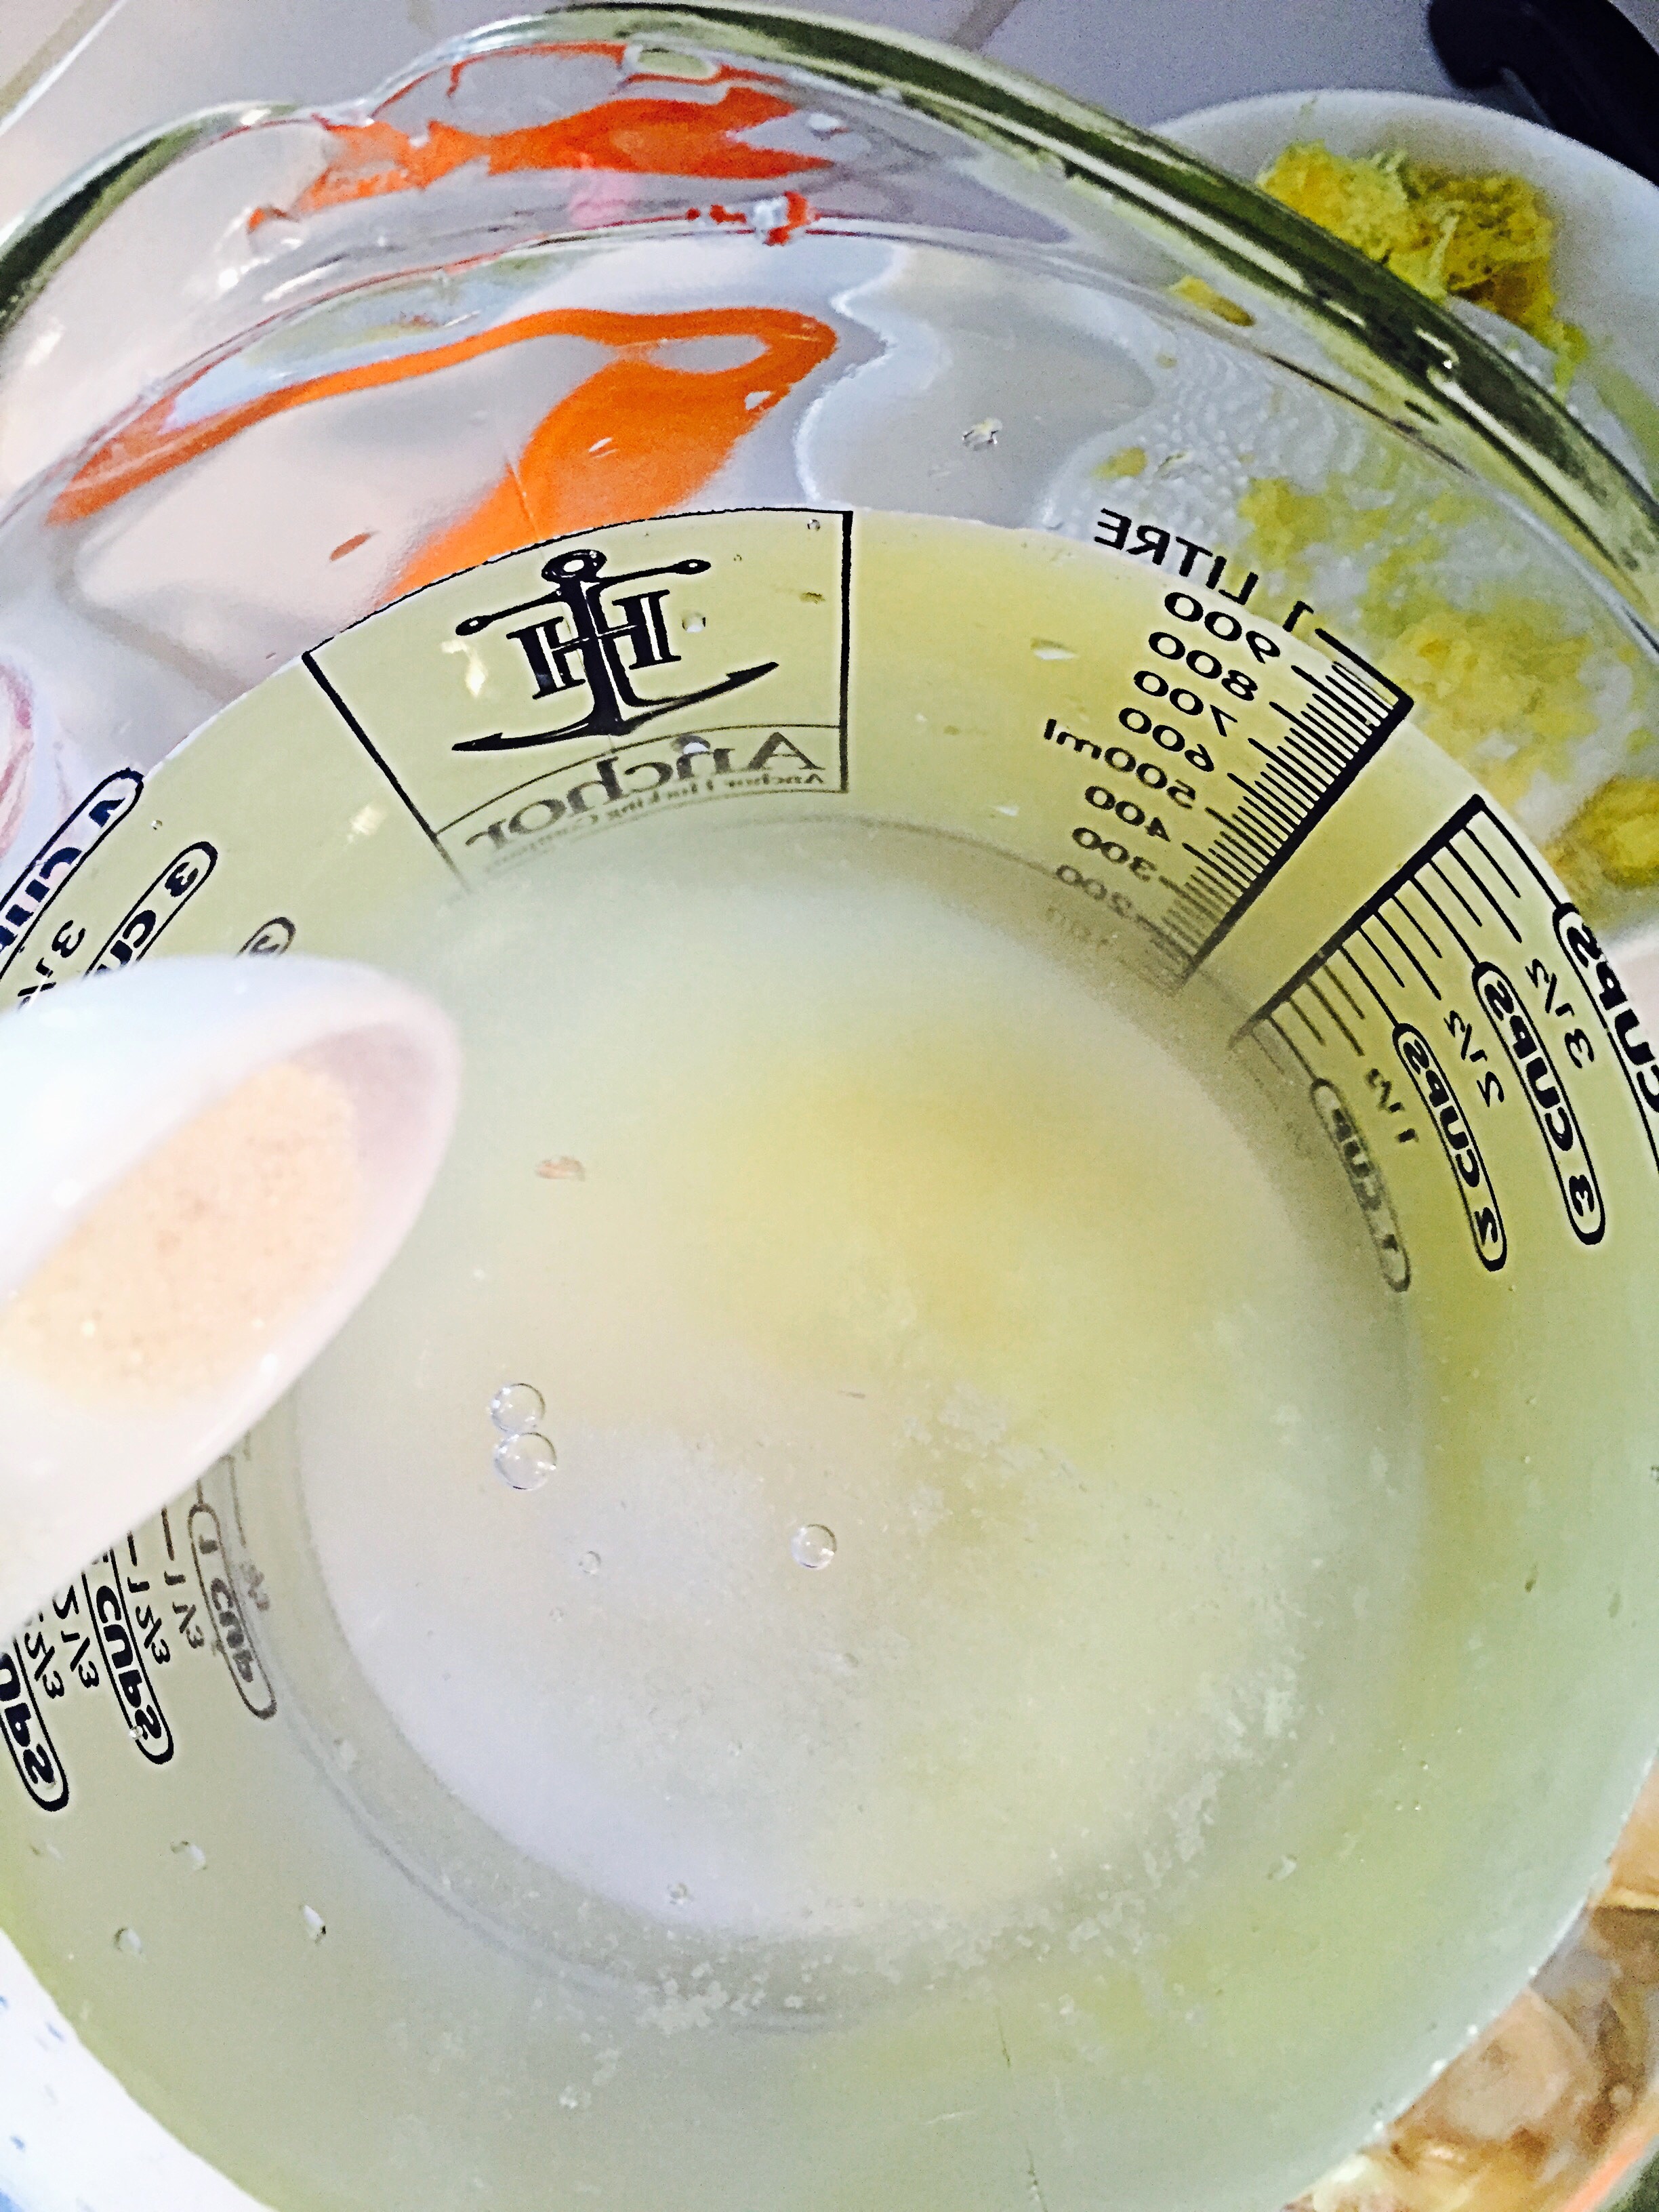
To a large bowl add the strawberry juice, water, ginger bug, and sugar if using,

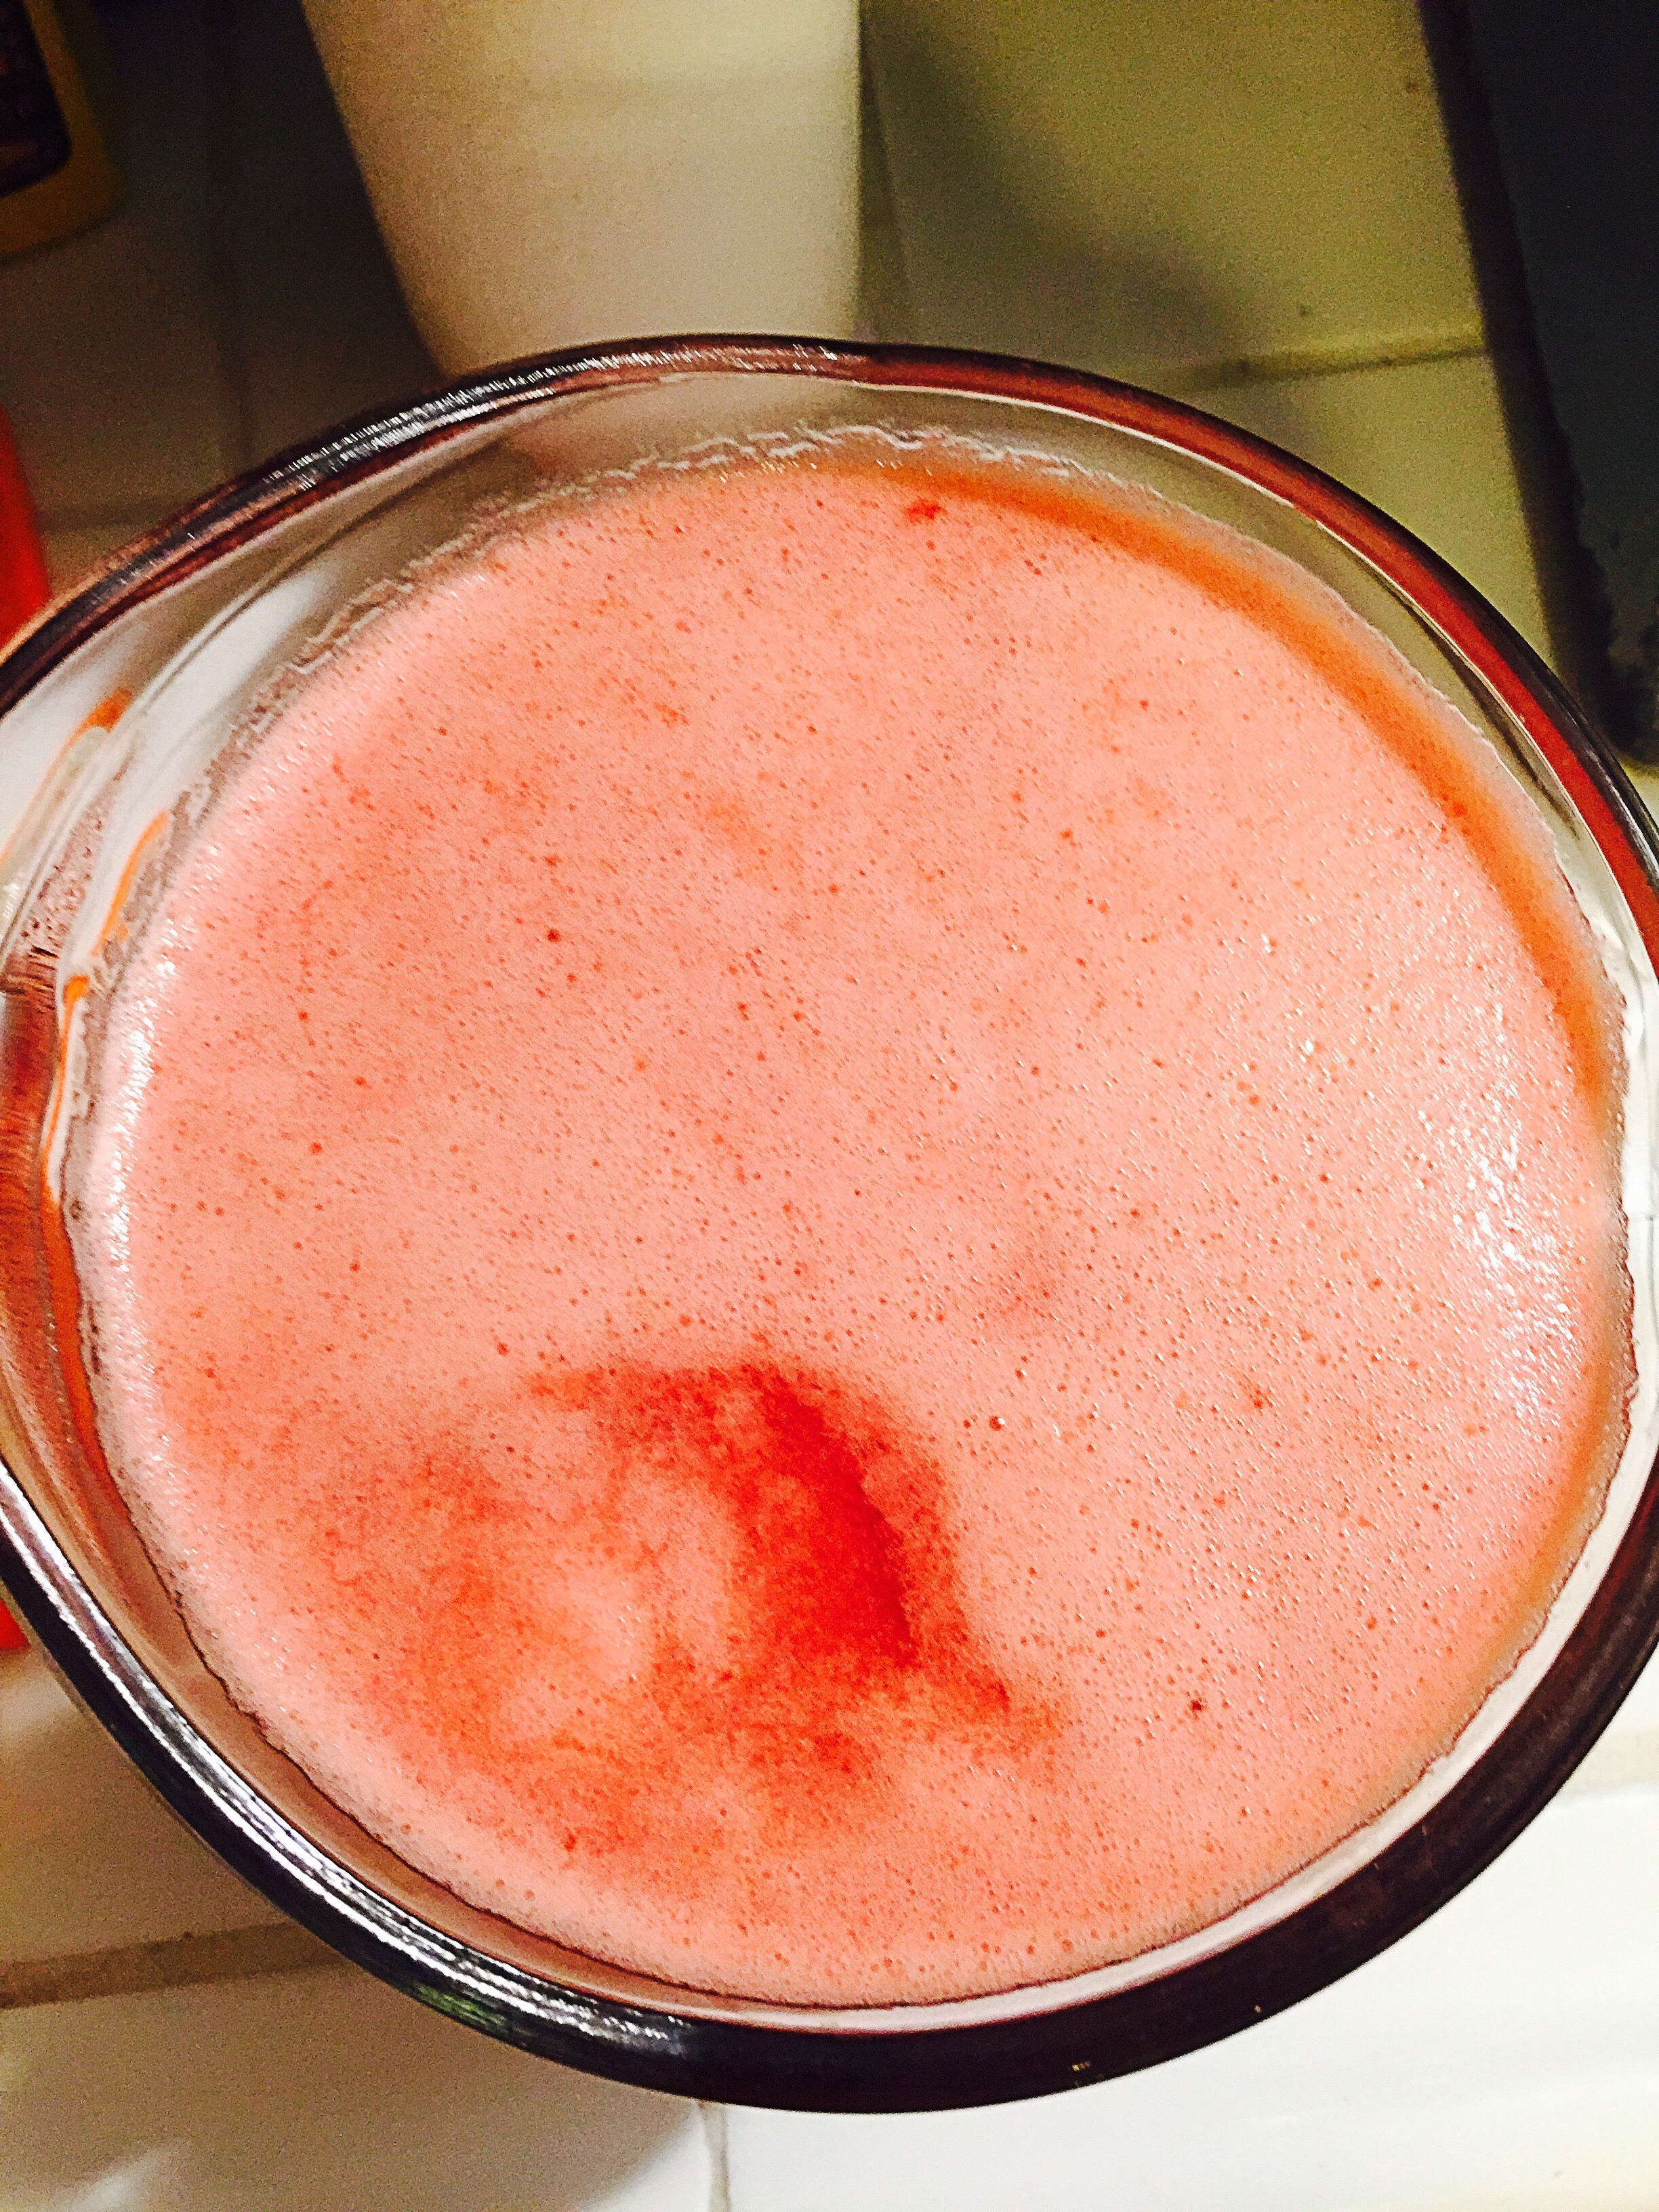
Stir well cover with cheesecloth and place out of direct sun light to allow the mixture to ferment over night. If you’d like you could ferment longer–up to 3 days, but the flavor of mine was just perfect after 24 hours. The bacteria eat the sugar, so the longer you leave it, the less sweet it becomes. But be careful, the bacteria will convert the sugar to alcohol so you don’t want to leave it too long–unless of course you want to make this a mead–a delicious alcoholic beverage, instead of a soda. Transfer the mixture to an air tight bottle or mason jar to carbonate, store in a dark cabinet–or a safe area where if it explodes it will not harm you or your family members.

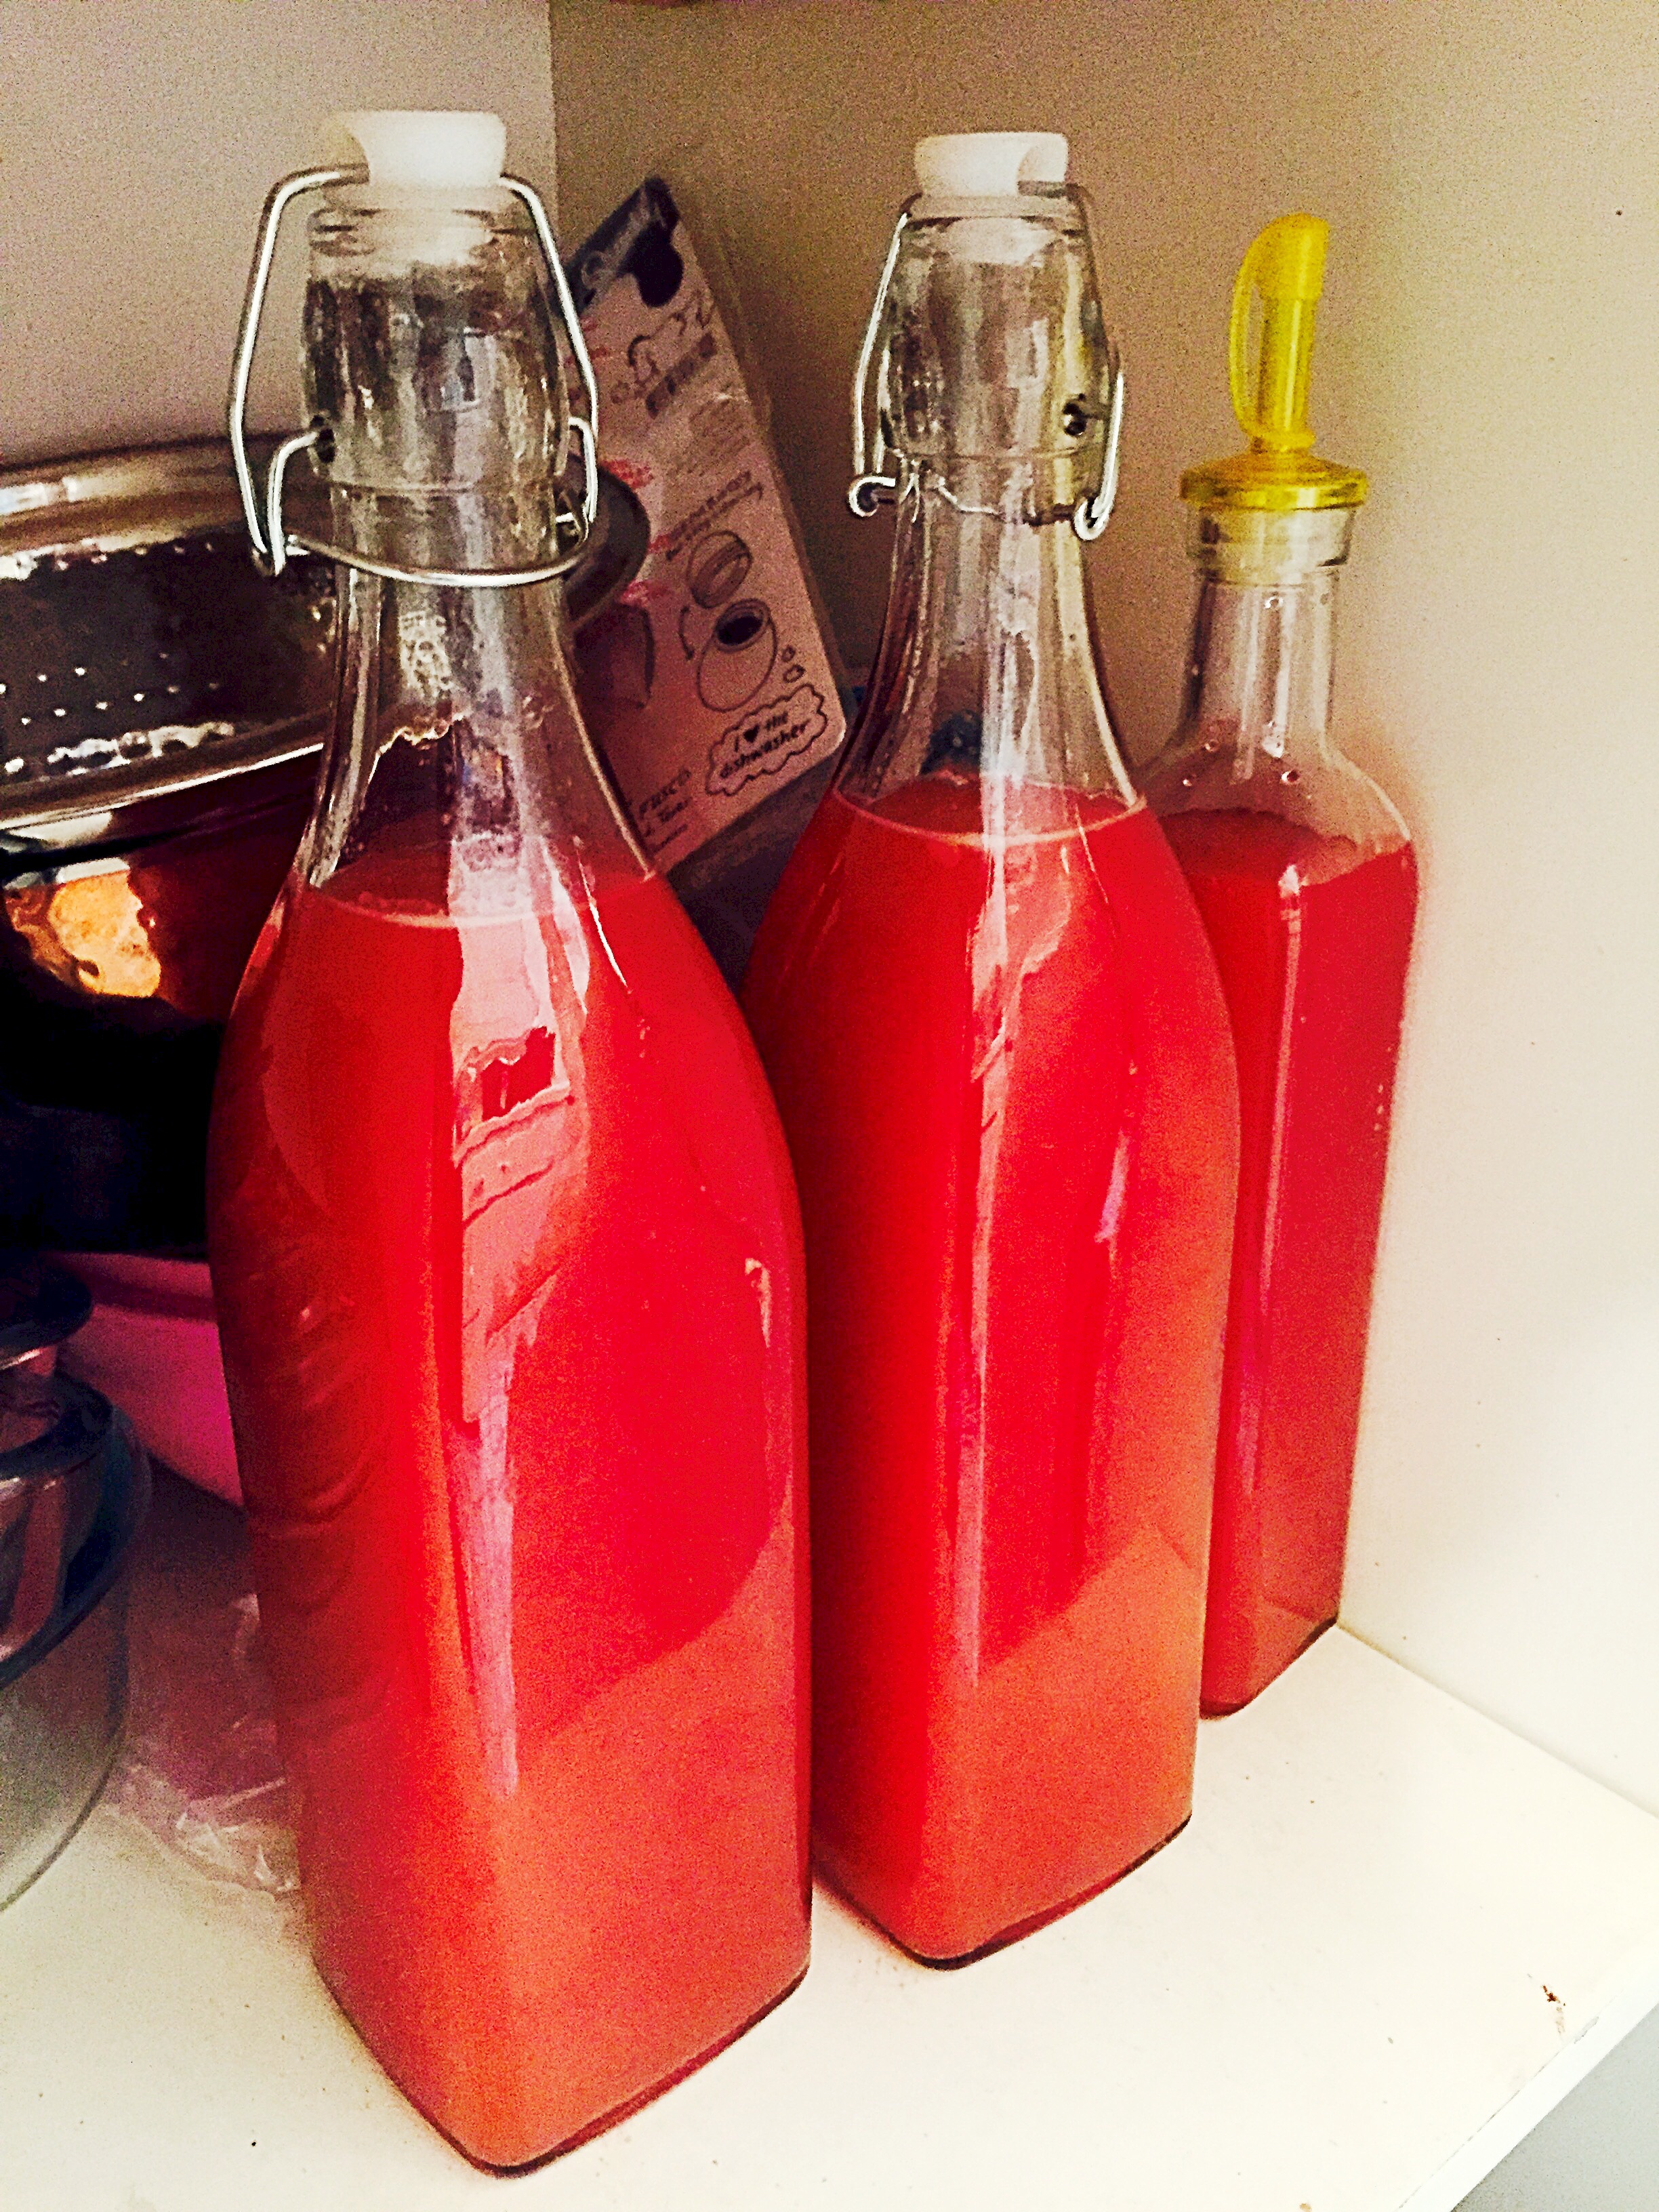
Store for up to 12-15 hours before moving it to the refrigerator to chill. Once chilled open the bottle over a sink–natural carbonation is a powerful thing! Pour over ice and enjoy!