Sauteed Zucchini and Mushrooms

Sauteed Zucchini and Mushrooms

Sauteed Zucchini and Mushrooms


My garden is overflowing with zucchini right now, zucchini and tomatoes!  The great thing about planting zucchini is that it yields a large bounty.  The not so great thing about planting zucchini is that it yields a large bounty.  This is particularly troublesome when you’re neighbors also plant zucchini in their own gardens, then giving the zucchini away becomes burdensome. The only solutions in such cases is to come up with new zucchini recipes nightly, or to freeze them.  At the moment, I’m trying to use my zucchini in any way that I can that doesn’t include freezing them–at least not yet.  This dish is so delicious and simple to make, it  makes a great addition as a side to any meal. If you’re Vegan Paleo, or on the Whole 30 diet, you can do this without the butter, it’s stilla delicious side.

Pin It!

Pin It!


Prep time: 5 minutes

Cook time:20 minutes

Total time: 25 minutes

Ingredients:

10 ounces of Crimini mushrooms sliced

2.5 cups of zucchini cubed

2 cloves of garlic

2 tablespoons of butter

1 tablespoon of olive oil

sea salt to taste


Directions: Heat the oil and 1 tablespoon of butter in a saute pan.  Add in the mushrooms and garlic. Season the mushrooms with sea salt, they will begin to release water.

IMG_5024

Season the mushrooms with sea salt, they will begin to release water. Cook the mushrooms until the water completely evaporates (about 10 minutes) add in the rest of the butter, and cook the mushrooms until they begin to brown (about 5 minutes).

IMG_5025


Once the mushrooms begin to brown, add in the zucchini and saute until the zucchini becomes fork tender (about 5 minutes)

IMG_5026

Remove from heat, serve and enjoy!

Image (1)


Indian and Herb Spiced Grilled Lamb Chops

Indian and Herb Spiced Grilled Lamb Chops

Indian and Herb Spiced Grilled Lamb Chops


Lamb is one of my favorite meats.  Personally I like it more than beef, if given the choice between lamb and steak, I’d choose the lamb every time.  My husband on the other hand prefers steak.  He is 100% a meat and potato’s kind of guy.  After having these lamb chops he said that he’s a convert..Lol..I doubt it!   However, I’m glad that he thought that these lamb chops were delicious. I came up with the idea of marinating these with the fillings that I use for my Lamb Patties.  I added a little bit of curry powder and cumin to give the chops a little punch of flavor.  I’m so glad I did these are super flavorful, and grilling them made them more amazing than they already were.  If you only try one of my lamb recipes try this one! You will not be disappointed!!!

Pin It!

Pin It!


Prep time: 5 minutes

Cook time: 15-20 minutes

Total time: 25 minutes


Ingredients:

1 pound of lamb chops

1/4 cup  fresh cilantro

1/4 cup fresh flat leaf parsley

1/4 cup fresh mint

1 large shallot (can sub with onion, use half of a small onion)

1/4 teaspoon curry powder

1 teaspoon of cumin powder

1 teaspoon smoked paprika

3 tablespoons of olive oil

Sea salt to taste


Directions: To a blender add cilantro, parsley, mint, curry powder, cumin powder, shallot and olive oil, blend into a paste.  Season the lamb chops with sea salt, then rub with the marinade.

IMG_5019

Once your grill is nice and hot, place the lamb chops on the grill and cook for 7-8 minutes on each side or until the chops reach you’re desired level of doneness.  Remove from heat, serve, and enjoy!

IMG_5023


How to make Ketchup–D.I.Y. Ketchup

How To Make Ketchup--DIY Ketchup

How To Make Ketchup–DIY Ketchup


We were out for breakfast with some close friends of ours when I discovered that my daughter loved ketchup.  Not in a normal kind of, oh this tastes great on potatoes, sort of way, but a, let me dip anything I can find on my plate and eat it, sort of way.  Up to that point she had never even tried ketchup.  We had been to plenty of restaurant’s and I always shied away from allowing her to have any ketchup. Not because I don’t like it, but because the ingredient list is terrible–full of stuff I can’t pronounce, let alone identify–other than high fructose corn syrup.  The only reason I even allowed her to have it that day was because, we were out, she was getting antsy, and one of the little girls in our breakfast party was eating it and Page wanted to eat it too.  The moment she tasted it, she went from being antsy, to calm and focused on what she could find on her plate to dip into it!  She ate her entire plate of food! All because she was introduced to this condiment called ketchup!  So what’s a mom to do?  Well if you’re me you make the condiment yourself.  As with most things that I make myself, this ketchup was very easy to make–easier than I thought it would be.  You will need a few lazy hours at home in order to make this, but that’s just so you don’t burn down the house, you cook it on a low simmer for a few hours, you could even do this in a crock pot, and the result is deliciously homemade ketchup, with no refined sugars!

Pin It!

Pin It!


Prep time: 10 minutes

Cook time: 2 hours mostly non active

Makes 2 cups of delicious ketchup!

Ingredients:

28 ounce can of Whole peeled tomatoes (I prefer San Marzano tomatoes)

5 tablespoons of tomato paste

2  cloves of garlic (minced)

1 small onion chopped

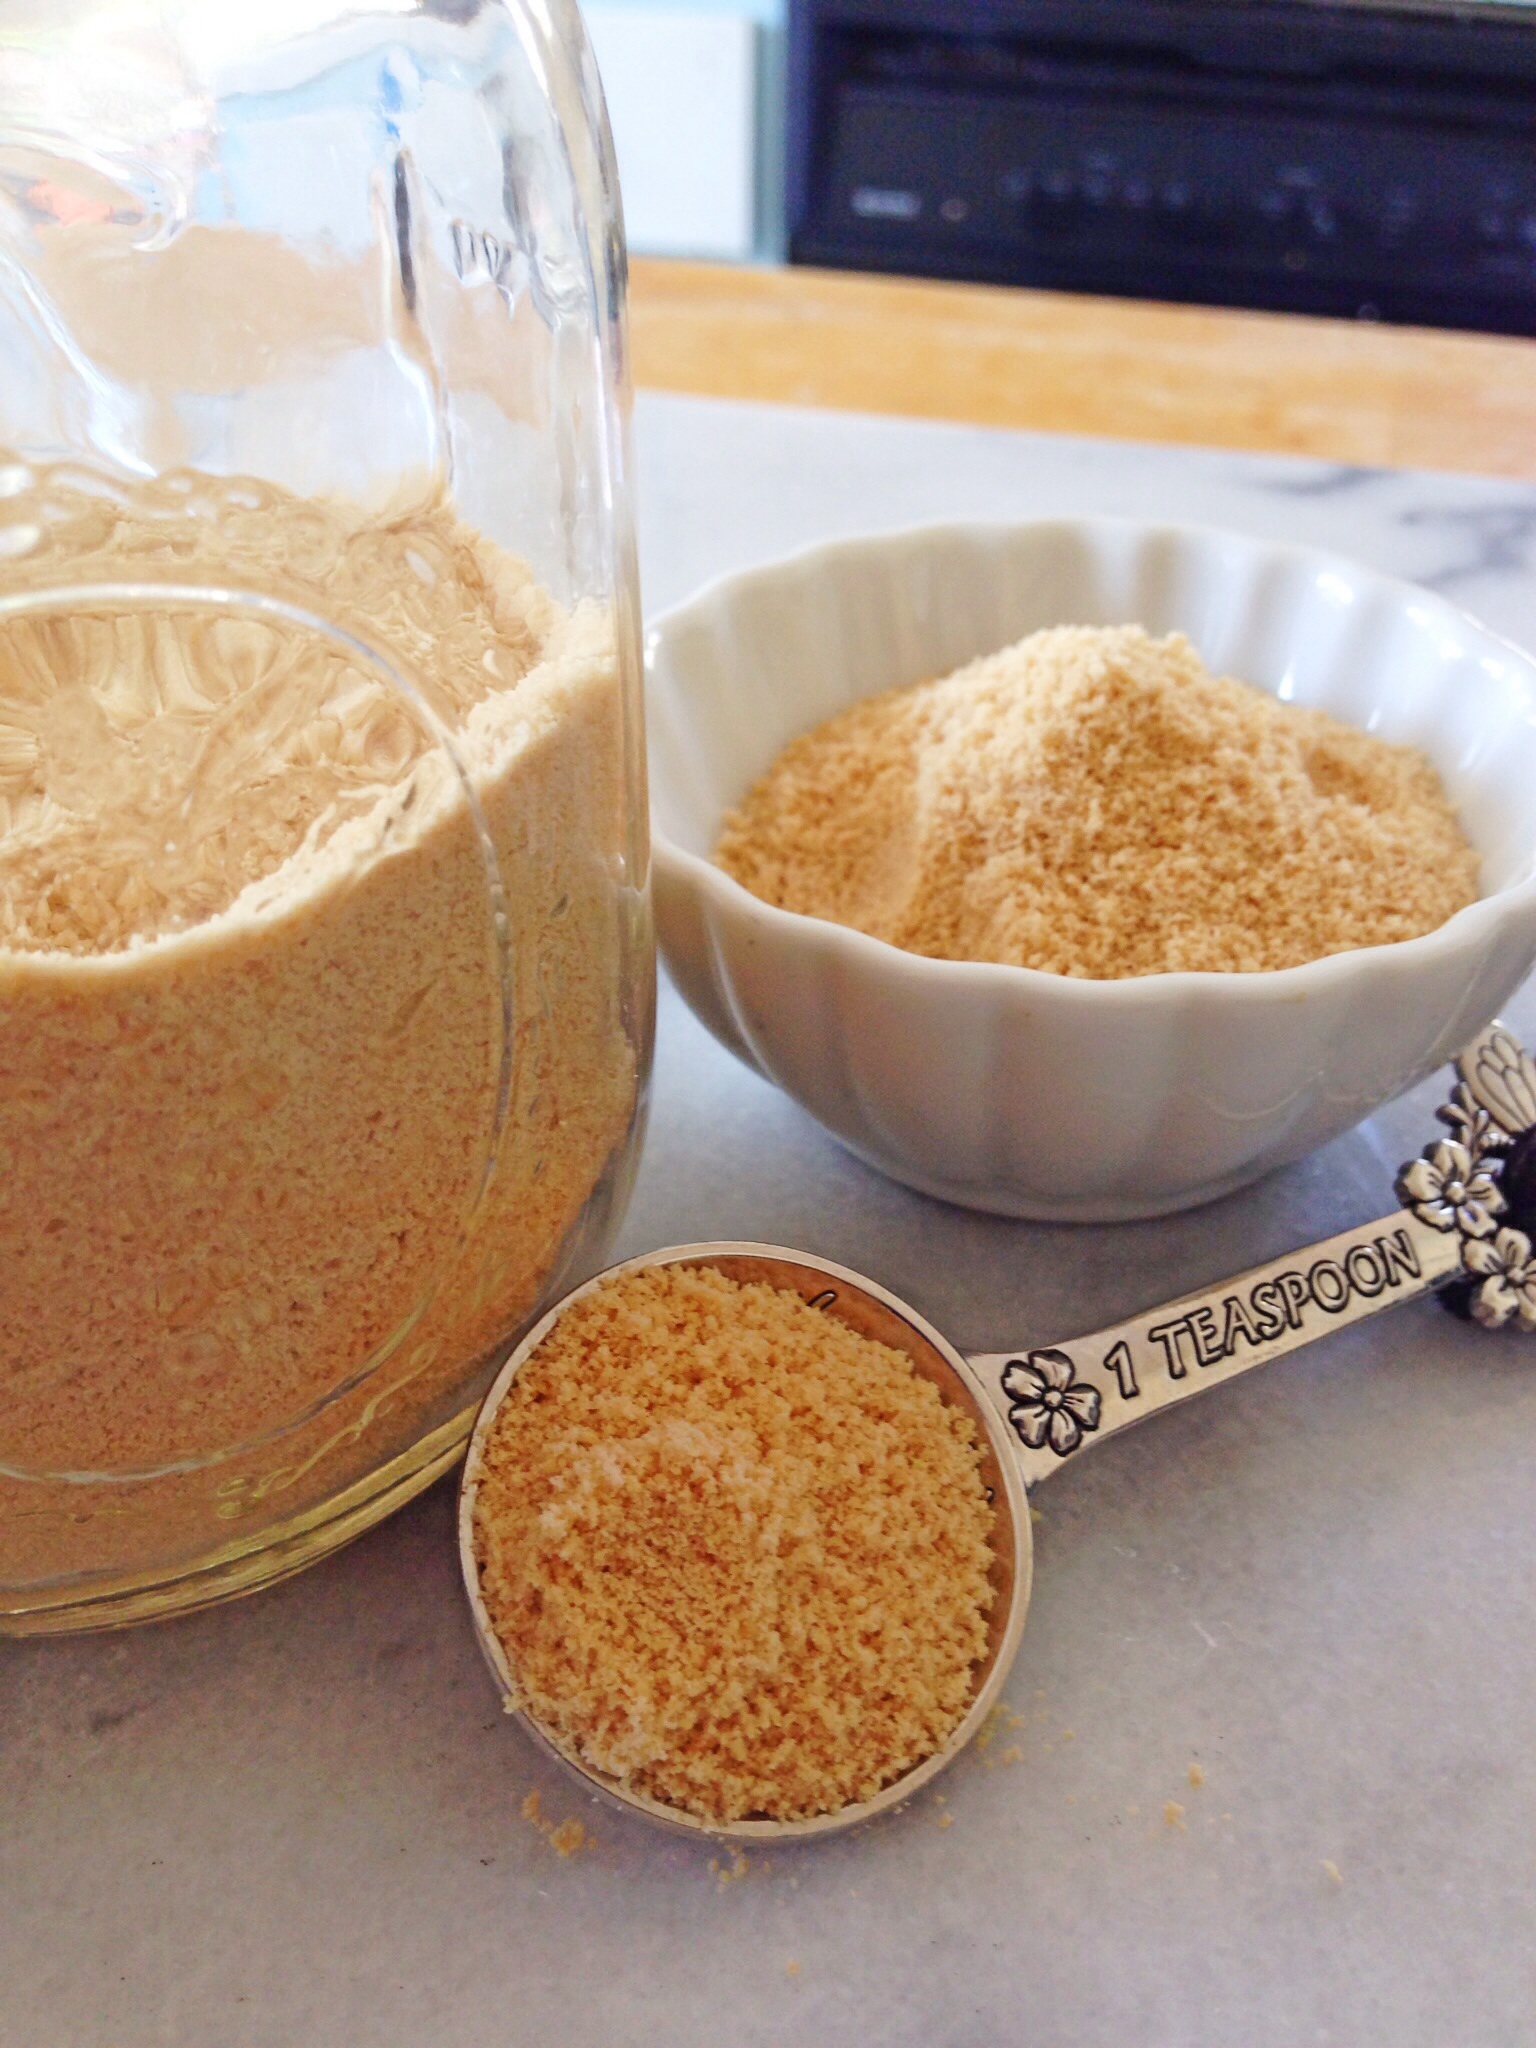
1/4 cup of maple sugar (can sub brown)

1/4 cup of apple cider vinegar

2 tablespoons of  olive oil (can substitute grape seed or safflower oil)

20 whole cloves

1/8 teaspoon of cayenne pepper

Ingredients for the spice packet

1/2 teaspoon rainbow pepper corns (can use just black)

1/2 teaspoon of mustard seeds

1/2  of  one cinnamon stick broken into two pieces

1/4 teaspoon of all spice berries

1 bay leaf

cheese cloth

kitchen twine

Directions: Wrap all of the ingredients for the spice packet in the cheese cloth, and tie tightly with kitchen twine–make sure to leave at least 4 inches of extra twine on the end and set aside.

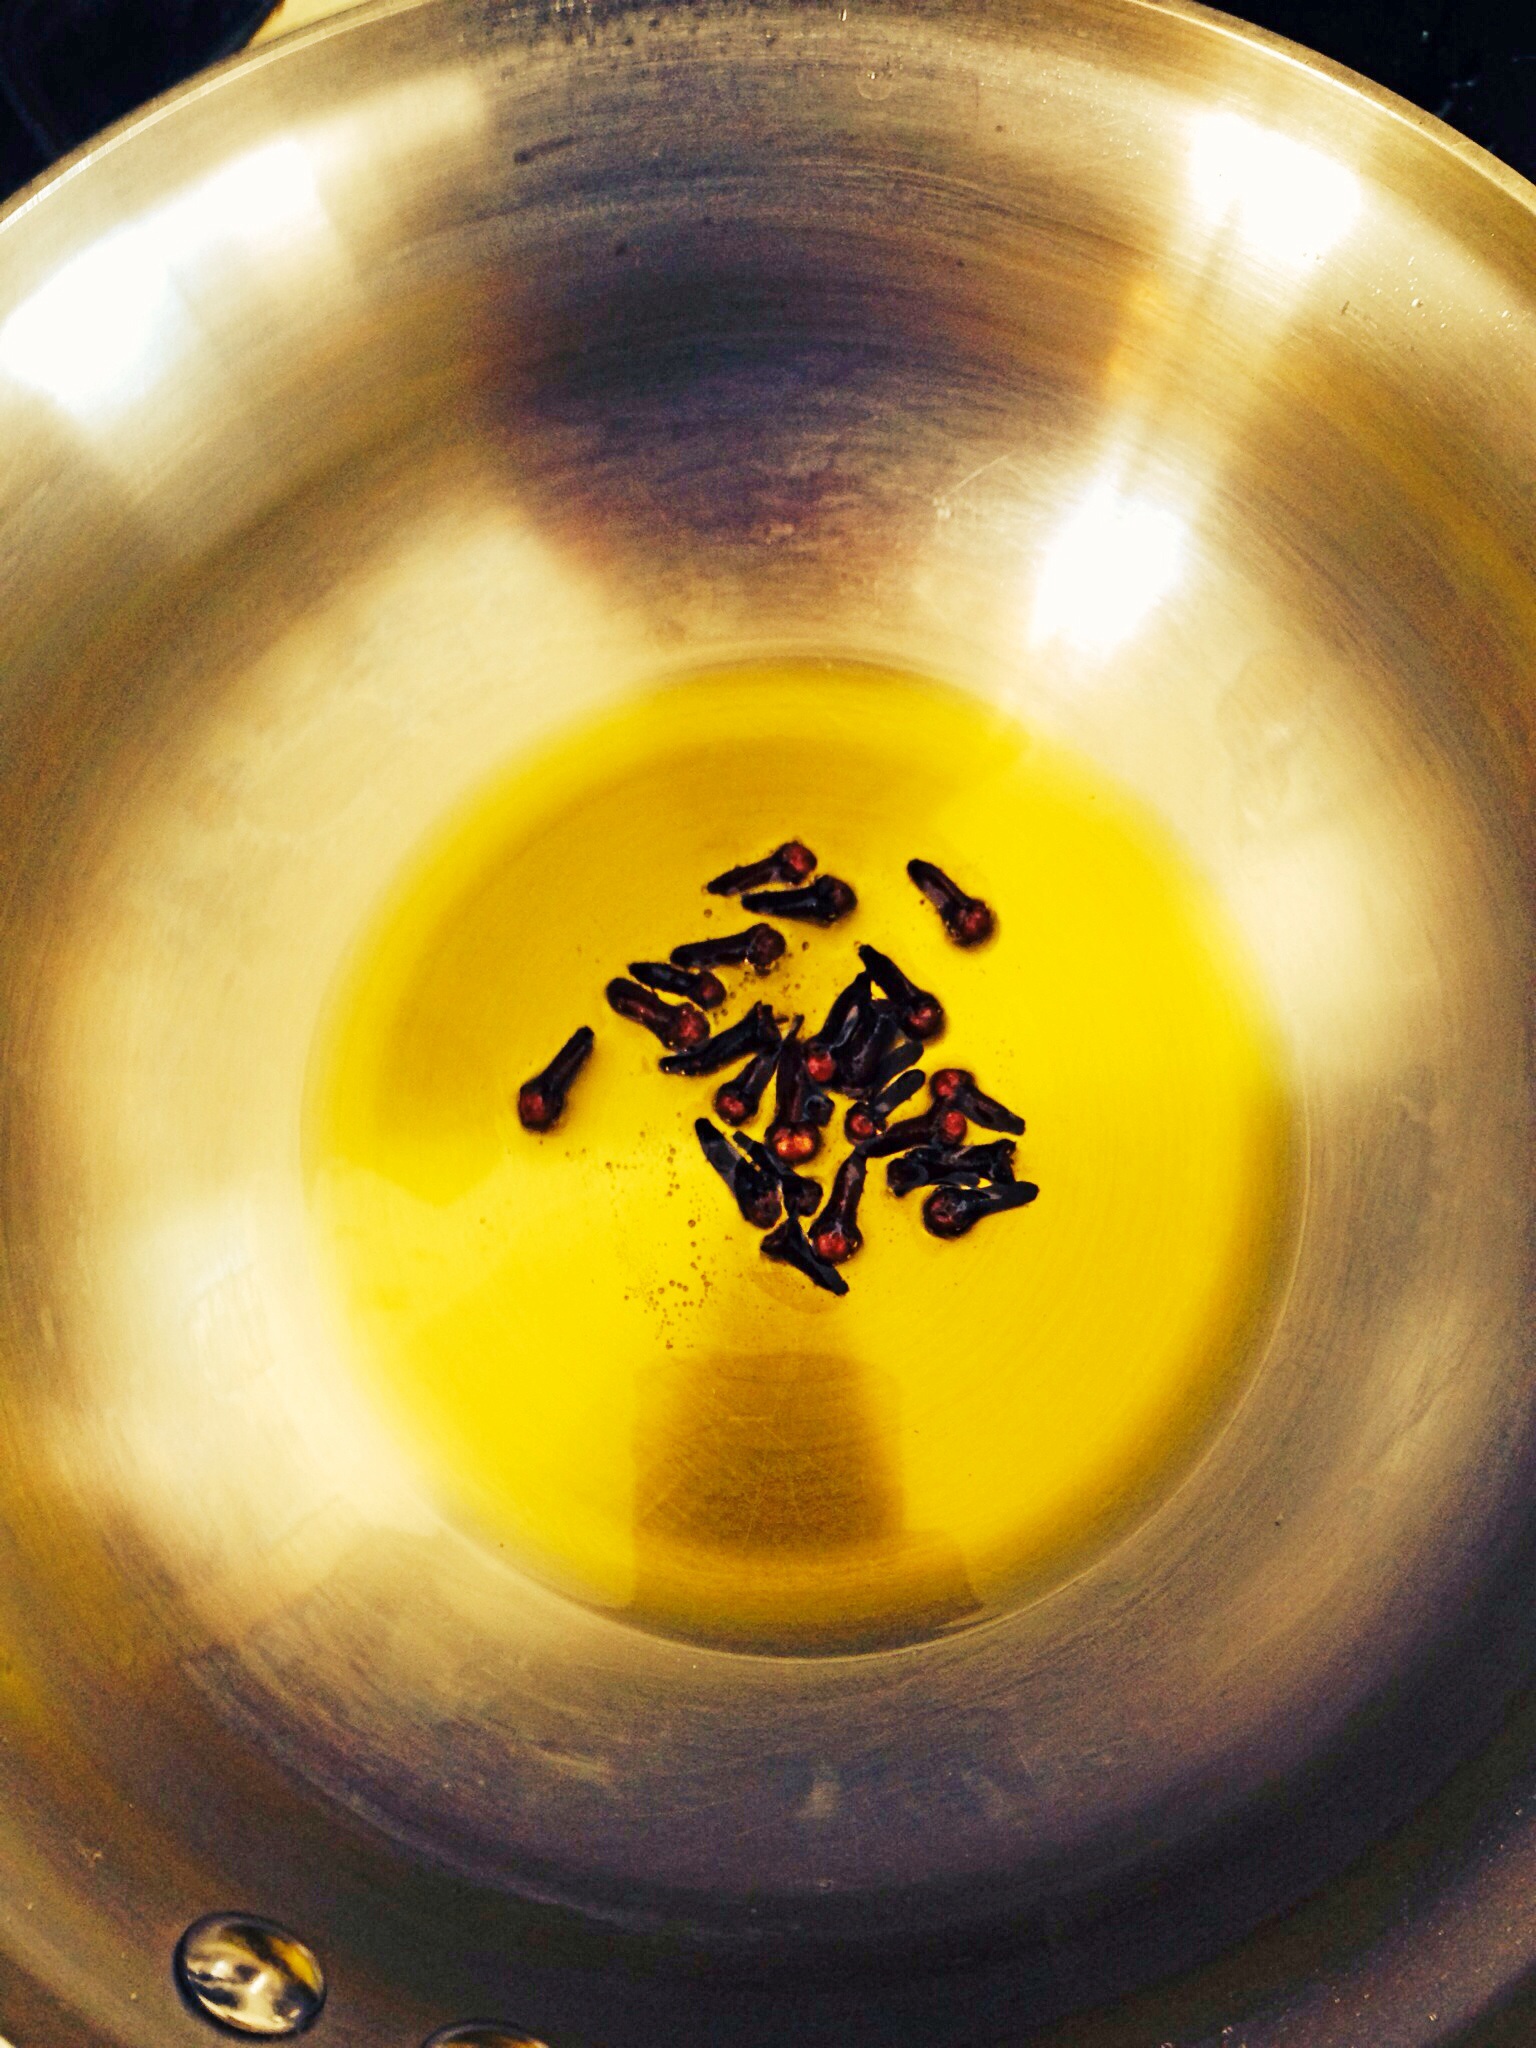
Add the oil and the cloves to a pot and heat just until the oil begins to bubble.  Turn off the heat, and let the cloves steep in the oil for 10 minutes.

image

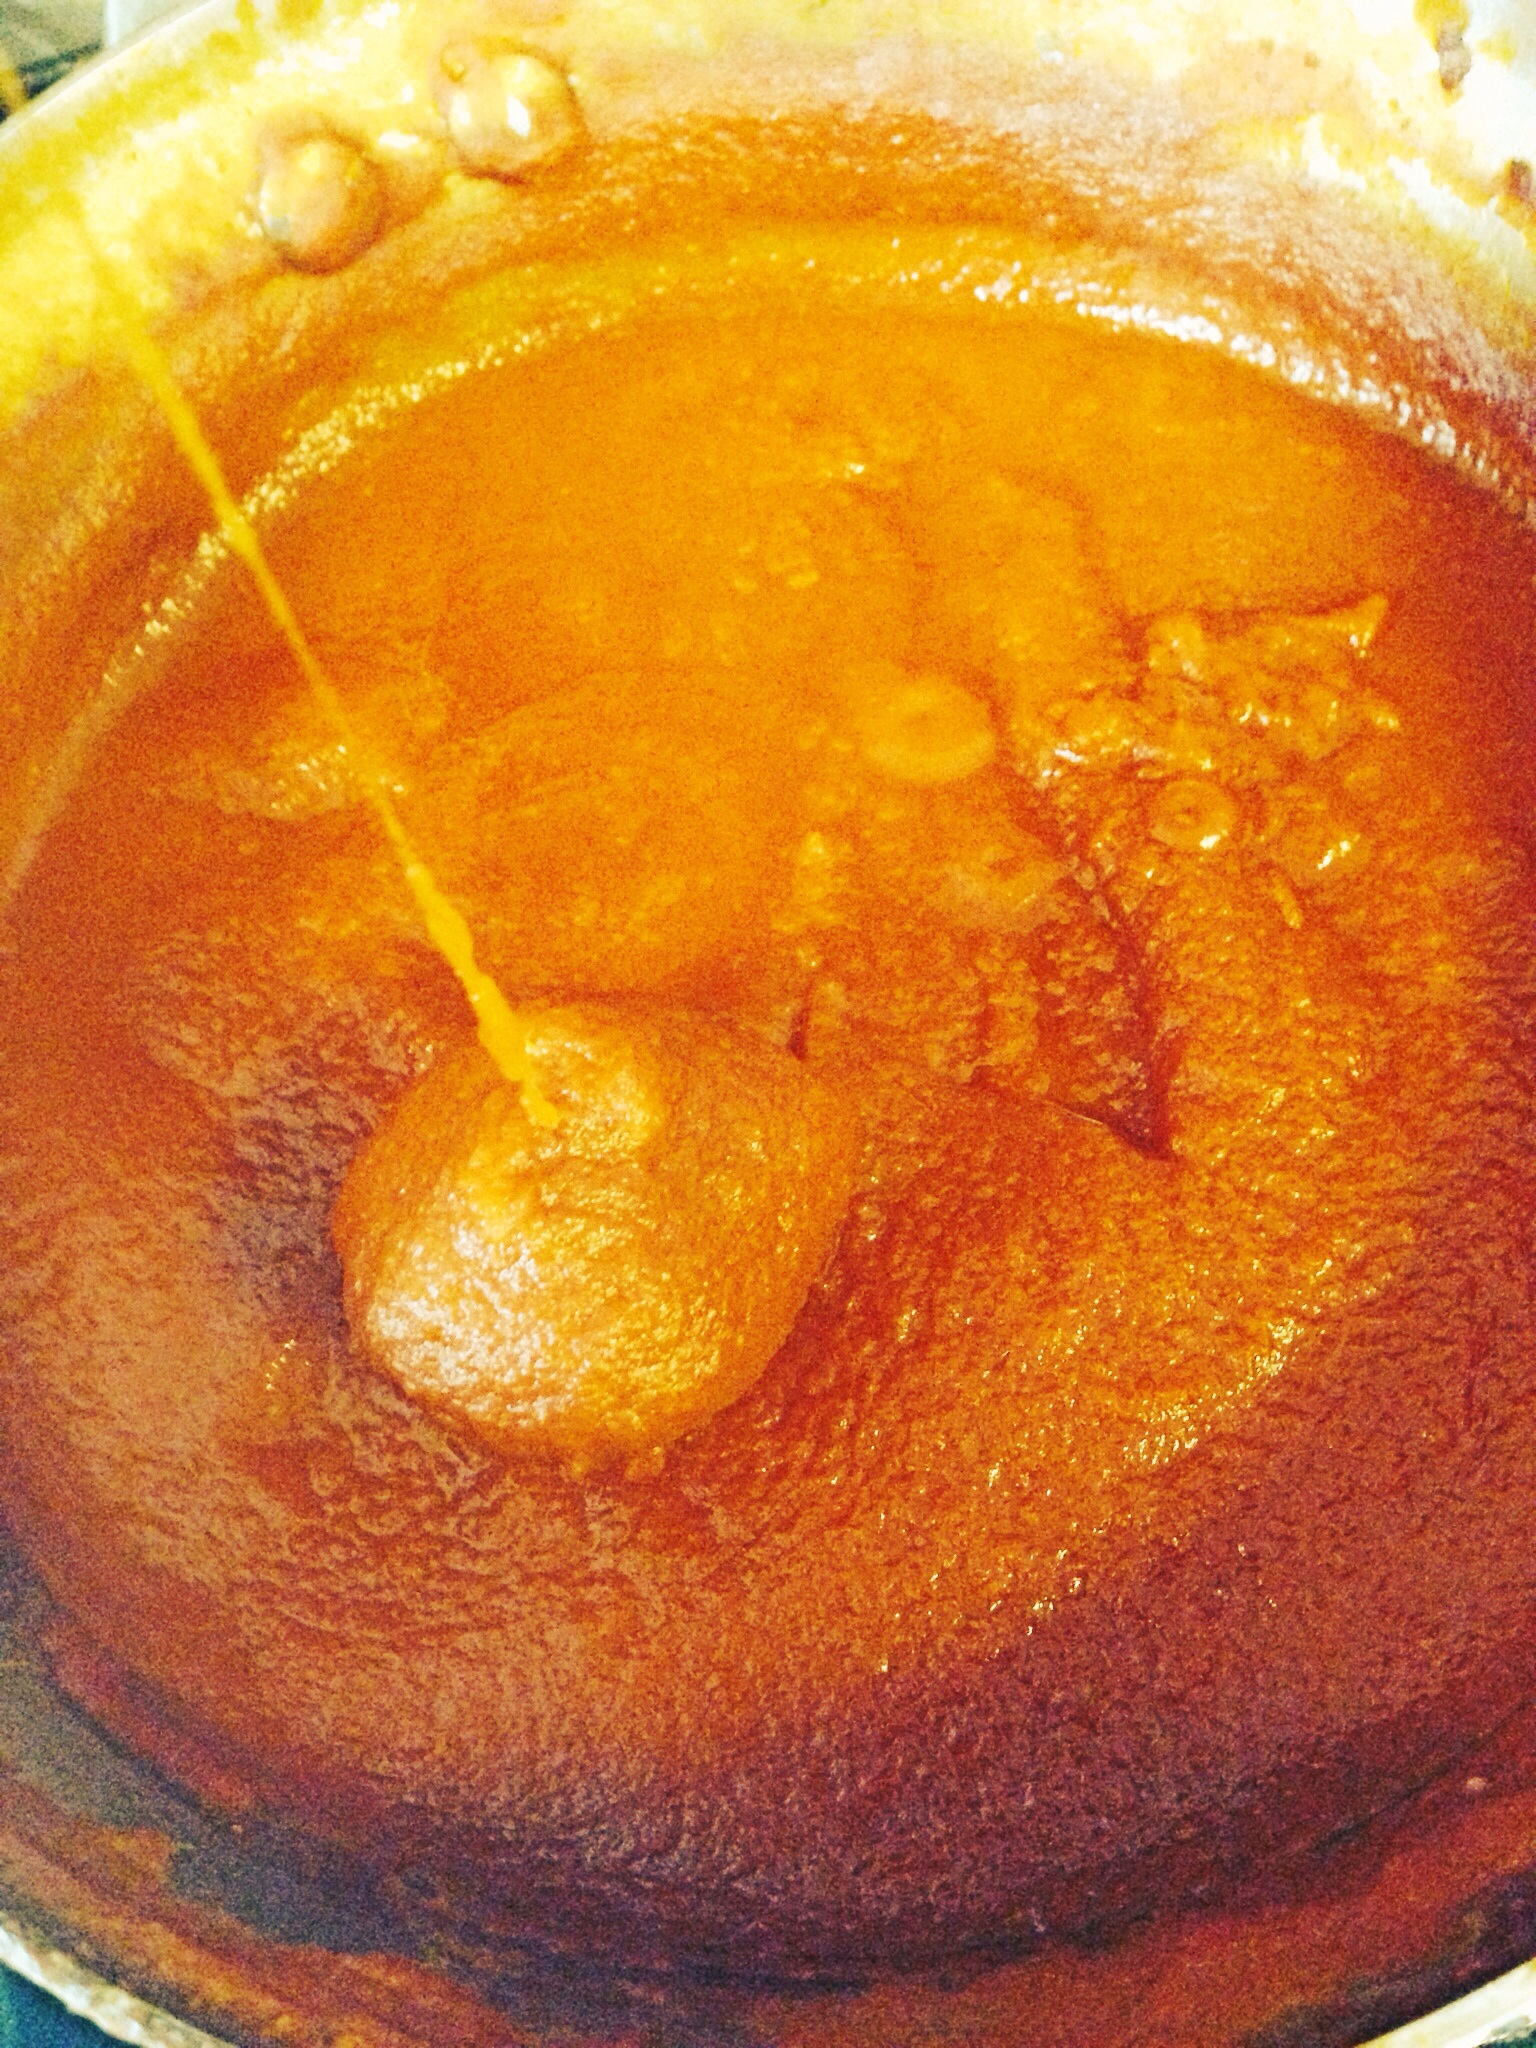
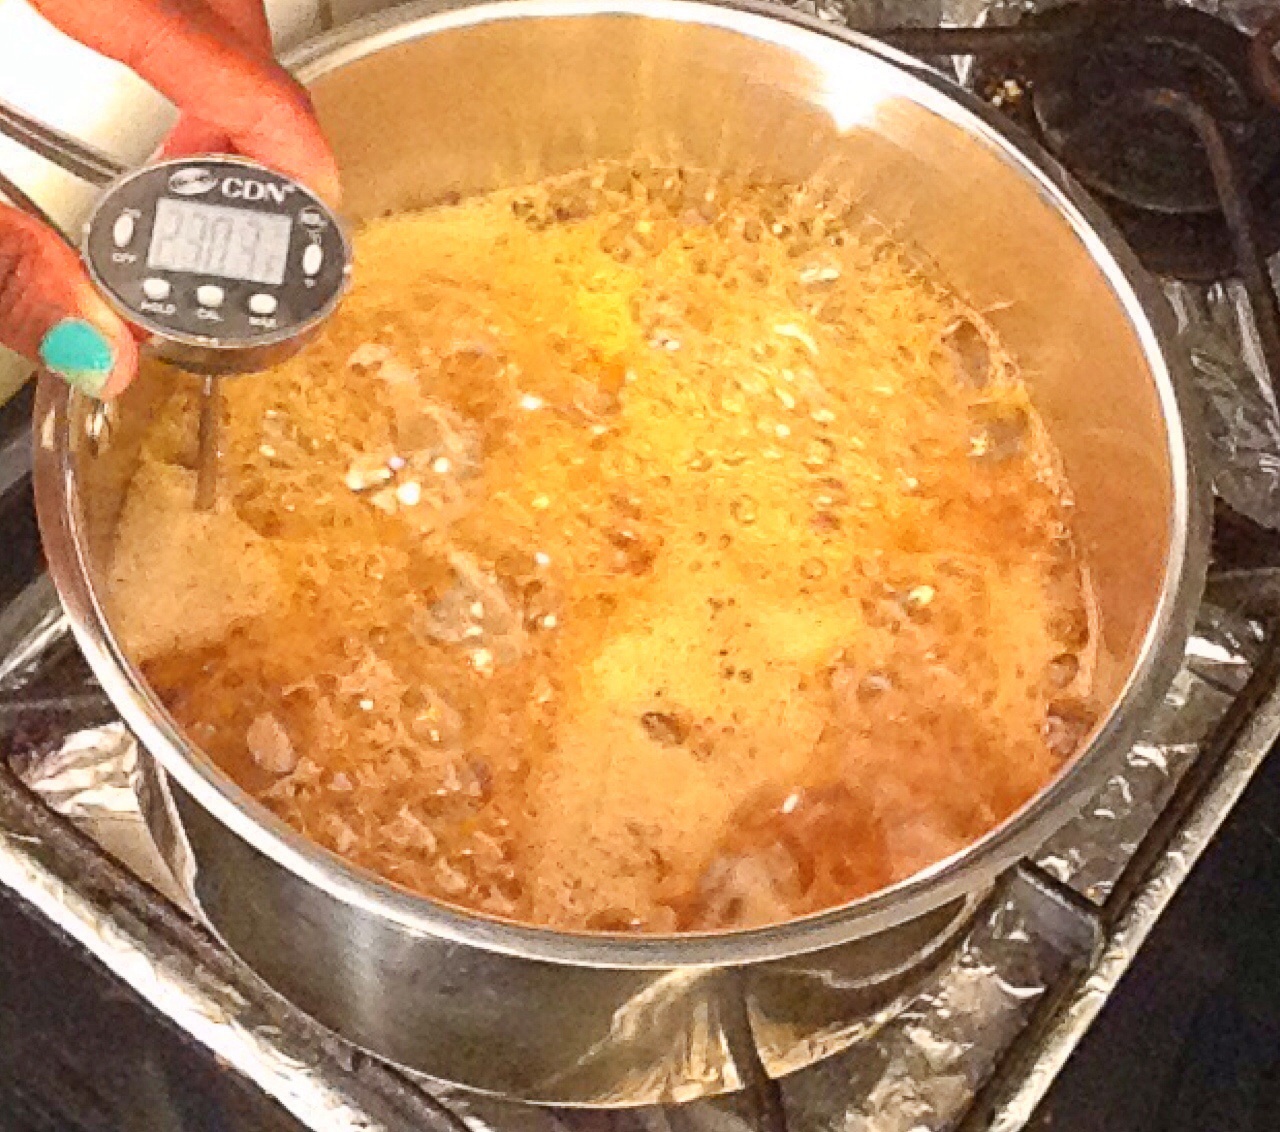
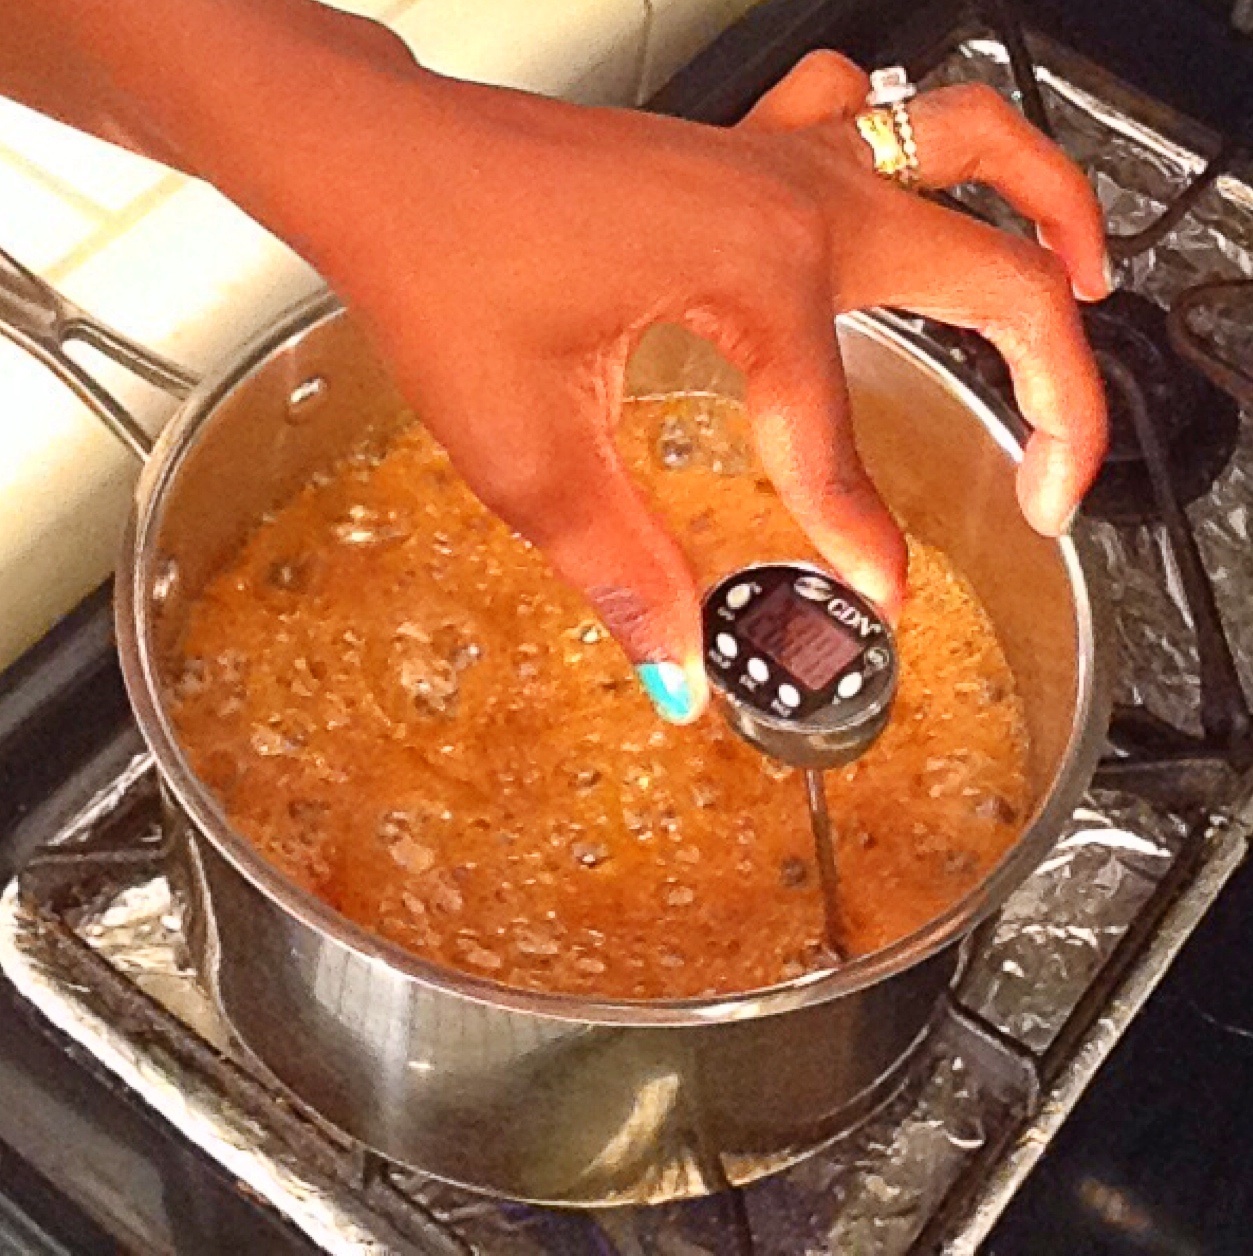
Strain the oil through a sieve and discard the cloves.  Add the clove oil to a medium sized sauce pan over medium heat, add onions, garlic and saute until onion is translucent.  Add in the tomato paste and cayenne and cook for 2-3 minutes. Pour the onion/tomato paste mixture into a blender/processor along with the canned tomatoes-juice and all–and blend until smooth.  Pour this mixture back into your sauce pan, submerge the spice packet into the pot, wrap the excess twine around the handle of the pot. Bring  the mixture to a boil, reduce the heat to low and simmer, stirring occasionally to prevent sticking, simmer until the mixture is dark red and has thickened about 1.5-2 hours.  Mixture should be reduced by half.

image

Remove the spice packet,

image

Strain the ketchup through a sieve, pushing solids through with a spoon:

image

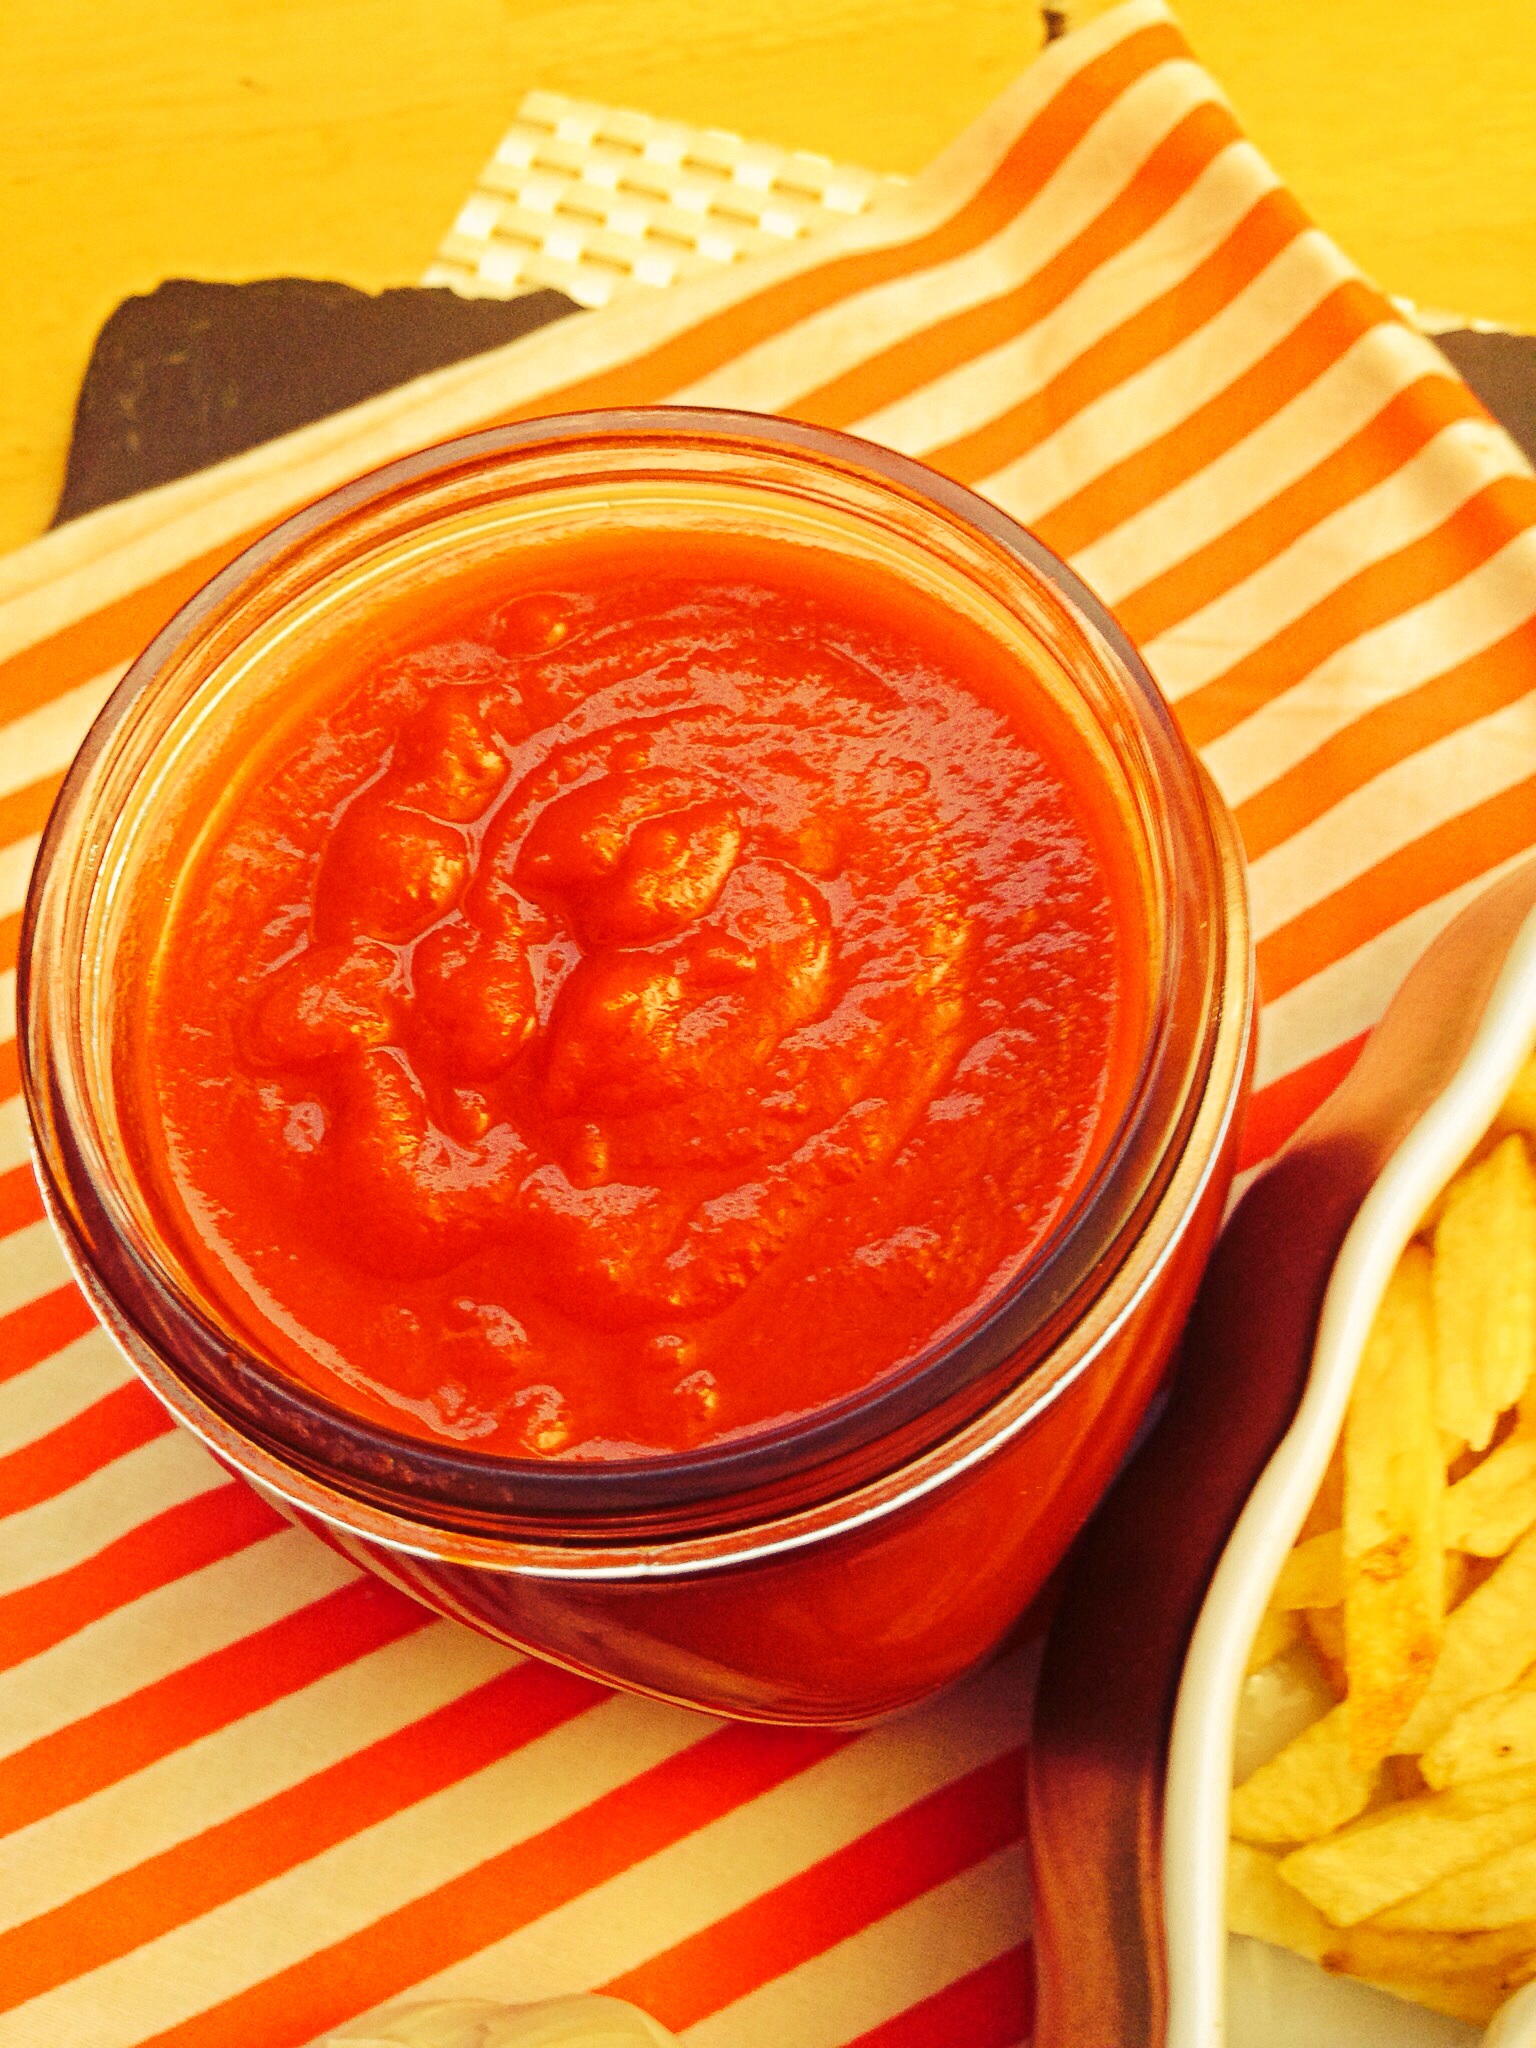
The ketchup should be nice and smooth:

image

Let the ketchup cool to room temperature before transferring to an air tight container.

image

Refrigerated, this will keep for 1 month.    As a base ketchup this is pretty amazing! It taste  just like the bottled stuff.  For a twist you could add 1/2 teaspoon of curry powder to half a cup of this ketchup for some pretty amazing curry ketchup!

image

Roasted Brussels Sprouts with Parmesan, Lemon and Red Pepper Flakes

Roasted Brussels Sprouts With Parmesan, Lemon, and Red Pepper Flakes

Roasted Brussels Sprouts With Parmesan, Lemon, and Red Pepper Flakes


I was at the farmers market this past Sunday, doing my usual weekly shopping.  One of my favorite vendor’s had these beautiful stalks of brussels sprouts.  I got so excited about them that a woman, who was also shopping, pulled me aside and whispered : “How do you cook those?” This isn’t the first time this has happened to me,  believe it or not, people stop me all the time, either at the farmers market, or at Whole Foods, to ask how to cook a variety of vegetables. The funny thing about people asking me cooking questions is that they almost always whisper the question?  I don’t understand why they whisper the question! I want to tell them, “you know you’re not the only person on the planet who has no idea what to do with ((insert name of vegetable here)).”   I shared this recipe for roasted brussels sprouts with the  the lady at the farmer’s market. It’s simple, easy and so delicious.  It’s one of my absolute favorite ways to cook and eat brussels sprouts.


Pin It!

Pin It!


Prep time: 10 minutes

Cook Time: 10-15 minutes

Total time: 25 minutes

Ingredients:

1 pound of brussels sprouts halved

2 Tablespoons of lemon juice

3 tablespoons of olive oil ( or ghee or coconut oil)

Sea salt to taste

1/2 teaspoon of red pepper flakes

2 tablespoons of freshly grated parmesan cheese


Directions: Pre-heat the oven to 425F. Add the lemon juice and red pepper flakes to a medium sized bowl and set aside.  In a medium bowl add the brussels sprouts, oil and sea salt, toss well making sure that all the brussels sprouts are evenly covered with oil.

image

Place on a foil lined baking sheet and put in the oven.

image

Cook  for 10-15 minute, or until the brussels sprouts take on a significant amount of color and they become crisp and tender. Sprinkle the sprouts with  half the cheese and cook for another minute or two, just until cheese melts and becomes crisp, remove the sprouts from the oven, transfer them to the bowl with the lemon juice and the red pepper flakes, toss well to coat the brussels sprouts with the lemon juice, sprinkle with the remaining cheese, serve immediately and enjoy! These are crispy, tangy with a little kick! They are the perfect side dish for almost any meal!

image

image

How To Make Pure Maple Sugar

How To Make Pure Maple Sugar

How To Make Pure Maple Sugar

It took me about a year, but I finally got around to making maple sugar. I have been planning to make it since I made maple cream for my husband, and just never got around to it. To be honest the weather just hasn’t permitted it. It has been so humid here in California lately, and making maple sugar in humid weather is a nightmare. I’ve been waiting, and waiting, and waiting for the weather to change and it’s just not happening. The other day when I was in the grocery store, I picked up a package of maple sugar, it was $19.99 for about 5 ounces, and I thought to myself, “Really? I could just make this.” So I put the package back and picked up a 32 ounce bottle of maple syrup instead, it was the same price as the 5 ounce package of maple sugar—see where I’m going with this? Even with the humidity, making maple sugar is a better option than buying it–although I don’t recommend it–making maple sugar really is a nuisance in humid weather–it’s doable, but a total headache! You need the sugar to be dry, wet air doesn’t help in that process. Without humidity the process of making maple sugar is pretty simple. After you make it, you’ll wonder why you never made this before. If you’re wondering why I even bother…sugar is sugar, right? Wrong, at the caloric base, yes, sugar is sugar, whether you consume the white stuff, the raw stuff, or the home made maple sugar, your body metabolizes it all the same. But when you factor in things like how sugars are processed, and the chemicals used to process those sugars, which remain on the sugar, then you can see that not all sugars are created equally. The great thing about maple sugar, is that it contains minerals and nutrients that you would not otherwise consume, so it’s sugar with an added mineral bonus.

If you want to see how I do this with a silpat and a blender –no stirring  or mixer involved –check out my youtube video  by clicking on the photo below, and don’t forget to subscribe to my channel while you’re at it!

Click here to watch my Video how to

Click here to watch my Video how to


Pin It!

Pin It!


Prep time: none
Cook time: 7-10 minutes

This makes about 1.25 cups of maple sugar

Ingredients:
1 cup of pure 100% maple syrup (I used grade A but B works)

Tools:
Wooden spoon
Heavy bottom pot (medium size)
Thermometer that can read well over 250F
Stand mixer or you could stir this manually

Directions: Pour the maple syrup into a pan, and heat over medium high heat

image

Heat until your thermometer reads 255-265F

image

imageimage

Remove from heat and pour into stand mixer fitted with the paddle attachment. Turn the mixer on medium speed (about 6) and mix.

imageimage

The maple syrup will start to change color and texture as it cools, it will also begin to dry out–you want this, keep going until it is completely dry.

image


imageimage

image

image

Once it looks dry, put a small amount into a sieve, and push it through with a wooden spoon, continue doing this until you have sifted all the sugar. Or you could just put this in the blender and save yourself the time.  I prefer to sift, I sift even after I blend, just to make sure that all of the crystals are uniform.

image

image

image

image

Place the sugar into an airtight container. I use maple sugar in every recipe that calls for sugar, the substitution ratio is 3/4 cup maple sugar = 1 cup granulated sugar.


Trouble Shooting: If you decide to do this on a hot and humid day, one of the issues you may encounter is that your mixture will not harden–this is especially the case for doing this without a mixer–but even with a mixer it can still occur.  If you pour this out of the hot pan and onto the silpat and the humidity prevents it from hardening–you can still save it.  Place it into the fridge to harden, then break it up and process in a blender/processor.  It will become sticky, pliable, and clumpy as it melts–humidity is a you know what– spread it back out on the silpat and let it sit out in the open.  Like stale bread it will begin to absorb the moisture in the air–which is a good thing–confusing I know–but once it has absorbed all the moisture that it can hold–it will harden and become dry–very dry, and very hard, and that’s what you want.  Once it’s hard, place it in the processor/blender and like magic you have granulated maple sugar.


image

image

Tahini Salad Dressing — Tahini Vegetable Dip


Mother's Market Inspired-Tahini Salad Dressing

Mother’s Market Inspired-Tahini Salad Dressing

I love a great salad. One of my favorite salads to eat when I eat out is a simple garden salad that I get at a local health food market that I frequent.  The salad is simple in every way,  fresh mixed greens, topped with fresh mushrooms, carrots, and beets.  What makes this salad better than other salads?  That’s simple, the tahini dressing that accompanies it. The dressing is one of the best salad dressings that I have ever tasted.  The only problem is that the restaurant doesn’t sell it in a bottle, so I can’t take it home to use at a later time, and the restaurant is very secretive about what exactly is in the dressing.  I’ve asked a thousand and one times, but they won’t give me the recipe. Sort of like they wouldn’t give me the recipe for their gingered greens, which I also love.  So as usual, I had to experiment, and come up with my own version, and it is amazingly close to their tahini dressing– exact actually.  It is so good!  You can use it to dress a salad, but it’s equally good as a dip for cucumber, carrot, and celery sticks. My daughter loves it, with a capital L, and the best part is that nothing in it is bad for you.  It’s high in protein, because it contains both sesame and cashew butters.

Pin It!

Pin It!


Prep time: 5 minutes

Cook time: none

Total time: 5 minutes

Ingredients:

2 tablespoons of tahini paste

2 teaspoons of cashew butter (about 20-30 whole cashews)

4 medium sized cherry tomatoes (about 2 tablespoons chopped)

1 large clove of garlic

1 teaspoon of Tamari soy sauce

3 tablespoons of a neutral oil like safflower

2 teaspoons of lemon juice

Directions:  Place all of the ingredients in a blender or processor and blend until smooth.  Pour into a serving container and enjoy! This would be awesome on grilled veggies as well!!

image

image

Roasted Garlic Cauliflower Mashed Potatoes!

Roasted Garlic Cauliflower Mash

Roasted Garlic Cauliflower Mash


From time to time, I crave a meal with a deep rich wine sauce. When that happens I turn to Julia Child’s beef bourguignon recipe, or my version of it.  If you have ever made beef bourguignon, then you know the sauce that accompanies the beef is everything for that particular dish! The beef, as succulent as it is, is nothing without that sauce, and that sauce was made to adorn a potato mash! The year that I had Page I decided rather than running from house to house to celebrate Thanksgiving with friends and family, it would be easier on her, and my husband and I,  if we just stayed home and made dinner ourselves. My best friend agreed and we divided the dinner duties. Instead of a massive turkey, I roasted a chicken, she made a few sides, and I baked a cake. One of the sides she made was a potato and cauliflower mash. It was delicious, and Page loved it! It was hearty and everything you’d expect when eating mash potatoes and at the same time it had the added bonus of cauliflower. When I was making my beef bourguignon, and anticipating the yumminess of the sauce, I knew that this cauliflower mash would go perfectly with the sauce. If you’re on a low carb diet, you can omit the potatoes, and whip the cauliflower in a blender. For this recipe, I opted to not whip the mash, I wanted the hearty texture, so I used a potato masher instead. If you want a more creamy texture, just throw all the ingredients in a blender after cooking them.

Pin It!

Pin It!


Prep time: 5 minutes

Cook time: 10-15 minutes

Total time: 20 minutes

Ingredients:

1 small head of cauliflower (about 5 cups)

2 medium potatoes (2 cups cubed)

4 tablespoons of grassfed butter

2 tablespoons of half and half (optional)

1 head of roasted garlic

sea salt and black pepper to taste

Directions:  Add the cauliflower and potatoes to a pot and fill with enough water to cover. Bring to a boil over medium high heat, and cook until potatoes and cauliflower are fork tender.  Immediately drain the water from the cauliflower and potatoes, then add in, butter, half and half, roasted garlic, sea salt and pepper.

image

Mash with a potato masher until well incorporated, or add all the ingredients to a blender and blend until smooth, then enjoy!

image

Roasted Garlic-How to Roast Garlic

How to Roast Garlic

How to Roast Garlic

Can you image cooking without garlic? I can’t! I love it! Garlic lends so much flavor to a savory dish, it’s hard to imagine not having it to use. I love garlic in every state, raw, blanched, powdered, and roasted.  Each has it’s own unique flavor. Roasted garlic is so delicious, and there are so many uses for it. I add roasted garlic to a plain tomato sauce to instantly take it from bland to fantastic! I add roasted garlic to one of my favorite roasted eggplant dishes. I spread roasted garlic on a good piece of crusty bread and dip it into a balsamic, red pepper, and olive oil vinaigrette, and of course, I add roasted garlic to mashed potatoes, or my cauliflower potato mash! There are a plethora of uses for roasted garlic, (like using it for my Roasted Garlic and Lemon Chicken recipe), once you learn how to roast garlic, you will wonder why you’ve been cooking without it!

Pin It!

Pin It!


Prep time: 2 minutes

Cook time:30-45 minutes

Ingredients:

1 large bulb of garlic

1 teaspoon of olive oil

sea salt and black pepper to taste (optional)

1 sheet of foil–must be big enough to fully enclose the garlic

Directions: Pre heat the oven to 400F. With a knife slice the top off of the garlic. Place the garlic inside of the foil, pour the oil over the top of the garlic, making sure to cover all exposed garlic. add sea salt and black pepper if using:

image

Fold all sides of the foil, making sure that the garlic is fully enclosed. Place the garlic bulb in your oven:

image

Cook  for 45 minutes, or until garlic is beautifully golden brown:

image

Allow to cool for 10-15 minutes, then remove by squeezing, or by removing each individual clove of garlic with a pairing knife, and enjoy!

Ground Chicken and Cabbage Curry

Ground Chicken and Cabbage Curry

Ground Chicken and Cabbage Curry

Do you ever pull out something for dinner and then have no clue what you’re going to make with it? I do…all the time! Most of the time it works out, but working out on some days can be relative. Success for me is getting a nutritious meal on the table on most days. This Chicken and Cabbage curry recipe  almost didn’t come together. I pulled out the ground chicken, but all I had to go with it was the cabbage. I didn’t have any fresh onion, no fresh garlic, none of the ingredients one needs to make something taste good. My fridge was empty because I had put off grocery shopping, and now I had to pay the price. I turned to my cupboards for help. I had a bevy of ground dried spices, curry, onion powder, ground ginger and garlic.  From those dried spices, this meal was born, and let me tell you what a delicious meal it was! It is one of my husbands favorite meals. I’ve made this with fresh onion and garlic, but the dried spices give this much better flavor.

Pin It!

Pin It!


Prep time: 5 minutes

Cook time: 20 minutes

total time: 25 minutes

Ingredients:

1 lb of ground chicken

1 tablespoon of onion powder

1 teaspoon of garlic powder

2 tablespoons of curry powder

1 teaspoon of ground ginger powder

2-3 tablespoons of  olive oil, or ghee

1 small head of cabbage, chopped roughly

4 tablespoons of freshly chopped cilantro

Directions:

Heat olive oil in a pan add dried spices and  heat for 20 seconds or just until spices become fragrant. Add in ground meat and brown. Once meat has cooked, add in the cabbage, and cook for about 5-7 minutes or until cabbage wilts a bit.

image

Remove from heat, top with cilantro and serve as is, or over a bowl of brown basmati rice and enjoy!

image

Grilled Pork Chops with Spicy Mustard Salsa

Grilled Pork Chops With Spicy Brown Mustard Salsa

Grilled Pork Chops With Spicy Brown Mustard Salsa

One of my favorite restaurants to eat at, when we are in Los Angeles, is Cafe Brazil. It’s a small restaurant, with seating for less than 50 people but the food is fantastic. If you’ve ever watched any dating show, then you’ve probably seen this restaurant several times, dating show’s love to film dates there. It holds a special place in my heart because it was one of the first restaurant’s  that my husband I would frequent when we were dating.  His mom lived in LA so we’d go up for a visit, and then grab lunch or dinner before heading back, sometimes with mom in tow.  The food there is pretty straightforward as far as food goes, meat, beans and rice, fresh tropical juices.  Simple as can be, but the food doesn’t have to be fancy to taste good.  One of my favorite entree’s there is grilled pork chops with beans and rice, and a simple tomato and onion salsa, to which they add fresh parsley and a spicy brown mustard vinaigrette! So what’s a girl to do when a craving for Cafe Brazil strikes? Get in the car and drive there, or make it herself! I obviously chose the latter!


Pin It!

Pin It!


Prep time: 5-7 minutes

Cook time: 10-15 minutes

Total time: 25-30 minutes

Ingredients:

Ingredients:

Salsa:

1/2 cup tomatoes chopped

2 tablespoons of finely chopped onion

2 tablespoons of parsley

sea salt to taste
Vinaigrette
1 teaspoon spicy mustard
2 teaspoons lemon juice
1 teaspoon red wine vinegar
3teaspoons olive oil
1/4 teaspoon garlic powder
Sea salt to taste

Pork chops
2 thick pork chops

1 teaspoon garlic powder,

1 teaspoon onion powder,

1 teaspoon paprika,

1 teaspoon cumin powder

1/8 teaspoon chili powder

sea salt to taste

Directions: Combine the ingredients for the mustard vinaigrette and set aside.

image

Combine the ingredients for the salsa, top with the vinaigrette and set aside.

image

Combine the seasoning for the pork chops, then rub generously into pork chops

image

Grill chops for 5-7 minutes on each side, or until cooked through–do not over cook, pork chops dry out quickly.  Once chops are done, top with spicy salsa and enjoy!

image