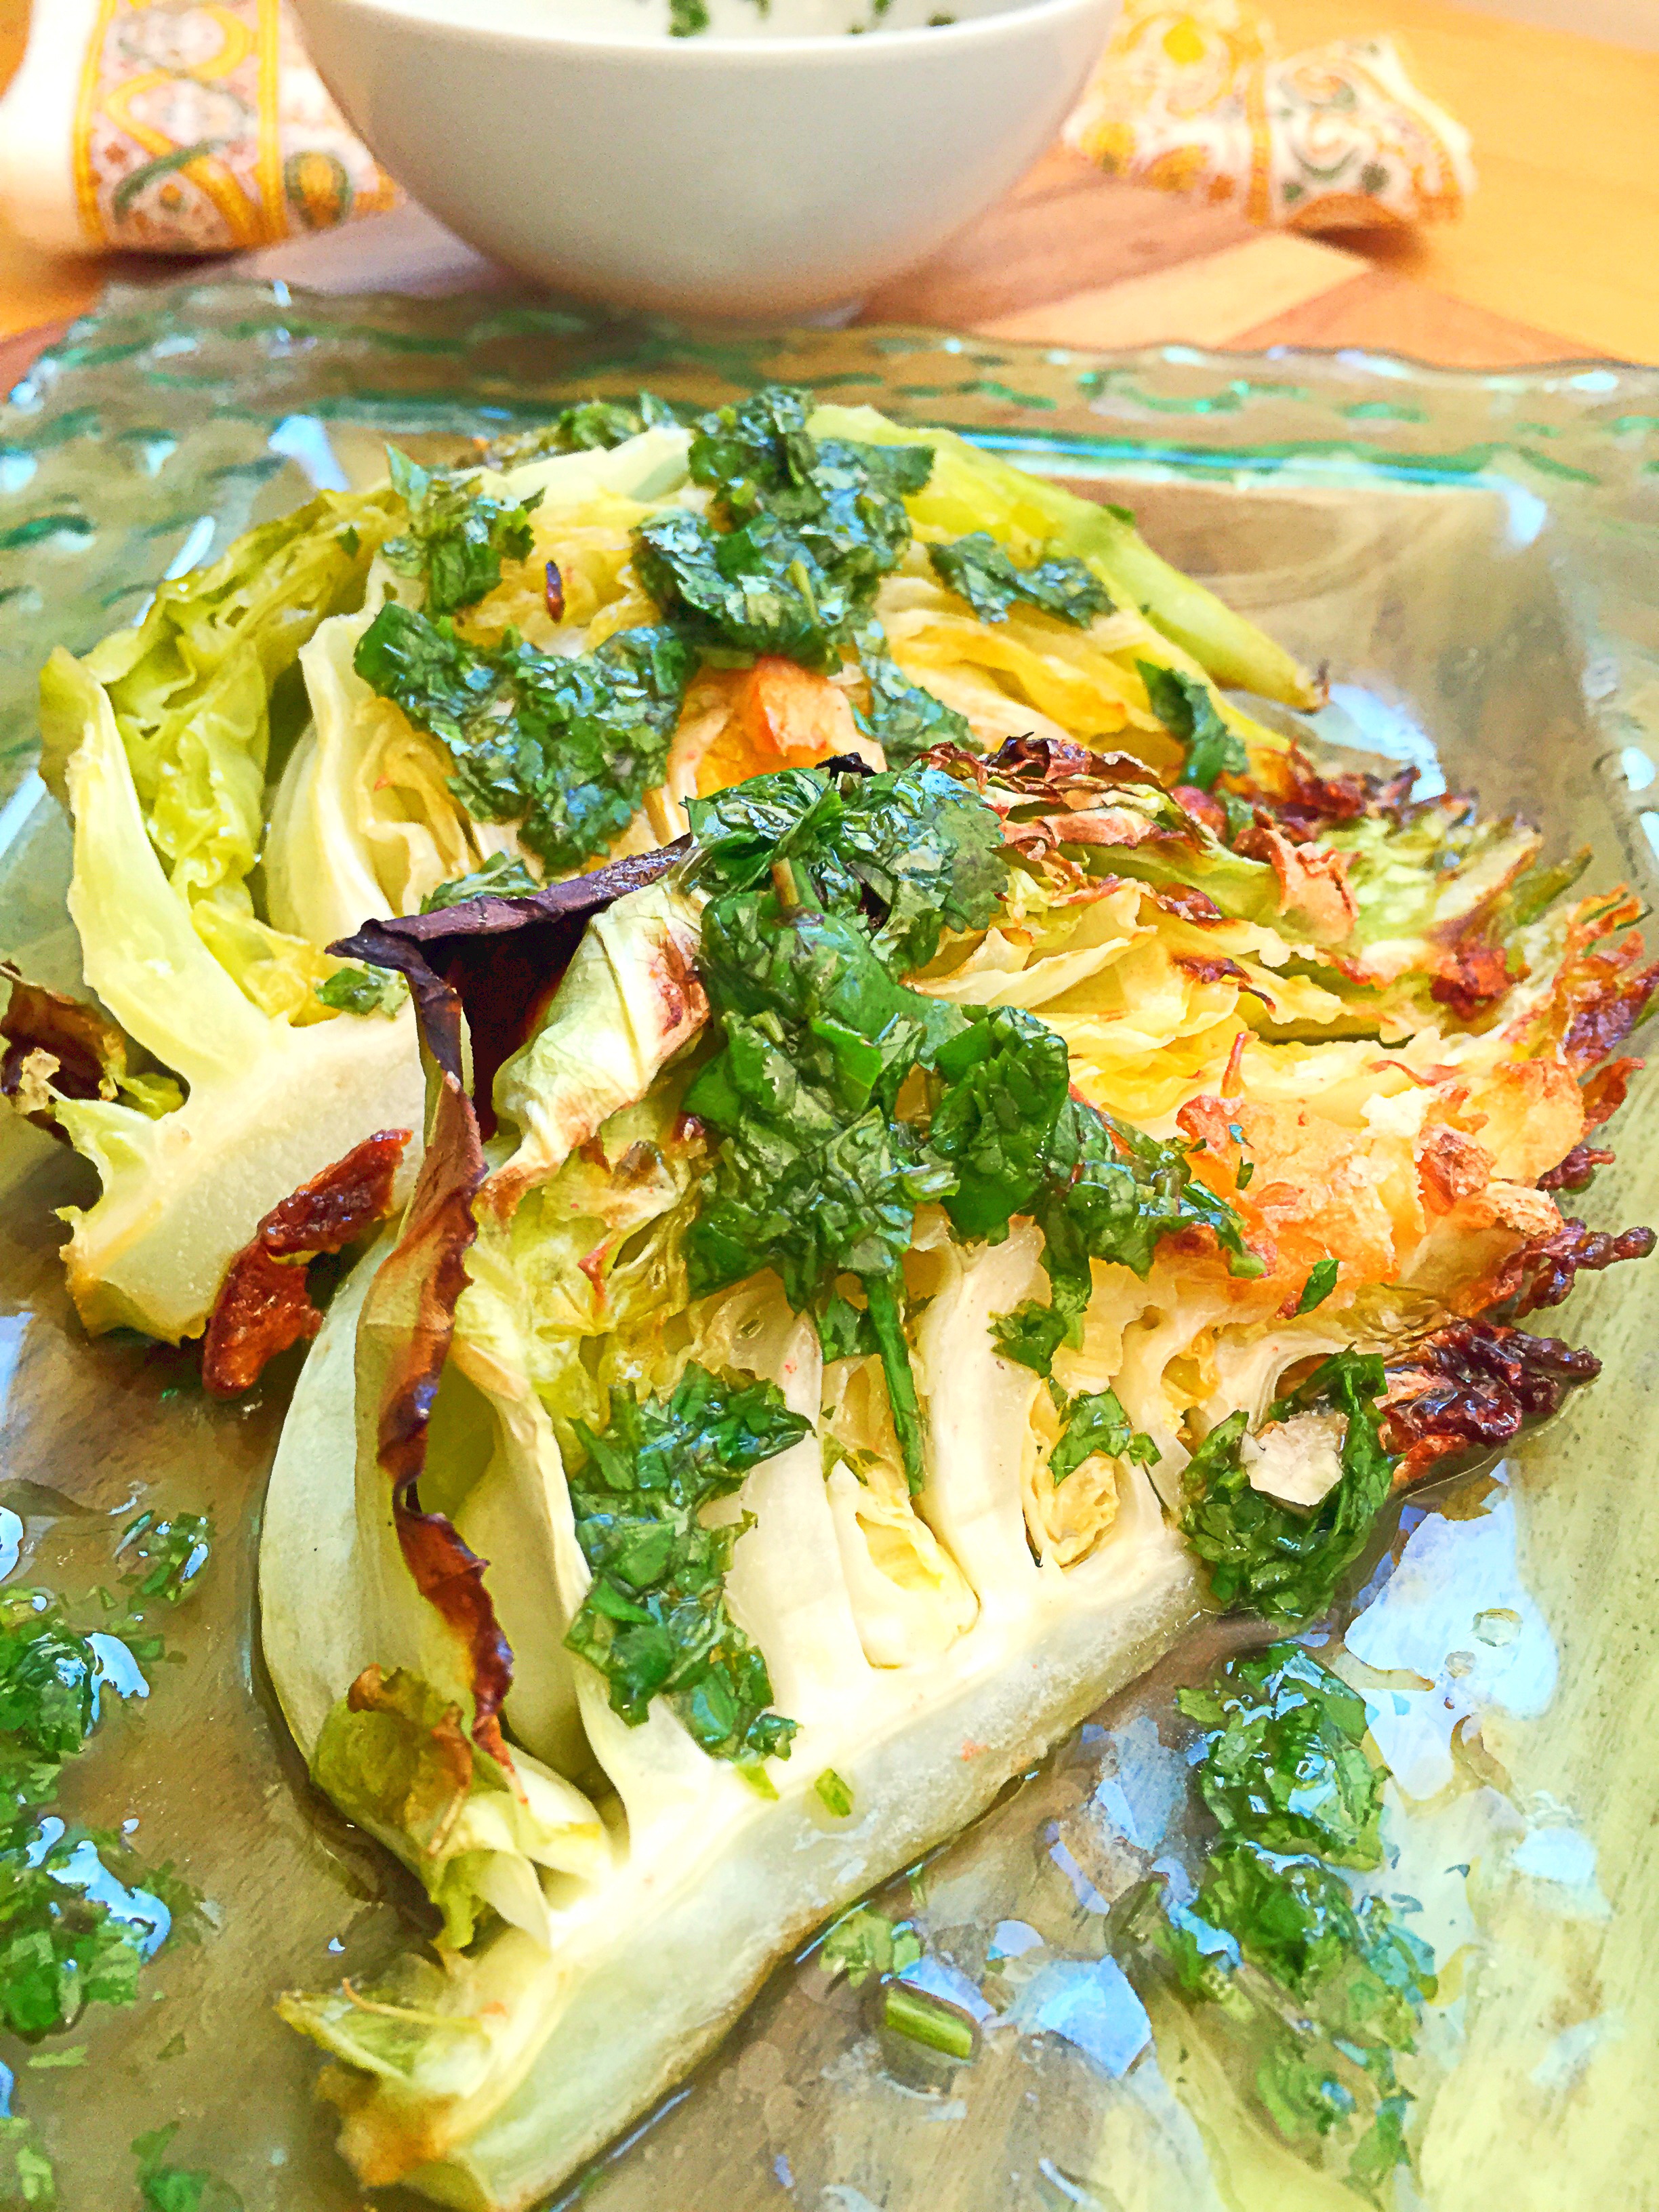
Roasted Cabbage Wedges with Cider Herb Vinaigrette
One of my favorite winter vegetables is cabbage. I love it in a hearty soup, braised in a crock on the stove, or roasted in the oven. Cabbage seems to be one of those vegetables for me that not matter how I cook it, it’s comforting in every way! This recipe is a favorite of mine, the roasted cabbage alone is awesome, but the vinaigrette really takes it to another level!
![]()
Prep time: 5 minutes
Cook time: 15 minutes
Ingredients:
1 small head of cabbage quartered with core intact, so it doesn’t fall apart
3-4 tablespoons of oil
4 cloves of garlic sliced thinly
sea salt and black pepper to taste
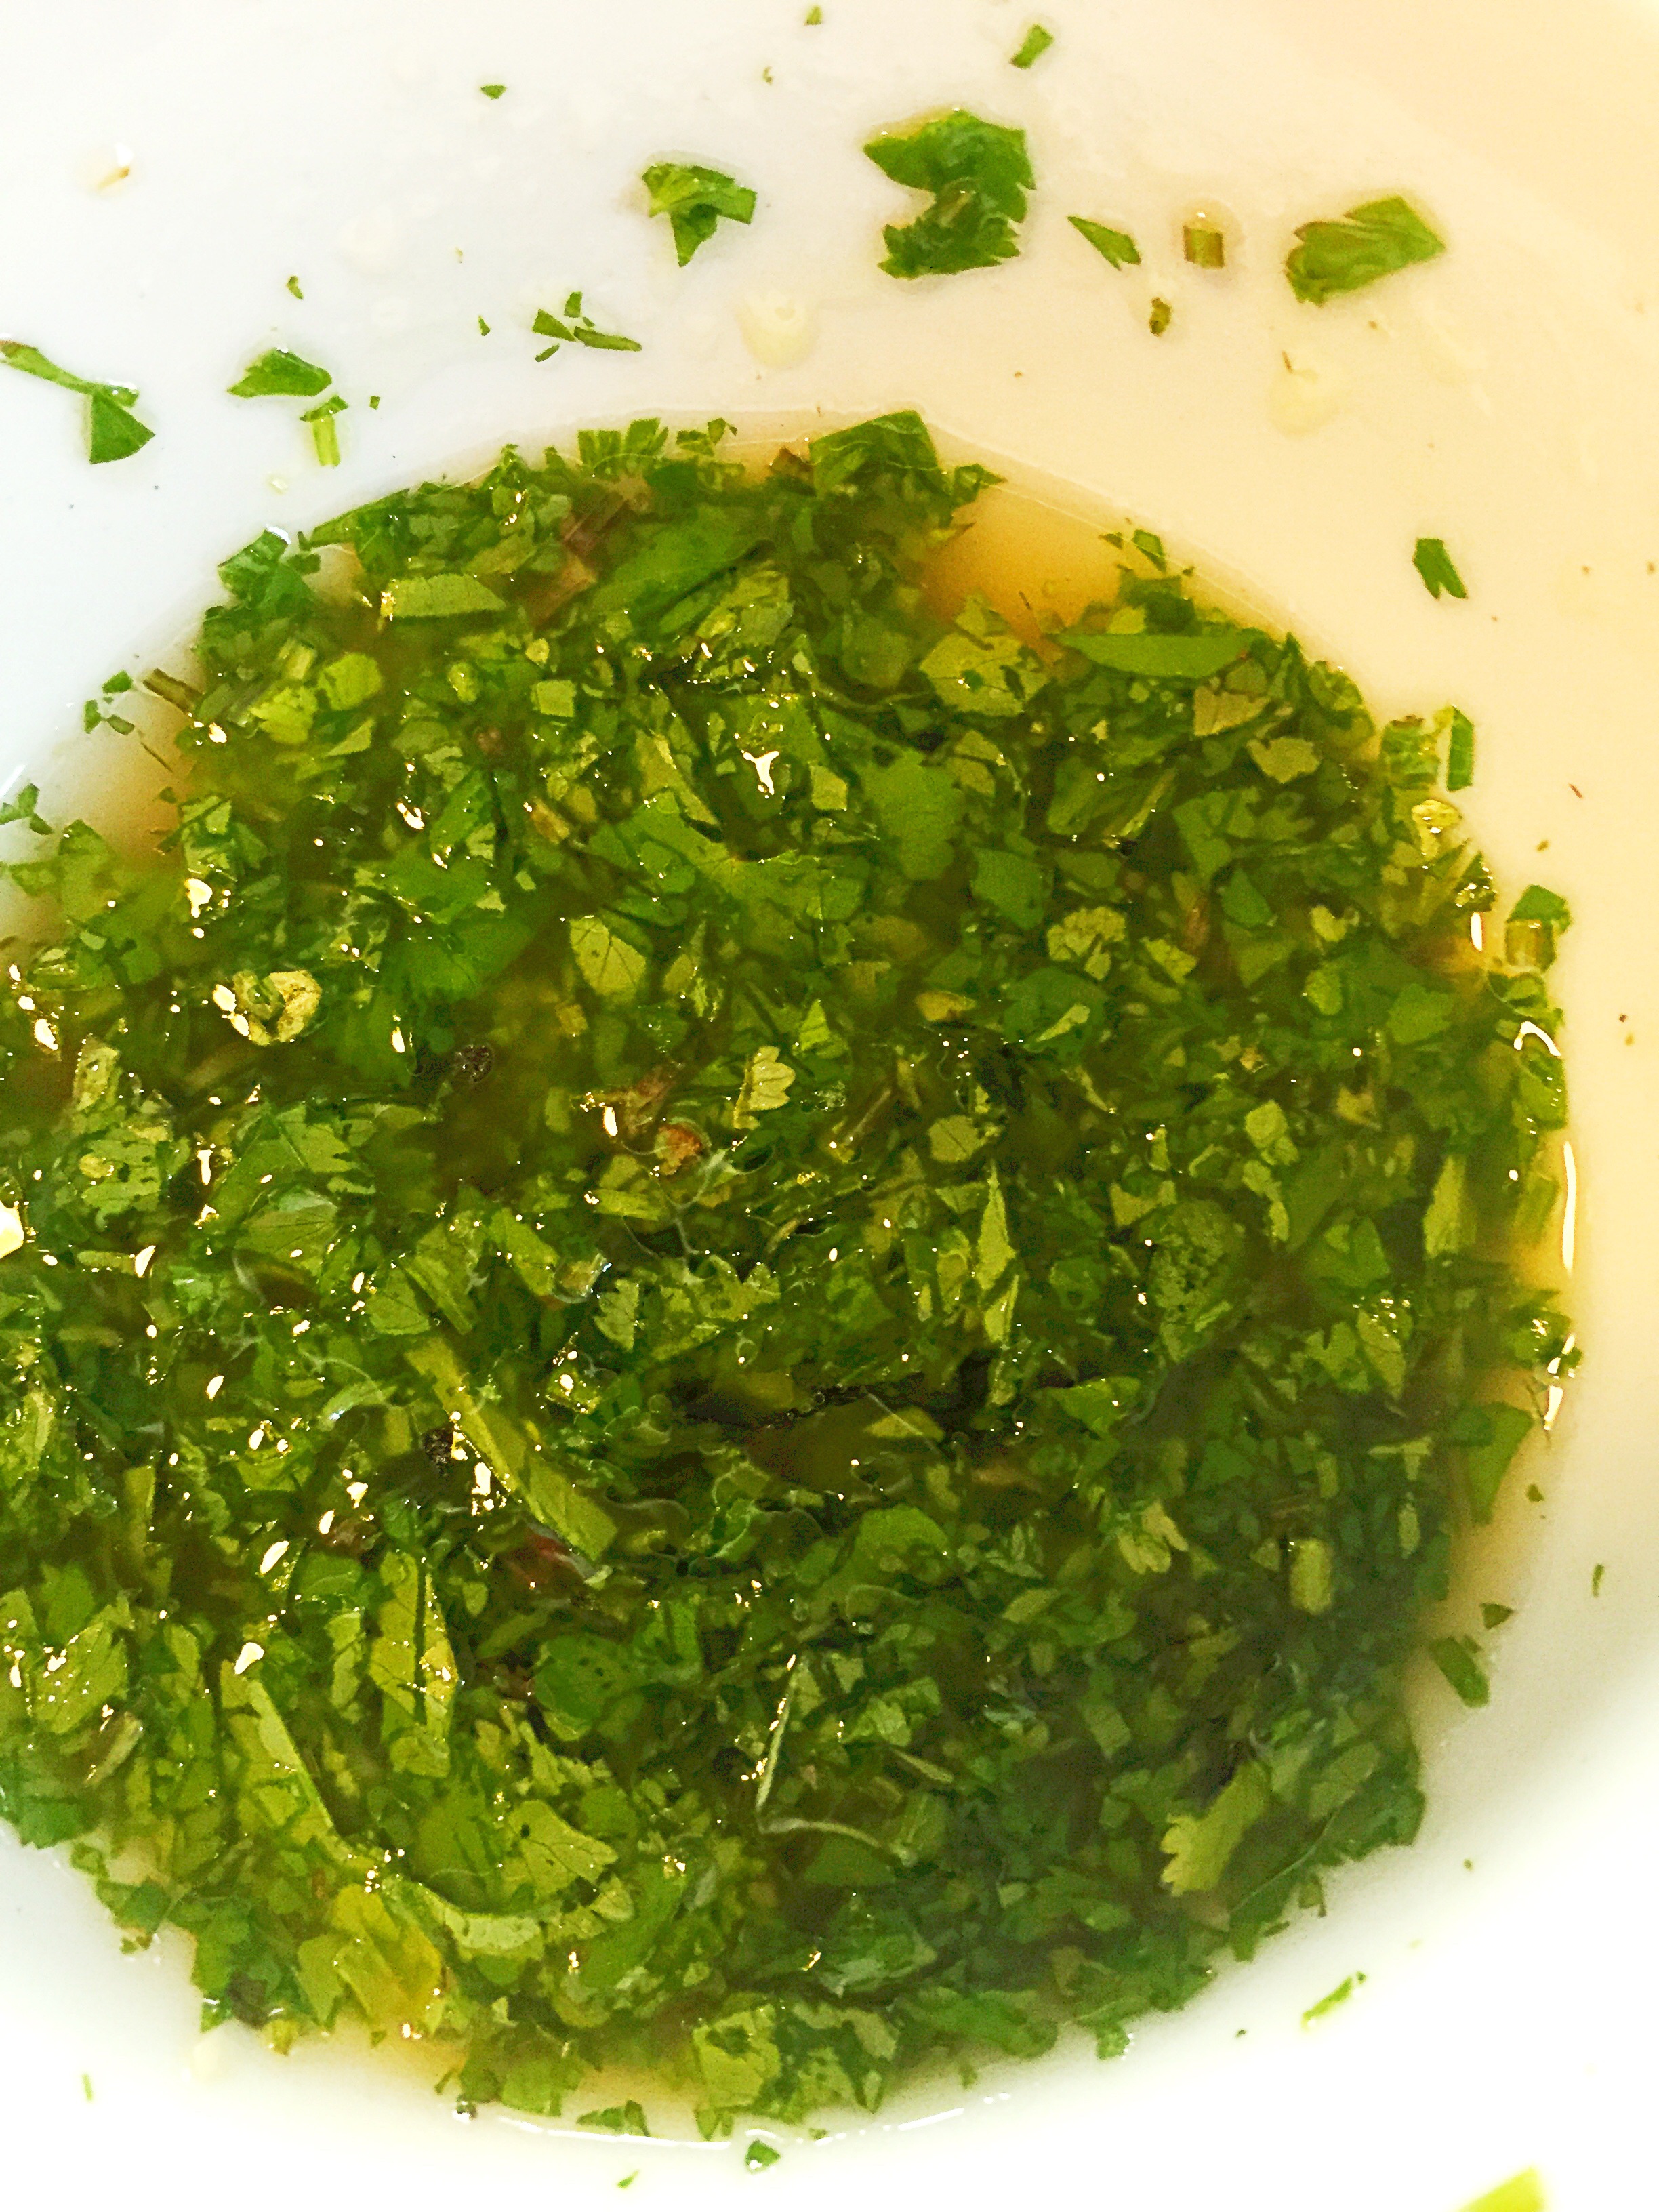
Vinaigrette
2 tablespoons of Apple cider vinegar
1 tablespoon of mustard oil
1 tablespoon of finely chopped cilantro
sea salt to taste
Directions: Add the ingredients for the vinaigrette to a bowl, mix well and set aside.
Pre-heat the oven to 425F.
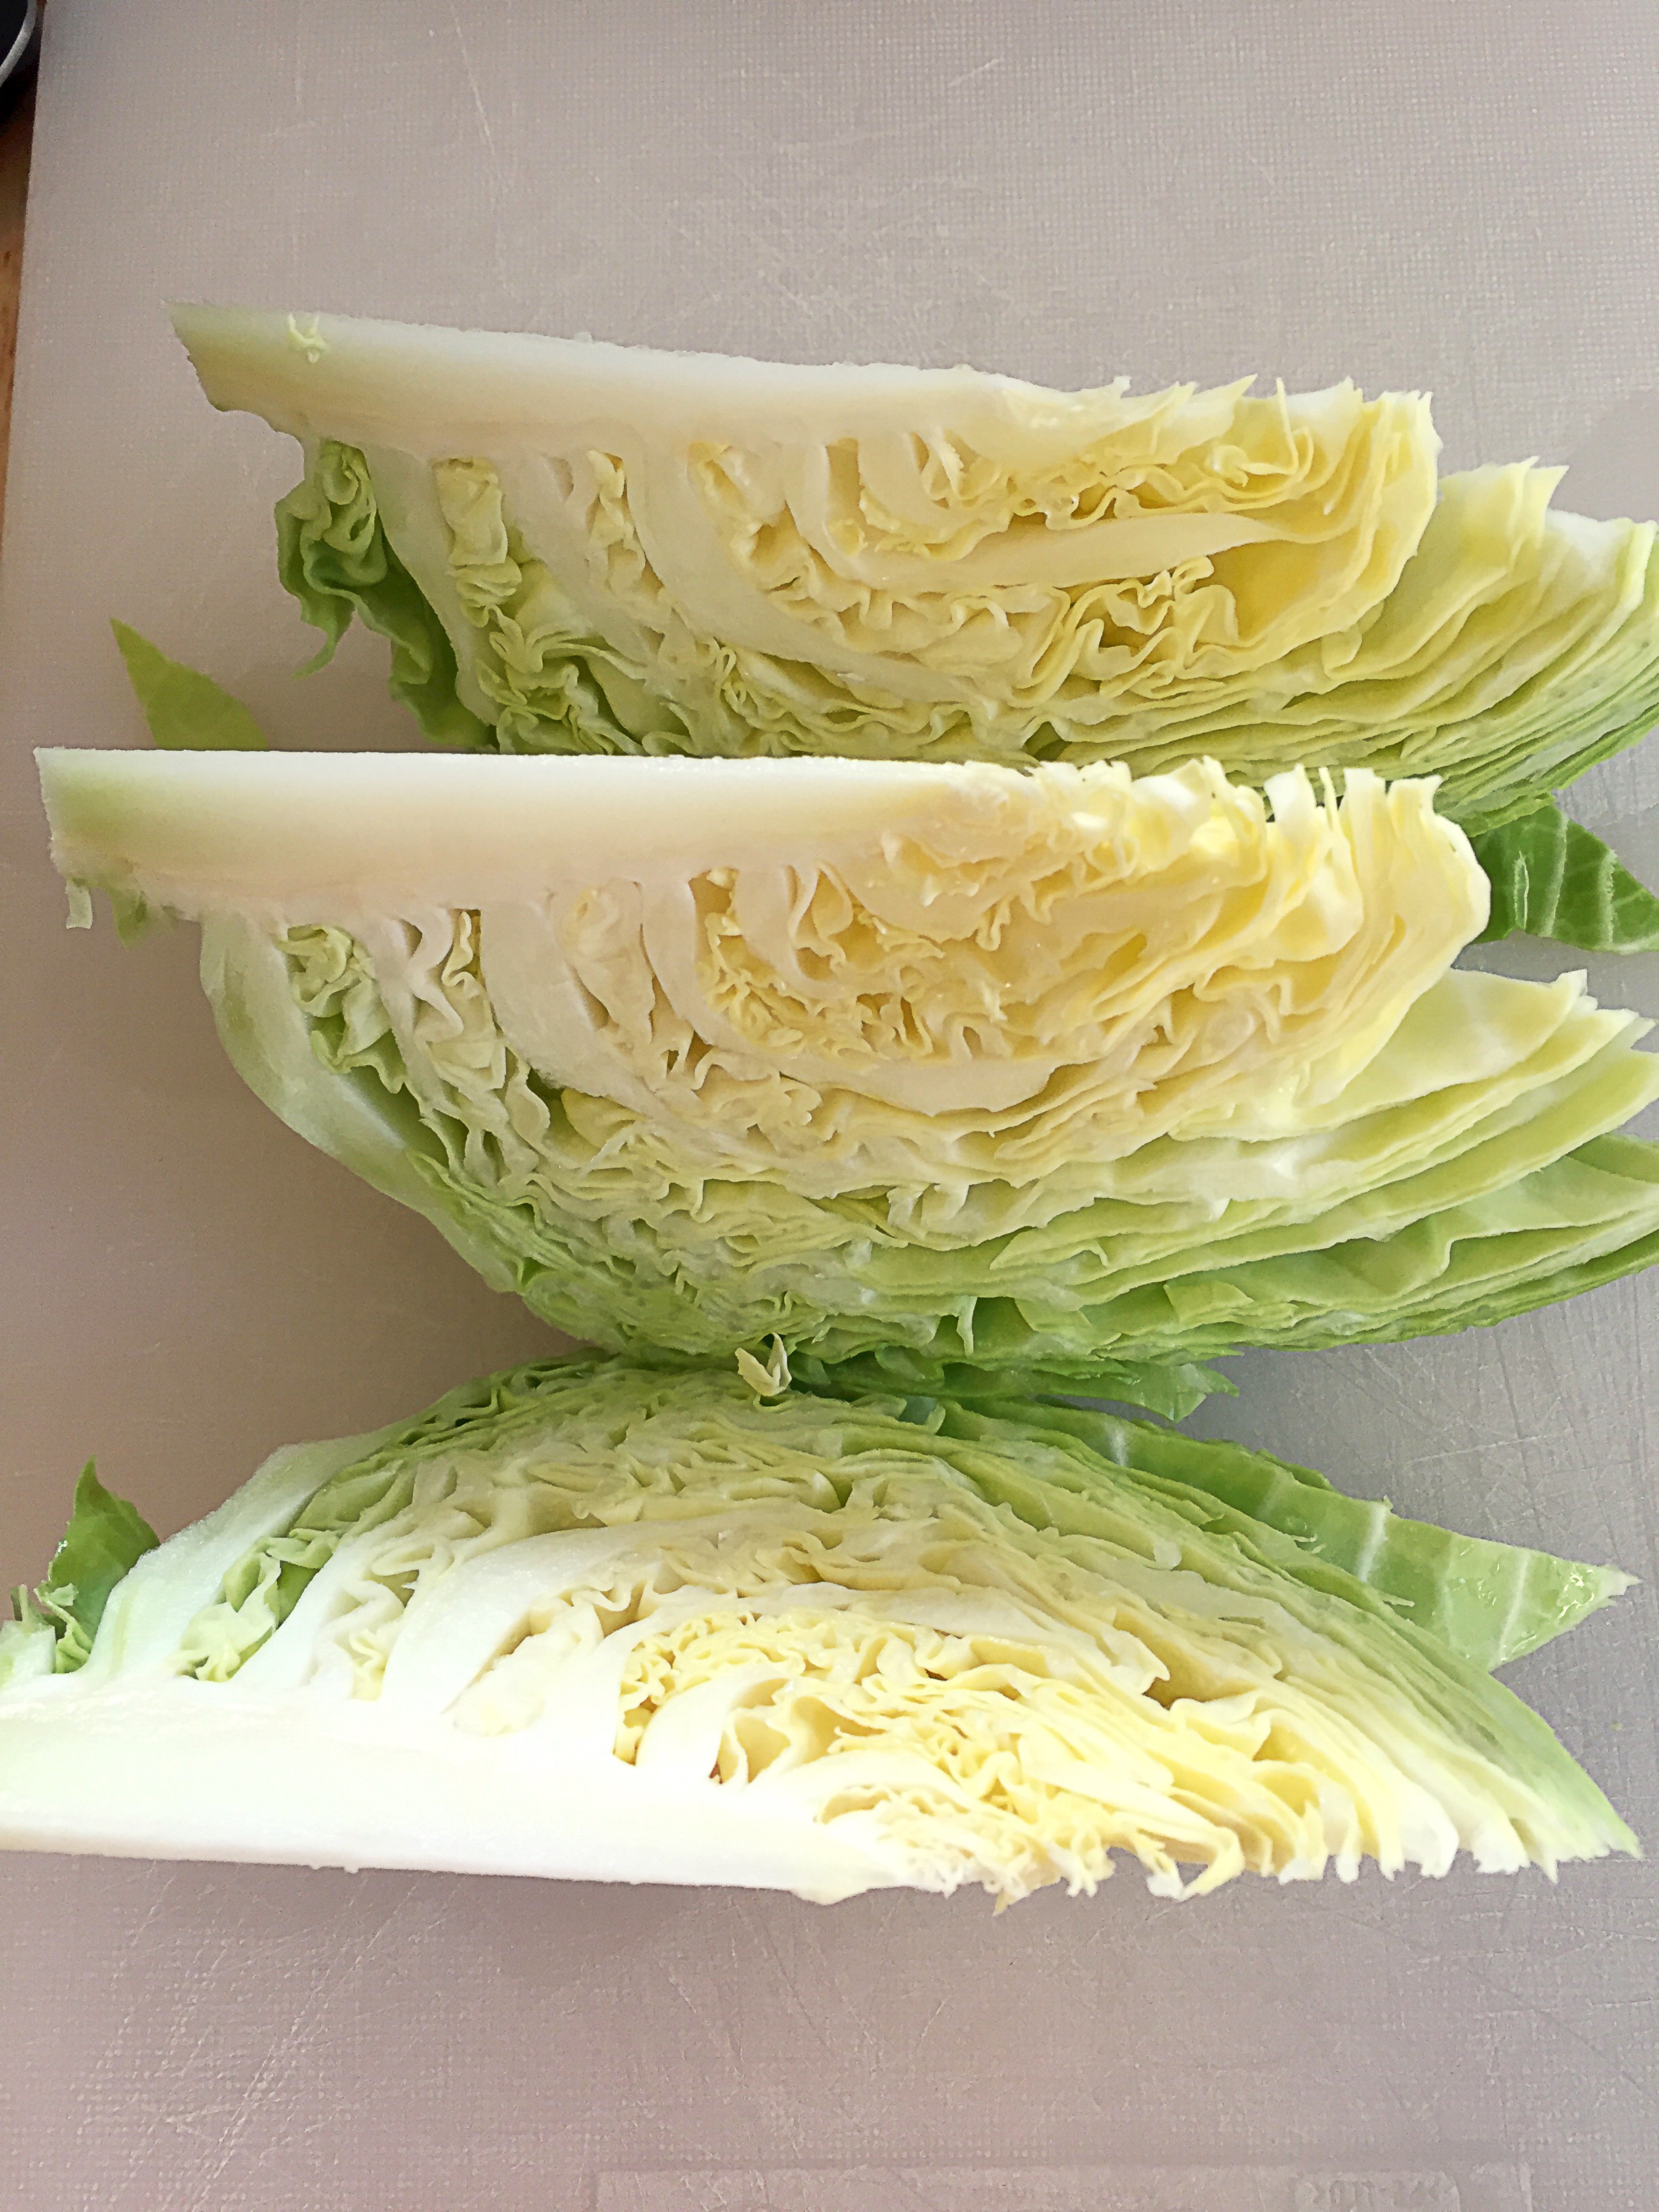
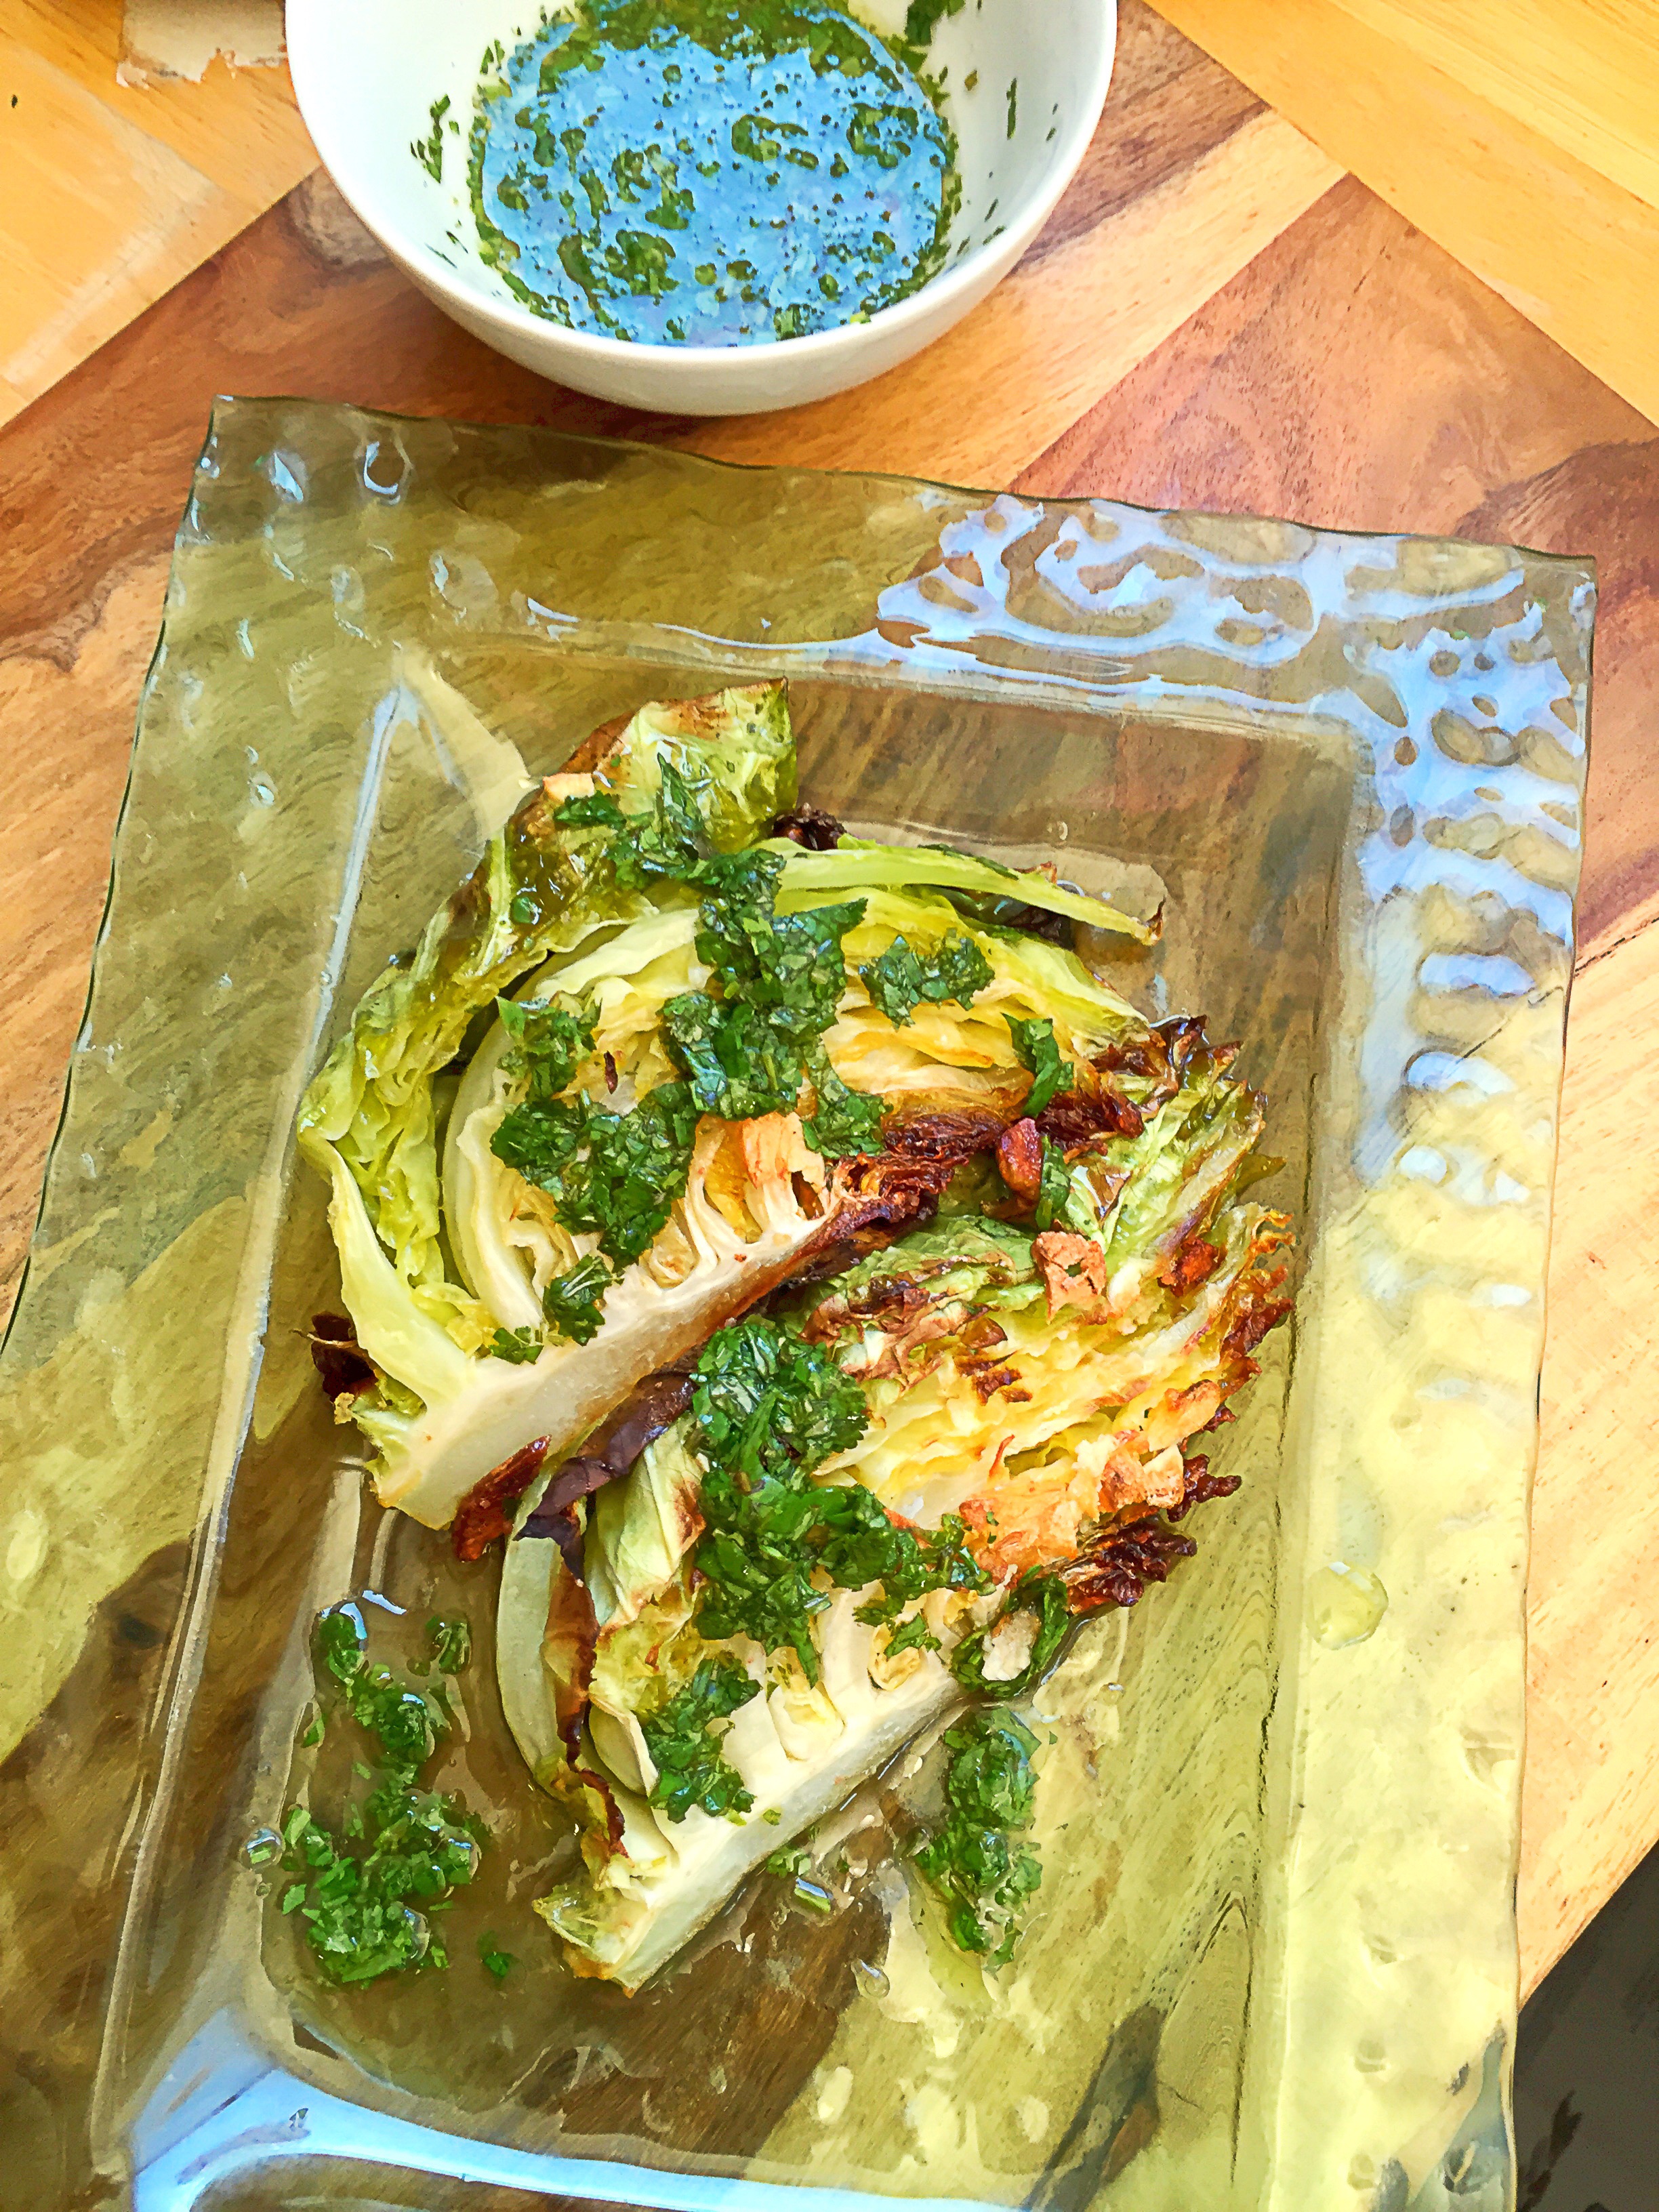
Add the cabbage to a foil lined bake sheet, then drizzle with oil and season with sea salt and black pepper on both sides. Lastly top with sliced garlic, and place in the oven.

Cook for 10-15 and cabbage takes on some color. Remove from oven, drizzle each wedge with some of the vinaigrette, serve and enjoy!

If you like this recipe check out my recipes for Indian Spiced Cabbage and Ground Chicken and Cabbage Curry!
Follow and Like me on Facebook: http://www.facebook.com/lazygirldinners