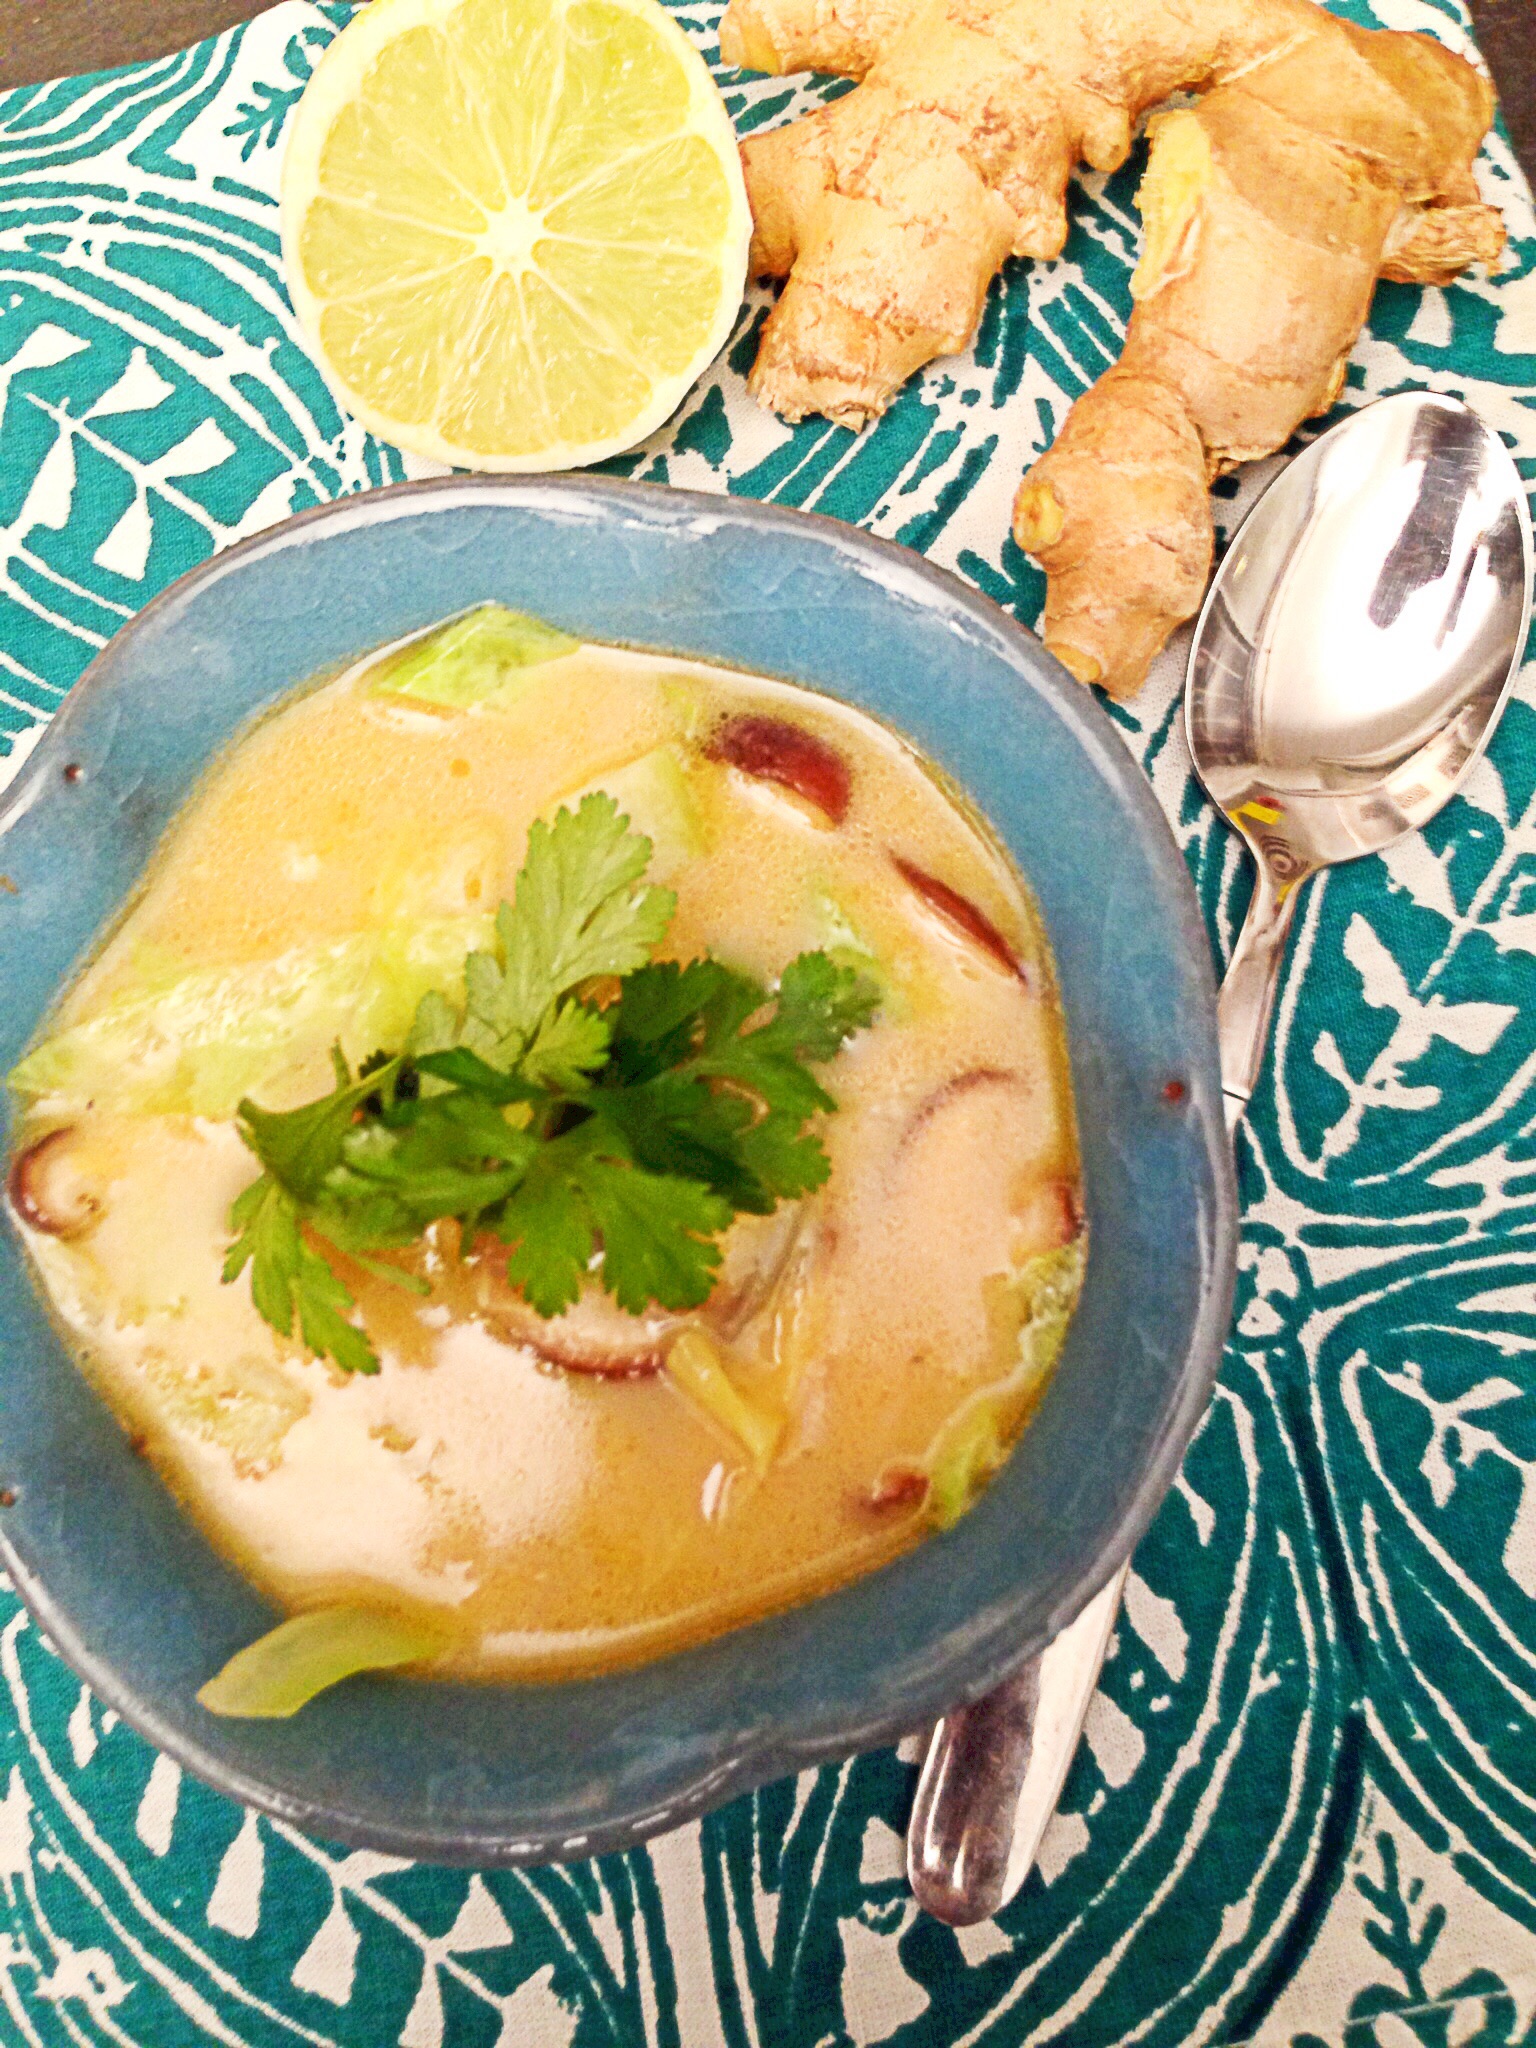
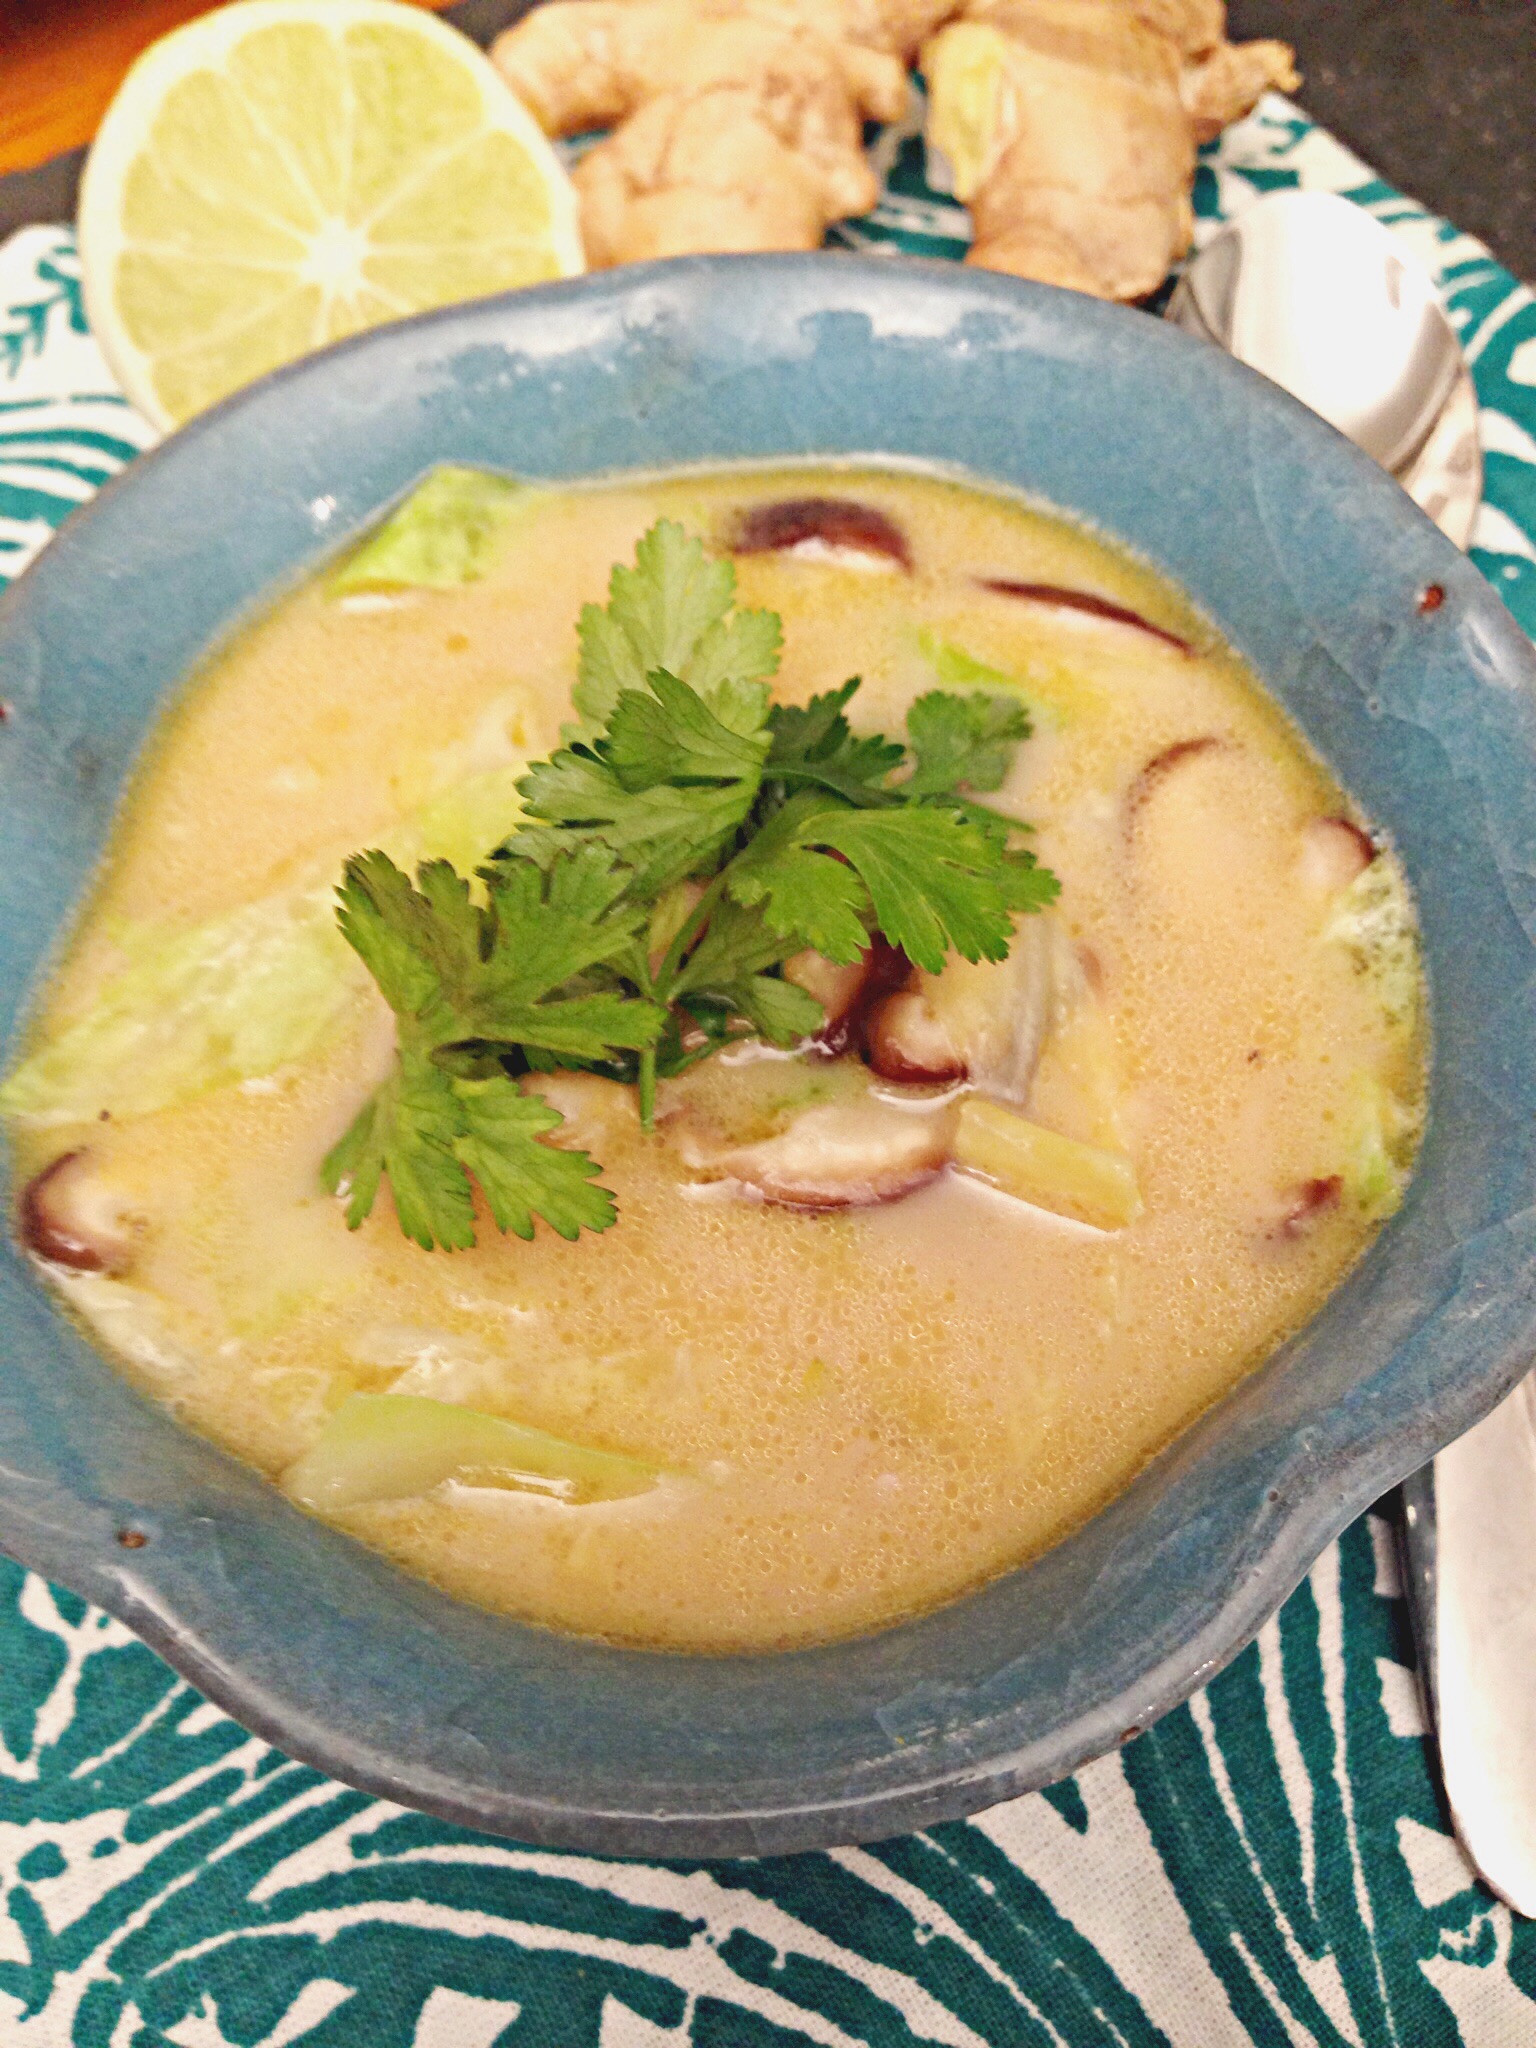
How to Make Bone Broth
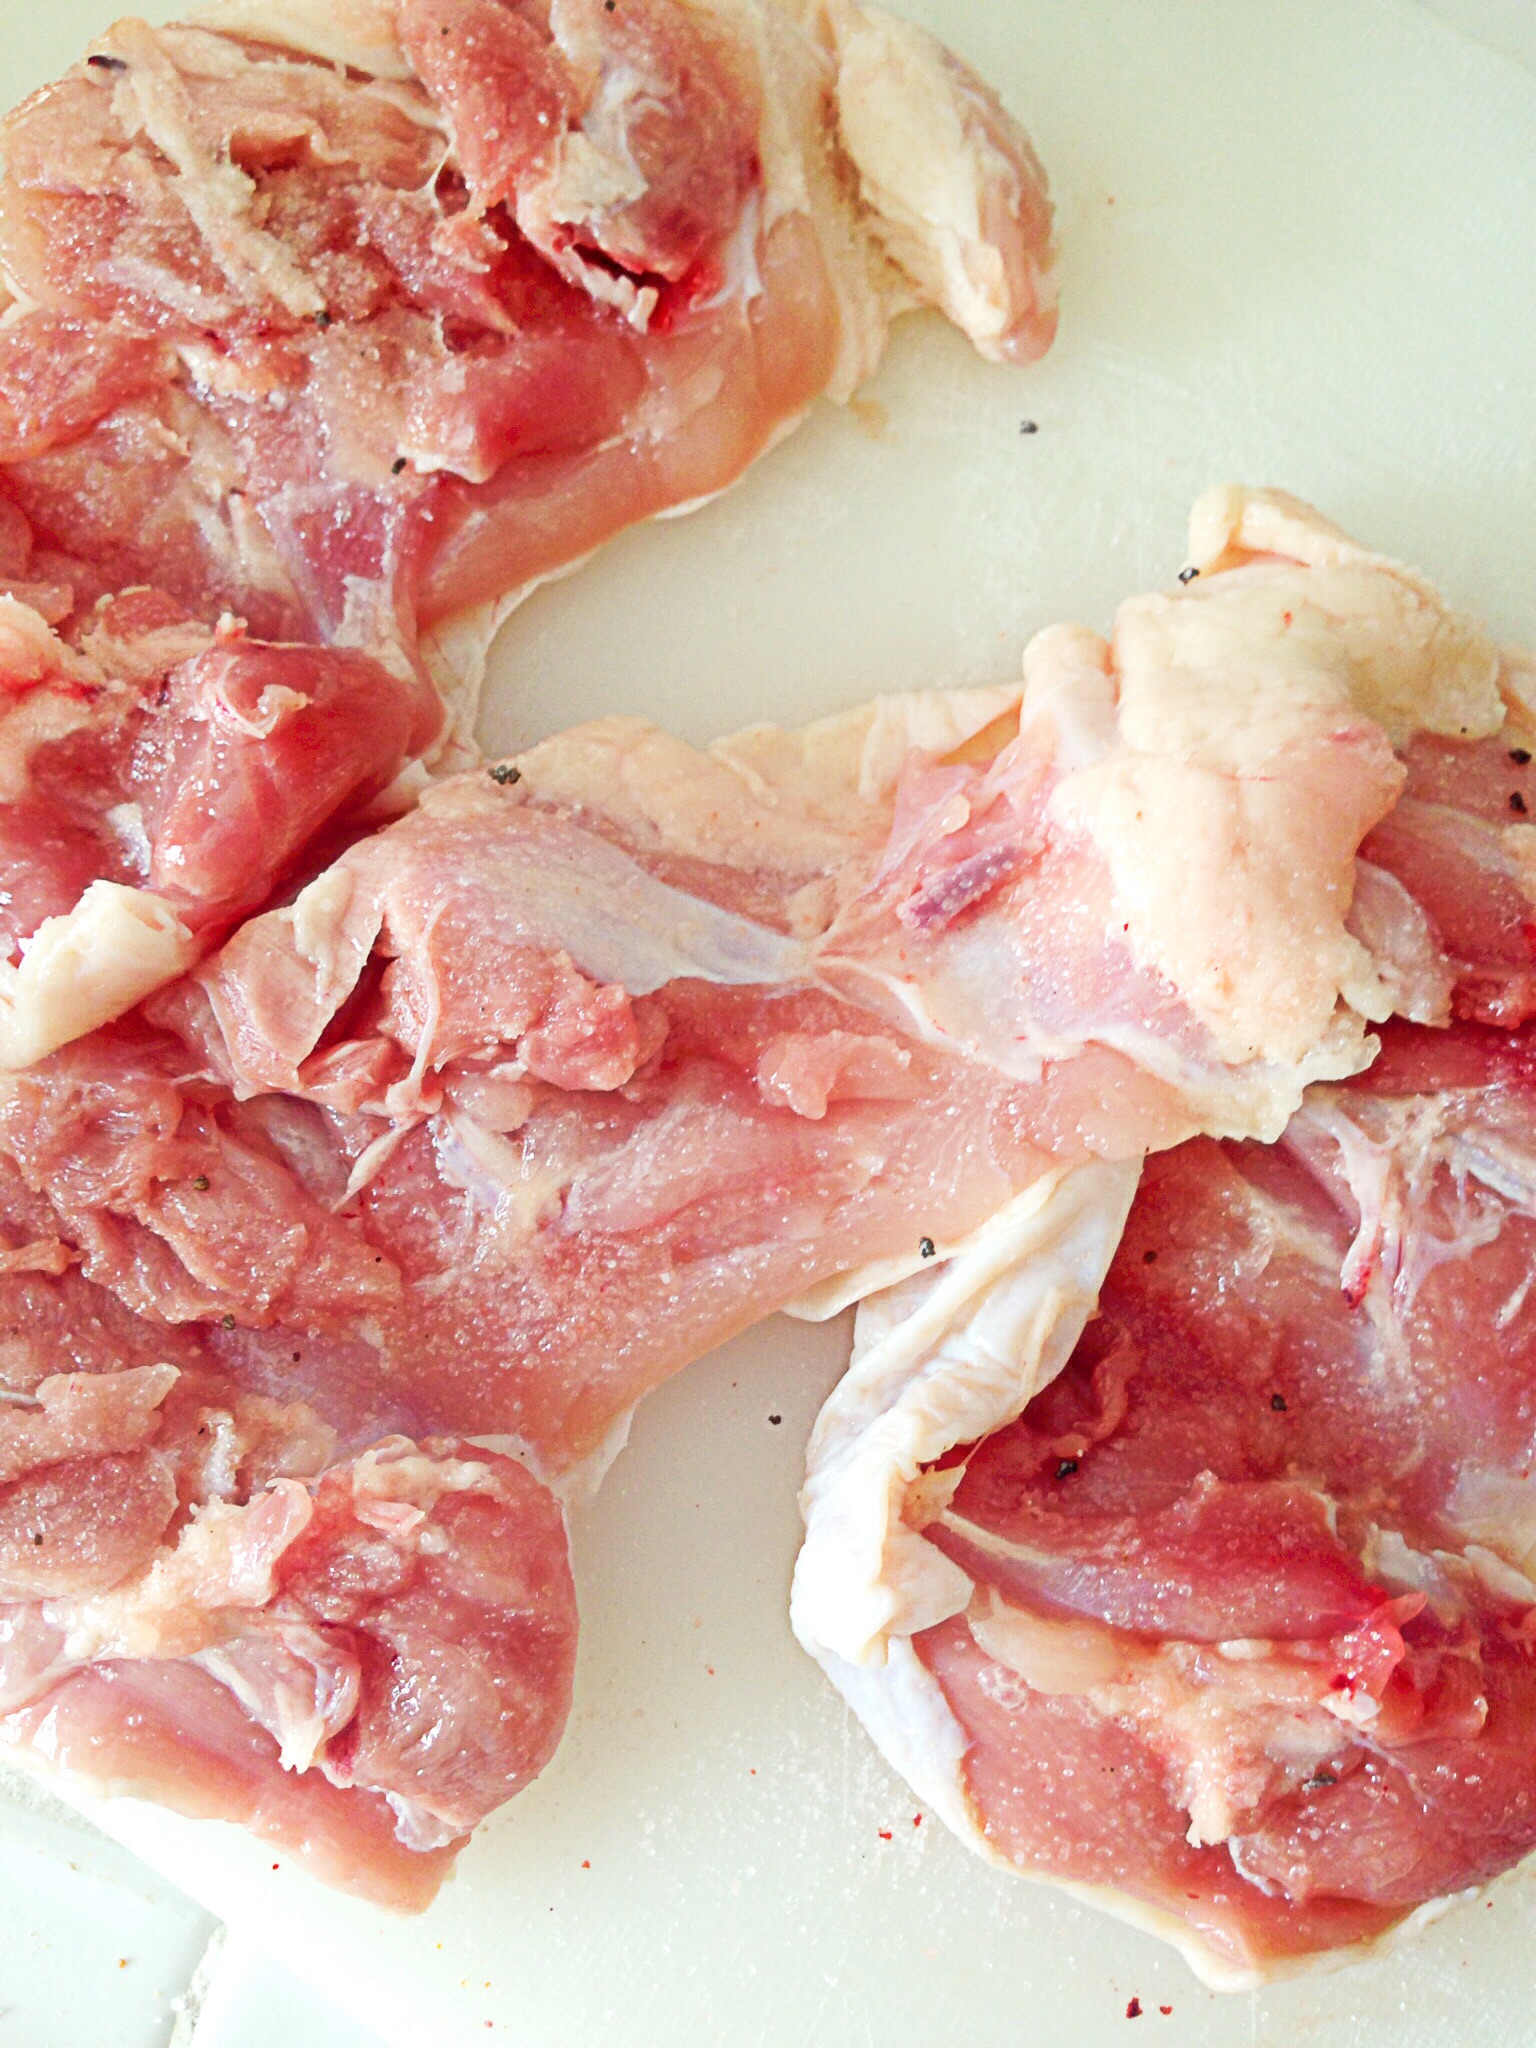
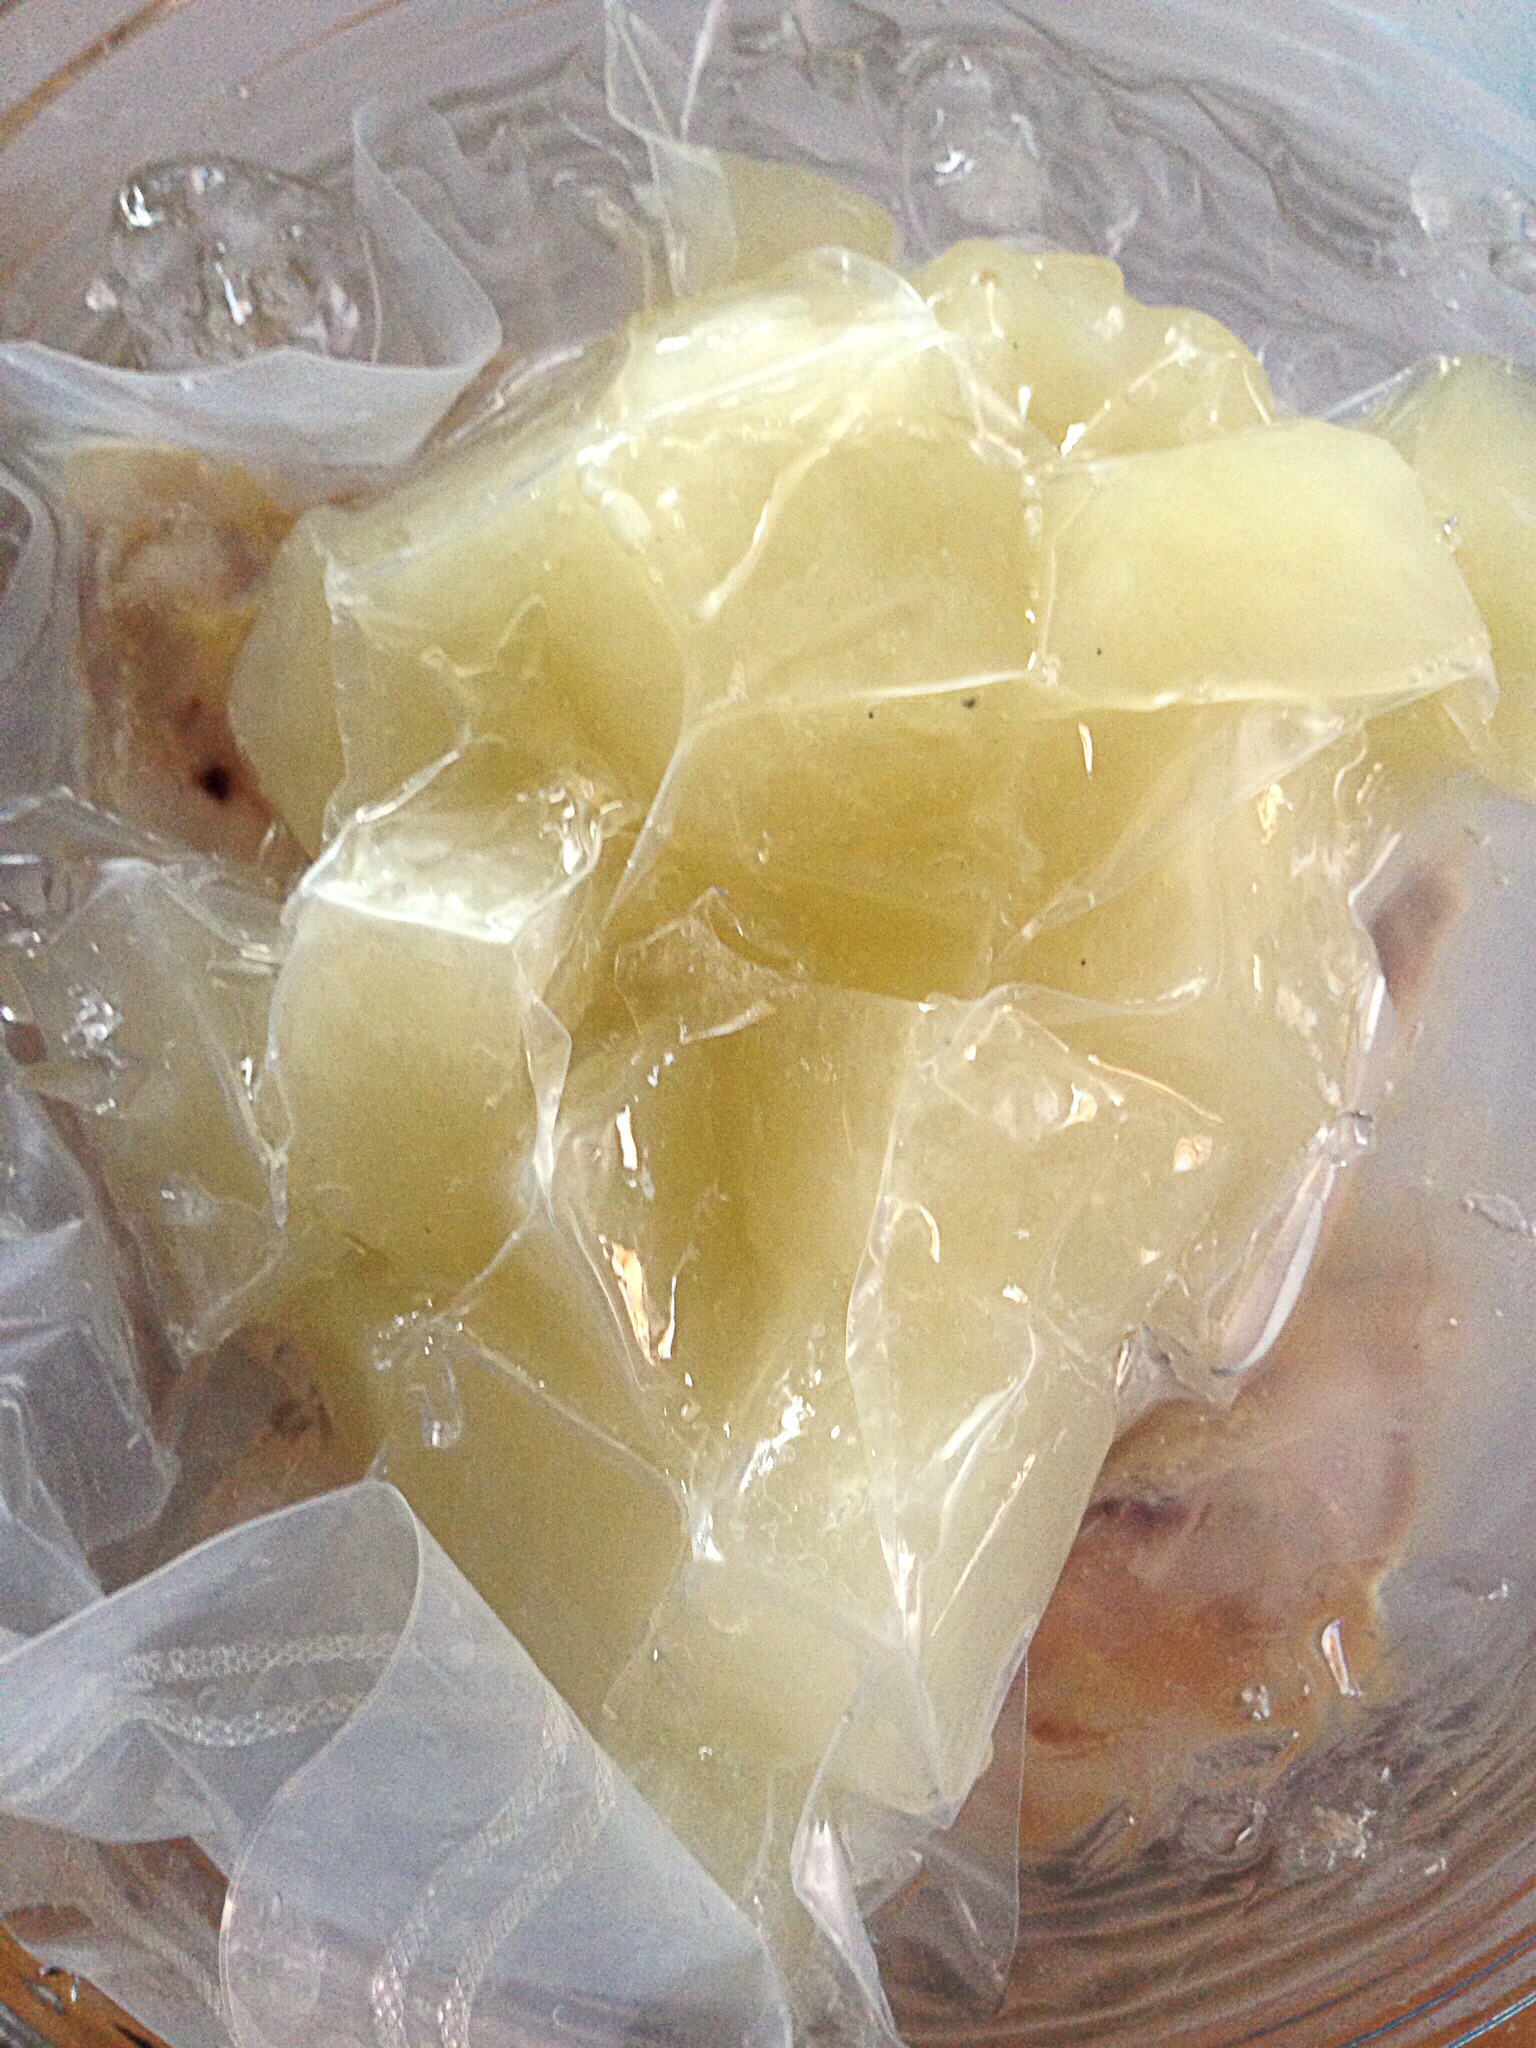
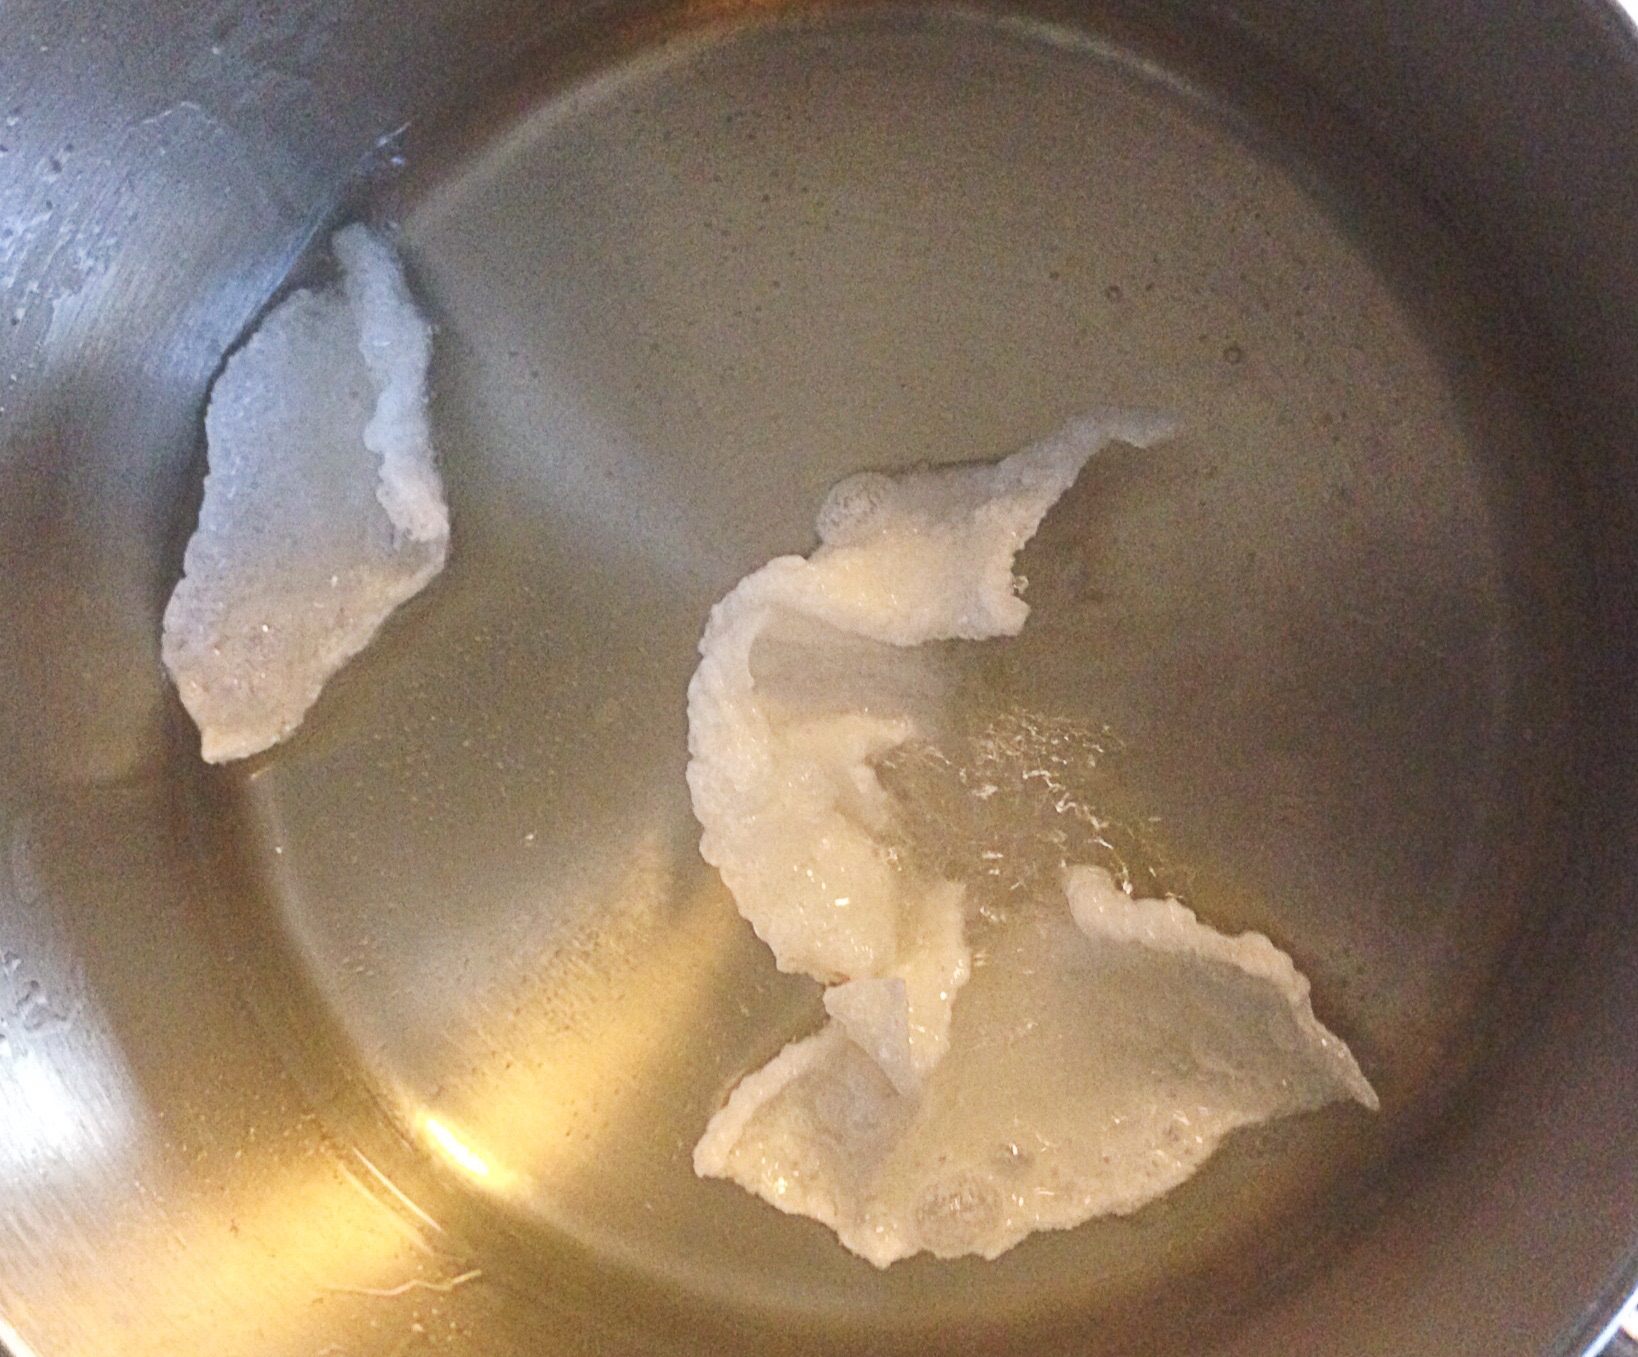
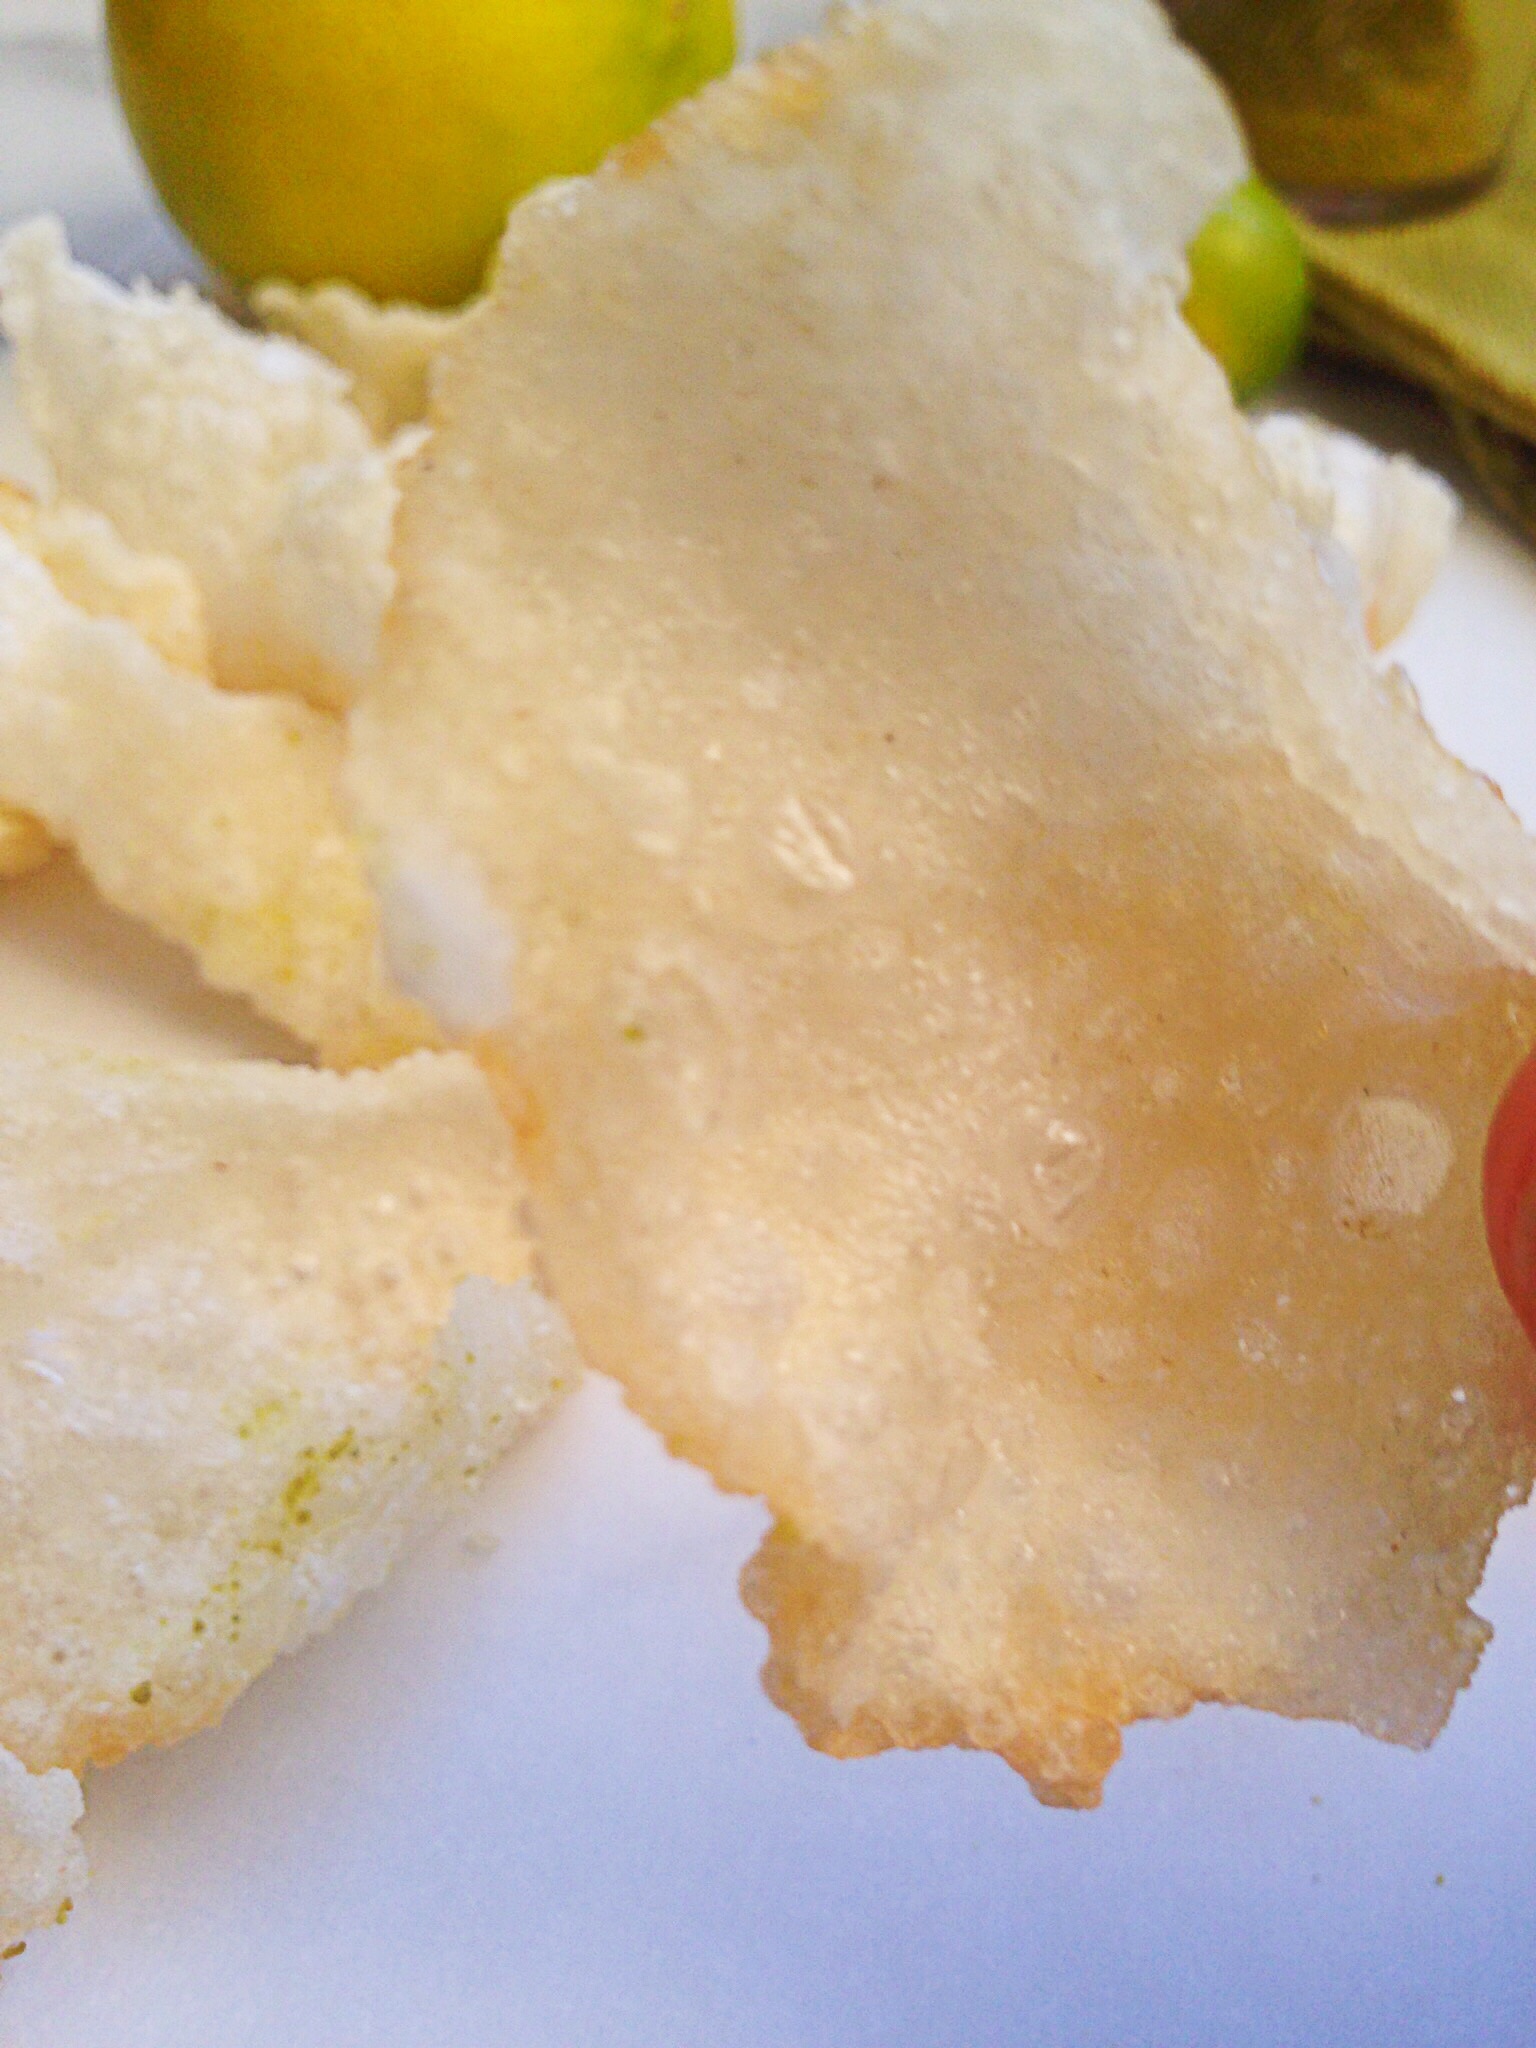
Now that the Holiday’s are over, I’m getting back to my normal routine. We had such a busy holiday season that I’m not sure what my normal routine was. The last week I’ve spent both nursing a cold and searching for a new refrigerator. Our current refrigerator is on it’s final leg, and before it gives out completely we need to replace it. I was in Whole Foods the other day in search of some chicken backs in order to make stock to nurse my cold and my daughters and of course they were clean out. The butcher was ready with an alternative–chicken feet! He said that they had just gotten a big shipment in, because people had been requesting them in order to make bone broth to fight off the flu and cold that is going around. With no other options to available to make my broth, I left the store with 2 pounds of chicken feet. I’ve actually only ever seen chicken feet on live chicken’s and occasionally in a silver tin when I go out with my girl friends to have dim sum. I can’t say that in either instance that they’ve been an appetizing sight! This instance provided no exception! It took me a while to even convince myself that I could handle cooking them. However, I pushed through the ick factor and managed, to make a delicious bone broth for us to consume. Not surprisingly making stock with chicken feet provides a nutrient rich broth. Chicken feet have a lot of bones, and when cooked slowly or under pressure you’re able to extract most of the nutrients from those bones. Also at $2.00/pound this is the most economical way to make broth that I’ve come across.
![]()
Prep time: 10 minutes
Cook time: 1.5-2 hours
Ingredients:
1 lb of organic chicken feet
1 cup of carrots diced
1 cup of celery diced
1 large onion diced
2 tablespoons of grape seed oil
7 cups of water
sea salt and black pepper to taste
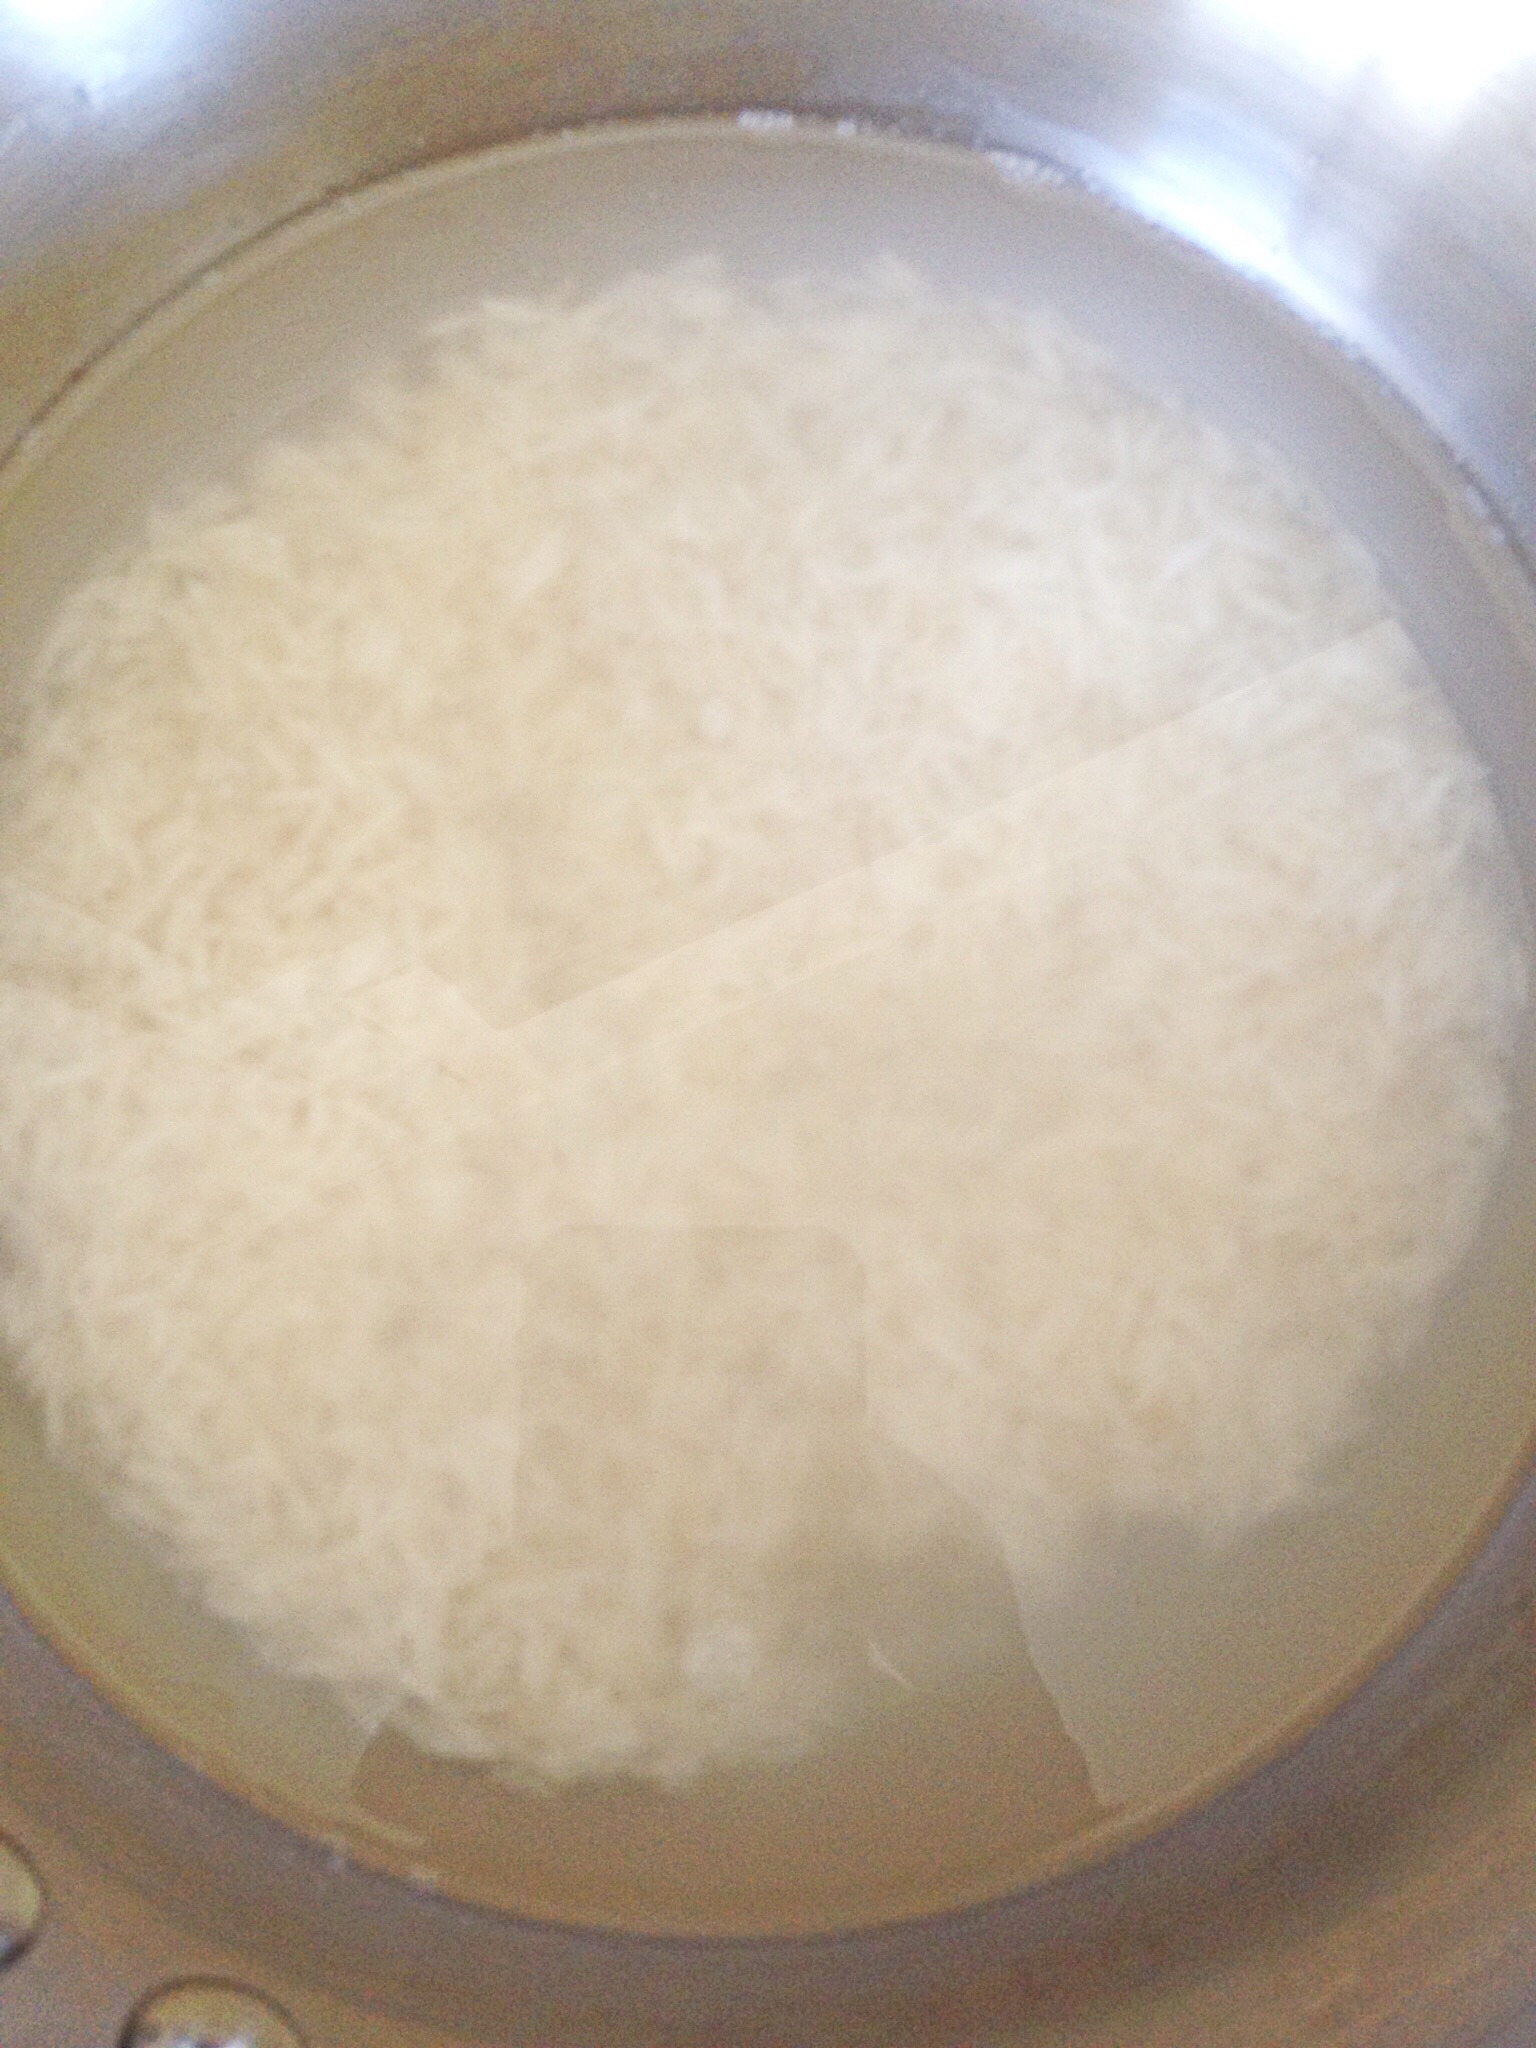
Directions: Heat the oil over medium heat. Add in chicken feet and allow to brown (7-10 minutes). Add in carrots, celery, and onion and allow to cook an additional 4 minutes. Add in water and seal in pressure cooker for 1.5-2 hours.

If you’re doing this stove stop, cook for a minimum of 2 hours on medium low heat, and add additional water as stock boils down. After stock has cooked for 2 hours remove from heat, let cool for 10-15 minutes, then strain, removing all solids before transferring to an airtight container. This makes about 4-5 cups of stock.

How to make Bone Broth
So tell me, have you ever cooked or eaten chicken feet? Although I’ve seen them while having Dim Sum with my friends, I have never tried them. I just can’t bring myself to do it–at least not so far!