How to Make a Ginger Bug–How to Make a Lacto-Starter

How to make a Ginger Bug--How to make a Lacto Starter

How to make a Ginger Bug–How to make a Lacto -Starter

So you’re probably wondering what a ginger bug is, and why on earth would I make it!  The short answer is that it’s a culture of good bacteria that is used as a base for homemade lacto fermented sodas.  Much like kefir, kombacha, yogurt, and  other fermented foods like pickles, kimchi, and sauerkraut, the bacteria in lacto fermented sodas provides beneficial bacteria to our guts. I’m not a fan of conventional soda’s for obvious reasons, and I’m so glad to have this as an alternative.  The recipe I used for making this lacto soda starter comes from the book Bar Tartine Techniques & Recipes, get a copy, it’s a great book.  You can use any type of sugar that you like in this recipe, and don’t worry about the sugar, it’s not for you, it’s for the bacteria, and they need it to thrive.   They eat it, and what’s left over is a thing of pure beauty.  One thing you should know about this recipe, is that you have to use organic ginger.  Commercial ginger is radiated, and because of that will not make a successful starter.

Pin It!

Ingredients

4 cups of filtered water

5 teaspoons of grated  organic ginger

5 teaspoons of organic sugar

Directions: Add the water,

image

1 teaspoon of ginger,

image

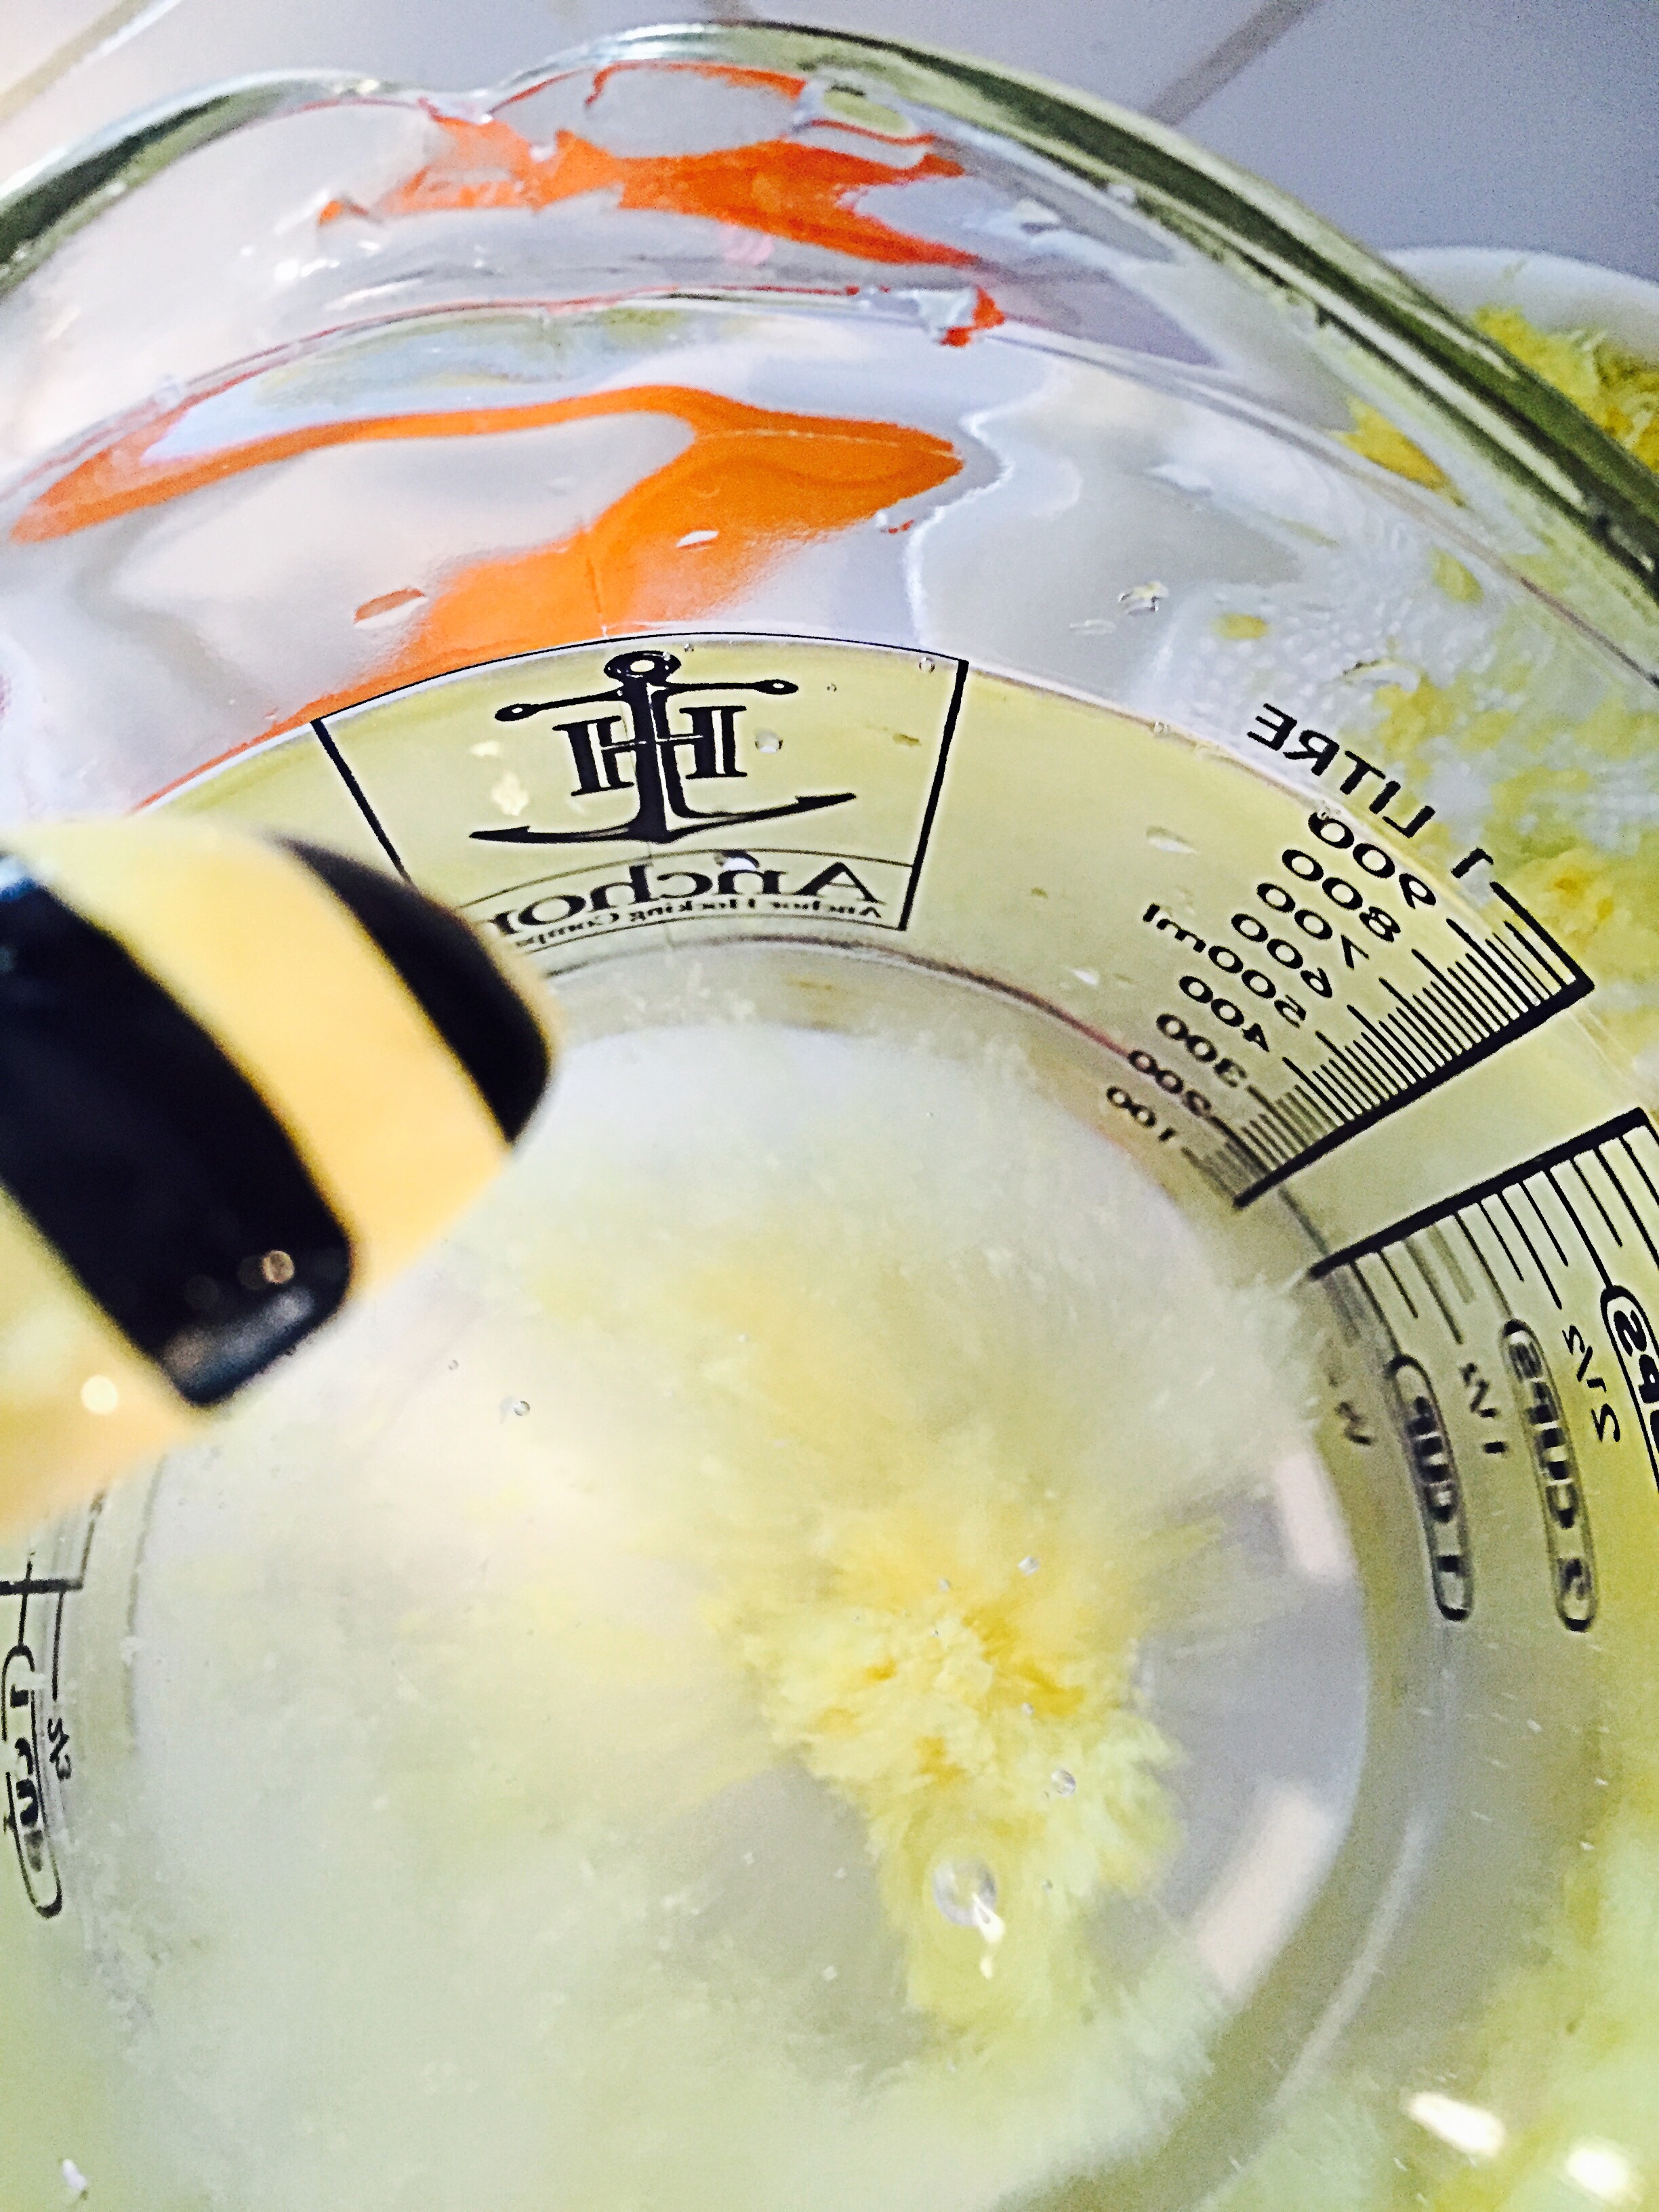
and one teaspoon of sugar, to a large canning jar, or a bowl, stir well,

image

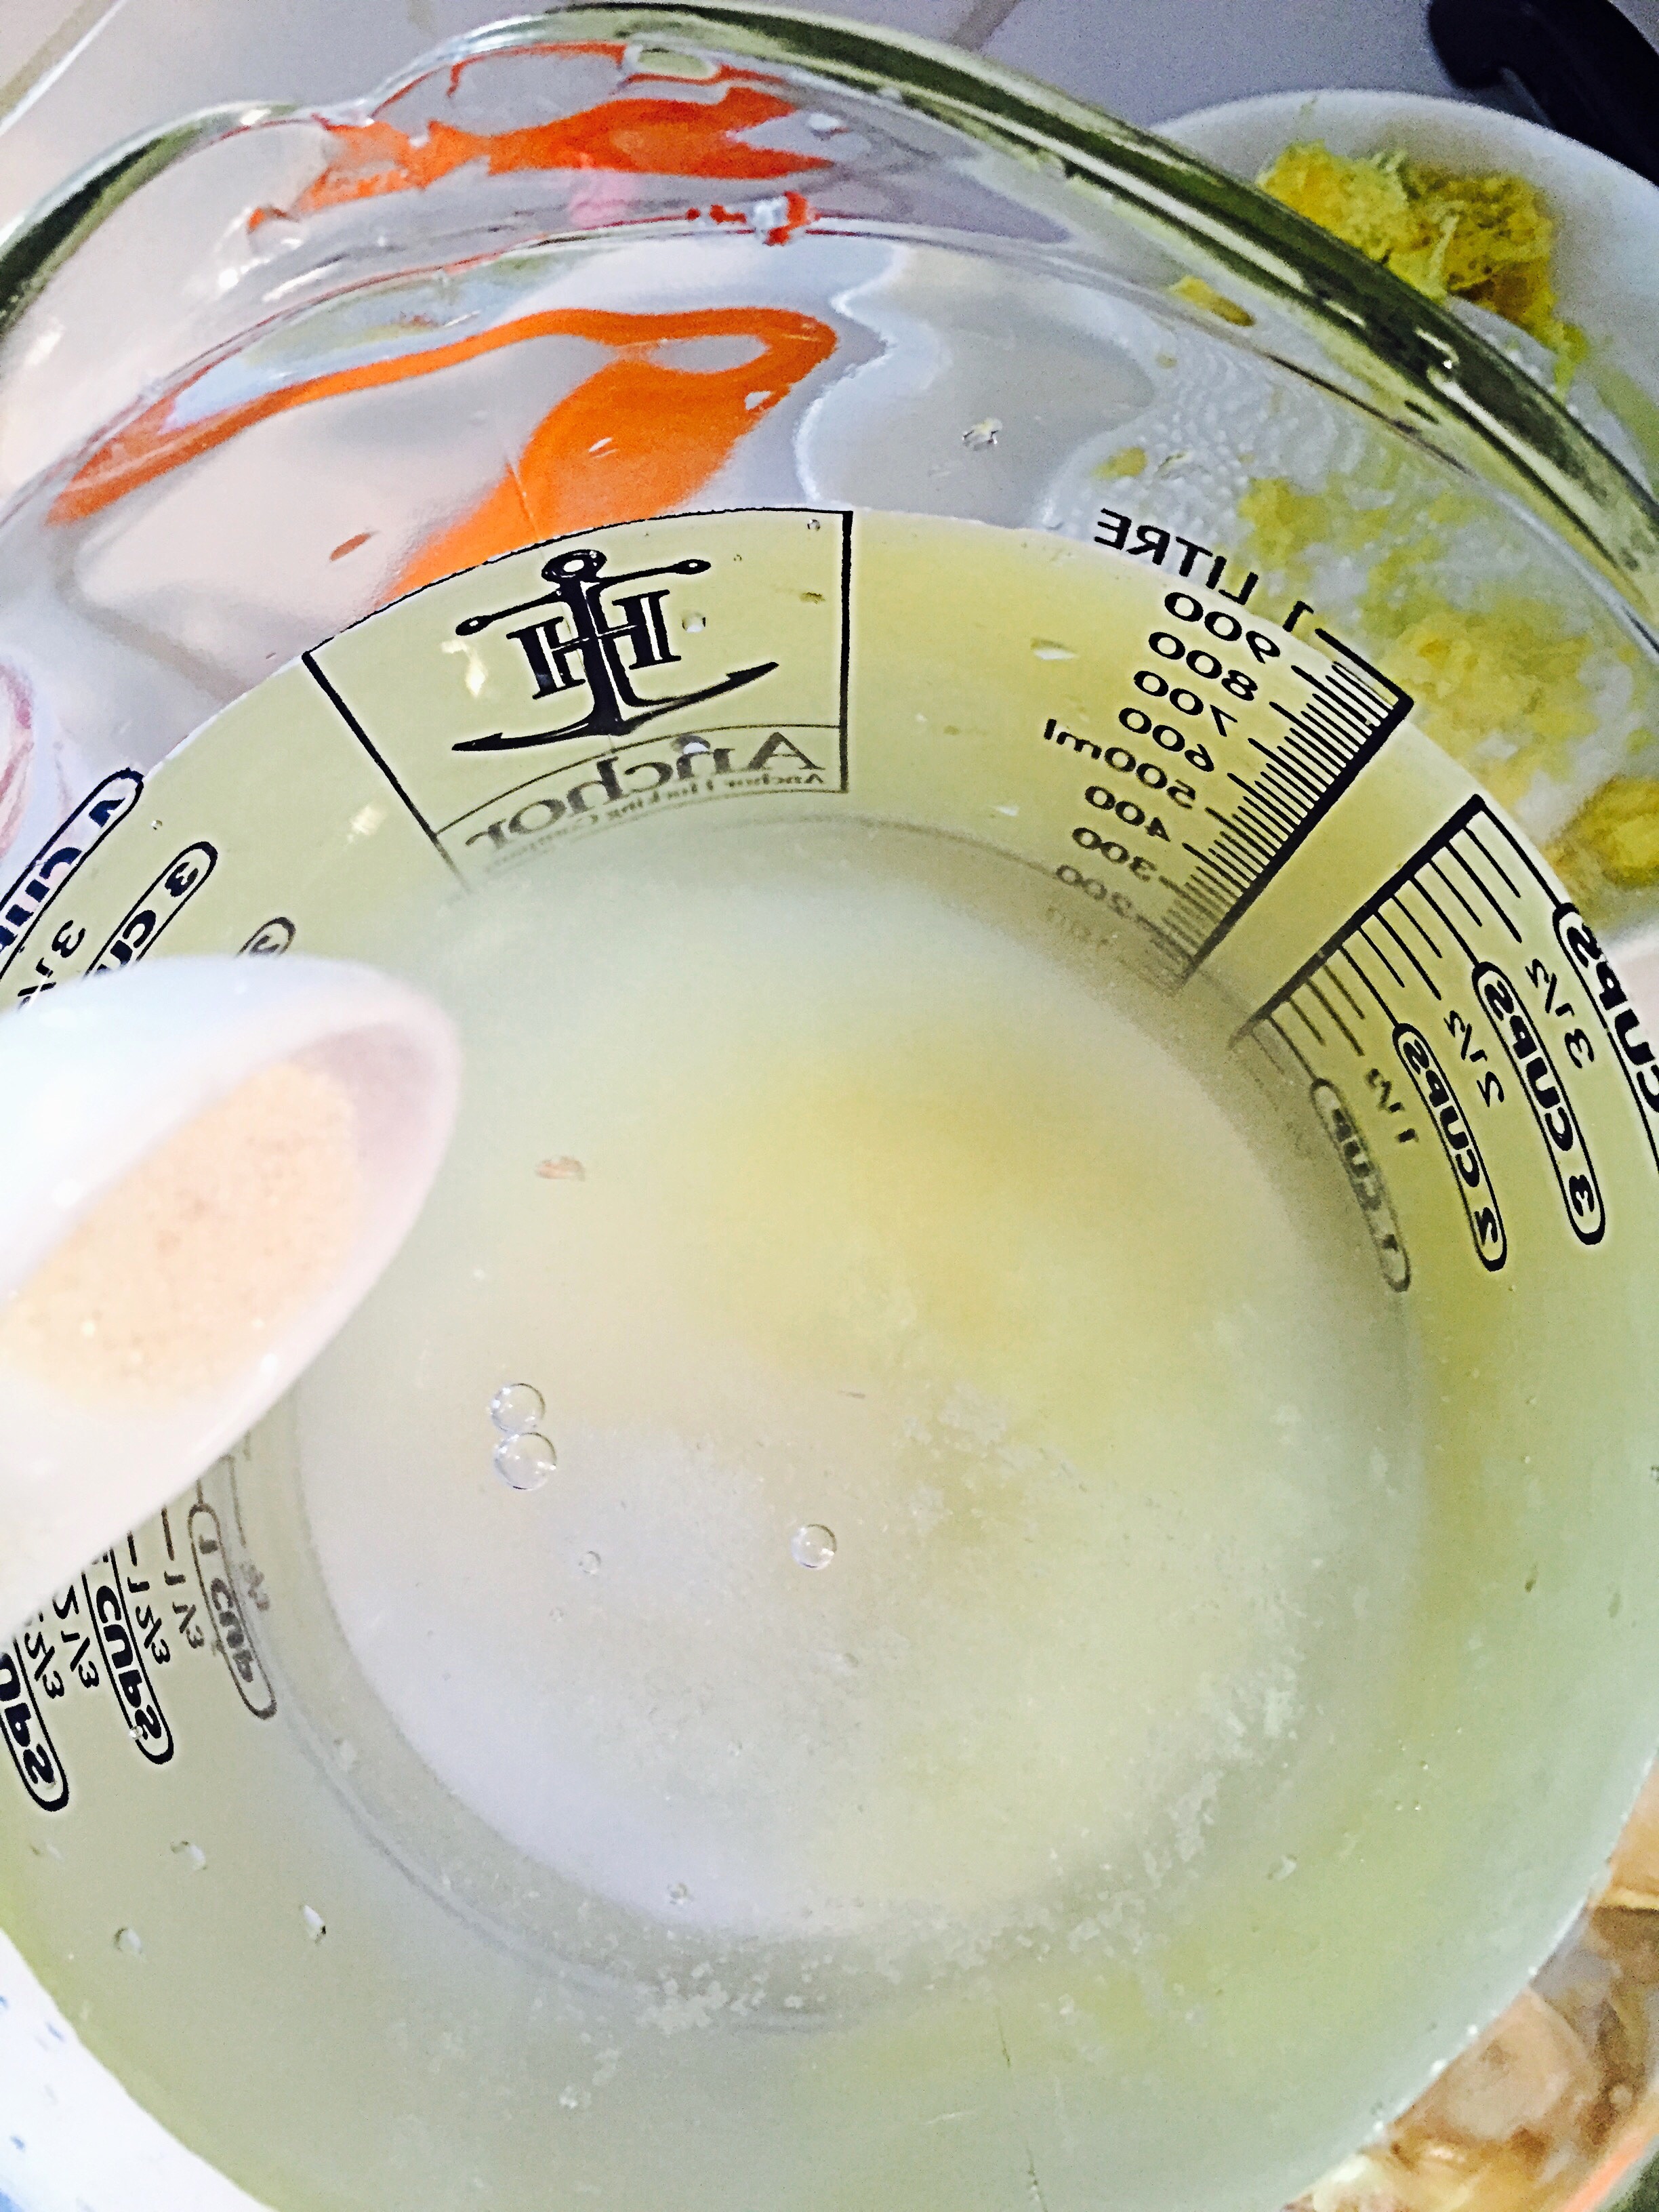
cover with cheesecloth and place in a dark corner.

image

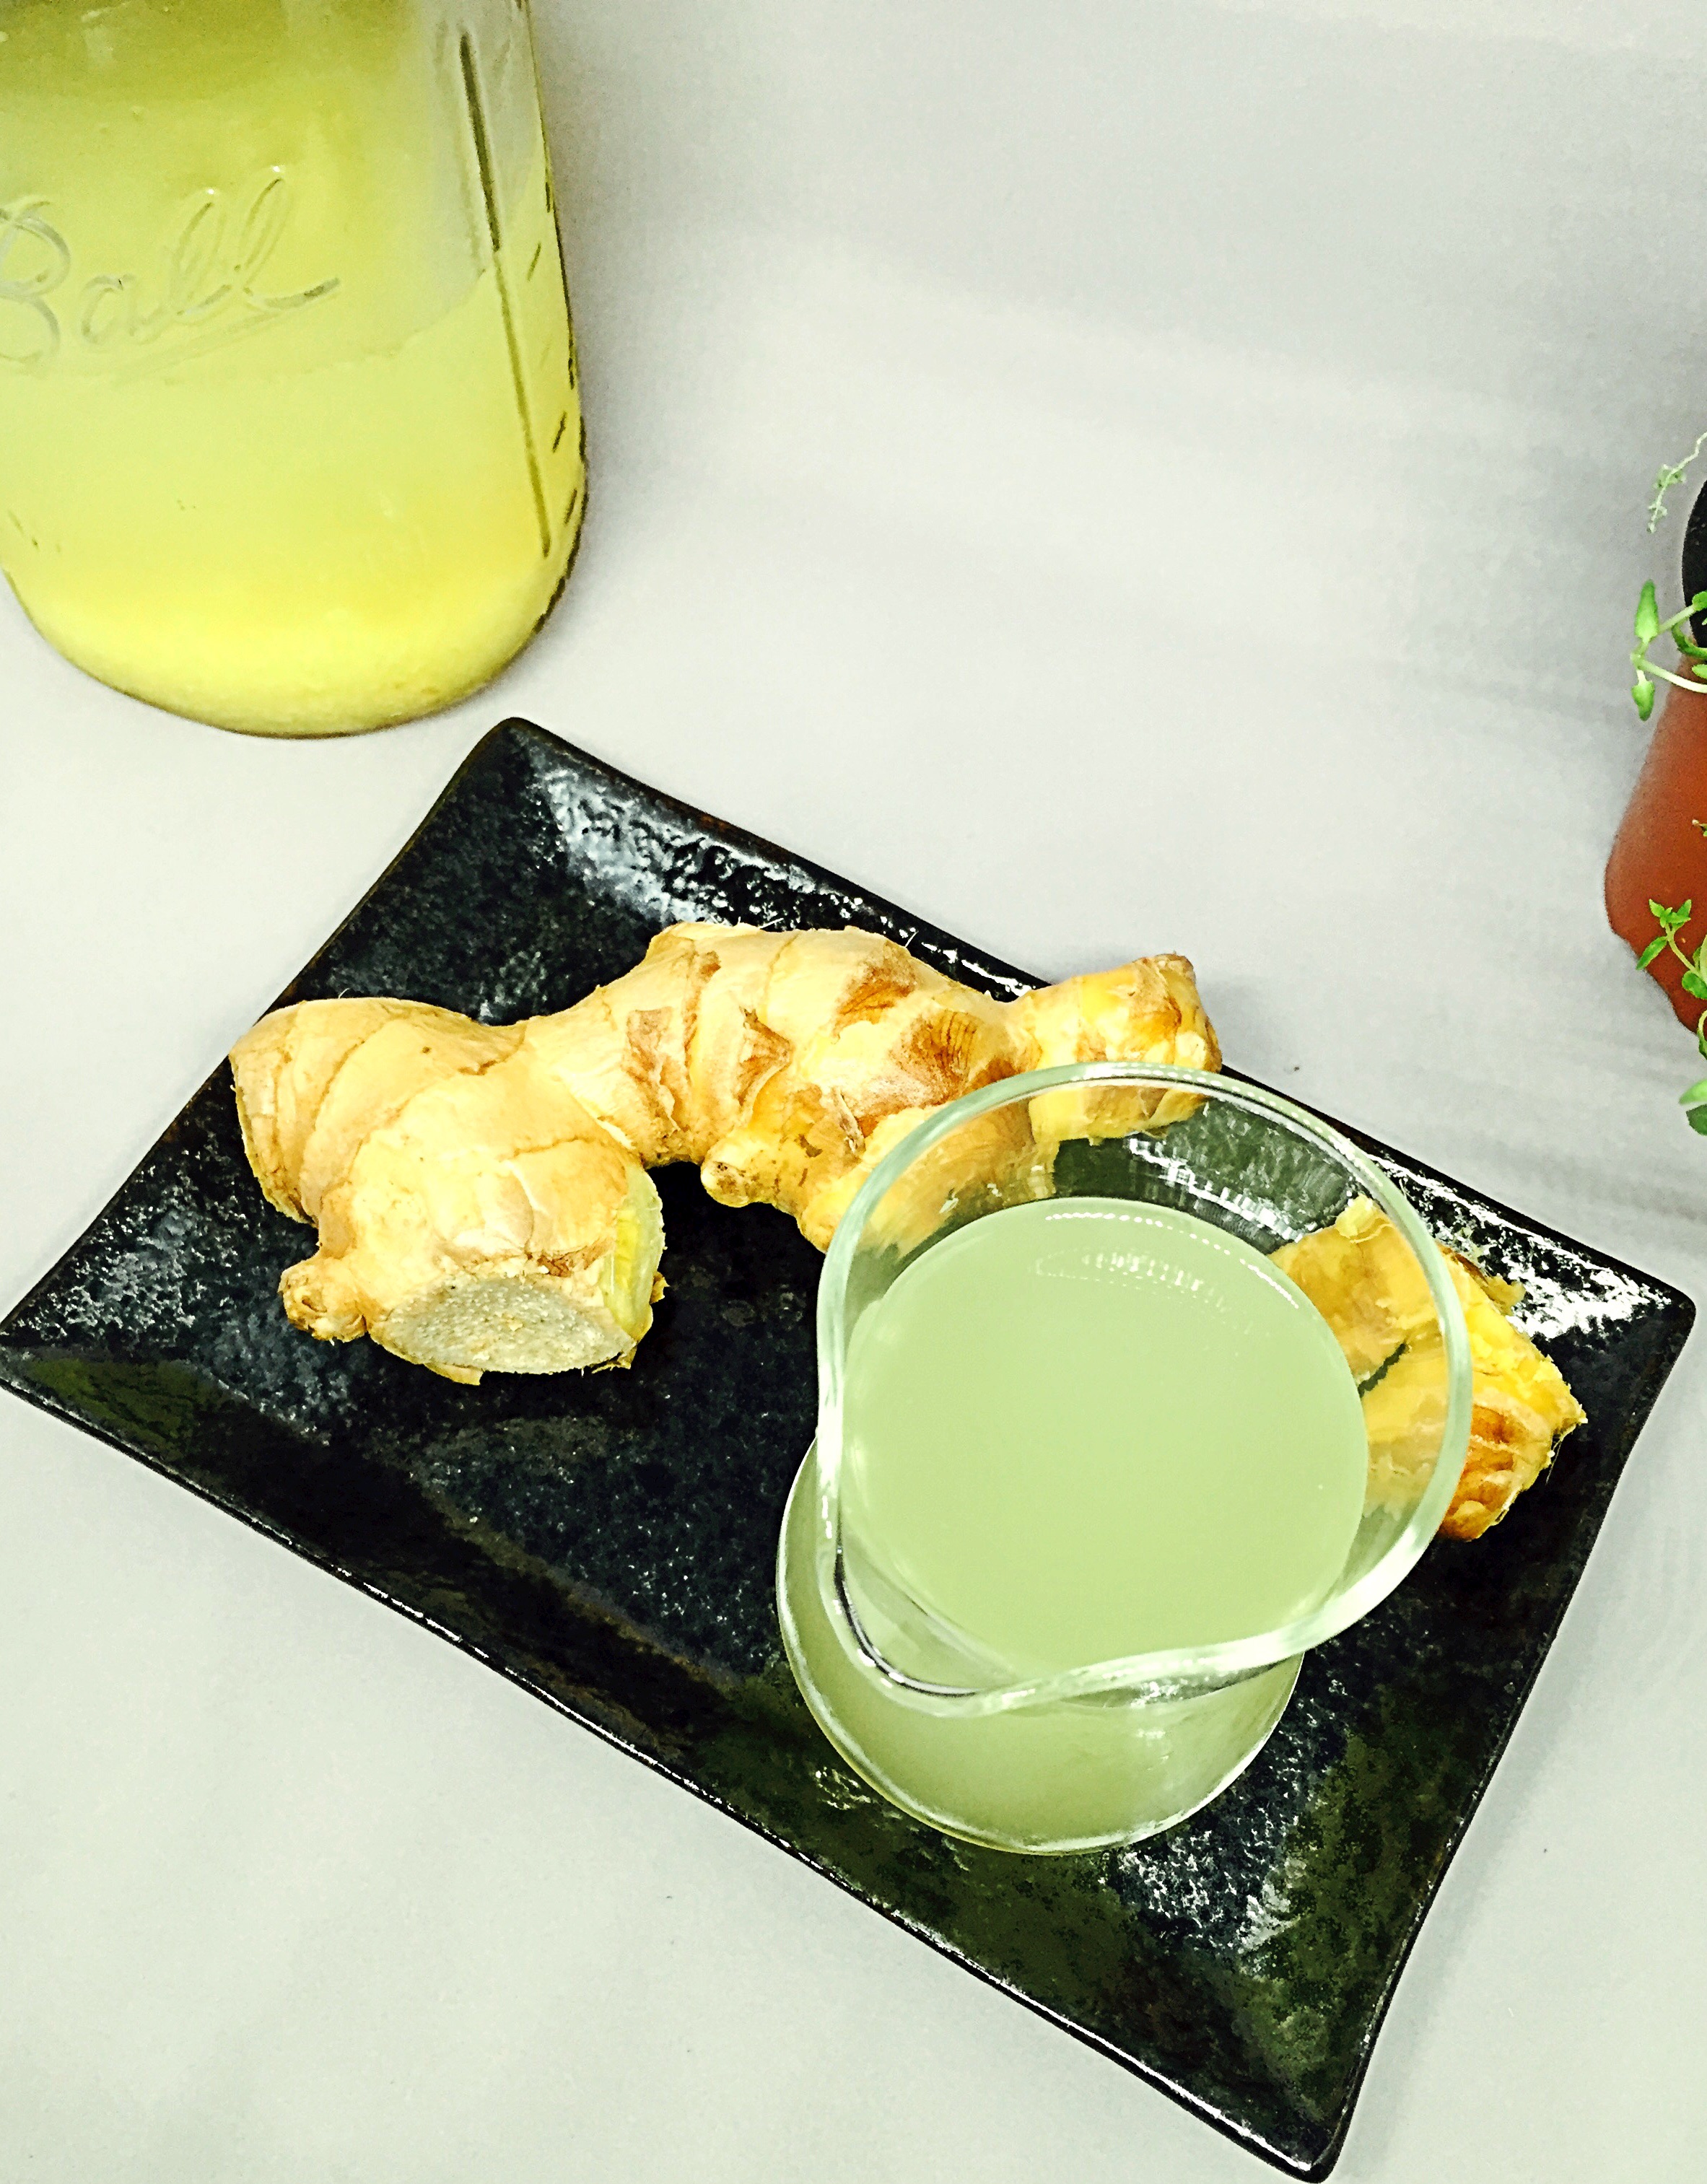
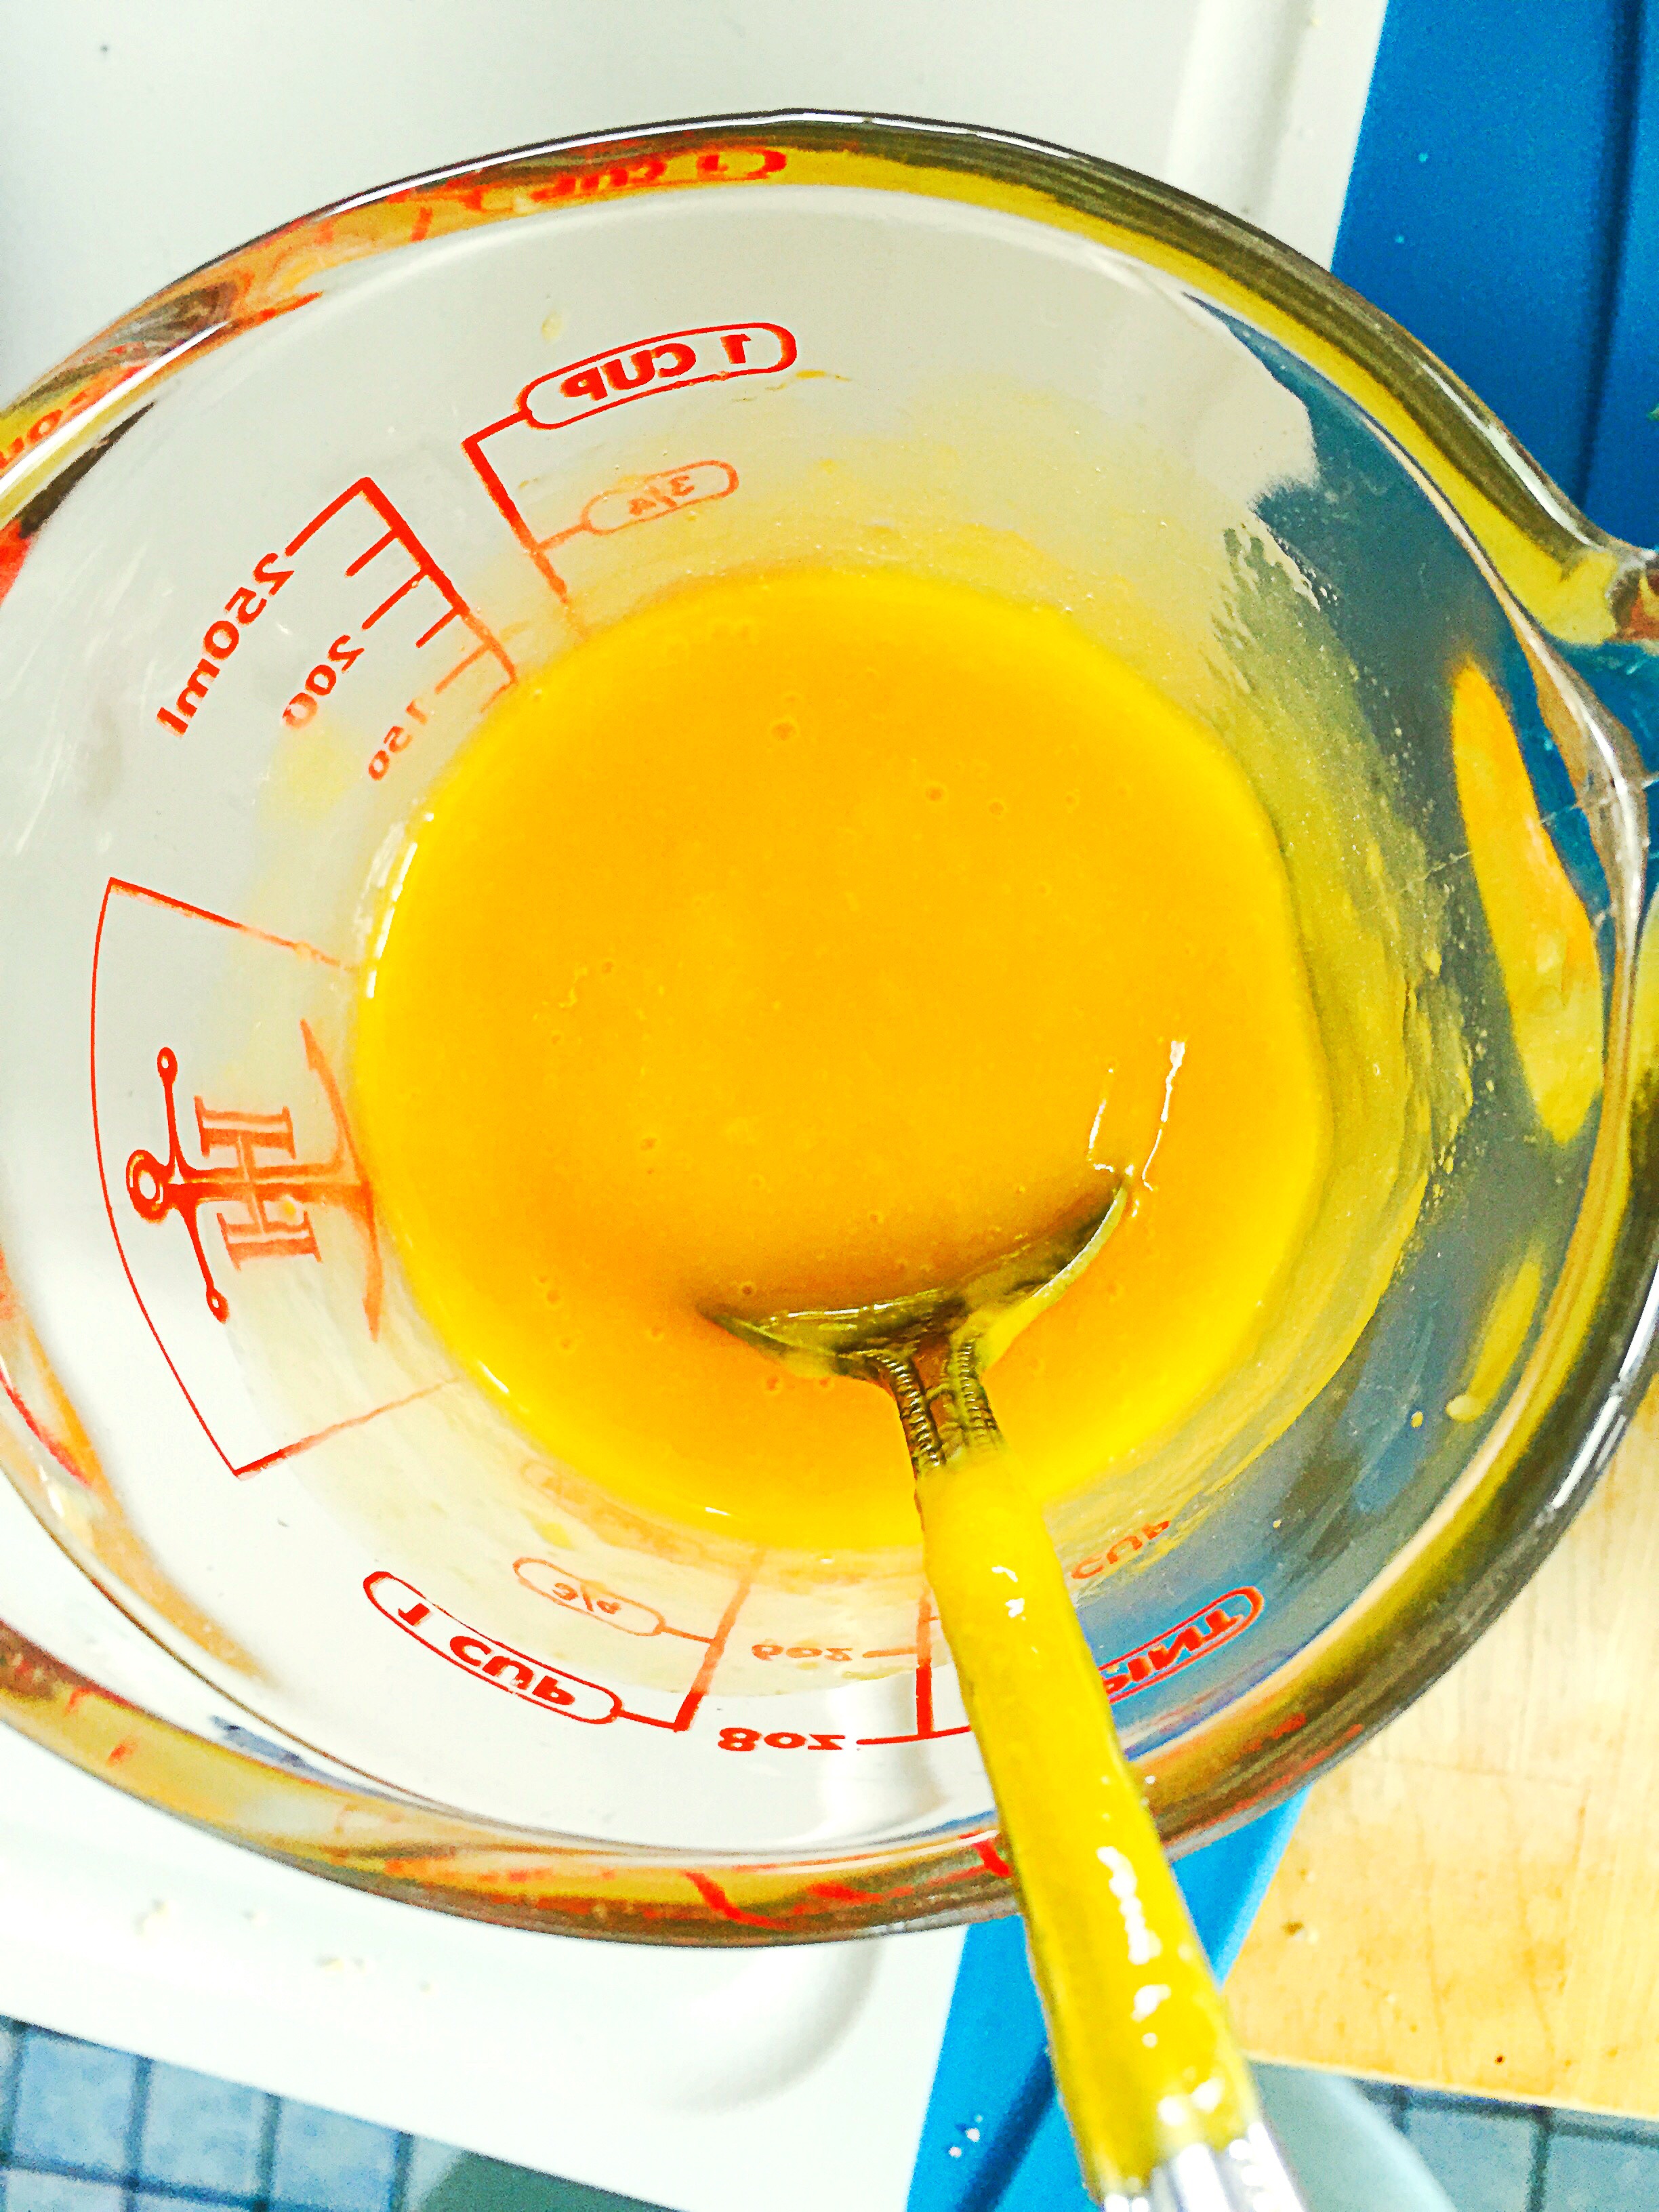
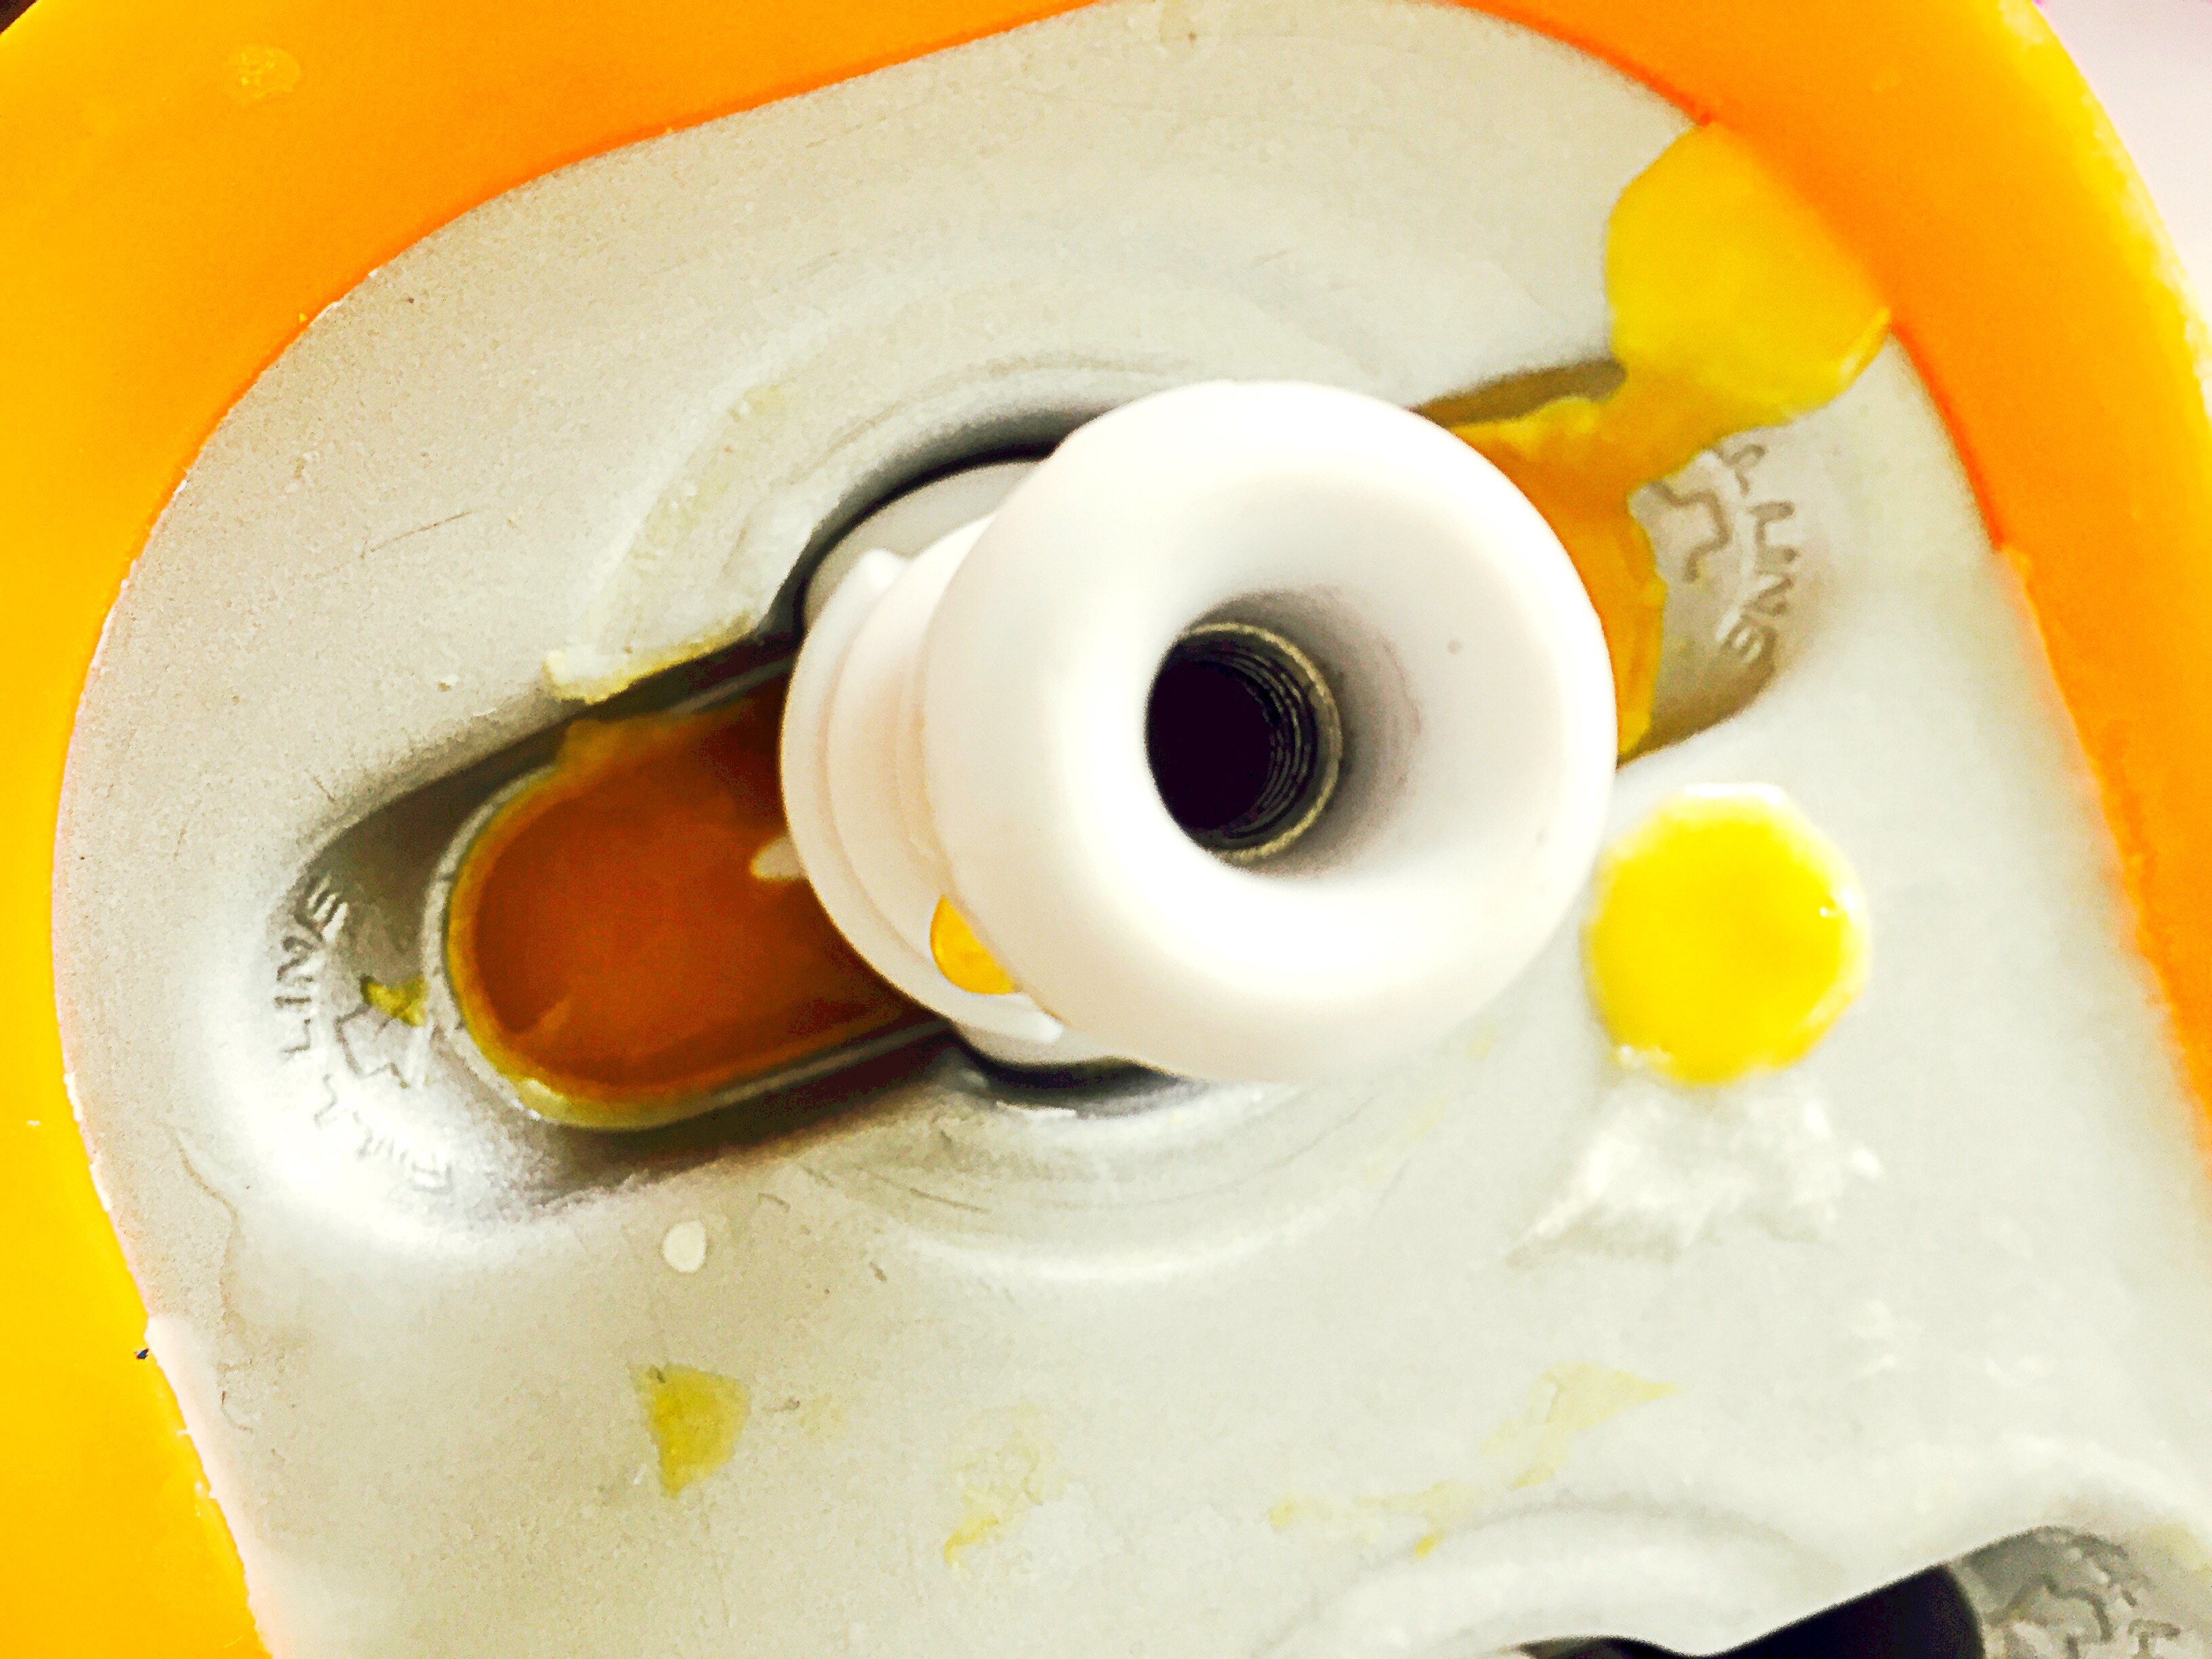
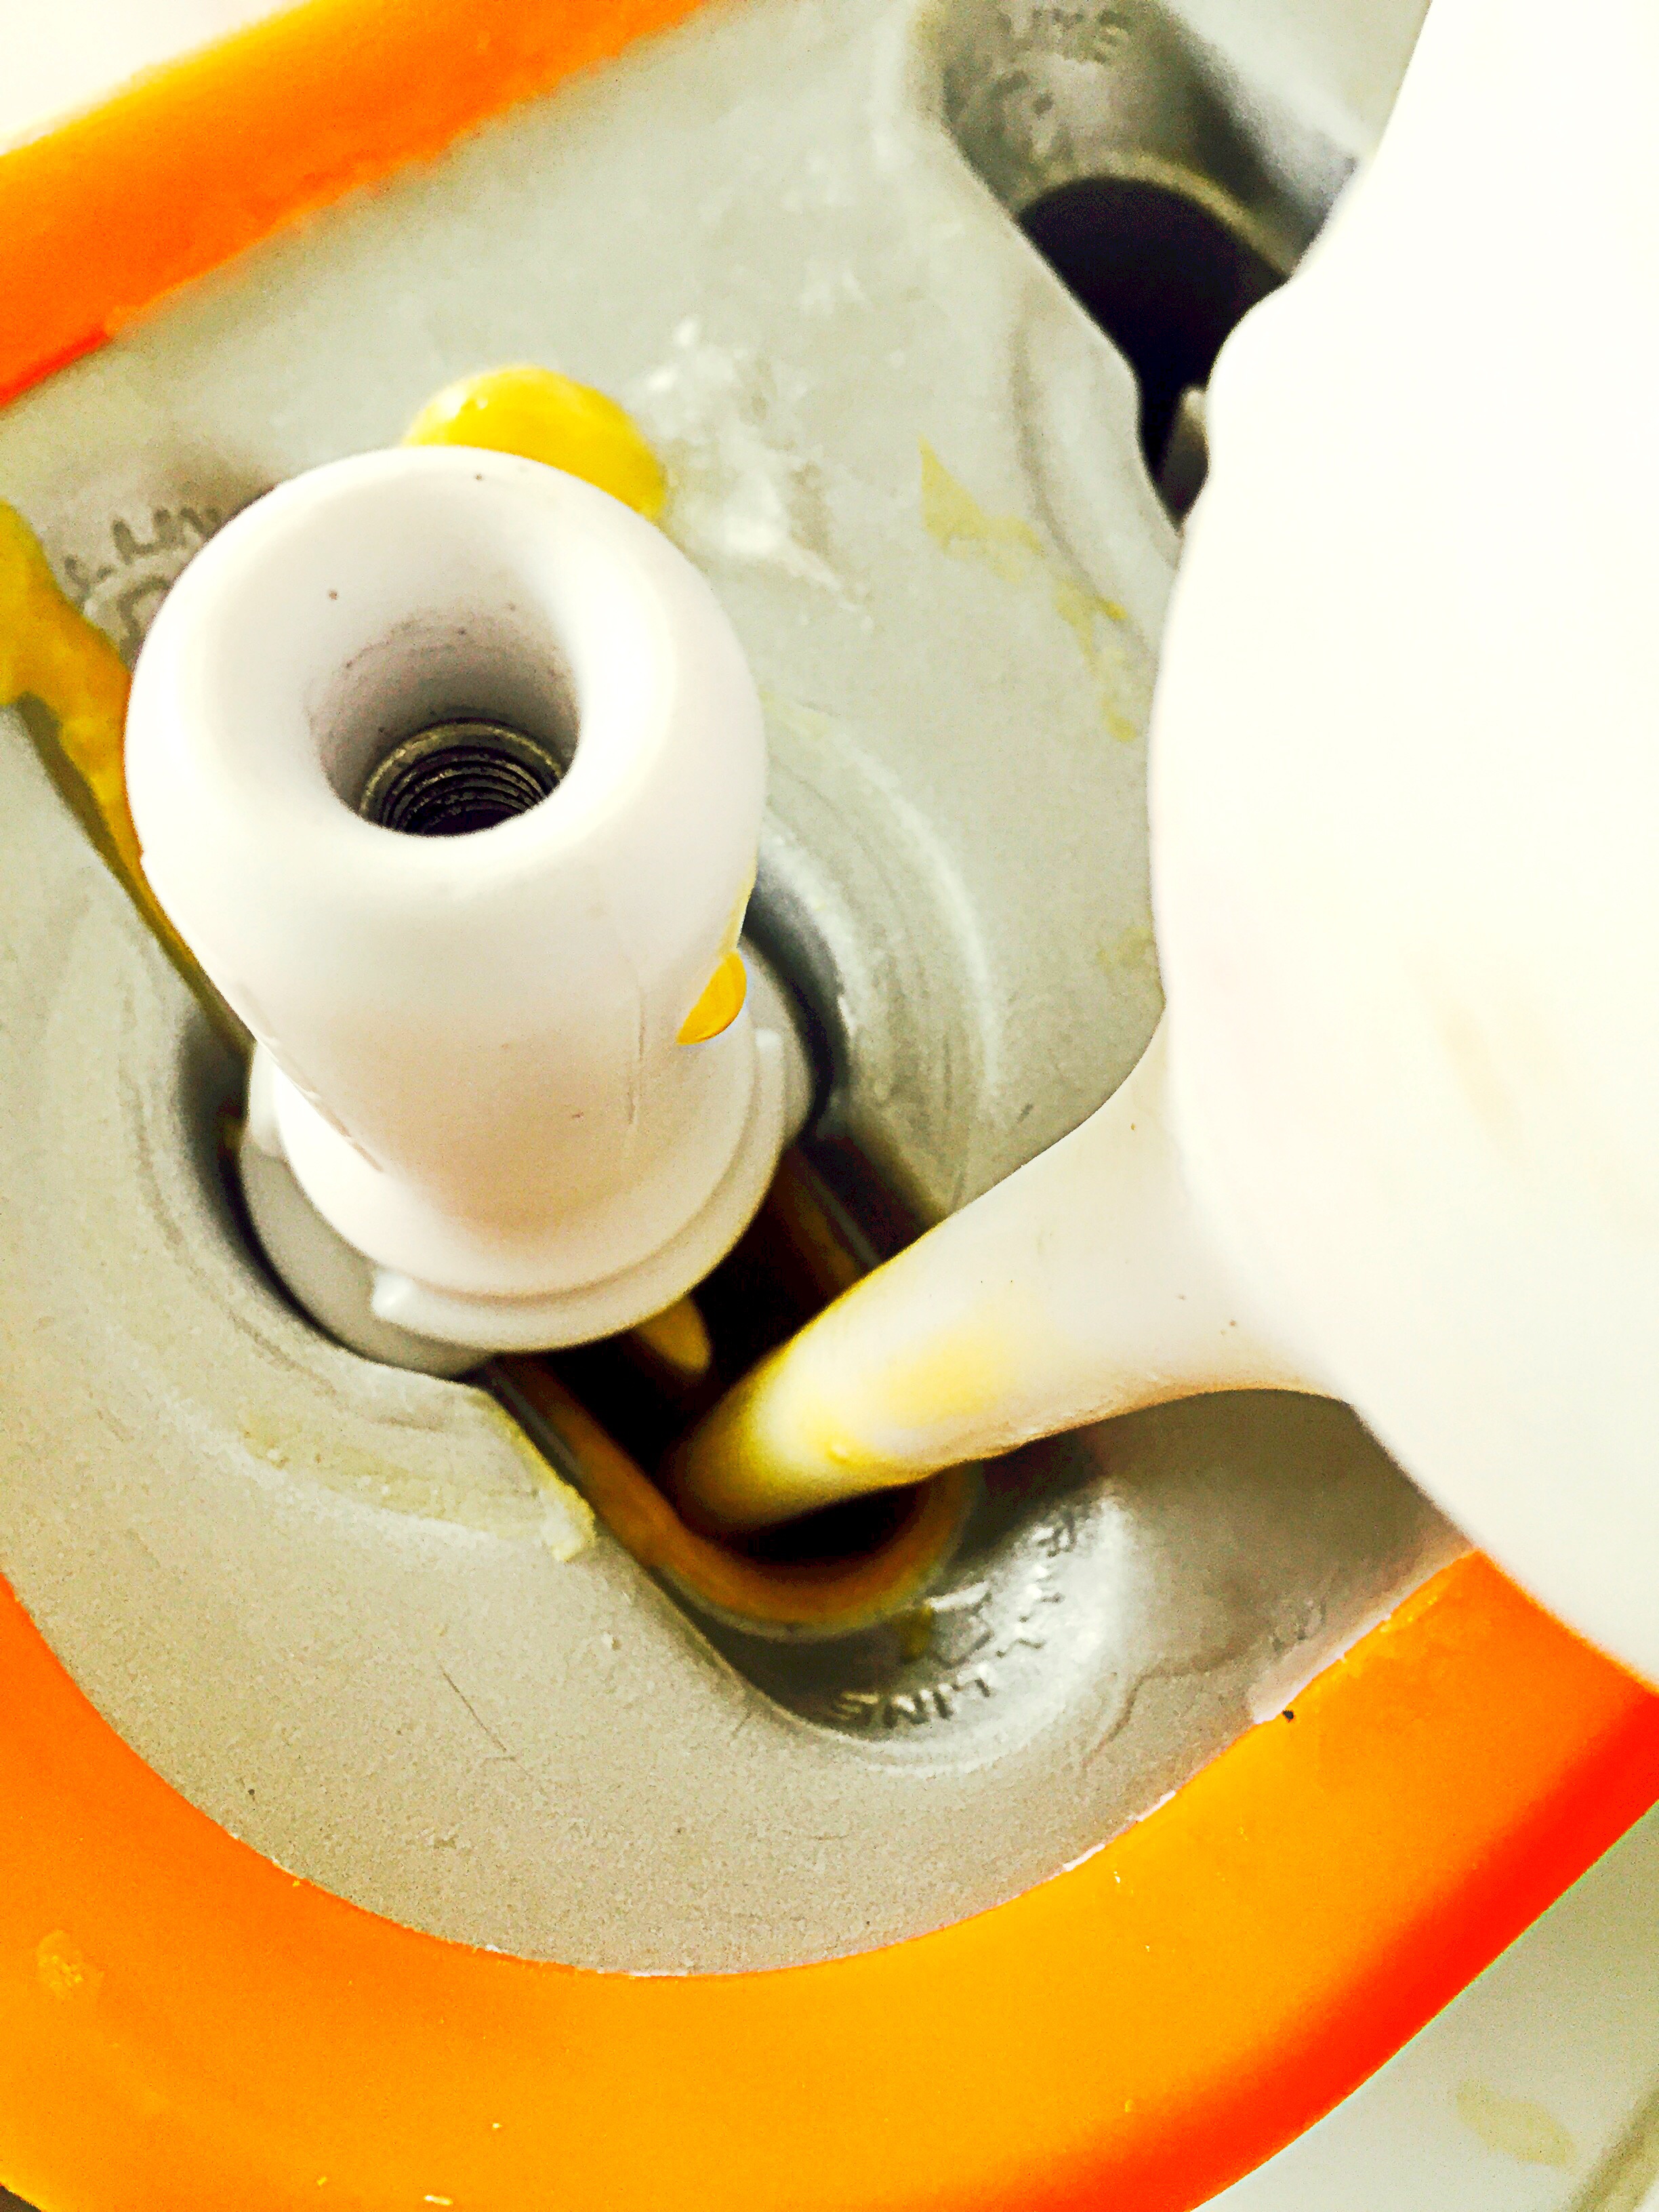
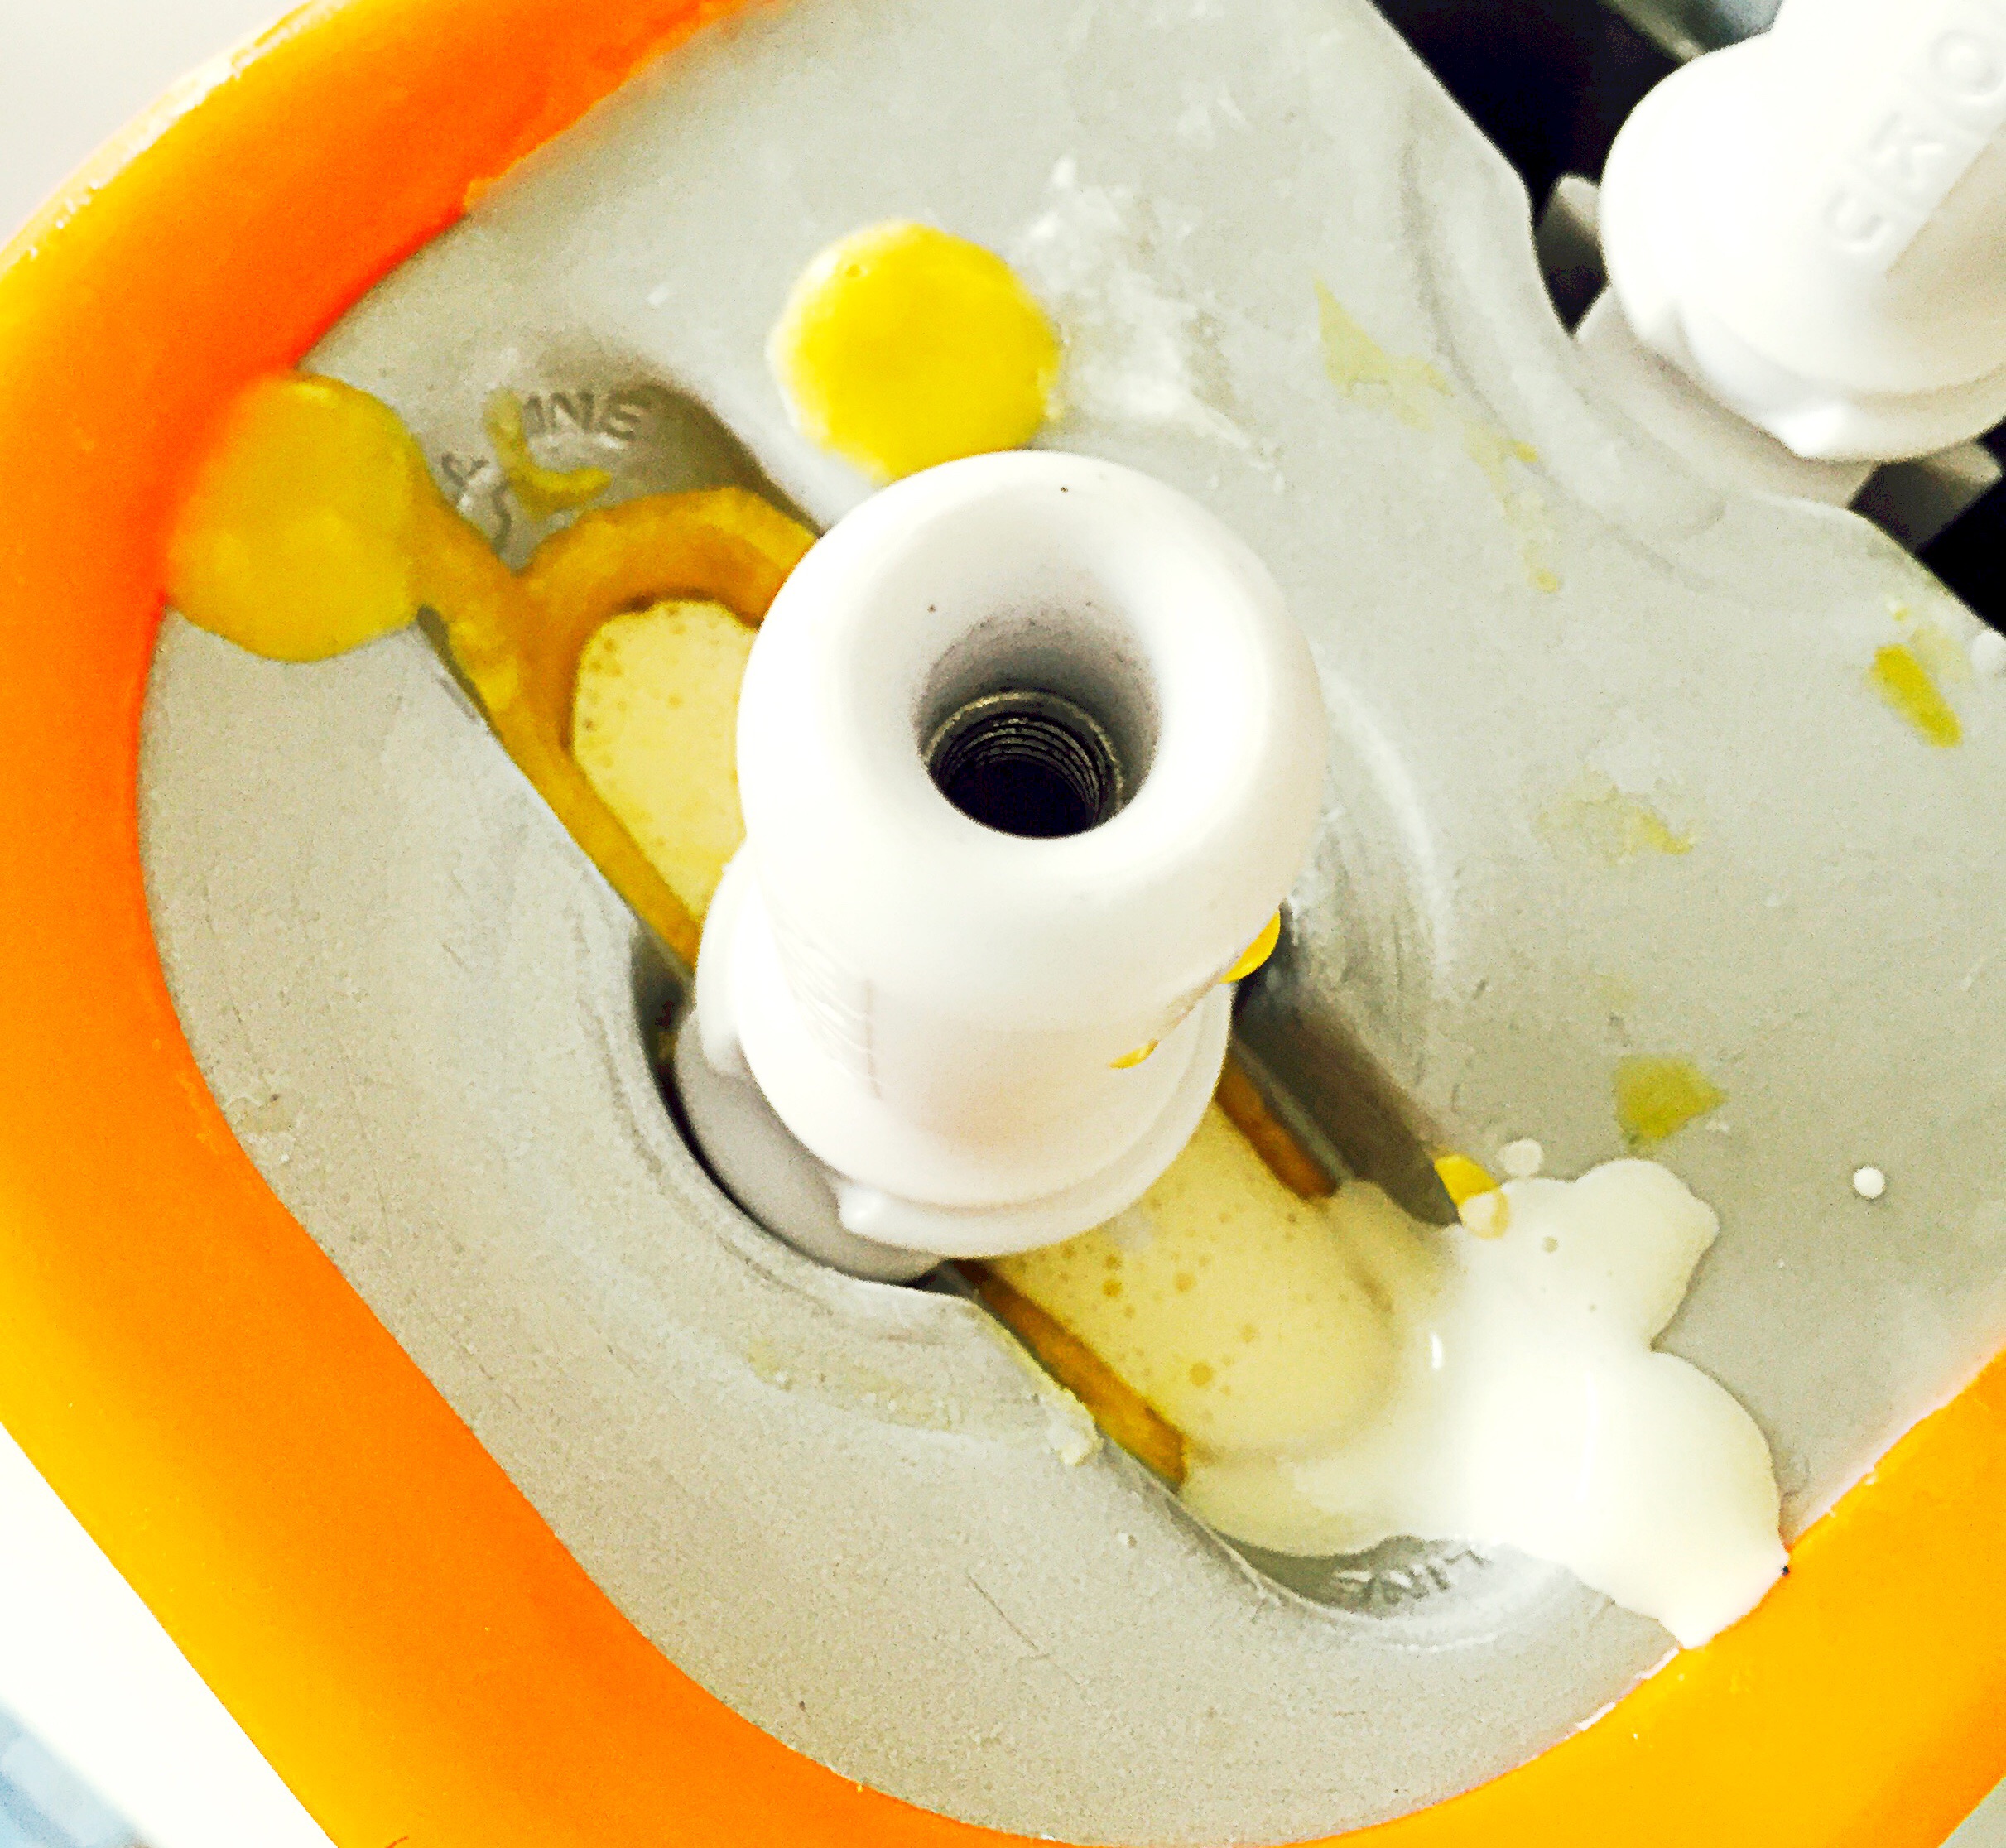
The next day add one teaspoon of ginger, and one teaspoon of sugar, stir well, cover with the cheesecloth and return to the corner.  Continue to do this for another 3 days.  By the 5th day your ginger bug should be bubbling with action.  By bubbling I mean this:

image

The bubbles are not boiling, just a few here and there, but when I moved it with spoon it sizzled.

image

image

image

Once you get that, your ginger bug is ready to use. If you’re not ready to use it right away, transfer it to a mason jar, cover it, and refrigerate it.  Make sure to feed it once a week with 1 teaspoon of ginger and 1 teaspoon of sugar.  When you’re ready to make soda bring the starter to room temp, feed it with 1 teaspoon of ginger and 1 teaspoon of sugar until it bubbles again, about 3 days.  Stay tuned tomorrow I’ll share my recipe for strawberry soda using this starter–it’s soooooooooooooooo good!

image

Miso Butter–How to Make Miso Butter

How to Make Miso Butter

How to Make Miso Butter

Butter is delicious all on its own, I love adding it to sauces, slathering it on piping hot corn on the cob, or a simple piece of toast. There is not much that butter doesn’t improve.  However, miso butter is the younger, prettier, and more sophisticated sibling of butter. It’s everything butter is, but better! I was introduced to miso butter by David Chang after watching a chef series he did.  Frankly, I don’t know why I never tried making miso butter before.  I have had it several times at restaurants, and was always fascinated whenever chefs mentioned using it. I guess it just never occurred to me to try to make it at home–until it did–and now I can’t live without it.  Most chefs recommend using a 2 to 1, or 3 to 1 ratio of butter to miso.  I found my sweet spot is larger on the butter side, so my ratio is more of a 4 to 1. Tomorrow I am going to share one of my absolute favorite ways to use miso butter, until then here is how you make it.

Pin It!

Pin It!


Prep time: 5 minutes


Ingredients:

2 tablespoons of white organic miso

7  tablespoons of grass fed butter–cut into cubes–it makes mixing easier

Directions: To a medium size bowl add the butter,

image

Then the miso.

image

Using  the back of a large spoon, mix and mash together the butter and miso paste until well combined.

image


image

You’ll know the butter is fully mixed when you no longer see streaks of brown or yellow.

image

Once the butter and miso have been well combined, transfer to an air tight container and refrigerate for later use.

image

image

This butter is amazing on almost everything, from steaks to veggies and fish!  See you tomorrow;-)

If you like this recipe try my recipe for How to make Butter or How to brown butter


DIY Onion Soup Mix–Copy Cat Lipton’s Onion Soup Mix


DIY Onion soup mix

DIY Onion soup mix

There are three seasonings that I can rely on my mom to have in her cupboards at all times: Lawry’s seasoning salt, Lemon pepper, and Lipton’s Onion Soup Mix.  In fact while writing this, I was tempted to call her, and have her take a picture of what is inside her cupboards, just so that you guys could see, but she’s not that technologically savvy.  She barely knows how to get the pictures that I send her of Page through text.  When I was growing up my mom would rent  4-5  movies and make a bunch of snacks for us watch over the course of the weekend.  One of those snacks was a sour cream and onion dip.  She’d take a container of sour cream and mix in a package of the Lipton Onion Soup mix–simple but delicious.  We’d happily nosh on potato chips, celery, and carrot sticks dipped in the onion dip while we watched the latest movie release from Blockbuster video–yes I just dated myself!  Oh the memories!  I haven’t had that dip in years!  I’d say a good 10-12 years, maybe longer.  It’s not something my mom makes any more.  I wanted to make it for me and my hubby, but I didn’t want to buy the Lipton’s seasoning. I had an idea of what was in the seasoning–or at least I thought I did– dried minced onion, onion powder, dried green onion–but to be sure I called my mom and asked her what was on the ingredient list.  Sure enough she had a box in her cupboard and  the ingredient list she read to me was anything but simple. Besides the MSG, onion powder, and cornstarch, there were a list of ingredients that had  nothing to do with onions. So I set out to do what I do best and made my own–without all the added preservatives and coloring.  I used the organic onion powder that I made myself, and added minced onion and a few herbs.  A perfect match! Tastes just like I remember it! Delicious!!

Pin It!

Pin It!


Makes the equivalent of 1 package of Lipton Onion soup mix

Ingredients:

4 Tablespoons of organic dried minced onion flakes

3 teaspoons of organic onion powder

1 teaspoon of organic dried chives

1 teaspoon of sea salt

1/4 teaspoon of celery salt

Directions: Mix all ingredients together in a small bowl, if you don’t plan on using this right away, transfer it to an air tight container for later use.

image


image


image


Mango Creamcicles

Mango Creamsicles--Mango Half and Half Bars

Mango Creamsicles–Mango Half and Half Bars

Yesterday marked the official kick off of the summer season, and nothing screams summer more than a creamsicle! They’re the perfect blend between a popsicle and ice cream–half popsicle and half ice cream–doesn’t get much better then that!  If you don’t have a Zoku Quick Pop Maker–order one! It will more than pay for itself.  If you just refuse to spend the extra $10-12 to upgrade from your popsicle molds, then go ahead and use your popsicle molds, but you will not get the creamy center  you get from a typical half and half bar.

Pin It!

Pin It!

Ingredients:

1/2 cup of mango puree

1/4 cup of water

1 cup of organic coconut cream can sub with heavy cream or half and half

1 teaspoon a vanilla extract

2 tablespoons  of maple syrup or sweetener of your choice

Directions: To a cup add the cream vanilla extract, maple sugar, mix well and set aside.  To another cup add the mango puree and water, and mix until mango puree is thinned out.

image

If using classic pop molds, place all ingredients in a blender and blend until well combined.  Divide mixture evenly among molds and freeze for 6-8 hours or until frozen solid.

If you are using the Quick pop maker, Pour the mango juice into the molds and allow to set for 2-3 minutes.
image
At the 3 minute mark siphon out the remaining unfrozen juice with a straw or a unused infant aspirator–I purchased one just for this.  Zoku sells a tool kit for $20 which includes a siphon tool, but the aspirator is $3 and does the job equally as well.
image
 After you have removed all of the juice, pour cream into the molds, and allow to set for another 4-5 minutes, then follow the directions for removing the pops.
image
image
image

D.I.Y. Mango Fruit Roll-ups-How To Make Dehydrated Mango Treats

DIY Mango Fruit Roll-Ups

DIY Mango Fruit Roll-Ups


My friends are a kind and generous bunch! They are constantly giving me gifts–beyond the gift of friendship!  My friends supply me with a constant supply of treats.  I went out to lunch with two of my best girls friends the other day, and came home with a gift box of mango’s! Sweet, delicious, and ultra creamy, I did not want them to go to waste, before we got the chance to eat them all.    One of my favorite dried fruits to eat, besides pineapple rings, is dried mango.  But it’s so hard to find mango’s that have not been soaked in sugar.  The best thing about making these yourself, is that you don’t have to worry about that.  Page loved these treats even more than I did, I cut them into bite size pieces with a pastry cutter after they were done.  You could also use a pizza cutter.


Pin It!

Pin It!


Ingredients:

6 mango’s, skin and pits removed


Directions: Place mango in blender:

image

Blend until smooth.

image


Pour out onto parchment paper and smooth out evenly.

image


Place in oven, or dehydrator on 135 degrees Fahrenheit, or the lowest setting on your oven, for 6-8 hours. 

image

Remove from parchment paper, roll, and enjoy!

image


image

If you like this recipe you’ll love these: Pear Fruit Roll-ups, Strawberry-Apple Fruit Roll-ups, Pineapple Fruit Roll-ups, Tropical Punch Fruit Roll-ups, Strawberry Fruit Roll-ups

Crispy Pork Larb!

Crispy Pork Larb

Crispy Pork Larb

This is one of those dinners that is both healthy and delicious.  Trust me when I tell you when you take one bite of this you will be forever grateful that I started this blog–yes it’s that good!  For those of you who do not know, larb is a thai street food.  It’s so good that it’ll make you question how we do street food in America.  It’s bright, fresh, and full of the umami flavors that will make you go Mmmmmm… If you don’t fancy pork, no problem, you can try this with ground chicken, turkey, or even lamb and beef.  Check out my recipe for Chicken larb here.  This is one of my favorite ways to use ground meat, it’s so simple that this meal almost makes itself!

Pin It!

Pin It!


Prep time: 5 minutes

Cook time: 10 minutes


Ingredients:

1 pound of ground pork

3 large cloves of garlic thinly sliced

1/4 cup of diced red bell pepper

1/2 of a red onion, sliced thinly

1/2 cup of fresh mint leaves

1/2 cup of fresh basil leaves

1/2 cup of fresh cilantro leaves

1 head of romaine lettuce, leaves removed to use as cups

1/2 cup of sliced persian cucumbers

1/3 cup of fresh lime juice

1 tablespoon of a good quality fish sauce, I used red boat

2  tablespoons of soy sauce

1/4 cup of water

Sea salt to taste

2 tablespoons of cooking oil of your choice

red pepper flakes to taste

Directions: Heat oil, garlic and red bell pepper and cook until garlic is fragrant–about 15 seconds.

image

Add in ground meat season with sea salt and cook until brown about 5-7 minutes.

image

Once brown, add in soy sauce, fish sauce, water and red pepper flakes if using.

image

Cook until liquid evaporates and pork is brown and crispy about 2 minutes. Add in lime juice, toss well, remove from heat.  Add the meat to the lettuce cups, top with a generous amount of the fresh herbs, cucumbers, red onion, red pepper flakes, and a squeeze of additional lime juice, enjoy! So good!


image

image

Herbaceous Grilled Lamp Chops

Herbaceous Grilled Lamb Chops

Herbaceous Grilled Lamb Chops

Last weekend I visited a Persian market.  The market filled me with all sorts of food inspiration, but it mostly left me with a strong desire to eat lamb.  I guessing that desire came from the cooked foods section, which had fresh lamb kabobs and shawarma. The market also housed a rather large meat department, it had lamb in every form, hooves, hearts, livers, basically every part of the lamb that a better cook than I am could possibly want to cook. A far cry from the selection at my local Whole Foods! I feel like I hit the lottery if they have stewed lamb meat once every 4 months.  Wouldn’t it be fabulous to be able to walk into your local market and find, um..choices?  Like ramps in the spring time, in California–but I digress.  Let’s just say, I left the Persian market with market envy.   I shop at Whole Foods so often that when I go into a conventional grocery store, I’m always amazed at how inexpensive things are.  Haha..call it reverse sticker shock! Thank you Whole Foods!  Surprisingly, I did not leave the Persian market with lamb.  I did find some great spices, some pomegranate molasses, and a few other great items.  I left with my new finds and a mission to cook these lamb chops.

Pin It!

Pin It!


Ingredients:

1 lb lamb chops

2 tablespoons of fresh rosemary, finely chopped

4-5 cloves of garlic minced

1 teaspoon lemon powder, can sub with lemon zest

1/2 teaspoon of olive oil

Directions: To a small bowl add garlic, rosemary, lemon zest and oil, mix well.

image

Dry lamb chops, season generously with sea salt. Rub the lamb chops with the herbaceous garlic paste.

image

Place lamb chops on a hot grill, and cook for 5-7 minutes on each side, or until lamb chops are cooked to your liking.  Remove from grill, serve with a fresh squeeze of lemon and enjoy!

image

D.I.Y. Chicken Breakfast Sausage-How to Make Breakfast Sausage

Chicken Breakfast Sausage

Chicken Breakfast Sausage


One of the most difficult parts of the day for me is deciding what to feed Page for breakfast.  Like any child, she’s opinionated about what she’ll eat, but she seems to be more obstinate in her choices during breakfast.  She doesn’t eat what I imagine most kids do in the morning, no breakfast cereals, or breakfast bars.  She is more into things that take more time, like eggs, bacon, quesadillas! She loves a hot meal to start her day off, so this week when I went shopping, I thought I’d switch things up a bit and make some homemade breakfast sausage for her.  I’m using ground chicken for this recipe, but feel free to use pork, if you’re so inclined.  The fresh herbs in this recipe are what make these sausages amazing! What’s more amazing is that you don’t need to grind the meat yourself.  Order a pound or two of ground chicken from your  meat guy/gal add some fresh herbs and BAM–Jimmy Dean style sausages for you and your loved ones.  These would be perfect for Sunday Brunch, or for your Mother’s day breakfast–point your husbands right to this site.  One pound of ground chicken made about 12 sausage patties.  I put 5 in the refrigerator, and froze the rest for later use.  If you don’t plan on cooking these within 5 days of making them, then I suggest you freeze them right away.

Pin It!

Pin It!


Prep time: 10 minutes

Cook time: 8 minutes


Ingredients:

1 lb of Organic air chilled ground chicken (dark meat)

2 tablespoon of fresh sage (finely chopped)

2 tablespoons of fresh thyme (finely chopped)

1 teaspoon of fresh rosemary (finely chopped)

1 tablespoon of maple sugar (can substitute with maple syrup or brown sugar) Omit if you’re on Whole 30

1 teaspoon of sea salt

1 teaspoon of red pepper flakes (more if you want)


Directions:  Add the ground chicken and spices to a medium sized bowl,

imageMix until combined.

image

Form patties, and either refrigerate for up to 1 week, or freeze in an air tight container for up to 3 months.


When ready to cook, spray a cast iron skillet with coconut oil, bring pan to temperature, then add patties, cook for 3-4 minutes on each side,

image

or until golden brown, and meat is cooked through in the center.

image

Remove from pan, serve and enjoy!!!

image

Persian Spiced Salmon Kabobs

Persian Spiced Salmon Kabob's

Persian Spiced Salmon Kabob’s


I love a good kabob and lately I’ve been craving them.  Salmon is such a hearty fish, and there are many great ways to prepare salmon, but when you want to switch things up a bit–grilled salmon is the way to go.  I made a paste to adorn this salmon, and it’s rich in Mediterranean flavors.  I used sumac, which can be found in any middle eastern store, or in your local Trader Joe’s–it’s where I got mine.  Sumac is tart,  sour and is often used in place of lemon in middle eastern recipes.   If you can’t find sumac, then by all means feel free to substitute with the zest of a lemon.  The flavor is this dish is fantastic.  The fresh thyme was amazing! I felt like I was eating at one of my favorite Persian restaurants.  Page really loved it, and my husband could not stop with the compliments.

Pin It!

Pin It!


Prep time: 5 minutes

cook time: 7 minutes

Total time: 12 minutes


Ingredients:

1lb of salmon– dried with paper towels, de-skinned, and cubed into 1 inch pieces

1 teaspoon of sumac powder– can substitute with lemon zest

1/2 teaspoon of garlic powder

1/2 teaspoon of cumin

1 teaspoon of fresh thyme-stems removed

1 teaspoon of olive oil–or oil of your choice

sea salt to taste

Directions: To a small bowl add the garlic powder, cumin powder, fresh thyme and oil, mix well and set aside.

image

Rub the spice mixture on the salmon,

image


then add the salmon to skewers,

image


Grill the salmon for 3-4 minutes on each side, remove from grill, serve and enjoy!

image


Pineapple Rings–How to make dehydrated Pineapple Rings

Dehydrated Pineapple Rings

Dehydrated Pineapple Rings

One of my go to snacks is dehydrated fruit.  I’m a particular fan of pineapple rings.  But, if you’ve ever purchased organic dehydrated pineapple rings, then you probably know that pineapple rings are a snack that can be out right expensive! I mean outlandishly expensive! On top of the expense, it’s pretty hard to find pineapple rings that haven’t been soaked in baths of sugar.  I’m not a fan of adding sugar to dehydrated fruit.  It’s sort of an oxymoron to me that sugar is added to dehydrated fruit at all, because if you know anything about dehydration–then you know that the sugar in fruits concentrate when dehydrated, so there really isn’t a need to add sugar–unless you’re dehydrating something really tart like cranberries then I could see the purpose of adding sugar. Last week I purchased a pineapple, I fully intended to eat it fresh. However,when I cut, and tasted it– it was pretty tasteless. Disappointing for sure. The pineapple clearly needed to ferment more.  Rather than chuck it, I sliced it and put it in the dehydrator and made pineapple rings. The resulting pineapple rings were not only flavorful, but they were sweet–everything you want would want in a fresh bite of pineapple–minus the juice of course.  The pineapple rings lasted all of 2 minutes, my sister in-law, my niece and Page, gobbled them right up–I’m pretty sure they would’ve passed on the fresh slices.

Pin It!


Prep time: 10 minutes

Cook time 6-8 hrs 10-12hr for thicker slices

Ingredients:

2 whole fair trade organic pineapple

Directions: Remove the stem from the pineapple, then slice off the top and bottom.  Slice off the skin, making sure to remove all the eyelets.

image

Now slice the pineapple thinly.

image

Keep in mind that the thicker you slice it, the longer it will take to dry.  If it’s too thin your pineapple rings will turn out crisp, if they are a bit thicker, they’ll be more leathery, so it’ just a matter of what you’re seeking in consistency.  After slicing, cut out the center core by carving a circular cut in the middle of the pineapple.

image

Remove the core and discard it.

image

Place the pineapple rings on your dehydrator sheet,

image

Set the dehydrator to 135F.  If you’re doing this in the oven, set the oven to 150F or the lowest possible setting.  Dehydrate for 6-8 hours, 10-12hrs if you cut thicker slices.

image

Once dry let cool, then enjoy!

image

Page could not wait for me to take a picture, she loves these so much!

image

image

if you like this recipe, try the recipe for my pineapple fruit roll-ups!