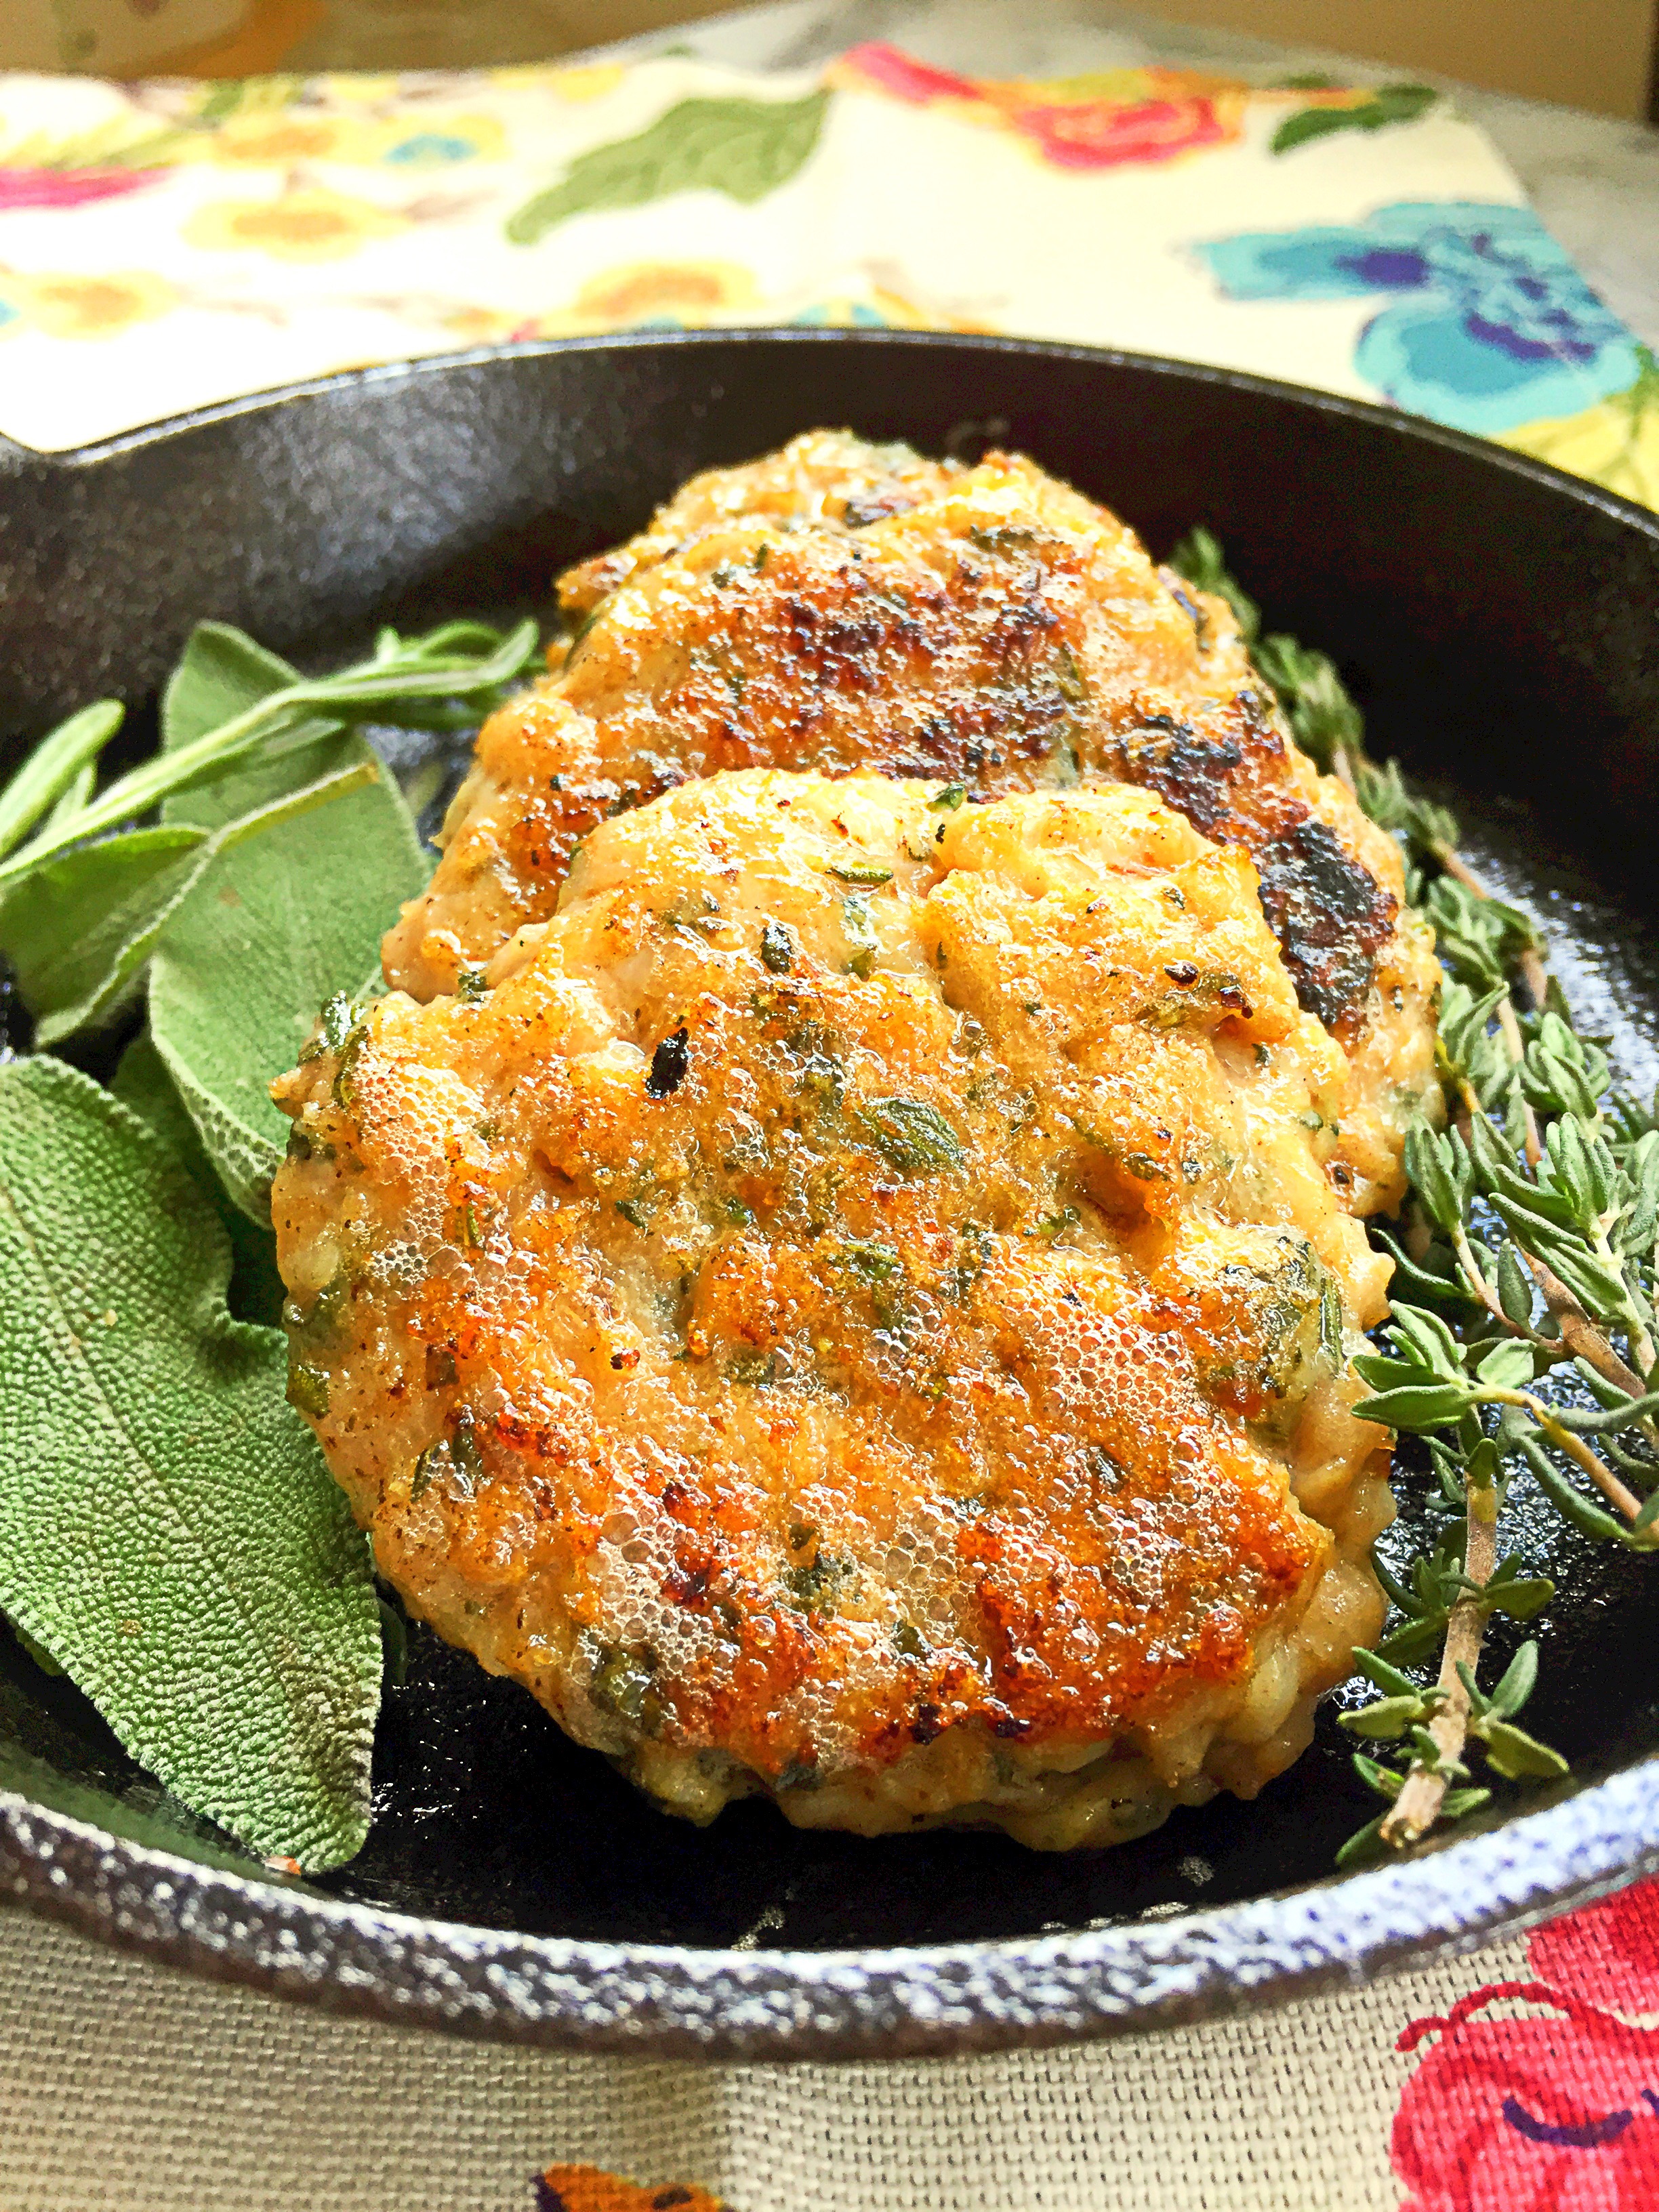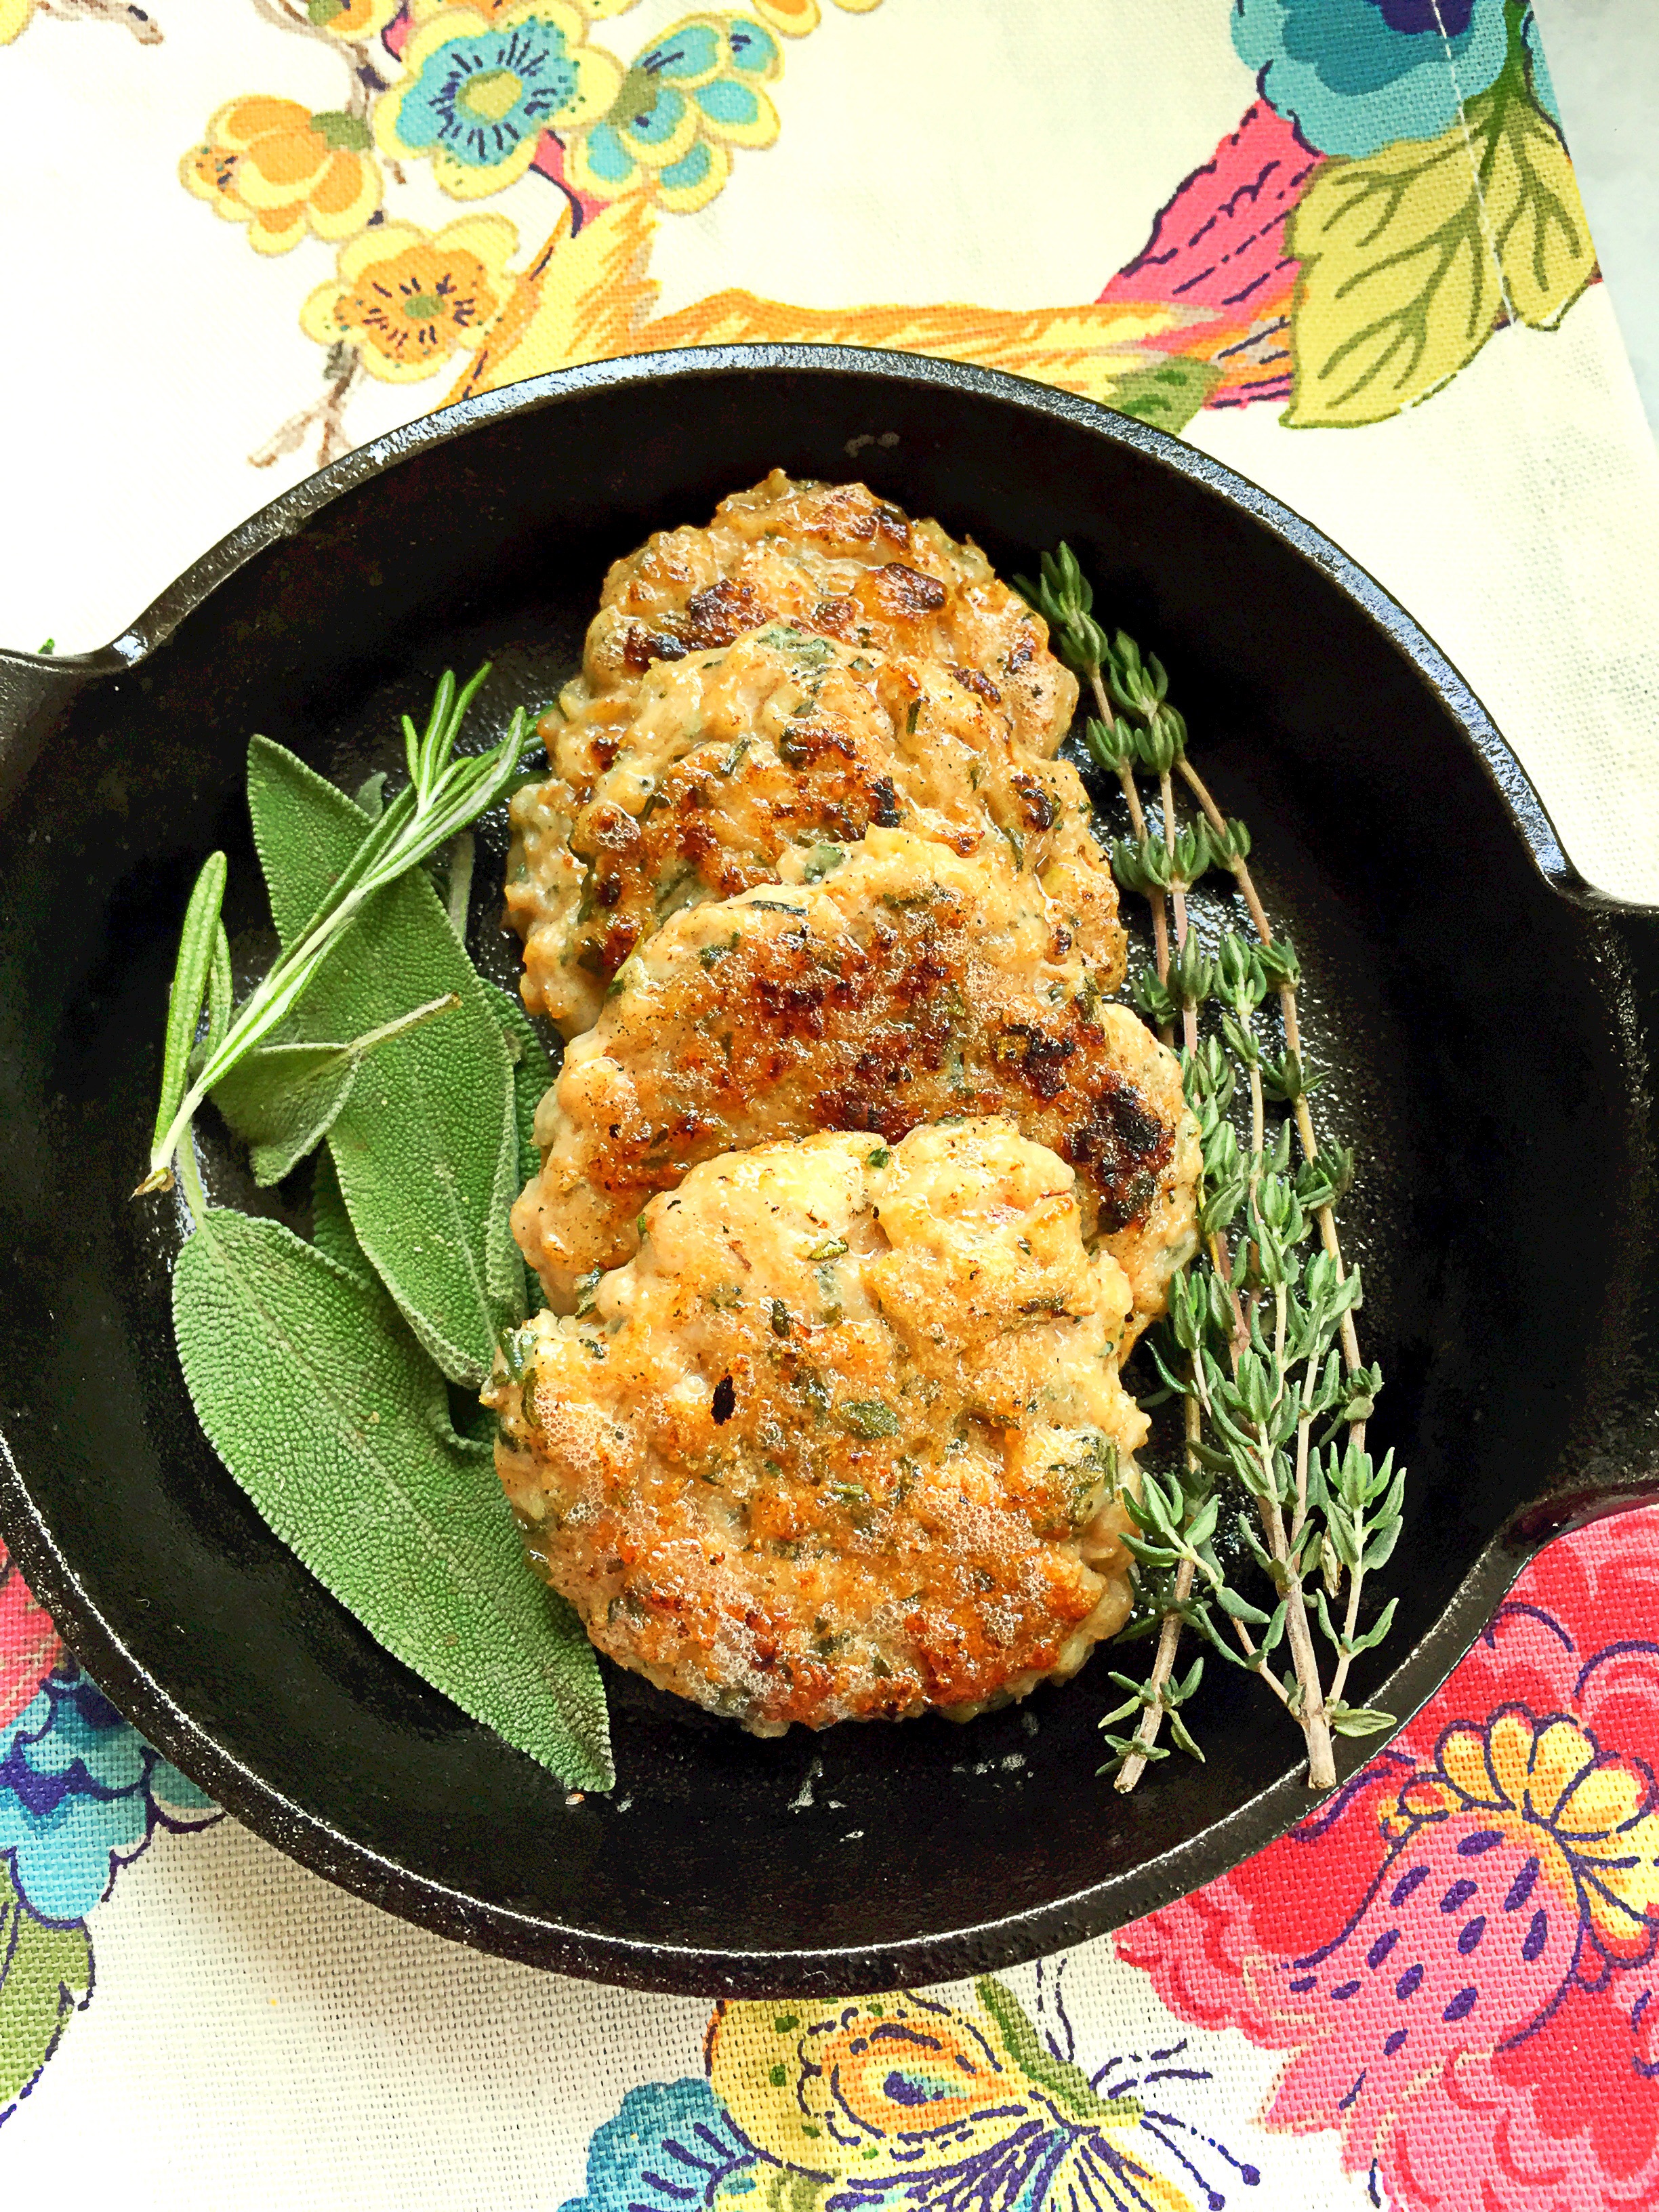
Chicken Breakfast Sausage
One of the most difficult parts of the day for me is deciding what to feed Page for breakfast. Like any child, she’s opinionated about what she’ll eat, but she seems to be more obstinate in her choices during breakfast. She doesn’t eat what I imagine most kids do in the morning, no breakfast cereals, or breakfast bars. She is more into things that take more time, like eggs, bacon, quesadillas! She loves a hot meal to start her day off, so this week when I went shopping, I thought I’d switch things up a bit and make some homemade breakfast sausage for her. I’m using ground chicken for this recipe, but feel free to use pork, if you’re so inclined. The fresh herbs in this recipe are what make these sausages amazing! What’s more amazing is that you don’t need to grind the meat yourself. Order a pound or two of ground chicken from your meat guy/gal add some fresh herbs and BAM–Jimmy Dean style sausages for you and your loved ones. These would be perfect for Sunday Brunch, or for your Mother’s day breakfast–point your husbands right to this site. One pound of ground chicken made about 12 sausage patties. I put 5 in the refrigerator, and froze the rest for later use. If you don’t plan on cooking these within 5 days of making them, then I suggest you freeze them right away.
Pin It!
Prep time: 10 minutes
Cook time: 8 minutes
Ingredients:
1 lb of Organic air chilled ground chicken (dark meat)
2 tablespoon of fresh sage (finely chopped)
2 tablespoons of fresh thyme (finely chopped)
1 teaspoon of fresh rosemary (finely chopped)
1 tablespoon of maple sugar (can substitute with maple syrup or brown sugar) Omit if you’re on Whole 30
1 teaspoon of sea salt
1 teaspoon of red pepper flakes (more if you want)
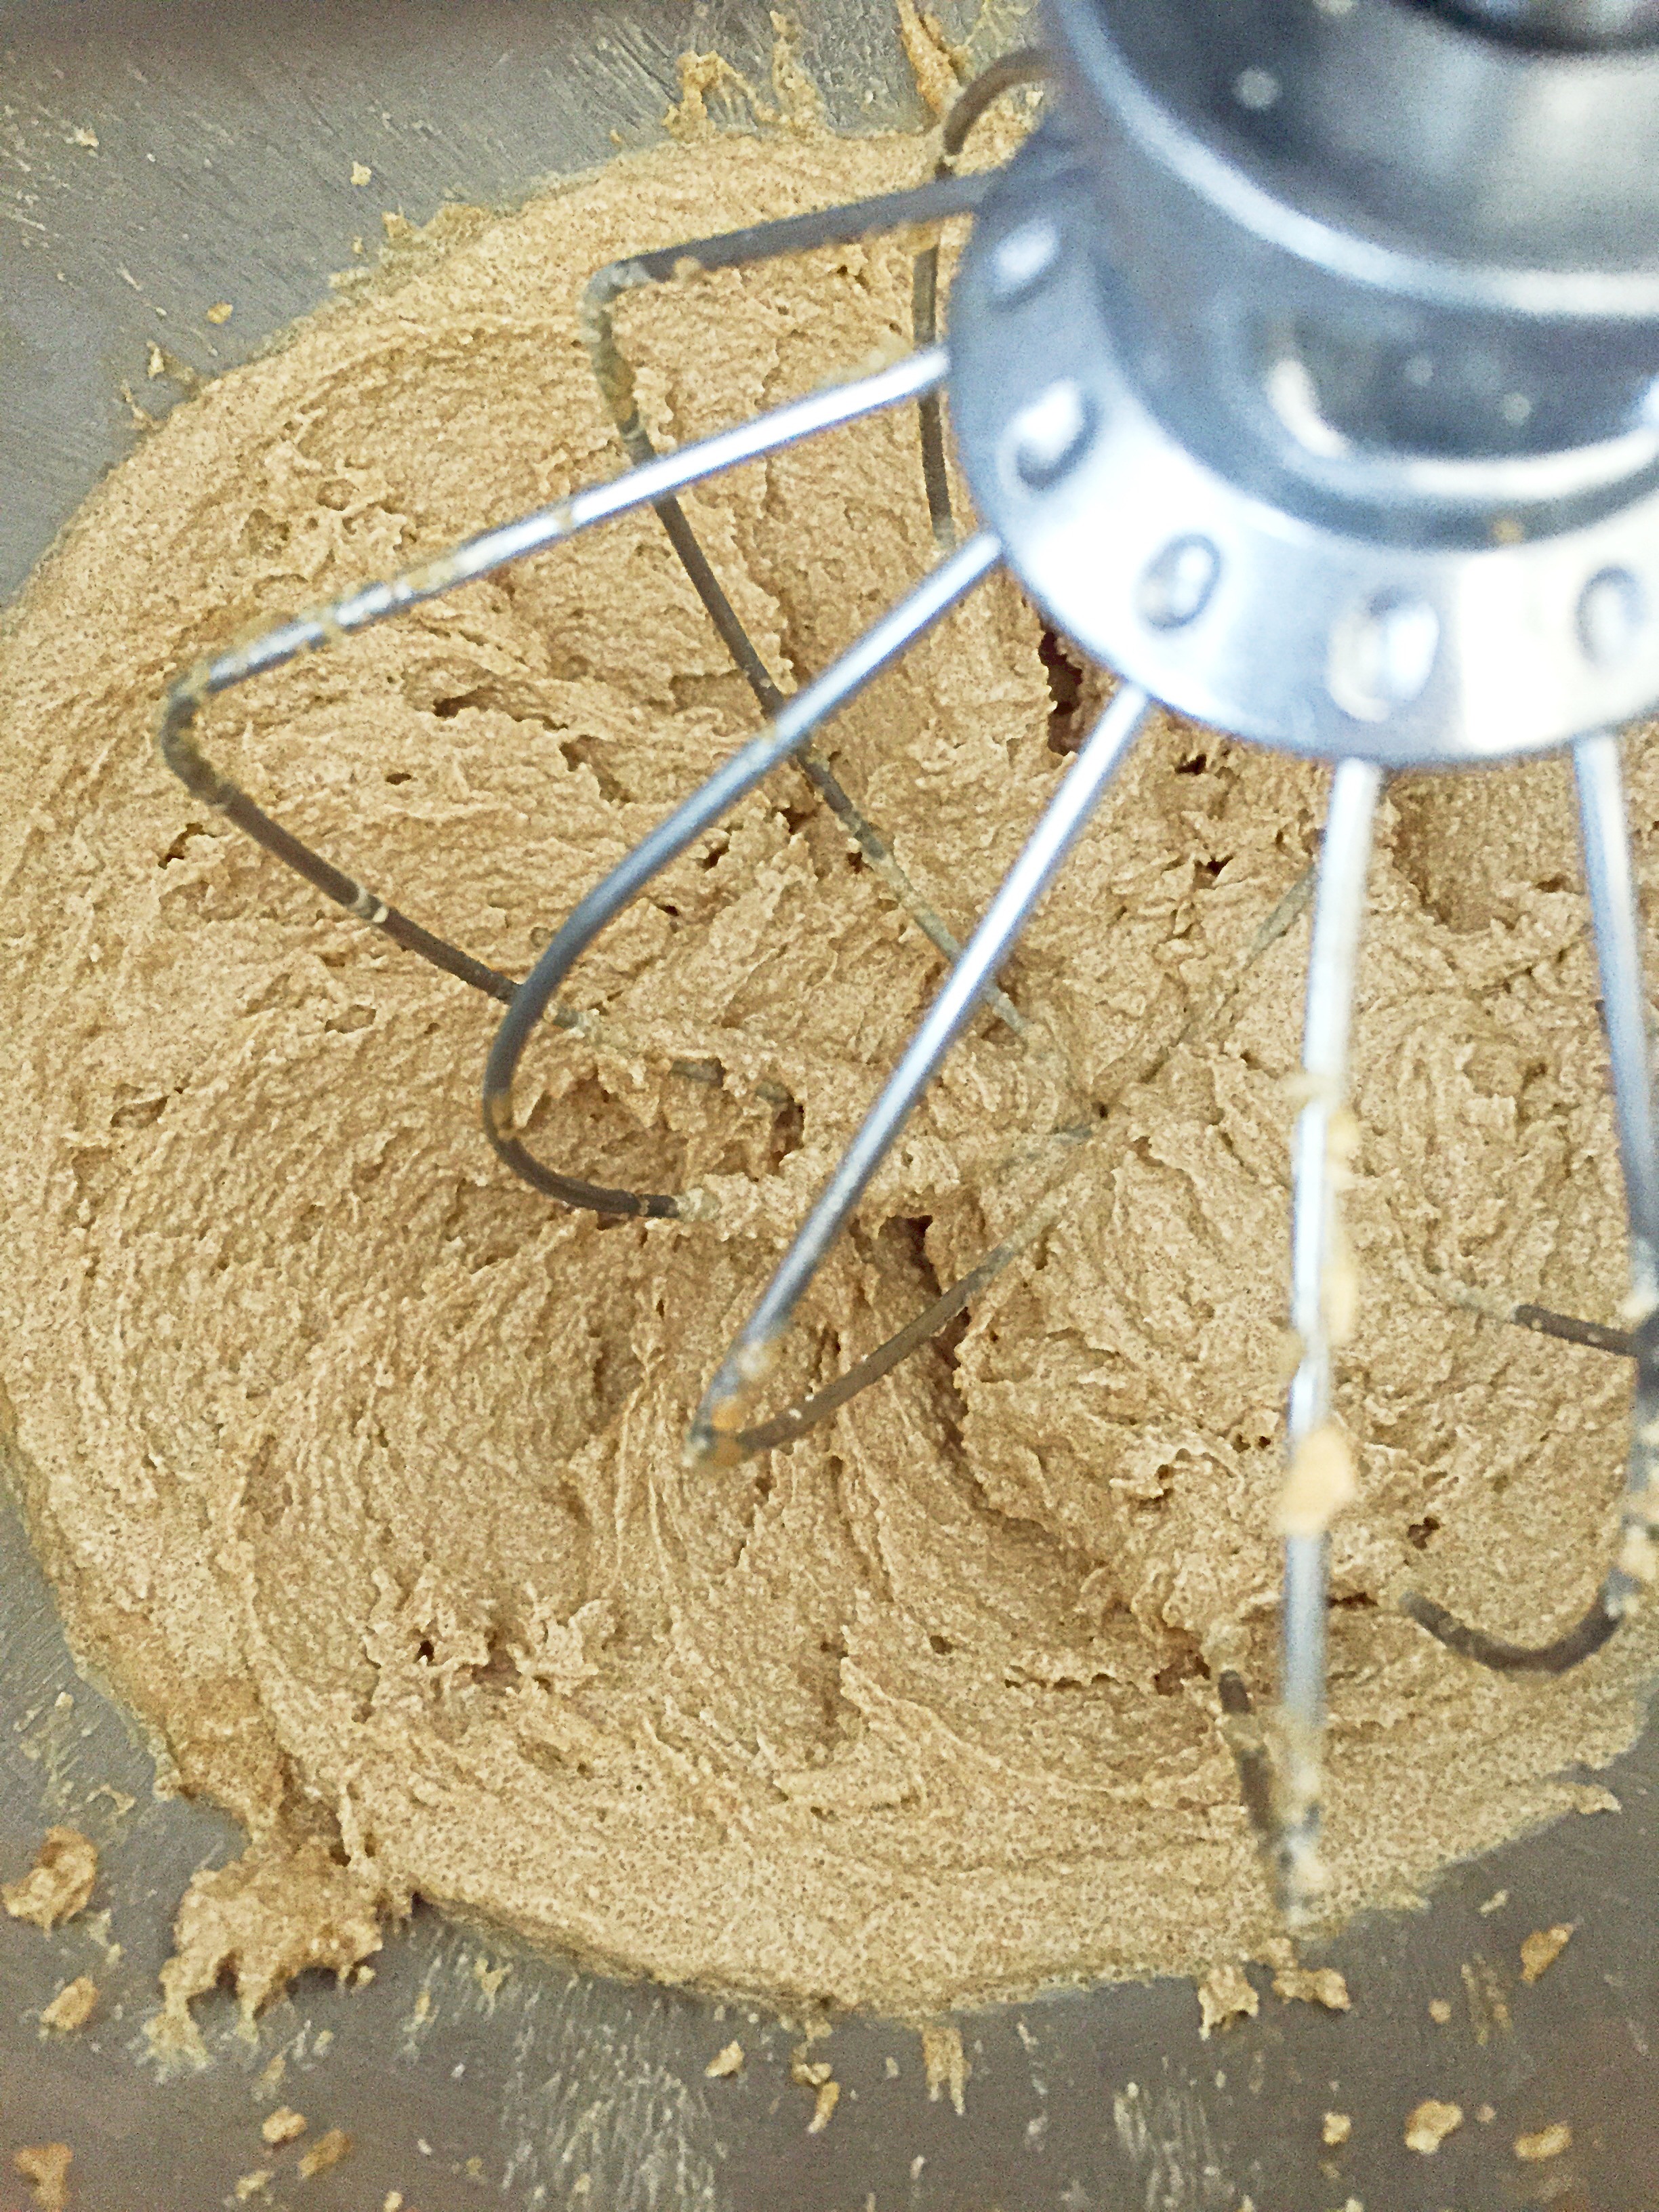
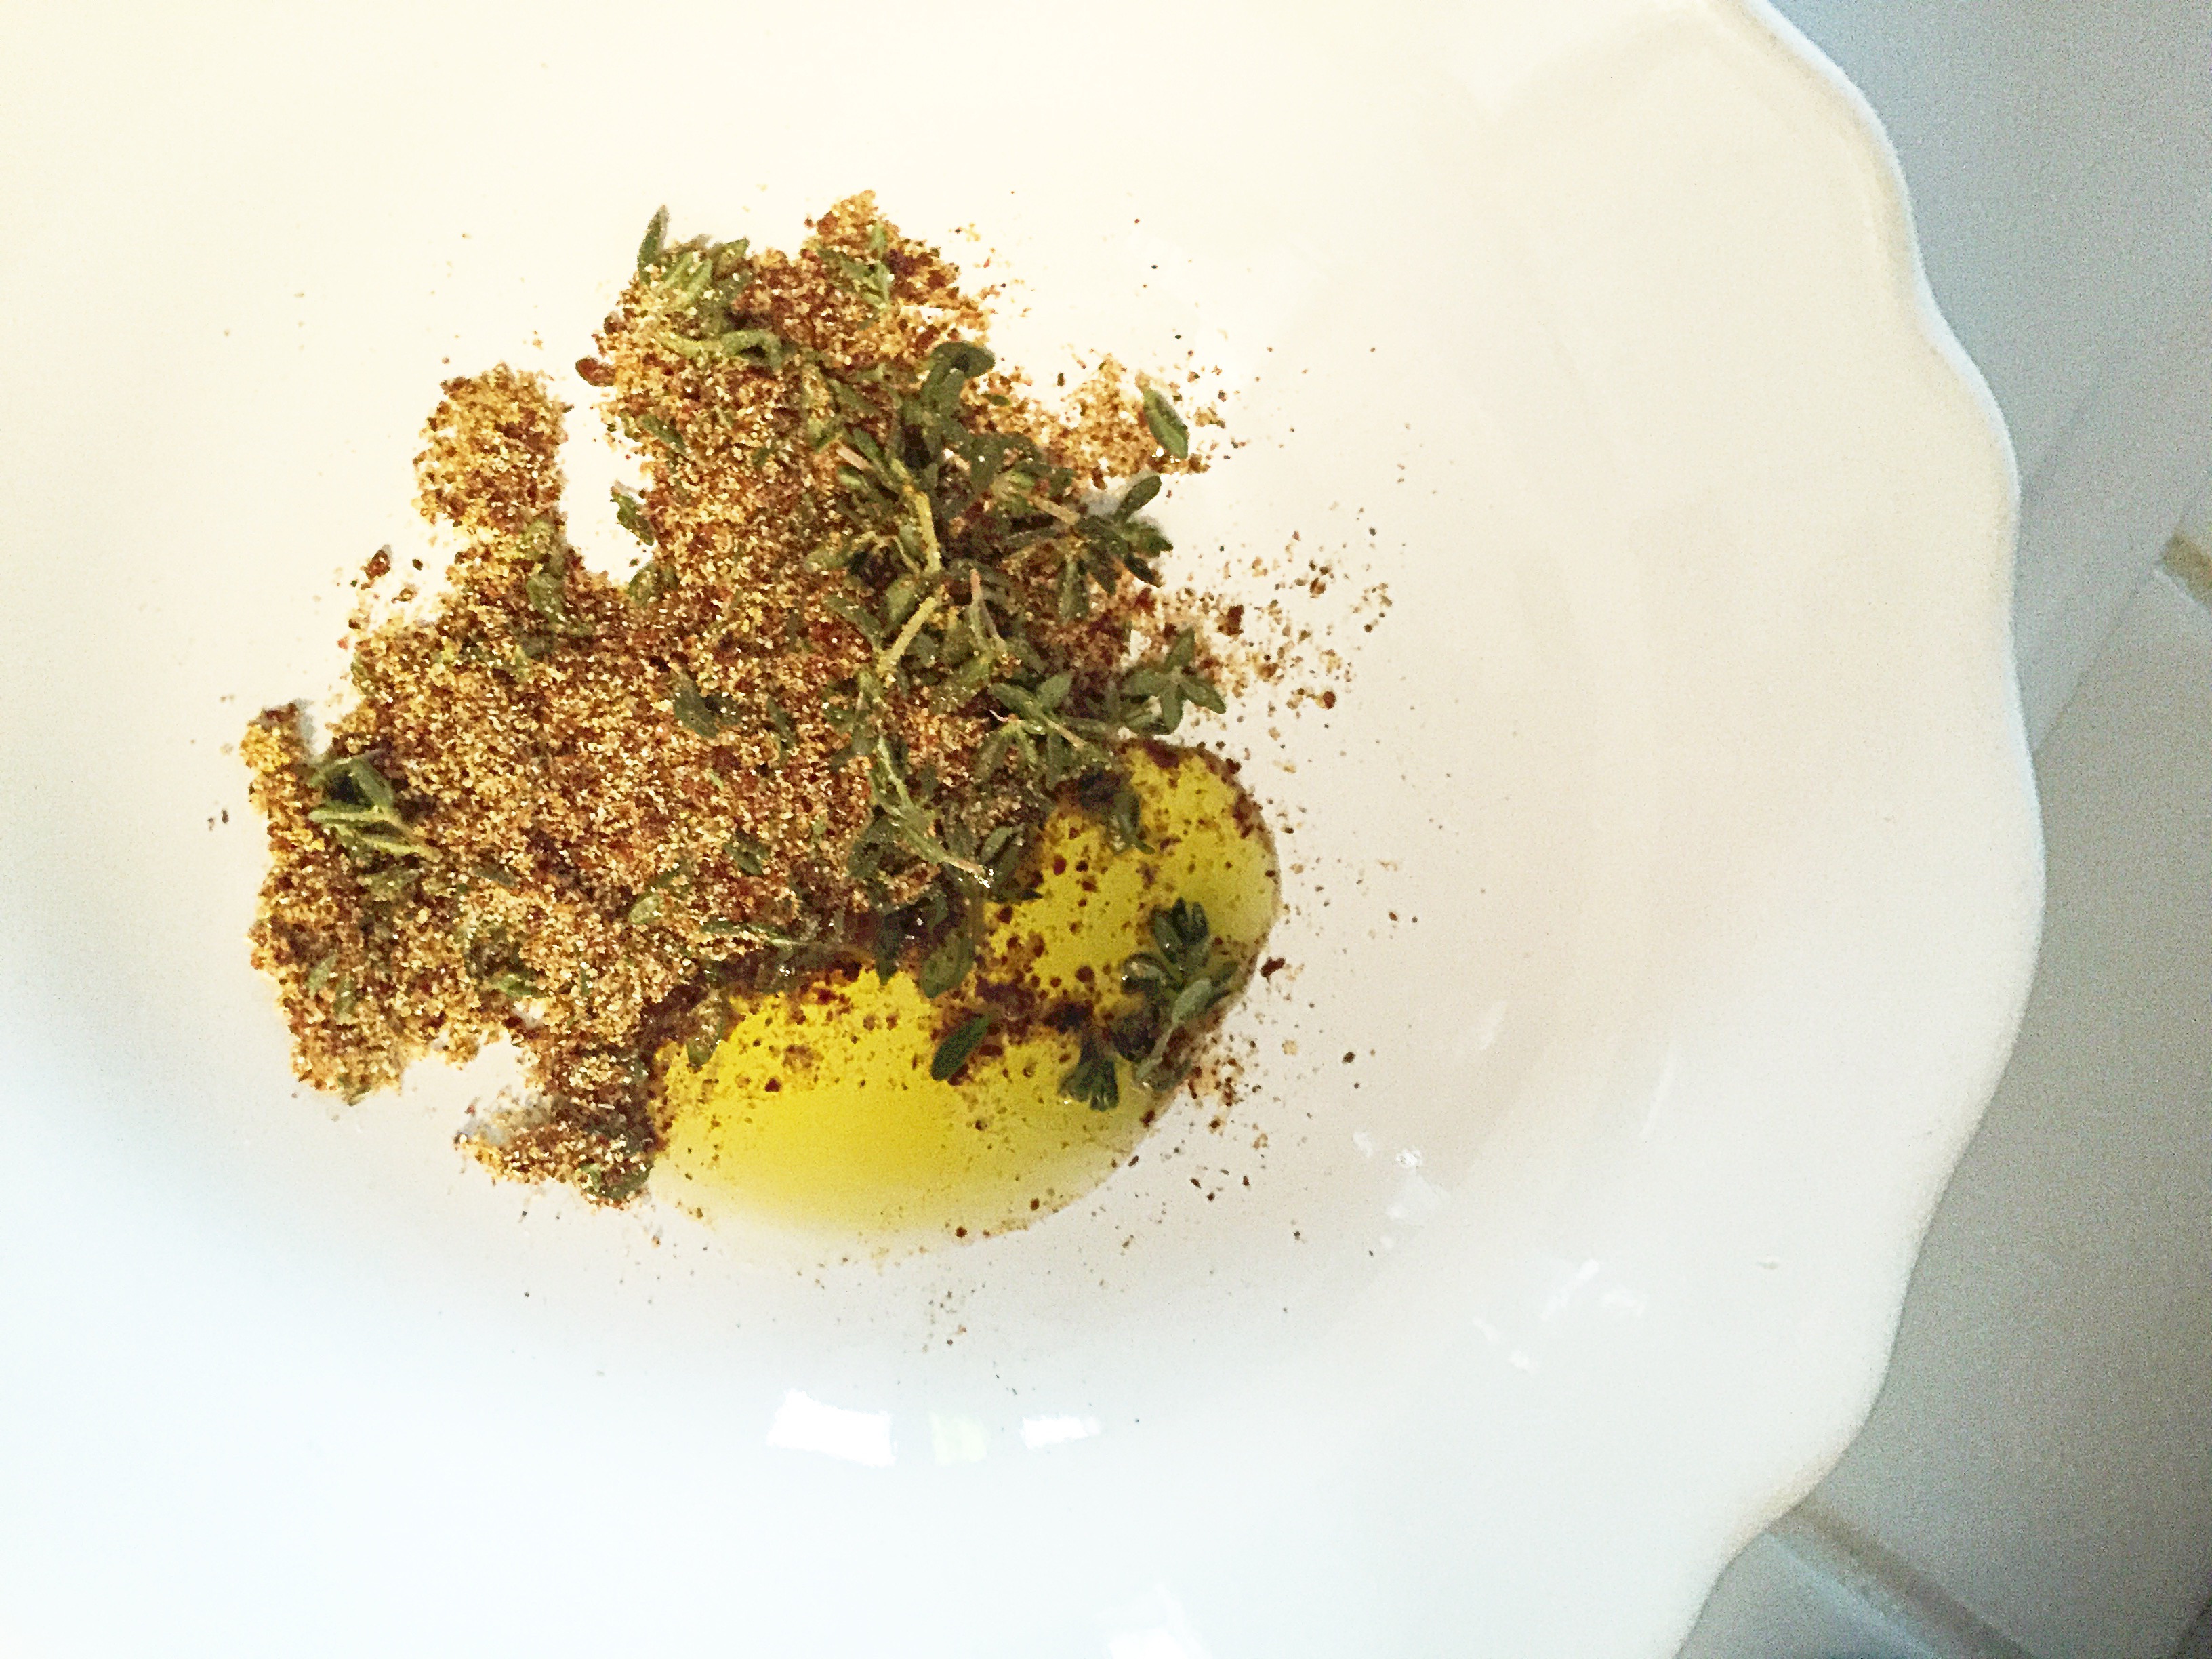
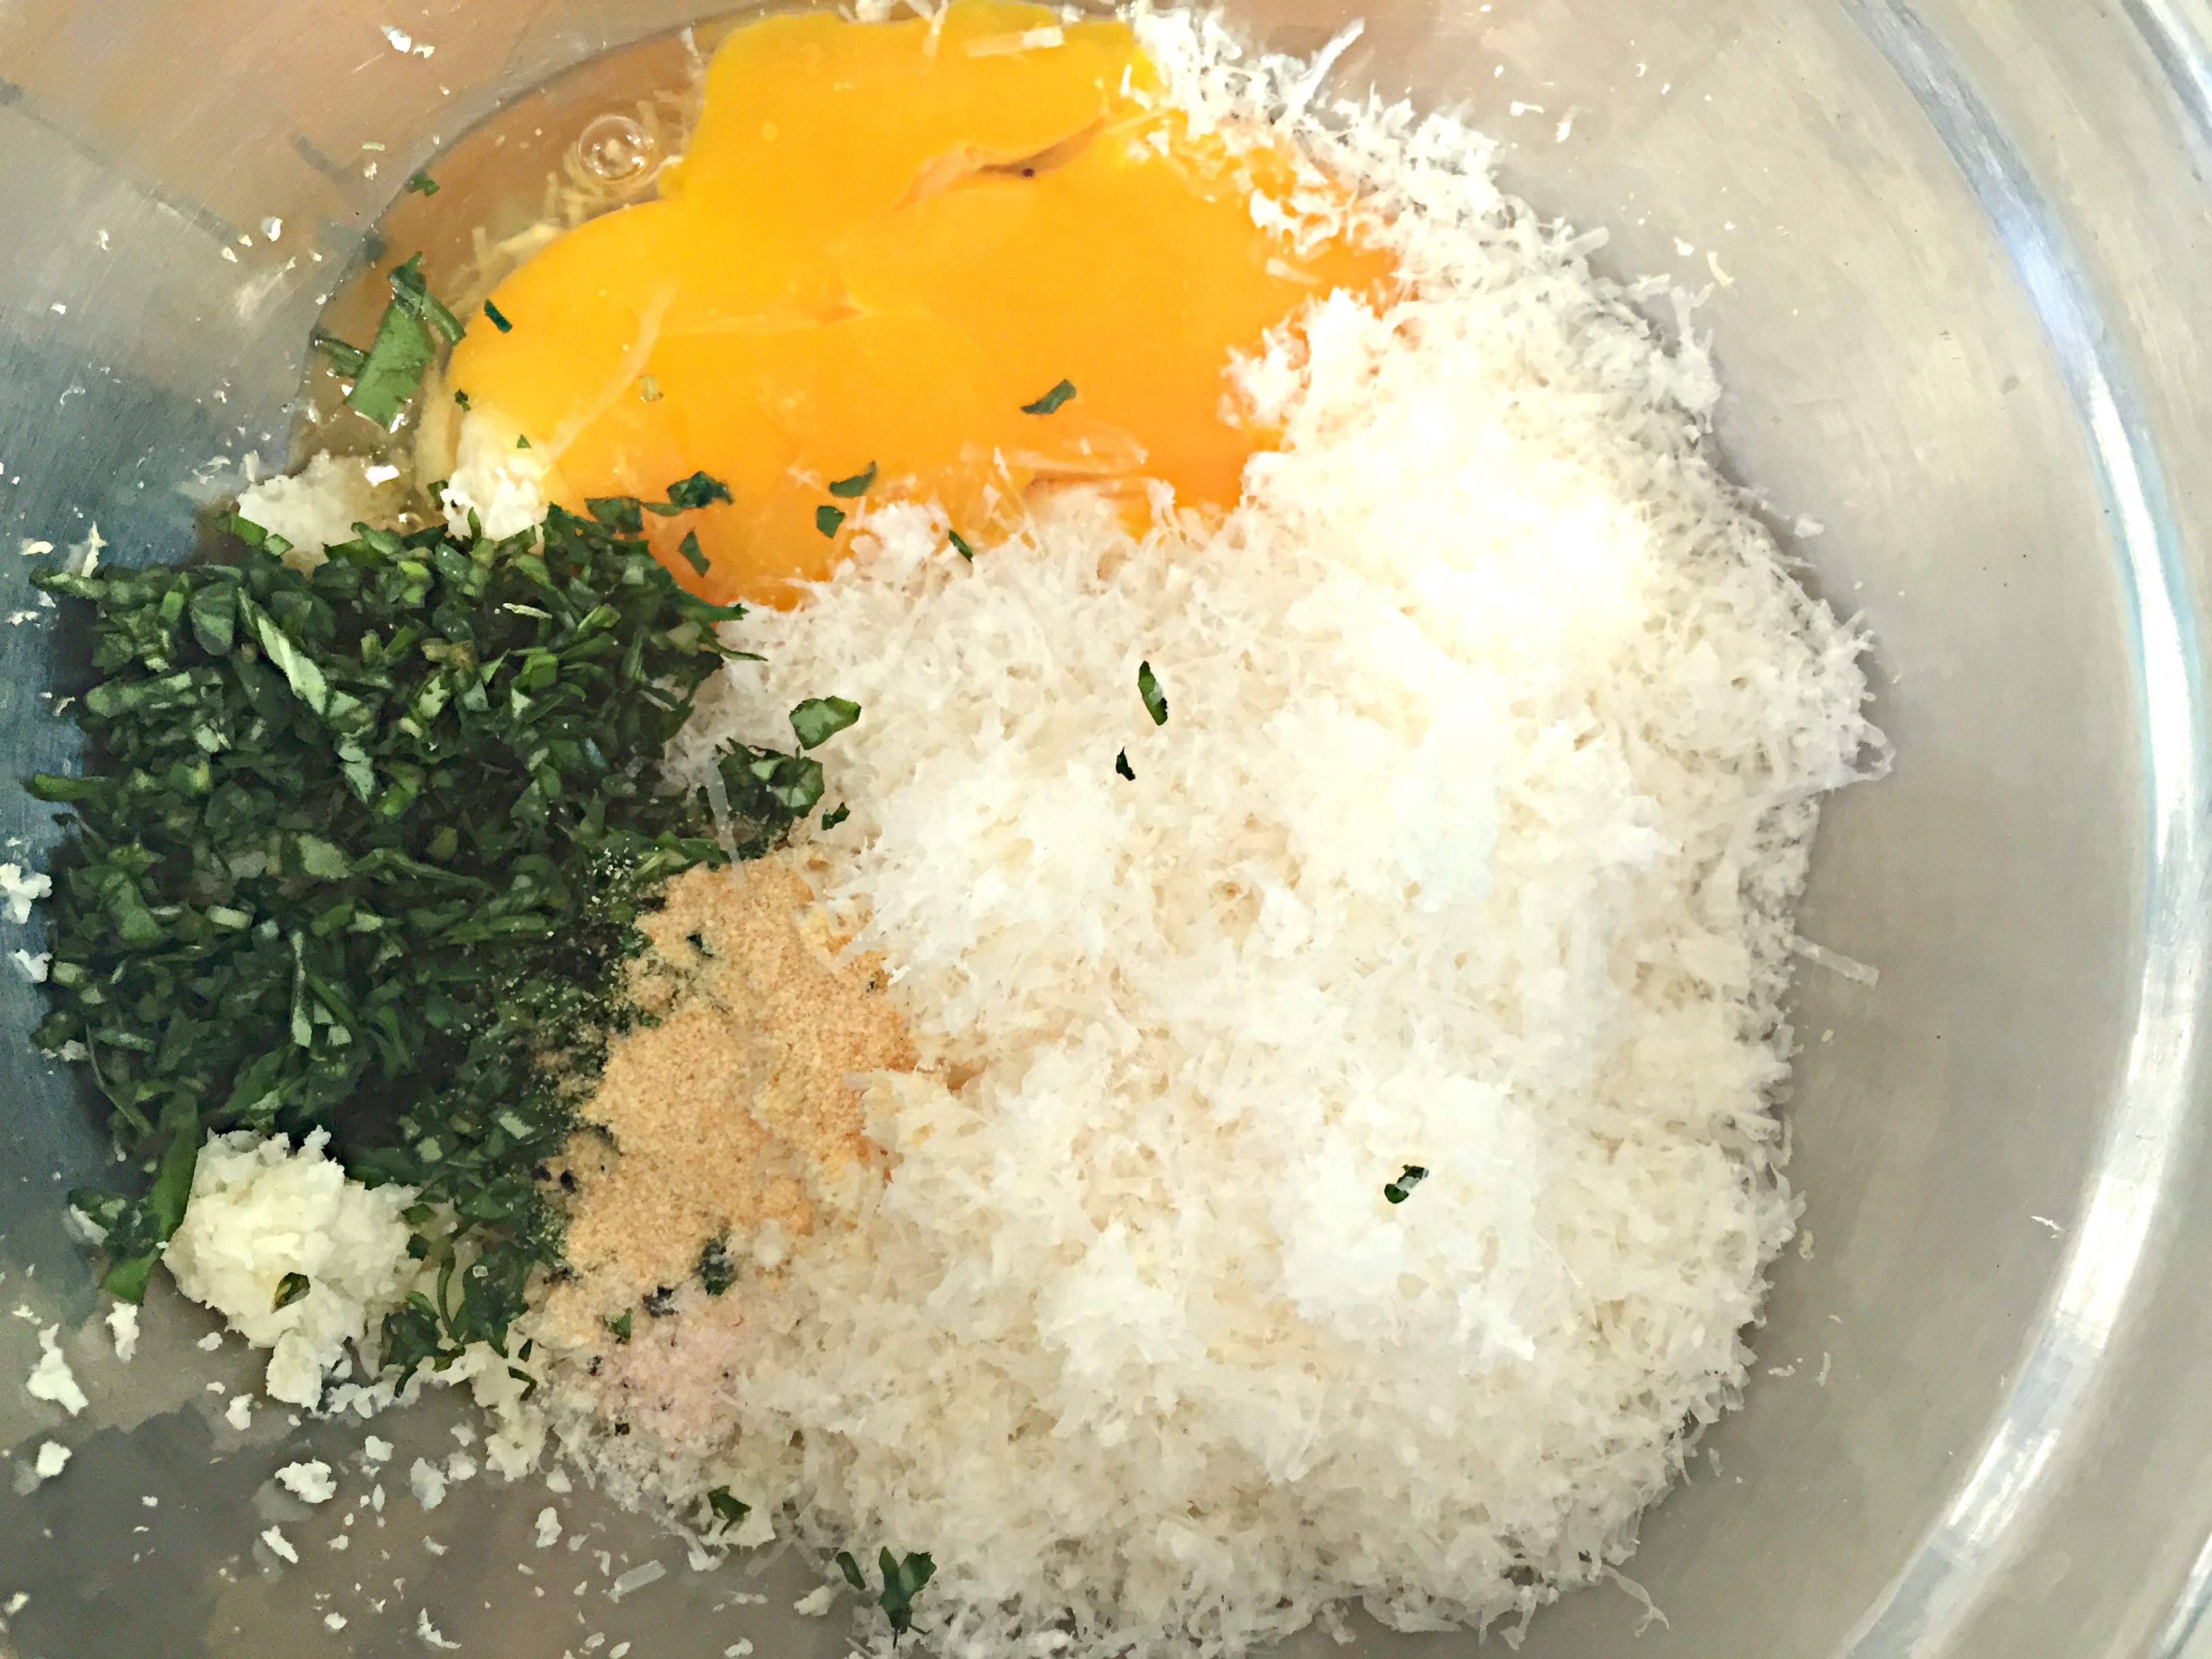
Directions: Add the ground chicken and spices to a medium sized bowl,
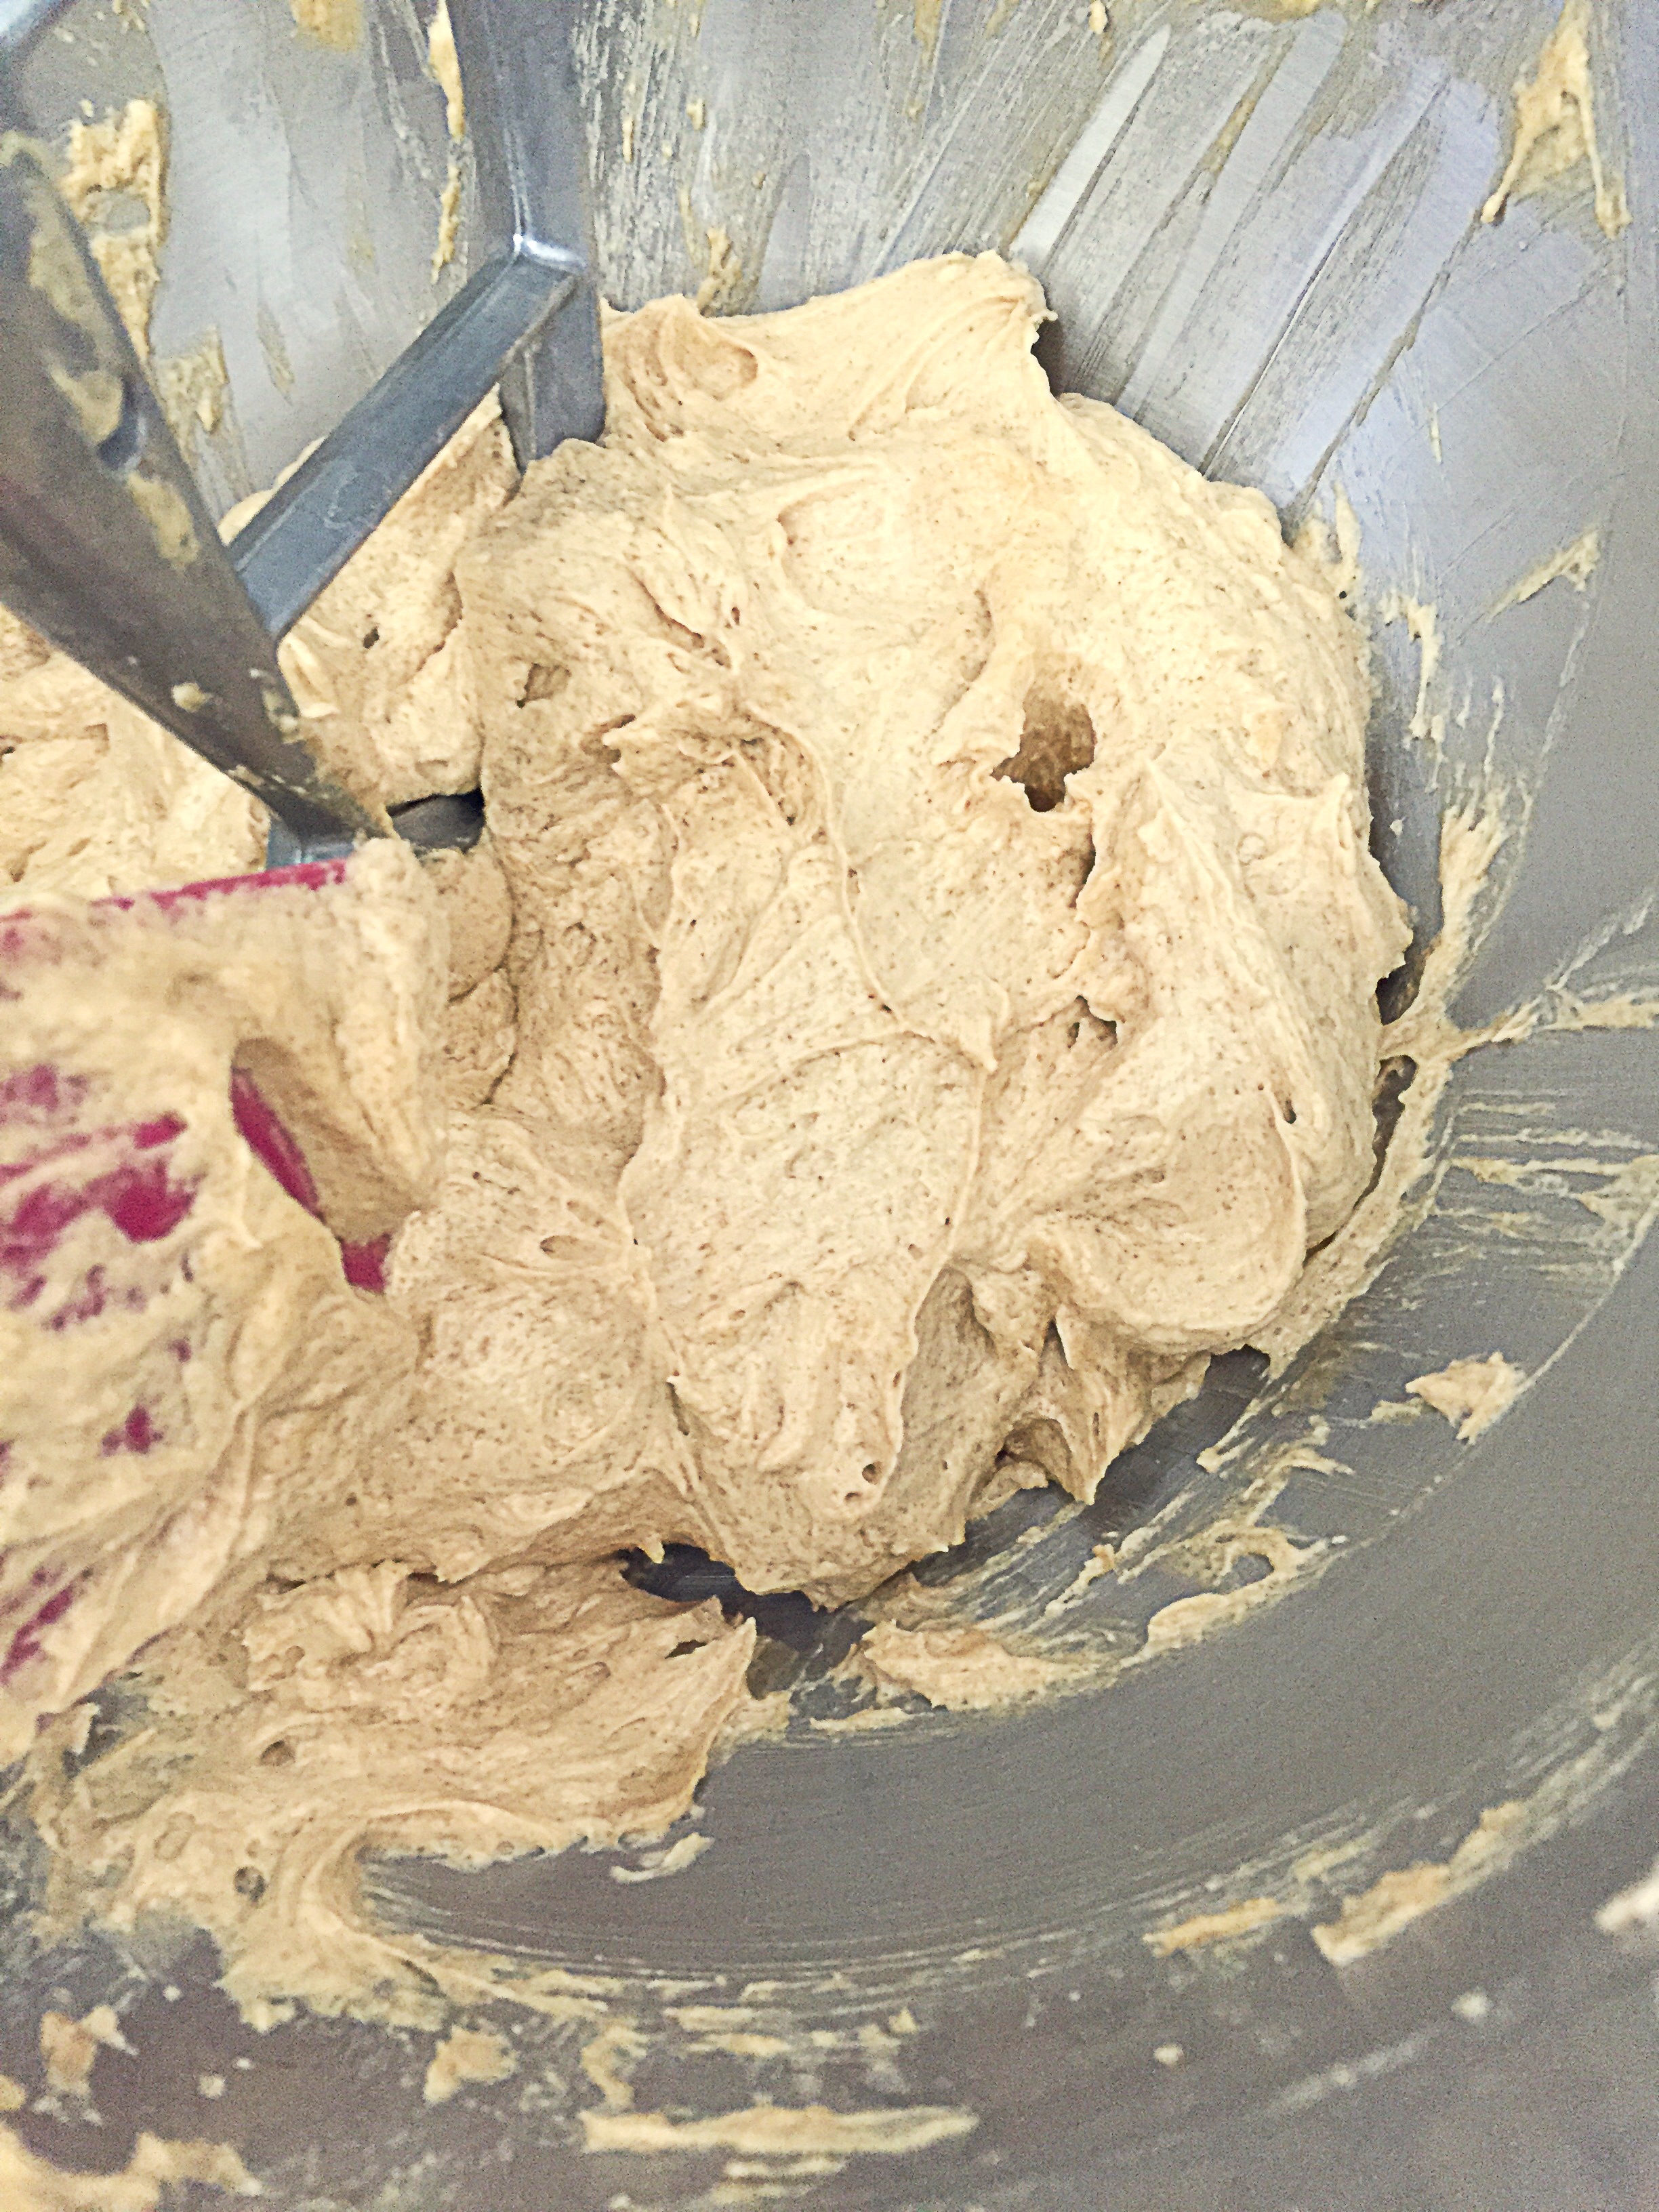
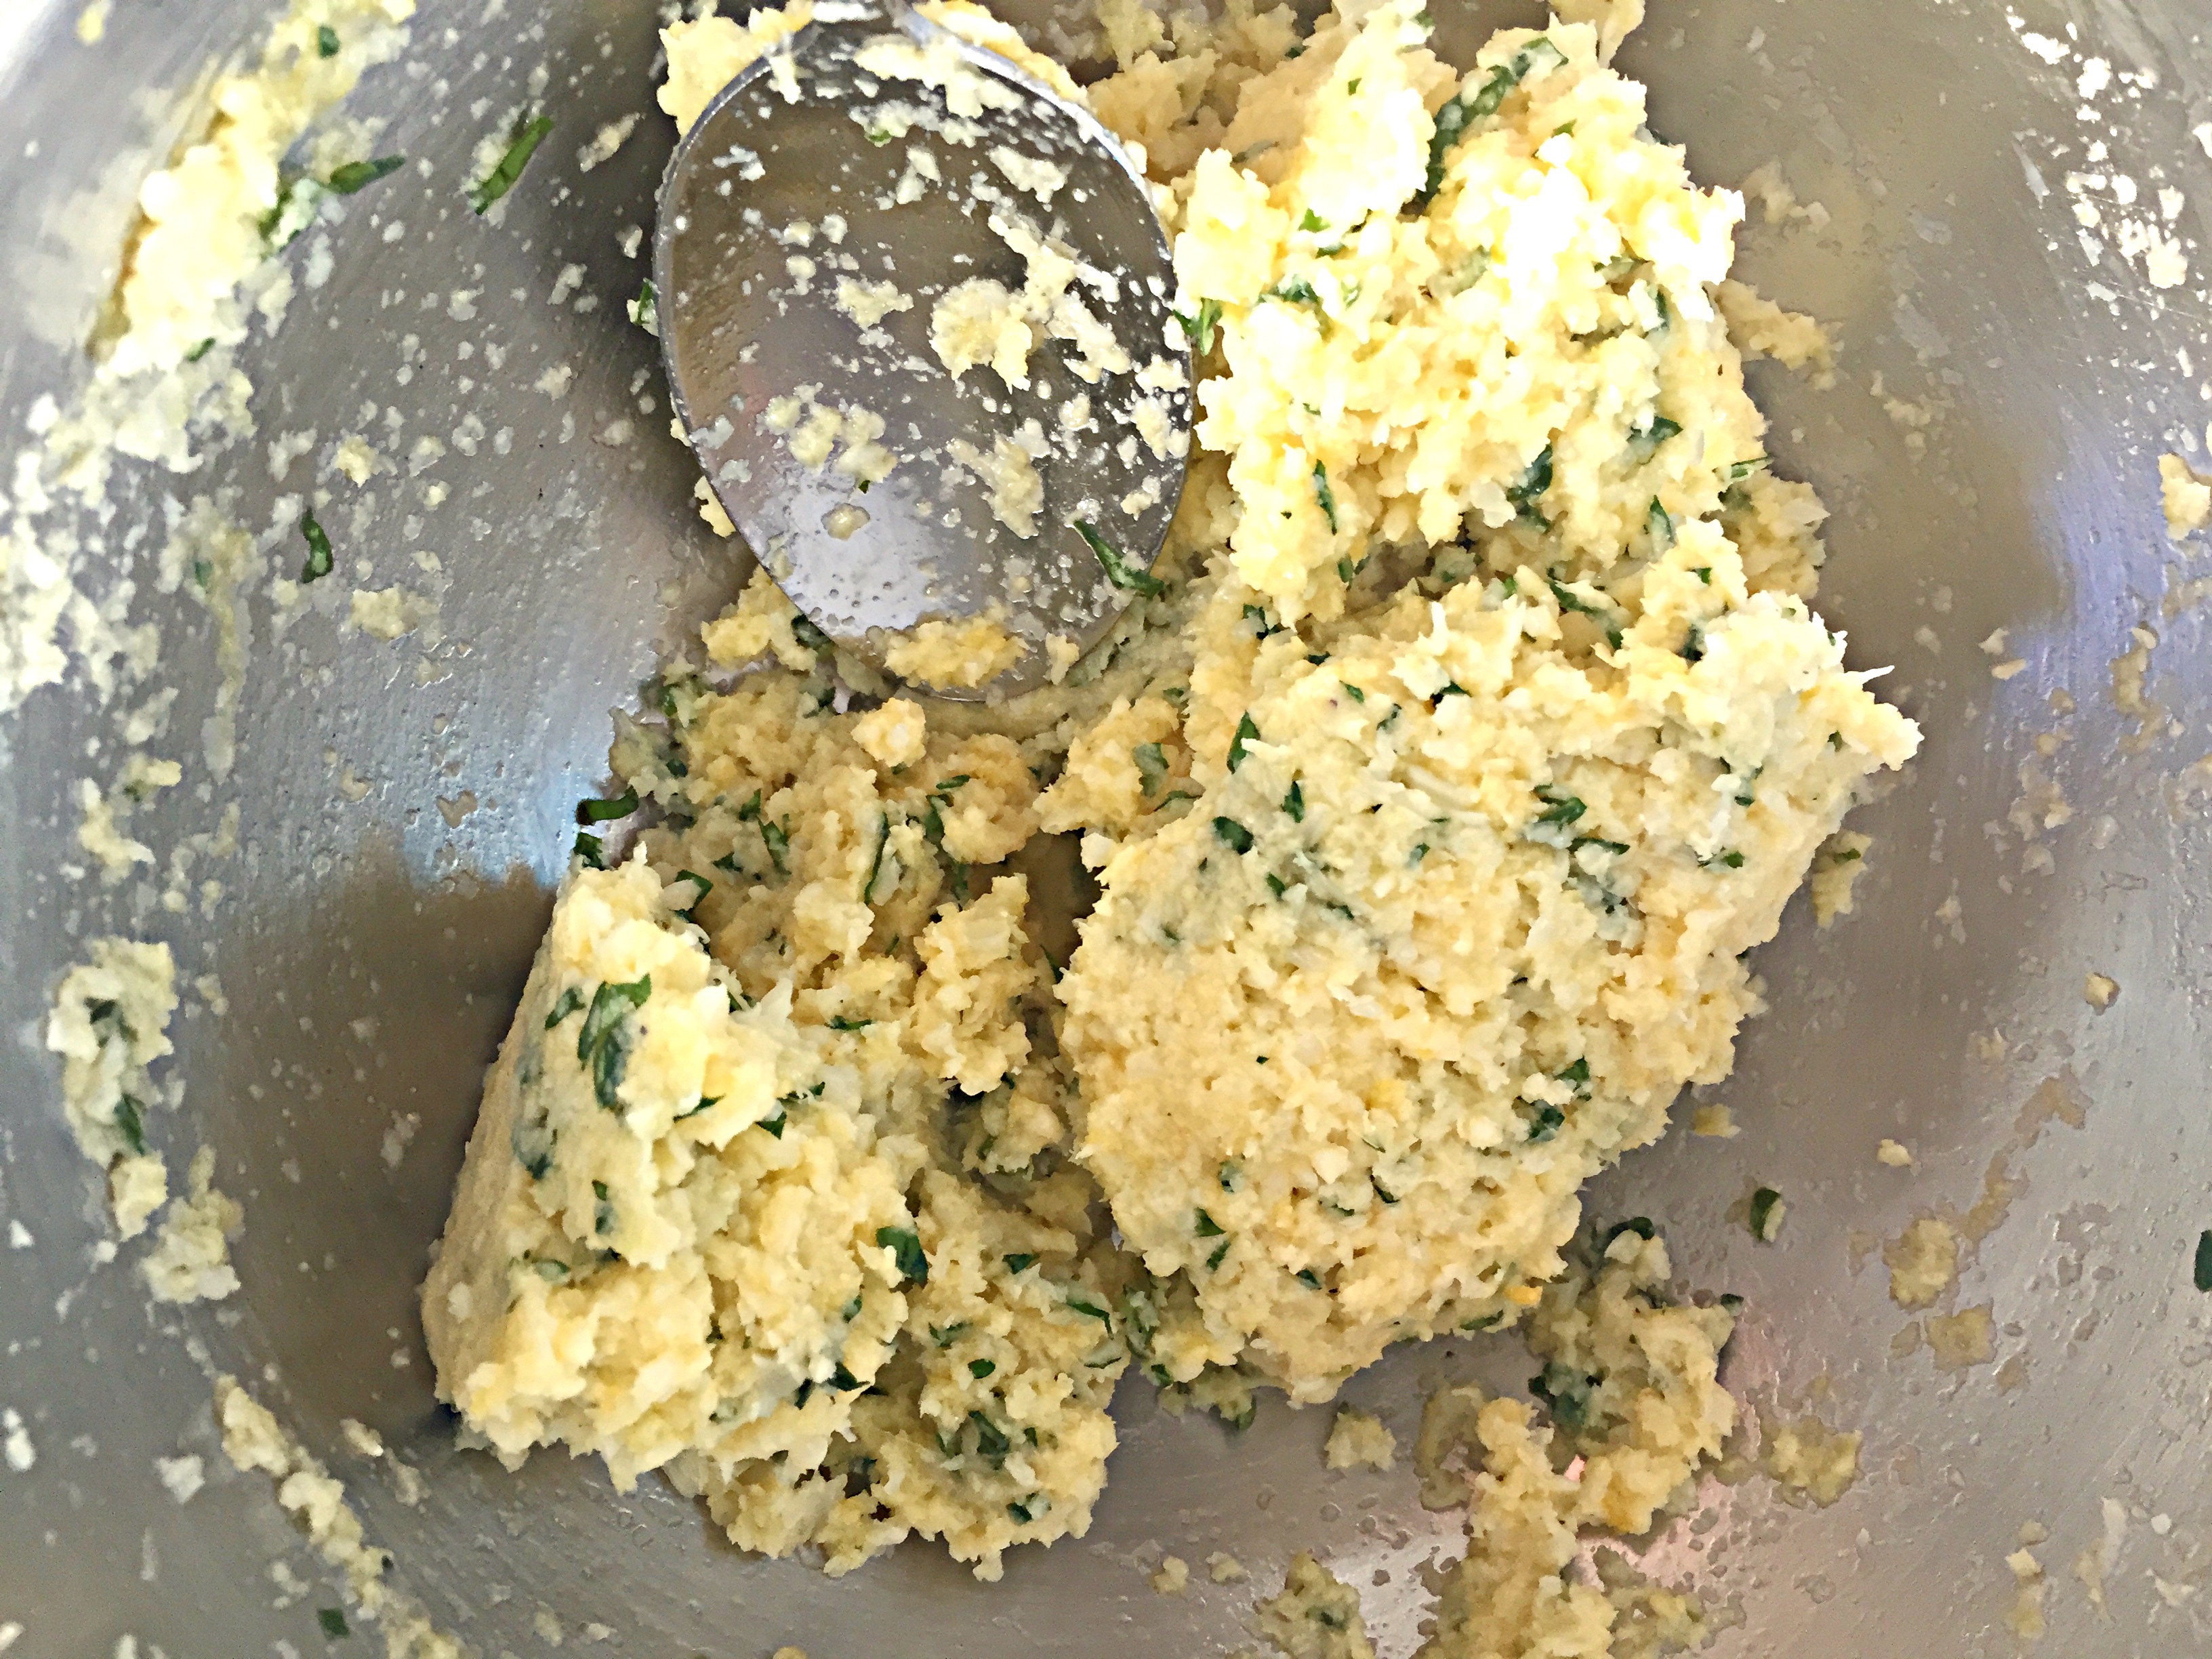
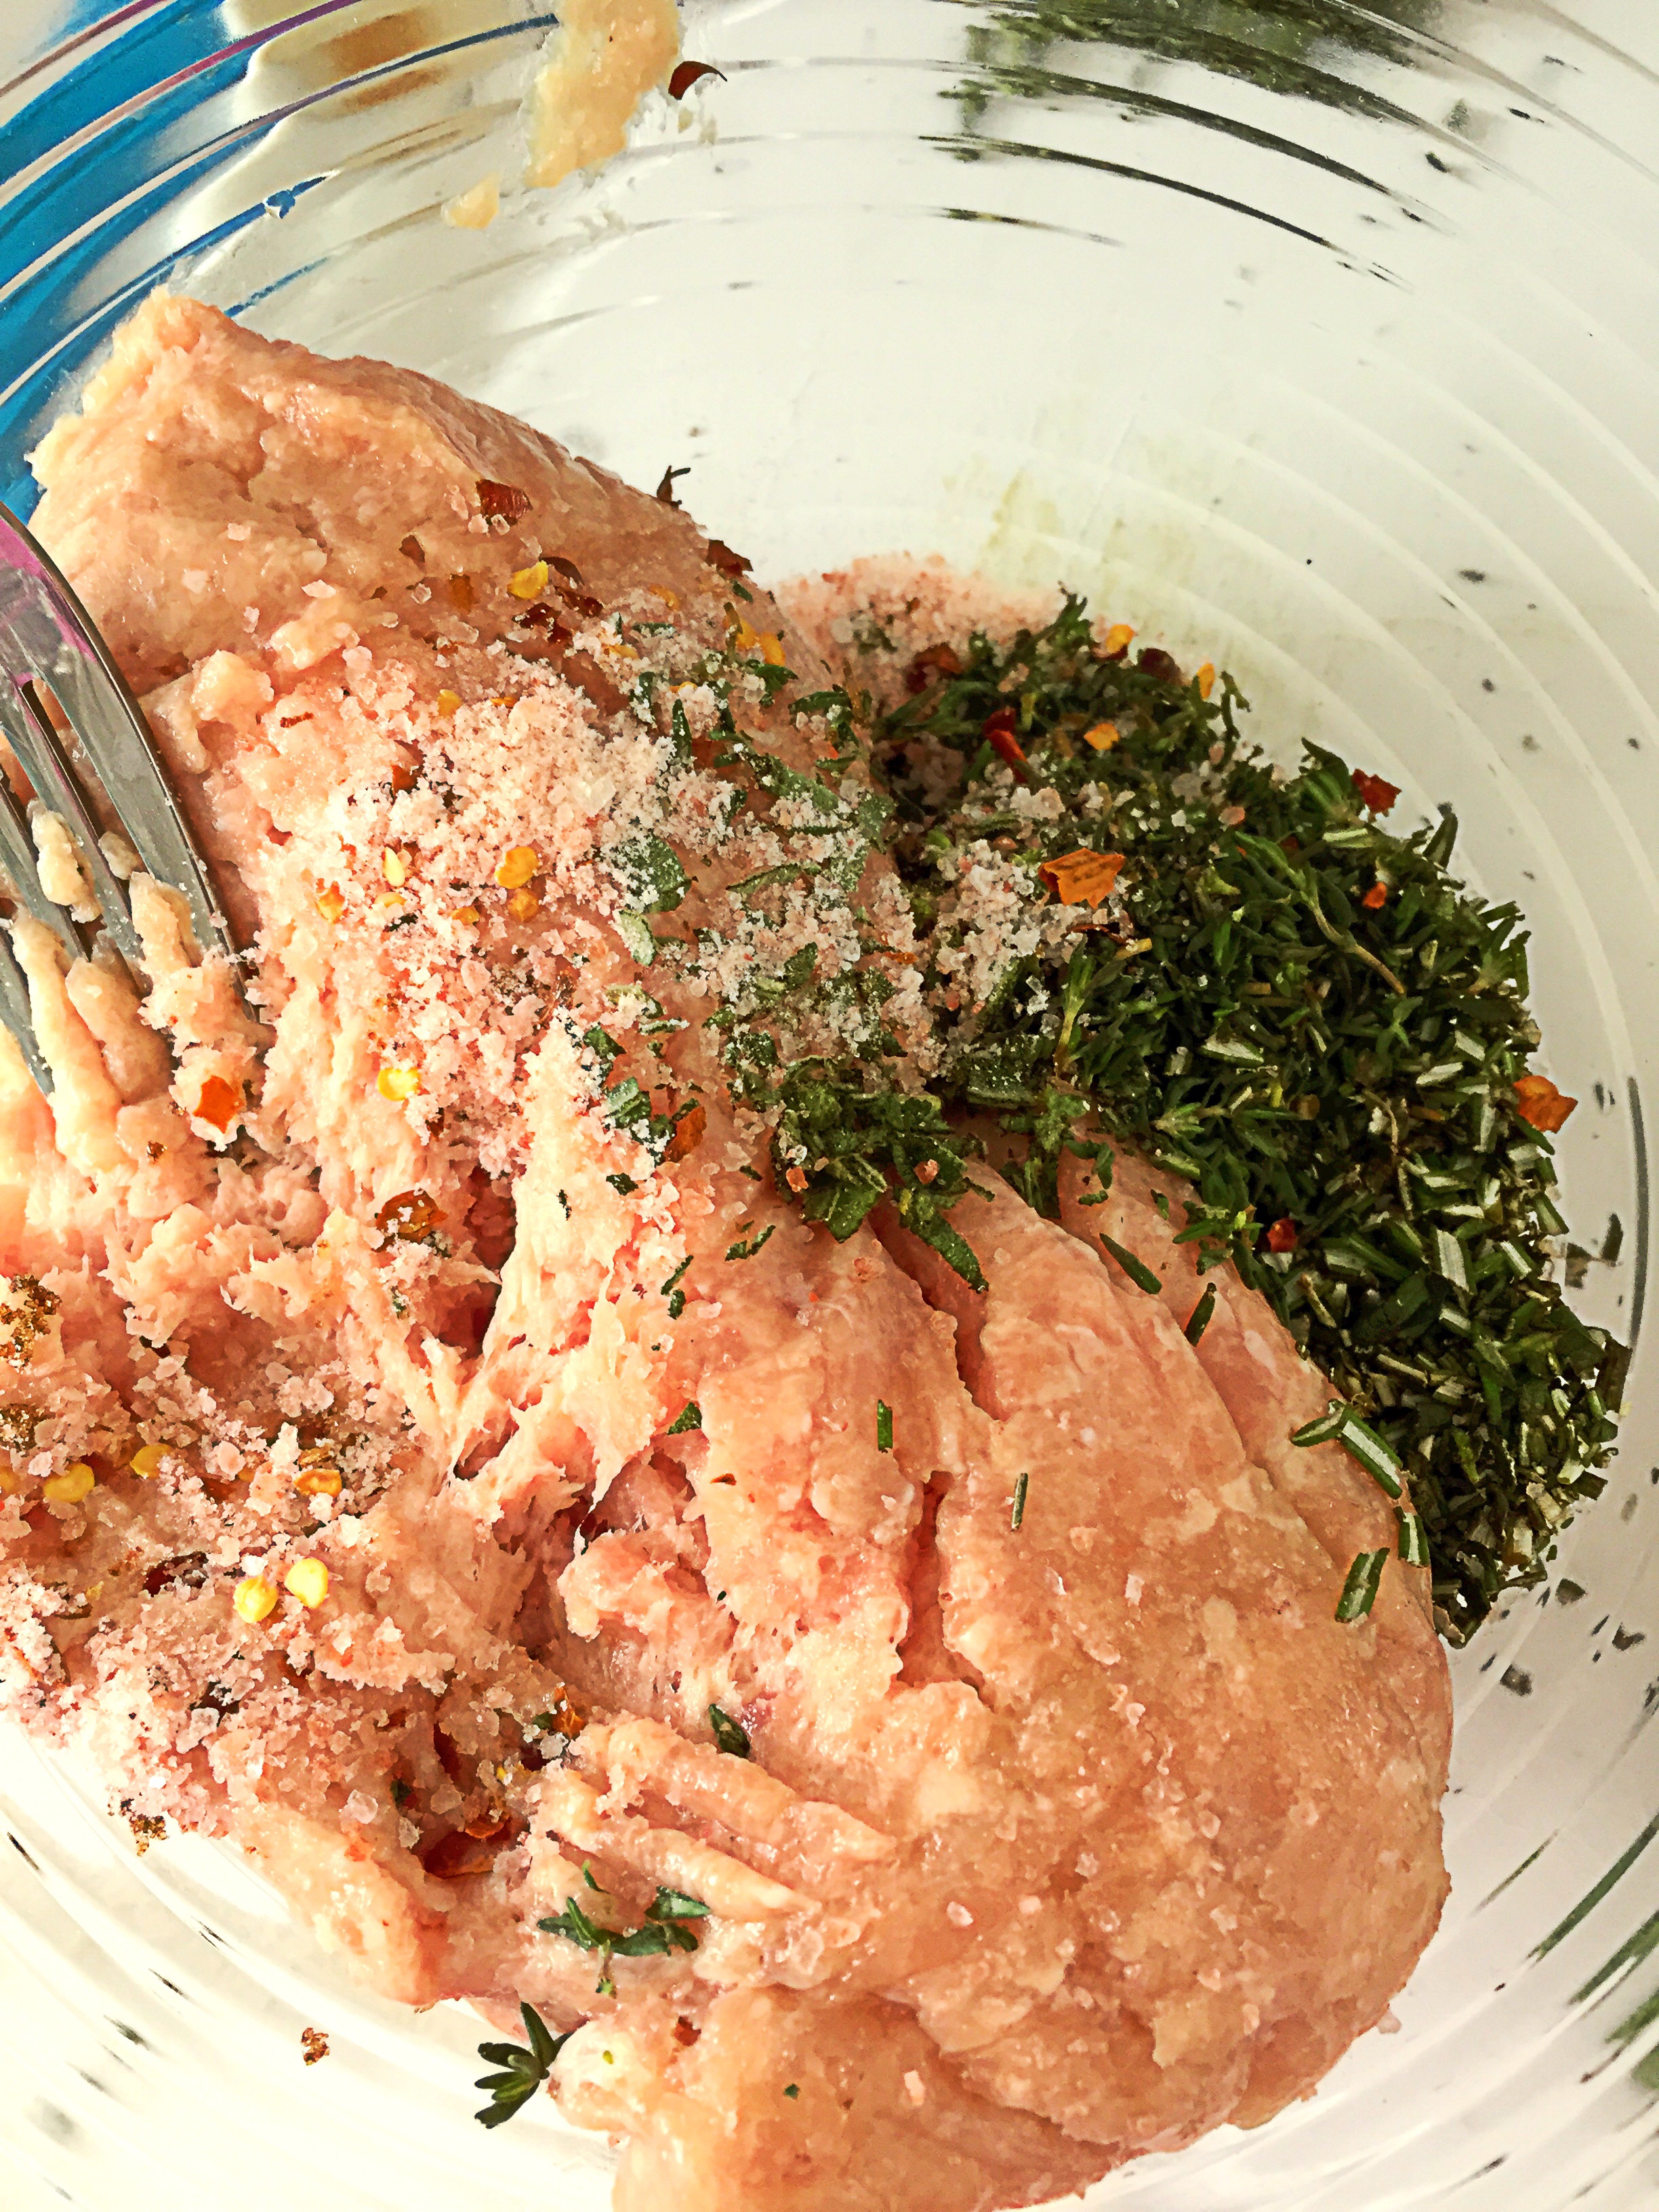 Mix until combined.

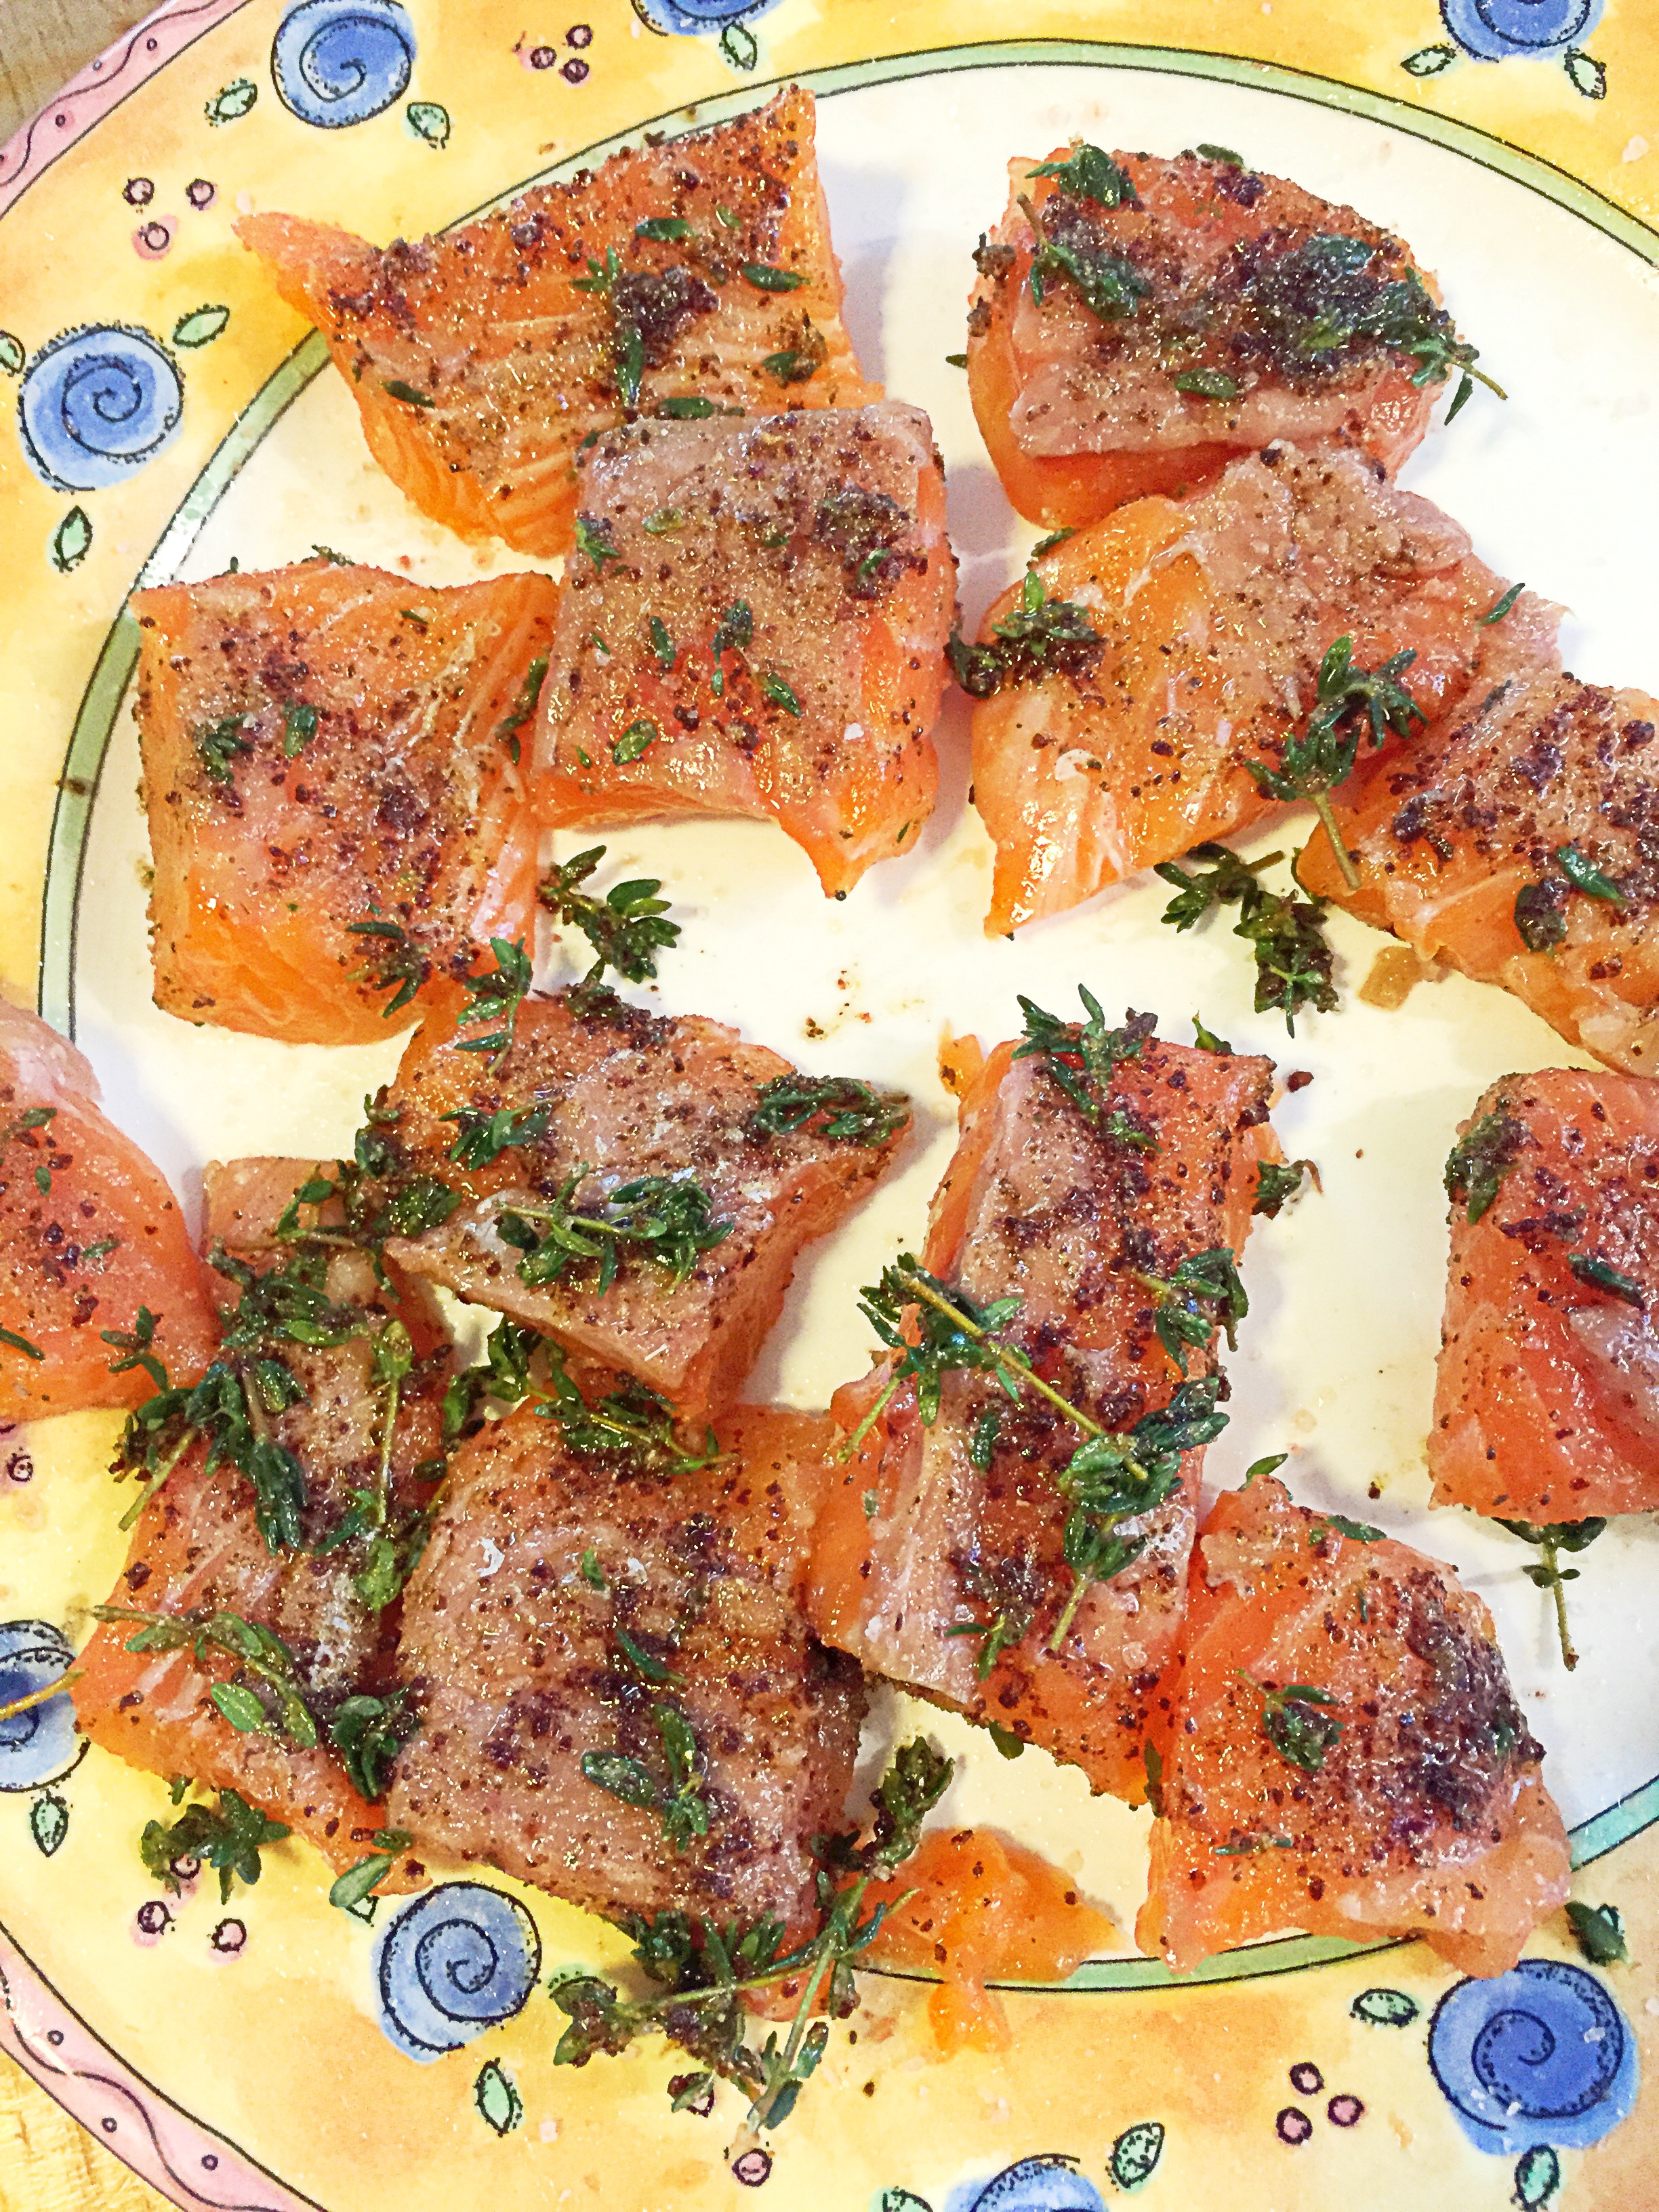
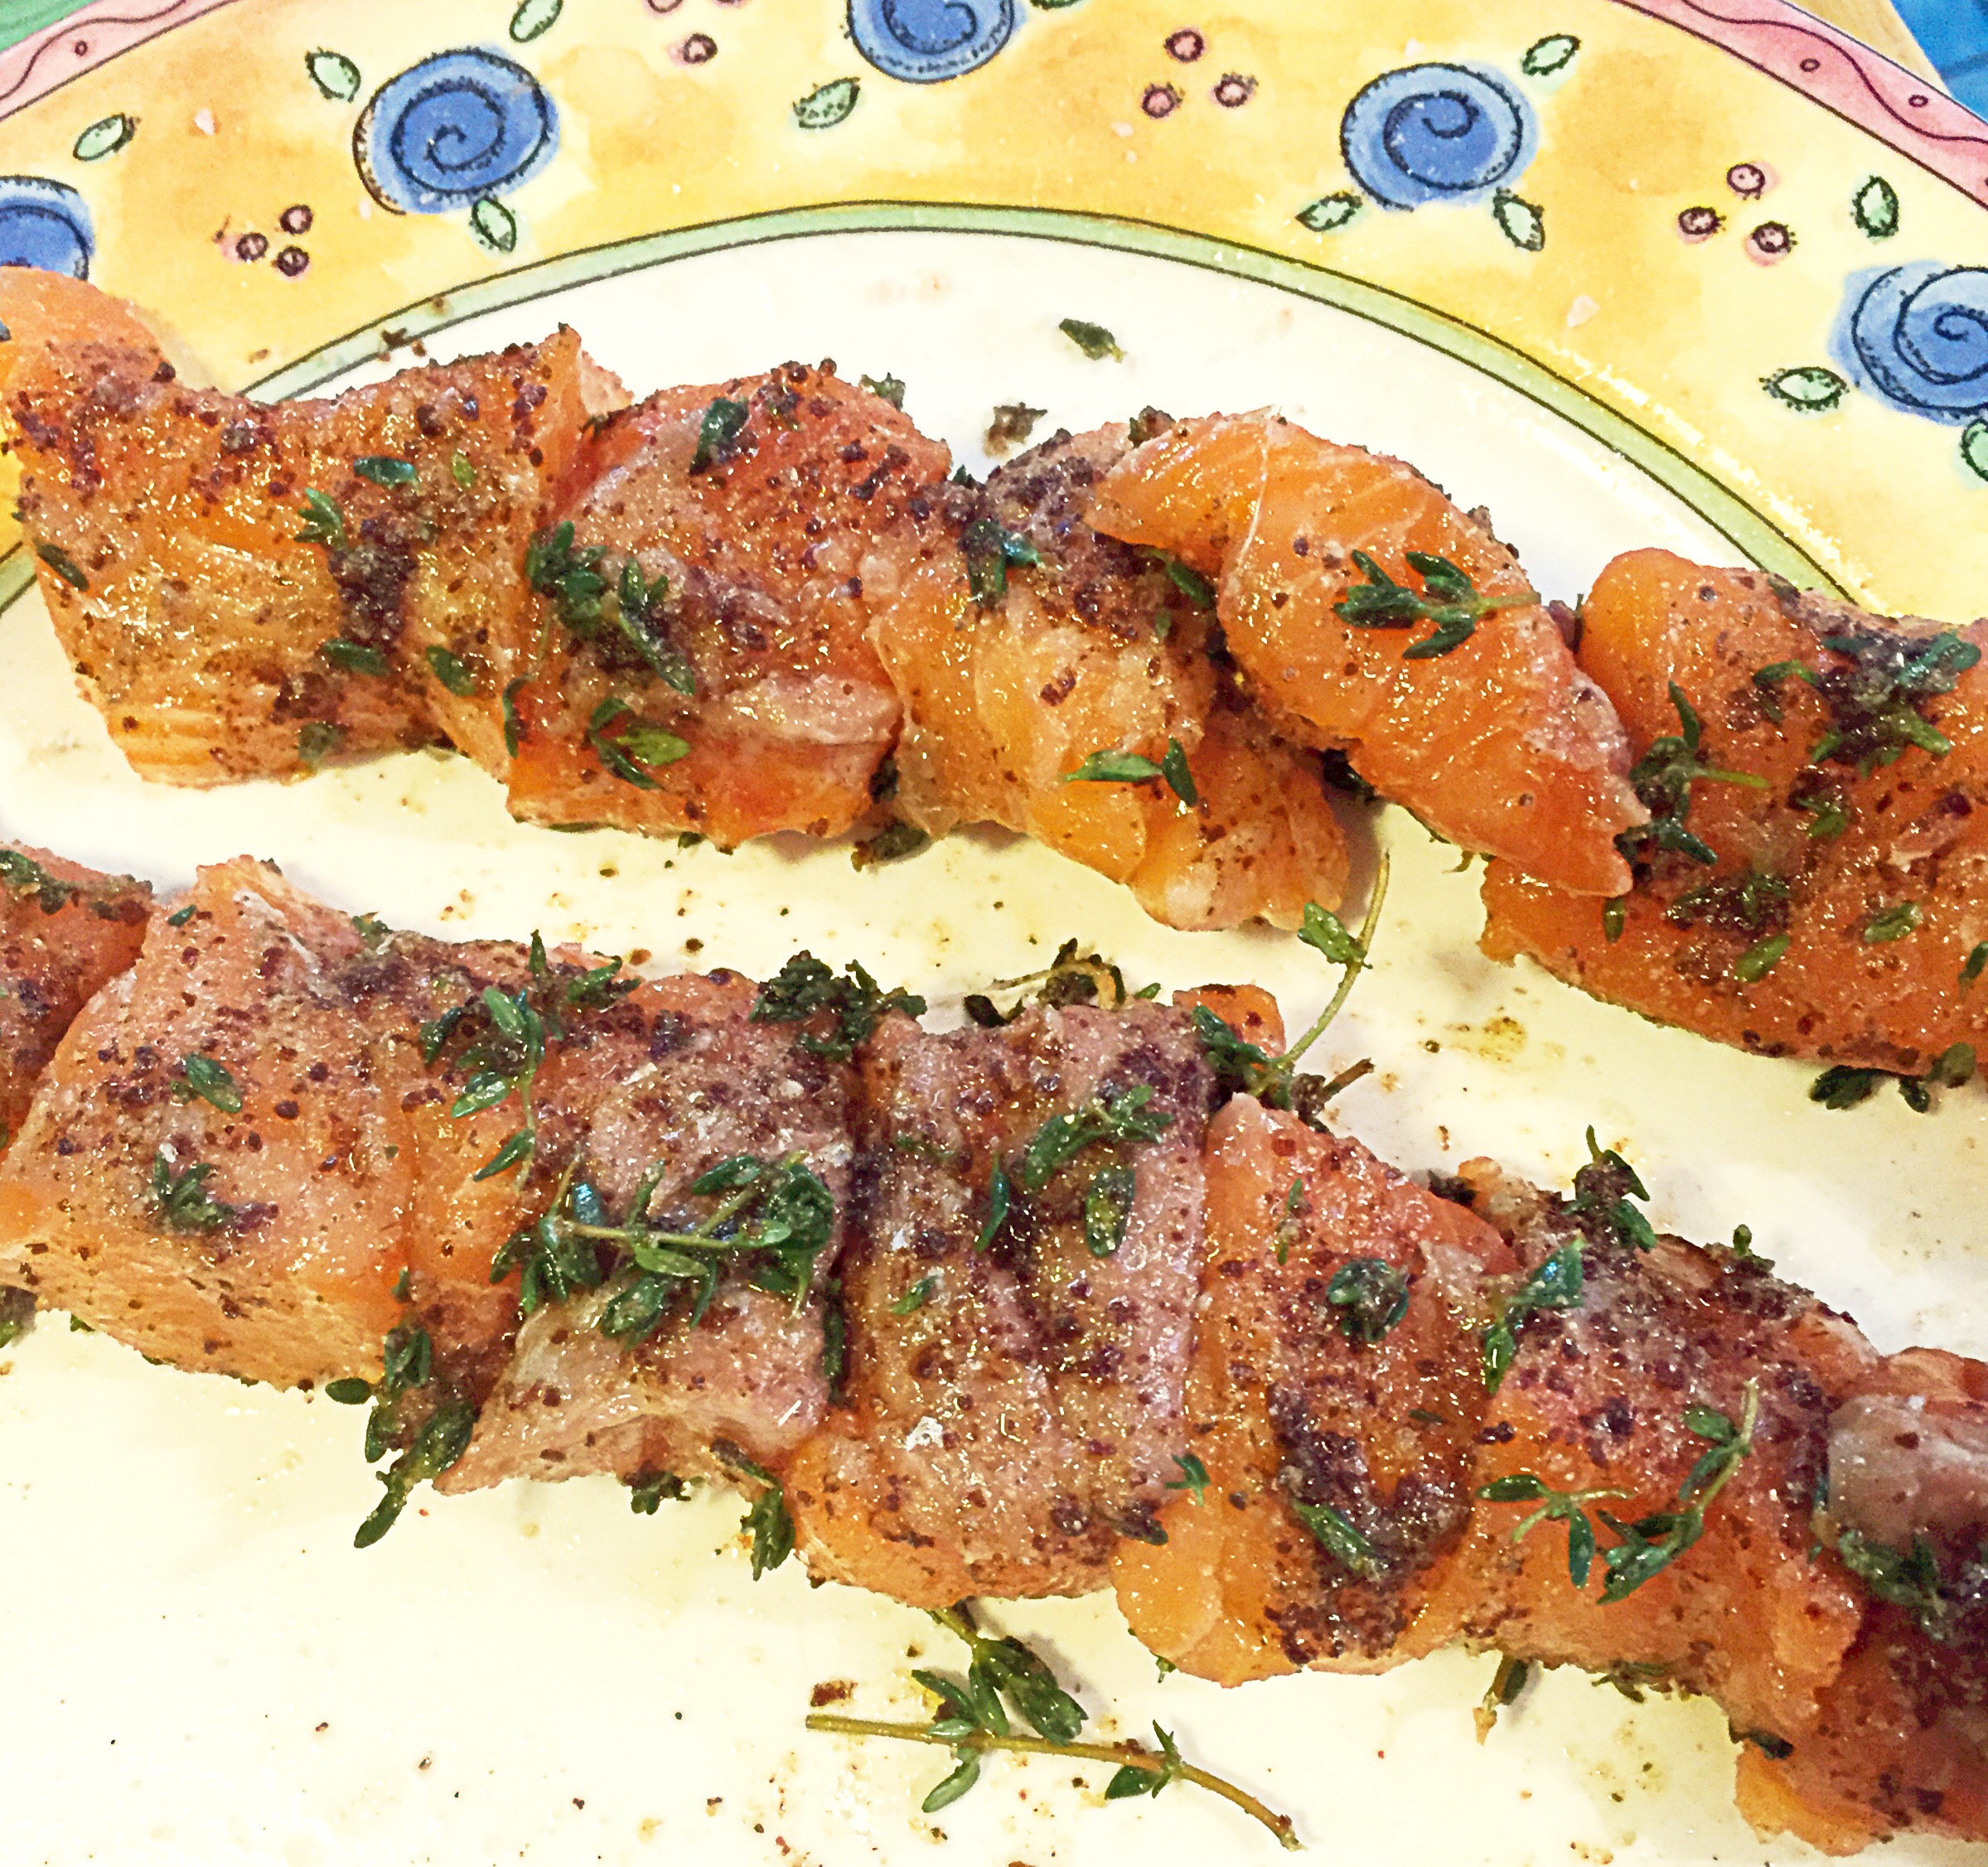
Form patties, and either refrigerate for up to 1 week, or freeze in an air tight container for up to 3 months.
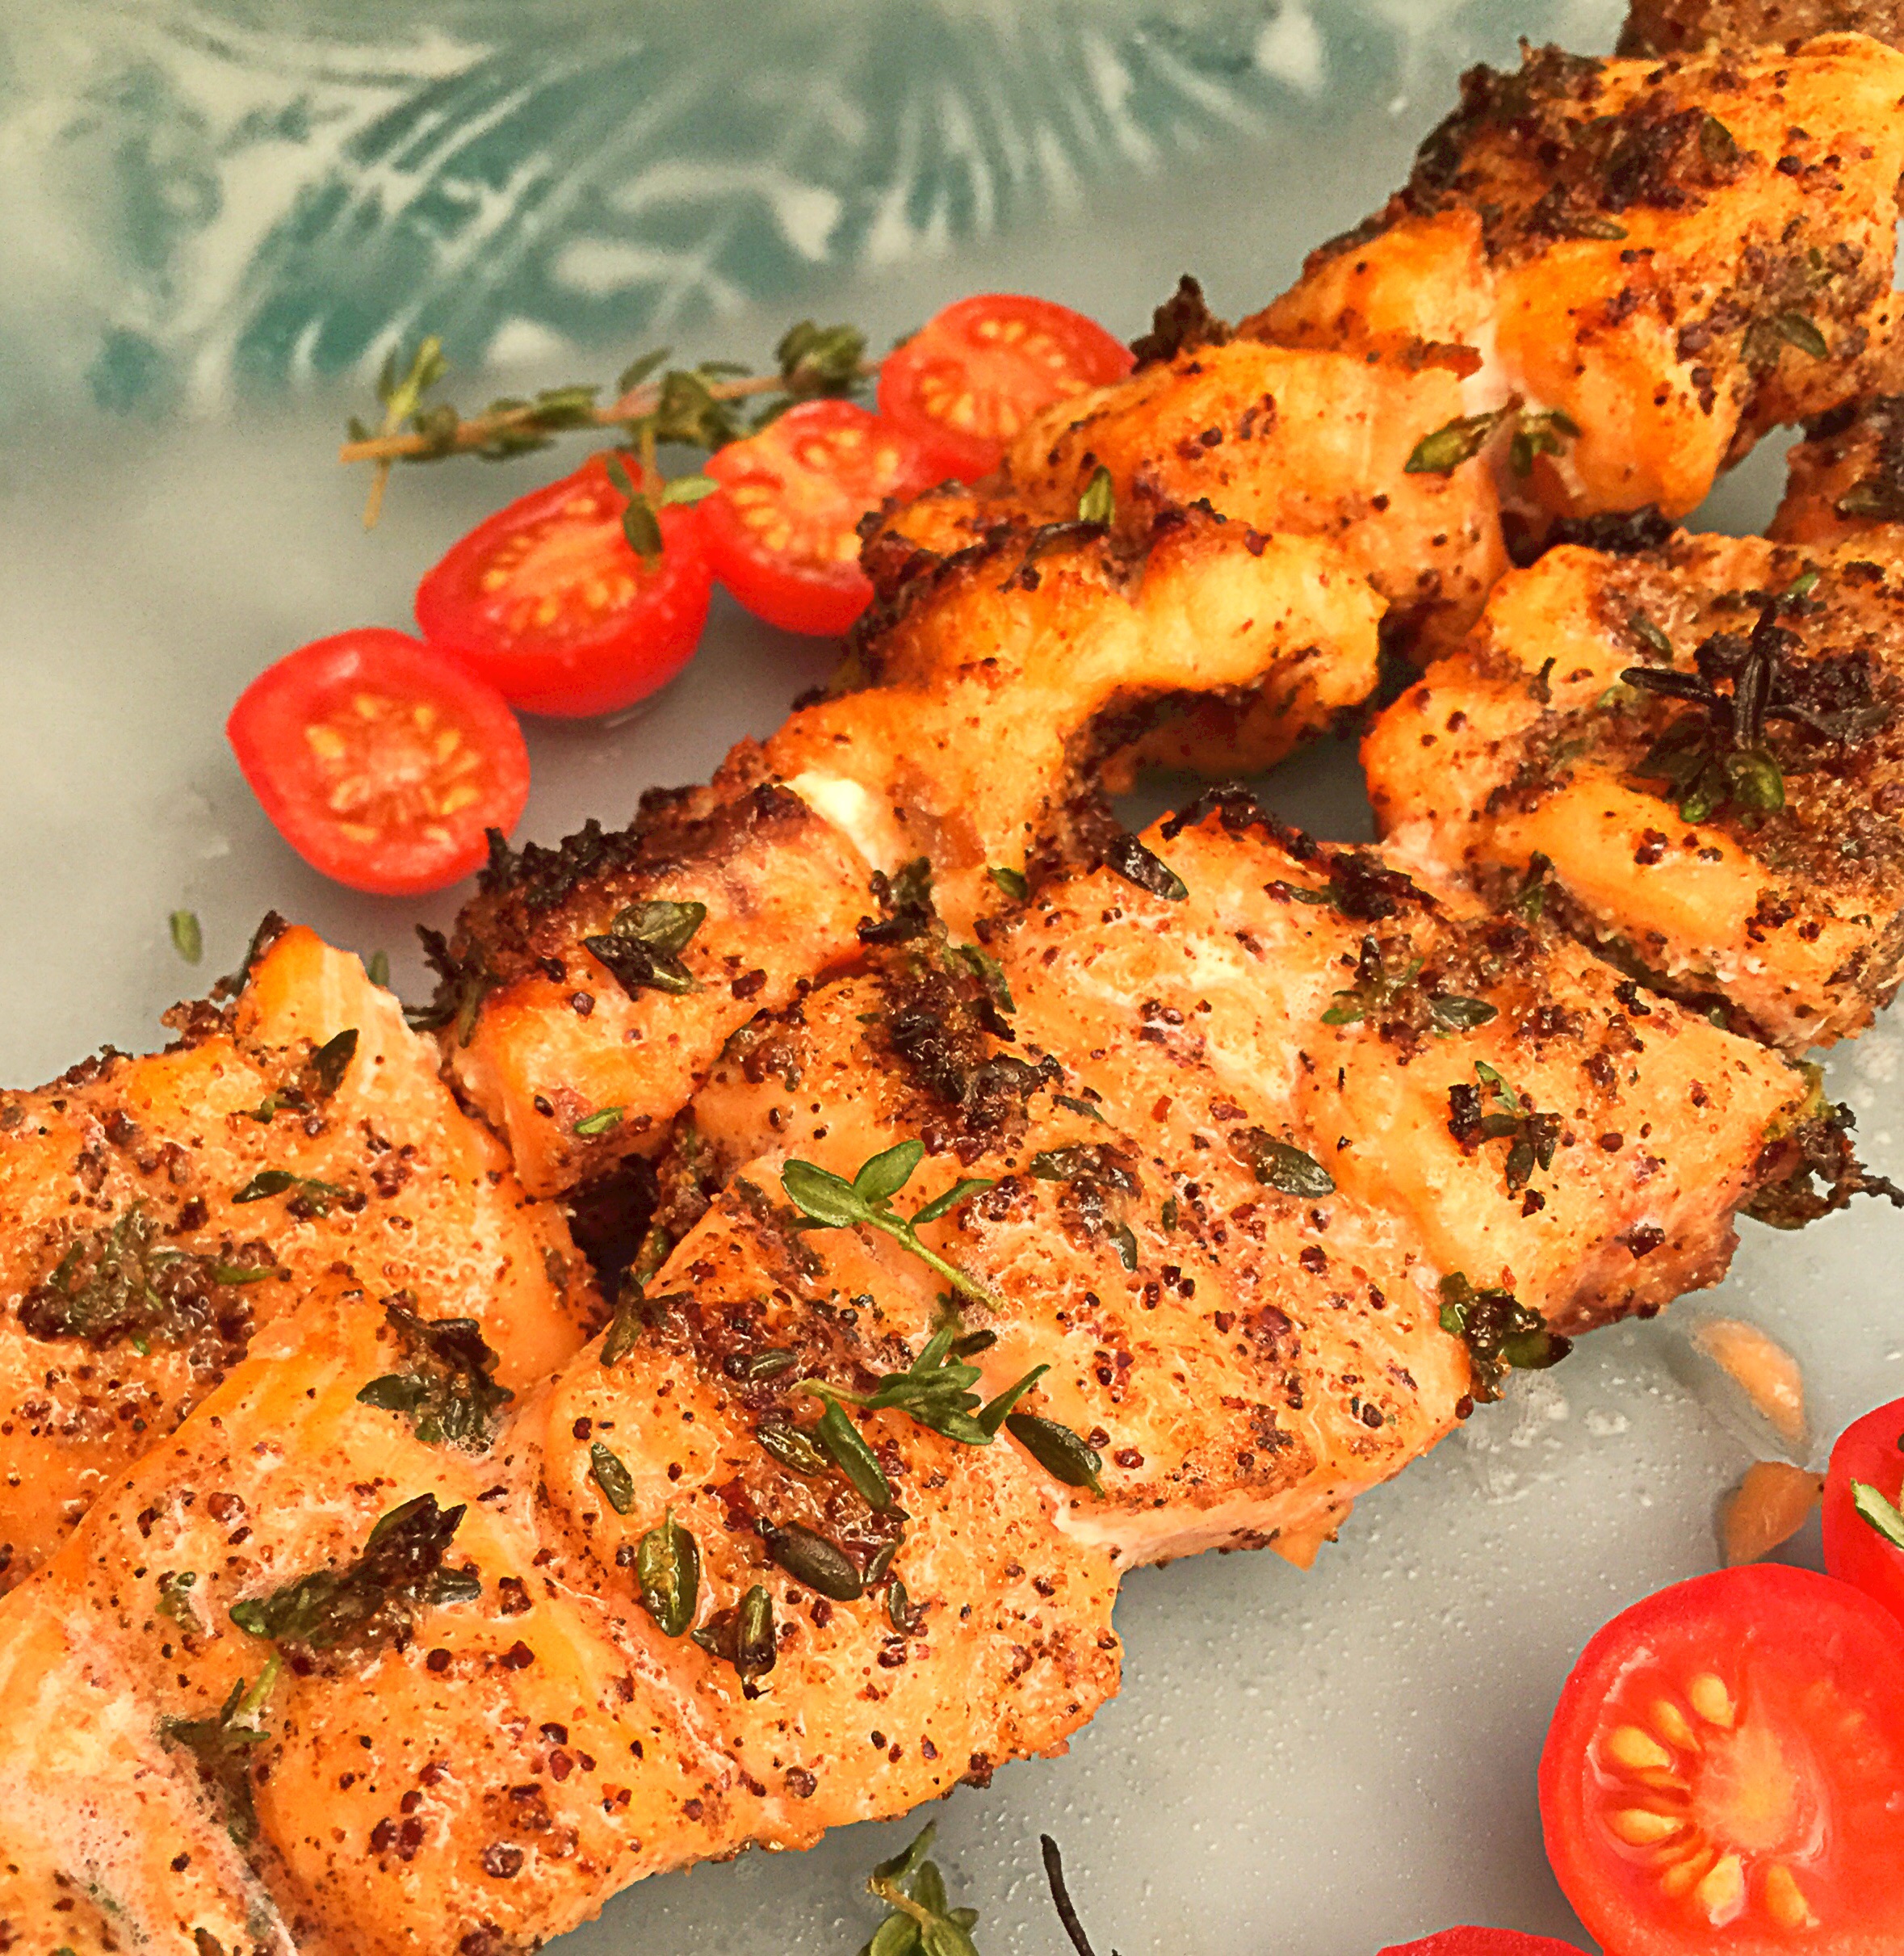
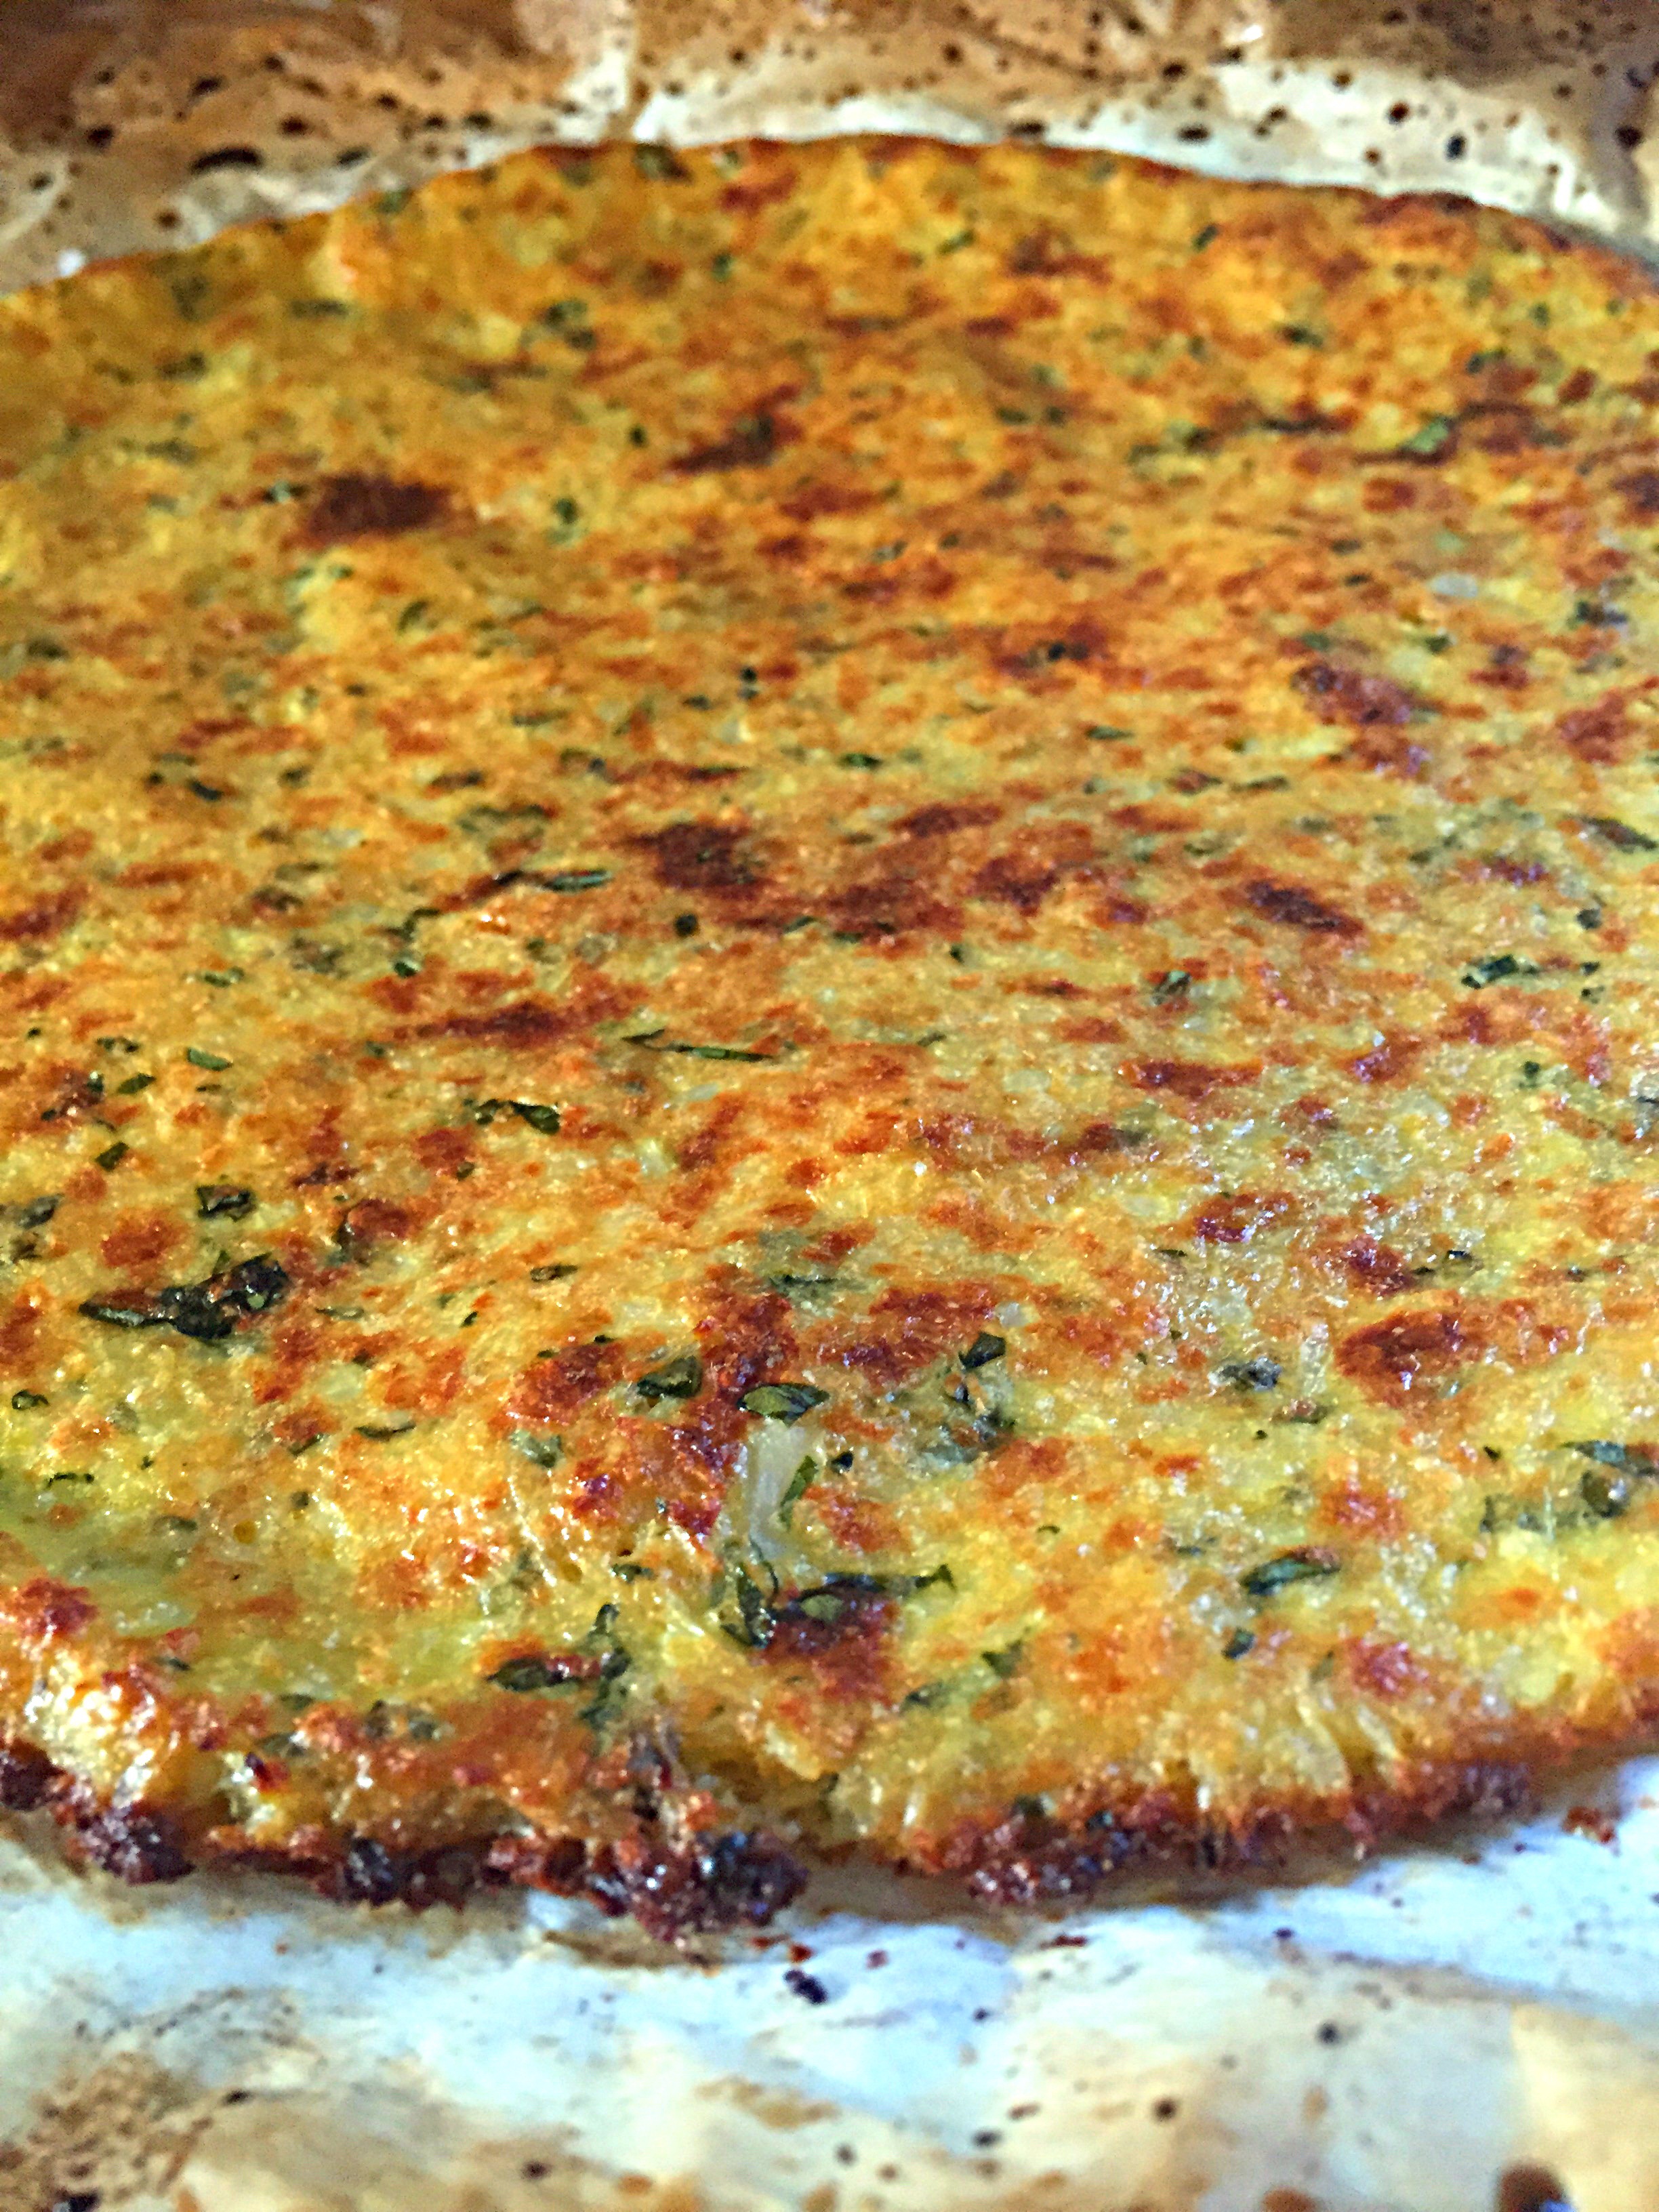
When ready to cook, spray a cast iron skillet with coconut oil, bring pan to temperature, then add patties, cook for 3-4 minutes on each side,
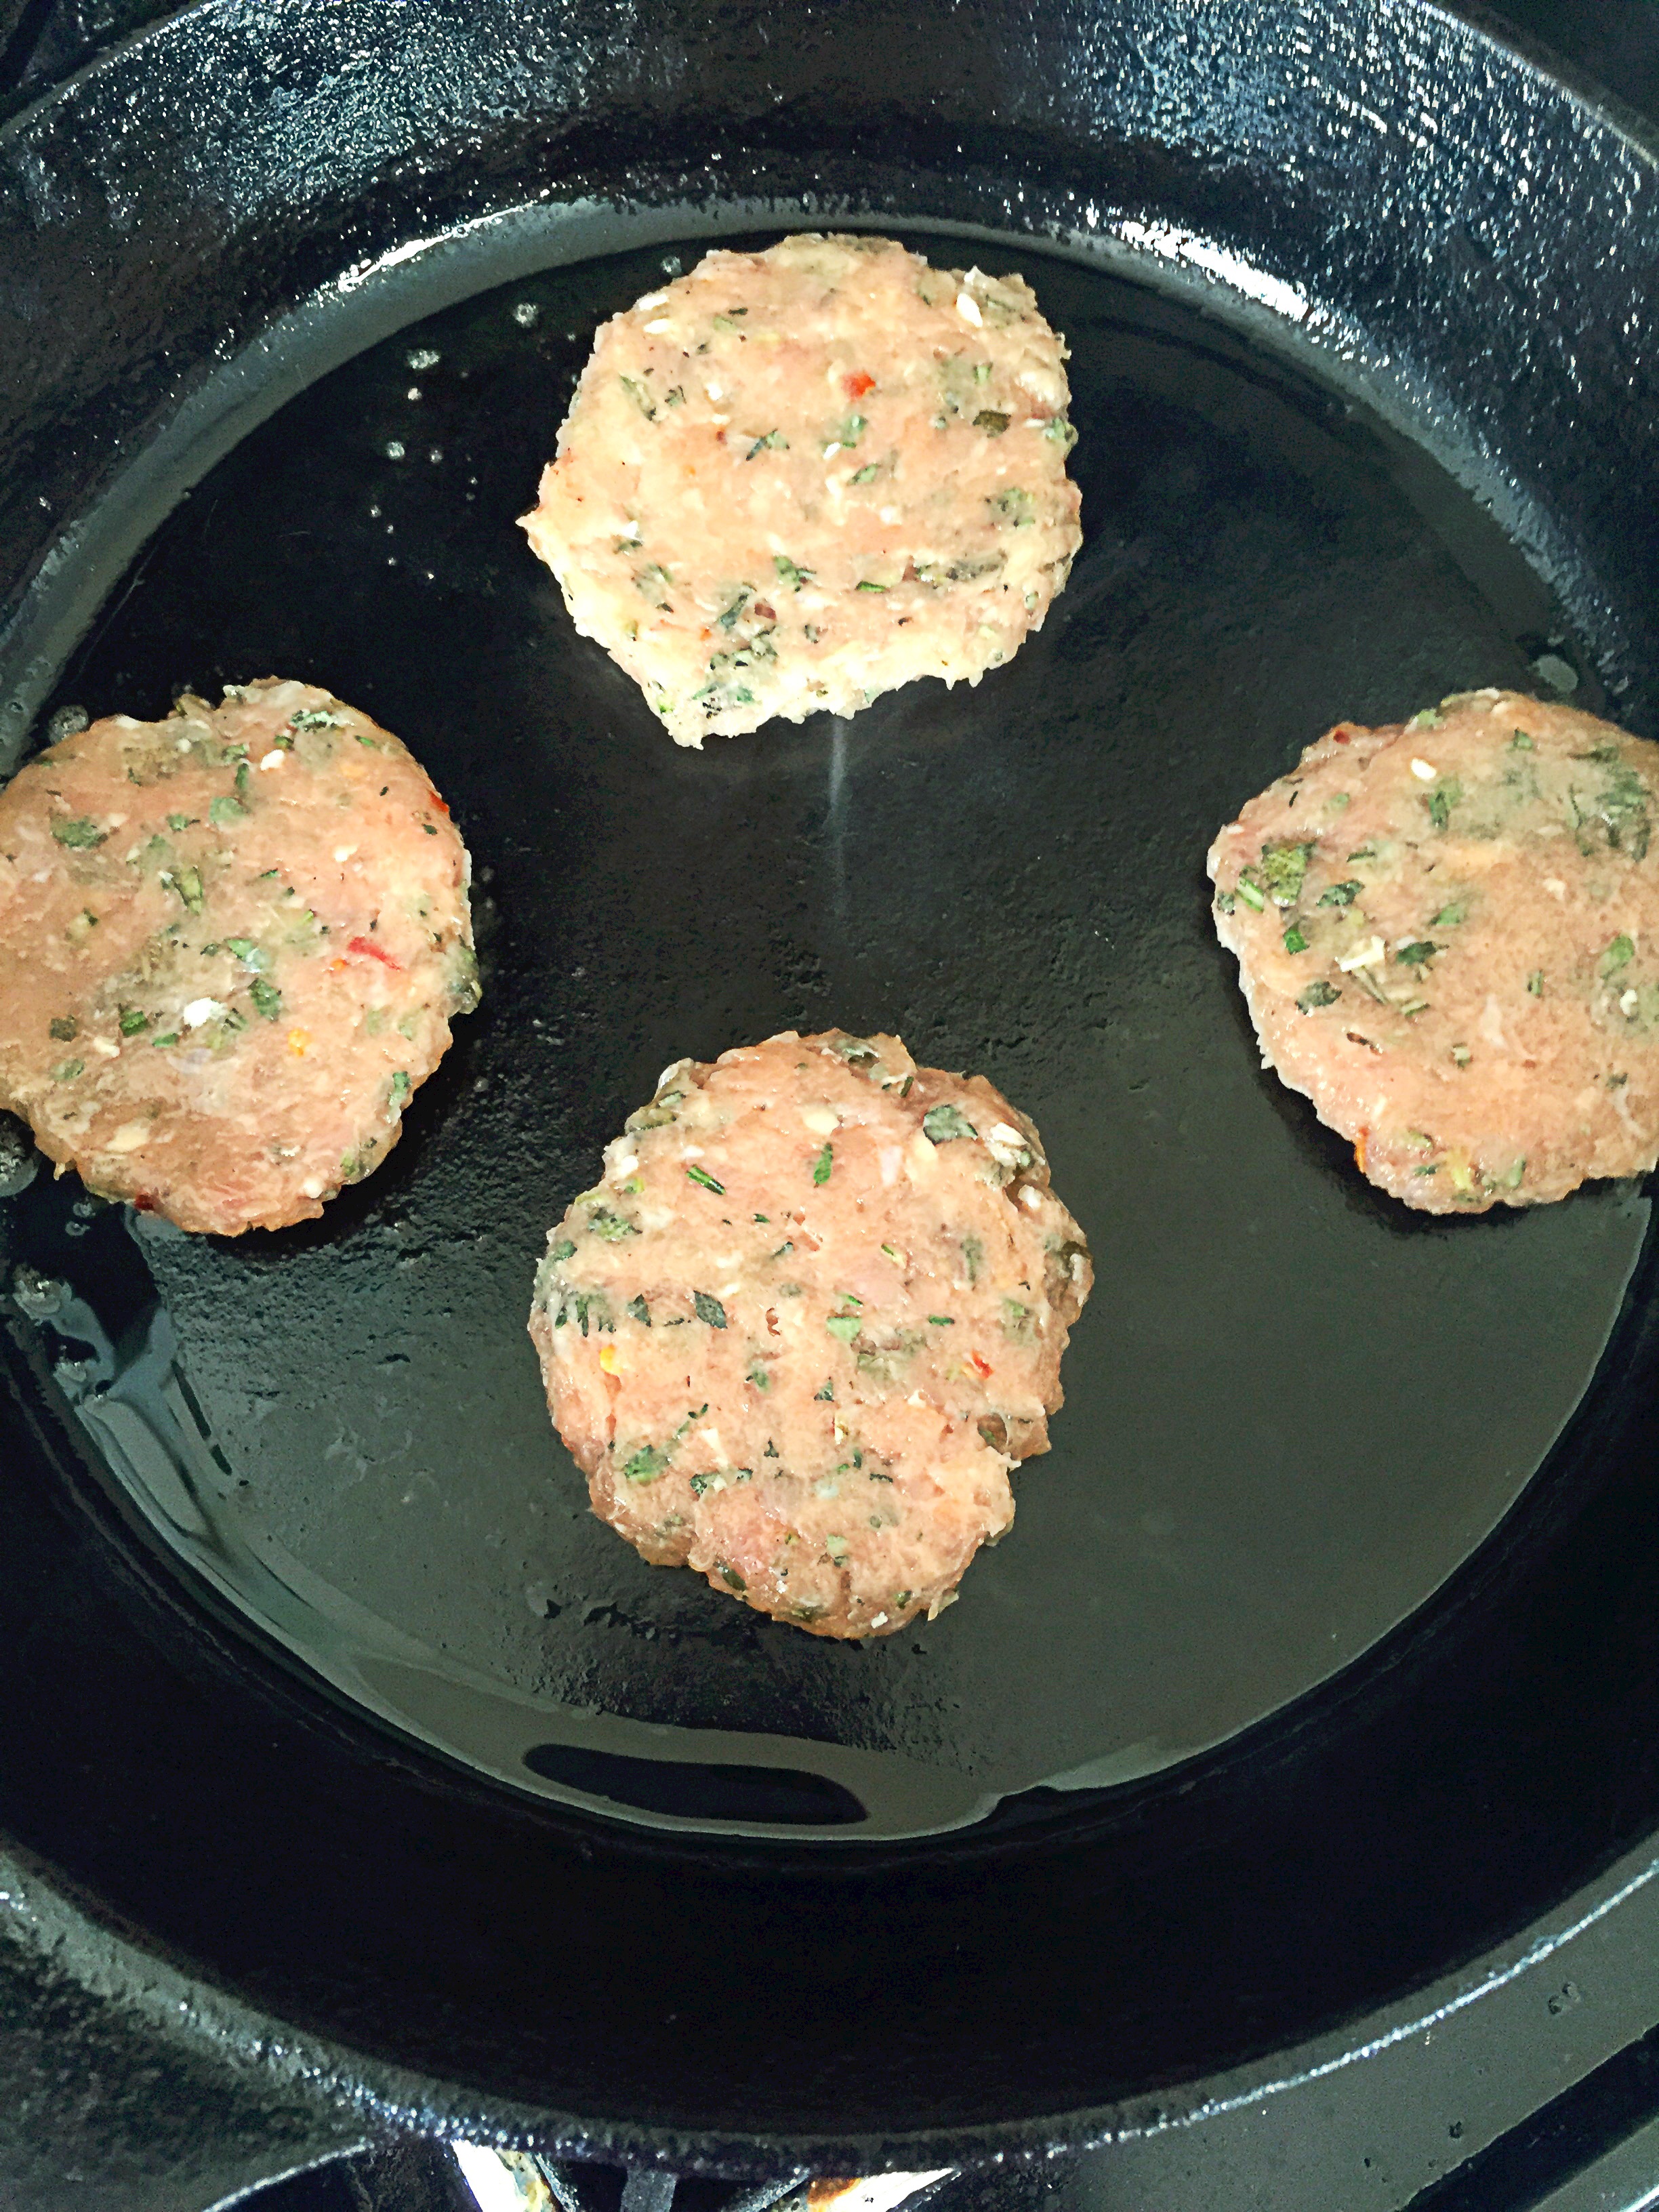
or until golden brown, and meat is cooked through in the center.
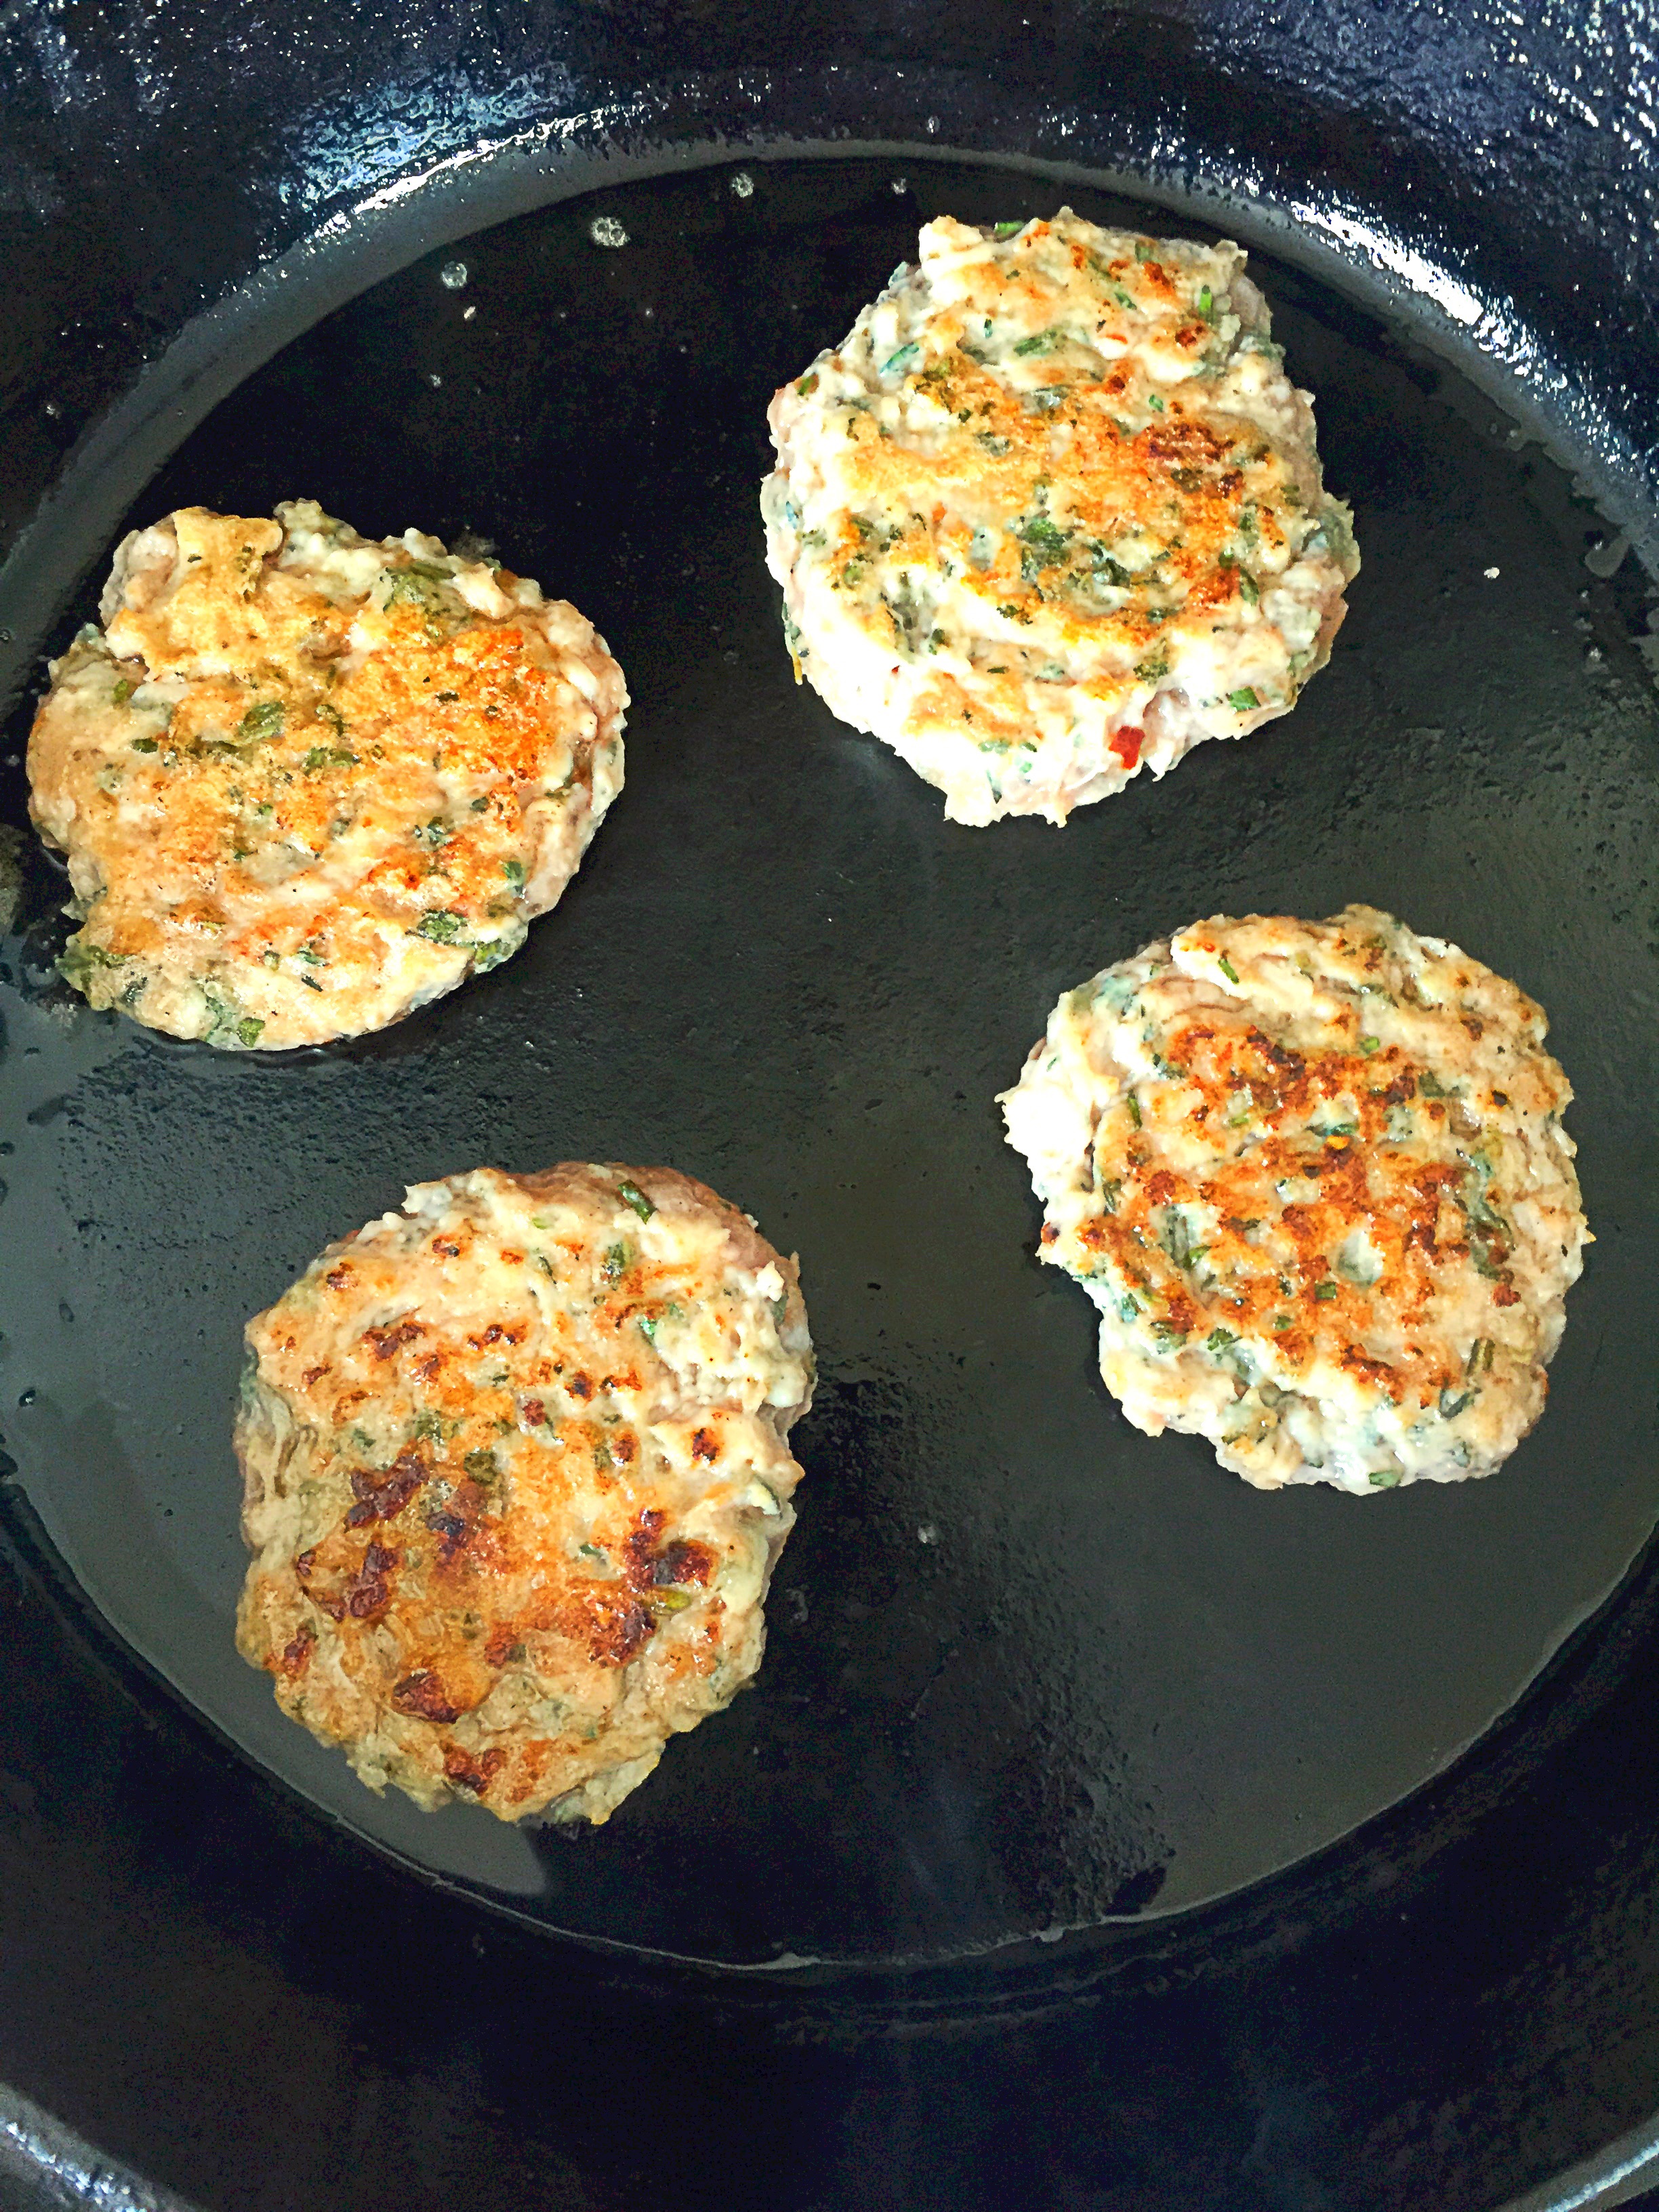
Remove from pan, serve and enjoy!!!