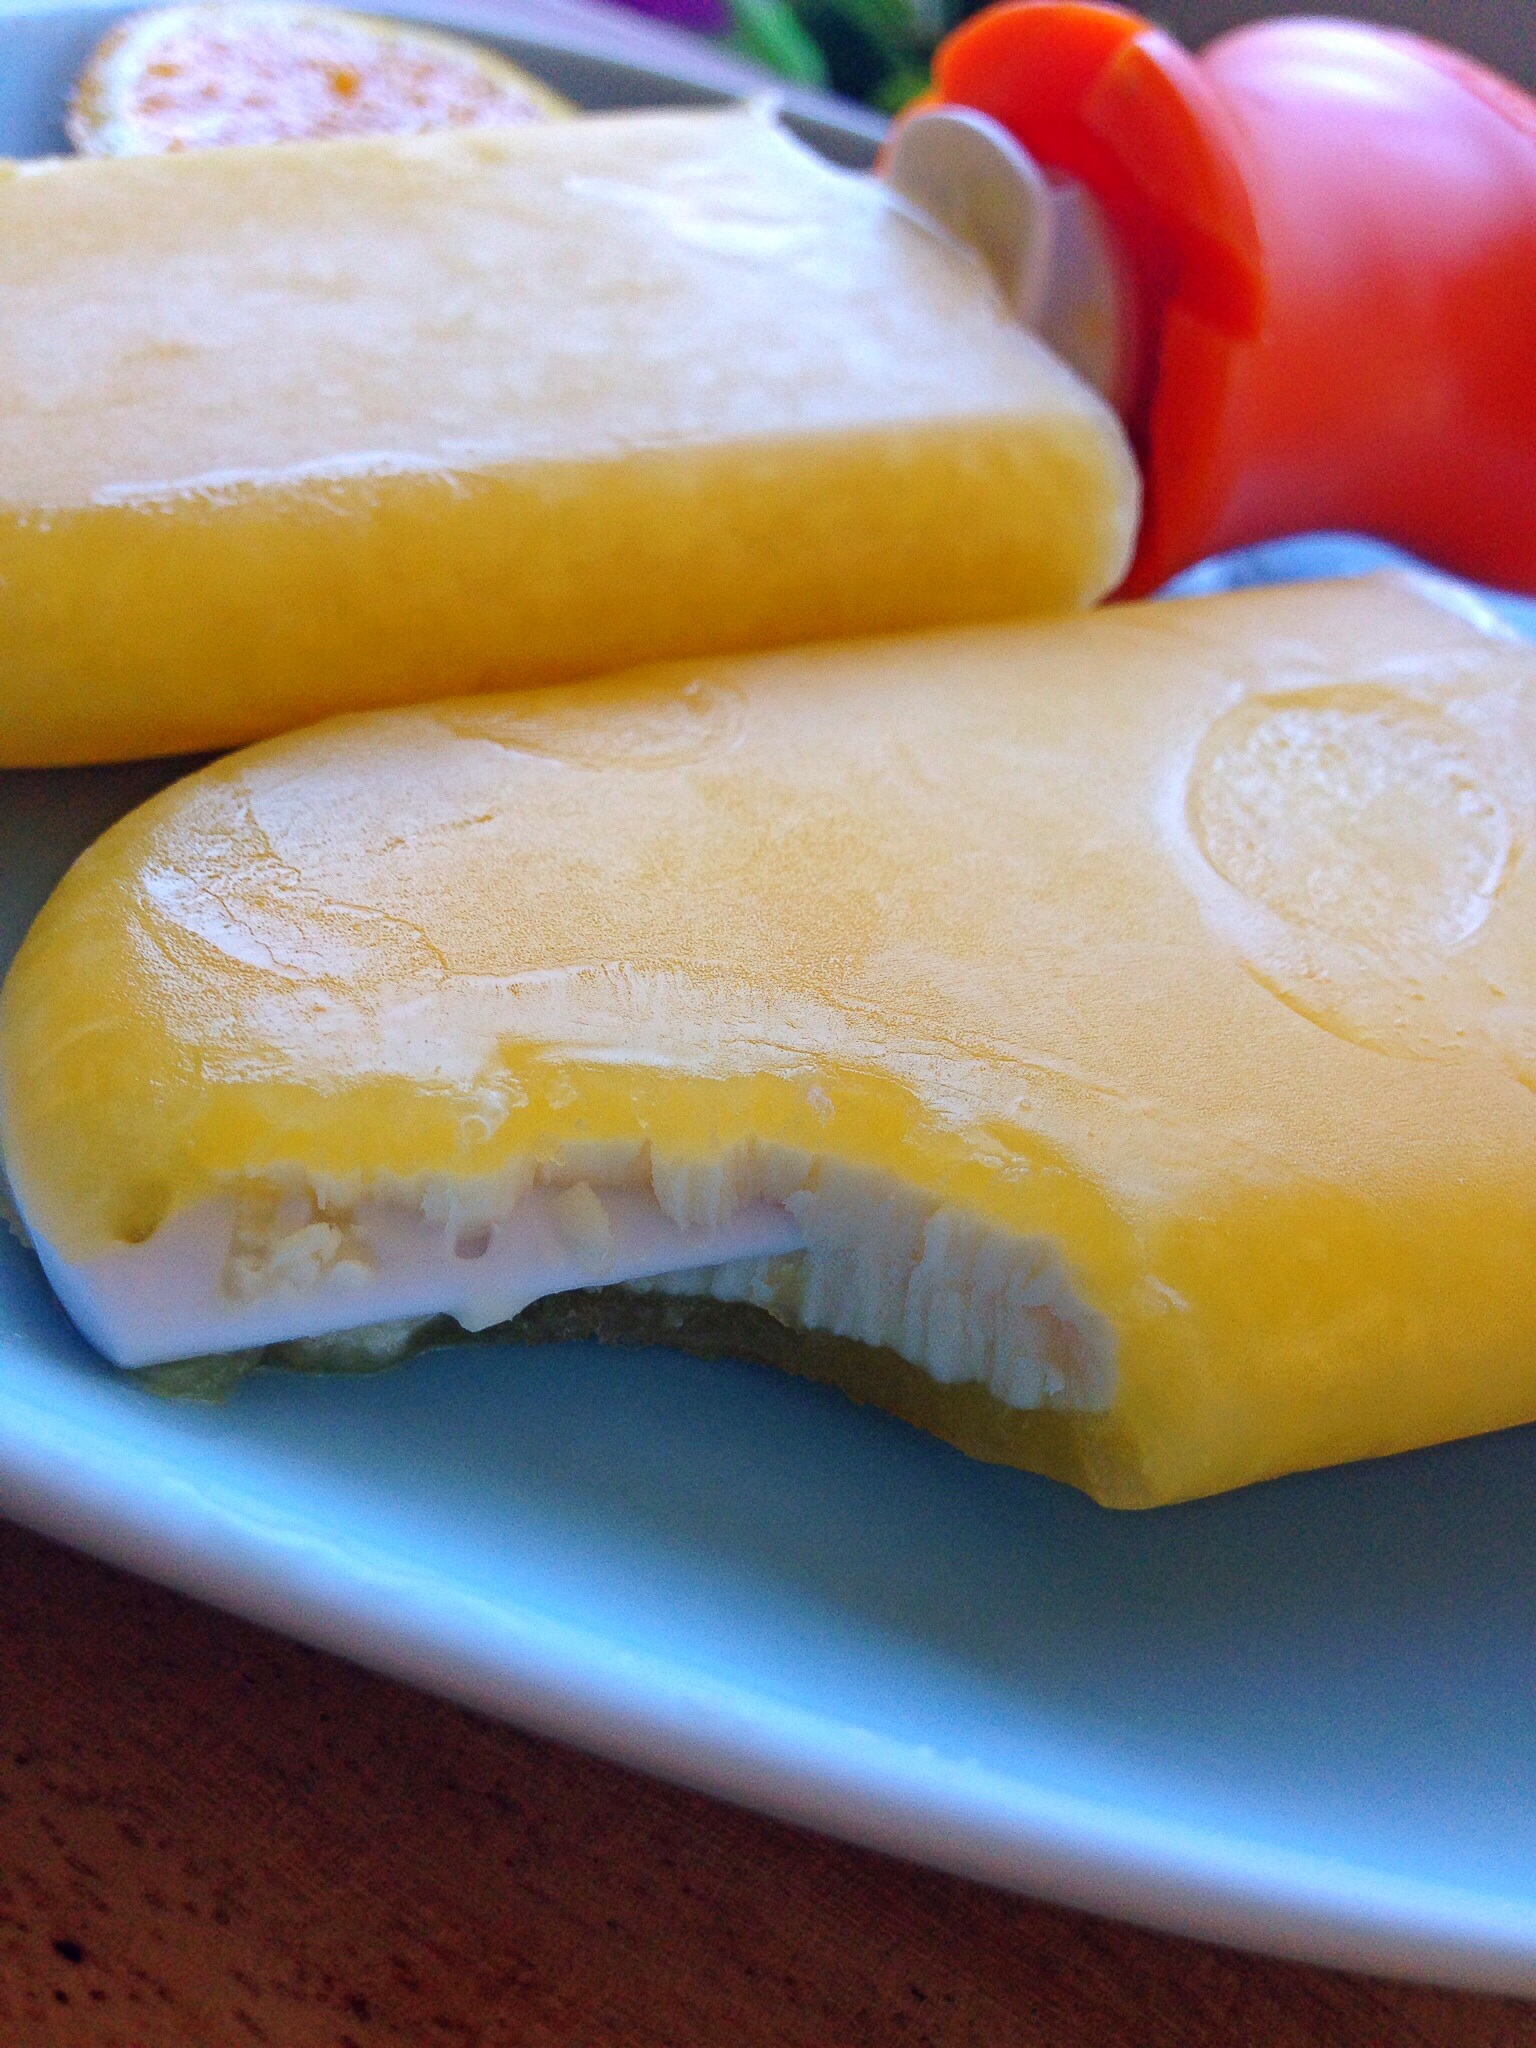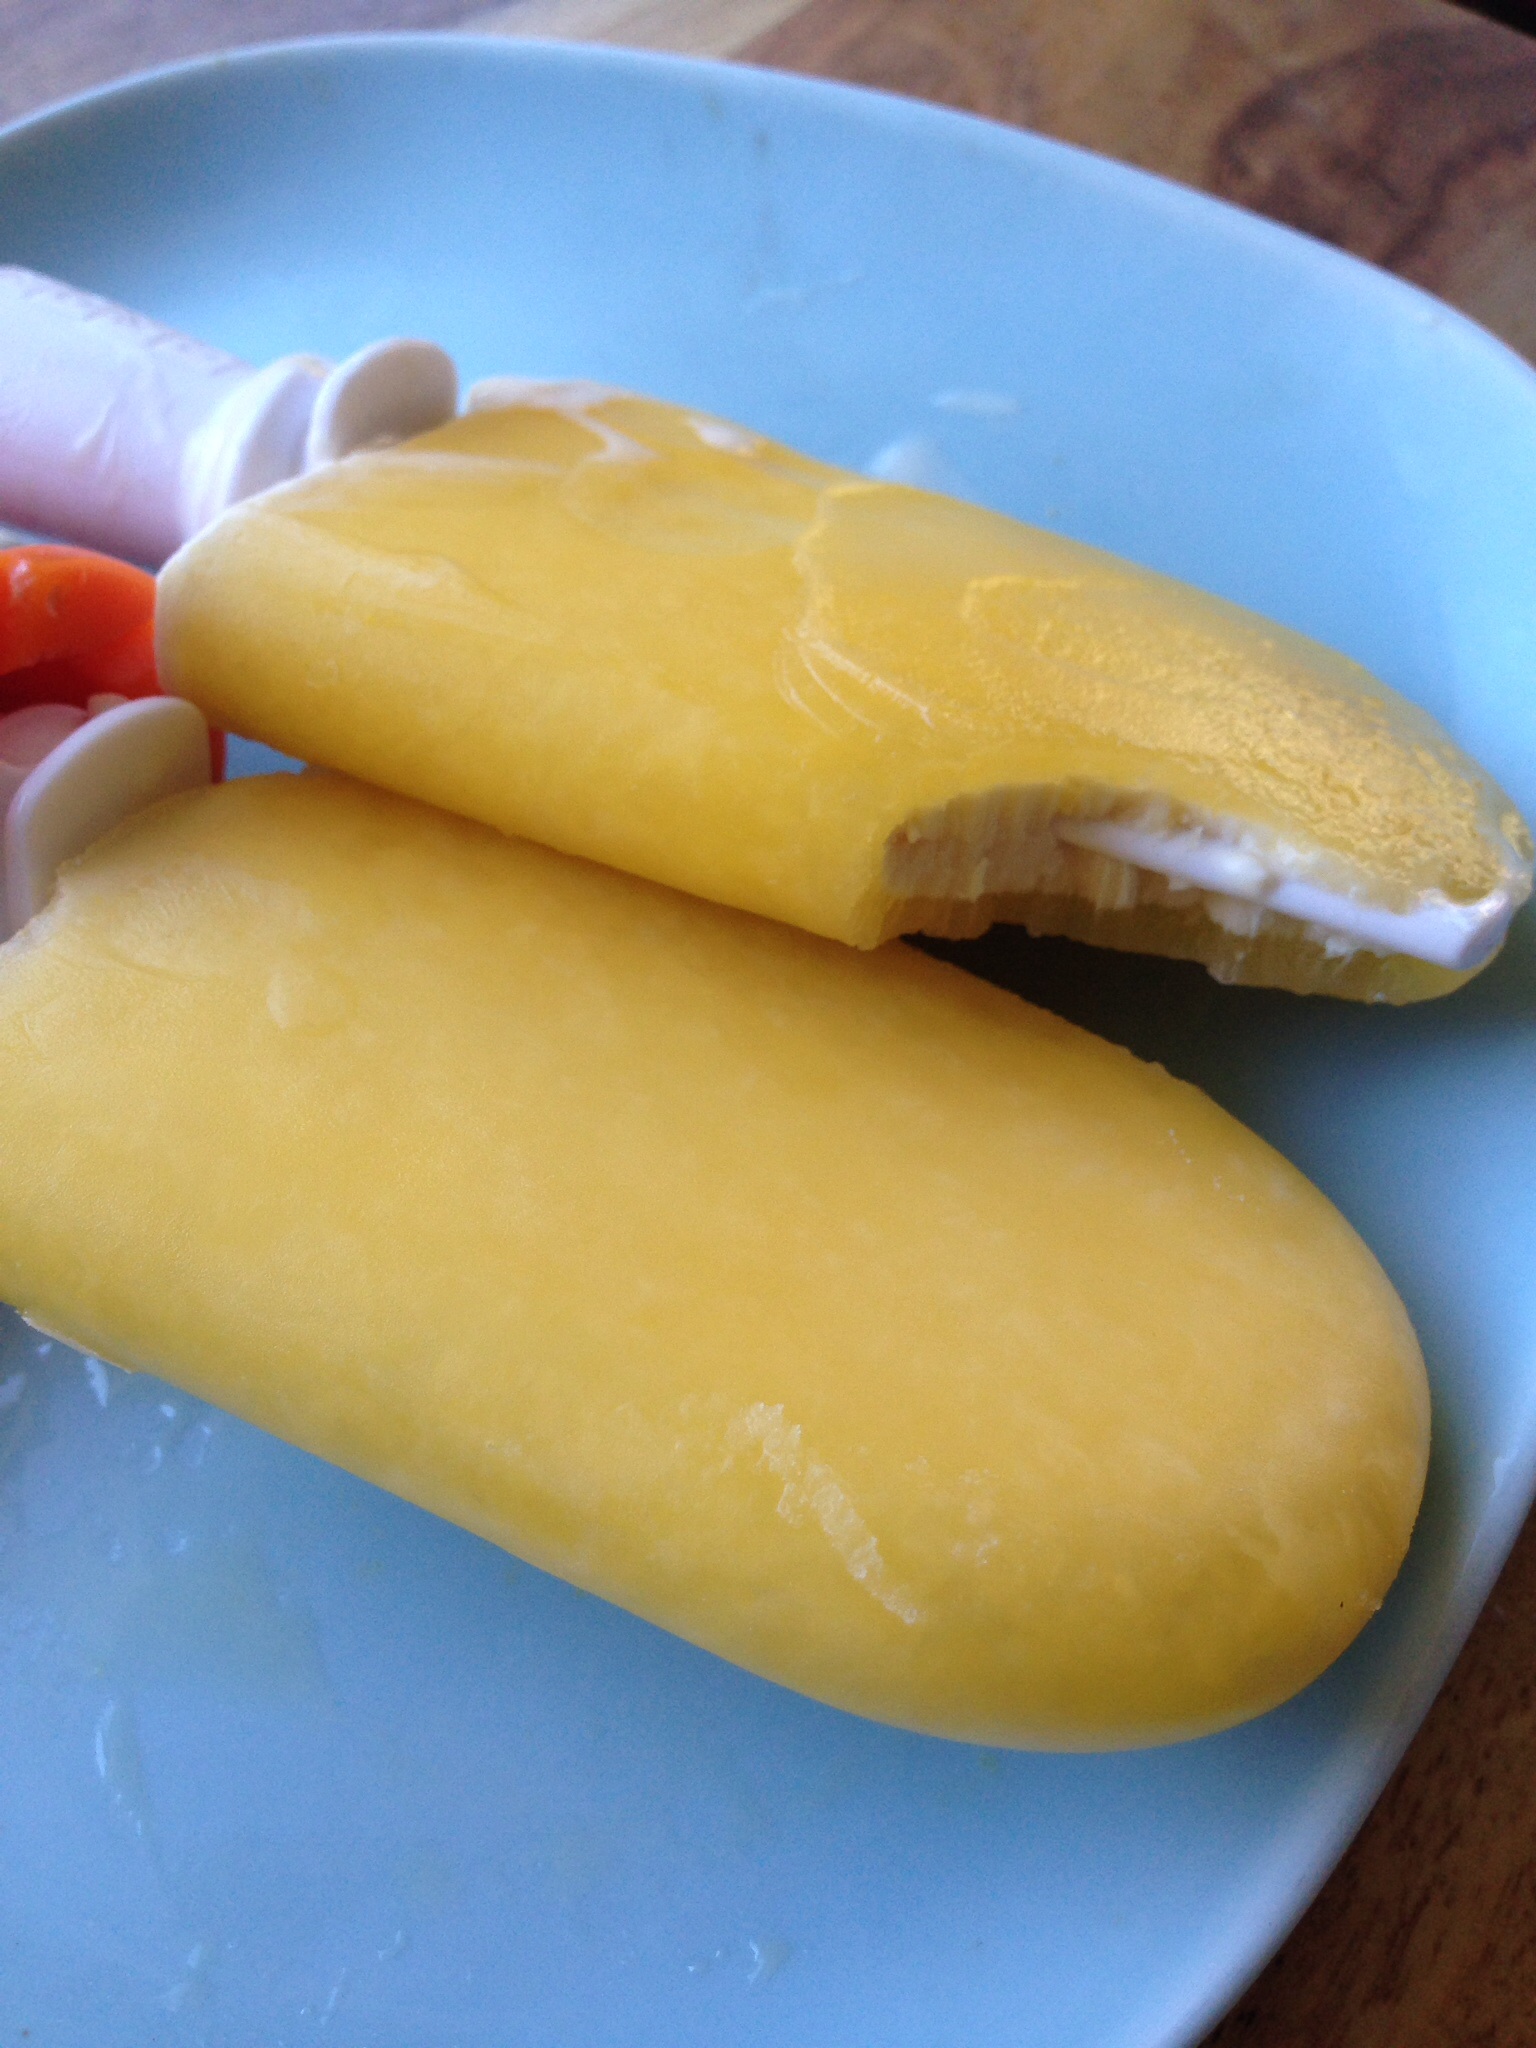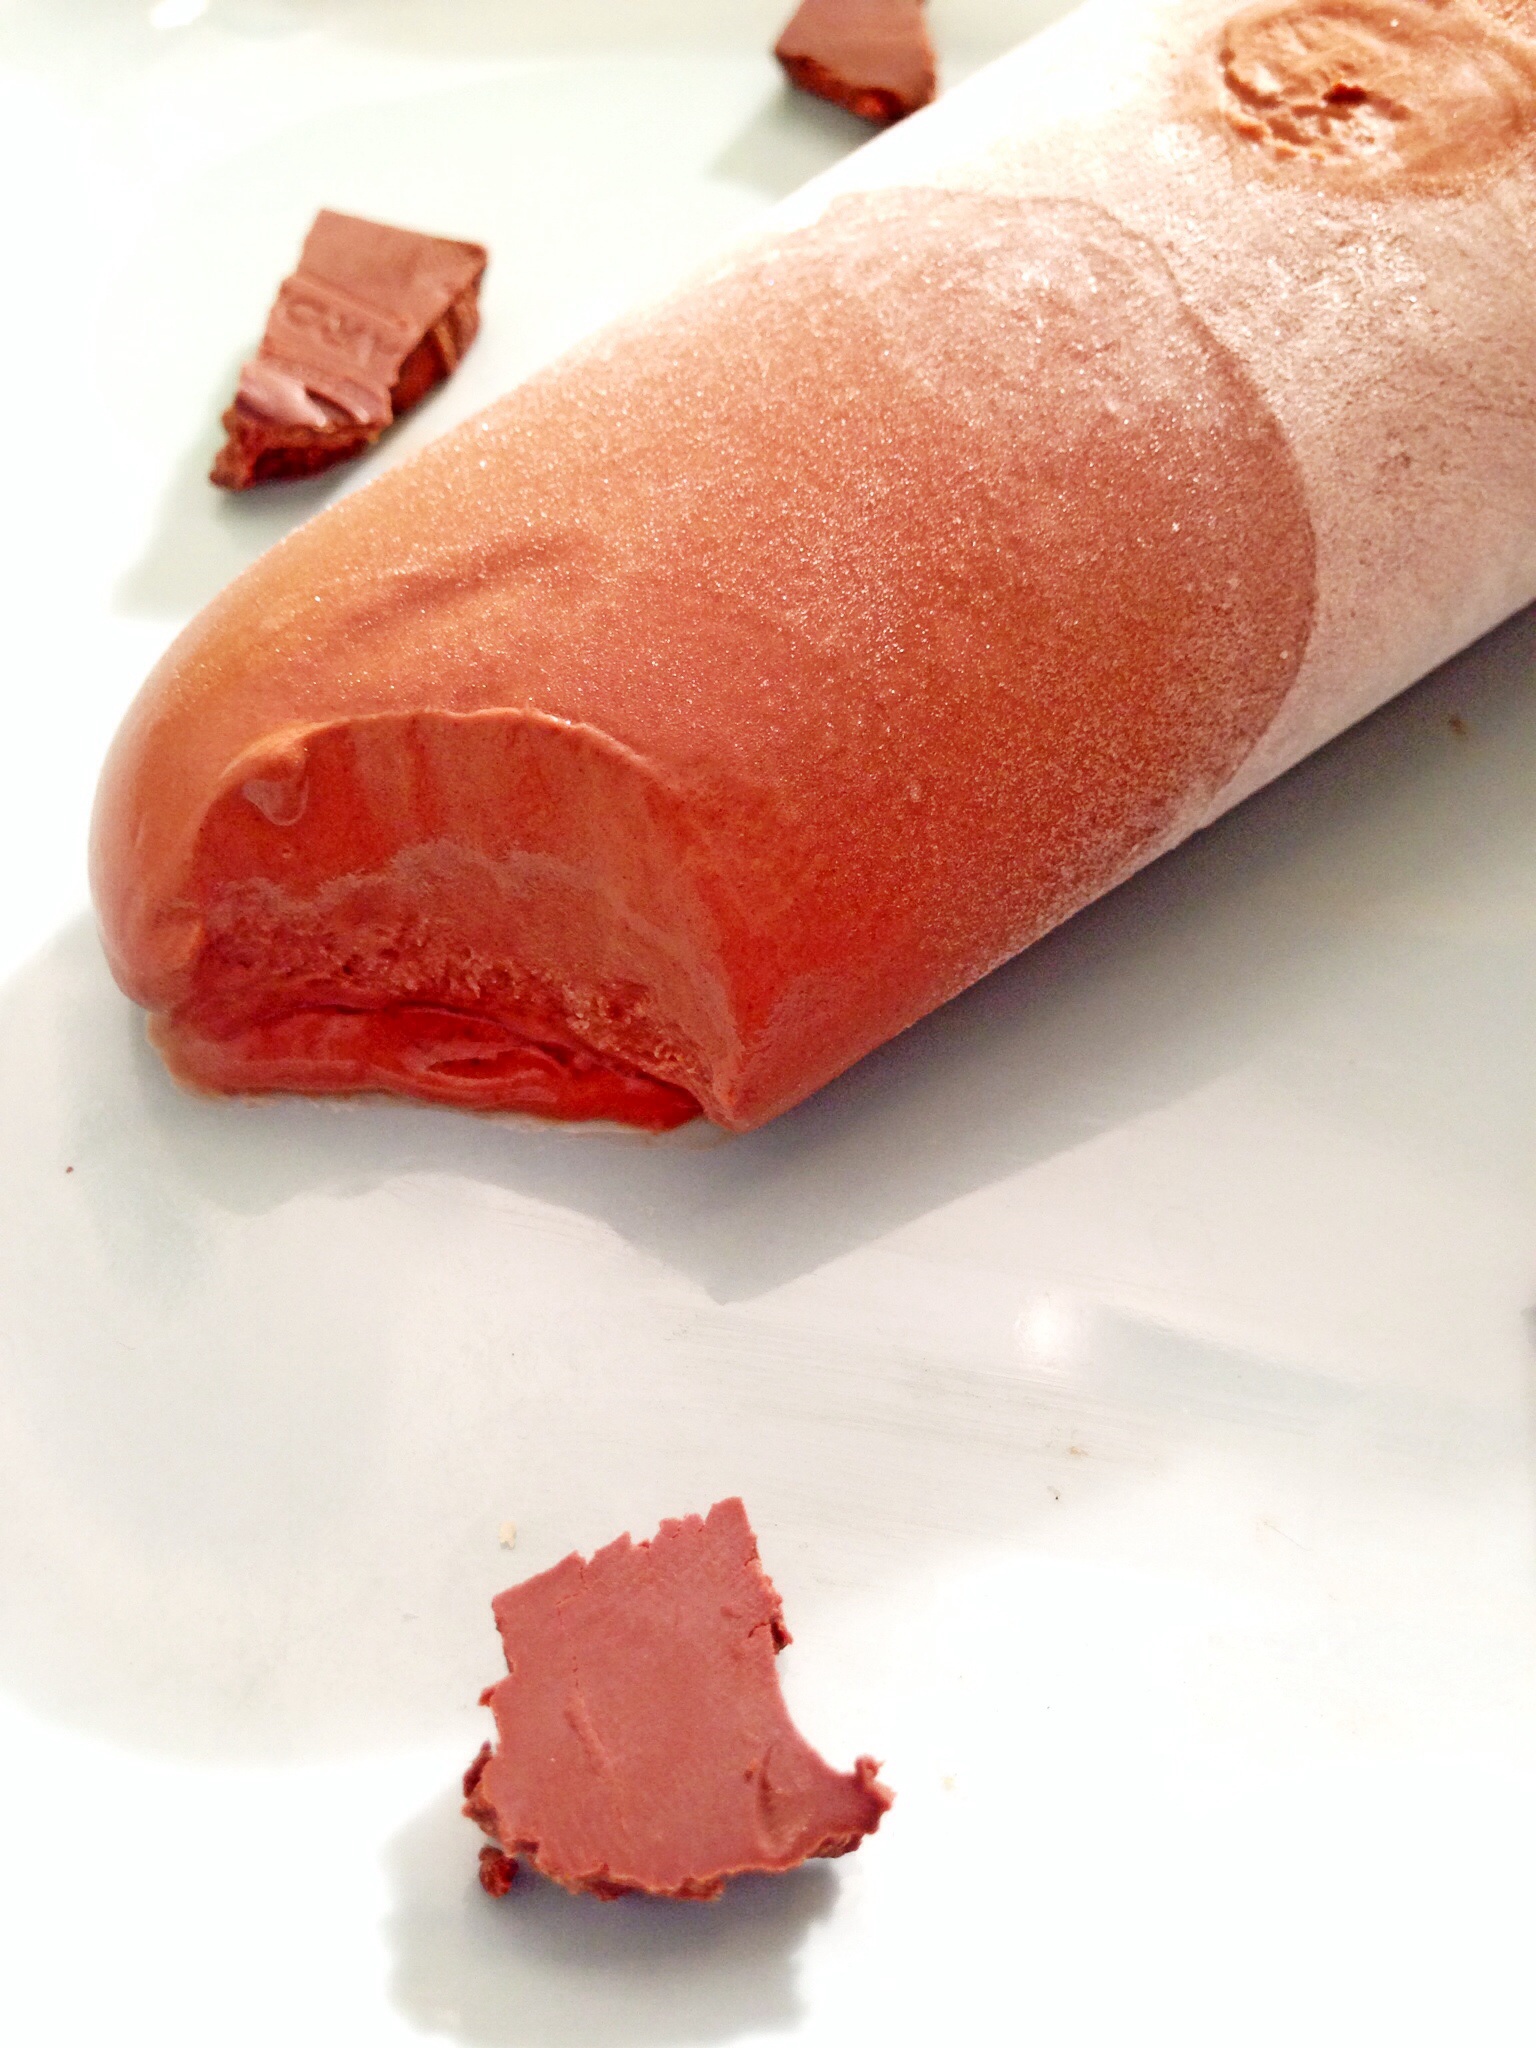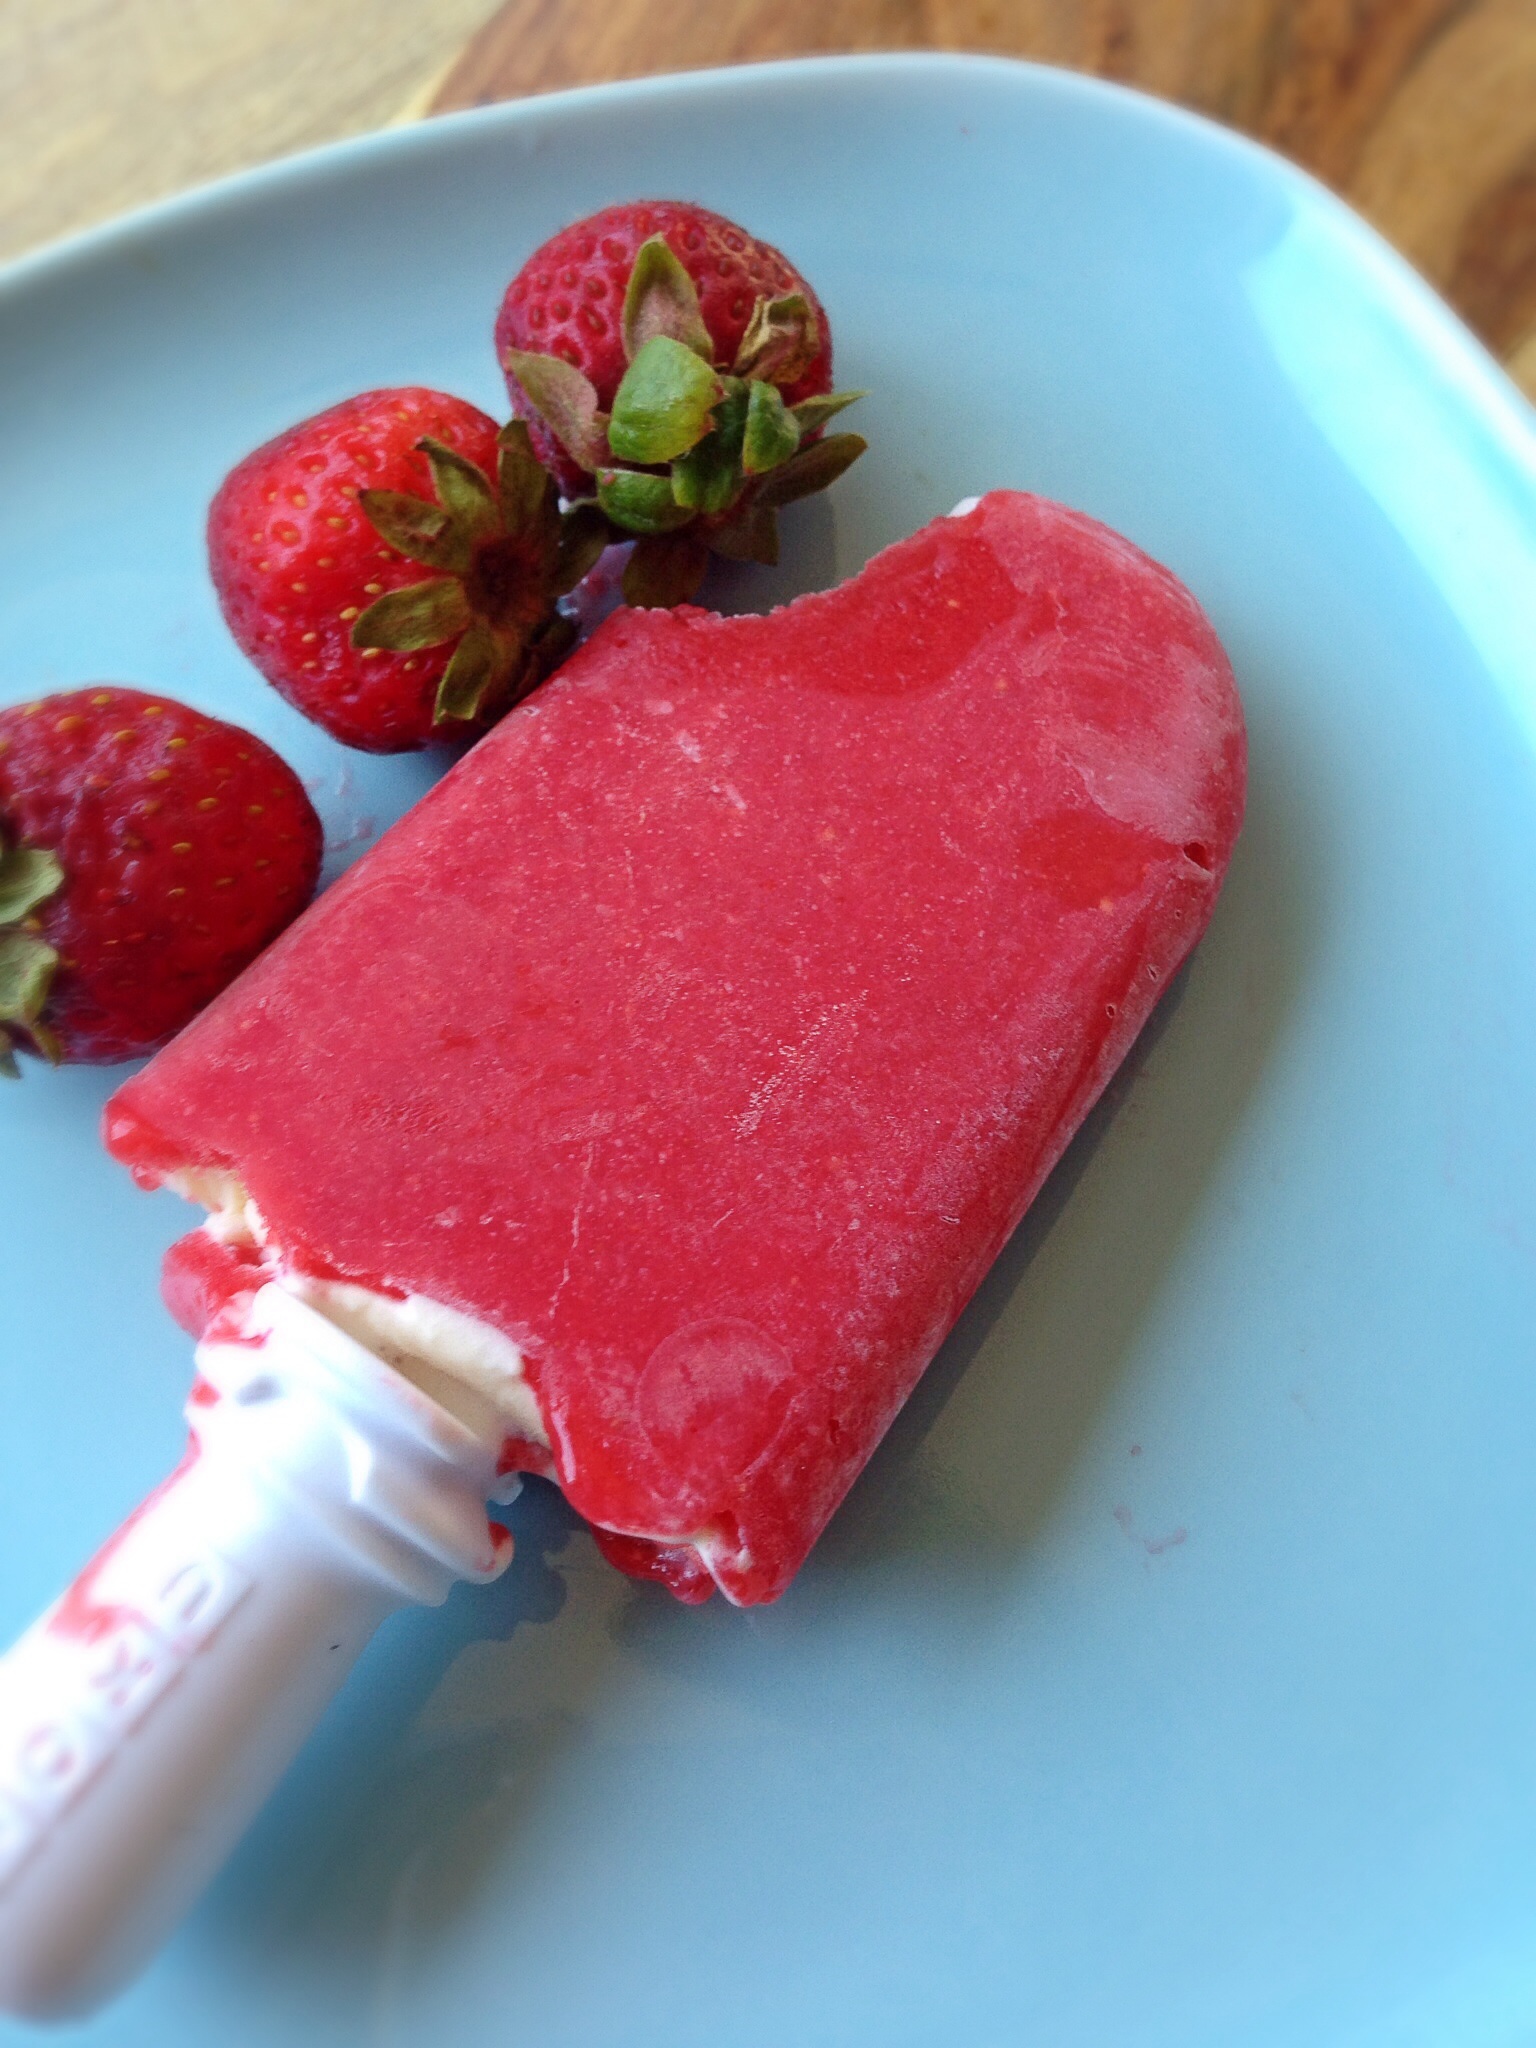
Strawberry Creamsicle Half and Half bars
Strawberries and cream, what’s not to love about this combination? When I was making Orange Creamsicles the other day I decided I’d make a few strawberry cream bars as well. My daughter loves strawberries, and she loves ice cream, so I thought since it’s so hot out lately I’d give her the best of both worlds. The verdict? She loved this creamsicle of course–who wouldn’t? If you are doing this, my suggestion is to use very ripe, and very sweet berries, otherwise you’ll have to add sugar in some form to make these sweet.
Pin It!
Prep time: 5 minutes
Makes 2-3 strawberry creamsicles
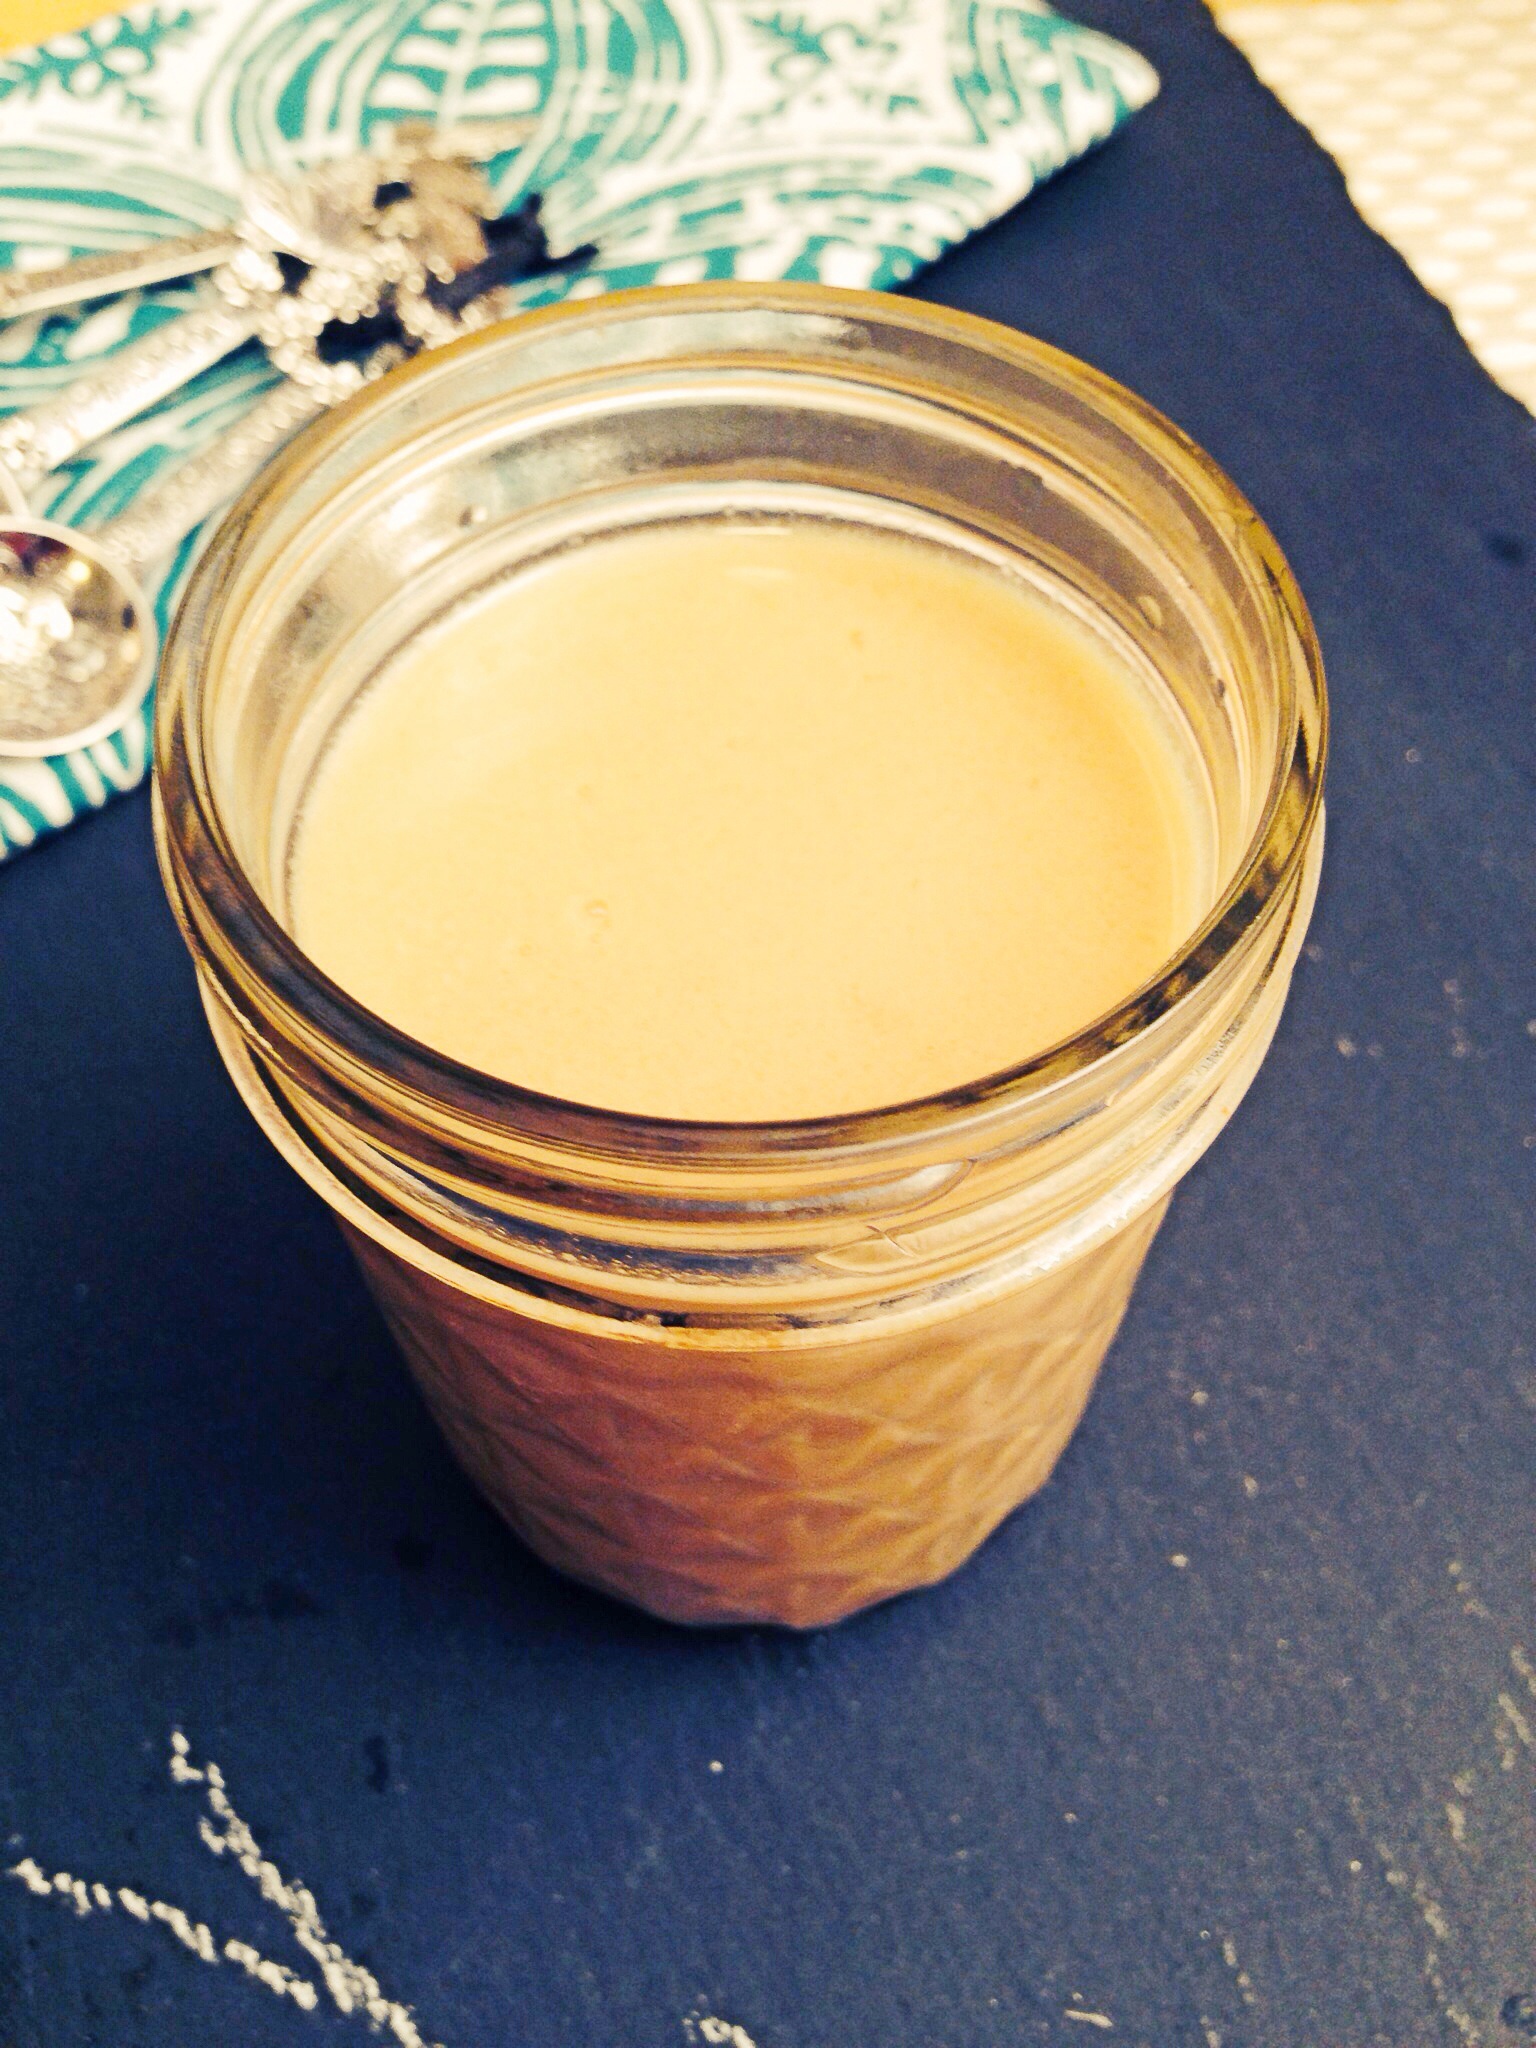
Ingredients: 1 cup of pureed organic strawberries
1 cup of heavy cream or coconut cream
1/2 teaspoon of vanilla extract
2 tablespoons of maple syrup
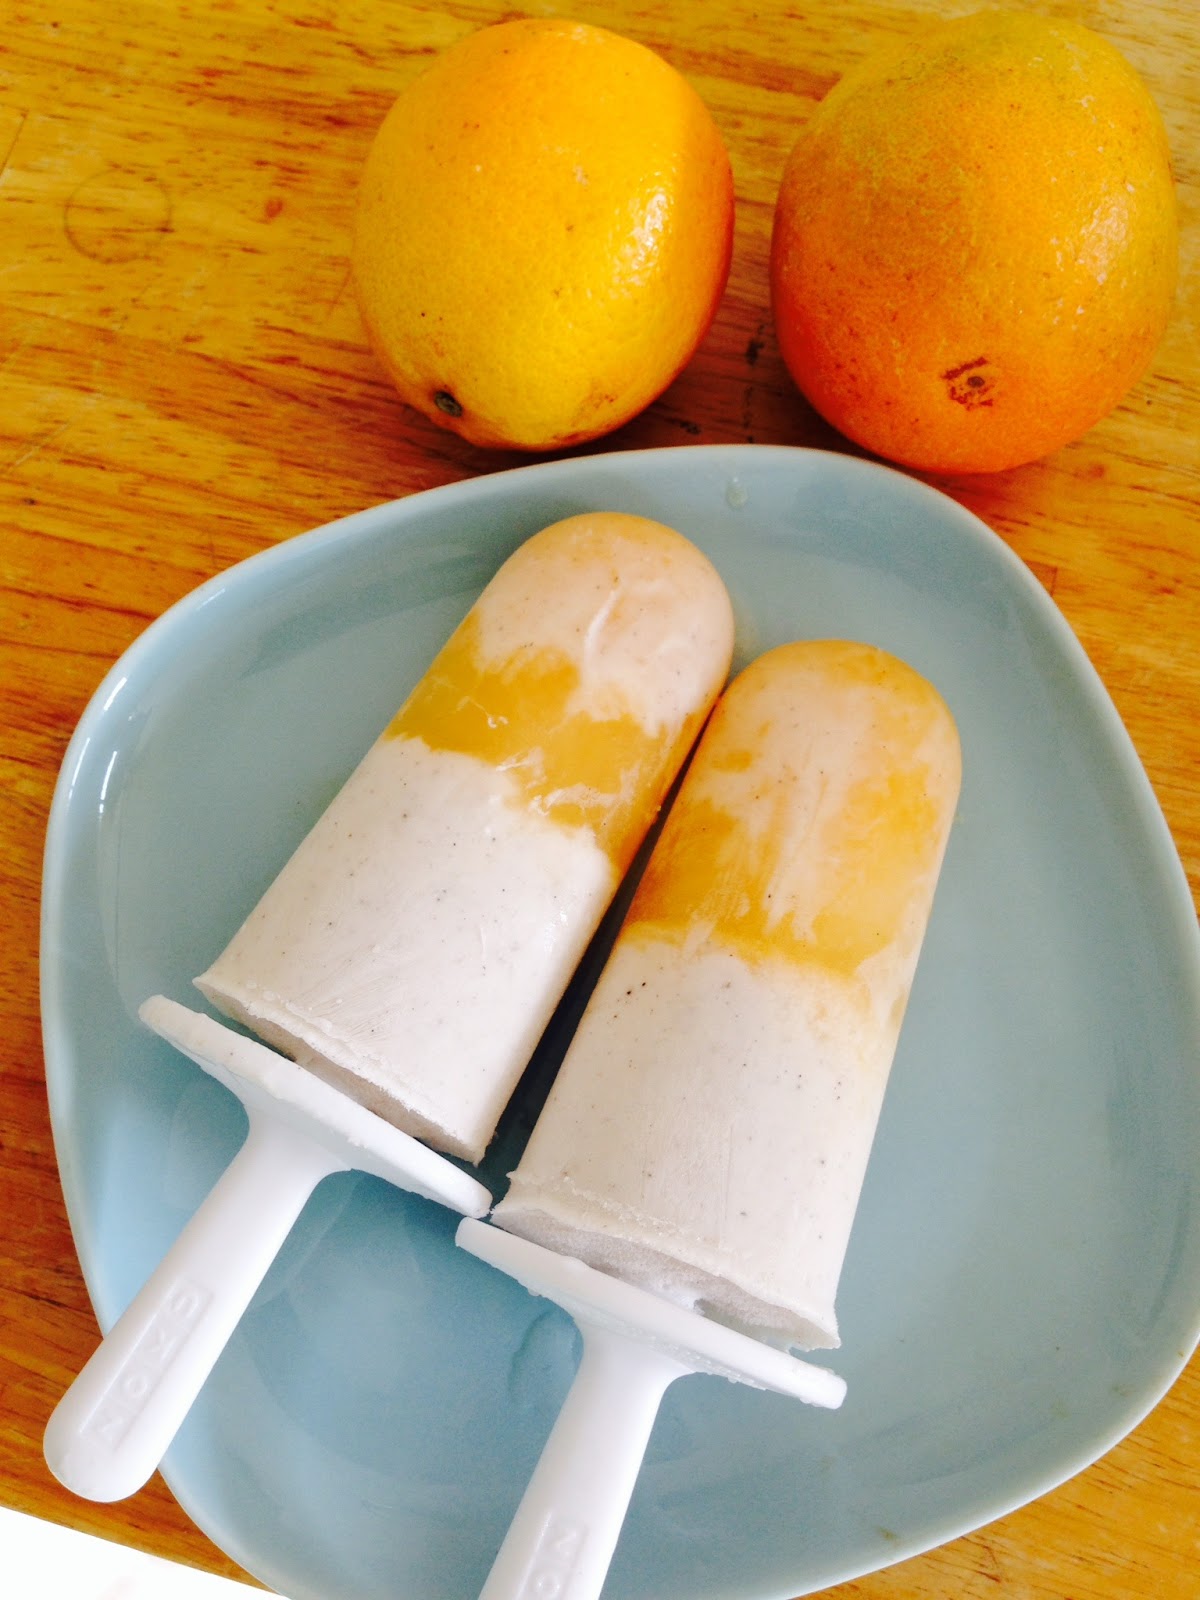
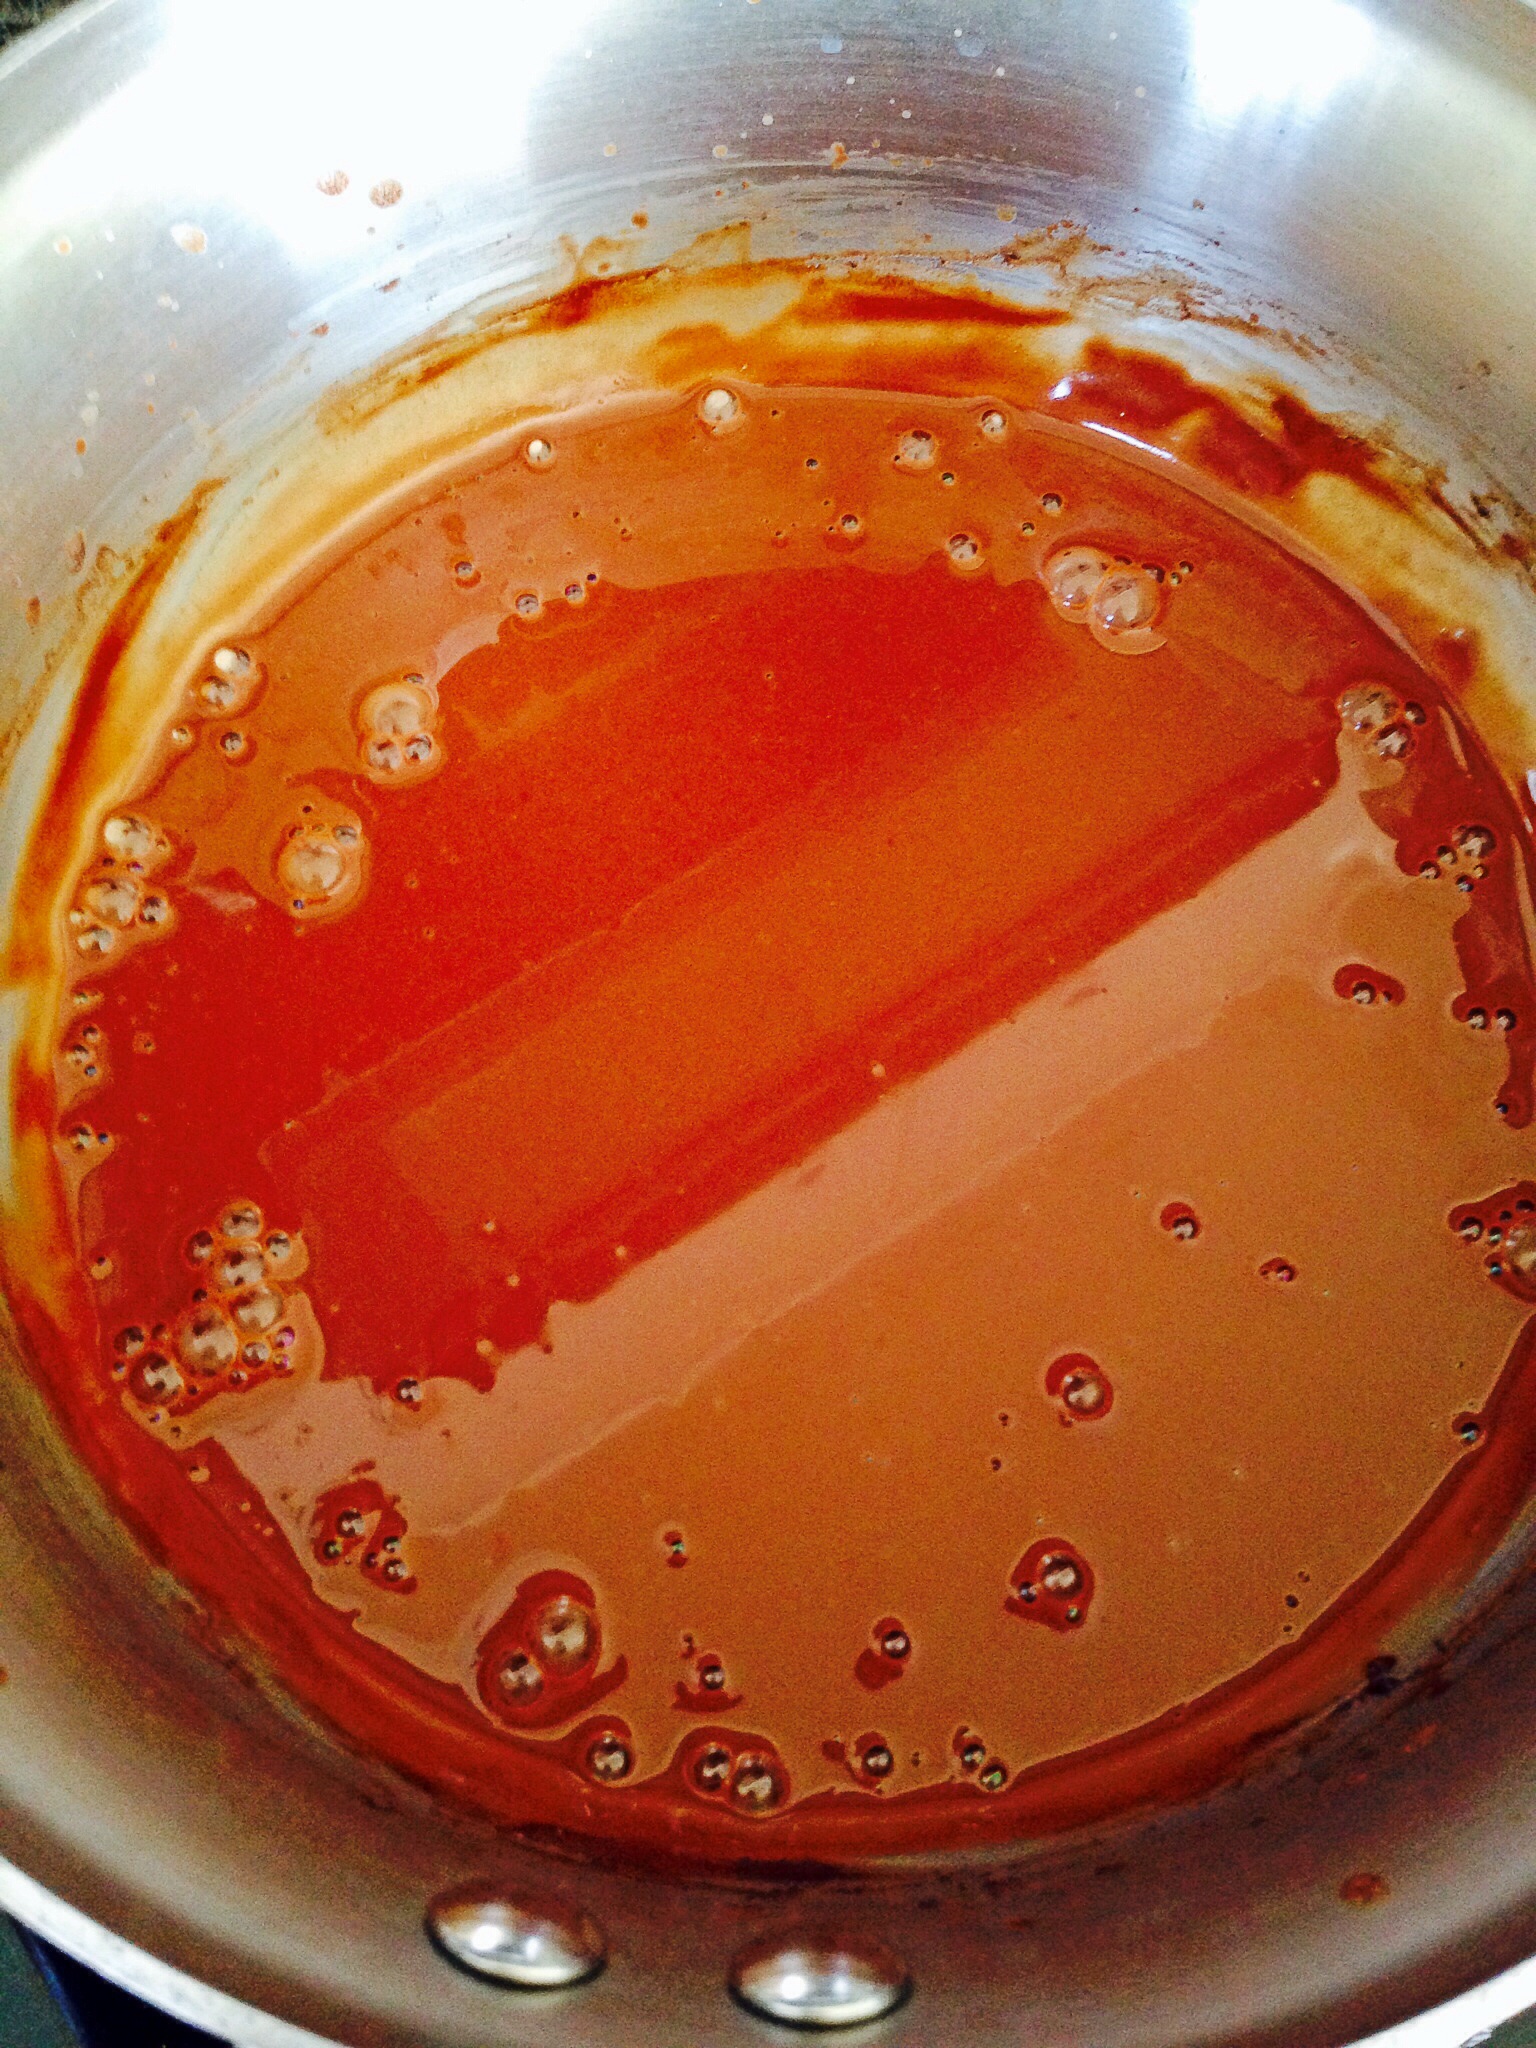
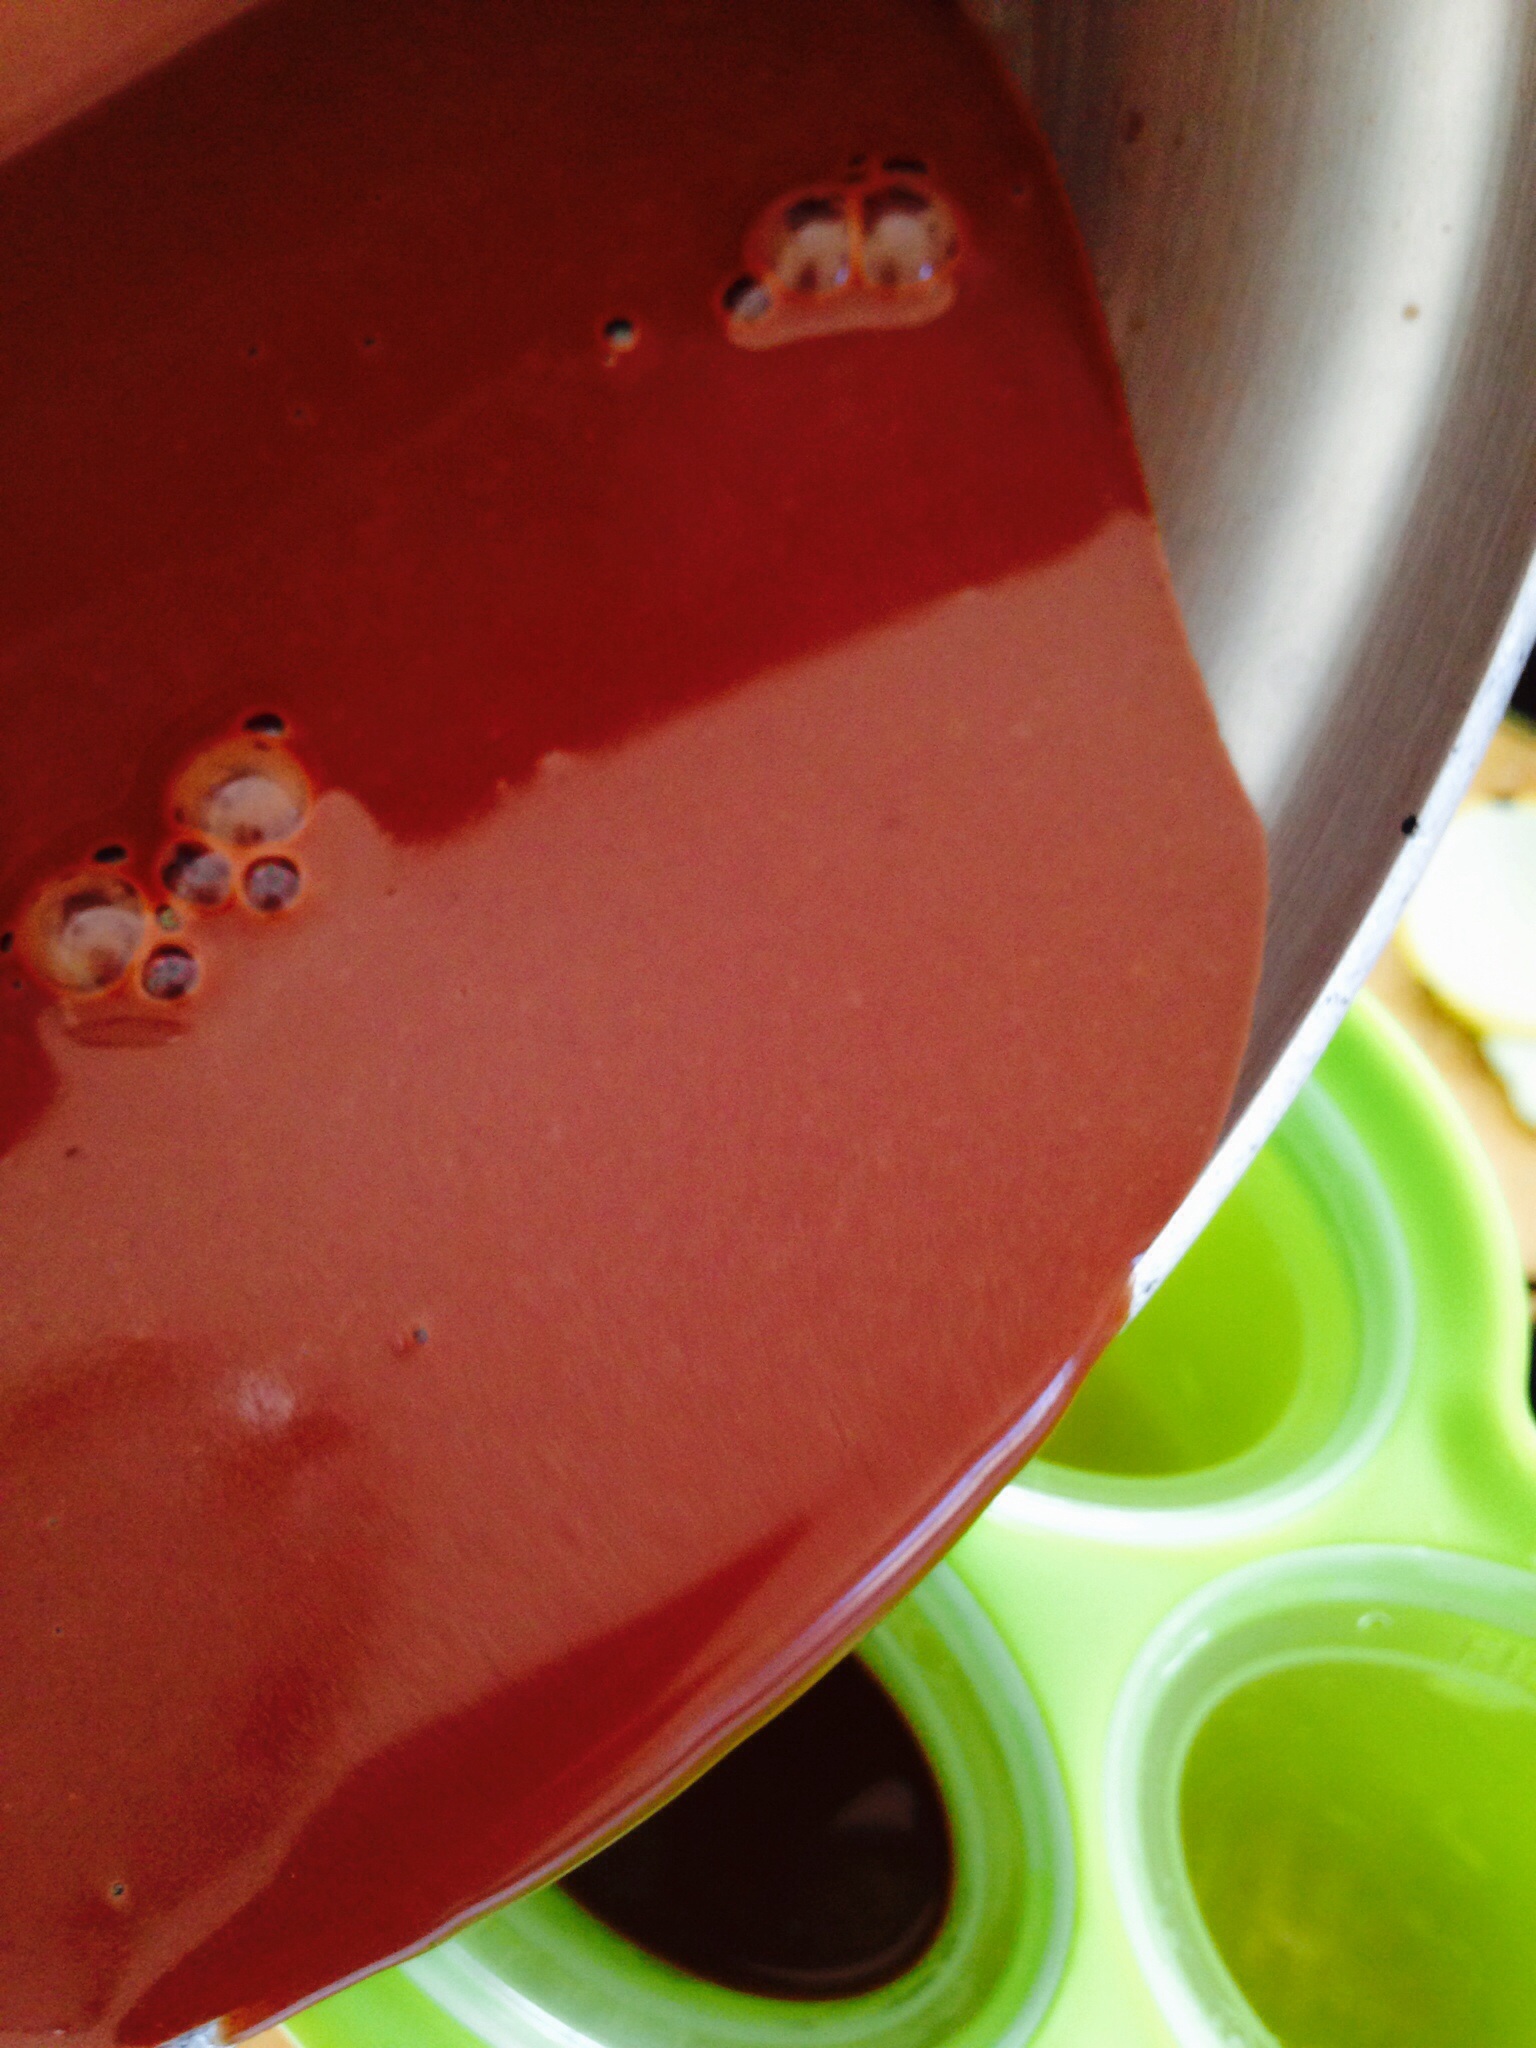
Directions: Add the cream, vanilla extract and maple syrup to a cup, mix well and set aside. If using classic pop molds, place all ingredients in a blender and blend until well combined. Divide mixture evenly among molds and freeze for 6-8 hours or until frozen solid. If you are using the Zoku Quick pop maker, Pour the strawberry juice into the molds and allow to set for 2-3 minutes. At the 2 minute mark siphon out the remaining unfrozen juice with a straw or a unused infant aspirator–I purchased one just for this. Zoku sells a tool kit for $20 which includes a siphon tool, but the aspirator is $3 and does the job equally as well. After you have removed all of the juice, pour cream into the molds, and allow to set for another 4-5 minutes, then follow the directions for removing the pops. If you aren’t going to eat the pops right away, you can store them in sandwhich size zip lock bags and place them in the freezer until you’re ready to eat them. These never last longer than a few hours in our house, so I can’t say how long you could store them that way. If you like these, you’ll probably love my Orange creamsicle recipe too.