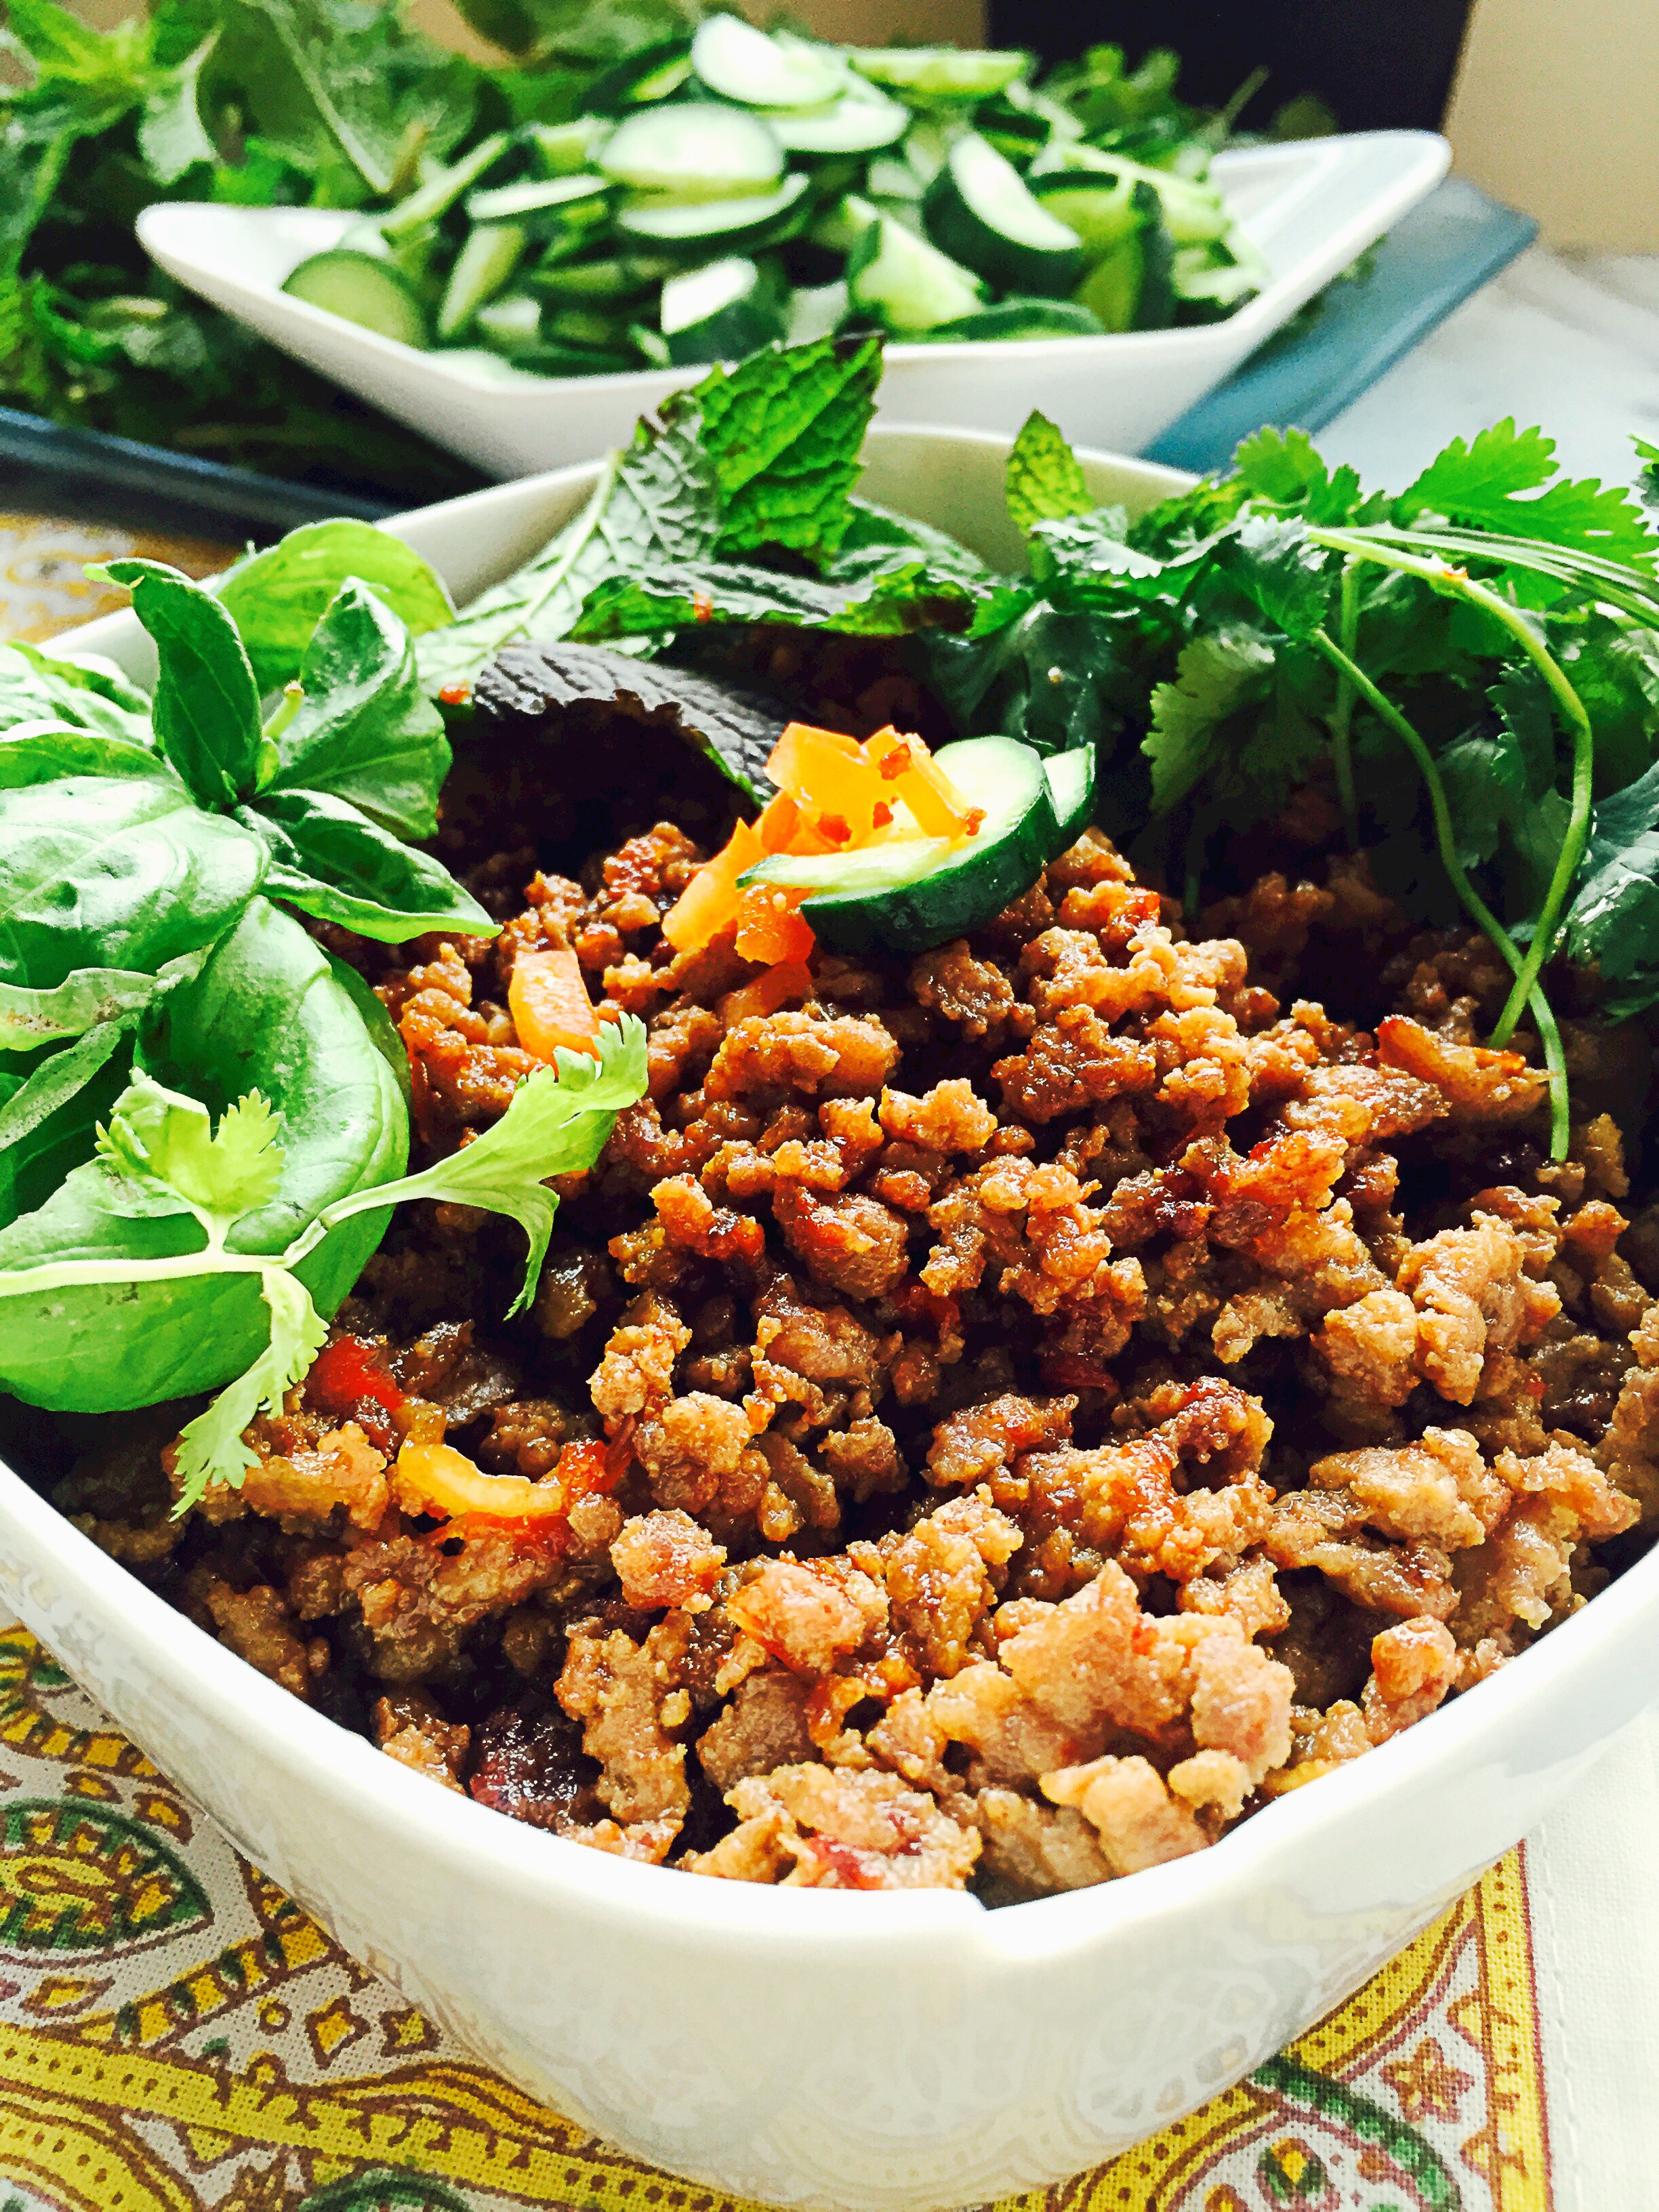
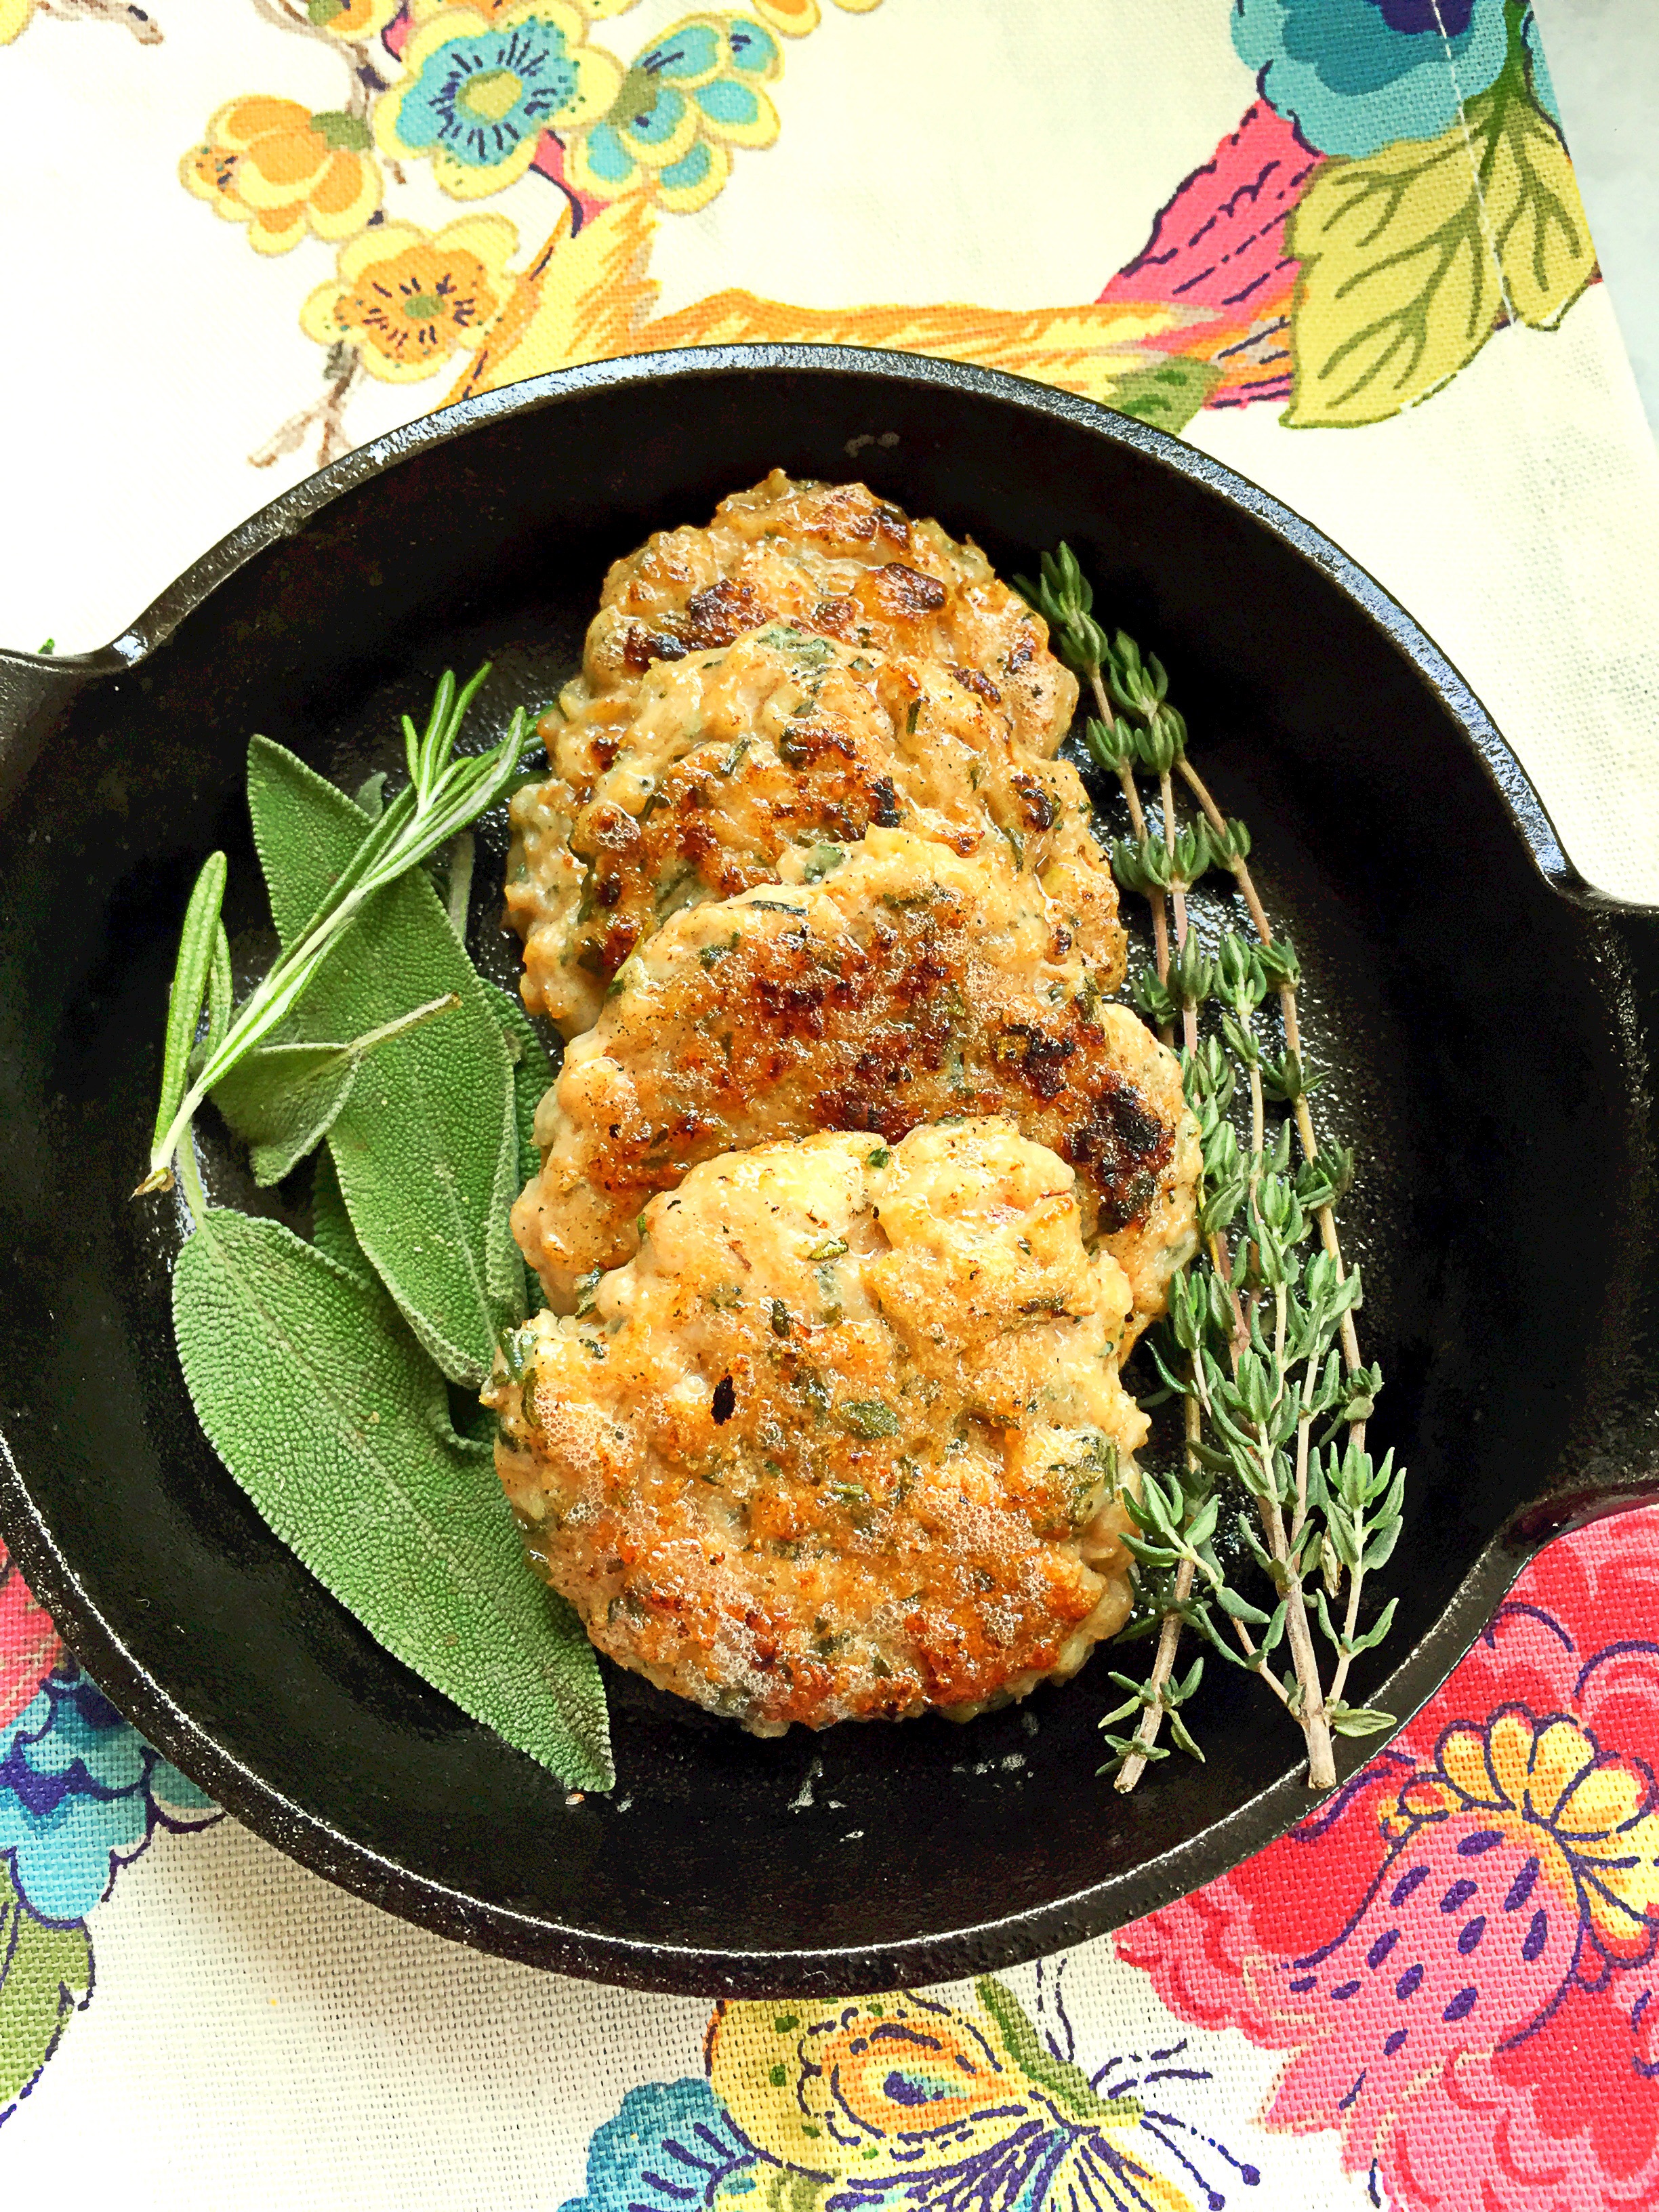
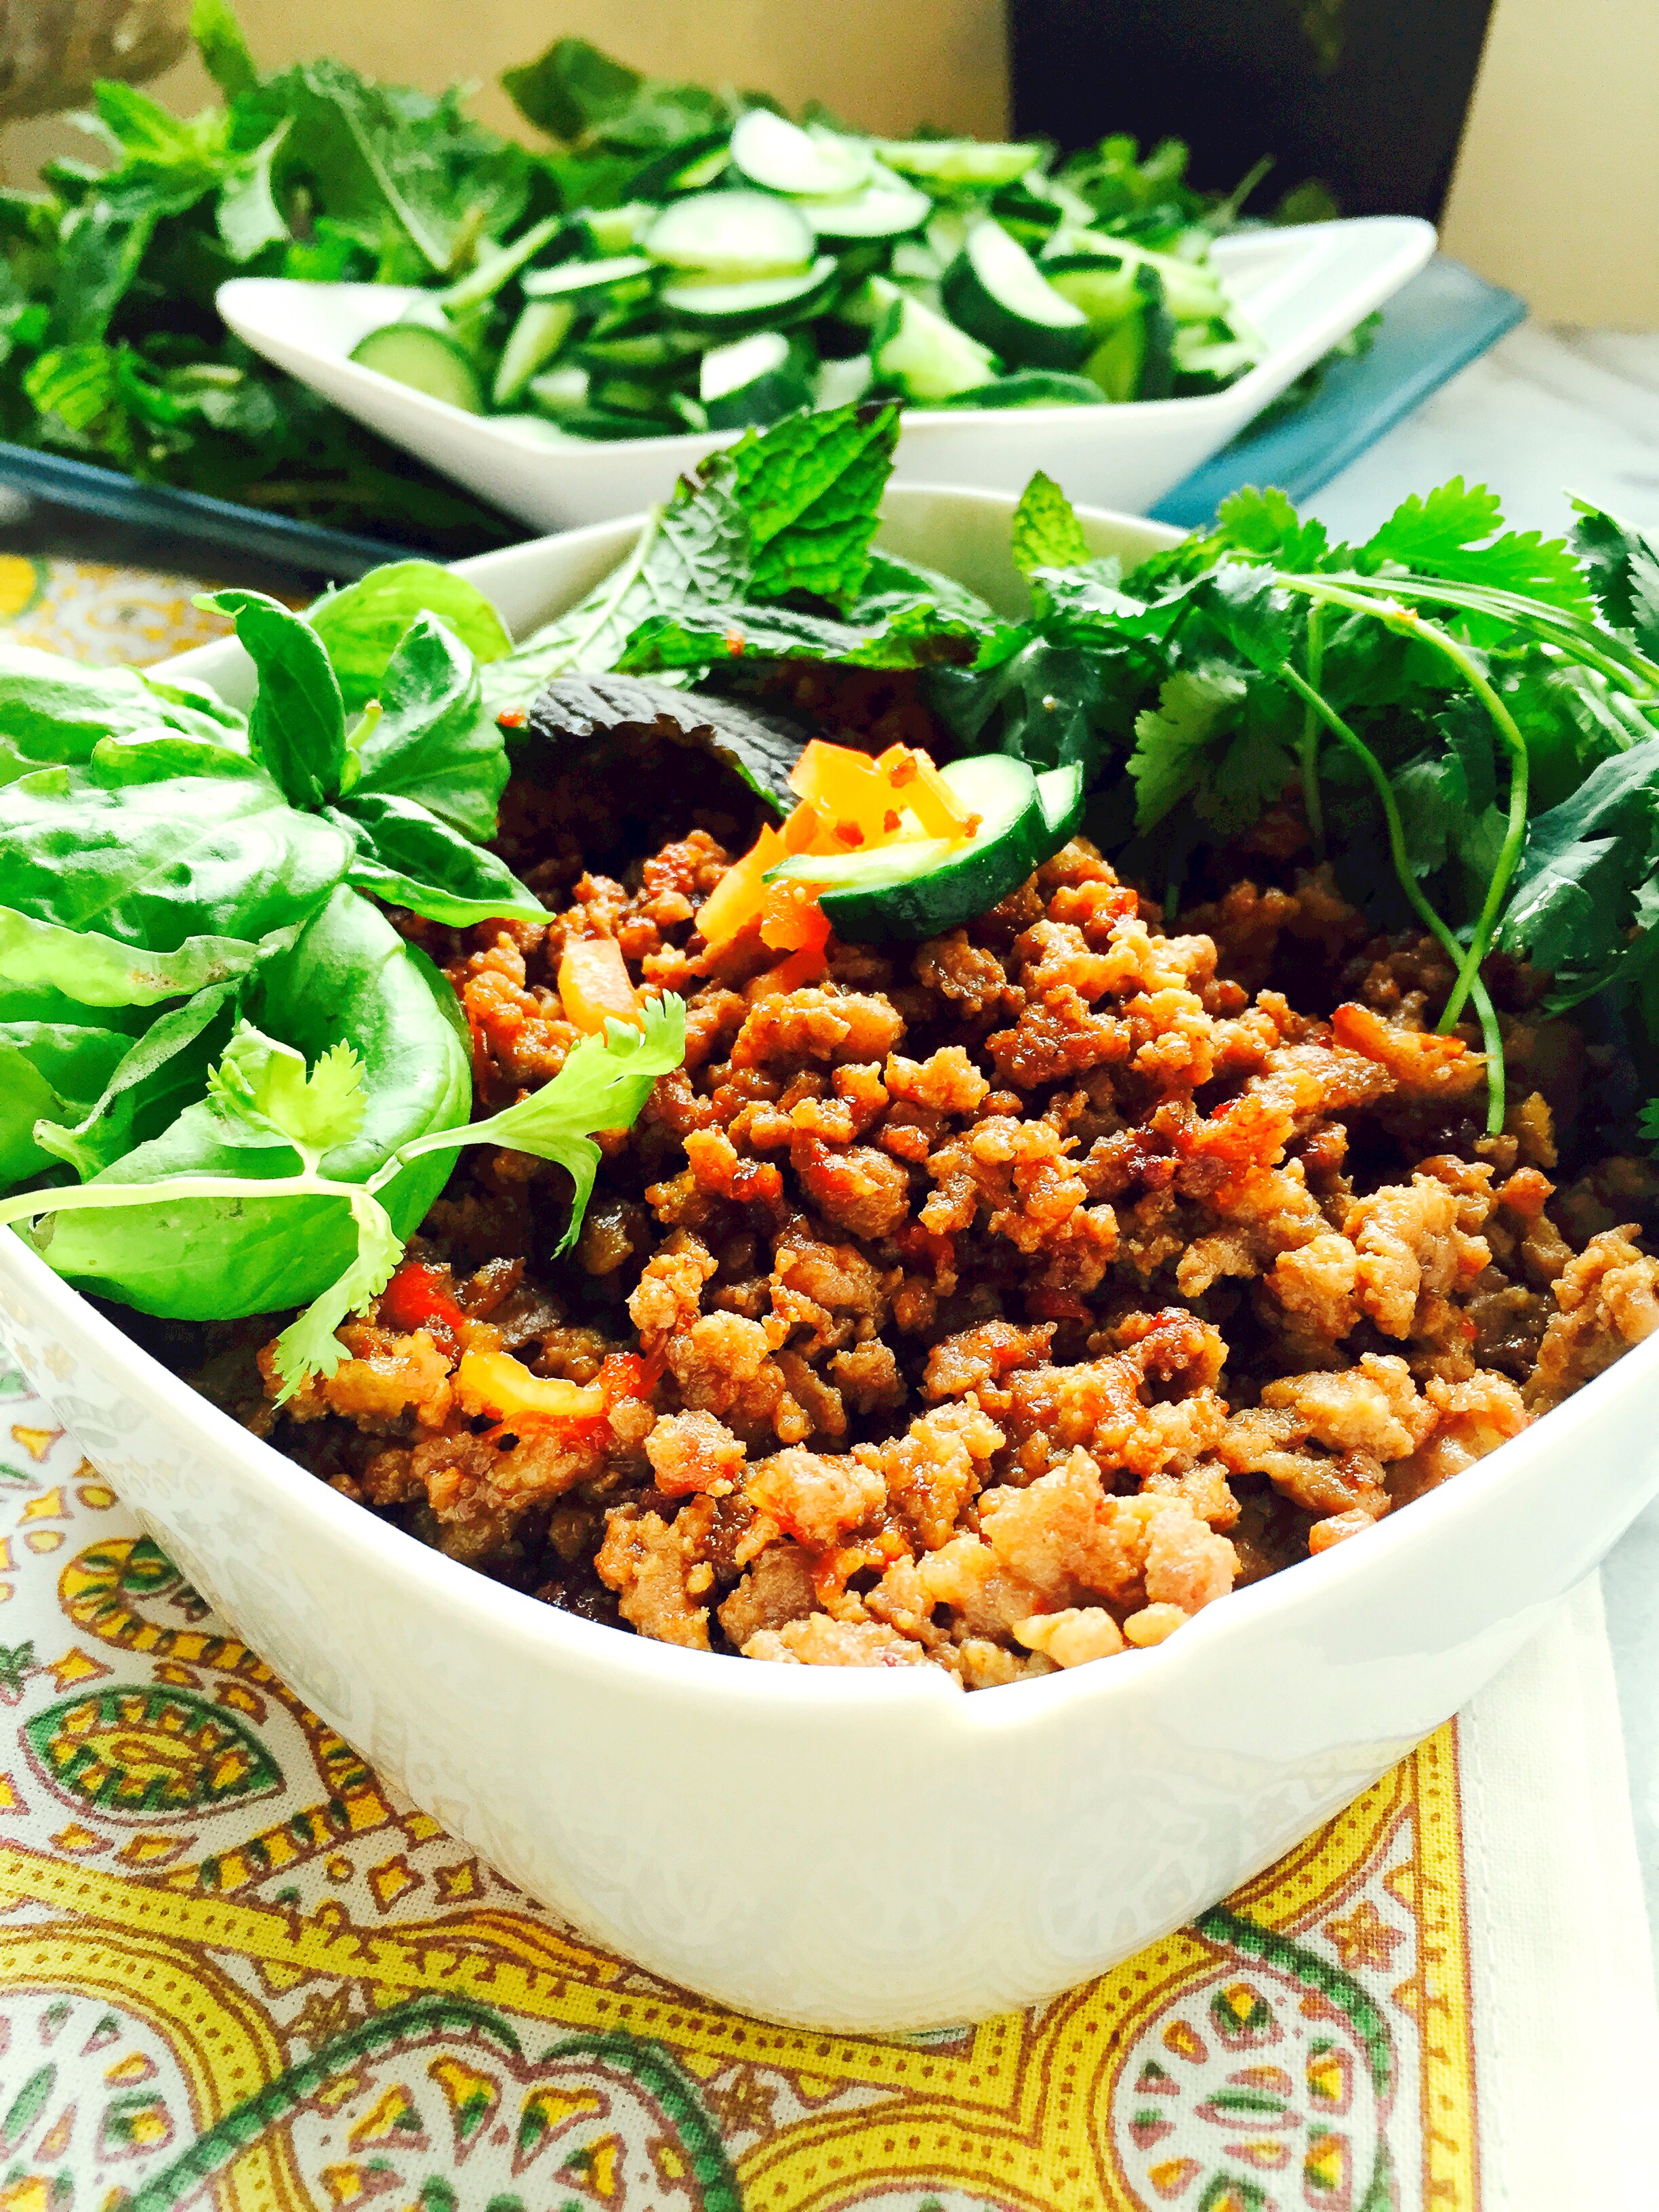
Crispy Pork Larb!

Crispy Pork Larb

Crispy Pork Larb

This is one of those dinners that is both healthy and delicious.  Trust me when I tell you when you take one bite of this you will be forever grateful that I started this blog–yes it’s that good!  For those of you who do not know, larb is a thai street food.  It’s so good that it’ll make you question how we do street food in America.  It’s bright, fresh, and full of the umami flavors that will make you go Mmmmmm… If you don’t fancy pork, no problem, you can try this with ground chicken, turkey, or even lamb and beef.  Check out my recipe for Chicken larb here.  This is one of my favorite ways to use ground meat, it’s so simple that this meal almost makes itself!

Pin It!

Pin It!


Prep time: 5 minutes

Cook time: 10 minutes


Ingredients:

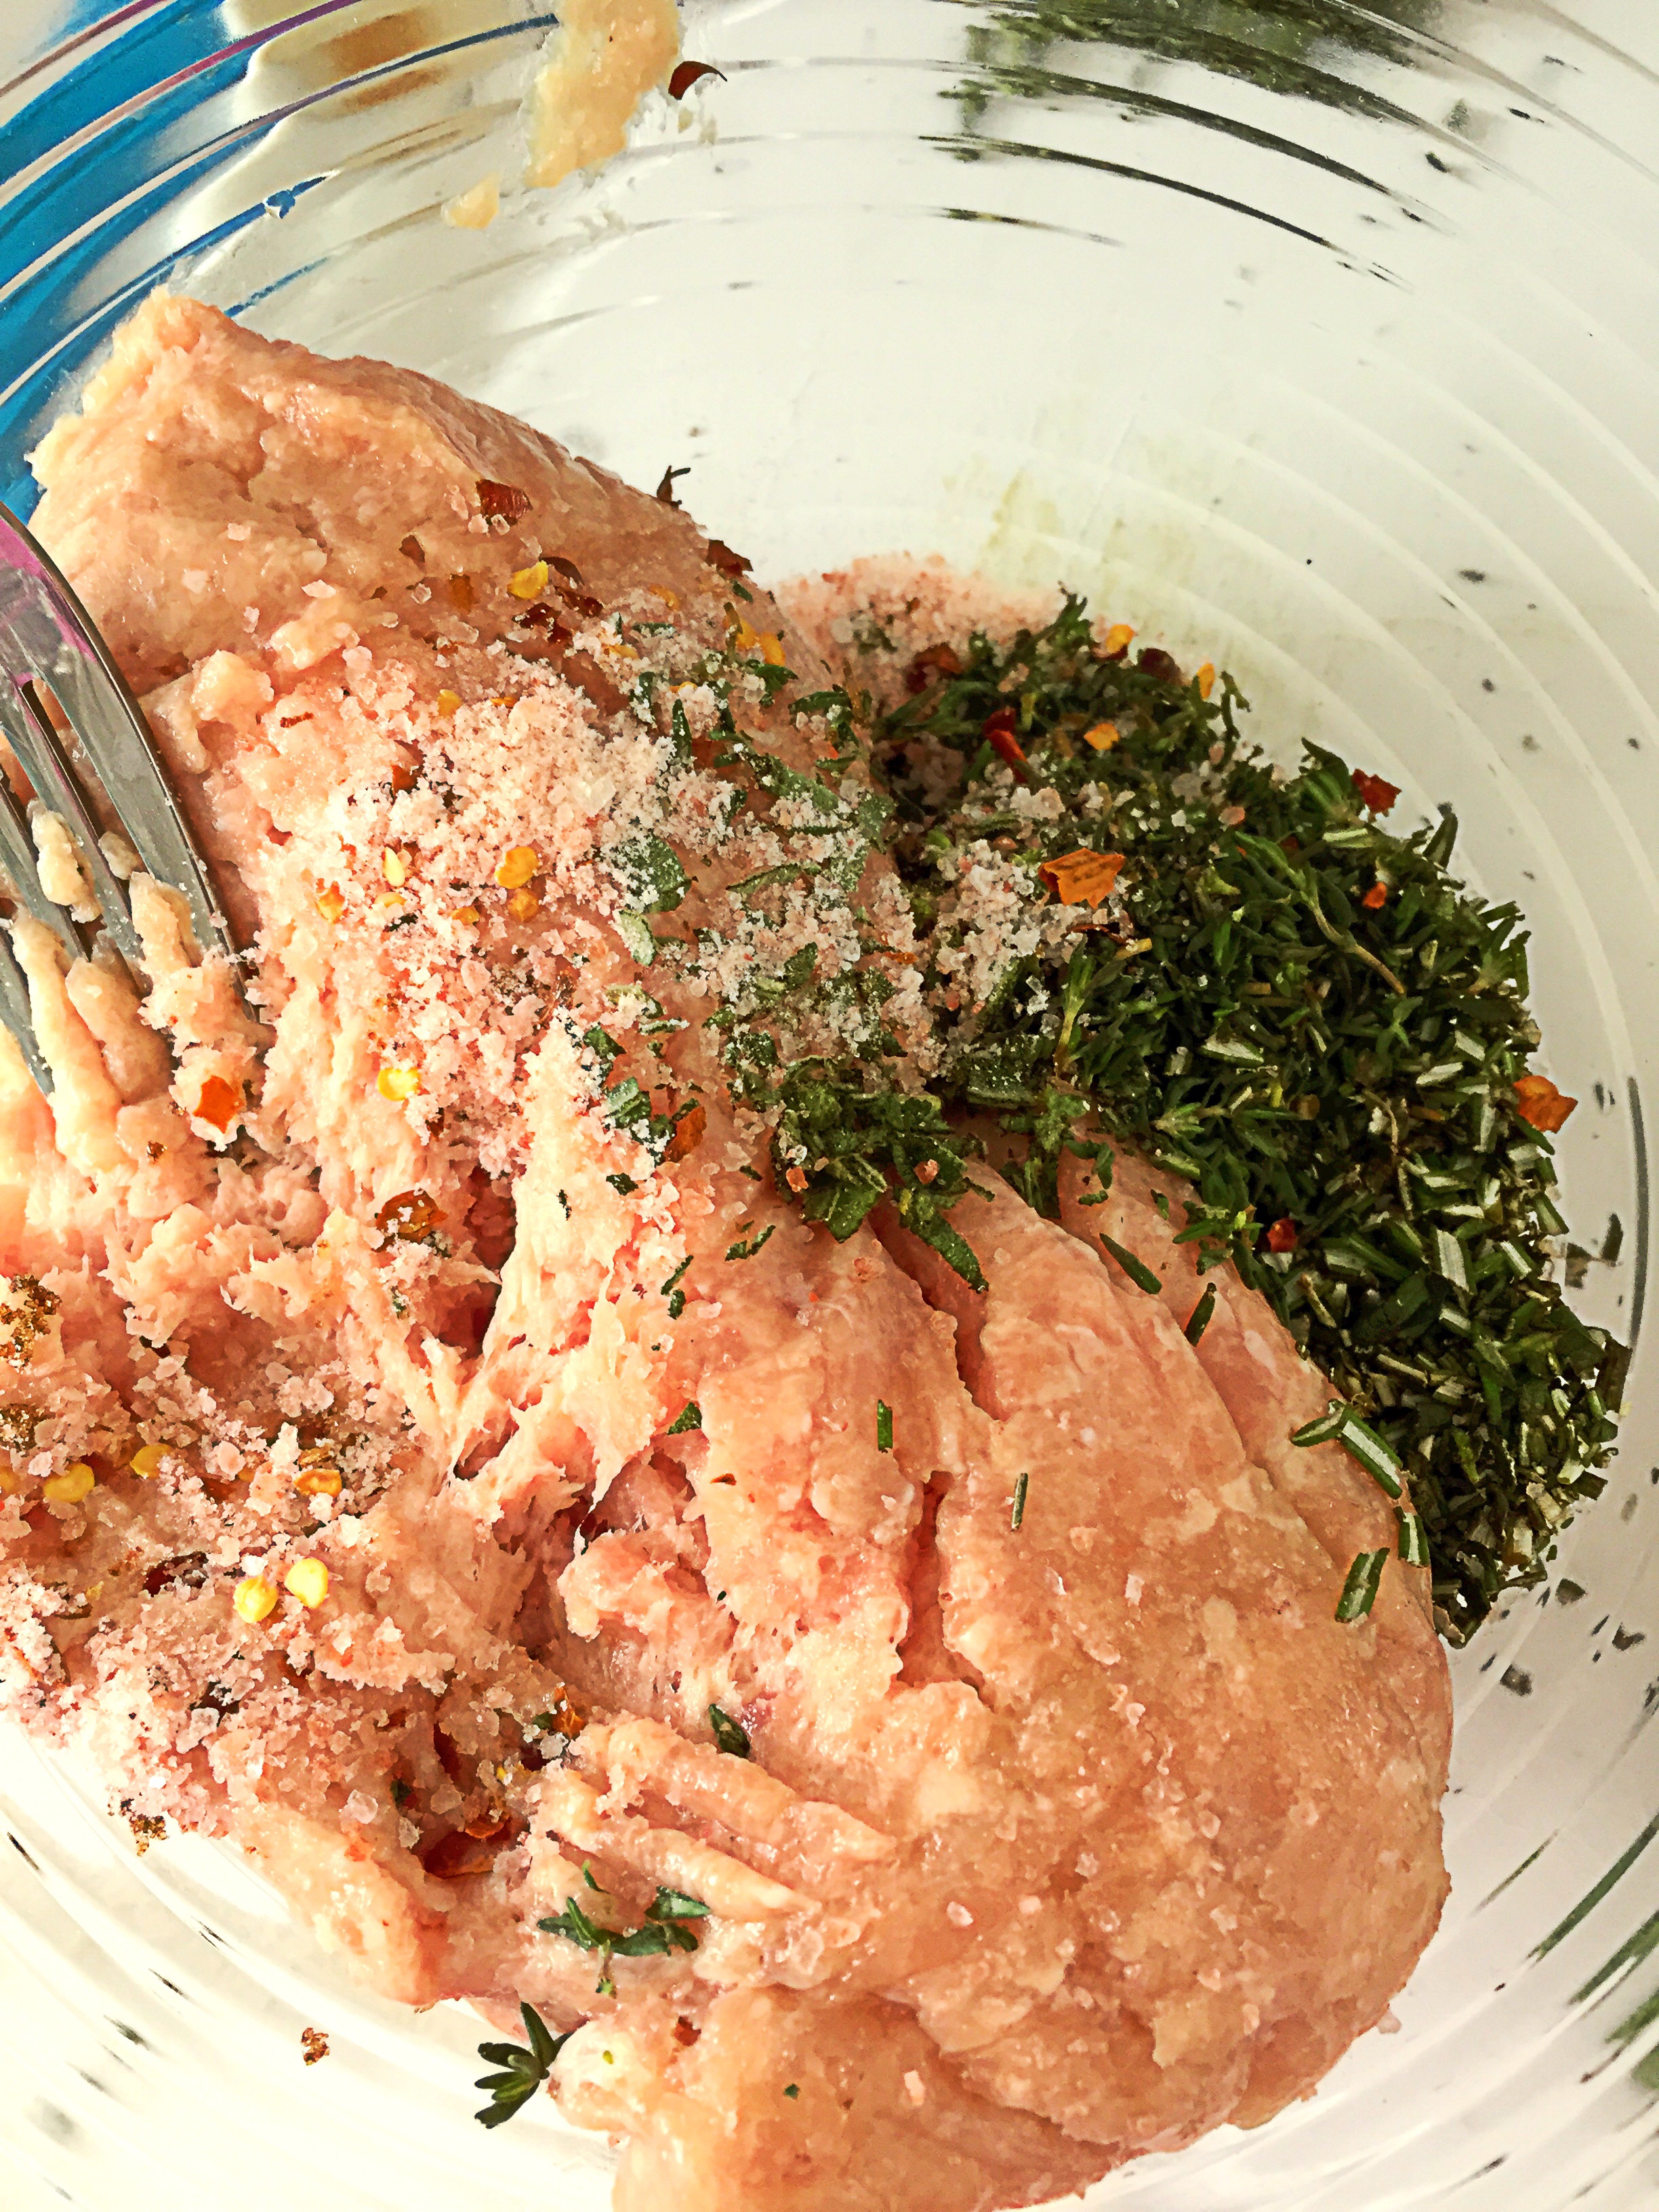
1 pound of ground pork

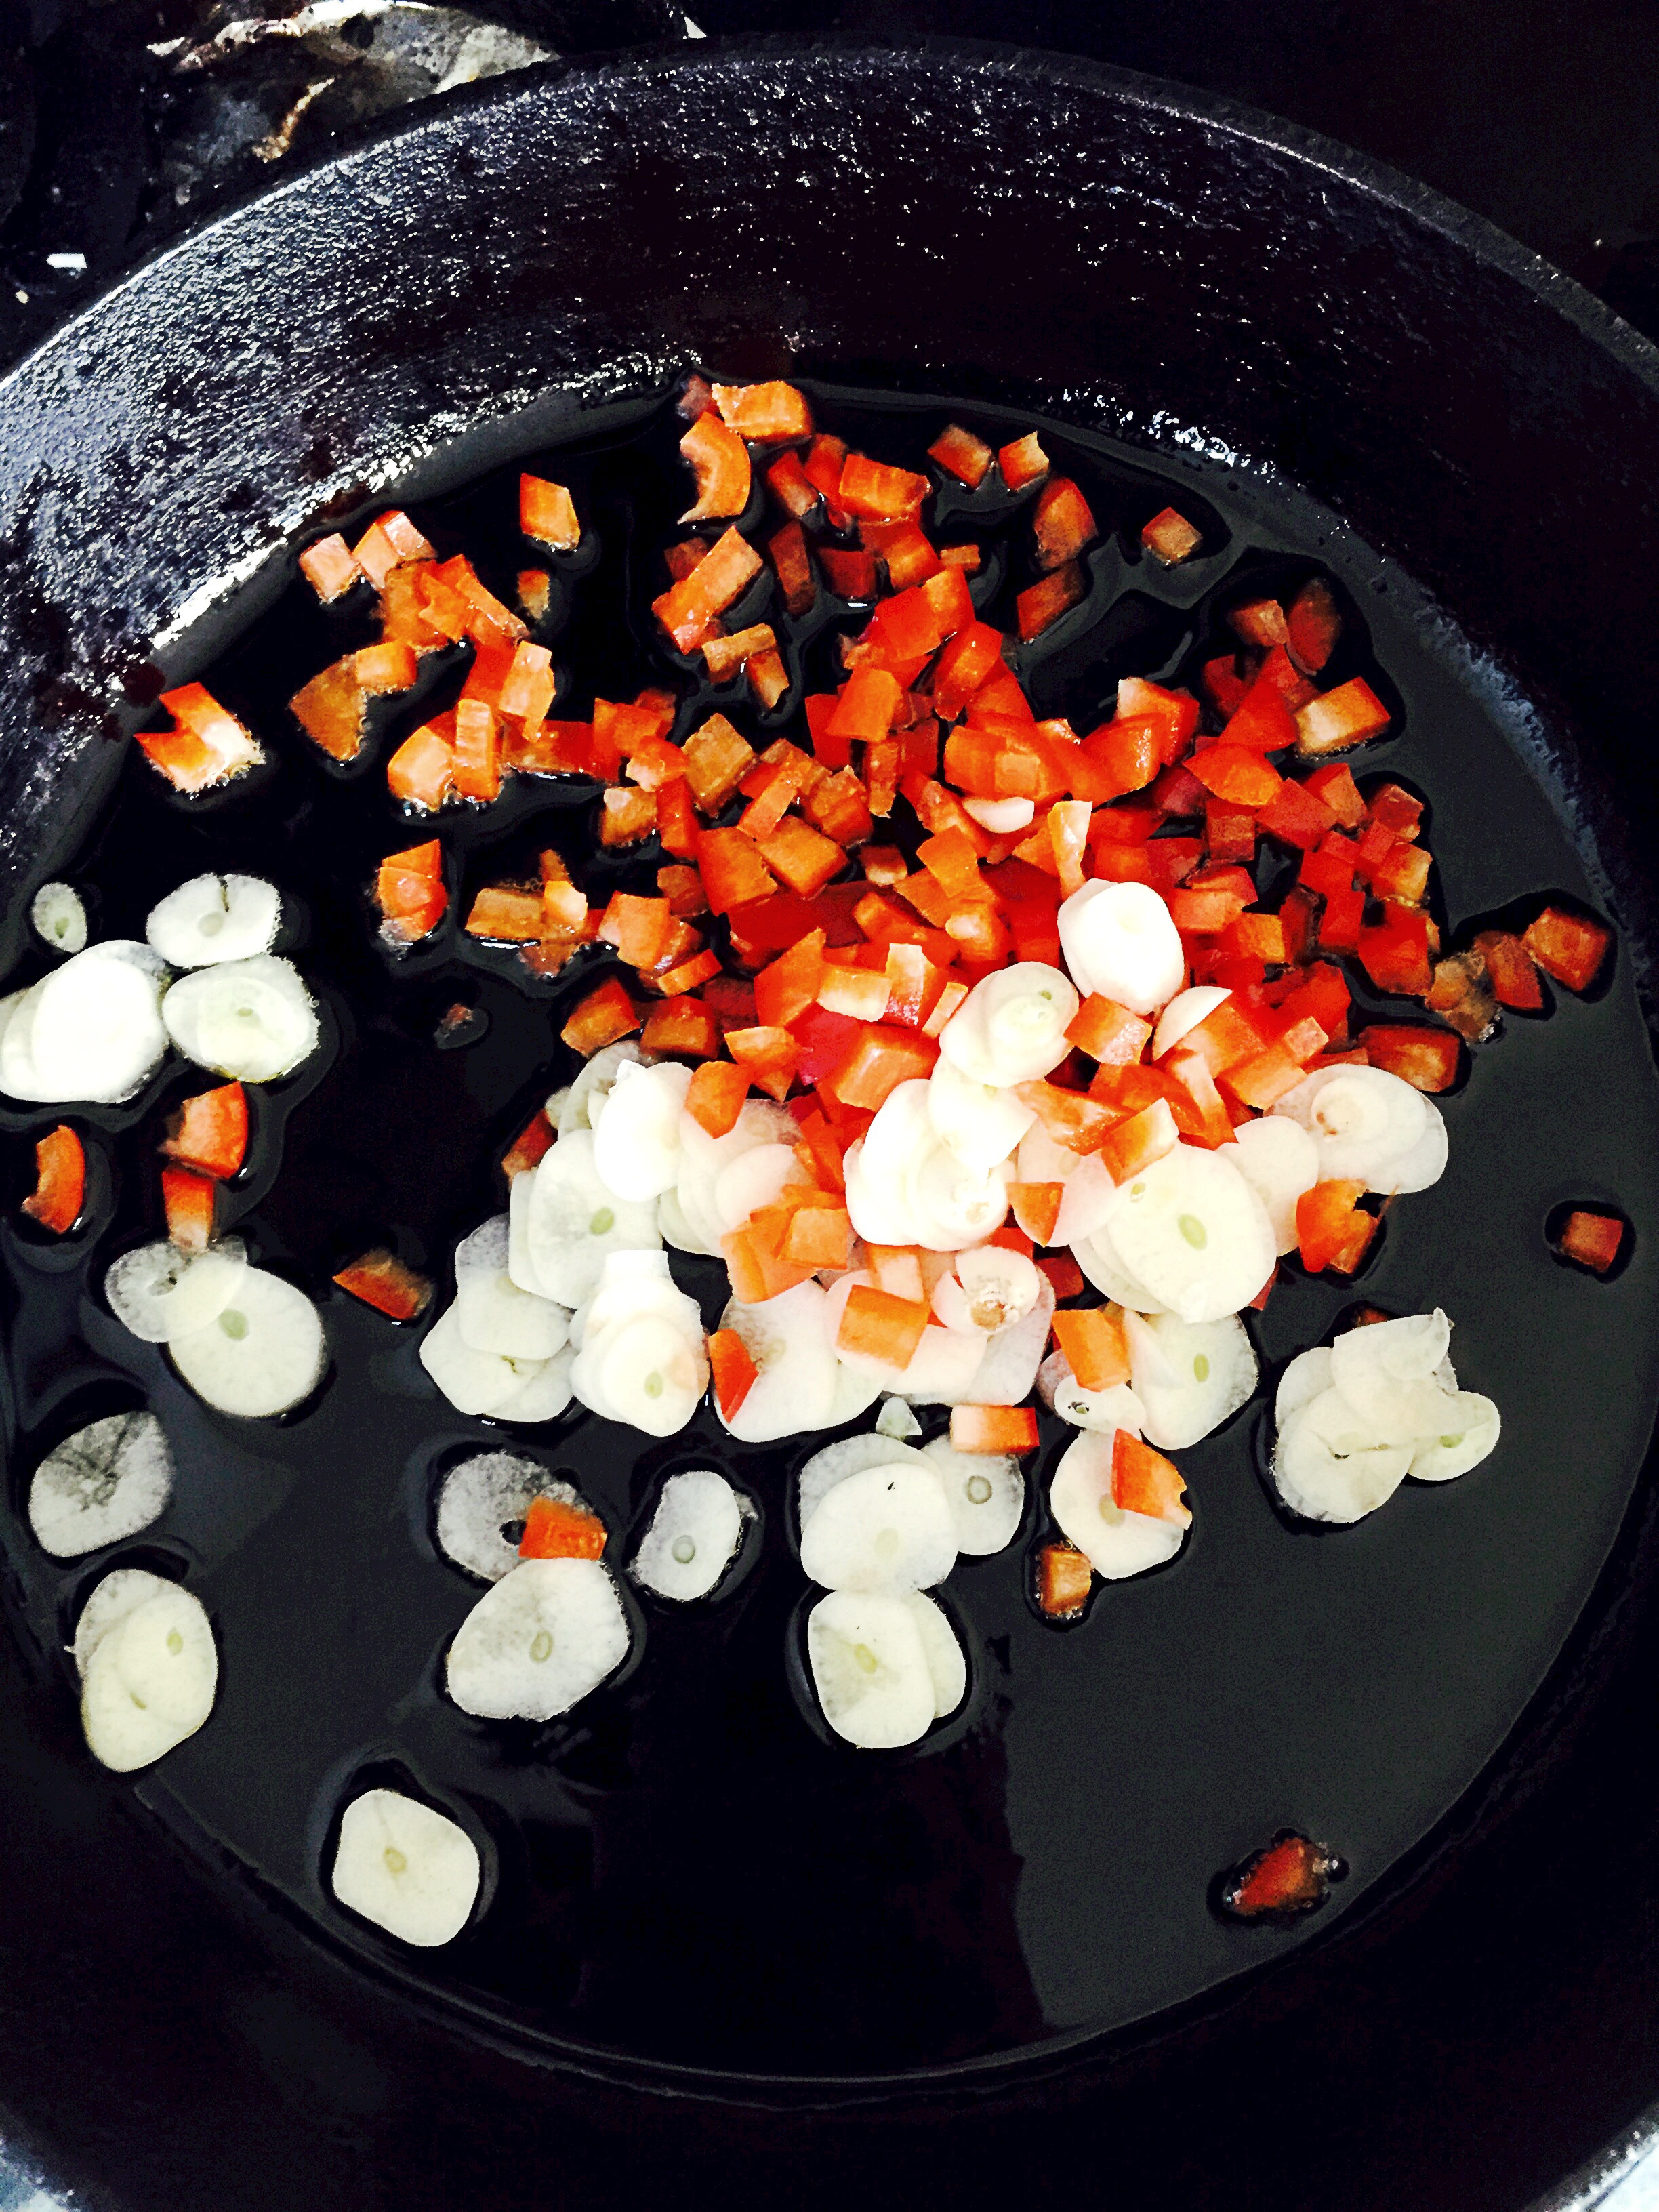
3 large cloves of garlic thinly sliced

1/4 cup of diced red bell pepper

1/2 of a red onion, sliced thinly

1/2 cup of fresh mint leaves

1/2 cup of fresh basil leaves

1/2 cup of fresh cilantro leaves

1 head of romaine lettuce, leaves removed to use as cups

1/2 cup of sliced persian cucumbers

1/3 cup of fresh lime juice

1 tablespoon of a good quality fish sauce, I used red boat

2  tablespoons of soy sauce

1/4 cup of water

Sea salt to taste

2 tablespoons of cooking oil of your choice

red pepper flakes to taste

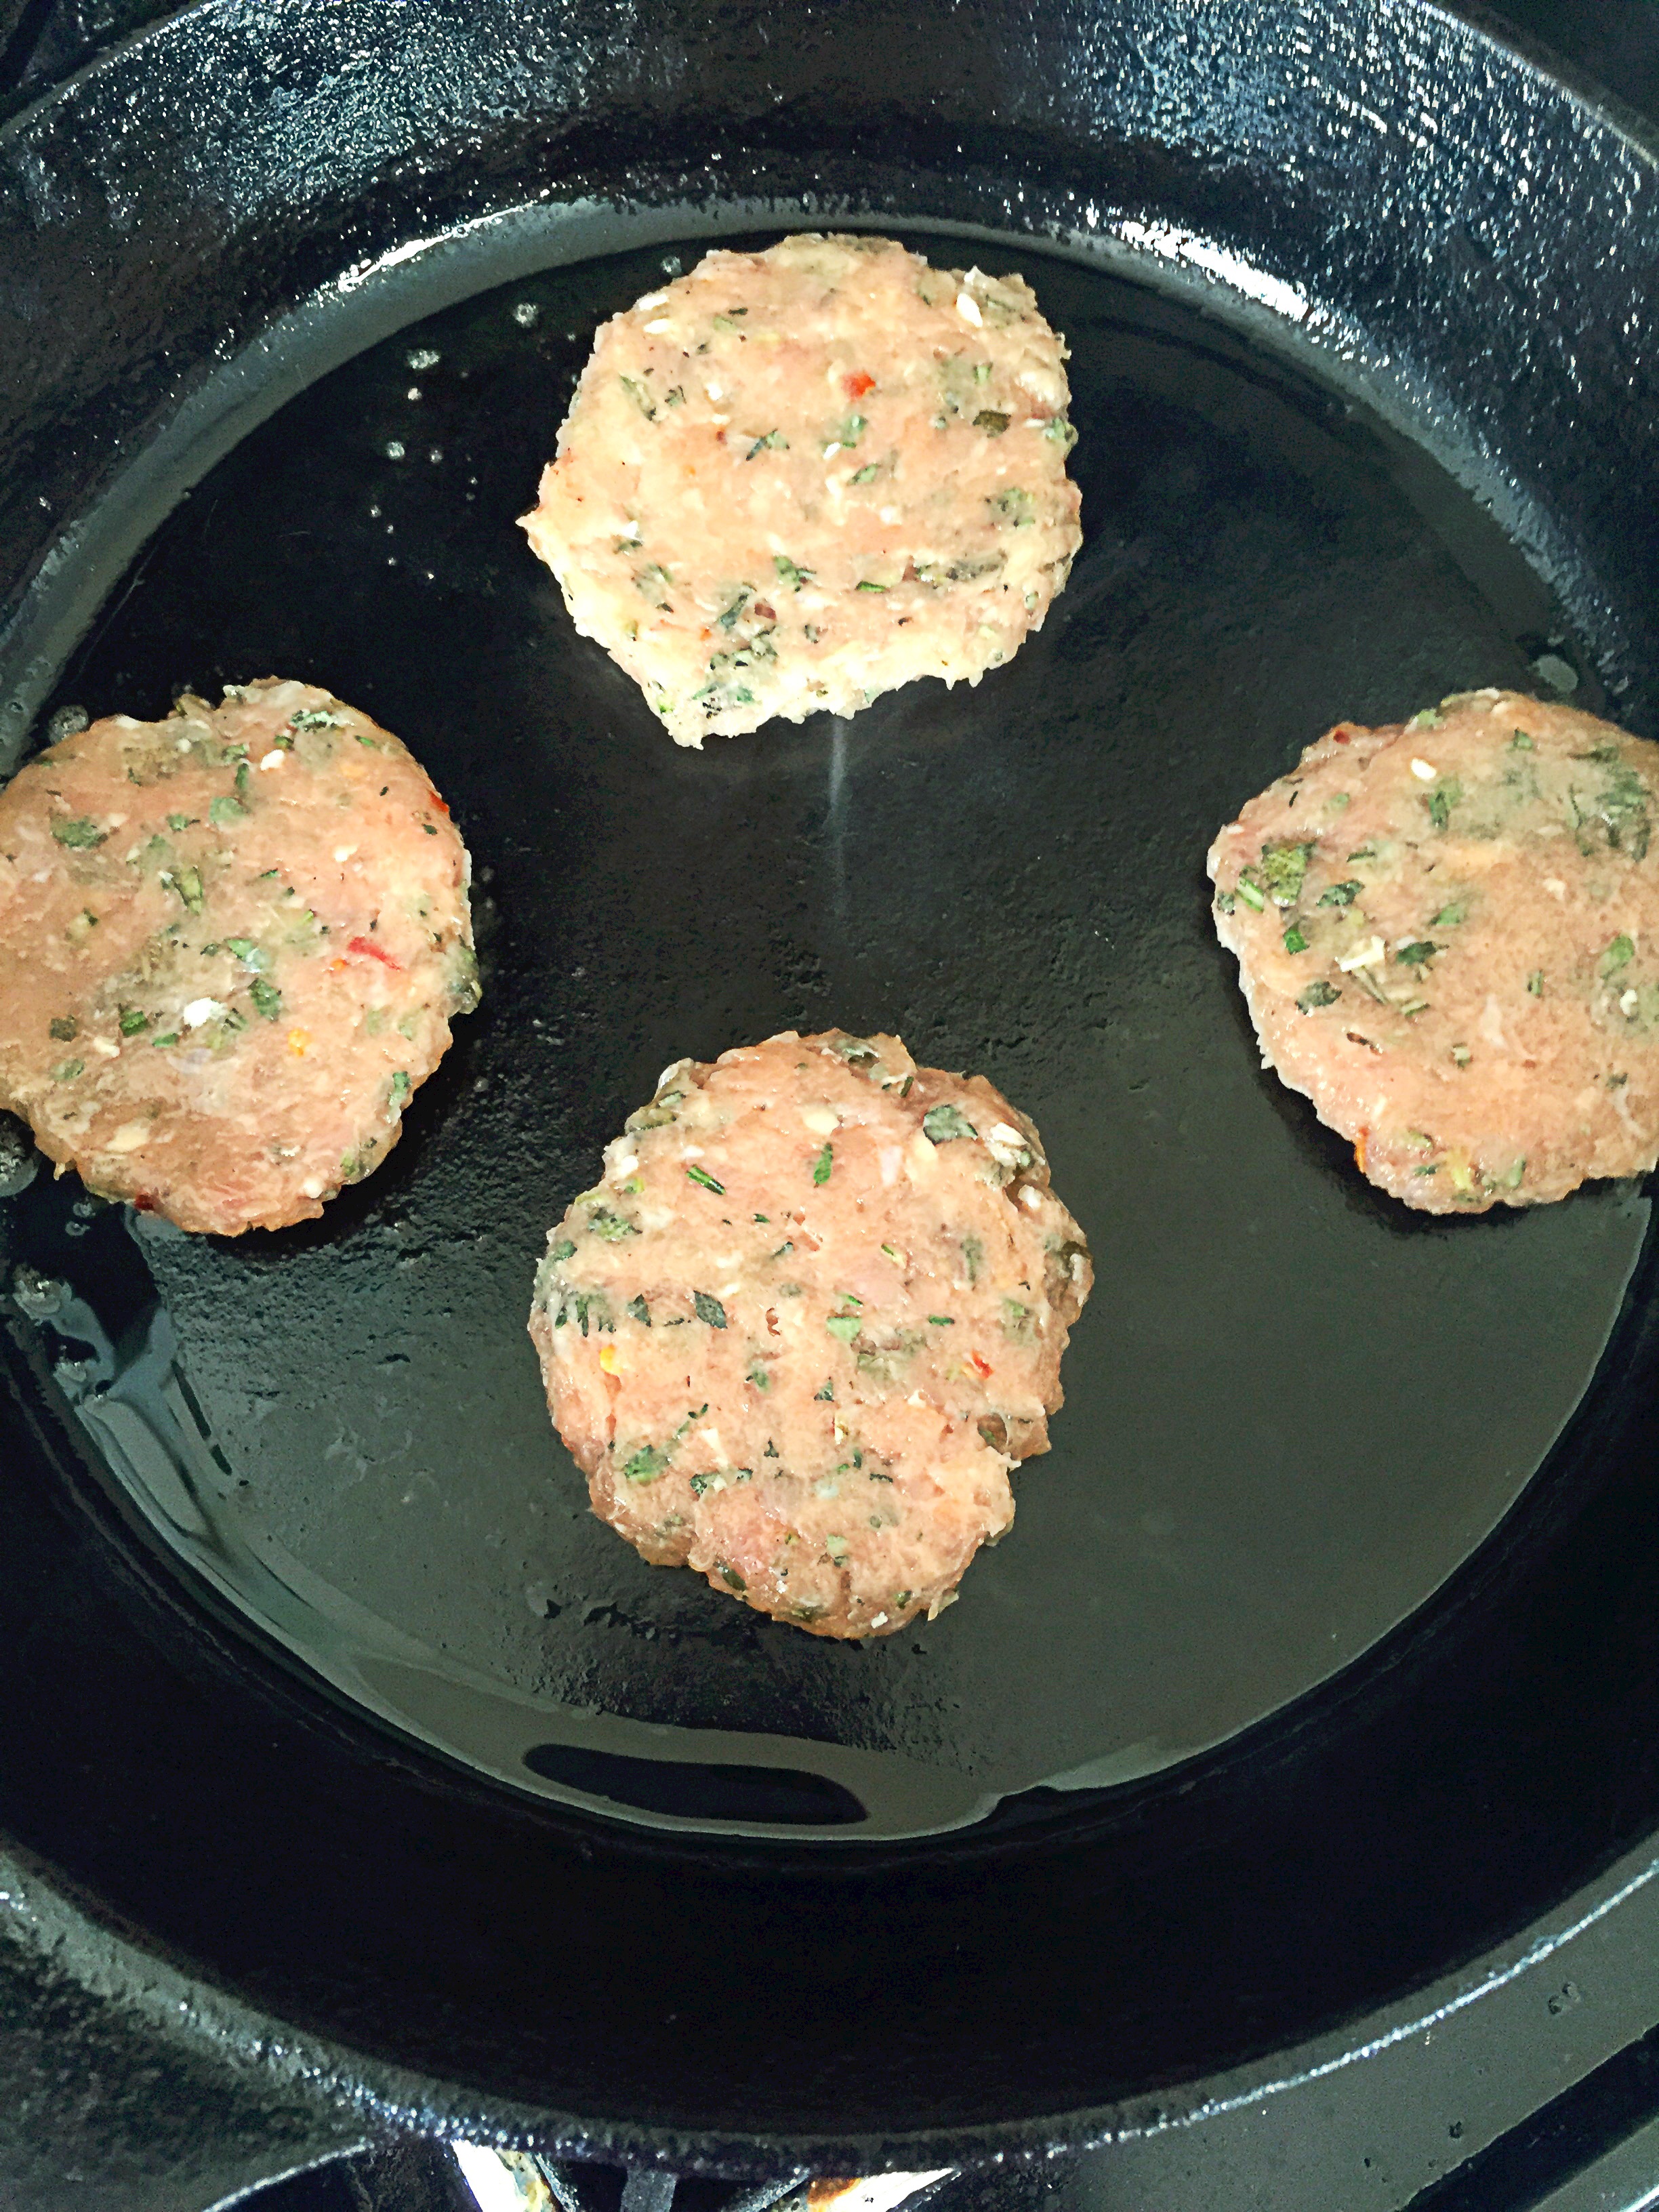
Directions: Heat oil, garlic and red bell pepper and cook until garlic is fragrant–about 15 seconds.

image

Add in ground meat season with sea salt and cook until brown about 5-7 minutes.

image

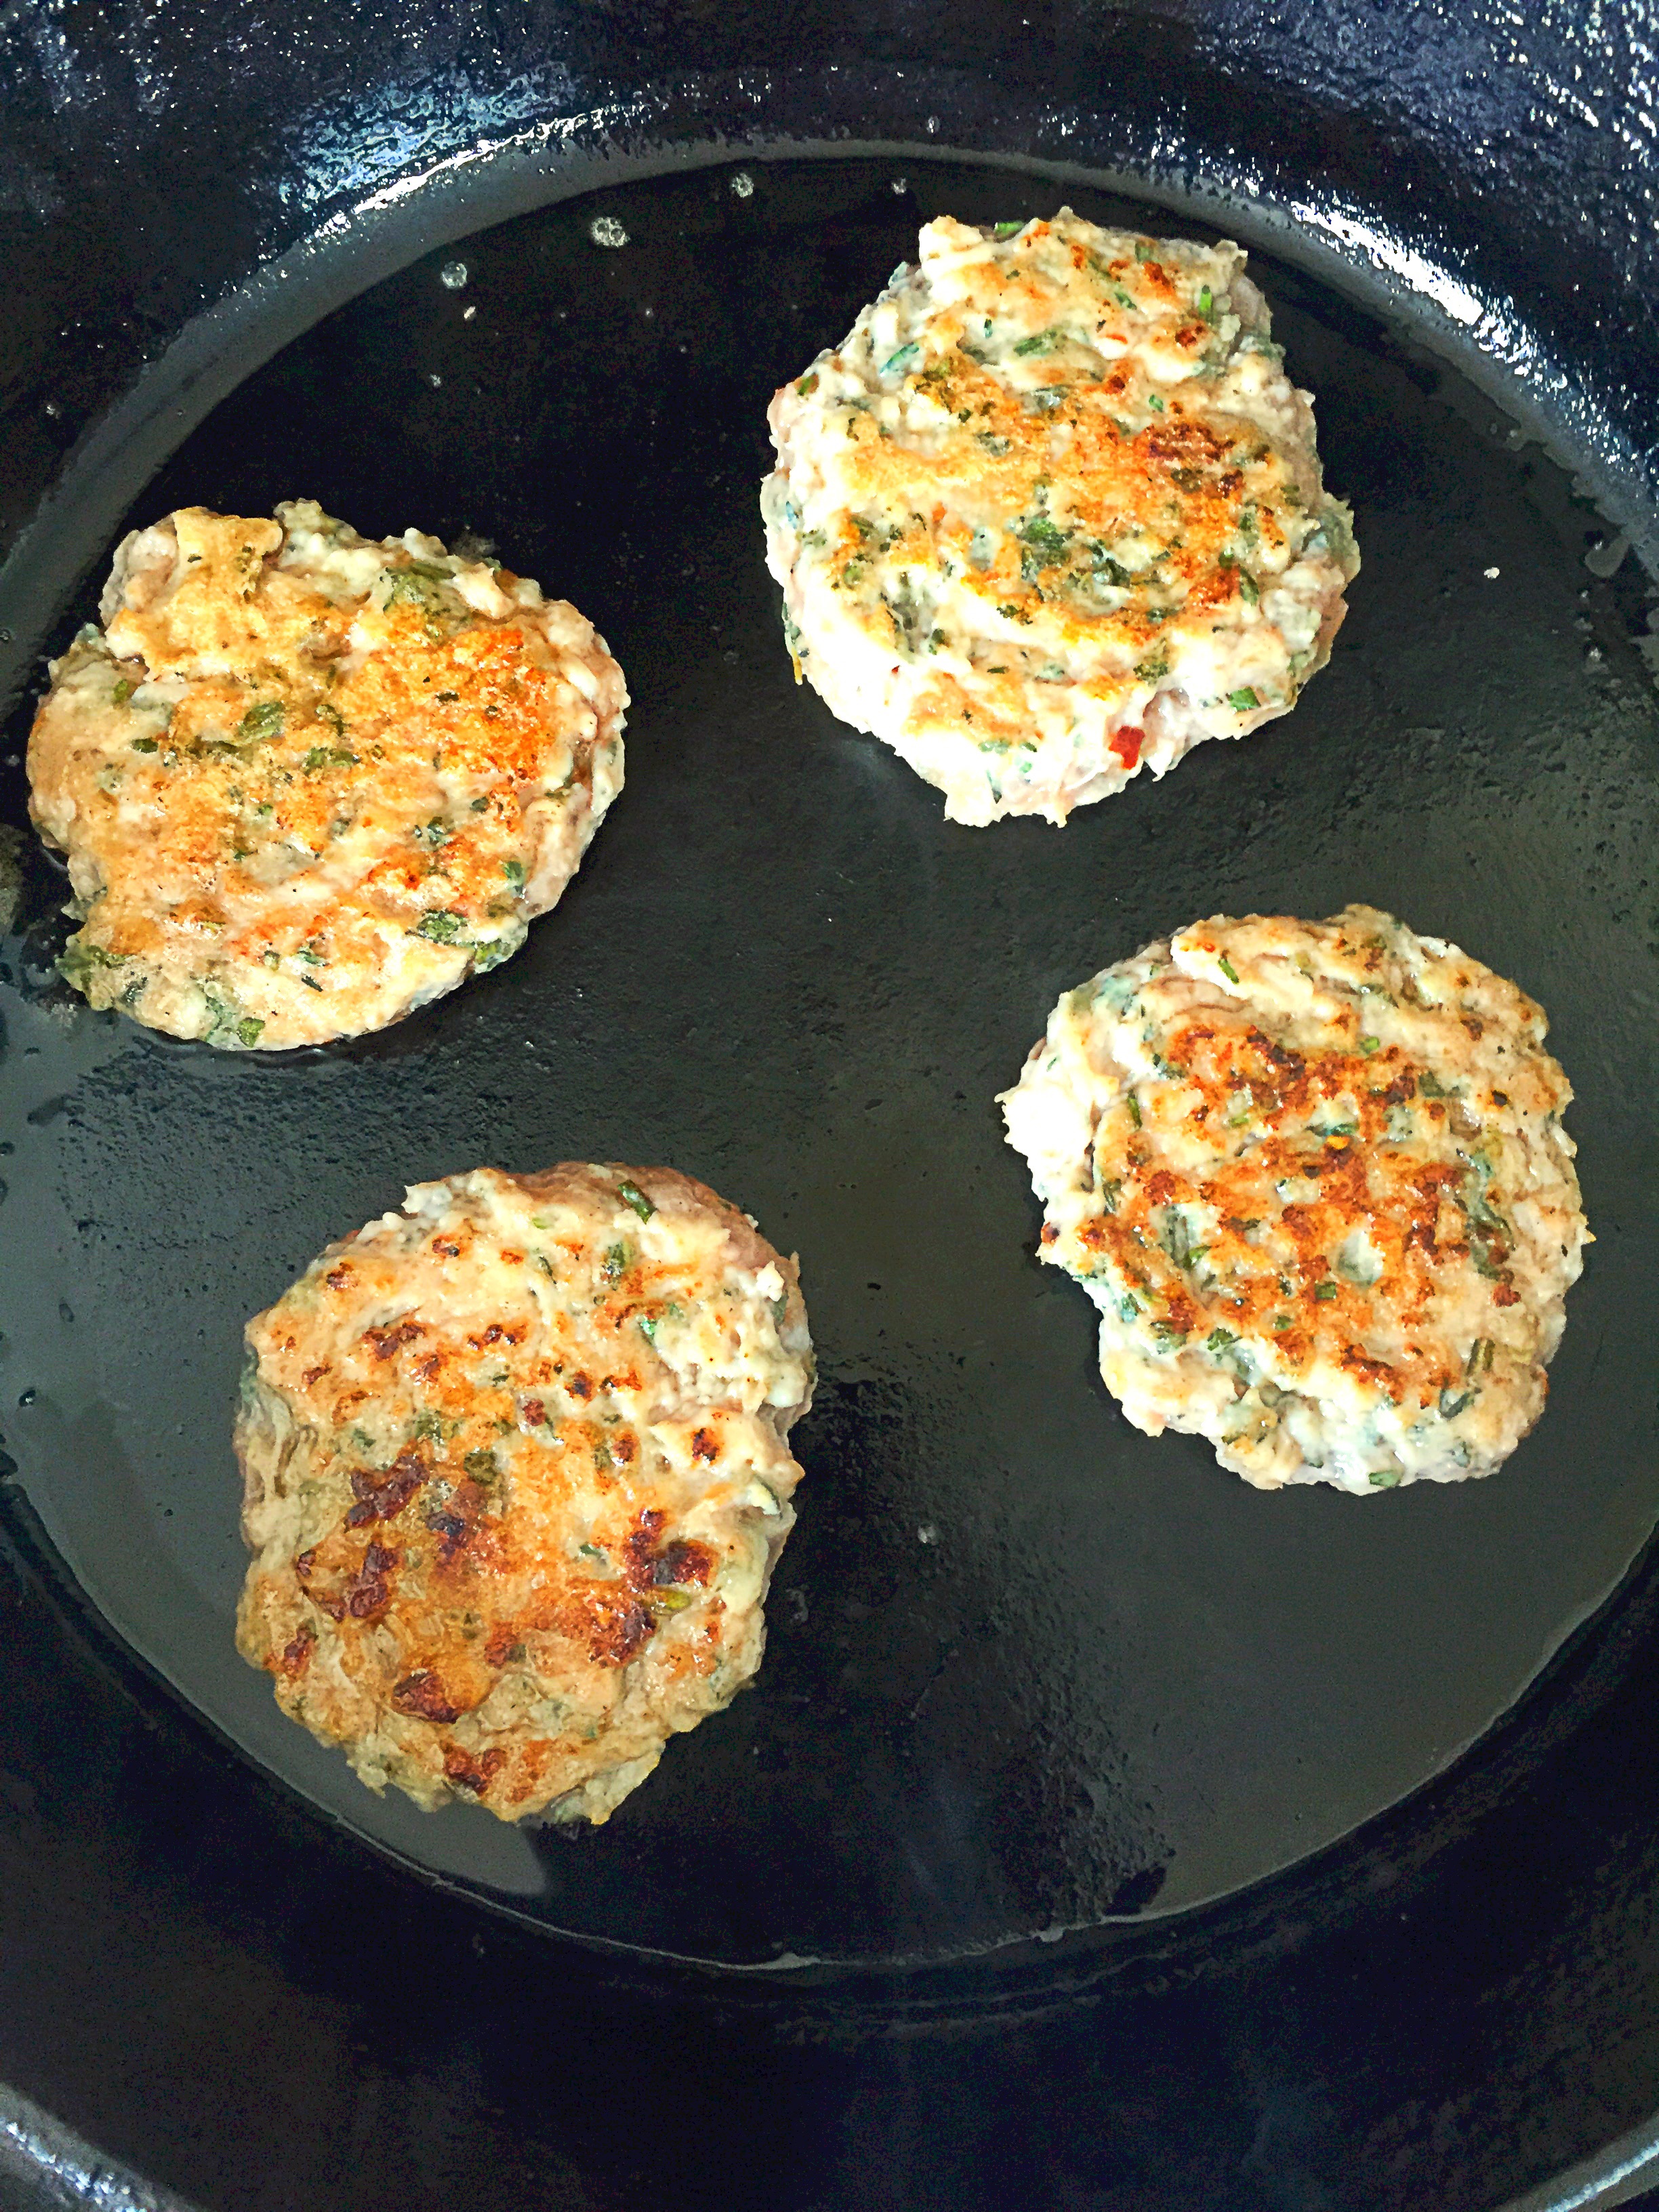
Once brown, add in soy sauce, fish sauce, water and red pepper flakes if using.

image

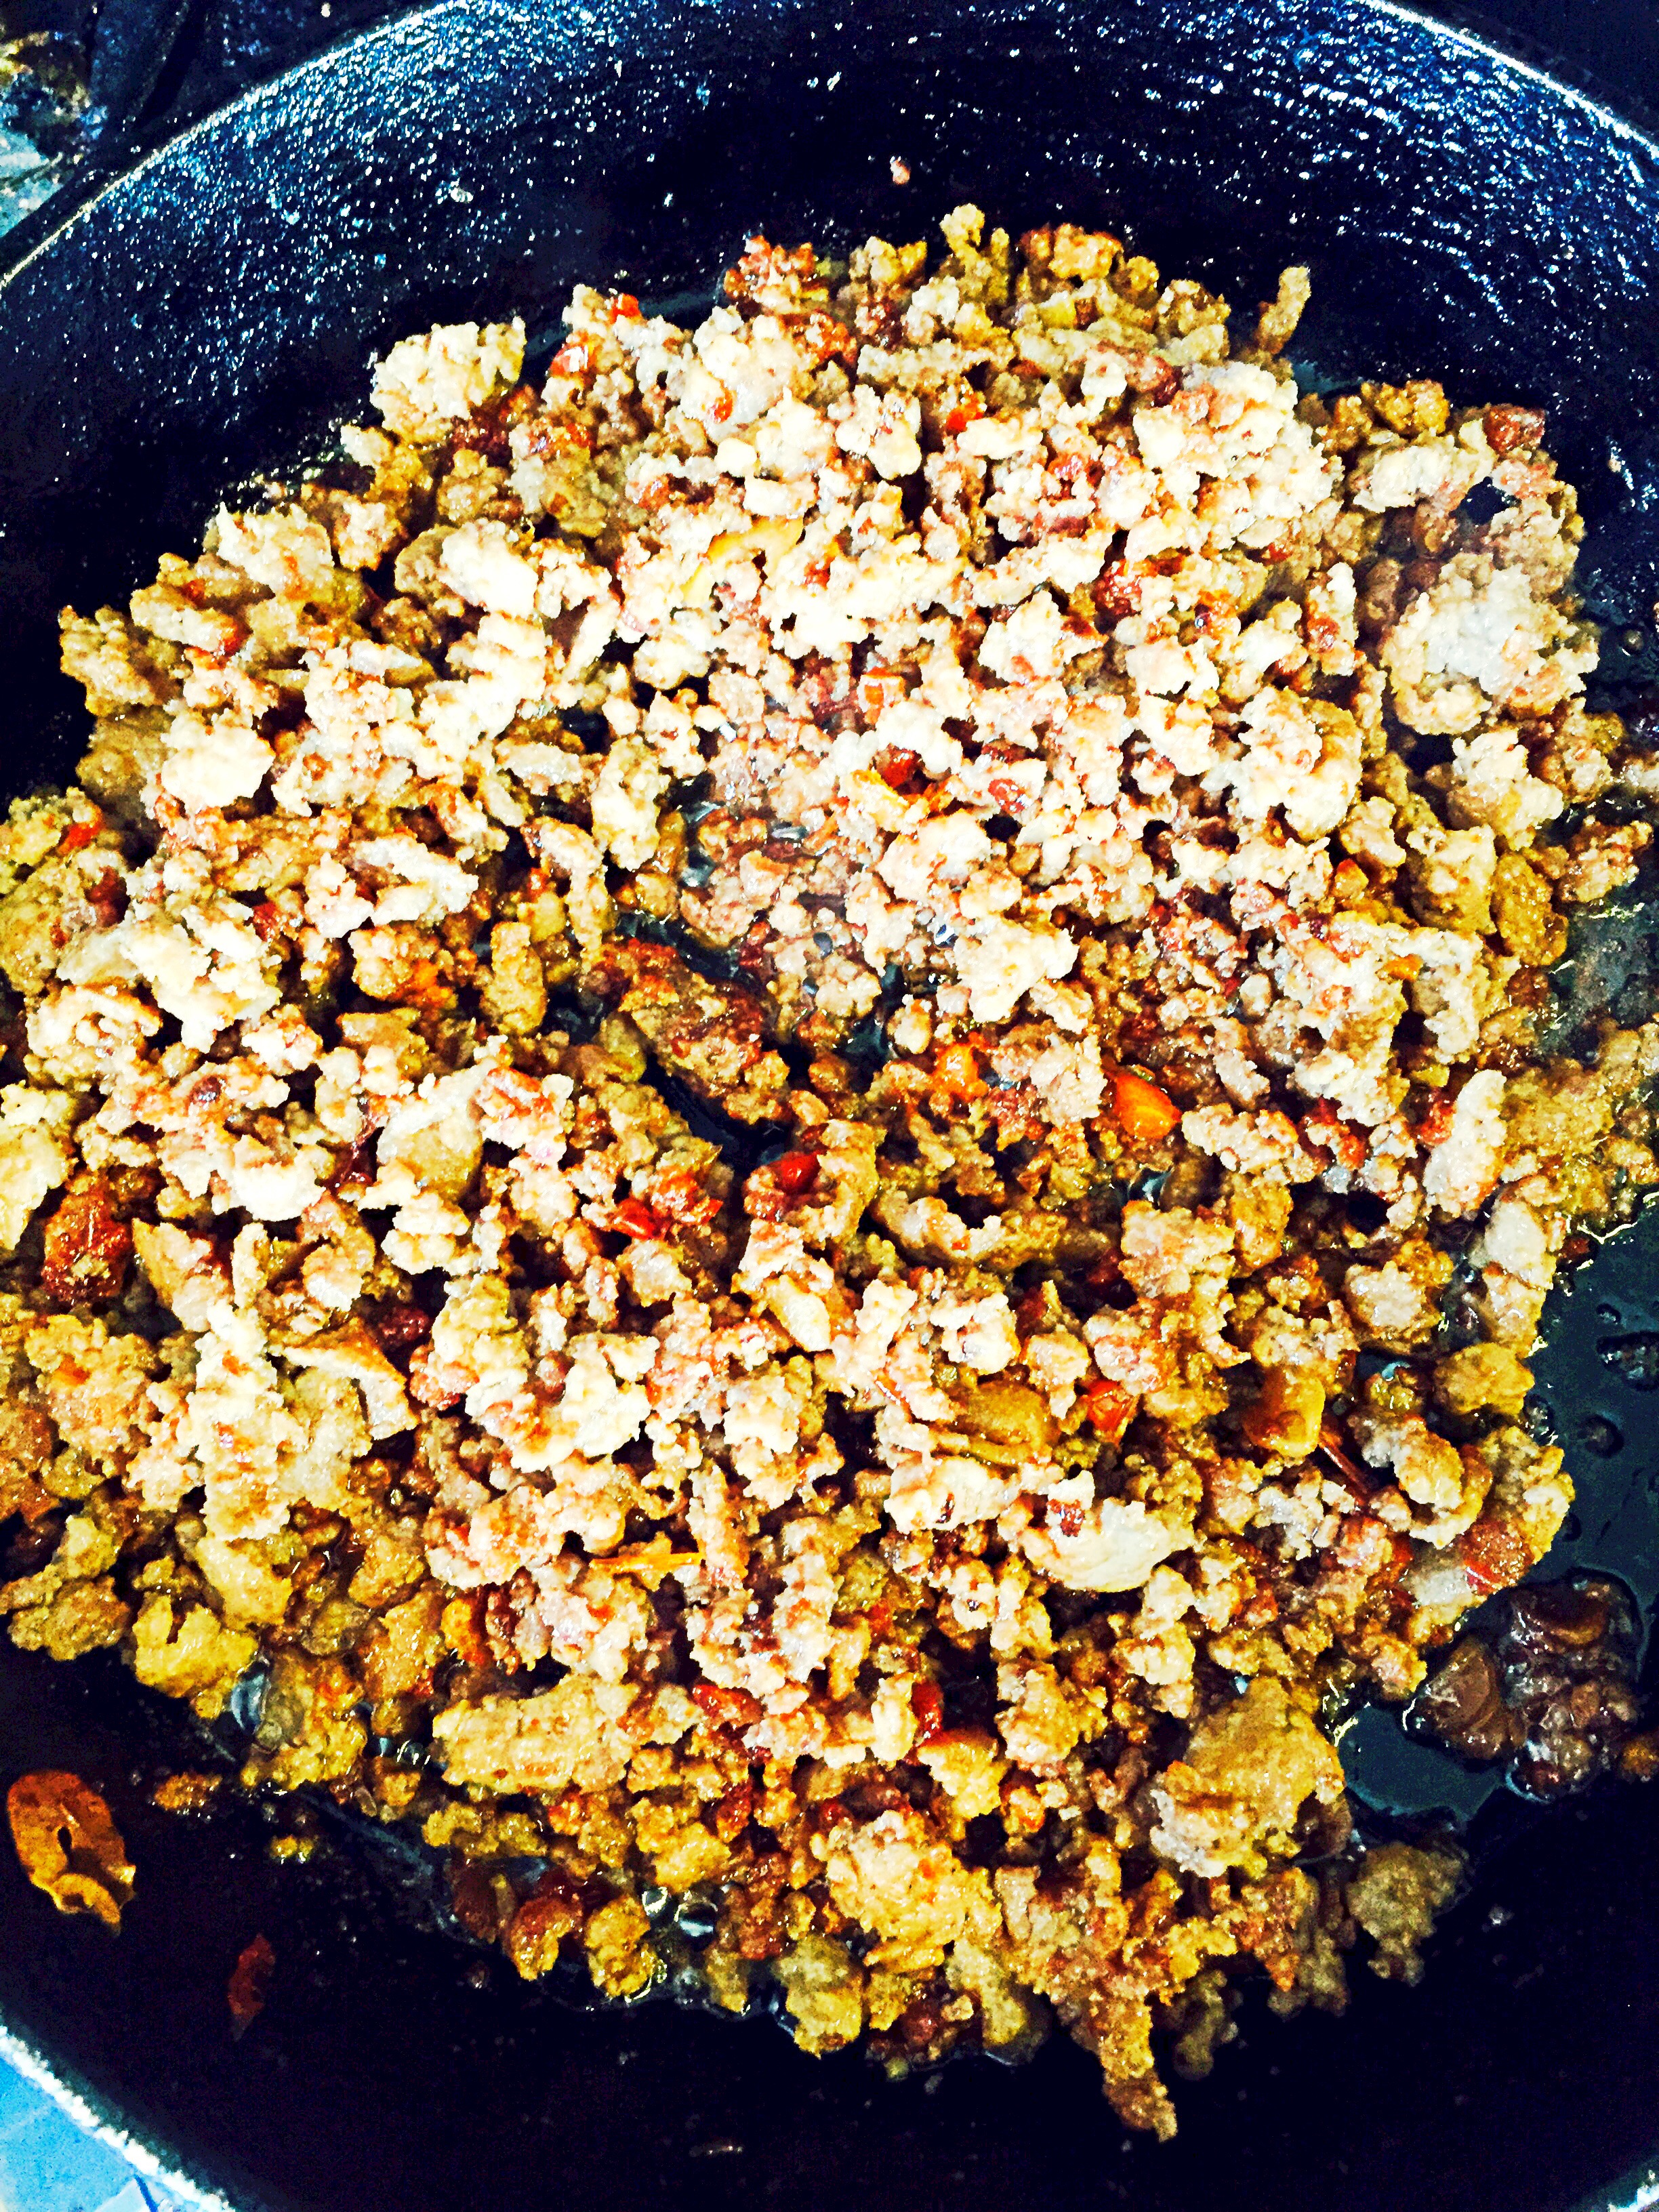
Cook until liquid evaporates and pork is brown and crispy about 2 minutes. Add in lime juice, toss well, remove from heat.  Add the meat to the lettuce cups, top with a generous amount of the fresh herbs, cucumbers, red onion, red pepper flakes, and a squeeze of additional lime juice, enjoy! So good!


image

image

Fried Cauliflower Florets with Creamy Garlic Tahini Sauce


Fried Cauliflower Florets with Creamy Garlic Tahini  Sauce

Fried Cauliflower Florets with Creamy Garlic Tahini Sauce

Whenever I eat out at a Mediterranean restaurant, I find it hard to not just compose a meal from the appetizer menu.  With things like lentil soup, lemon and garlic potatoes, hummus and pita bread, fattoush salad, grape leaves, and fried cauliflower on the appetizer menu, who needs a full entree!  I often find myself struggling not to order one of every thing on the appetizer menu.  I usually settle upon the potatoes or the fried cauliflower.  The fried cauliflower is amazingly simple.  Unlike most fried things that come dusted in flour or some other type of breaded base, this doesn’t.  This recipe calls for only one ingredient, cauliflower!  The tahini sauce is great with this, but the cauliflower is pretty amazing on its own.  Your kids will love these cauliflower florets, mine did!

Pin It!

Pin It!


Prep time: 5 minutes

Cook time: 5-7 minutes

Ingredients:

1 small head of cauliflower

2 cups of grape seed oil or another high temp oil

Sea salt to taste

Ingredients Creamy Garlic Tahini Sauce

4 tablespoons of tahini paste

8 tablespoons of water

1 tablespoon of lemon juice, more if you like

2 cloves of garlic grated

Directions: Pre-heat the oil to 320F in a deep fryer.  Add ingredients for the tahini sauce to a small bowl and mix until well combined and creamy, then set aside. If you want this to be extra creamy, place all ingredients into a food processor or blender and blend until creamy, then transfer to a bowl.

image

Cut the cauliflower into florets.

image

Add the cauliflower florets to the deep fryer.

image


Fry until golden brown.

image


image

Transfer to a paper towel lined plate, season with sea salt, serve and enjoy!


image


image

Herbaceous Grilled Lamp Chops

Herbaceous Grilled Lamb Chops

Herbaceous Grilled Lamb Chops

Last weekend I visited a Persian market.  The market filled me with all sorts of food inspiration, but it mostly left me with a strong desire to eat lamb.  I guessing that desire came from the cooked foods section, which had fresh lamb kabobs and shawarma. The market also housed a rather large meat department, it had lamb in every form, hooves, hearts, livers, basically every part of the lamb that a better cook than I am could possibly want to cook. A far cry from the selection at my local Whole Foods! I feel like I hit the lottery if they have stewed lamb meat once every 4 months.  Wouldn’t it be fabulous to be able to walk into your local market and find, um..choices?  Like ramps in the spring time, in California–but I digress.  Let’s just say, I left the Persian market with market envy.   I shop at Whole Foods so often that when I go into a conventional grocery store, I’m always amazed at how inexpensive things are.  Haha..call it reverse sticker shock! Thank you Whole Foods!  Surprisingly, I did not leave the Persian market with lamb.  I did find some great spices, some pomegranate molasses, and a few other great items.  I left with my new finds and a mission to cook these lamb chops.

Pin It!

Pin It!


Ingredients:

1 lb lamb chops

2 tablespoons of fresh rosemary, finely chopped

4-5 cloves of garlic minced

1 teaspoon lemon powder, can sub with lemon zest

1/2 teaspoon of olive oil

Directions: To a small bowl add garlic, rosemary, lemon zest and oil, mix well.

image

Dry lamb chops, season generously with sea salt. Rub the lamb chops with the herbaceous garlic paste.

image

Place lamb chops on a hot grill, and cook for 5-7 minutes on each side, or until lamb chops are cooked to your liking.  Remove from grill, serve with a fresh squeeze of lemon and enjoy!

image

D.I.Y. Chicken Breakfast Sausage-How to Make Breakfast Sausage

Chicken Breakfast Sausage

Chicken Breakfast Sausage


One of the most difficult parts of the day for me is deciding what to feed Page for breakfast.  Like any child, she’s opinionated about what she’ll eat, but she seems to be more obstinate in her choices during breakfast.  She doesn’t eat what I imagine most kids do in the morning, no breakfast cereals, or breakfast bars.  She is more into things that take more time, like eggs, bacon, quesadillas! She loves a hot meal to start her day off, so this week when I went shopping, I thought I’d switch things up a bit and make some homemade breakfast sausage for her.  I’m using ground chicken for this recipe, but feel free to use pork, if you’re so inclined.  The fresh herbs in this recipe are what make these sausages amazing! What’s more amazing is that you don’t need to grind the meat yourself.  Order a pound or two of ground chicken from your  meat guy/gal add some fresh herbs and BAM–Jimmy Dean style sausages for you and your loved ones.  These would be perfect for Sunday Brunch, or for your Mother’s day breakfast–point your husbands right to this site.  One pound of ground chicken made about 12 sausage patties.  I put 5 in the refrigerator, and froze the rest for later use.  If you don’t plan on cooking these within 5 days of making them, then I suggest you freeze them right away.

Pin It!

Pin It!


Prep time: 10 minutes

Cook time: 8 minutes


Ingredients:

1 lb of Organic air chilled ground chicken (dark meat)

2 tablespoon of fresh sage (finely chopped)

2 tablespoons of fresh thyme (finely chopped)

1 teaspoon of fresh rosemary (finely chopped)

1 tablespoon of maple sugar (can substitute with maple syrup or brown sugar) Omit if you’re on Whole 30

1 teaspoon of sea salt

1 teaspoon of red pepper flakes (more if you want)


Directions:  Add the ground chicken and spices to a medium sized bowl,

imageMix until combined.

image

Form patties, and either refrigerate for up to 1 week, or freeze in an air tight container for up to 3 months.


When ready to cook, spray a cast iron skillet with coconut oil, bring pan to temperature, then add patties, cook for 3-4 minutes on each side,

image

or until golden brown, and meat is cooked through in the center.

image

Remove from pan, serve and enjoy!!!

image

How to Brown Butter

How to Brown Butter

How to Brown Butter

It has been said that butter makes everything better.  In my opinion  brown butter is butter in it’s best form.  The nutty, butterscotch notes butter has once it has been browned are heavenly!  I love to use brown butter in everything from sauces to baked goods.  In fact, the other day, Page and I were baking with browned butter, and even she–in all of her 3-year-old astuteness–could not stop saying how good the brown butter smelled.  The aroma had us both in a euphoric trance–I’m not exaggerating–we were both giddy over the smell–and the cookies…the cookies were AMAZING!!!  I’ll share that post another day.  You can make as much, or as little, of this as you’d like.  Once the butter has browned, you can place it in the refrigerator to use for later.  A good brown butter sauce can liven up everything –even veggies.

Pin It!

Pin It!


Prep time: none

Cook time: 5-7 minutes

Ingredients:

2 sticks of butter

Directions: Place the butter in a stainless steel or clear bottom sauce pan

image

and melt over medium low heat.

image


Once the butter has completely melted, things move along pretty quickly, the solids have already begun to separate for me and it’s been about two minutes:

image


At about 5 minutes in the butter will start to bubble and and splatter, stir, stir, and stir some more:

image

Now is the time to watch the butter like a hawk, because then this happens:

image

Foam, a lot of foam, which makes it hard to see if the butter has browned underneath, so move the foam to the side with a spoon to see if the butter has browned. image

You’ll be able to tell the butter has browned because you’ll start to see brown bits of milk solids on the spoon and in the pan.

image


The butter will also start to smell AMAZING!! It takes on a sweet, nutty almost butterscotch aroma.  I was happy with the color at this point, but you could go a little longer–just be careful not to go too much longer, because the butter continues to brown even after you remove it from the heat. After you’re happy with the color,  remove it from heat and transfer to a heatproof container.  Make sure to transfer all of the butter milk solids–the milk solids are the best part.  They don’t look appetizing but they are.  I added them after I took this picture, just so you guys could see what they look like.:

image


Continue to stir for a  few minutes to help cool it down.

image

Use it right away or allow the brown butter to cool to room temperature before transferring to an air tight container and then the refrigerator for later use.


Persian Spiced Salmon Kabobs

Persian Spiced Salmon Kabob's

Persian Spiced Salmon Kabob’s


I love a good kabob and lately I’ve been craving them.  Salmon is such a hearty fish, and there are many great ways to prepare salmon, but when you want to switch things up a bit–grilled salmon is the way to go.  I made a paste to adorn this salmon, and it’s rich in Mediterranean flavors.  I used sumac, which can be found in any middle eastern store, or in your local Trader Joe’s–it’s where I got mine.  Sumac is tart,  sour and is often used in place of lemon in middle eastern recipes.   If you can’t find sumac, then by all means feel free to substitute with the zest of a lemon.  The flavor is this dish is fantastic.  The fresh thyme was amazing! I felt like I was eating at one of my favorite Persian restaurants.  Page really loved it, and my husband could not stop with the compliments.

Pin It!

Pin It!


Prep time: 5 minutes

cook time: 7 minutes

Total time: 12 minutes


Ingredients:

1lb of salmon– dried with paper towels, de-skinned, and cubed into 1 inch pieces

1 teaspoon of sumac powder– can substitute with lemon zest

1/2 teaspoon of garlic powder

1/2 teaspoon of cumin

1 teaspoon of fresh thyme-stems removed

1 teaspoon of olive oil–or oil of your choice

sea salt to taste

Directions: To a small bowl add the garlic powder, cumin powder, fresh thyme and oil, mix well and set aside.

image

Rub the spice mixture on the salmon,

image


then add the salmon to skewers,

image


Grill the salmon for 3-4 minutes on each side, remove from grill, serve and enjoy!

image


Pineapple Rings–How to make dehydrated Pineapple Rings

Dehydrated Pineapple Rings

Dehydrated Pineapple Rings

One of my go to snacks is dehydrated fruit.  I’m a particular fan of pineapple rings.  But, if you’ve ever purchased organic dehydrated pineapple rings, then you probably know that pineapple rings are a snack that can be out right expensive! I mean outlandishly expensive! On top of the expense, it’s pretty hard to find pineapple rings that haven’t been soaked in baths of sugar.  I’m not a fan of adding sugar to dehydrated fruit.  It’s sort of an oxymoron to me that sugar is added to dehydrated fruit at all, because if you know anything about dehydration–then you know that the sugar in fruits concentrate when dehydrated, so there really isn’t a need to add sugar–unless you’re dehydrating something really tart like cranberries then I could see the purpose of adding sugar. Last week I purchased a pineapple, I fully intended to eat it fresh. However,when I cut, and tasted it– it was pretty tasteless. Disappointing for sure. The pineapple clearly needed to ferment more.  Rather than chuck it, I sliced it and put it in the dehydrator and made pineapple rings. The resulting pineapple rings were not only flavorful, but they were sweet–everything you want would want in a fresh bite of pineapple–minus the juice of course.  The pineapple rings lasted all of 2 minutes, my sister in-law, my niece and Page, gobbled them right up–I’m pretty sure they would’ve passed on the fresh slices.

Pin It!


Prep time: 10 minutes

Cook time 6-8 hrs 10-12hr for thicker slices

Ingredients:

2 whole fair trade organic pineapple

Directions: Remove the stem from the pineapple, then slice off the top and bottom.  Slice off the skin, making sure to remove all the eyelets.

image

Now slice the pineapple thinly.

image

Keep in mind that the thicker you slice it, the longer it will take to dry.  If it’s too thin your pineapple rings will turn out crisp, if they are a bit thicker, they’ll be more leathery, so it’ just a matter of what you’re seeking in consistency.  After slicing, cut out the center core by carving a circular cut in the middle of the pineapple.

image

Remove the core and discard it.

image

Place the pineapple rings on your dehydrator sheet,

image

Set the dehydrator to 135F.  If you’re doing this in the oven, set the oven to 150F or the lowest possible setting.  Dehydrate for 6-8 hours, 10-12hrs if you cut thicker slices.

image

Once dry let cool, then enjoy!

image

Page could not wait for me to take a picture, she loves these so much!

image

image

if you like this recipe, try the recipe for my pineapple fruit roll-ups!

Spice Rubbed Salmon with Lemon Cream Sauce

Spice rubbed Salmon with lemon cream sauce

Spice Rubbed Salmon with Lemon Cream Sauce

I love salmon, especially perfectly cooked salmon. When cooked correctly salmon is moist, tender, and oh so satisfying.  Most recipes for salmon include dill, lemon, garlic or some variation of those three ingredients. I’m a big fan of garlic and lemon, but dill is just not a flavor I’m in love with.  Besides, salmon is not a fragile fish, it can hold up to more bold flavor profiles.This particular salmon recipe is proof of that.

Pin It!

Prep time: 5 minutes

Cook time: 8 minutes

Total time: 15 minutes

Ingredients:

1 lb salmon fillet

1/4 teaspoon of paprika

1/4 teaspoon of granulated garlic

1/4 teaspoon of onion powder

1/4 teaspoon of ground cumin

1/2-1 teaspoon of avocado oil or coconut oil

sea salt & black pepper to taste

Lemon cream sauce (optional)

2 Tablespoons of sour cream –can sub with yogurt

1/4 teaspoon of tabasco

1 tablespoon of lemon juice

sea salt to taste

Directions: Pre-heat oven to 425F. Mix the ingredients for the lemon sauce in a small bowl and set aside. Dry salmon fillet with paper towels, drizzle with oil on both sides, then salt, place on a foil lined bake sheet and set aside. In a small bowl mix together the paprika, garlic, onion, and cumin.

image

Sprinkle the spice mixture over the salmon,

image

Place the salmon in the oven for 8-10 minutes depending on how thick your fillet is.  My fillet was about 1/2 inch thick and it was done in 8 minutes.  Remove from oven, drizzle with lemon sauce and enjoy!

image

Lemon Infused Oil-How to Make Infused Cooking oil with a Slow cooker or Sous Vide circulator


Sous Vide/Slow cooker Lemon  Infused Oil

Sous Vide/Slow cooker Lemon Infused Oil

I’ve always wanted to try my hand at making infused oils.  I buy them all the time, but they are a little on the expensive side, so making my own seems like the better value.  Infused oils are a great way to layer flavor in almost anything, be it  a salad, warm or cold, or as a highlight to fish,  potatoes or a finish to a hummus.  The process is super simple–especially if you use a slow cooker or a immersion circulator.  I had originally planned to make this with my immersion circulator, but I didn’t want to exclude a lot of you from making it.  So I borrowed my mom’s crock pot, so that I could adapt this recipe to fit the needs of a slow cooker.  Sous vide and slower cookers have a lot in common, both cook food at low temperatures.  Immersion circulators offer the option of cooking at even lower temperatures than slow cookers.  If you have a slow cooker that has the option of allowing you to set exact temperatures then you’re ahead of the game.  If your slow cooker only has a low, medium, high, or warming settings, don’t fret, you can make this.  My mom’s slow cooker has a high, low and warm setting.  I went online and did some research on what exactly those setting are and found out that the low temperature setting on slow cookers is 200F, the high is 300F and warm is 145-165F.  I planned to set my circulator to 131F for 3 hours for this recipe, so the warm setting on my mom’s slow cooker was more than sufficient to match that. In fact it was sufficient enough to allow me to shave off a few minutes from the 3 hour cook time.  I did not, because I was busy doing other things while the oil was in the slow cooker, but if you’re anxious, you could take 15 minutes off of the cook time.  I made this lemon infused oil in both my immersion circulator and my moms slow cooker–set a timer for 3 hours for both.  The results were identical.  The lemon was nicely infused in both oils.  I used avocado oil, but this can be done with olive oil, grape seed oil, or any oil that you choose.

Pin It!


Prep time: 5 minutes

Cook time: 3 hours

Ingredients:

1 cup of avocado oil–or oil of your choice

peel of 2 medium sized lemons

Directions for slow cooker:  fill slow cooker with water and set to 131F,–if your slow cooker has an exact temperature setting– or set it on the warm setting–low if your pot doesn’t have a keep warm setting. Place oil in a bag, then add lemon peels–making sure to bend and twist them to release oils.

image

If you’re using a ziploc bag place the bag in the slow cooker and seal using the water displacement method, then cook for 3 hours.  If you have a vacuum chamber sealer that allows you to seal liquids like I do, then seal the oil and lemon mixture in a bag for 10 seconds with a 1.5 second seal.

image

image

image

Directions for Sous vide:  Fill a pot or container with water, then set the circulator to 131F and wait for the water to come to temperature. Meanwhile add the oil and lemon peels to a bag–making sure to bend and twist them to release oils.

image

If you’re using a ziploc bag place the bag in the water bath and seal using the water displacement method, then cook for 3 hours.  If you have a vacuum chamber sealer that allows you to seal liquids like I do, then seal the oil and lemon mixture in a bag for 10 seconds with a 1.5 second seal.

image

At the 3 hour mark, carefully remove the oil from the water–remembering that even at 131F-165F water is very hot.

image

Transfer the oil to a clean container–removing all of the peels–you can leave one or two for decoration if you’d like.

image

The lemon oil is ready to use. There are so many uses for this oil.  Drizzle a little on avocado toast, or on roast chicken–the uses are endless and always delicious!

image


image


Rosemary, Garlic, & Lemon Pototoes

image

Rosemary, Garlic, and Lemon Potatoes


One of my husbands favorite side dishes.  He is a lover of all things potato, so I’m constantly trying to switch up the way that I cook them. The easiest way for me to do that is to switch up the herbs.  In this case fresh is best! The fresh rosemary really makes these potatoes sing! The pungent and earthy flavor of fresh rosemary paired with the lemon and garlic, make for a delicious potato dish!

Pin It!


Prep time: 5 minutes

Cook time: 10-15 minutes

Ingredients:

4 medium organic potatoes (cubed skin on)

1 Tablespoon of fresh organic rosemary finely chopped

1 teaspoon of garlic finely chopped

1/2 teaspoon of lemon powder (can sub the zest of one small lemon)

4-5 Tablespoons of grape seed oil

Sea salt to taste

Directions: Heat olive oil in a frying pan. Place cubed potatoes in,

image

Cook potatoes until they start to brown, tip, cook for 5 minutes on one side, brown and then flip to the other side to brown.  Once potatoes are brown and fork tender, add the rosemary, lemon powder, and garlic, toss for ten to twenty seconds, just until you can smell the garlic, turn the fire off.

image

Transfer to a plate season with sea salt toss and enjoy!

image


If you like these potatoes then you’ll love my recipe for Lemon and Garlic Potatoes! You might also like these Ranch Potatoes!