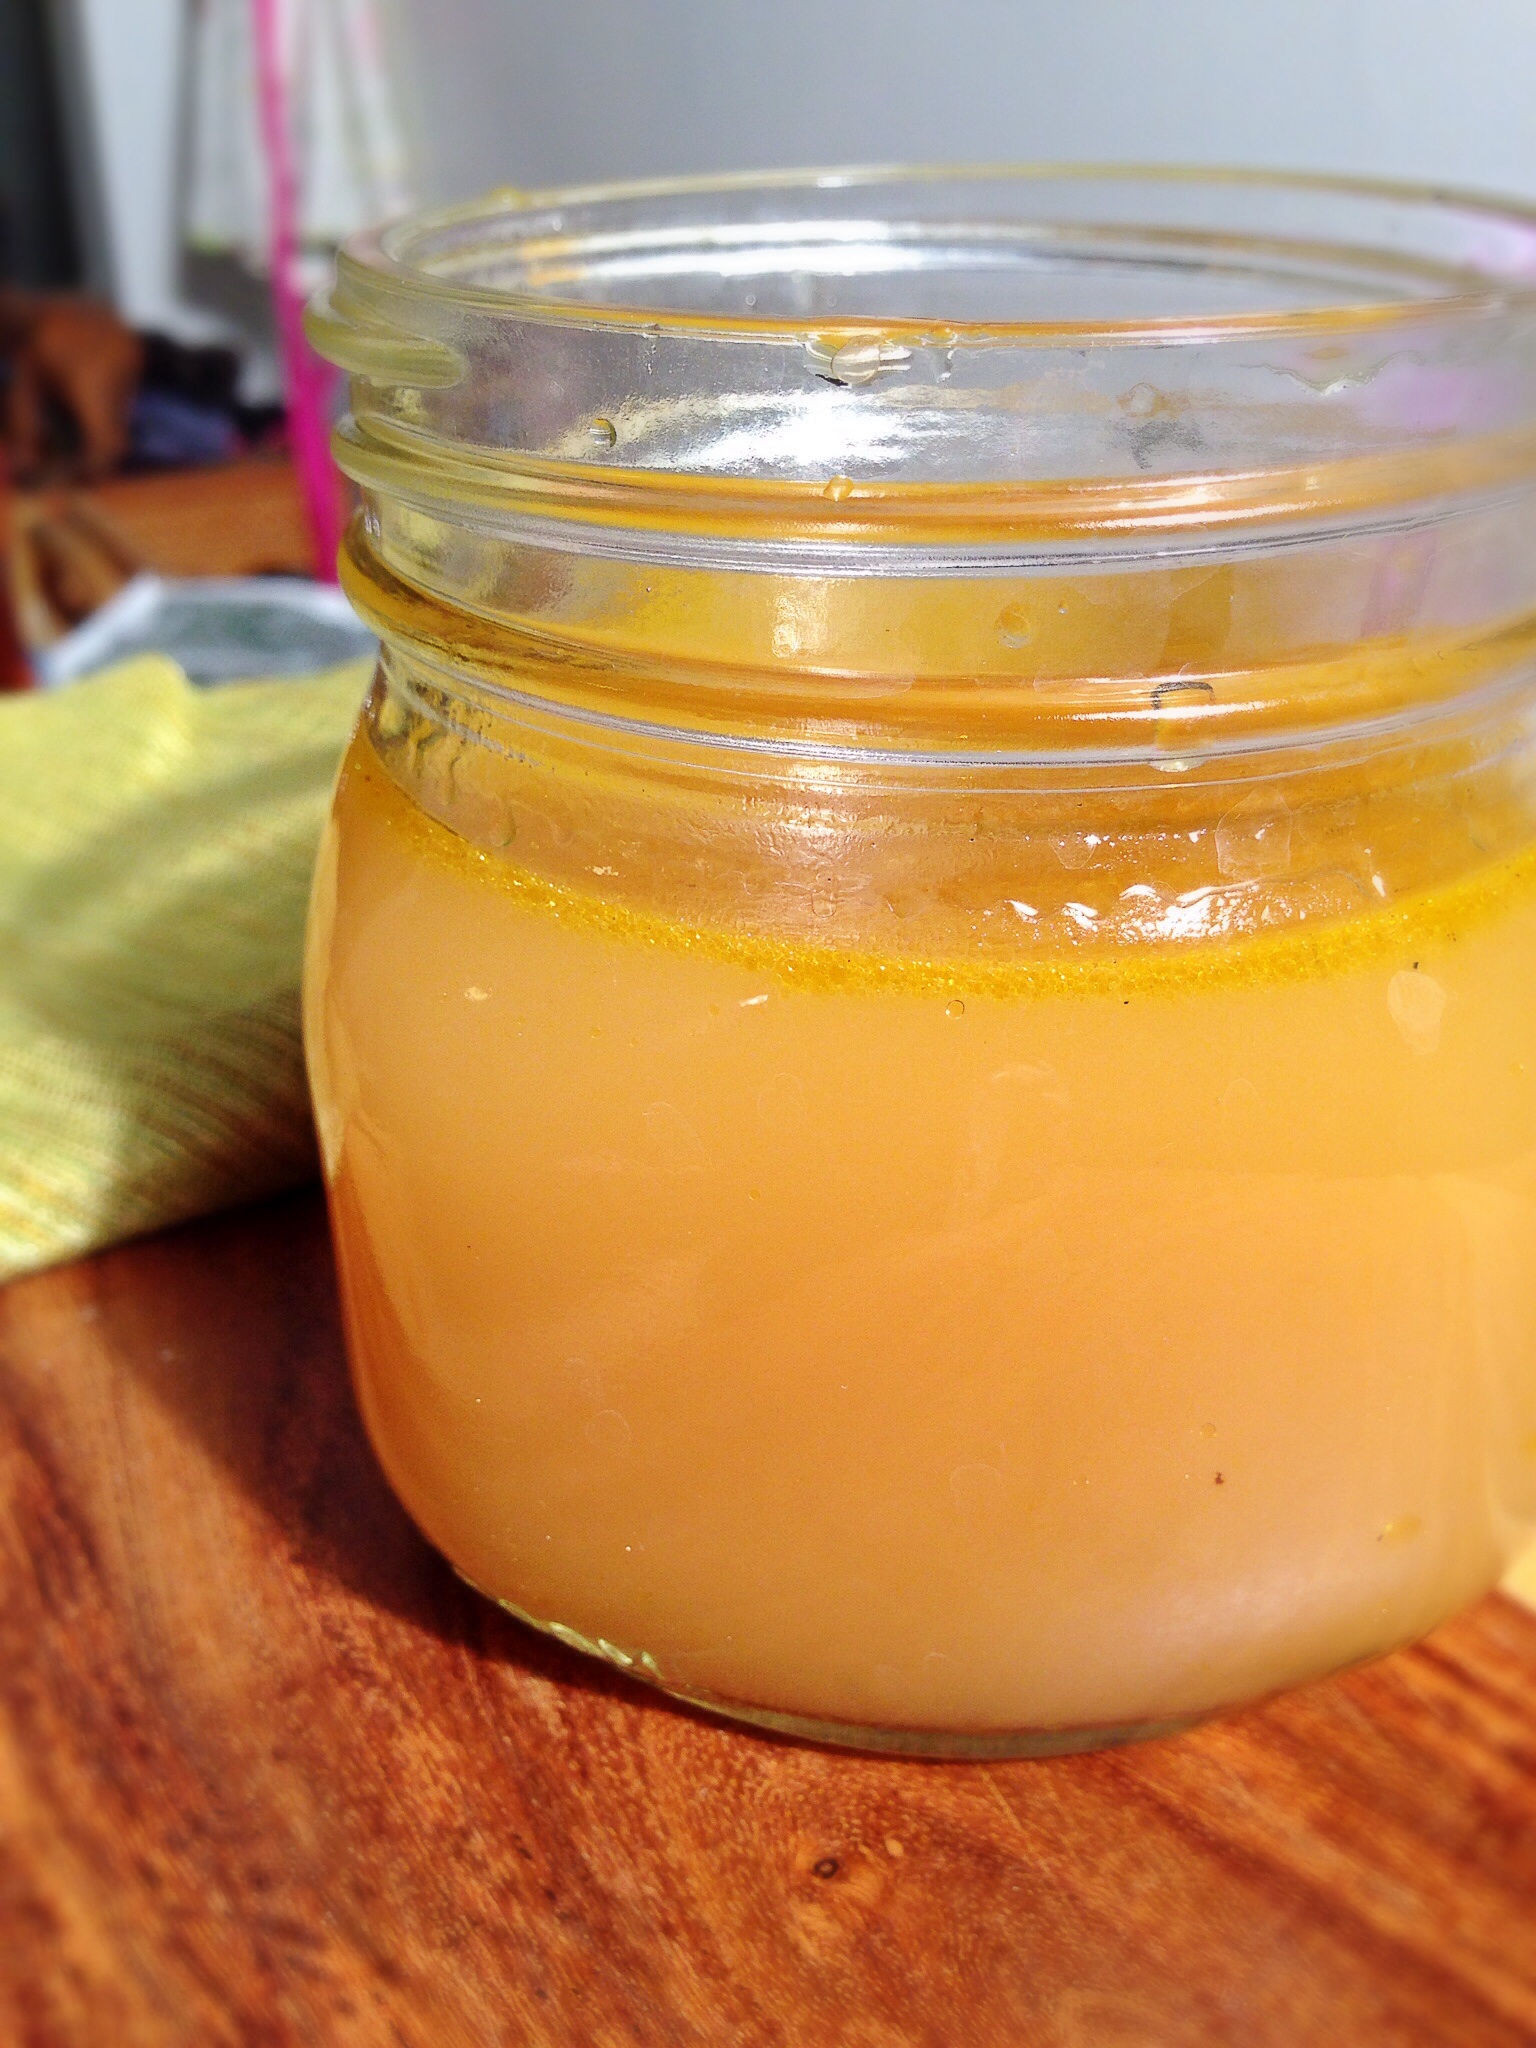
Modernist Cuisine Brown Chicken Stock
I recently purchased the six set Modernist Cuisine book set. It is a beautifully constructed work of art, but more importantly, it is the cook book to end all cook books. If you want to learn the how’s, and why’s of cooking, from a deeply scientific perspective, then you have to get this books set. I’ve certainly learned a lot about cooking from reading it. This chicken stock is one of the most flavorful stocks that I have ever made. There are not many stock recipes that call for the use of ground meat, but this one does and of course there is a very scientific reason for that, let me explain. It starts with extraction. The smaller the ingredients are, the easier it is to extract flavor from those ingredients. dicing or slicing stock ingredients more finely increases the surface area of food dramatically and doing so also reduces the cook time. So using ground meat allows you to get more chicken flavor out of the chicken and into your stock. Seems logical enough, right? This recipe also calls for the use of a pressure cooker. By now you all know that I’m a big fan of using pressure cookers, especially to make stocks. Pressure cookers, save time, and at the same time increase and condense flavors, they are great tools, and if you don’t have one you are missing out. I strayed a bit from the exact recipe in Modernist Cuisine, so if you want that recipe exactly as they wrote it click here.
Pin It!
Prep time: 10 minutes
Cook time: 2.5 hours
Ingredients: 1lb of ground dark meat chicken
3 small chicken legs
1 cup of thinly sliced carrots
1 cup of thinly sliced celery
1 large onion sliced thinly
2 large cloves of garlic thinly sliced
7 cups of cold water
4 sprigs of parsley or thyme
Sea salt and black pepper to taste
1 tablespoon of safflower oil
Directions:
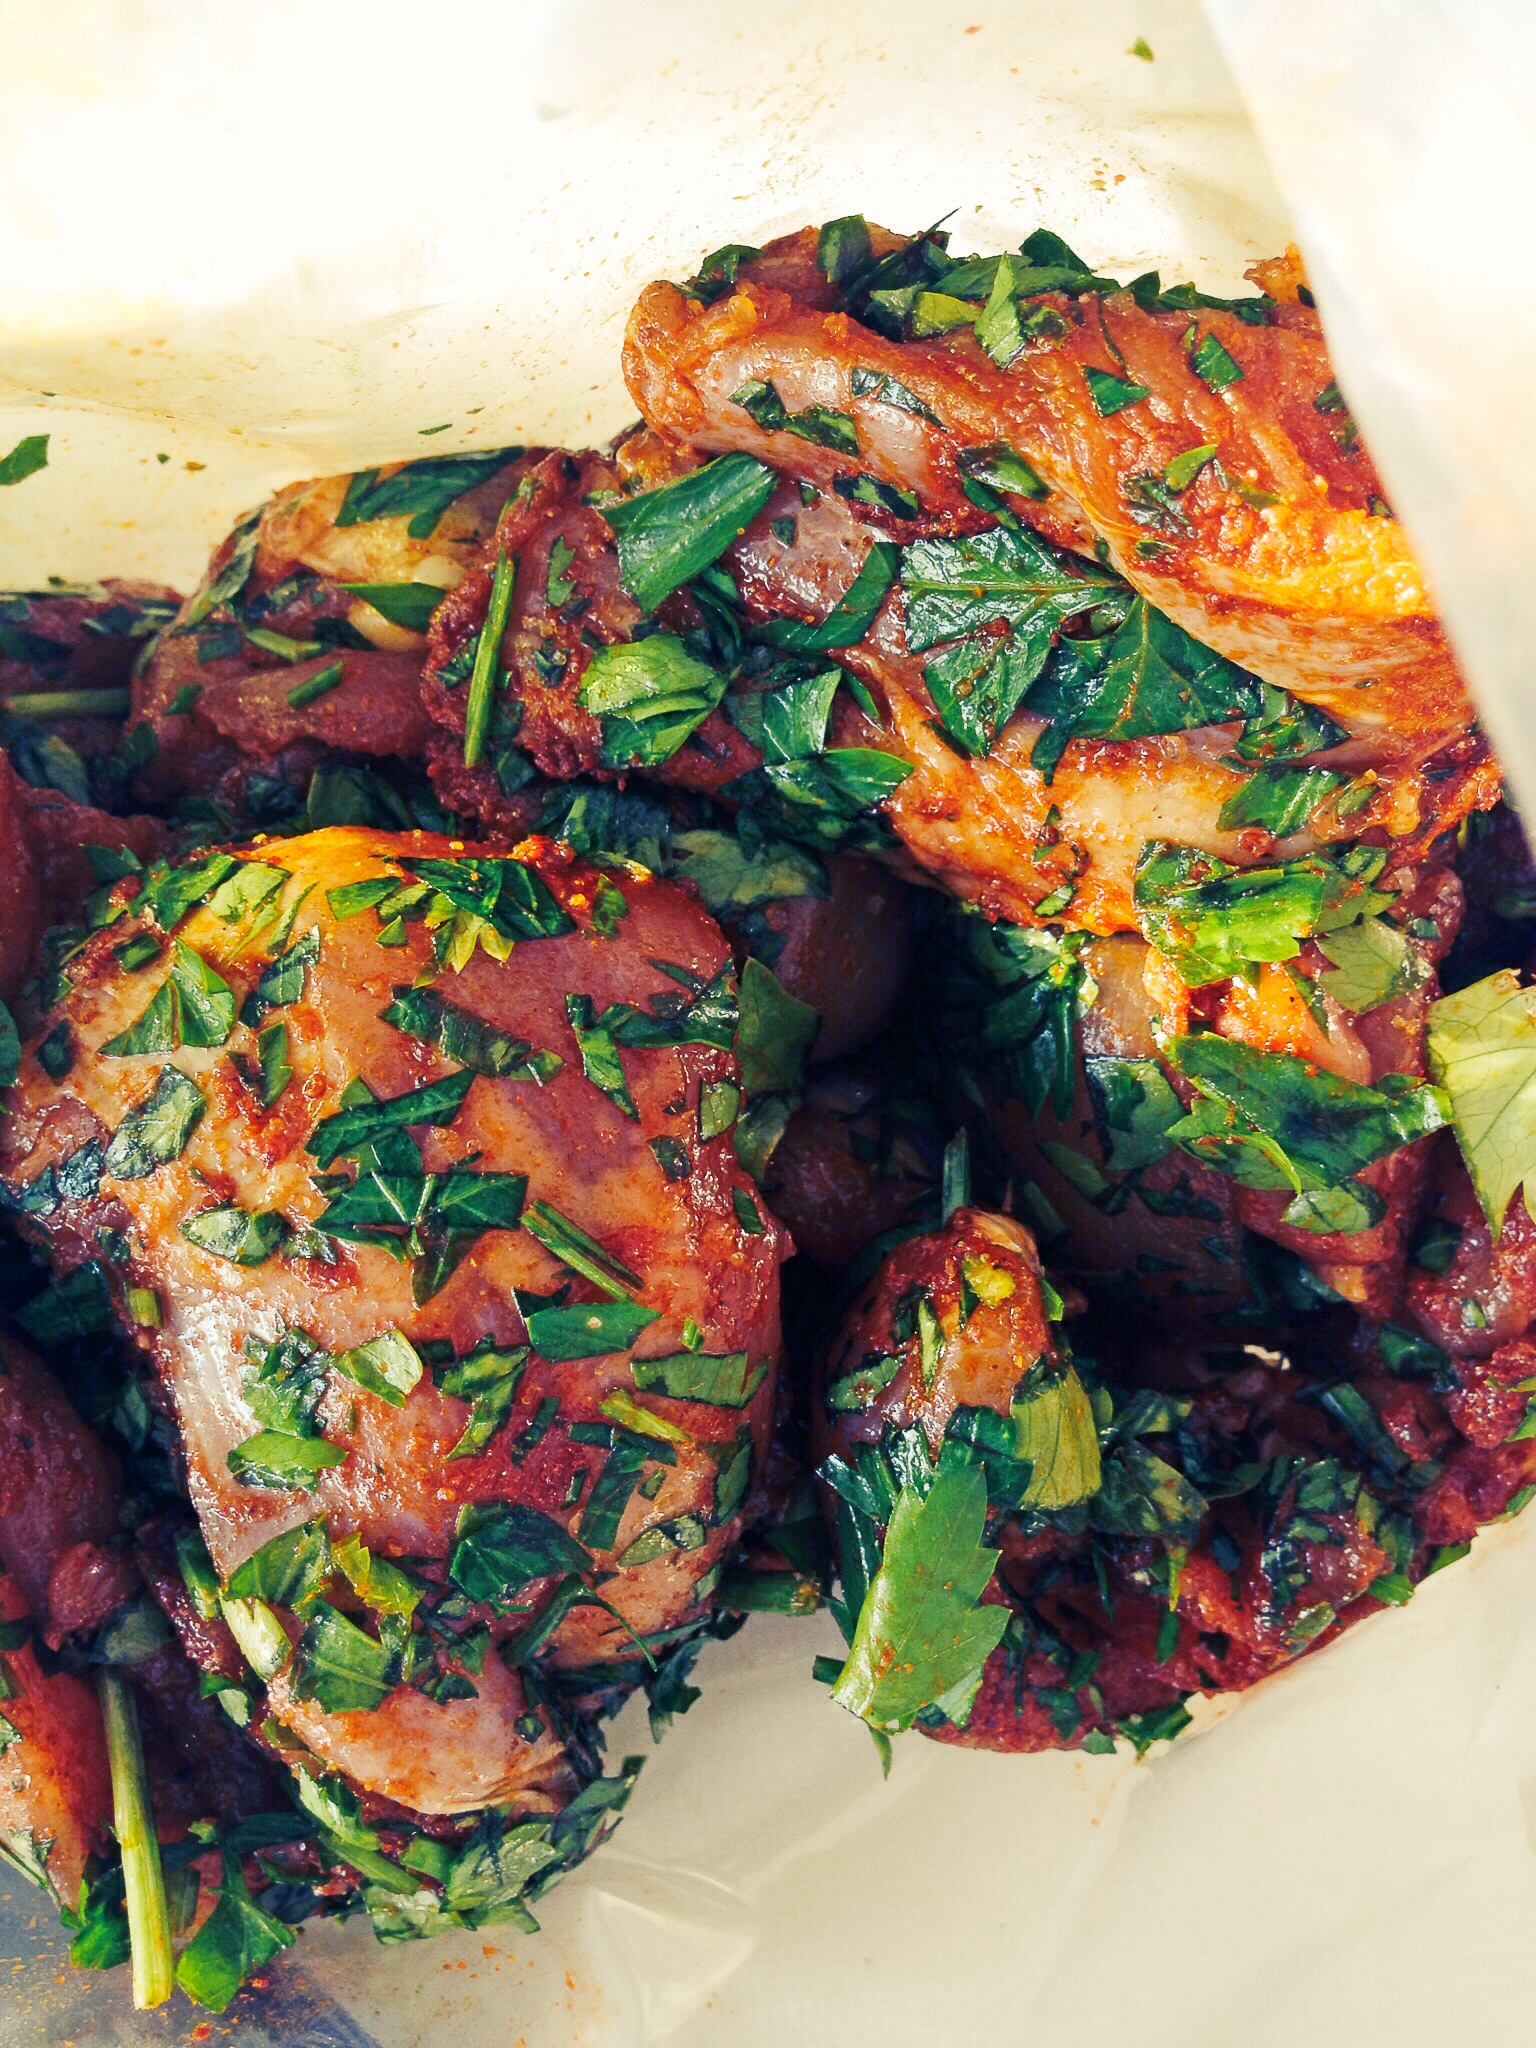
Heat oil in the base of the pressure cooker, add in chicken legs and brown on all sides.  Remove to a plate and set aside. Add ground meat to the pot and brown,remove to a plate and set aside. Add onion, carrots, celery, and garlic to the pot and cook until soft.
  Return browned meat to the pot, add parsley,
 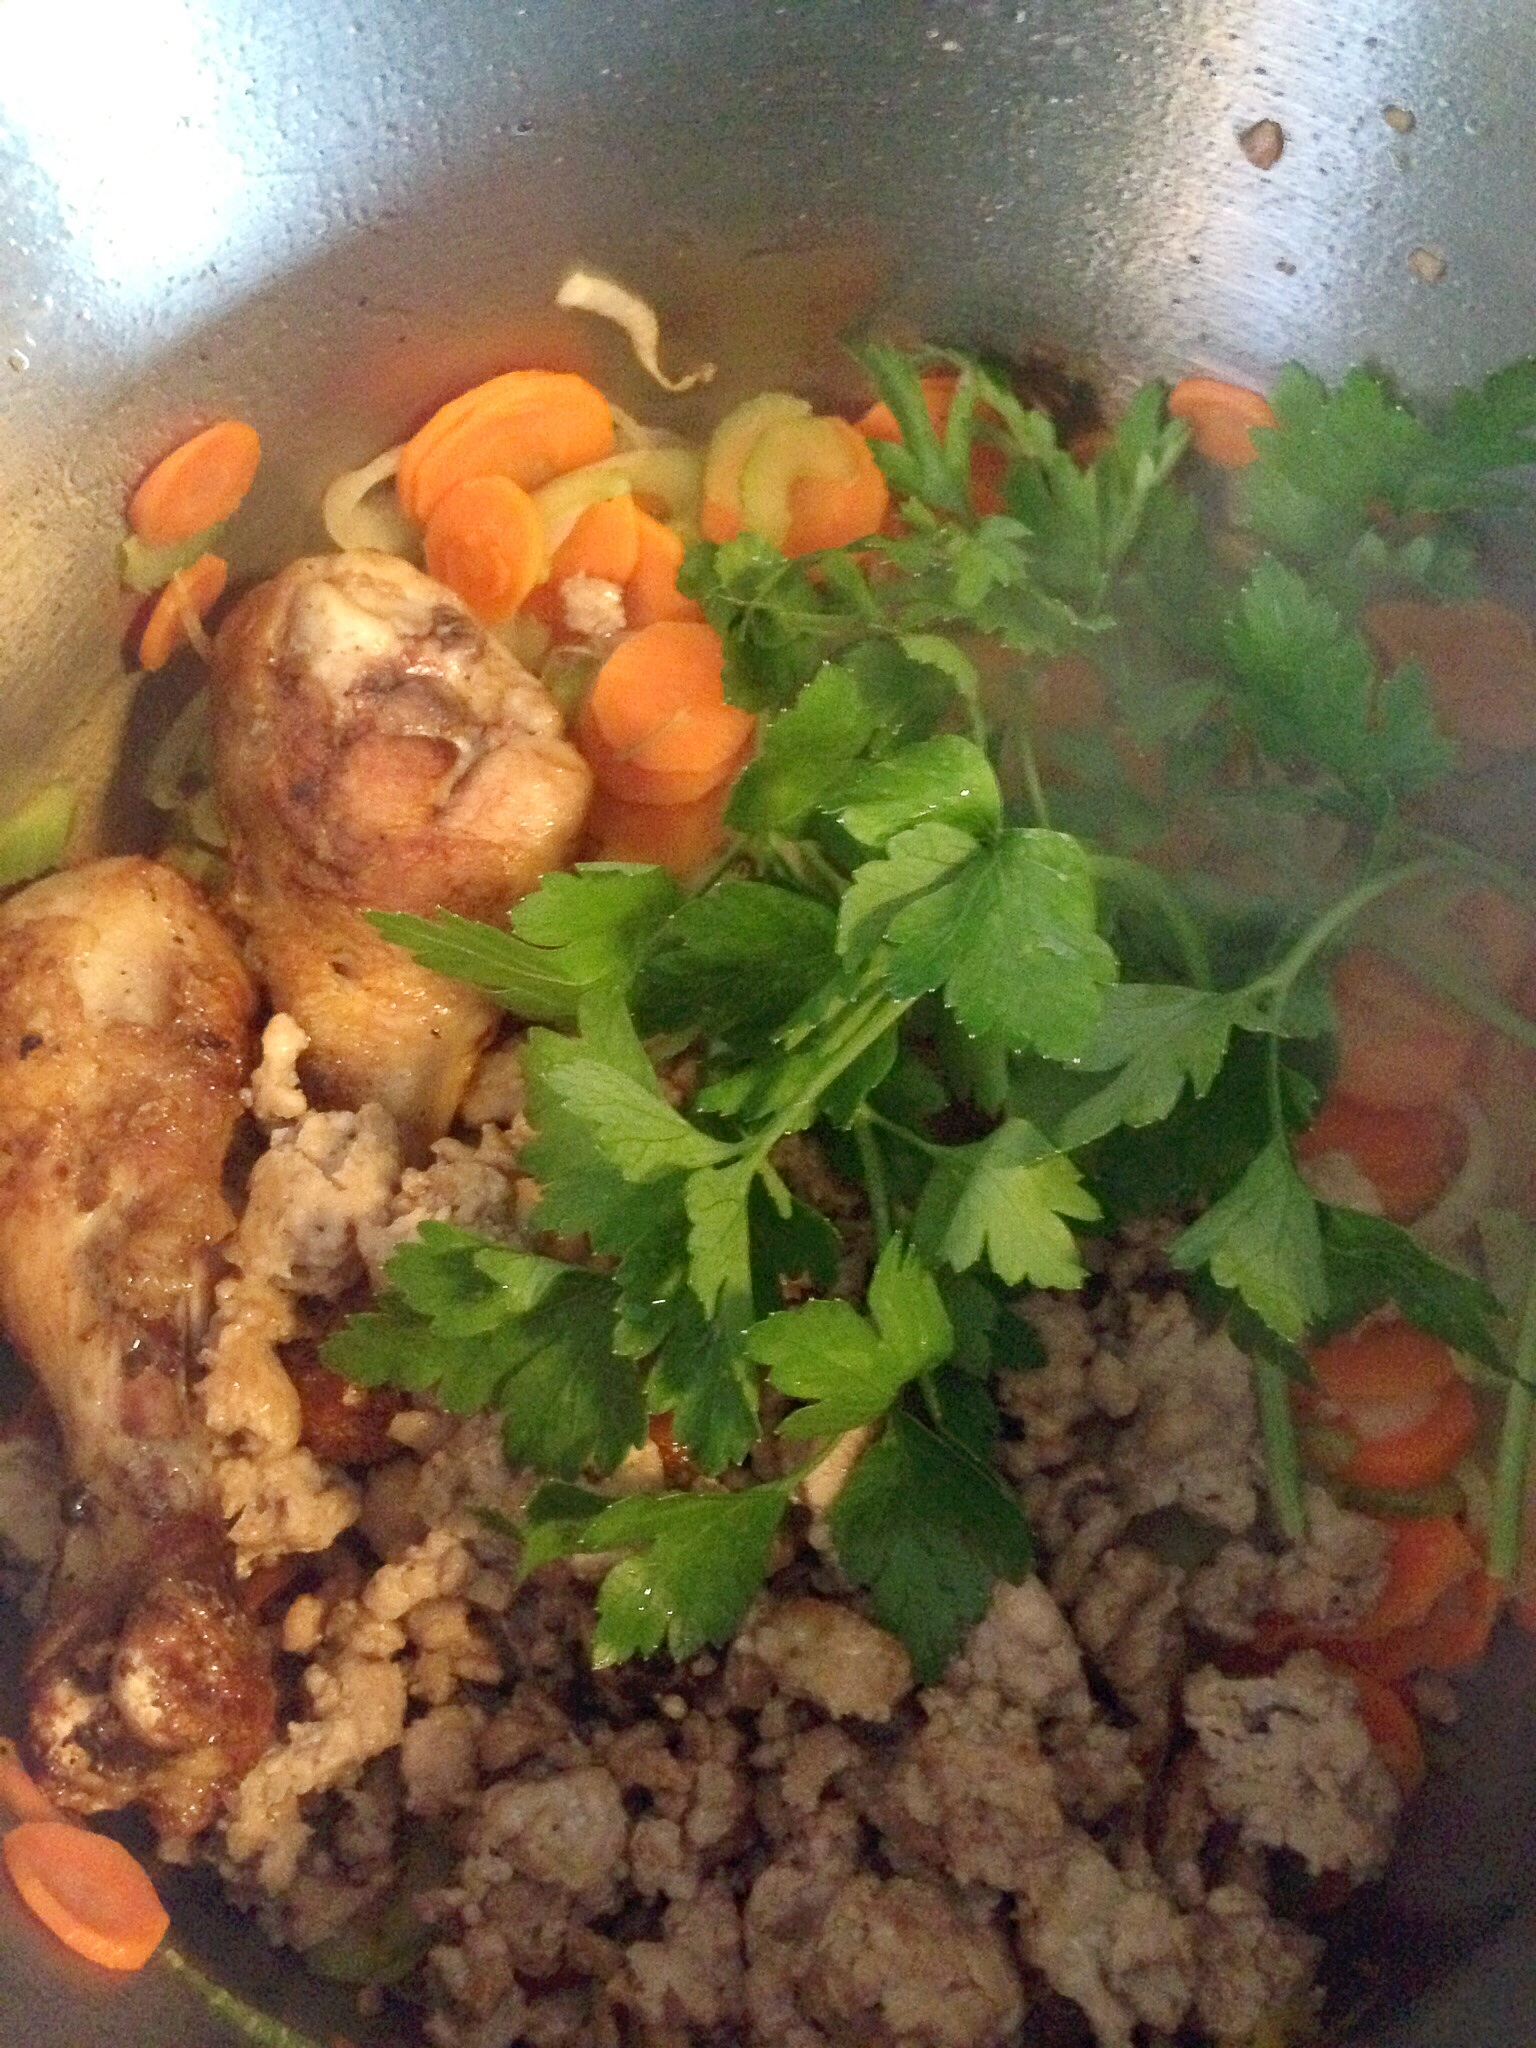 Add cold water,
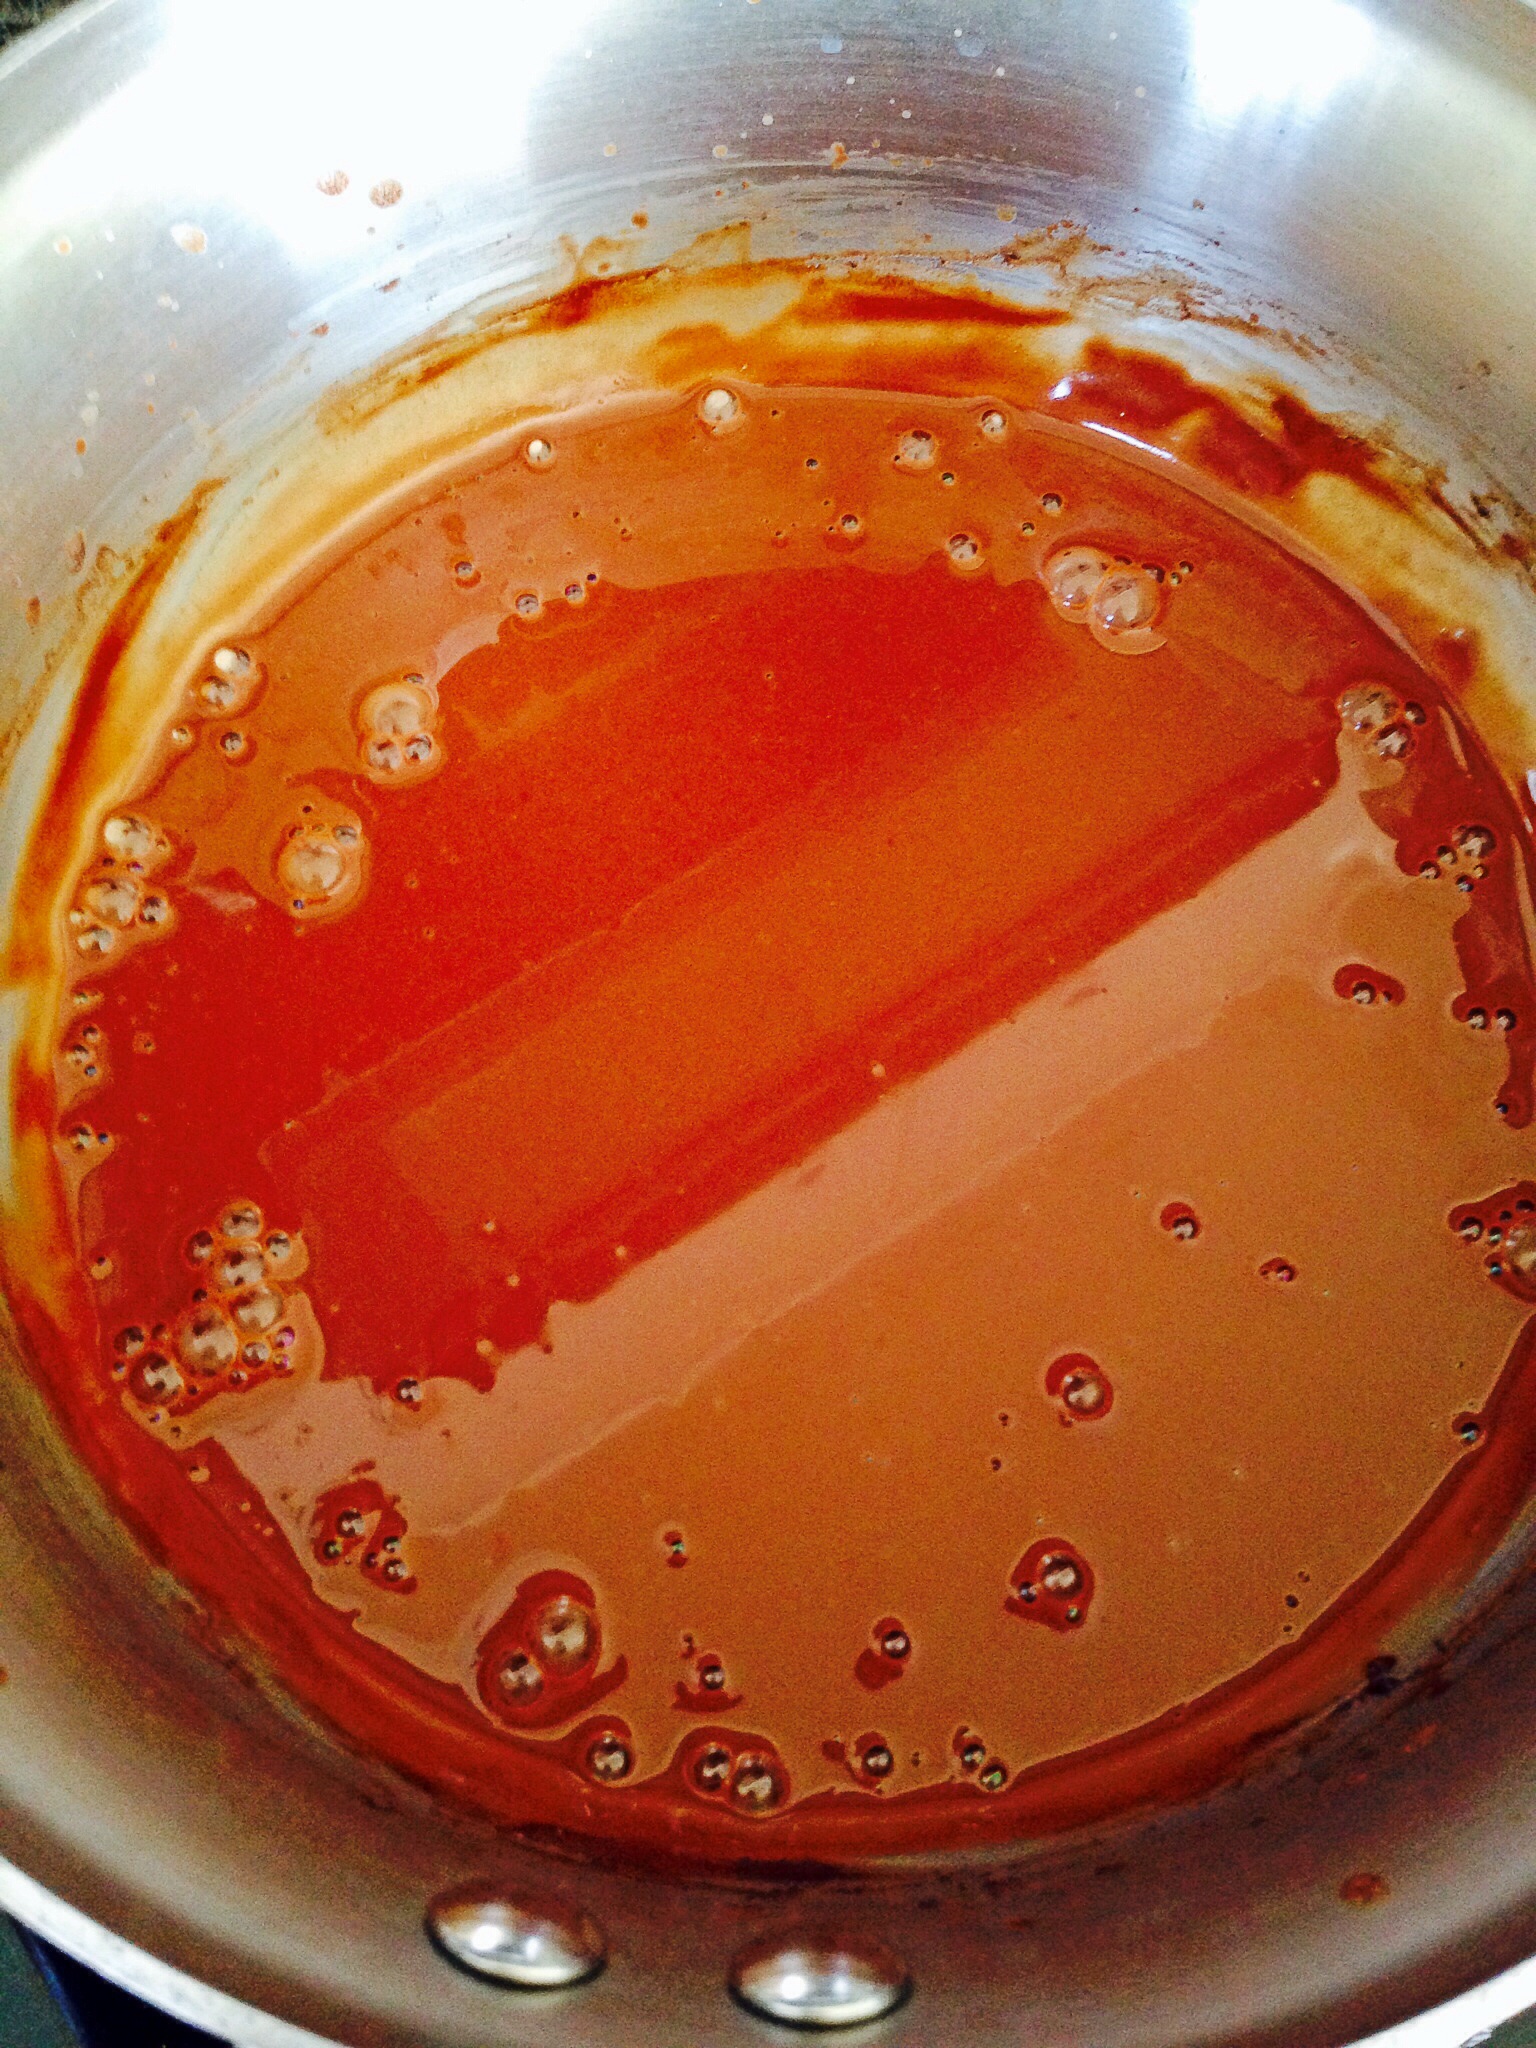
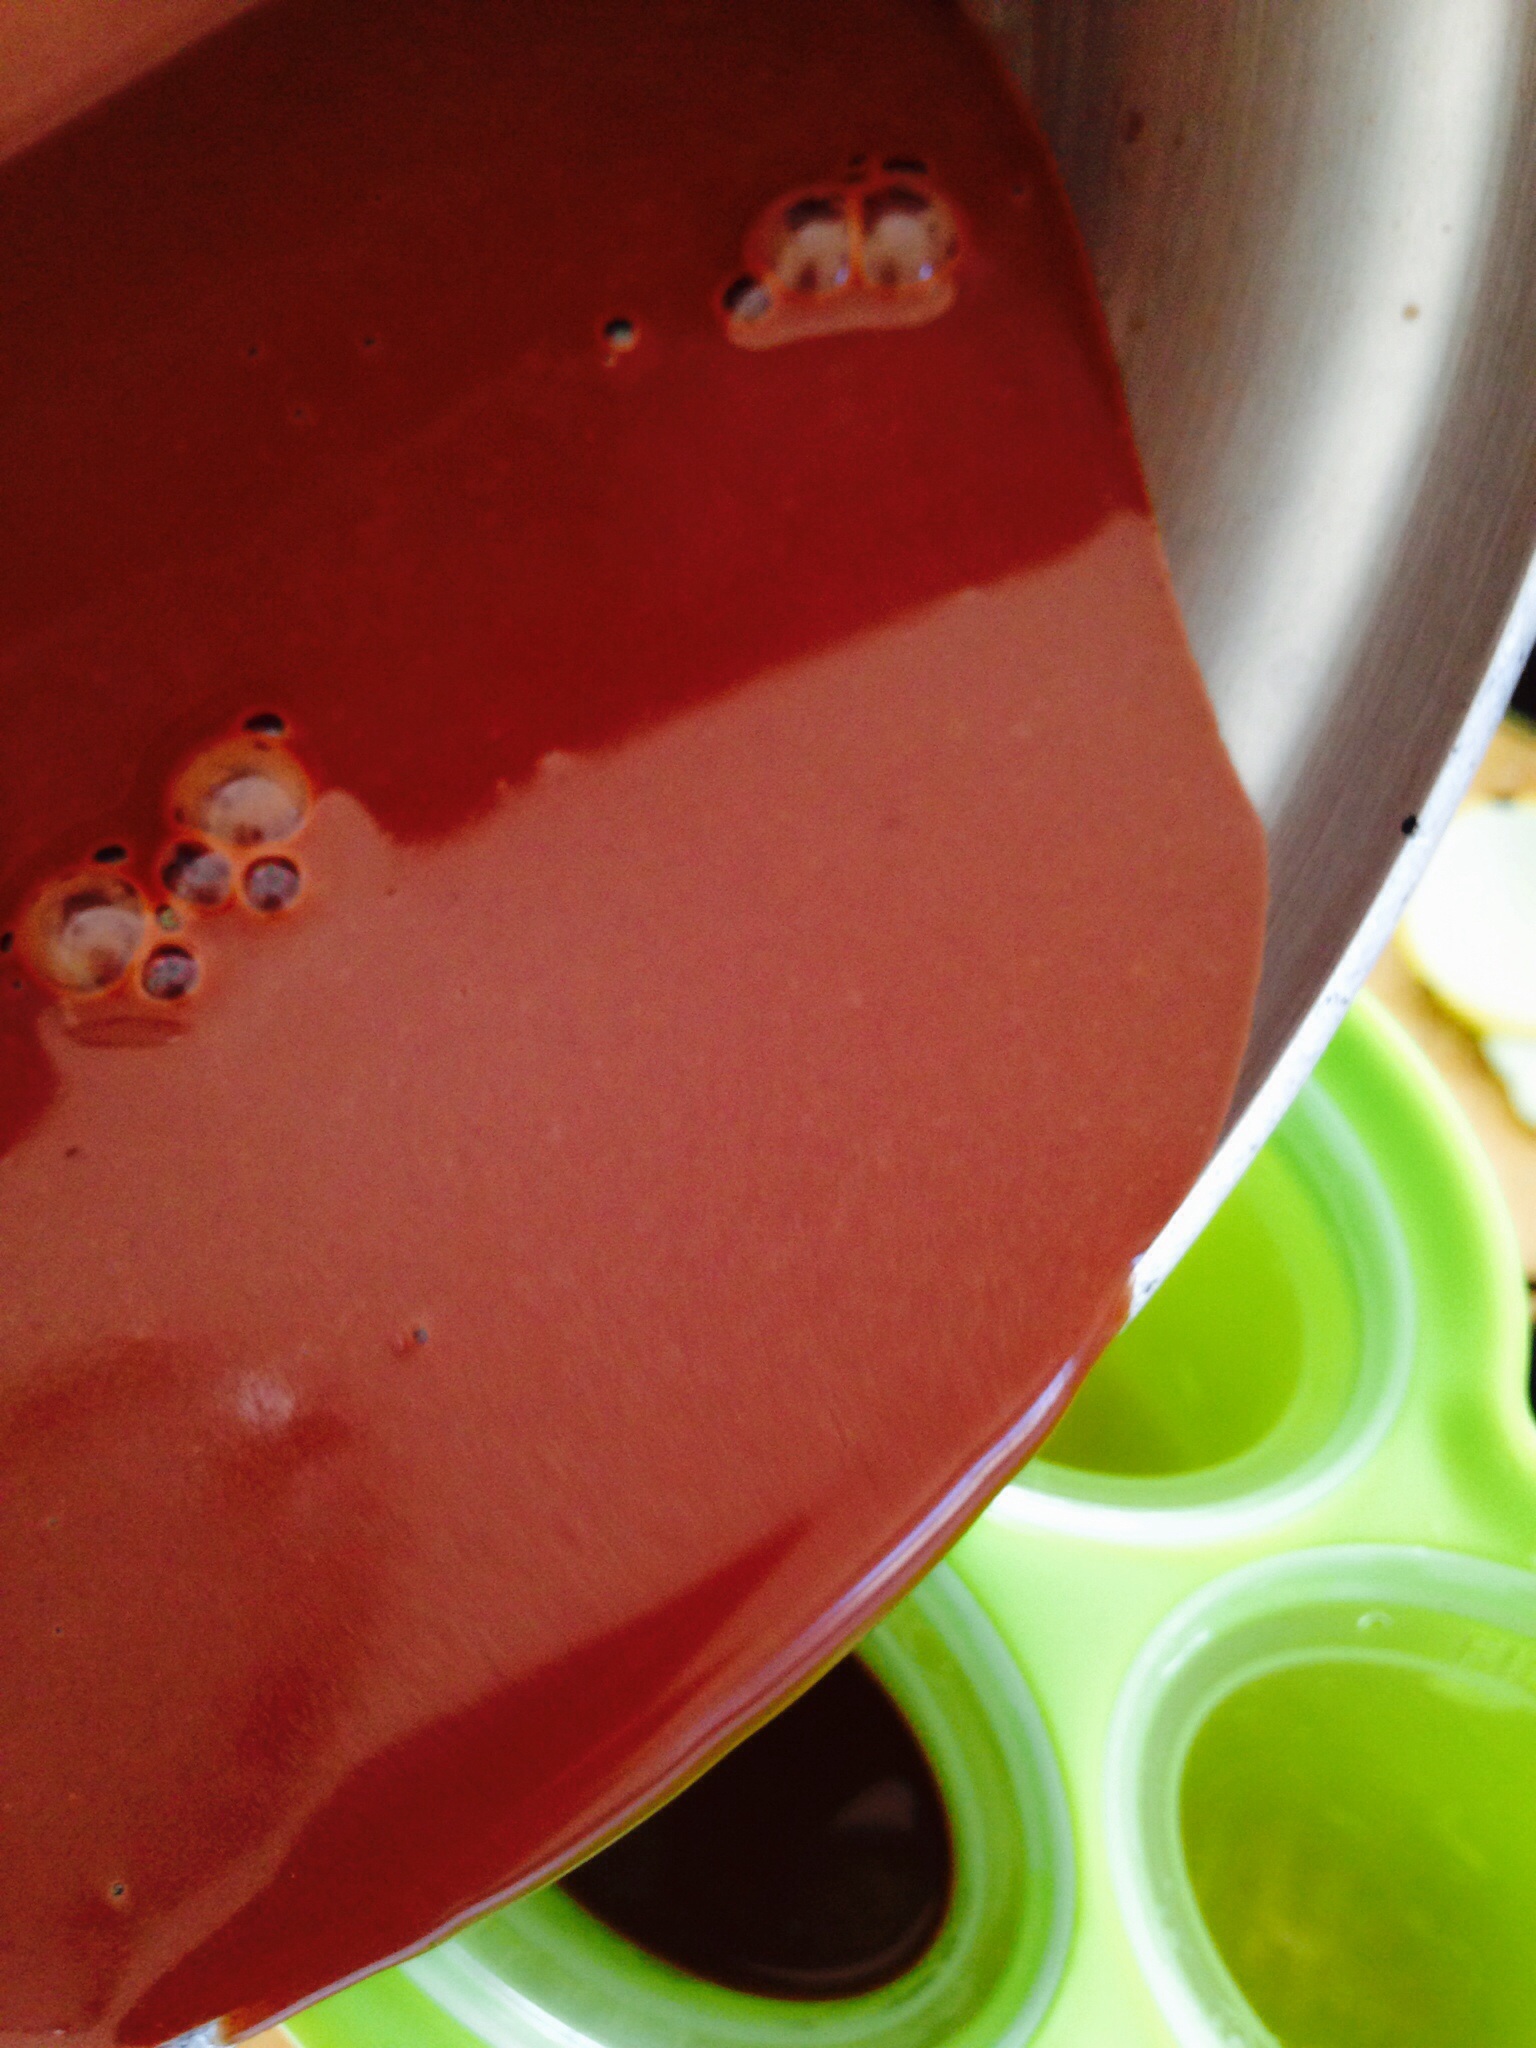
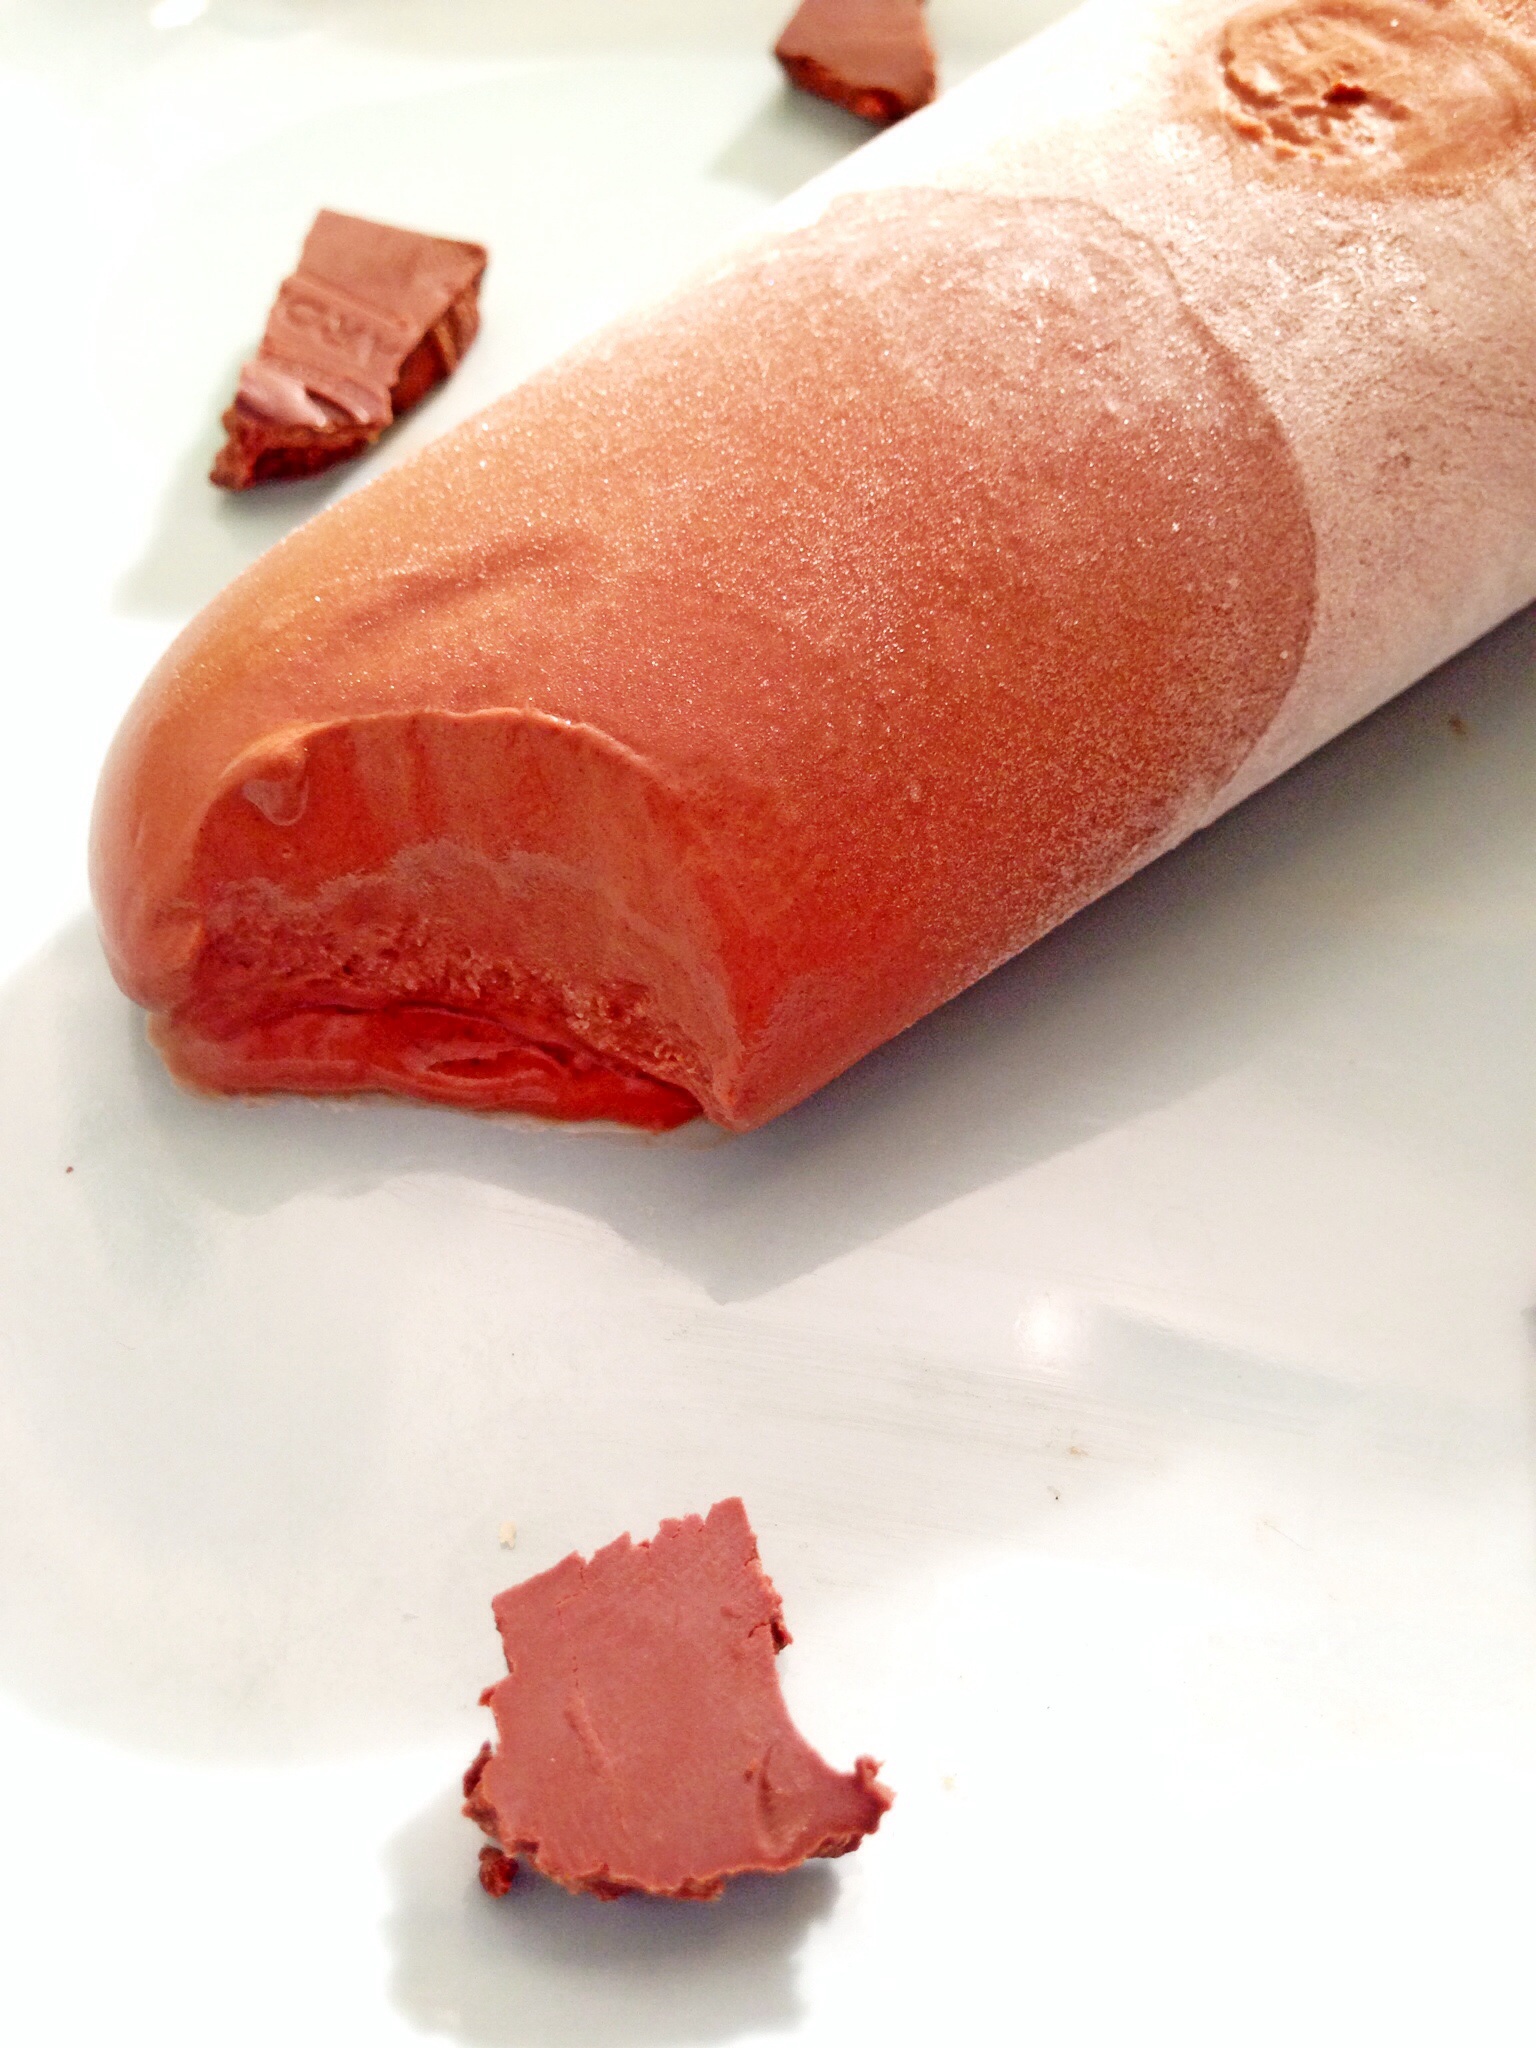
  Place the lid on the pressure cooker, lock it and bring the cooker to full pressure without venting–you should not see steam coming out of the top, if you do, the pressure cooker is over-pressurized, lower the heat, and cook for 2 hours undisturbed. At the 2 hour mark remove from heat and depressurize your cooker based upon manufacturers instructions. Allow the stock to cool, then pour the stock through a sieve. Let cool further, then skim off the fat, before pouring into an airtight container and storing it. You can freeze this, if you are not planning to use it right away. Now, what do you do with all of the meat that’s left. The book says that if you have done your job correctly, and extracted every ounce of flavor from this meat, then to toss it. My dogs whines and dopey eyes persuaded me in a different direction;-)