How to make Onion Powder–DIY Onion Powder

DIY Onion Powder--How to make Onion Powder

DIY Onion Powder–How to make Onion Powder

Recently I was chatting with some professional chefs online one of them was talking about using dried powders like garlic and onion in a recipe that he was playing with.  He wanted to know where he could find better quality powders.  The discussion quickly went from people being helpful, to people questioning whether any chef of good standing would ever use a dried product versus a fresh product. One person in particular, said absolutely not!  Others, said of course and then went on to make a case for when dried spices are needed, and in those cases how using dry spices make the dish better.  The discussion got me thinking about how often I use dried spices, and what dry ingredients I use.  The truth is that I am one of those cooks, who relies heavily on fresh ingredients.  The produce bin in my refrigerator is always stocked with, fresh thyme, parsley, mint, cilantro, basil, and whatever other herb is in season–ALWAYS.  I can’t imagine cooking without the use of fresh herbs.  At the same time, my cupboards are stocked with the dried version of all the fresh herbs that I just mentioned, and many, many other dry spices, like garlic powder, cumin, tarragon, onion powder…the list could literally fill this page!  If you’ve been following my blog, then you know that I make many of my own spices.   When the person in that forum asked about sourcing onion powder, my immediate thought was, why not just make it? So I did.  It’s a simple process, but the onion powder that you get from this process is the best that you will probably ever taste–or smell–the smell had me salivating–this is the stuff that great onion dips, and soups are built from!

Pin It!


Prep time: 10 minutes

Cook time: 6-8 hours–

Ingredients:

2 large onions sliced thinly

Directions: Evenly spread the sliced onions on a dehydrator sheet.

image

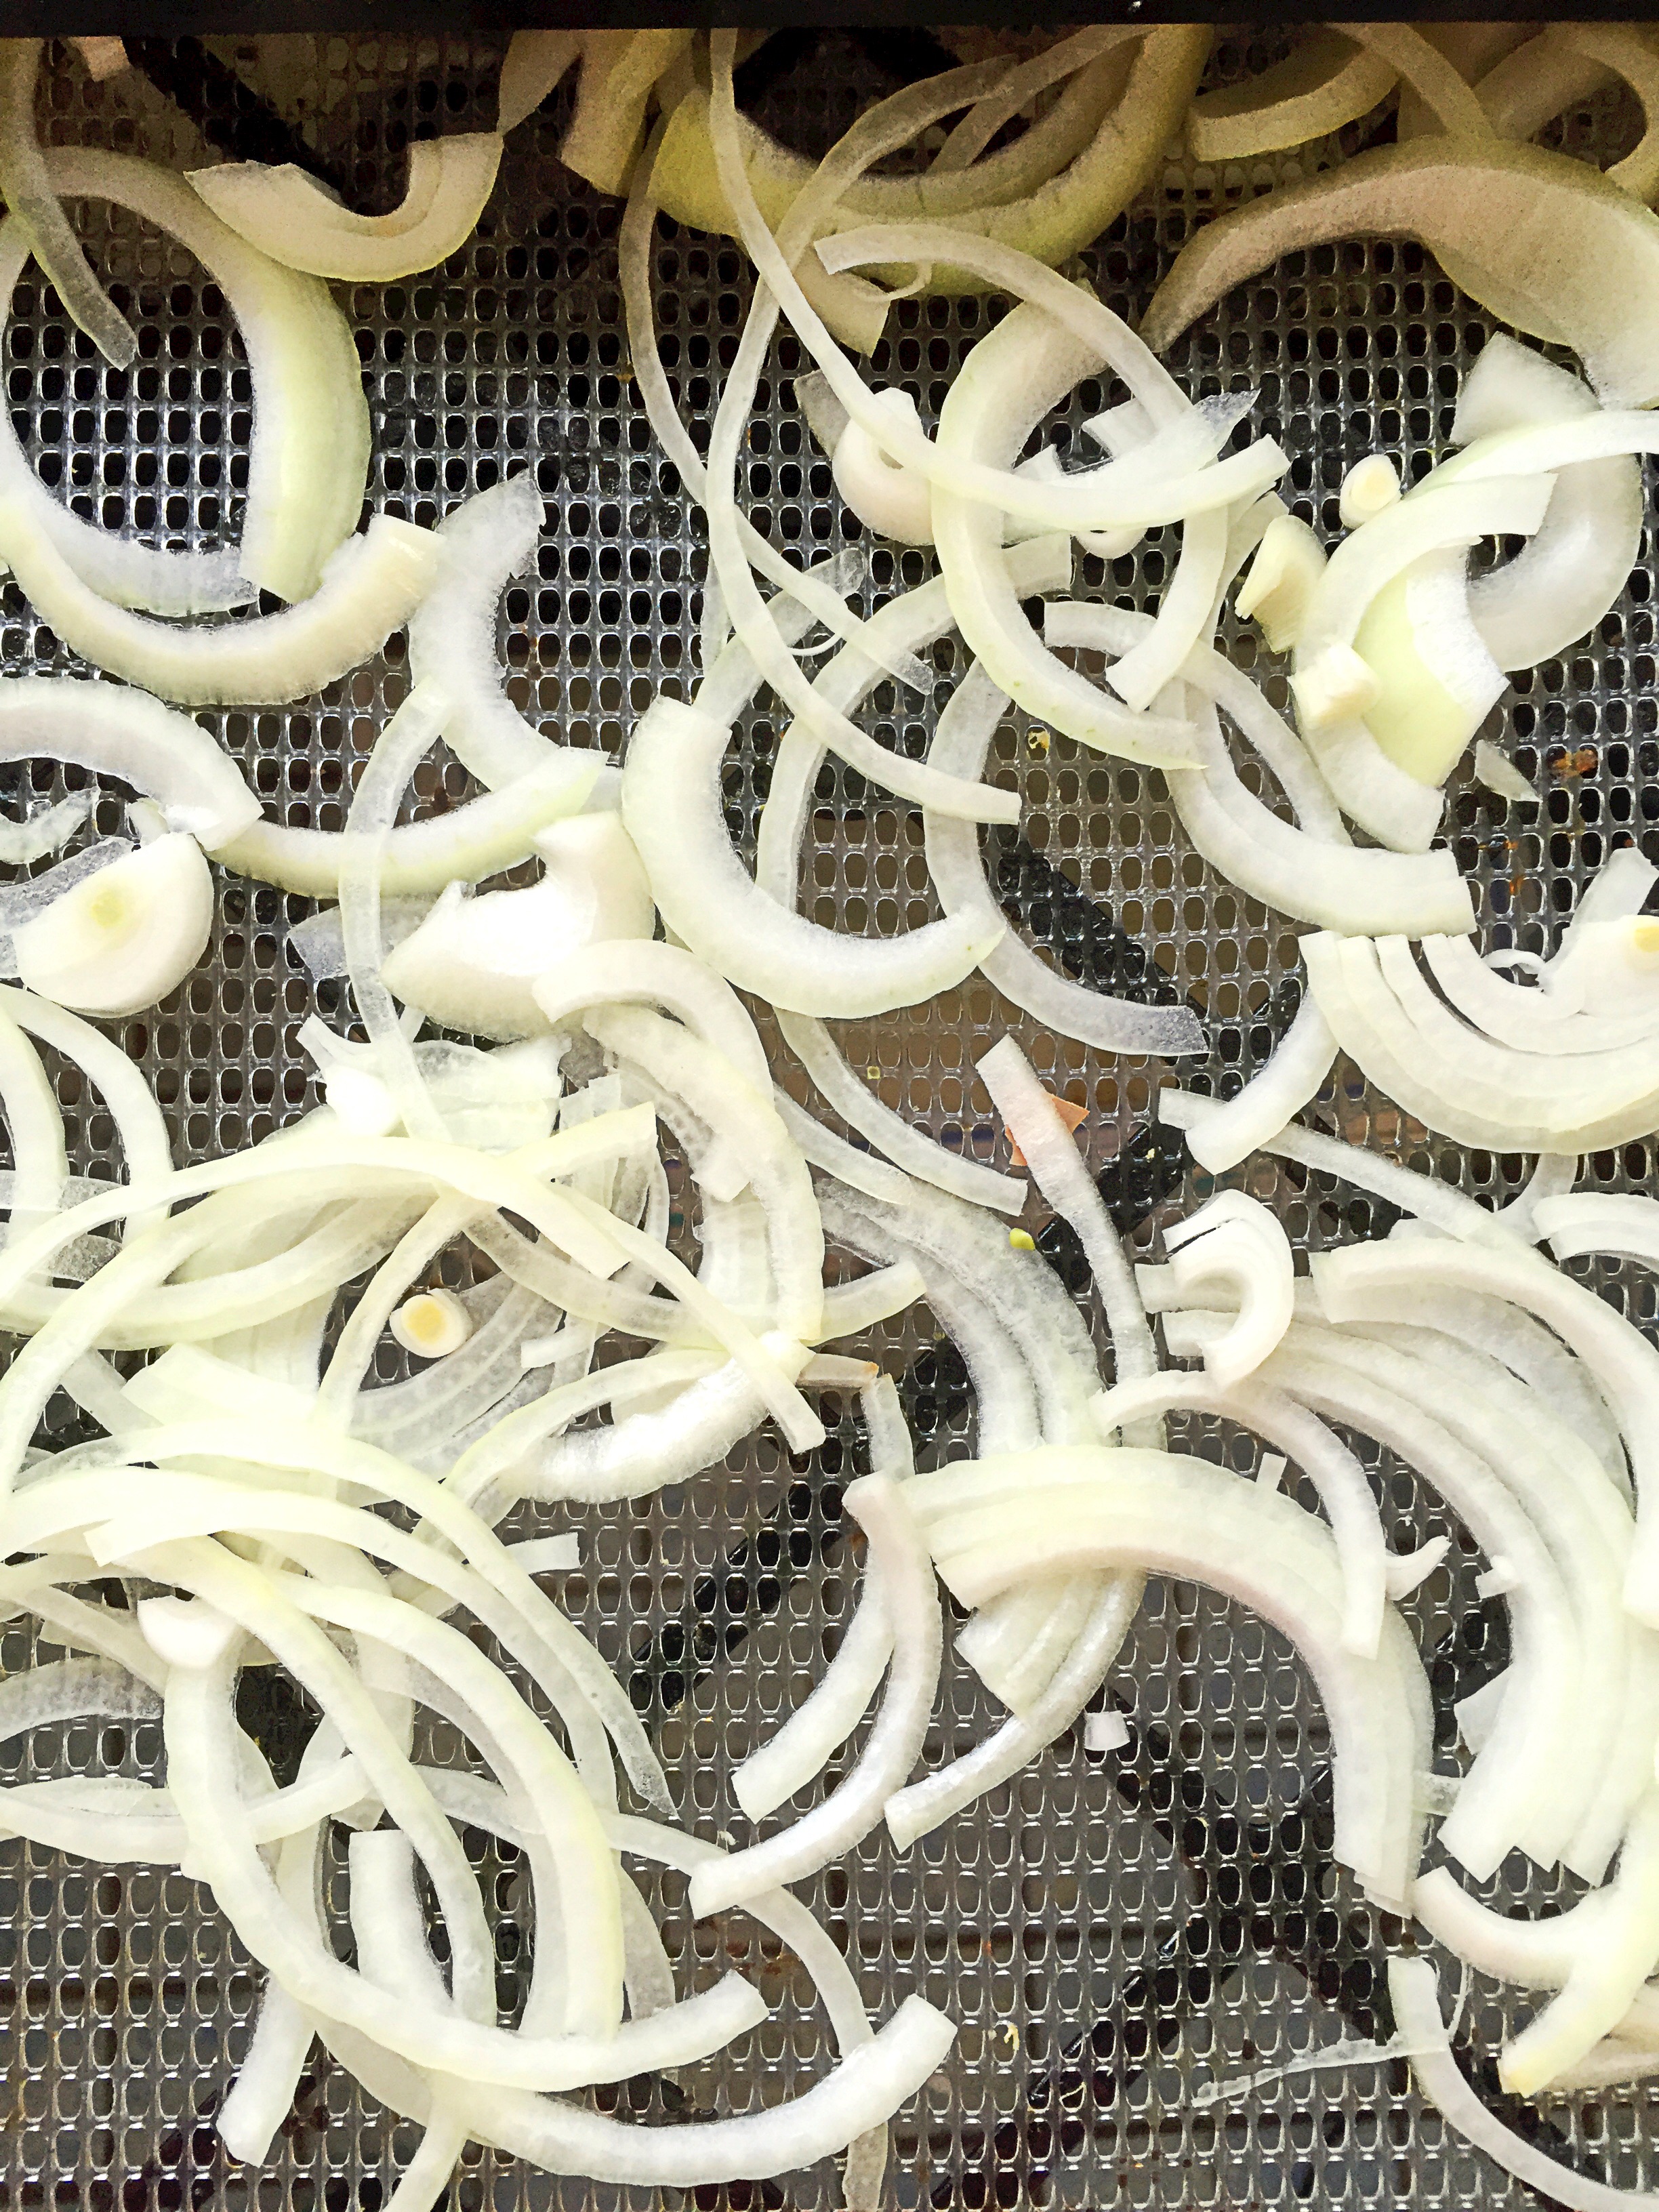
If using an oven, place the onions on a parchment lined bake sheet. Set the temperature on your dehydrator to 125F.  If using an oven, set it to the lowest possible setting 150F.  Let the onions dehydrate until brittle, then remove and let cool.

image

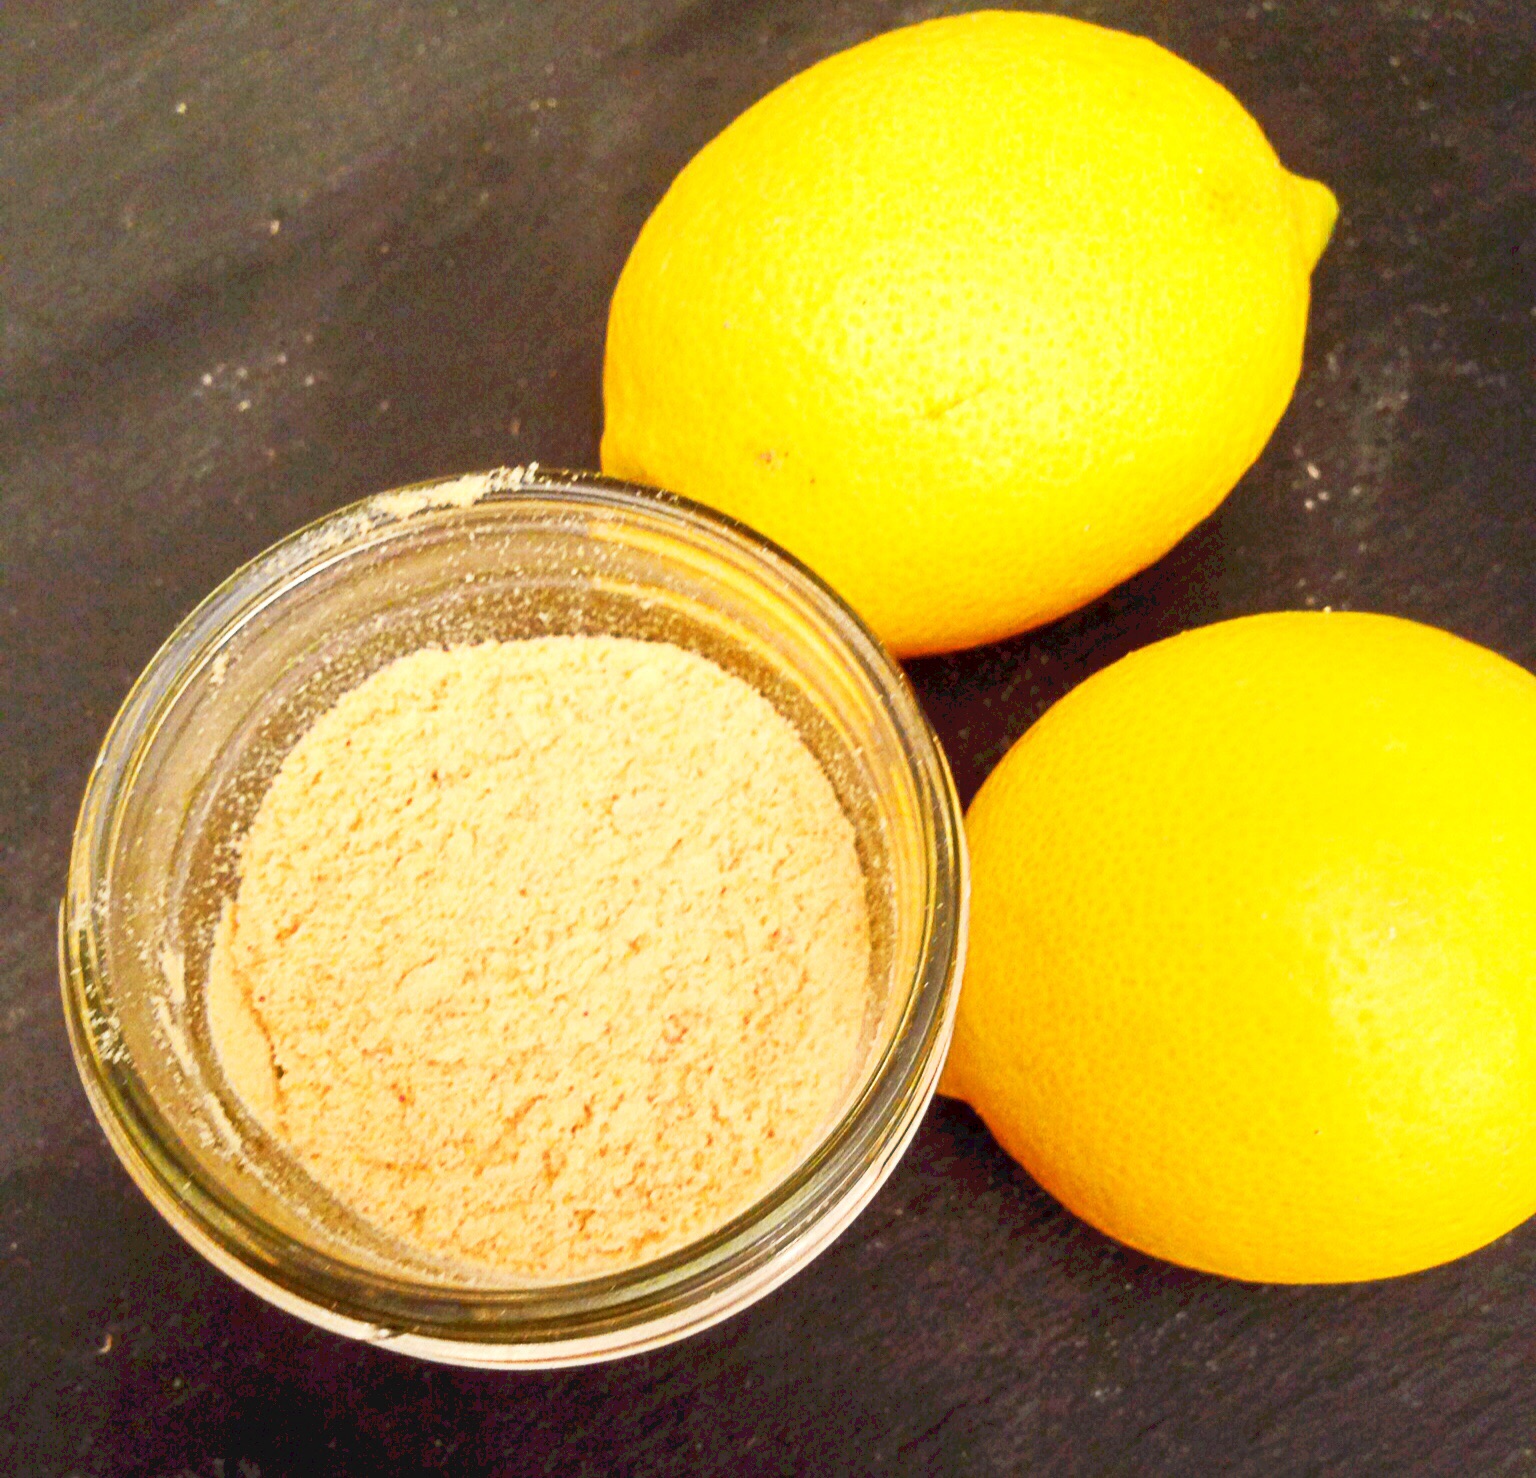
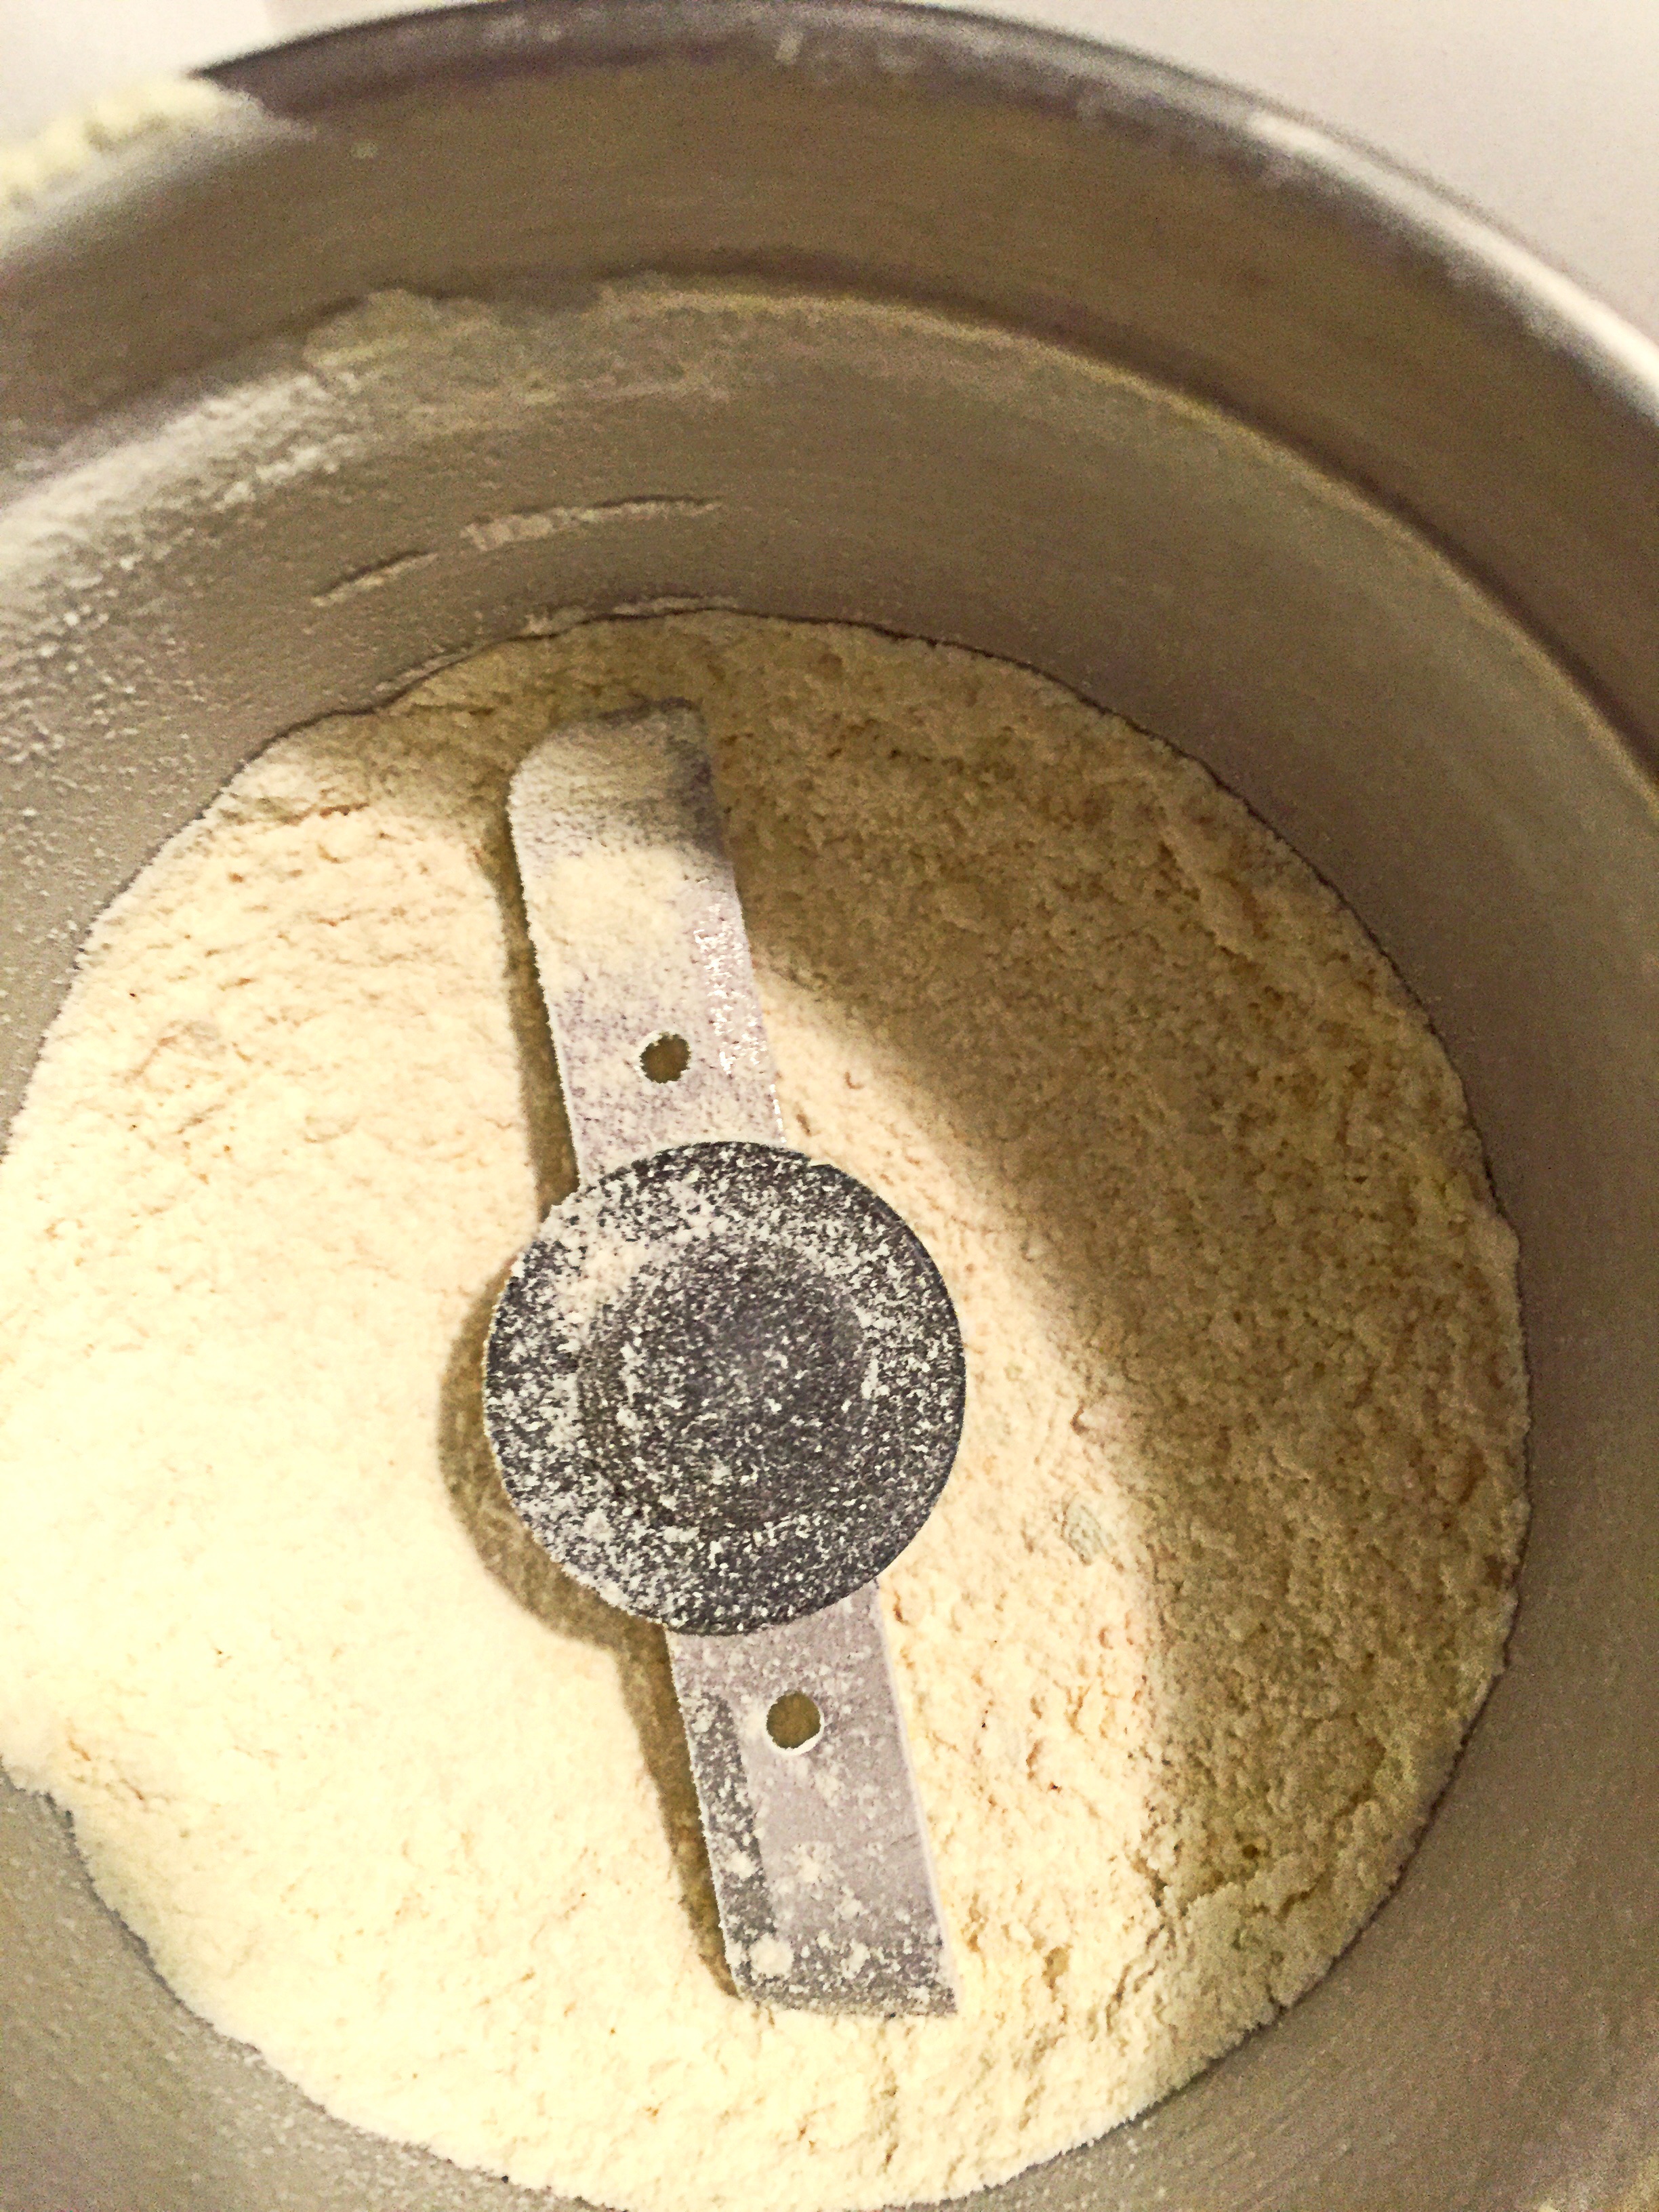
Once the onions have cooled, place them in a spice grinder/coffee grinder and blend into a powder.  Stop here if you want onion flakes,

image


image

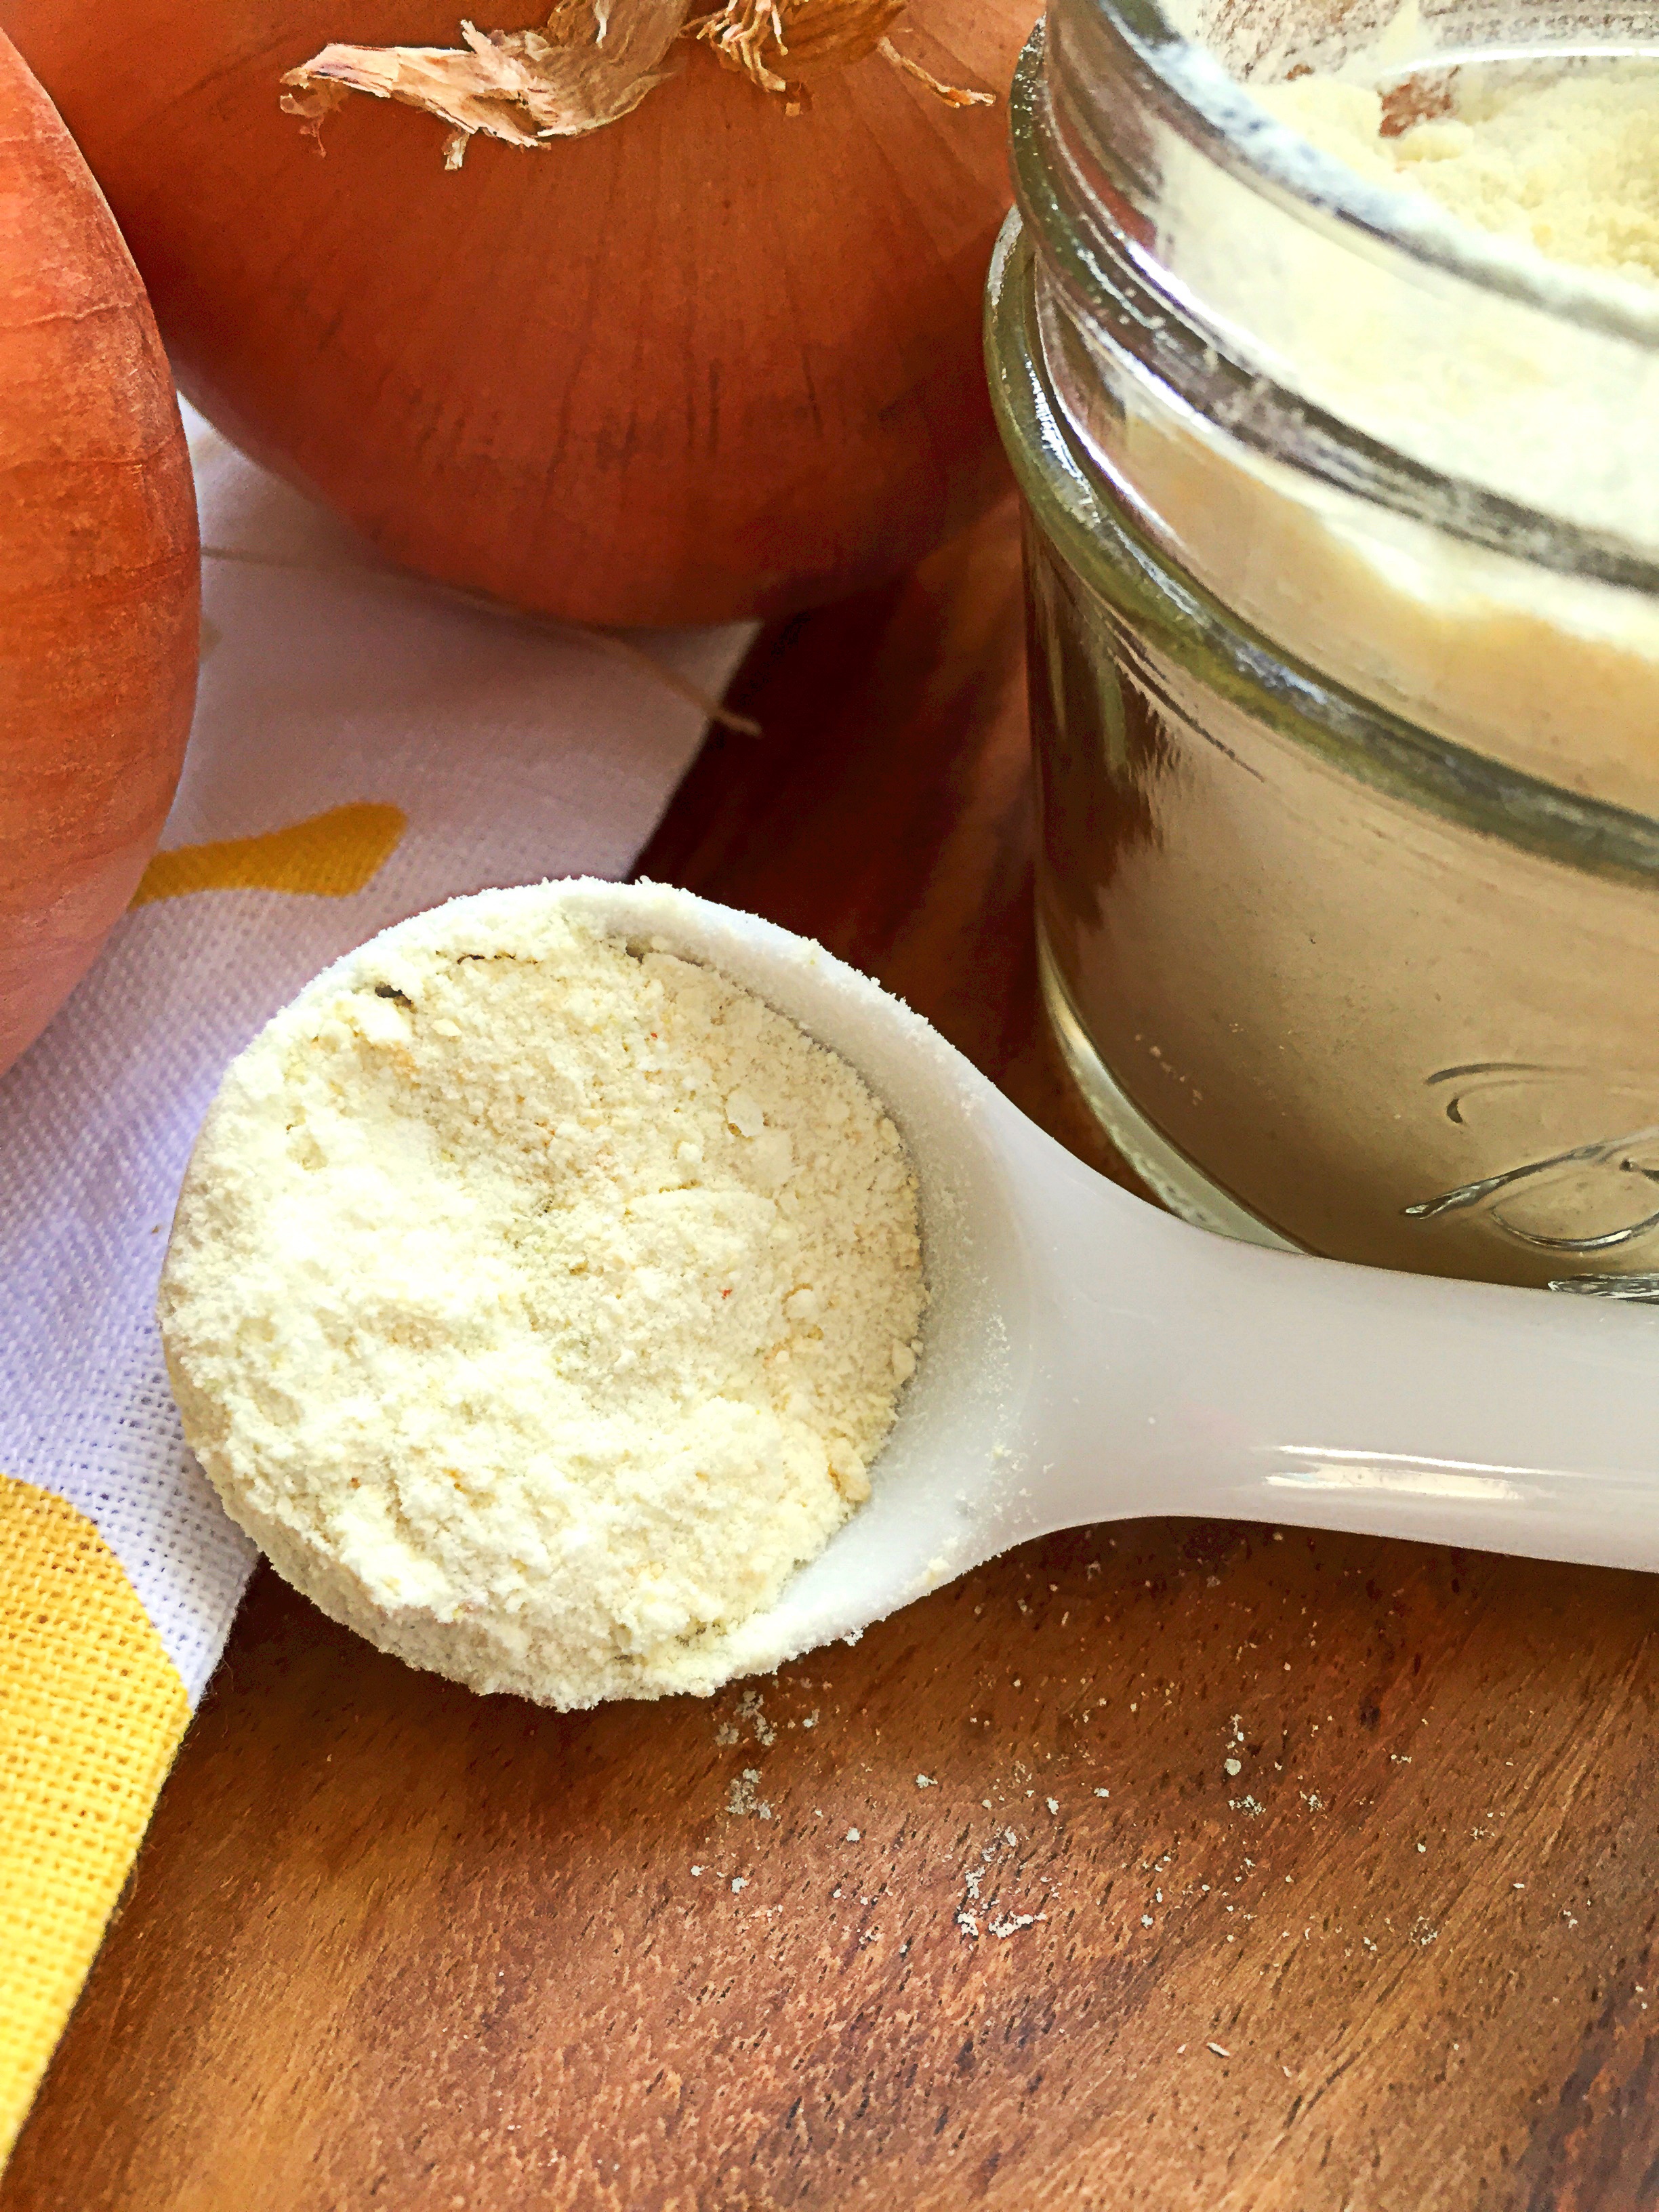
Transfer to an airtight container until ready to use.


image


Roasted Cabbage Wedges with Cider Herb Vinaigrette

Roasted Cabbage Wedges with Cider Herb Vinaigrette

Roasted Cabbage Wedges with Cider Herb Vinaigrette

One of my favorite winter vegetables is cabbage.  I love it in a hearty soup, braised in a crock on the stove, or roasted in the oven. Cabbage seems to be one of those vegetables for me that not matter how I cook it, it’s comforting in every way! This recipe is a favorite of mine, the roasted cabbage alone is awesome, but the vinaigrette really takes it to another level!

Pin It!


Prep time: 5 minutes

Cook time: 15 minutes


Ingredients:

1 small head of cabbage quartered with core intact, so it doesn’t fall apart

3-4 tablespoons of oil

4 cloves of garlic sliced thinly

sea salt and black pepper to taste

Vinaigrette

2 tablespoons of Apple cider vinegar

1 tablespoon of mustard oil

1 tablespoon of finely chopped cilantro

sea salt to taste


Directions: Add the ingredients for the vinaigrette to a bowl, mix well and set aside.

image

Pre-heat the oven to 425F.

image

Add the cabbage to a foil lined bake sheet, then drizzle with oil  and season with sea salt and black pepper on both sides. Lastly top with sliced garlic, and place in the oven.

image

Cook  for 10-15 and cabbage takes on some color.  Remove from oven, drizzle each wedge with some of the vinaigrette, serve and enjoy!


image

image

If you like this recipe check out my recipes for Indian Spiced Cabbage and Ground Chicken and Cabbage Curry!

Follow and Like me on Facebook: http://www.facebook.com/lazygirldinners


DIY BBQ Rub–Lazy Girl All Purpose Barbecue Seasoning

Lazy Girl BBQ Spice Rub

Lazy Girl BBQ Spice Rub

By now you know that I love to make my own dry rubs and seasonings. I am a particular fan of the Trader Joe’s brand BBQ rub, but it’s not organic, and it contains sugar.  So of course I had to make my own version–without the sugar. I find that most things that call for sugar, either need less than the recipe calls for, or  don’t need it at all.  If you want to add sugar to this, then by all means add it, 1 teaspoon of maple sugar won’t kill you, but it really isn’t necessary for this recipe, this seasoning is fantastic all own its own. Also a bit of spice is nice in the recipe but I have made it optional.  My daughter isn’t a fan of spicy foods, so I often leave the spice as a later addition for the grown ups.  This truly is an all purpose seasoning, it taste great on chicken, pork, tofu, or steak.

Pin It!


Prep time: 5 minutes

Cook time: none

Ingredients:

2 teaspoons of smoked paprika

1 teaspoon of onion flakes (can sub onion powder)

1 teaspoon of satsuma powder (can sub 2 teaspoons of orange zest)

1 teaspoon of cumin

1 teaspoon of ground coffee

1 teaspoon of himilayan sea salt

1/2 teaspoon of red pepper flakes (optional)


Directions: Add all ingredients to a small bowl,

image

Mix well:

imageTransfer to an air tight container until ready to use:

image


This is such a great seasoning, and it’s not just something to use on grilled meats.  I used it to make oven roasted barbecue chicken the other night, and it was a huge hit!


image


Follow and like me on Facebook:  www.facebook.com/lazygirldinners

Oven-Roasted Broccolini with Lemon-Garlic Parmesan


Oven Roasted Broccolini with Lemon-garlic Parmesan

Oven Roasted Broccolini with Lemon-garlic Parmesan


Going to the Farmer’s market on Sunday has become routine for my family.  My daughter gets excited about going and so do I.  I never know what my weekly meal plan will include until after I’ve forged my way through the market.  This week the pickings were slim.  I don’t know if was just extremely busy before we got to the farmer’s market, or if the farmer’s just didn’t have much to share.  Either way, I left with only two produce items–broccolini and strawberries.  Not my usual bountiful assortment.  I had no idea how I was going to prepare the broccolini, and decided just before cooking it, to roast it and top it with the lemon-garlic parmesan mixture.  The flavors sounded like they would pair well to me, so I took an chance, and I’m so glad I did.  Beside’s my Roasted Broccoli with Garlic–this is new favorite way to prepare broccoli. For my Paleo, Vegan, and Whole 30 friends leave out the cheese, this is still great without it–the lemon really makes this broccolini sing!

Pin It!


Prep time: 5 minutes

Cook time: 10-15 minutes

Ingredients:

1lb of organic broccolini (can sub broccoli)

1/2 cup of freshly grated parmesan cheese

1/2 teaspoon of lemon powder (can sub 1 teaspoon of lemon zest)

3 cloves of garlic, minced

2 Tablespoons of oil plus an additional 2 teaspoons

sea salt to taste

Directions: Pre-heat the oven to 450F.  To a small bowl add parmesan, garlic, and 2 teaspoons of oil,

image

mix well and set aside.

image

Line a bake sheet with foil, add the broccolini, 2 tablespoons of oil, and sea salt and toss well.

image

Place in the oven for 10 minutes.  At the 10 minute mark, remove the sheet pan from the oven, and top with the lemon-garlic parmesan mixture.

image

Return the pan to the oven and cook for an additional 3-5 minutes or until the parmesan browns, remove from oven, serve and enjoy!

image


If you like this recipe you might like my recipe for Roasted Brussel Sprouts with Parmesan, Lemon and red pepper flakes, or my recipe Parmesan Chicken with Roasted Romaine.

Follow and Like me on Facebook:  www.facebook.com/lazygirldinners


Curry Spiced Crab Cakes with Raita

Curry Crab Cakes

Curry Crab Cakes

We have been chugging along here, still trying to help Page adjust to being in school and away from me. Friday was hard, as soon as we pulled up to her school she began to cry. It was so hard to leave her, she was crying and begging me not to–this parenting gig is hard! Despite the hard drop off, she did much better through out the day, than she had the day before…baby steps.  In other more happy news, we got a new refrigerator! We settled on a Kenmore Elite LG Grab-N-Go and we could not be more happy. Our old refrigerator was 20 years old, so we could have gotten away with getting something much less expensive and it still would have been an upgrade for us.  The Grab-n-go feature is great, but what really sold me on this refrigerator was the airtight compartment it has. I’ve had a bundle of kale in the airtight compartment for 2 weeks, it is still as fresh, and crisp as the day I bought it.  It would have been trashed in my old refrigerator.   Now on to the crab cakes. I love crab cakes, and I love crab curry.  so why not combine the two? I topped these with raita,  but these are equally as delicious all on their own alone.

Pin It!

Prep time: 10 minutes

Cook time: 10 minutes

Ingredients:

8 ounces lump crab meat

1 egg

2-3 tablespoons coconut flour

1/4 teaspoon lime powder (or zest)

3 tablespoons of finely chopped cilantro

2 teaspoons of curry powder

1/4 cup of onion, finely chopped

1 large garlic clove minced

1 tablespoon of lime juice

2 tablespoons of oil, I used olive

2-3 Tablespoons of butter or ghee for frying crab cakes

Sea salt to taste

Recipe for Raita

1/2 cup of full fat organic yogurt

1/4 cup of chopped tomatoes

1/4 cup of chopped cucumber

3 tablespoons of finely chopped red onion

3 tablespoons of cilantro, finely chopped

sea salt to taste

Directions for raita :  Combine all ingredients in a bowl and refrigerate until ready to use.

Directions for crab cakes: Heat oil in a saute pan, add in onion garlic and curry seasoning, cook for 2-5 minutes or onions turn translucent.

image

Transfer onion curry mixture to a bowl to cool ( 5 minutes).

image

Add in crab meat, cilantro, egg, lime zest and coconut flour and combine well.

image

Once crab mixture has come together form patties for frying.  Heat the butter or ghee in a skillet, add crab patties and fry until golden brown on both sides, about 4 minutes on each side.

image

Remove from heat and enjoy!

imageIf you like this recipe you may like my other crab recipes:  crab cakes, crab fried rice,  steamed crab recipe or crab taco’s.

Green Bean Chicken

Green beans with Chicken

Green beans with Chicken

We are having a rough week here. Page is finding adjusting to school harder than any of us had hoped. She was fine initially, but has had a delayed reaction to being separated from me.  Yesterday was an especially hard day for us all.  She cried all day at school, and when I picked her up from school my heart just broke.  She looked like she had been crying all day, and the way she fell into my arms…let’s just say that I was reduced to one giant puddle! Needless to say, I never got around to posting my blog yesterday.

A few weeks ago we were out running the last of our Christmas errands, and stopped to eat a Chinese restaurant.  As we browsed the menu, I asked Page what she wanted to eat.  She quickly removed the menu from my hands, took a few seconds and said “I want the green beans mom!”  With her tiny finger she pointed to a picture of a plate of glimmering green beans and said ” I want this one!” Under normal circumstances I would ignore her, and get her what I think she might eat, but she was so confident in her choice that I ordered the green bean chicken for us to share. I’m so glad I did!  I don’t know who enjoyed the dish more, me or Page.  The beans were crisp and fresh, and Page devoured almost all of them!  The moment I tasted this dish, I knew that I had to try to recreate it at home.

Pin It!

Prep time: 10 minutes

Cook time: 15 minutes

Ingredients:

1 pound of fresh  organic green beans, ends trimmed

1 tablespoon of garlic paste

1 teaspoon of ginger paste

2 tablespoons of soy sauce

3 tablespoons of rice vinegar

1 chicken breast. cubed

sea salt to taste

Directions: Heat the oil, garlic and ginger paste in a saute pan just until the garlic and ginger become fragrant (about 30 seconds).

image

Season the chicken with sea salt and add it to the hot pan.  Toss well, and allow the chicken to cook through about (5-7 minutes).

image

Once chicken has cooked through, add in the soy sauce, rice vinegar and green beans.

image

Cook for an additional 5-7 minutes–the green beans should still be crisp, remove from heat, serve and enjoy!

image

Oven Roasted Sweet Potatoes with Rosemary

Oven Roasted Sweet Potatoes With Rosemary

Oven Roasted Sweet Potatoes With Rosemary


Do you like sweet potatoes?  I love them!  My husband–not so much!  Enter this recipe and he is a convert!  I just love a recipe that can convert someone, don’t you? The best part of this recipe? Three ingredients AND it’s super easy!

Pin It!


Prep time: 5 minutes

Cook time: 20 minutes

Ingredients:

3 cups of cubed organic sweet potato

1 tablespoon of fresh or dried rosemary

2 tablespoons of coconut or olive oil

sea salt to taste

Directions: Pre-heat your oven to 425F.  In a large bowl toss together the sweet potato cubes, rosemary, sea salt, and oil–making sure that all of the potatoes get coated in oil.

image

Add the potatoes to a foil lined bake sheet and cook in the oven for 15-20 minutes or until potatoes take on some color.  Remove from the oven, serve and enjoy!

image

How to make Bone Broth- with Chicken Feet

How to Make Bone Broth

How to Make Bone Broth


Now that the Holiday’s are over, I’m getting back to my normal routine.  We had such a busy holiday season that I’m not sure what my normal routine was. The last week I’ve spent both nursing a cold and searching for a new refrigerator.  Our current refrigerator is on it’s final leg, and before it gives out completely we need to replace it.  I was in Whole Foods the other day in search of some chicken backs in order to make stock to nurse my cold and my daughters and of course they were clean out.  The butcher was ready with an alternative–chicken feet! He said that they had just gotten a big shipment in, because people had been requesting them in order to make bone broth to fight off the flu and cold that is going around.  With no other options to available to make my broth, I left the store with 2 pounds of chicken feet.   I’ve actually only ever seen chicken feet on live chicken’s and occasionally in a silver tin when I go out with my girl friends to have dim sum.  I can’t say that in either instance that they’ve been an appetizing sight! This instance provided no exception!  It took me a while to even convince myself that I could handle cooking them.  However, I pushed through the ick factor and managed, to make a delicious bone broth for us to consume.  Not surprisingly making stock with chicken feet provides a nutrient rich broth.  Chicken feet have a lot of bones, and when cooked slowly or under pressure you’re able to extract most of the nutrients from those bones.  Also at $2.00/pound this is the most economical way to make broth that I’ve come across.

Pin It!


Prep time: 10 minutes

Cook time: 1.5-2 hours


Ingredients:

1 lb of organic chicken feet

1 cup of carrots diced

1 cup of celery diced

1 large onion diced

2 tablespoons of grape seed oil

7 cups of water

sea salt and black pepper to taste

Directions: Heat the oil over medium heat. Add in chicken feet and allow to brown (7-10 minutes).  Add in carrots, celery, and onion and allow to cook an additional 4 minutes.  Add in water and seal in pressure cooker for 1.5-2 hours.

IMG_5692 (1)

If you’re doing this stove stop, cook for a minimum of 2 hours on medium low heat, and add additional water as stock boils down.  After stock has cooked for 2 hours remove from heat, let cool for 10-15 minutes, then strain, removing all solids before transferring to an airtight container. This makes about 4-5 cups of stock.

How to make Bone Broth

How to make Bone Broth

So tell me, have you ever cooked or eaten chicken feet?  Although I’ve seen them while having Dim Sum with my friends, I have never tried them.  I just can’t bring myself to do it–at least not so far!


Pan Seared Sous Vide Rib-eye Steak

Sous Vide Rib-eye Steak

Sous Vide Rib-eye Steak


I have really been enjoying my Anova Precision Cooker‘s. I expected my cooking to improve, but I never expected how much sous vide would change the way I cook.  This past Sunday I went to my local farmer’s market and Whole Foods and as I was plotting out what I would cook for the week, it struck me: I could cook everything that I needed to make for the week with my sous vide cooker in one day–that day–Sunday–in less than 2 hours–1.5 hours to be exact, of non active cook time!  Que the bells people, this thing is LIFE CHANGING!!!!! I don’t think I can cook any other way now.  Cooking sous vide is a lazy girls best friend! I’m 4 meals in and there is no turning back for me! Every meal is fresh, restaurant quality and quick to make.  If you’re in the market for a Christmas gift you might want to put an immersion circulator on your wish list–two words–LIFE CHANGING!!!  Now to this steak.  It was delish, the best steak I’ve eaten in some time!  It’s actually the first time that I’ve cooked a rib-eye inside on a stove top.  I always have my husband grill them.  As great as the steak was I would have liked it a bit more rare than it was.  But my husband likes them medium well, so if you happen to like it the way I do, then set the temperature on your circulator lower than 140F,  138F would probably work better.

Pin It!


Prep time: 5 minutes

Cook time: 1 and 22 minutes hours

Ingredients:

1 pound rib-eye steak

4-5 sprigs of fresh thyme

1 teaspoon butter

1 clove of garlic smashed

sea salt and black pepper

For pan searing

2 Tablespoons of butter

3 tablespoons of a high temperature oil like grape seed or safflower.

3-4 sprigs of thyme

Directions:  Fill a pot with enough water to come to cover the minimum level line on your circulator. Set your circulator to 140F and wait for it to bring the water to temperature.  Meanwhile season both sides of your steak with sea salt and black pepper.  Add the steak to a vacuum bag, top with butter, thyme and garlic.  Seal bag shut using your vacuum sealer or water displacement method.

image

Once the water has come to temperature add the sealed steak to the pot and cook for 1 hour and 22 minutes.

image

Once the steak has cooked for 1 and 22 minutes remove it from the water if you are ready to cook it right away, remove it from the bag and pat it dry and let it rest while you heat the oil in a skillet.  If you plan on cooking it later even if it’s only a few hours later place into an ice bath (1 cup of salt dissolved in 4 cups of  warm water, then add 2lbs of ice).  Let the steak sit for 1 hour in the ice bath before refrigerating.

image

When you’re ready to cook the steak.  Heat 3 tablespoons of oil in a cast iron skillet. Remove it from the bag, discard the thyme leaves and garlic.  Season the steak with a little more sea salt.

image

Once the oil is hot add the steak, brown it on both sides making sure to flip it constantly.  Add the 2 tablespoons of butter and allow it to melt.  Add in 3 sprigs of thyme and baste the steak with the oil in the pan. Making sure to focus on the areas of steak that have fat–you want to brown those parts.

image

Once the steak is nice and golden brown–about 5-6 minutes remove it from the pan, serve and enjoy–no need to rest a sous vide steak.

image

image


Five DIY Food Gifts For Under $5

Gourmet Popcorn -- Homemade gift giving

‘Tis the season for giving! I am one of those people who loves to give.  It makes my heart happy to give.  One of my favorite gifts to give as well as receive is food.  Unlike most gifts food is useful, so you don’t have to worry that your money will be wasted on a gift that will not get used.  If you make these you can avoid the chaos that is the mall, and spend a lovely stress free 20-30 minutes in an uncrowded grocery store.  Did I mention that you could skip going to the mall? Best of all, these gifts are delicious, but inexpensive, at about $5 per person or family they won’t break the bank.

Pin It!

Caramel Popcorn with Almonds and Coconut Flakes

This popcorn is AMAZING!!! Every time that I make it, the people lucky enough to taste receive it, tell me that I should quit my day job, and package this for mass production asap!  They’re probably right too.  But I just could never do it.  Lucky for you;-)

Caramel Popcorn

Coconut Kettle corn

This stuff is like inhaling air, it’s light, salty, and sweet in all the right places!

Coconut Kettle Popcorn

Citrus powder

This can be sprinkled on fish, chicken, steak, veggies and rice, it will be the gift that keeps on giving months down the line.

image

Sour salts

Sour salts are in the pantries of some of the best chef’s in the world, why not add one to your favorite chefs arsenal?

image

Marshmallows

‘Tis the season for gifts and marshmallows.  These are way better than the high fructose laden, store bought version.  They’re made with maple syrup, and lots of love!

98244-image